
What to know
-
You are free to climb anywhere, so you finish climbs by planning a safe line, not by following a fixed path.
-
Stamina and posture are the real fail conditions: shaking limbs, hurried moves, and bad weight distribution lead to slips.
-
Pitons are your insurance and your recovery tool: clipping in prevents big falls, and off belay fully restores stamina while letting you access the backpack.
-
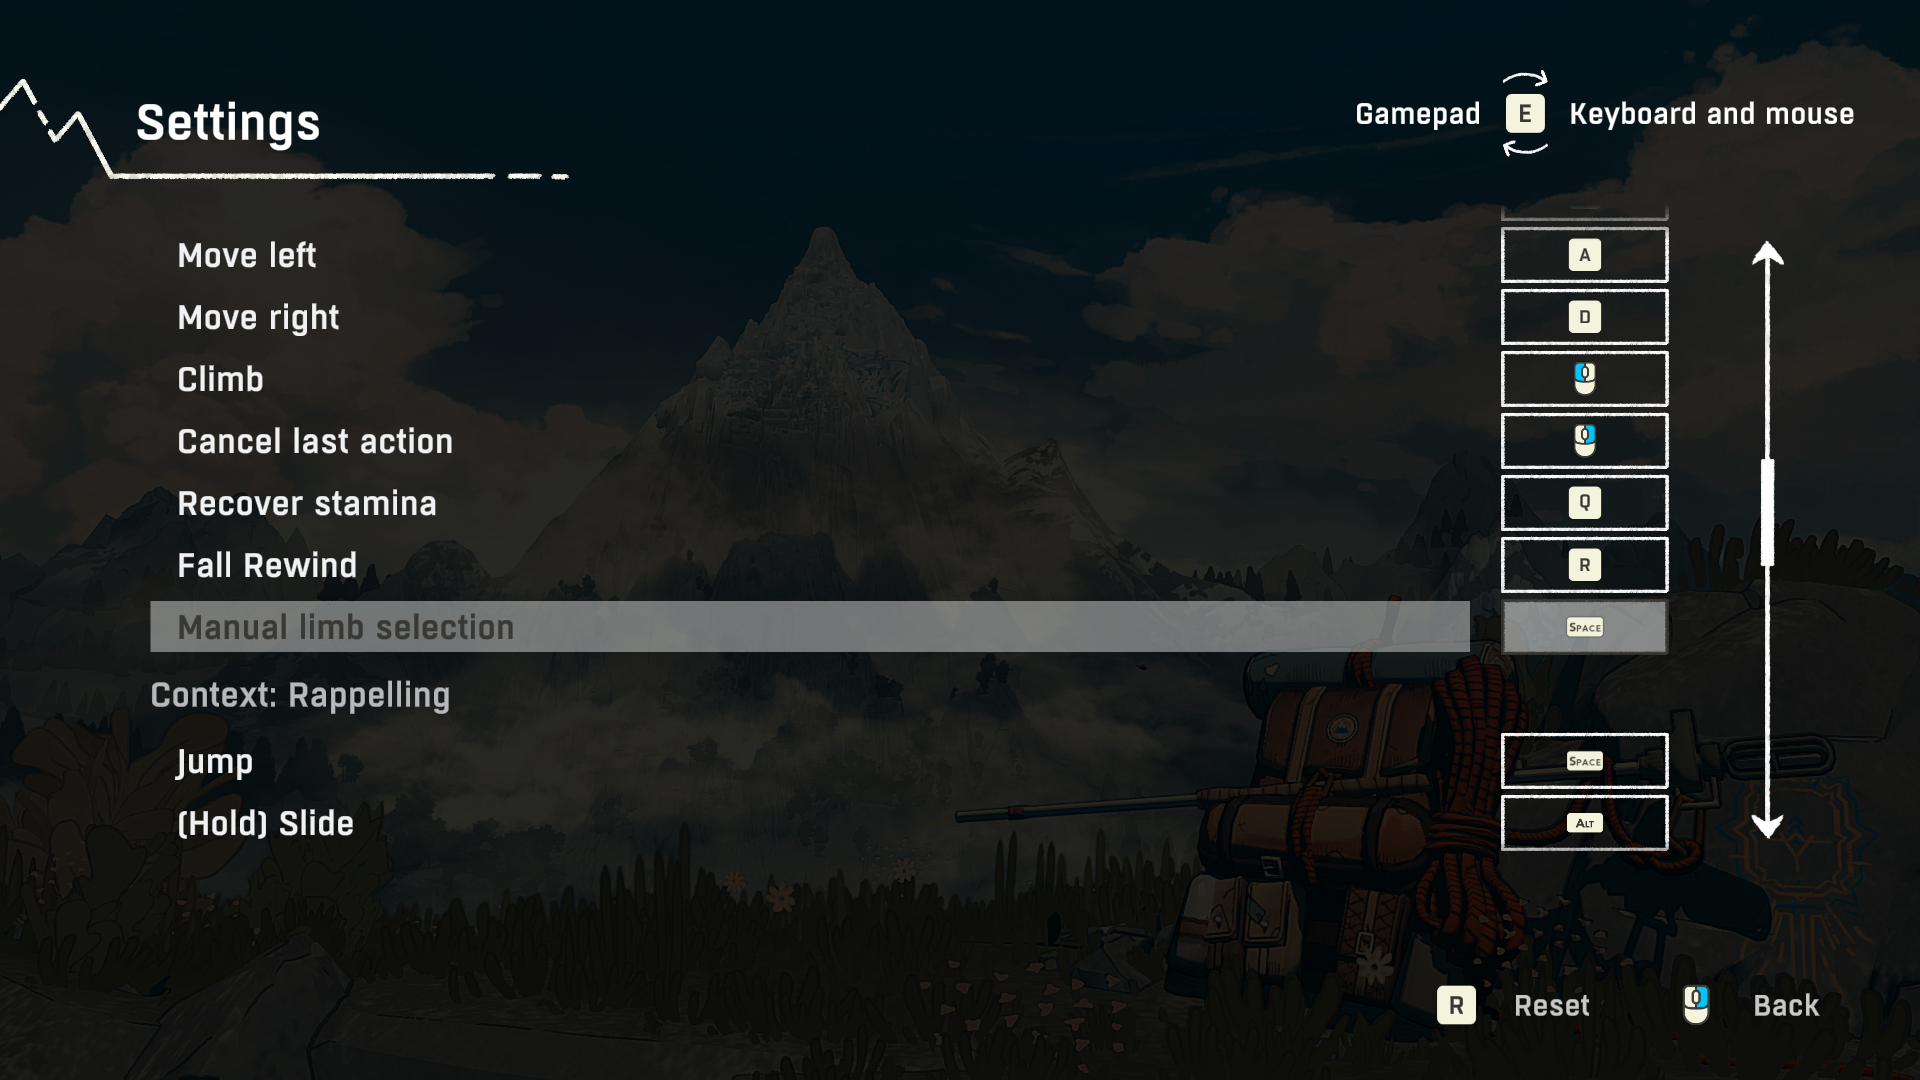
Use your camera and manual limb selection to avoid dead ends and prevent the game from moving the wrong limb in a risky moment.
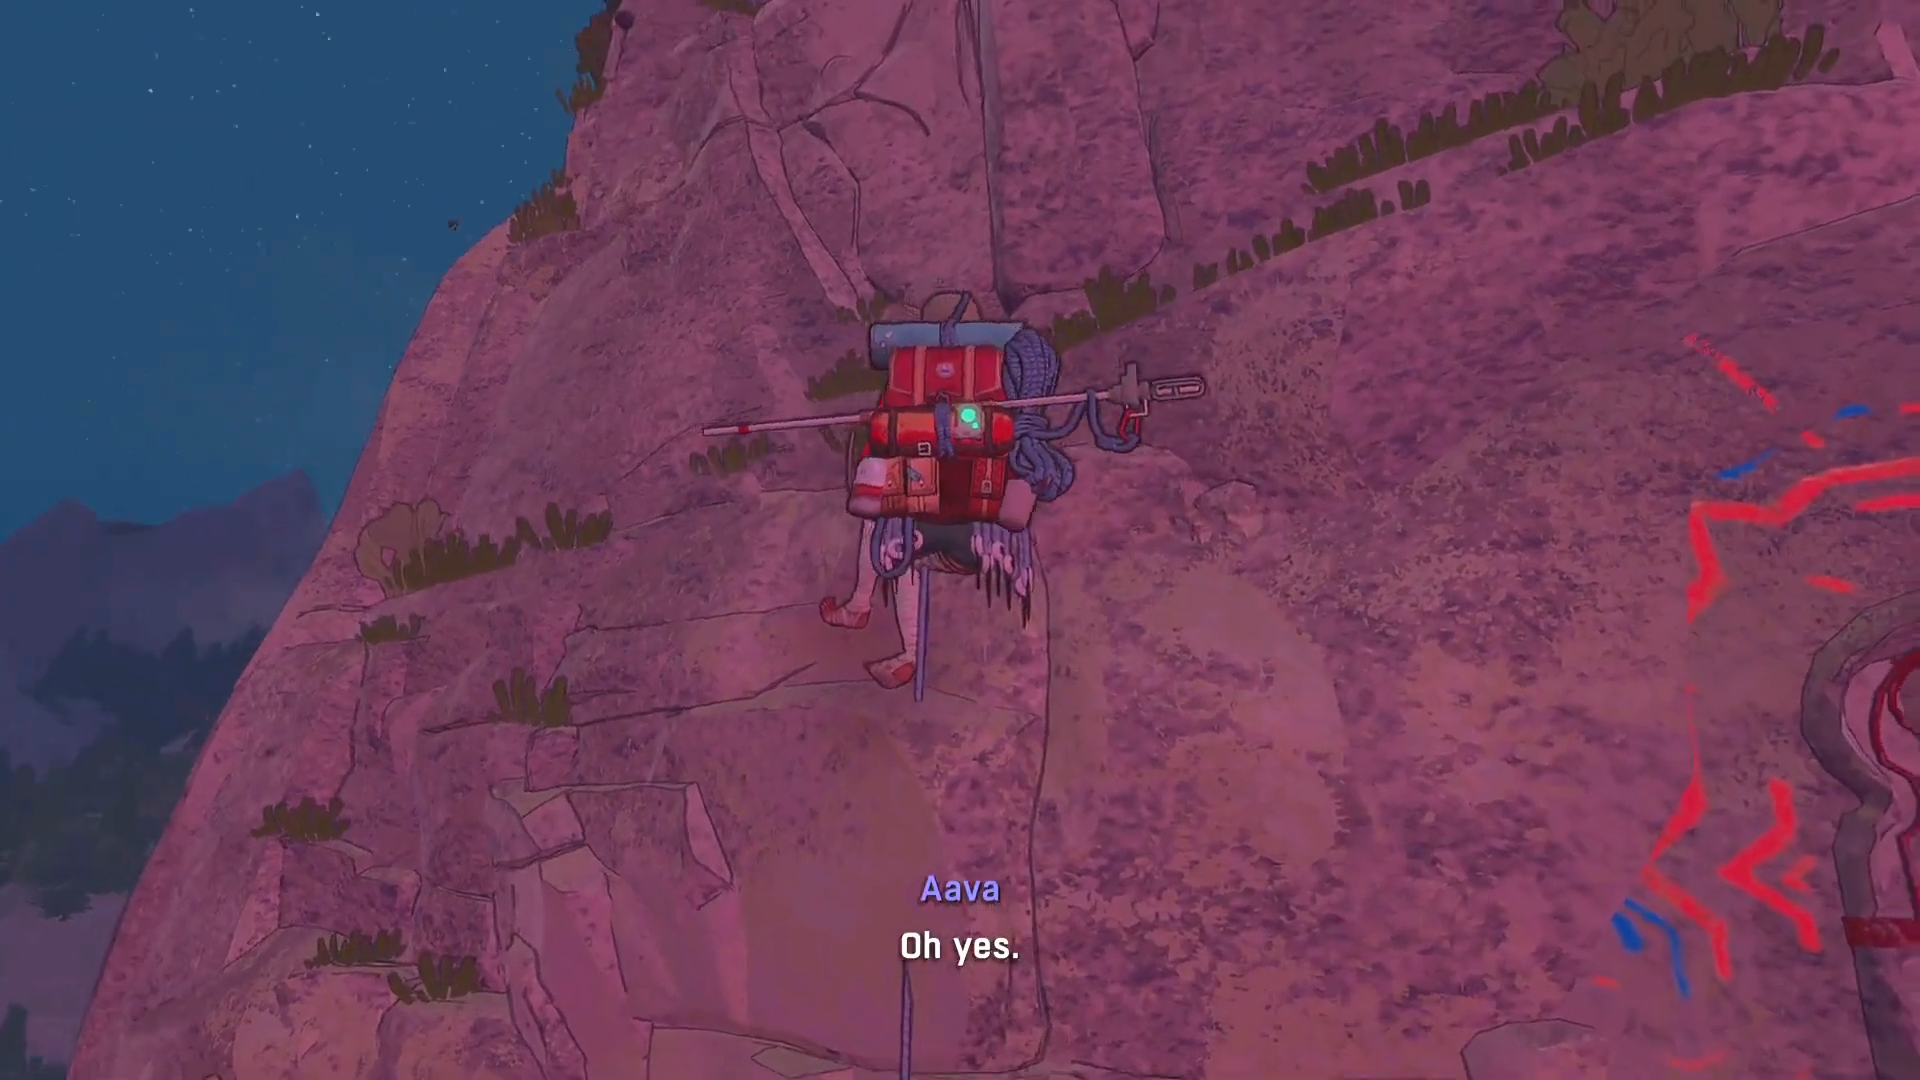
Climbing a mountain in Cairn without falling is mostly about moving slower than you think you need to, resting on purpose, and turning pitons into your safety net and stamina reset. The game is built around reading the wall, managing Aava’s posture and stamina, and using tools at the right time so a small mistake does not become a long fall.
How to plan a no-fall climb before you leave the ground
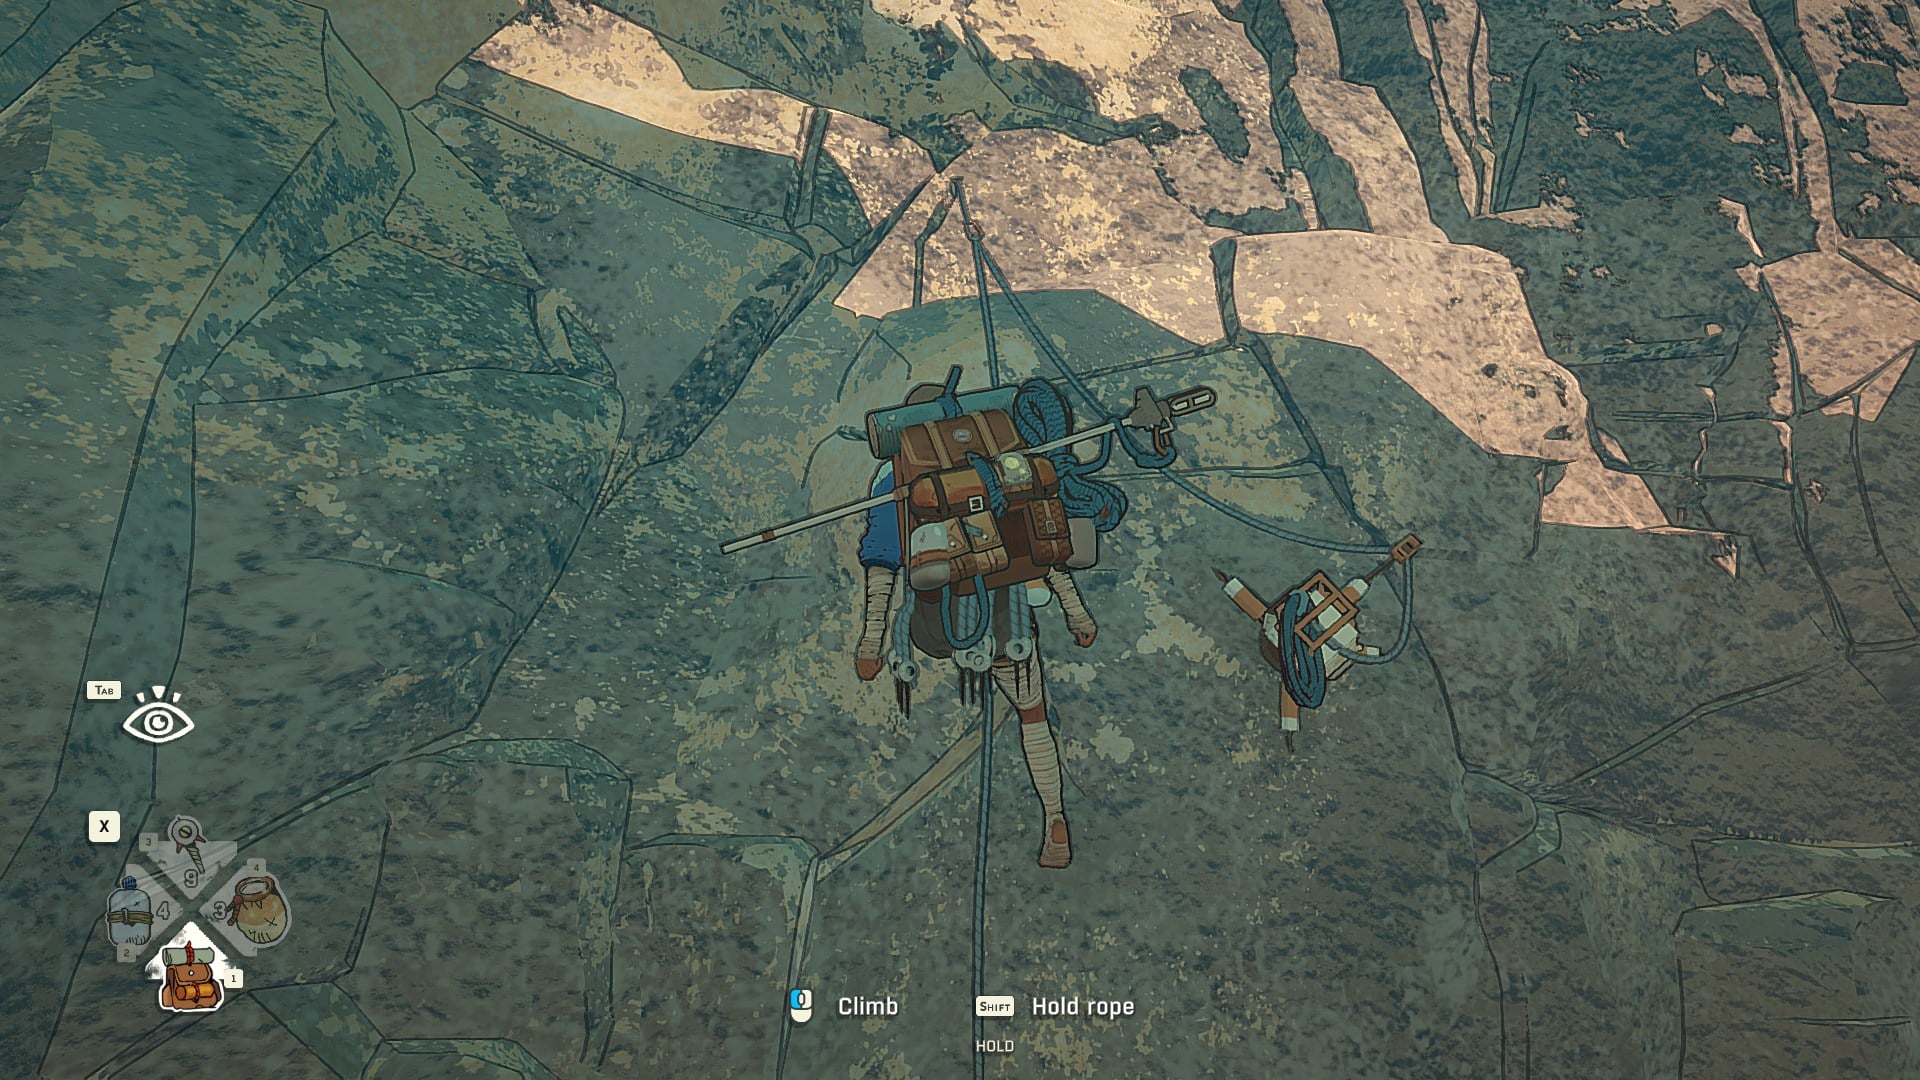
A clean ascent starts with route reading. Look for big ledges and comfortable stances, identify sections where you cannot place pitons, and decide where you will stop to rest. Use the camera to check straight up and a wider view to spot dead ends, awkward bulges, or stretches where you may need to traverse instead of going straight.
How to climb without falling in Cairn
Step 1: Treat every wall like a stamina budget
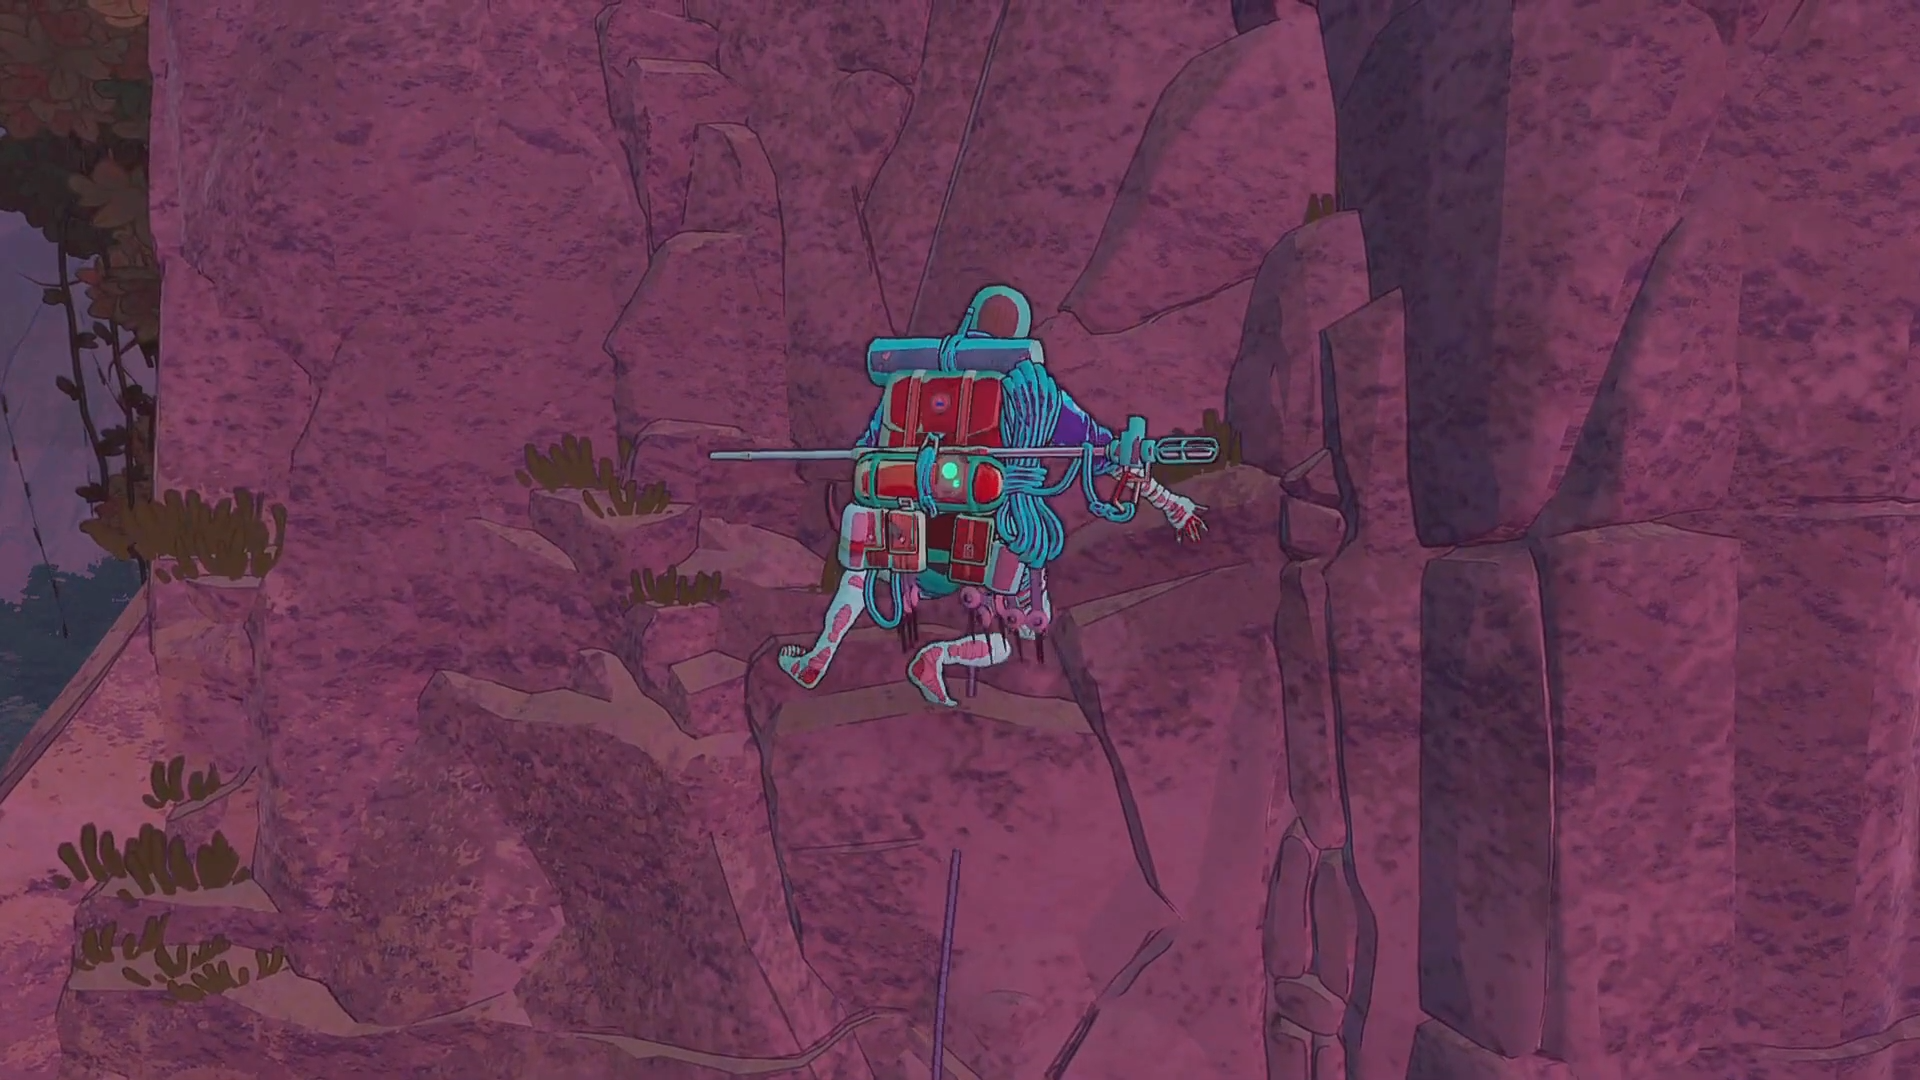
Start each sequence by getting into a solid, comfortable position, then move only one limb at a time whenever possible so you are not spiking effort and instability. If you notice shaking, assume your posture or weight distribution is wrong and fix it before you climb higher.
Step 2: Climb slower than the wall looks
Even easy-looking rock can hide bad holds, and moving too fast makes you commit to grips that tire Aava out before you can correct. Test holds as you go, and if a hand or foot flattens like it is bracing instead of gripping, reset that limb rather than pushing forward.
Step 3: Rest on purpose, not as an emergency
When you are in a stable stance, use the shake-out to regain stamina and pay attention to how well it recovers. If recovery is weak or you are getting warning signs like quick breathing, stop and find a better rest position before attempting the next difficult move.
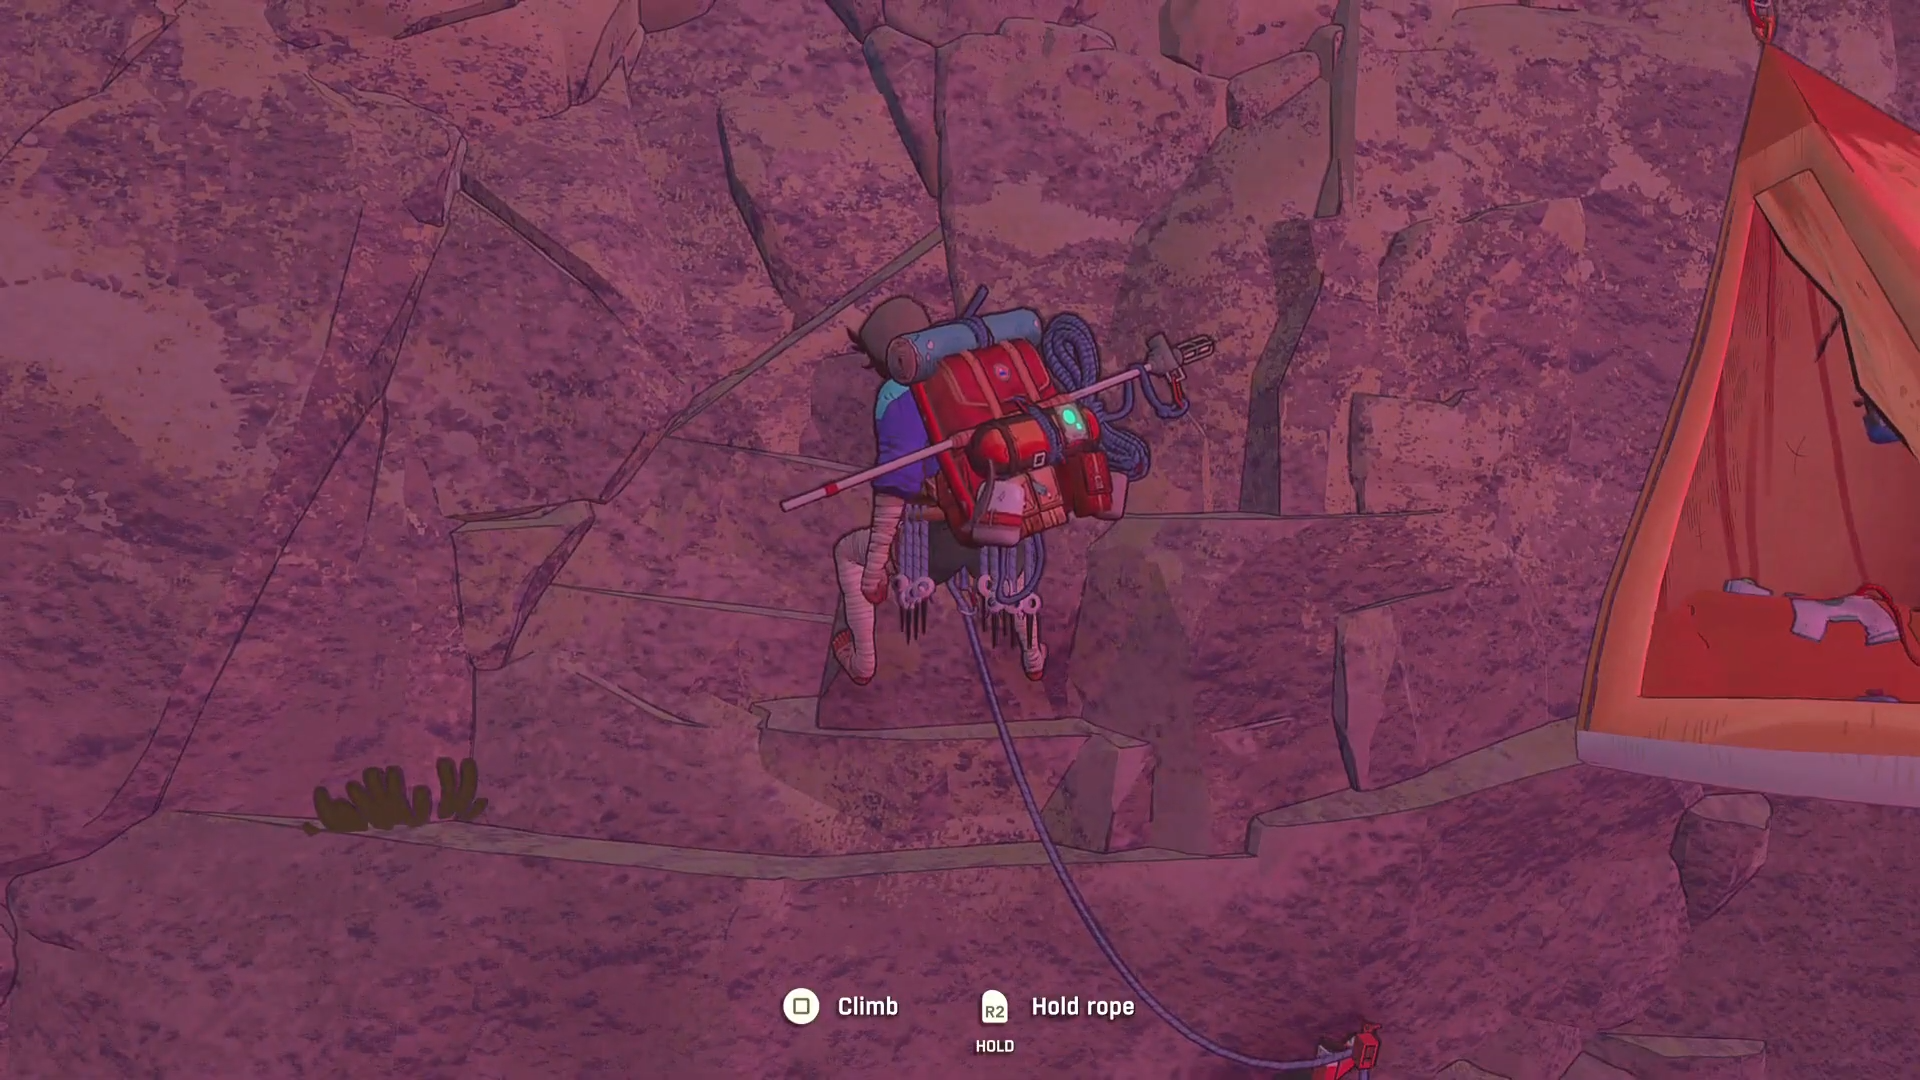
Step 4: Place pitons early and regularly
Pitons work best when you place them while calm, not when you are already sliding off the wall.
Clipping into a piton prevents a long fall and also acts like a checkpoint, and going off belay at a piton fully restores stamina while letting you open your backpack for quick item management.
Step 5: Learn the piton placement timing so you can do it under pressure
Placing a piton involves a timing action, and poor timing can break pitons or slow you down when you need safety fast. Practice until you can drop protection quickly, then make it a habit to protect before a sketchy sequence, not during one.
Step 6: Use chalk proactively on thin or awkward sequences
Chalk improves grip and is often worth using whenever holds are small, spaced out, or unreliable. In practical terms, chalk lets you survive a few moves on mediocre rock long enough to reach a better ledge or crack.
Step 7: Override the auto limb choice when a mistake would be costly
Automatic limb selection is convenient, but it can suggest moving a hand when you need to move a foot, or the reverse, and that mismatch can destroy your balance.
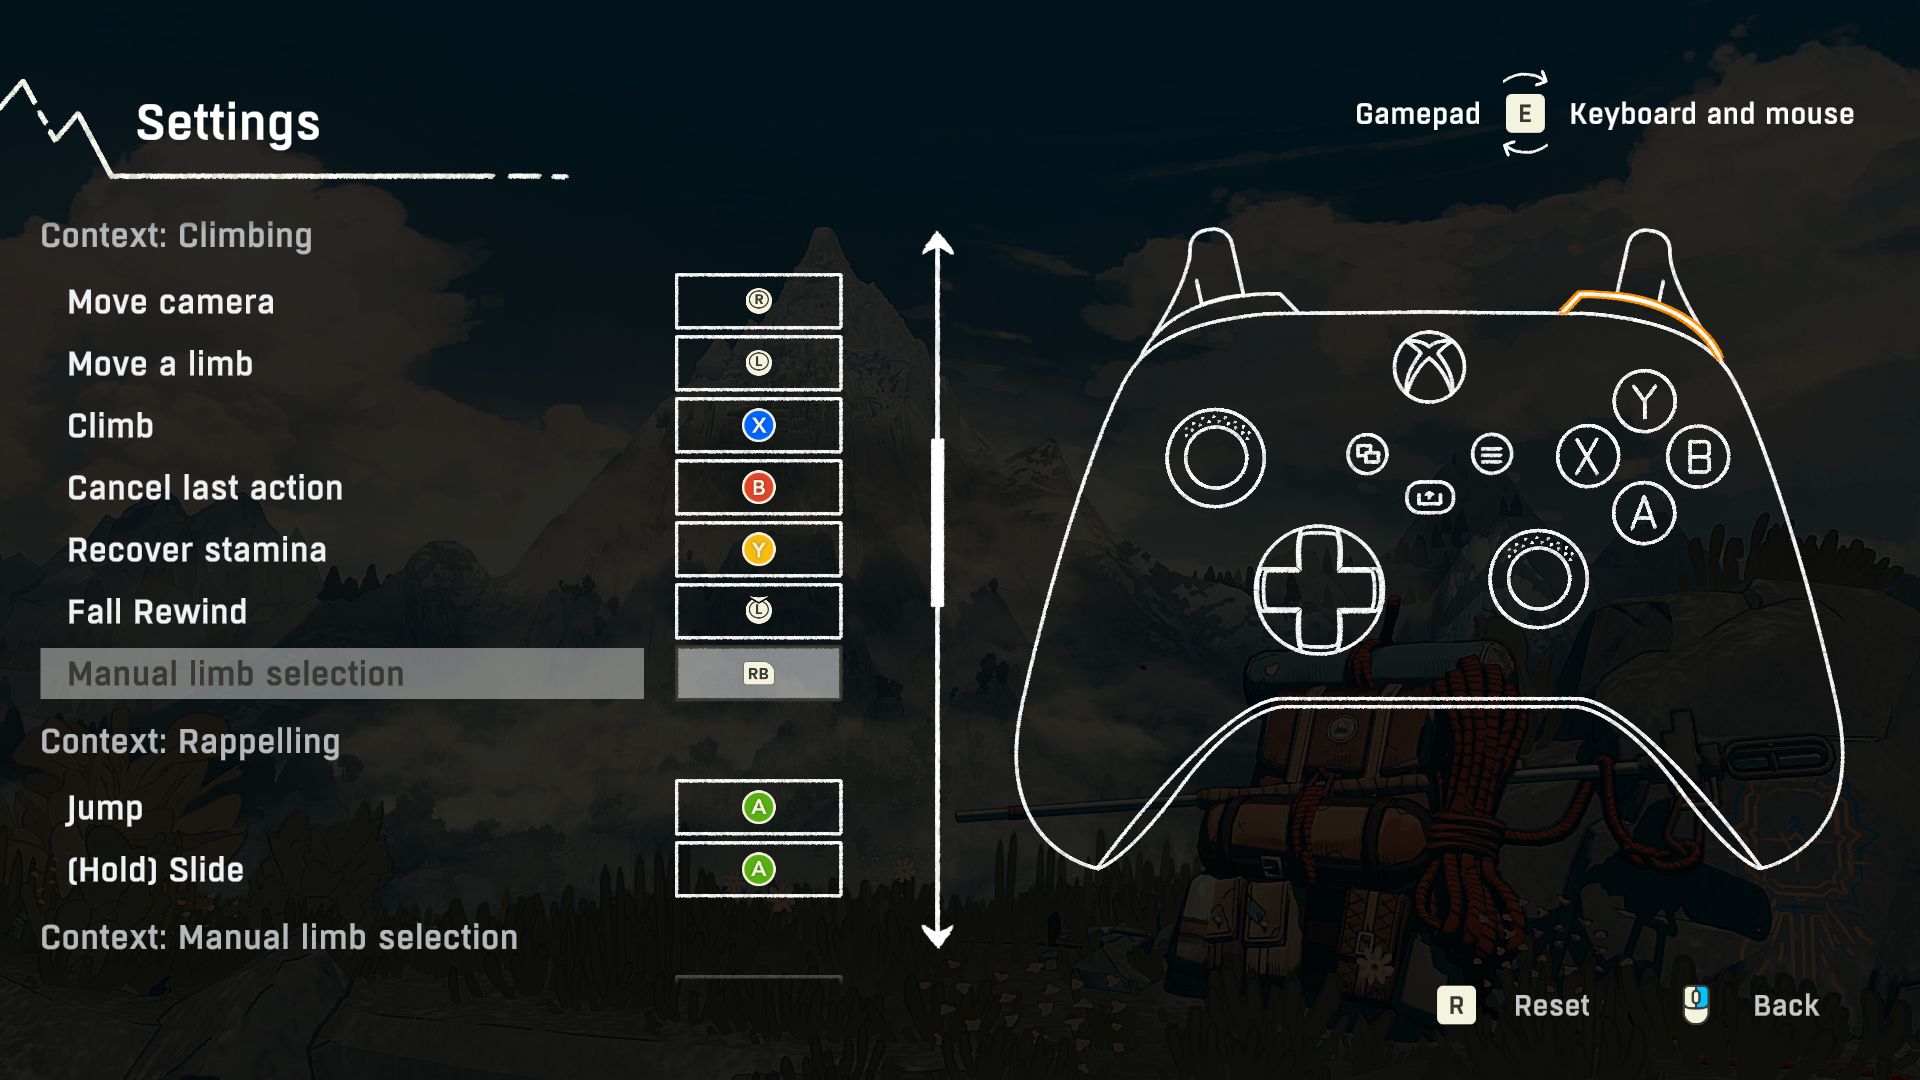
Manually select the limb during precision moves, exits from unstable positions, and any time you are trying to preserve three solid points of contact.
Step 8: Reroute around surfaces you cannot safely protect
Some surfaces are too dense or slippery for piton placement, which makes them disproportionately dangerous if you commit without a plan. When you see that kind of patch, either go around it or prepare with stamina, chalk, and a clean sequence so you minimize time spent exposed.
Useful finds
Cairn ties safer climbing to exploration and supplies, so your best upgrades come from taking side routes and checking structures rather than only pushing upward.
| find | What it does for a no-fall climb | Where it comes up |
|---|---|---|
| Pitons | Prevent long falls, act as checkpoints, enable off belay for full stamina restore | Core survival tool throughout the ascent |
| Troglodyte pitons | Indestructible pitons that can burrow into any kind of rock | Found by exploring troglodyte sites and caves |
| Chalk and chalk bag upgrades | Improves grip and helps you cross poor-hold sections safely | Chalk is used constantly; upgrades found while exploring |
| Supplies and special items | Make difficult sections easier and reduce risk from resource pressure | Often found in caves and structures while exploring |
The safest summit pushes are the ones where you already built a rhythm: scout, protect, move one limb, rest, repeat. If you keep pitons frequent, avoid committing to bad holds, and treat stamina recovery as mandatory maintenance, you will find that you fall less not because you got lucky, but because you stopped giving the mountain free opportunities.


