
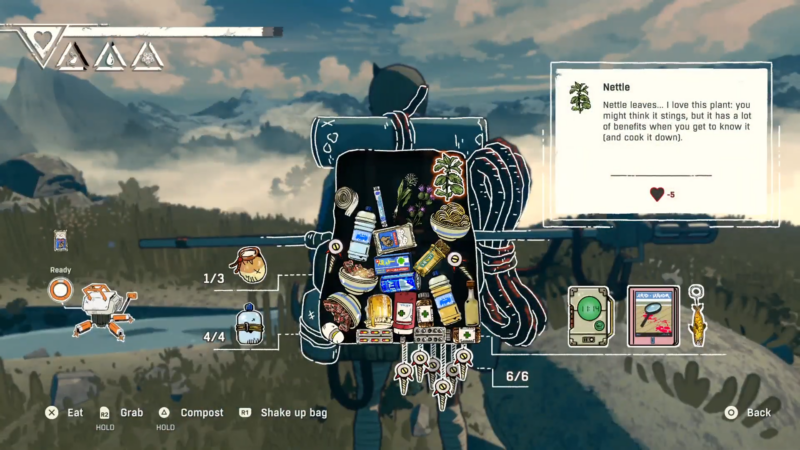
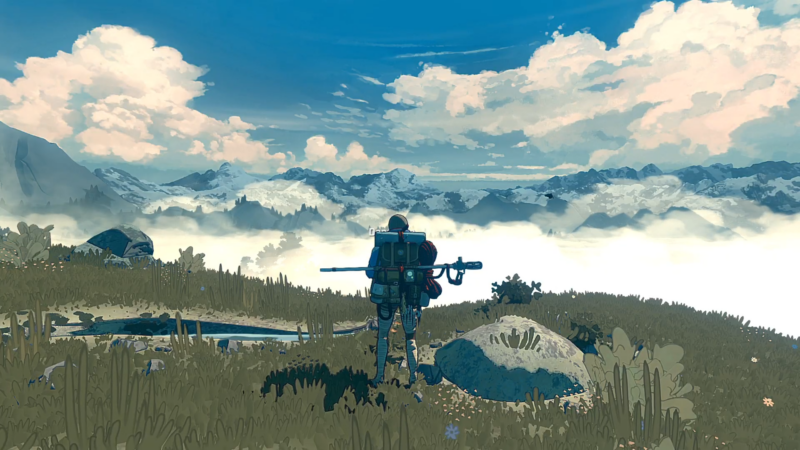
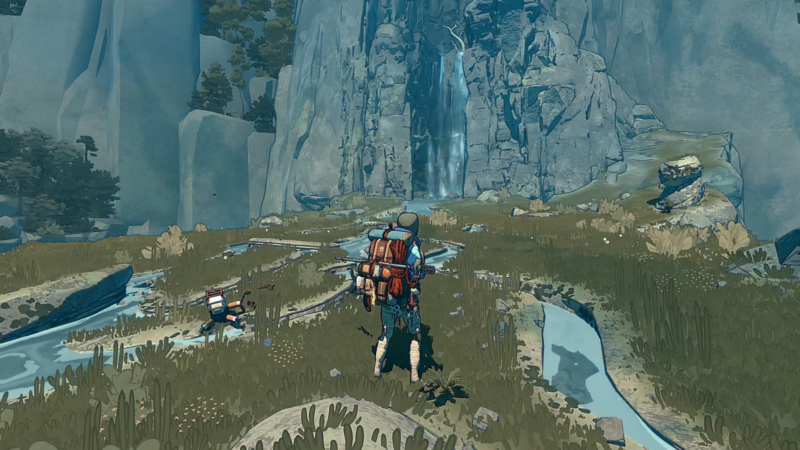
What to know
- “Shake up bag” briefly packs items tighter, creating short-lived space.
- On PlayStation, the shake input is R1.
- The bag contents can “grow back up” quickly after shaking, so speed matters.
- An unconfirmed community tip suggests exiting the backpack immediately after shaking to retain the extra space longer.
Backpack pressure in Cairn tends to spike at the exact moments when stopping to reorganize feels inconvenient—spotting a forage item on a route, reaching a small supply cache, or finishing a short detour and wanting to leave with something to show for it. This is why the video’s tip lands well: it’s not about a perfect long-term inventory setup, but about a quick, practical “save” when the pack is already capped and there’s one more item worth taking.
Backpack shake-up trick at a glance
| Action | Platform detail | What it does | Best use case |
|---|---|---|---|
| Shake up bag | PlayStation: R1 | Temporarily compresses items downward | Creating just enough room for one pickup |
| Exit backpack quickly after shaking (unconfirmed) | Any | May preserve the “extra space” window longer | Emergency pickups when the bag refills fast |
Why this works in Cairn’s inventory system
Cairn’s backpack behaves less like a static “grid” and more like a container where objects settle into space. When the bag is shaken, items momentarily drop and pack tighter, which can expose a small pocket of free volume. That pocket can disappear quickly as items resettle upward, which is why the technique is framed around timing: create the space, then immediately spend it on the pickup.
This also explains why the trick is situational. If the backpack is full of bulky items (or the mix of item shapes is already packing efficiently), shaking may not create enough usable space to matter. Conversely, if the contents are “fluffed up” due to recent movement or imperfect packing, shaking can sometimes create exactly the sliver needed for a small forage item—like the dandelion example referenced in the video.
When the shake trick is most useful
This approach shines in “just barely full” scenarios:
- Grabbing one more small forage or craft ingredient after a short detour.
- Picking up a single item you would rather not leave behind, without making a permanent sacrifice.
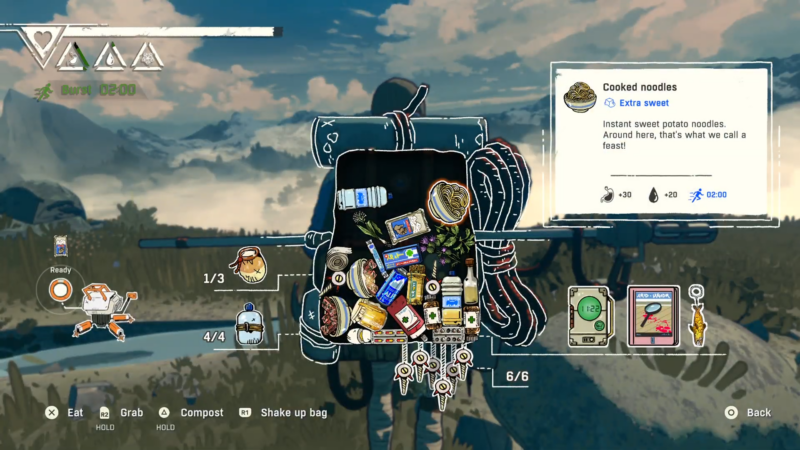
- Avoiding a resource decision you are not ready to make (eating something you wanted to save, or composting something you might still need).
It’s best treated as a tactical move, not a replacement for normal inventory discipline. If the backpack is frequently overflowing, the larger gameplay loop still pushes you toward making choices—prioritizing what supports the climb and letting go of low-impact extras.
What the “exit fast” idea is really doing
The video mentions an unconfirmed tip: close out of the backpack right after the shake to potentially “keep” that temporary space before the items creep back up. Conceptually, the idea is that the inventory might only fully resettle while the backpack view is active; exiting quickly could, in some situations, preserve the compressed state long enough to benefit you.
Even if it does not always work, it pairs nicely with how this trick is intended to be used: rapid, minimal menu time, and immediate action. In practice, it is worth attempting whenever a pickup is close and the backpack is at the limit, because the cost is low and the upside is a free slot without consuming or composting.
How to do the shake-and-grab method step by step
Step 1
Open the backpack and locate the “Shake up bag” prompt.
Step 2
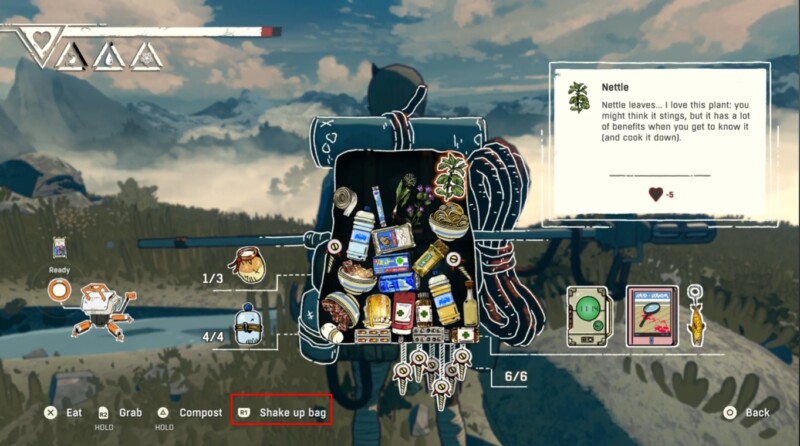
Press R1 (PlayStation) to shake up the bag.
Step 3
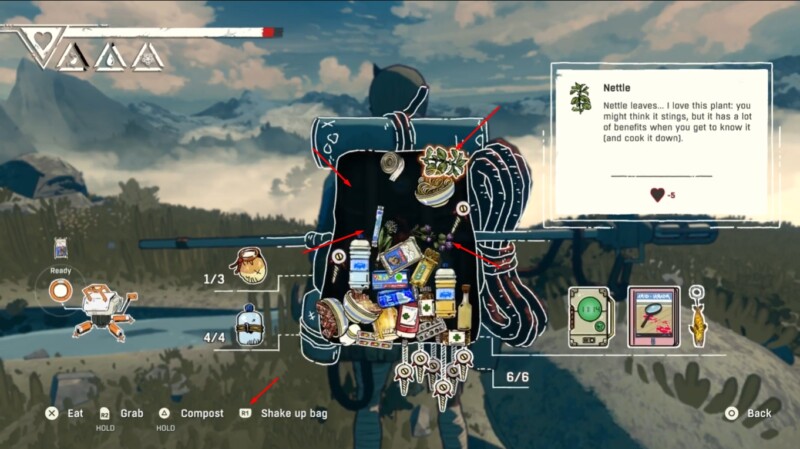
Watch the contents drop lower, creating temporary extra space.
Step 4
Immediately attempt to add the target item while the contents are still compressed.
Step 5
Back out or close the backpack right after the shake (unconfirmed tip) to try to retain the extra space before items resettle upward.
Step 6
If still short on space, repeat shake → quick pickup attempts until the item fits.
Practical inventory habits that complement shaking
Shaking works best when the backpack is close to balanced rather than chronically overloaded. A few habits make the trick more reliable:
- Keep a mental “priority tier” for what matters most for the next stretch (essentials first, then comfort items, then optional loot).
- Avoid carrying too many awkward, bulky items at once when planning to forage.
- Use the shake method as a last-mile optimizer: it’s strongest when you only need a tiny bit of room, not an entire slot’s worth of space.
| Reward type | What it effectively “earns” | When it matters |
|---|---|---|
| Inventory efficiency | A short window to fit one extra pickup | Quick forage grabs mid-route |
| Resource preservation | Avoids consuming food or composting in the moment | When saving supplies for tougher sections |
| Route momentum | Reduces backtracking or forced drops | When stopping is risky or inconvenient |
Thanks for taking the time to go through this detailed guide. If it helped you understand things better, do share your thoughts, impressions, or doubts in the comments section. We keep a close watch and try to respond promptly to ensure you always get the support you need.


