Discovering the datapad in Wyclef’s Reprieve unlocks a key fast travel point amid aerial threats on Kairos.
What to know
- Wyclef’s Reprieve is one of 14 Safehouses in Borderlands 4, serving as optional fast travel spots with vending machines and contract boards.
- To claim it, you first locate a hidden datapad, which your ECHO-4 scans to reveal the command console for activation.
- The Safehouse sits in the Idolator’s Noose area of the Fadefields region, southeast of Kairos and surrounded by flying enemies.
- Once activated, it provides quick access during exploration, helping you navigate the open-world planet more efficiently.
In Borderlands 4, Safehouses like Wyclef’s Reprieve add strategic depth to your adventures on the chaotic planet of Kairos, where claiming these spots not only speeds up travel but also opens up new contracts and resources. If you’re gearing up as one of the four Vault Hunters, knowing exactly where to find that elusive datapad can save you from frustrating backtracking—especially with the game’s refined movement mechanics like grappling and double jumps making vertical exploration a thrill.
You start by heading to the Idolator’s Noose section within the Fadefields region, which acts as an early-game tutorial area. This spot lies northeast of Mirehome and west of The Killing Floors, on the border with the Dissected Plains. Expect heavy resistance from aerial monsters swarming the area, so clear them out or sneak past if your build favors stealth. The Safehouse itself appears on your map as an icon, but the datapad isn’t marked— you’ll need to explore actively. Drive or slide along the highways from nearby Fadefields to approach from the left side, keeping an eye on the southeast corner for the structure elevated amid rocky bluffs and cliffs.
Step-by-step guide to finding the datapad
Once you’re at the Safehouse, focus on the building’s exterior and immediate surroundings, as the datapad is cleverly hidden to encourage thorough scouting. Here’s how you can pinpoint it without unnecessary detours:
Step 1: Approach the main entrance of the Safehouse and enter the building to get your bearings—note the locked door and any vending machine icons on your HUD, which hint at the command console’s general location inside.
Step 2: Proceed through the interior to the balcony at the back, overlooking the drop-off. Look for signs of destruction, like a broken floor section with sparks flying out, indicating instability.
Step 3: Position yourself on the balcony and prepare for a controlled drop—it’s a long fall southward from the Safehouse icon on your map, so use your double jump or glider if needed to avoid taking fall damage.
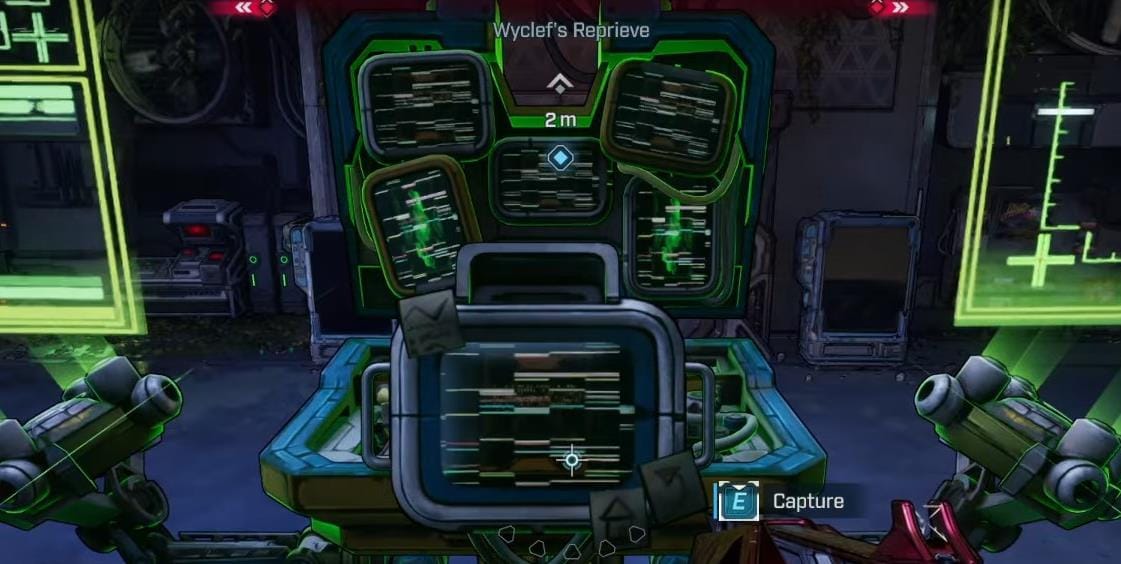
Step 4: Land in the lower area below the balcony, where the ground levels out. Scan around (your ECHO-4 will highlight it with a blue marker when you’re close, turning green on direct sight). The datapad sits plainly on the floor there, ready for interaction.
This process typically takes just a few minutes once you’re in position, but watch for respawning enemies that could interrupt your scan.
Activating the command console after retrieval
With the datapad in hand, return to the Safehouse’s main room—either by climbing back up using nearby grapple points or circling around the base if the drop was too committing. The command console is usually right near where those vending machine icons appeared on your HUD, often to the left of the locked door in an enemy spawn area. Interact with it to insert the datapad, claiming the Safehouse for the Crimson Resistance. This unlocks fast travel, spawns helpful amenities, and contributes toward the Ruler of Everything achievement by completing all activities.
Tips for handling challenges around the area
Aerial foes make this spot trickier than ground-based encounters, so equip weapons with homing projectiles or area-of-effect skills to deal with flyers efficiently. If you’re underleveled, consider upgrading your SDU storage first from other activities, as Safehouses like this one reward tokens for inventory expansions. The verticality of Idolator’s Noose rewards aggressive play—use grapple hooks to reach high perches for ambushes. Remember, you don’t need to eliminate every enemy before grabbing the datapad, but doing so prevents interruptions during console activation.
Unlocking benefits and tying into broader exploration
Claiming Wyclef’s Reprieve integrates seamlessly into your Kairos journey, providing a hub for selling loot and picking up bounties that tie into side missions like One Slimy Issue. It’s part of the 14 total Safehouses across regions, each offering similar perks but with unique environmental twists—Fadefields alone has four, making it a great starting point for building your network.
Wrapping up your hunt for the Wyclef’s Reprieve datapad
Securing this Safehouse early on sets a strong foundation for dominating Kairos, blending fast travel convenience with loot opportunities that keep the looter-shooter action flowing.