Complete Shadow of the Mountain Walkthrough with expected loot and legendaries. Retrieve the Eridian relic from the Lambent Mines, beat Skyspanner Kratch, and return it to Belton’s Bore.
- What to know
- BL4 Missions Overview
- Shadow of the Mountain Overview
- Phase A: How to reach Belton’s Bore and clear the Auger camp
- Phase B: find Defiant Calder and follow him into the Lambent Mines
- Phase C: place and hack the signal beacons inside Calder’s office area
- Phase D: defeat Skyspanner Kratch
- Phase E: return the Eridian relic and wrap up the mission
- Shadow of the Mountain mission rewards
- Shadow of the Mountain mission legendary drops from the Skyspanner Kratch
- Quick troubleshooting
- Wrap-up: finishing Shadow of the Mountain and what comes next
What to know
- Mission: Shadow of the Mountain — main story quest in Terminus Range
- Unlocks after finishing the main quest “A Lot to Process”; recommended level ~15–20
- Primary objectives: find Defiant Calder, place & hack signal beacons, defeat Skyspanner Kratch, grab the Eridian relic, return to Belton’s Bore
- Mission rewards: XP, cash, Eridium, a Rare → Epic pistol plus the Solar Flair weapon skin; completing this mission also opens access to related Auger/Abandoned-mine content (useful for farming repkits later)
BL4 Missions Overview
| Previous Mission | Current Mission | Immediately Unlocked Mission |
|---|---|---|
| A Lot to Process | Shadow of the Mountain | Crystal Brawl |
Shadow of the Mountain Overview
Shadow of the Mountain is a classic Borderlands main-mission crawl: Start from Vestal Garrison, travel across Terminus Range to Low Leys, clear Order forces, set and hack multiple signal beacons inside the Lambent Mines, defeat a flying boss (Skyspanner Kratch), grab the purple Eridian relic, and escort it back to Belton’s Bore. The run mixes long driving/vehicle traversal with concentrated dungeon sections and one arena-style boss fight.
Phases at a glance
| Phase | Short description |
|---|---|
| A — Reach & clear Belton’s Bore | Drive into Terminus Range, find Belton’s Bore and clear Order forces, talk to the Auger leaders |
| B — Find Defiant Calder | Follow the quest marker to the Lambent Mines, rescue/assist Calder, then follow him to the force field |
| C — Place and hack signal beacons | Navigate the mine’s platforms, pick up beacons, place them on power nodes and hack to drop force fields |
| D — Prepare and defeat Skyspanner Kratch | Use the prep area, then fight the flying Kratch — clear adds, avoid balloon bombs, focus DPS on the boss |
| E — Return and place the relic | Take the purple relic back to Belton’s Bore, follow Calder through the halls and place it to finish |

Phase A: How to reach Belton’s Bore and clear the Auger camp
Step 1
Fast-travel to the nearest safehouse (if unlocked) and follow the quest marker to Terminus Range. Expect a long drive; use your vehicle to shorten traversal.

Step 2
Clear or bypass the Checkpoint Vermillion fights en route — you can avoid some carnage if your goal is the mission marker, but clearing gives XP and possible loot.

Step 3
When you arrive at Belton’s Bore, wipe out the Order forces harassing the Augers, then speak to the Auger leaders to get the next waypoint. Loot corpses and search chests for bonus gear and cash.

Tips: pick up nearby Safe Houses on the way if you plan to farm or retry; they help with long drives back and forth.

Phase B: find Defiant Calder and follow him into the Lambent Mines
Step 1
Head to the Lambent Mines area (marker will guide you). Use your Digirunner/vehicle for the long approach. Or fast travel to Heritage Opus and navigate from there.

Step 2
When you reach the Lambent Mines, assist Calder as he’s under attack. Clear the enemy wave protecting him — this opens his dialogue and the next objective.

Step 3
Follow Calder until he disables the nearby force field; after the cutscene he’ll lead you into Clavehome and toward Calder’s office. Stick close to his path markers so you don’t miss grappling points or ledges.

Tips: expect synths and Badasses; take out heavies first to reduce incoming pressure while you escort Calder.
Phase C: place and hack the signal beacons inside Calder’s office area
Step 1
Hack the forcefield near the mine’s entrance.

Step 2
Enter Clavehome.

Step 3
Collect the signal beacons. There are multiple beacons you must place on marked power nodes. Clear nearby enemies first so you can carry and place beacons without being overwhelmed.

Step 4
Place the first beacon on the bridge power source.

Interact with the nearby terminal to hack it. Repeat for the second beacon; hacking removes the corresponding force field. Many beacon placements are on small platforms, so use grappling hooks and jump timing.

Step 5
Progress through the dig chamber (you’ll press a control to open it) and climb via grapples to reach higher platforms. Place and hack the next pair(s) of beacons — the pattern repeats: place, go to terminal, hack, move on.

Tips: there’s a vending/prep area before the boss arena — restock ammo and sell junk there. Don’t place beacons under fire; clear patrol routes first.

Step 6
Progress through and access the dig chamber by pushing the lever.

Step 7
Once you cross the dig chamber, you will have to repeat installing and hacking the signal beacons again.
Phase D: defeat Skyspanner Kratch
Step 1
Use the prep area (vending machines) to restock and equip high-DPS weapons. The arena is open — mobility is your friend.

Step 2
When the boss appears, prioritize surviving the adds: Skyspanner Kratch spawns smaller Kratches that chase you and launches red balloon bombs that explode on impact. Kill the adds quickly so they don’t stack on you.

Step 3
Maintain movement to avoid balloon bombs and use cover when required. Focus sustained DPS on the Kratch when its minions are under control — it has no shields or heavy armor, so steady damage phases are effective. If it dives or flies away, finish off remaining adds then re-engage.

Tips: weapons with good tracking or wide arcs make short work of the smaller Kratches; rocket-style burst damage helps on the boss when the arena is clear.
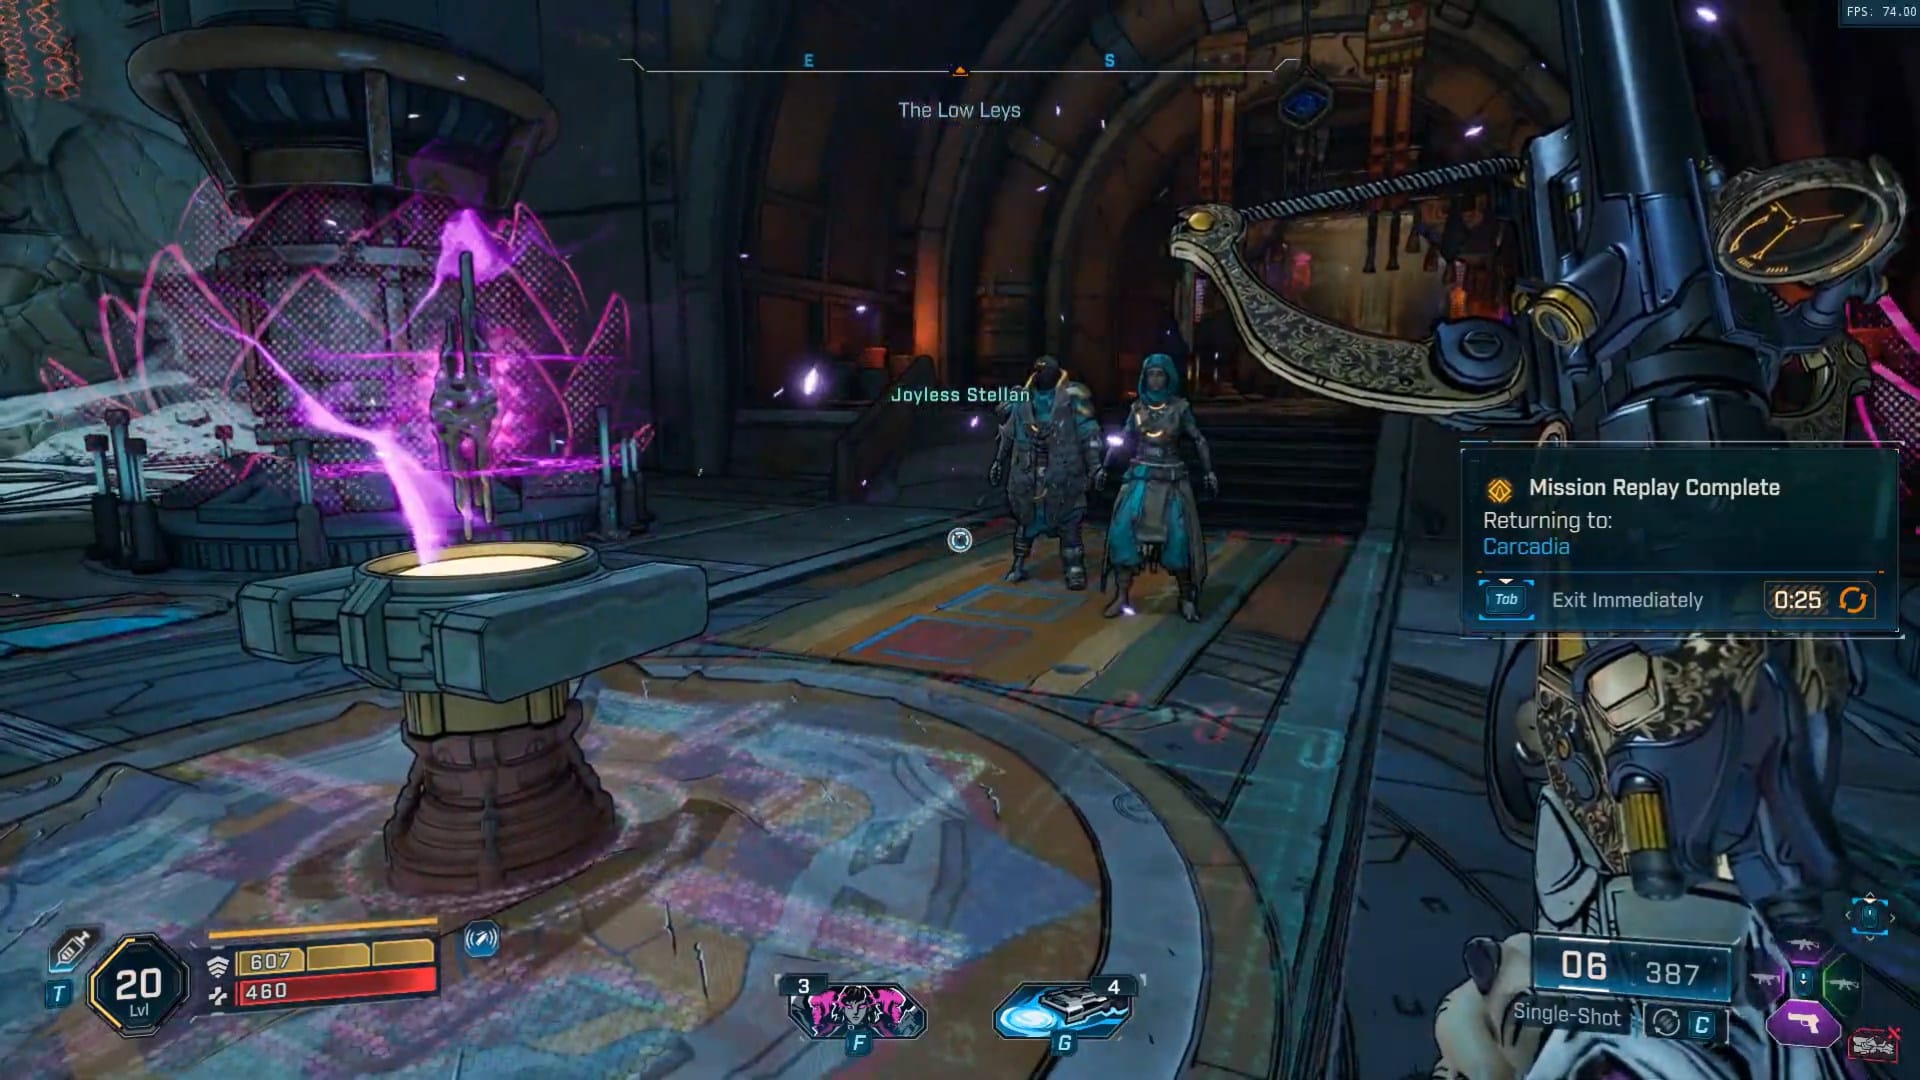
Phase E: return the Eridian relic and wrap up the mission
Step 1
Hack the door to Calder’s office.

Step 1
Grab the bright purple Eridian relic from Calder’s office (it’s obvious and marked). Then follow the objective to head back to Belton’s Bore.

Step 2
Wait at the gate for Calder to lead you through. Follow him through the halls for the cutscene.

Place the relic on the altar/table to complete the quest and claim your rewards.

Tips: the return trip is long — if you unlocked the Safe House near the route, fast travel there before heading back to speed the process.
Shadow of the Mountain mission rewards
| Reward type | What to expect |
|---|---|
| Base reward | XP, cash, Eridium |
| Weapon reward | A Rare → Epic pistol (random roll) and Solar Flair weapon skin |
| Recommended level & time | Level ~15–20; expect ~45–90 minutes depending on travel and clearing |
| Unlocks after completion | Access to certain Auger/abandoned-mine activities (routes for farming repkits like the Triple Bypass later) |
Shadow of the Mountain mission legendary drops from the Skyspanner Kratch
| Legendary | Type | Notes |
|---|---|---|
| Cloudpiercer | Sniper Rifle | High crit damage; good for long-range builds |
| Stormbringer | SMG | Elemental burst, effective against groups |
| Violet Maw | Shotgun | Close-range powerhouse with wide spread |
| Kratchling Hive | Grenade Mod | Spawns mini-kratchling explosives |
| Relic of the Mountain | Artifact | Boosts elemental resistance and shield recharge |
Quick troubleshooting
Stuck on beacon placement?
Clear nearby enemy spawns first; beacons are vulnerable while you’re carrying them.
Boss feels unfair?
Clear adds, use cover, and kite the balloon bombs — rest at the vending area to adjust loadout before retrying.
Fast travel issues on return trip?
Unlock Safe Houses on the route earlier to save driving time.
Wrap-up: finishing Shadow of the Mountain and what comes next
Completing this mission gets you the Eridian relic, a solid XP/cash/Eridium payout, and a weapon skin plus pistol reward — but more importantly it unlocks further Auger activities and Abandoned-Mine content that open up new farming routes and repkit drops. After finishing, consider taking the newly-opened Auger activities to farm for repkits and hunt the bosses that now become available.