Follow this detailed guide to conquer Borderlands 4’s “Down and Outbound” mission with efficient strategies and step-by-step instructions.
What to know
- Down and Outbound is the third main story mission in Borderlands 4.
- The mission starts in Kairos’ Fadefields region after Claptrap gives you the assignment.
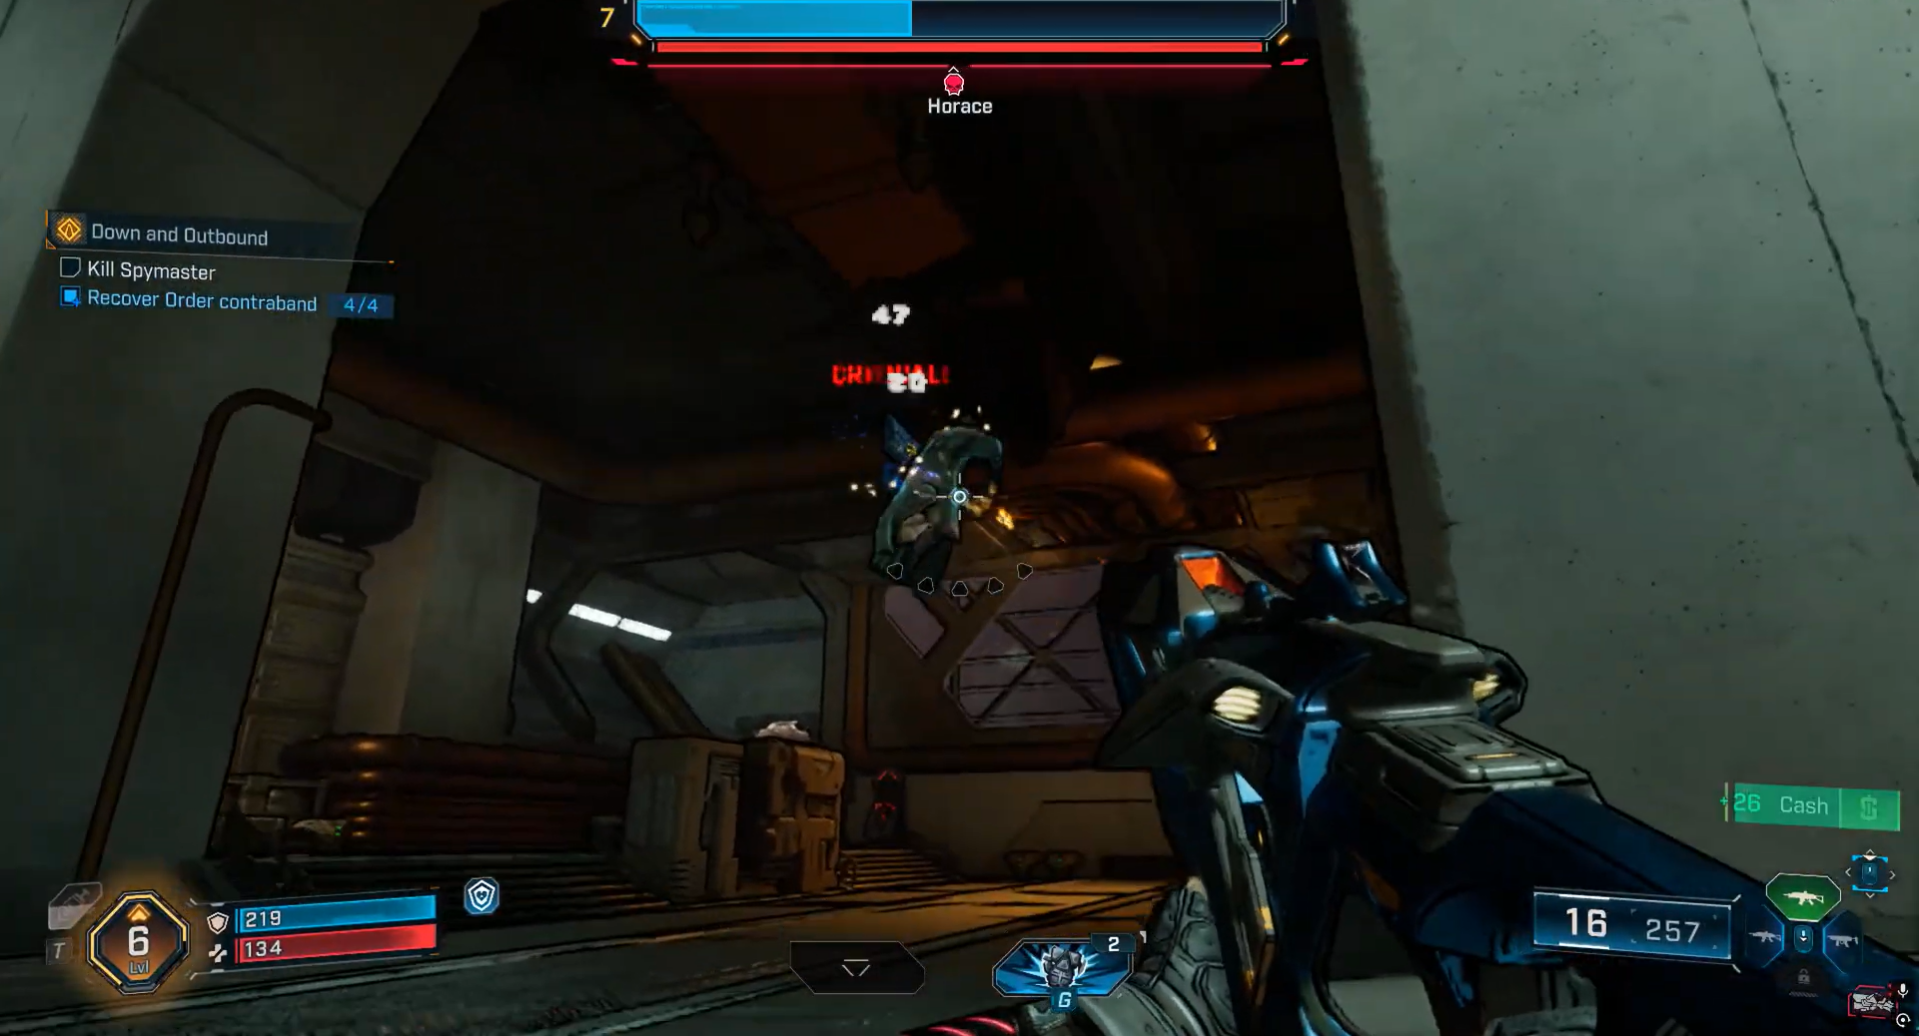
- You’ll face the boss Spymaster Horace during this quest.
- The mission introduces contraband collectibles and requires you to scan the Spymaster’s bolt using recovered scanner parts.
BL4 Missions Overview
| Previous Mission | Current Mission | Immediately Unlocked Mission |
|---|---|---|
| Recruitment Drive | Down and Outbound | A Lot to Process |
Down and Outbound Mission Overview
This mission tasks you with helping the Outbounders resist the Order. It unfolds across several distinct phases, each introducing new challenges, from storming an HQ to fighting a boss and recovering key parts. The table below summarizes the phases before diving into the detailed guide.
Phases at glance
| Phase | Description |
|---|---|
| Phase A: Reach Outbounders HQ | Travel through the Fadefields to the HQ and clear Order forces. |
| Phase B: Secure the HQ | Meet Rush inside, then join Conway outside to obtain a vehicle. |
| Phase C: Travel to the surveillance center | Drive the digirunner to the Order surveillance center, fighting enemies along the way. |
| Phase D: Infiltrate the facility | Enter the Order’s stronghold, clear enemies, and prepare for the boss. |
| Phase E: Defeat Spymaster Horace | Face and defeat Horace, the Spymaster boss. |
| Phase F: Collect bolt scanner parts | Travel to enemy camps and collect three scanner parts. |
| Phase G: Install and scan the bolt | Return to Outbounders HQ, install parts, and scan the bolt to complete the mission. |

Phase A: Reach Outbounders HQ
Step 1
Start at Claptrap’s outpost in the Fadefields. Follow your map marker toward Plungeford.

Step 2
Expect skirmishes with Order forces along the way. Use cover and conserve ammo.

Step 3
Reach the area called The Howl and fight through ambushes to approach Outbounders HQ.
Phase B: Secure the HQ
Step 4
Eliminate all Order troops outside and inside Outbounders HQ.

Step 5
Enter the building to trigger a cutscene with Rush, one of the Outbounder leaders.

Step 6
Exit HQ and meet Conway. He will provide you with the digirunner vehicle to continue the mission.

Phase C: Travel to the surveillance center
Step 7
Drive the digirunner along the marked path toward the Order surveillance center.

Step 8
Defeat patrols and ambush groups along the road. Use your vehicle weapons for faster clears. You will unlock Hungering Plains and Horace’s Oversight during this phase of the mission.

Phase D: Infiltrate the facility
Step 9
Clear enemies around the facility perimeter.

Step 10
(Optional) Collect contraband scattered inside the base for extra loot.

Step 11
Climb to higher floors, using ladders or grappling points, until you reach the main building’s upper area.

Phase E: Defeat Spymaster Horace
Step 12
Defeat the Warhead and enter the Spymaster’s chamber. Be ready for a boss fight.

Step 13
Phase one: Dodge his ranged projectiles while draining his shield. Stay behind cover and attack during reload gaps.

Step 14
Phase two: After losing his shield, he switches tactics. Watch for melee scythe swings. Stay mobile and maintain distance.

Step 15
Continue attacking until his health bar is depleted. Defeat him.

Phase F: Collect bolt scanner parts
Step 16
Head to the nearby camp (e.g., Wreck of Nostalgia). Clear enemies as you progress.

Step 17
Find three scanner parts:
- one near the camp entrance
- one deeper inside
- one in the back or a hidden area

Step 18
Once collected, prepare to return to Outbounders HQ.

Phase G: Install and scan the bolt
Step 19
Return to HQ and climb up to meet Conway and Rush.

Step 20
Install the three scanner parts into the device terminal.

Step 21
Use the terminal again to scan the Spymaster’s bolt. This completes the mission and unlocks the next quest, A Lot to Process.

Down and Outbound Mission Rewards
Common expected drops and loot:
| Category | Possible Drops | Notes |
|---|---|---|
| Weapons | Rare or Epic Assault Rifle, SMG | Usually blue/purple quality |
| Shields | Mid-tier energy shields | Occasionally elemental resist versions |
| Grenades | Standard explosive mods | Chance for corrosive variants |
| Cosmetics | “Digital Frontier” Vault Hunter skin | Guaranteed unique cosmetic |
| Currency | Cash, Eridium | Always awarded |
| Quest item | Spymaster’s Bolt | Mandatory for mission progress |

Down and Outbound Mission drops from Horace
Expected legendary drops and loot:
| Legendary Name | Type | Special Effect / Perk | Notes |
|---|---|---|---|
| Aegon’s Dream | Assault Rifle | Fires both Fire and Cryo rounds simultaneously (“Prophetic”) | References Game of Thrones; rolls multi-attachments |
| Pacemaker Repkit | Shield Mod | Passively regenerates health; regen rate increases when health is low (“Pulsometer”) | Alters healing for aggressive builds |
| Lucky Clover | Pistol | On reload, fires two homing rockets (“Kismet”) | Rare drop; great sidearm for mob clearing |
Final thoughts on Down and Outbound
This mission balances travel, combat, and puzzle elements. With a steady approach and careful movement during the Horace fight, it’s manageable even at lower levels. Focus on the main objectives first, then sweep for contraband if you want bonus loot.