Step-by-step walkthrough to clear Borderlands 4’s Crystal Brawl and collect every Eridium drone
What to know
- Crystal Brawl is an early main mission where you team up with Amara to assault the Moonfall Eridium refinery.
- Primary goals: reach the dig sites, destroy the power generator, take out three refinery processors, and destroy the refinery core.
- Optional goal: destroy 7 Eridium mining drones scattered across two dig sites for full completion.
- Rewards: XP, Cash, Eridium, an Epic shield, and the Augered Reality Vault Hunter Style cosmetic.
BL 4 Missions Overview
| Previous Mission | Current Mission | Immediately Unlocked Mission |
|---|---|---|
| Shadow of the Mountain | Crystal Brawl | Dark Subject |
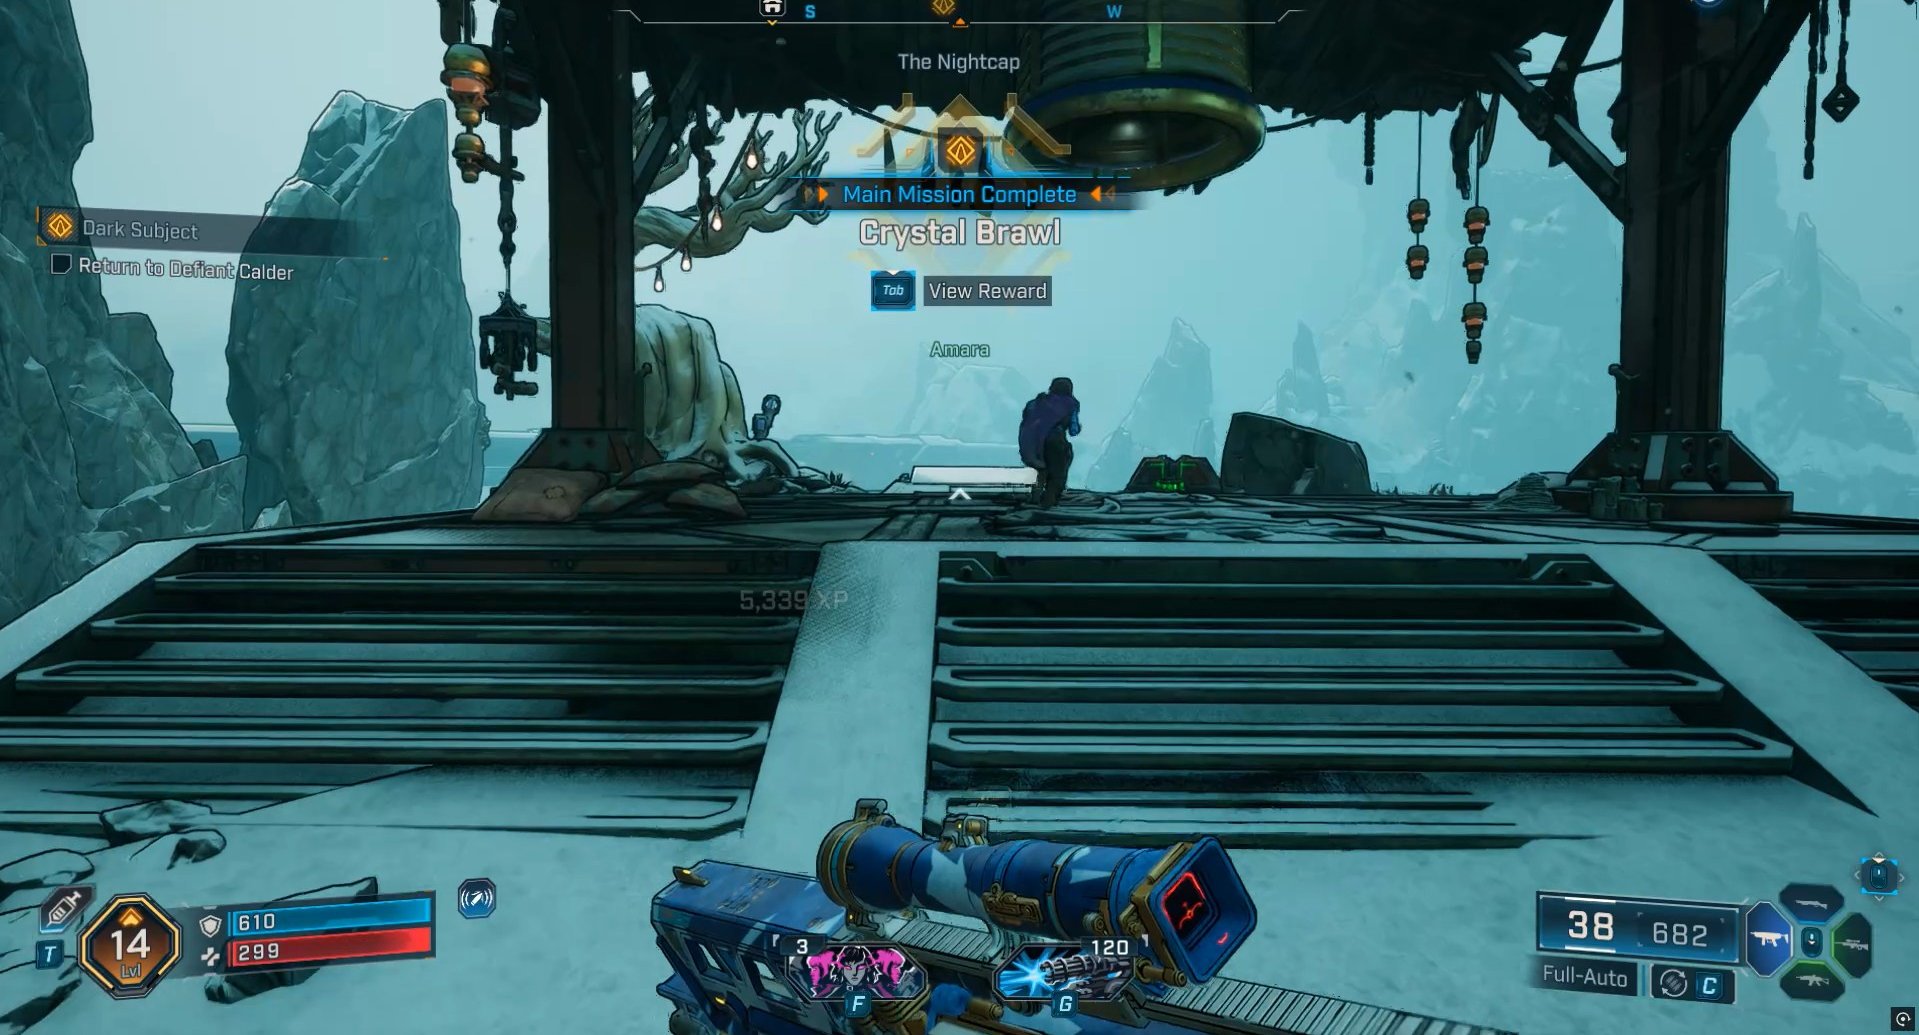
Crystal Brawl Mission Overview
Crystal Brawl combines straightforward combat waves with a few environmental interactions (ground slams on orange pads) and optional exploration for seven drones. Below is a phase-by-phase, step-by-step guide that tells you exactly what to do at every stage — follow it to finish the mission cleanly and collect all optional objectives.
| Category | Details |
|---|---|
| Mission Name | Crystal Brawl |
| Type | Main Story Mission |
| Mission Order | 12th Main Mission (after Shadow of the Mountain) |
| Optional Objective | Destroy 7 Eridium Mining Drones across the two dig sites |
| Major NPCs | Amara (Wildcat), Defiant Calder |
| Main Enemies | Order Soldiers, Shielded Elites, Rocket Troopers, Eridium Drones |
| Recommended Level | Level 18–22 (for balanced difficulty and loot scaling) |

Phases at glance
| Phase | Quick Objective |
|---|---|
| Phase A — Meet Amara & Enter Site | Find Wildcat (Amara) in Belton’s Bore and reach the Moonfall site. |
| Phase B — Breach First Dig Site & Destroy Generator | Fight through the Order forces and destroy the purple power generator powering the dig zone. |
| Phase C — Second Dig Zone & Drone Sweep | Clear the second dig area and destroy all remaining Eridium mining drones (Drones #4–#7). |
| Phase D — Expose & Destroy Refinery Processors | Ground-slam orange pads to reveal three refinery processors, then destroy each crystal node. |
| Phase E — Destroy Refinery Core & Exit | Overcome final waves, destroy the refinery core, and escape through the newly opened exit. |
Phase A: meet Amara and enter the site
Step 1
Start the mission by speaking with the NPC Defiant Cadier who gives the mission in Belton’s Bore. Follow the waypoint into the cave network toward the Heart of the Mountain.

Step 2
Move through the cave platforming sections. Use jump points and climbable surfaces shown by the objective markers. Clear small enemy patrols (Creeps/Kratches) as they appear — don’t sprint past them because they can surround you.

Step 3
Reach the crashed-ship area and trigger the cutscene with Amara. After the scene, follow Amara into her ship; she becomes your ally and will lead you to the Moonfall site.

Step 4
Load into the Moonfall site area and prepare for the initial wave of Order forces. Equip a weapon suited for medium combat (assault rifle or shotgun) and keep some area-damage grenades ready.

Phase B: breach the first dig site and destroy the power generator
Step 5
Clear the first wave of Order troops at the site entrance. Use cover and lateral movement to survive wave spawns; take out any shielded enemies first to reduce incoming burst damage.

Step 6
Advance into the dig site until you spot the purple crystal power generator. Before attacking it, sweep the surrounding ledges and alcoves to remove snipers or ambushers.

Step 7
Destroy the power generator by shooting its exposed crystal core. Focus sustained fire — once the generator explodes the path forward opens. If you want the optional completion, scan the immediate area for two nearby Eridium mining drones (Drones #1 and #2) and destroy them now.

Step 8
Before exiting the dig site, clear any remaining enemies and loot crates. Collect ammo and shields; the next area escalates enemy density.

Phase C: move to the second dig zone and collect remaining drones
Step 9
Proceed through the transition corridor Amara opens. Immediately check the left-hand side corridor before the door for Drone #4; it’s commonly tucked in that hallway.

Step 10
Enter the second dig zone. Clear the initial enemy groups and check both stairwells and ledges for Drones #5 and #6 on the left path and Drone #7 on the right. Use a tactical dash or double-jump to reach ledges quickly.

Step 11
If you missed any drones earlier, backtrack briefly — they are placed along the path so you won’t need to retrace far. Destroy all drones to complete the optional objective (7 total).

Step 12
When drones and local threats are cleared, regroup with Amara at the chamber entrance; she’ll move you toward the central refinery area.

Phase D: expose and destroy refinery processors
Step 13
Enter the central refinery chamber. Identify the obvious central processor (it will glow purple in plain view) — that’s Processor #1.

Step 14
Clear the immediate combat area. Crowd-control abilities, grenades, or knockback attacks help control enemies while you focus on the processors.

Step 15
Destroy Processor #1 by concentrating fire on its crystal core. Watch for enemy reinforcements that spawn after damage thresholds.

Step 16
Locate the two orange ground pads on the left and right sides of the chamber. You must ground slam these pads to expose Processor #2 and Processor #3; time your approach so enemies cannot interrupt the slam.
Perform a ground slam on an orange pad (stand directly on the pad and use your ground-slam ability or jump-attack if your character class uses that input). Repeat on the opposite pad. Confirm the hidden crystals have risen into view.
Step 17
Destroy the newly exposed Processor Core by shooting its orange area. Keep moving between cover and the processor nodes to avoid being flanked.

Step 18
When the core explodes, loot the room quickly and follow Amara’s prompt to the exit path. Defeat any straggling enemies on the way out — the mission counts completion after you pass through the exit.

Eridium mining drones locations
| Drone # | Phase / Area | Precise hint |
|---|---|---|
| 1 | Phase B — first dig site | Immediately to your right as you enter the dig site. |
| 2 | Phase B — near generator | Perched on a small crystal close to the power generator. |
| 3 | Phase B — far end of first zone | Near the barrier at the far end before the exit. |
| 4 | Phase C — transition corridor | Left side hallway before the second dig zone door. |
| 5 | Phase C — second zone | Left ledge shortly after Amara opens the door. |
| 6 | Phase C — second zone | Left stairwell along the main route. |
| 7 | Phase C — second zone | Right stairwell symmetric to #6. |
Destroy all seven during Phases B and C for the optional objective.
Crystal Brawl mission rewards
| Category | What you receive |
|---|---|
| Core rewards | XP, Cash, Eridium from core destruction |
| Gear drop | Epic-tier shield (loot pool) |
| Cosmetic | Augered Reality Vault Hunter Style |
| Completion note | Optional drones grant full completion and increase mission completion percentage |
Crystal Brawl mission tips
- Stay mobile — Crystal Brawl features multiple spawns that punish camping.
- Prioritize shielded or elemental enemies before interacting with environmental nodes.
- Ground-slam the orange pads only when you have space — enemies can cancel or interrupt your slam.
- Use Amara’s proximity to your advantage; she draws aggro and helps in crowded fights.
- If you miss a drone, you usually only need a brief backtrack; they’re placed along the natural path.
Completing the mission
After Crystal Brawl you’ll have completed a major narrative beat and earned the mission rewards. Check your inventory and skill points, consider selling or dismantling any undersized gear, and then proceed to the next main mission to continue the story. If you want 100% completion, double-check the optional drones counter and replay the small section if necessary.