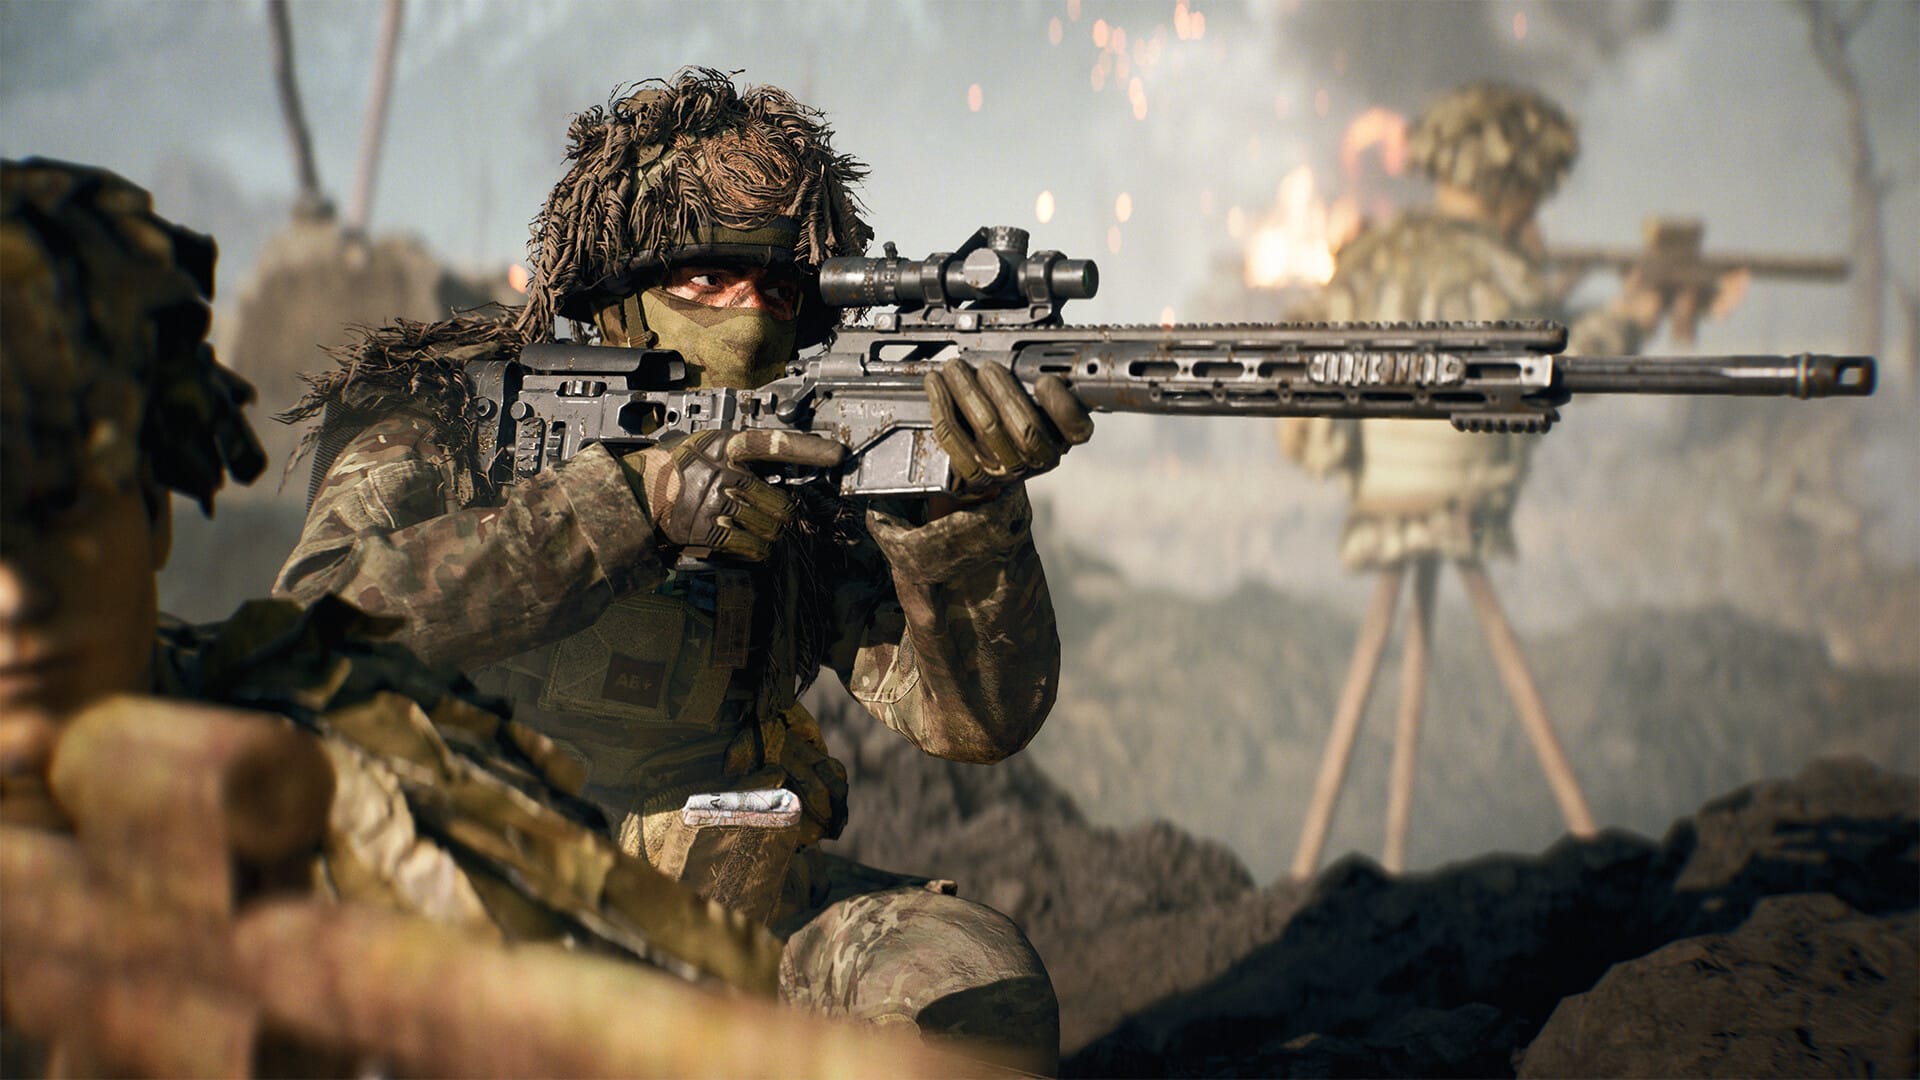
Pinpoint long shots by auto-zeroing your scope with the Range Finder and nail targets from 100–500 meters.
A Range Finder turns long-range sniping from guesswork into consistency. With a press-and-hold, your scope calibrates to the target’s distance, neutralizing drop and speeding up follow-up shots across Battlefield 6’s larger maps.
- Where the Range Finder fits and what it unlocks
- Default controls and how zeroing behaves
- How the Range Finder helps with bullet drop and hit consistency
- Quick reference: controls, limits, and compatibility
- How to equip the Range Finder on a sniper or DMR
- How to use the Range Finder effectively in matches
- How to snipe without the Range Finder (free up points)
- Loadout tips and synergy
- Troubleshooting quick guide
Where the Range Finder fits and what it unlocks

The Range Finder is a sniper/DMR Right Accessory that provides quick, precise zeroing. It unlocks on compatible rifles around Mastery/Rank 4 (notably the M2010 ESR), and consumes 10 Attachment Points—so consider your build’s tradeoffs before slotting it in. It requires magnified scopes to function; non-magnified sights won’t apply the automatic distance calibration.
Default controls and how zeroing behaves
On PC, press and hold B; on console, press and hold Down on the D-pad while aiming down sights to auto-zero to the exact distance of your reticle. A single tap cycles fixed zeroing steps (100, 200, 300, 400, 500 meters). Calibration shows above your ammo HUD; snipers won’t zero below 100 m. If keybinds were changed, check and remap the zeroing input in settings.
How the Range Finder helps with bullet drop and hit consistency
Bullet drop shifts point-of-impact lower over distance. Auto-zeroing raises the aim angle so the crosshair represents the bullet’s impact at the calibrated range, letting you hold directly on target at that distance. Expect more reliable center-mass hits, especially during rapid re-engagements or when swapping distances frequently on wide open lanes.
Quick reference: controls, limits, and compatibility
| Item | Details |
|---|---|
| Attachment slot | Right Accessory |
| Typical unlock | Weapon Mastery/Rank 4 (e.g., M2010 ESR) |
| Attachment cost | 10 Attachment Points |
| Activation | Hold B (PC) / Hold Down D-pad (console) while ADS |
| Fixed zero cycling | Tap B/Down to cycle 100–500 m |
| Minimum zero | 100 m (no lower calibration) |
| Optics required | Magnified scopes only |
| Alternative without attachment | Ping for distance; manually cycle zero to match |
How to equip the Range Finder on a sniper or DMR
Step 1
Level a compatible sniper/DMR to Mastery/Rank 4 to unlock the Range Finder on that weapon.
Step 2
Open the weapon customization menu and select the Right Accessory slot.
Step 3
Choose Range Finder and confirm the 10 Attachment Point allocation within your build constraints.
Step 4
Equip a magnified scope to ensure the Range Finder operates as intended.
Step 5
Save the build and verify keybinds for “zeroing” (B on PC, Down D-pad by default).
How to use the Range Finder effectively in matches
Step 1
ADS and place the reticle on your intended impact point (prefer center-mass on movers; aim head for stationary targets).
Step 2
Press and hold B/Down to auto-zero to the exact distance you’re aiming at. Watch the HUD number update above ammo.

Step 3
Fire immediately after calibration for the highest accuracy; re-hold to re-zero if you or the target changes distance significantly.
Step 4
If you need quick adjustments between common ranges, tap B/Down to step the zero in 100 m increments (100–500 m) without re-ranging.
Step 5
Between engagements, ping far targets to confirm distances and decide whether to auto-zero or use stepped zeroing for faster swaps.
How to snipe without the Range Finder (free up points)
Step 1
Ping the target or landmark; note the meter readout for range estimation.
Step 2
Tap B/Down to cycle the scope zero to the nearest 100 m to the pinged range (e.g., 350 m target → set 300 or 400 m based on drop preference).
Step 3
Hold slightly high or low depending on the chosen step to compensate for the remaining delta.
Step 4
Re-ping as the fight shifts and re-tap to keep zeroing aligned to typical lanes.
Loadout tips and synergy

Pair the Range Finder with stable, magnified optics suited to your typical lane distances; favor bipods or underbarrel stability for long holds. In mobile play or mixed ranges, consider manual zeroing and invest points into recoil, handling, or velocity modifiers. On large maps and sniper duels, the accessory’s instant calibration can swing time-to-hit in your favor.
Troubleshooting quick guide
| Symptom | Likely Cause | Fix |
|---|---|---|
| No range update when holding | Wrong input or remapped key | Rebind zeroing to an accessible key and test in the range |
| Range updates but shots miss | Not re-zeroing after moving | Re-hold to re-calibrate when changing elevation/distance |
| Zero stuck at 100 m | Using non-magnified optic | Equip a magnified scope |
| Can’t equip | Weapon not at required rank | Level to Mastery/Rank 4 on that weapon |
| Attachment budget exceeded | 10-point cost too high | Remove Range Finder; use ping + manual zeroing |
Auto-zeroing with the Range Finder removes guesswork and speeds up accurate follow-ups across 100–500 meters. Hold to calibrate, tap to step, and combine with pings and magnified optics to maximize consistency.