- What to know
- Arknights Endfield Invisible Glyphs: Revelation details
- How the Invisible Glyphs puzzle works
- Location of Stone Gate in Arknights Endfield
- How to reveal the Invisible Glyphs
- How to solve the stone gate riddle
- What happens when the gate opens
- Rewards from Invisible Glyphs: Revelation
- Common mistakes to avoid
- About Invisible Glyph: Revelation quest
What to know
- Invisible Glyphs: Revelation is an exploration-focused world mission
- The puzzle revolves around revealing and interpreting hidden glyphs
- You must activate three symbols in a strict order to open the stone gate
- Observing symbol meaning and placement matters more than combat
Invisible Glyphs: Revelation is one of those quests in Arknights Endfield that rewards patience and observation rather than raw strength. You’re asked to open a mysterious stone gate sealed by ancient mechanisms, but the clues aren’t immediately visible. The game expects you to read the environment, notice subtle details, and apply logic to symbol-based switches hidden around the area.
Below is a full, start-to-finish guide that explains where the puzzle takes place, how the invisible glyphs work, and the exact order needed to open the stone gate.
Arknights Endfield Invisible Glyphs: Revelation details
| Element | Details |
|---|---|
| Quest type | World mission / exploration puzzle |
| Main objective | Open a sealed stone gate |
| Core mechanic | Revealing and activating invisible glyphs |
| Number of switches | Three |
| Failure penalty | None (you can retry freely) |
| Combat required | No |
How the Invisible Glyphs puzzle works
This mission introduces a recurring Endfield concept: the world contains information that is present but hidden until you interact correctly. The glyphs tied to the stone gate are invisible by default, blending into the environment until you approach the correct interaction points.
Once revealed, each glyph corresponds to a symbol that represents a natural state or phenomenon. The puzzle is not random. The order is fixed and consistent for all players.
The stone gate itself will remain sealed until all three glyph switches are activated in the correct sequence.
Location of Stone Gate in Arknights Endfield
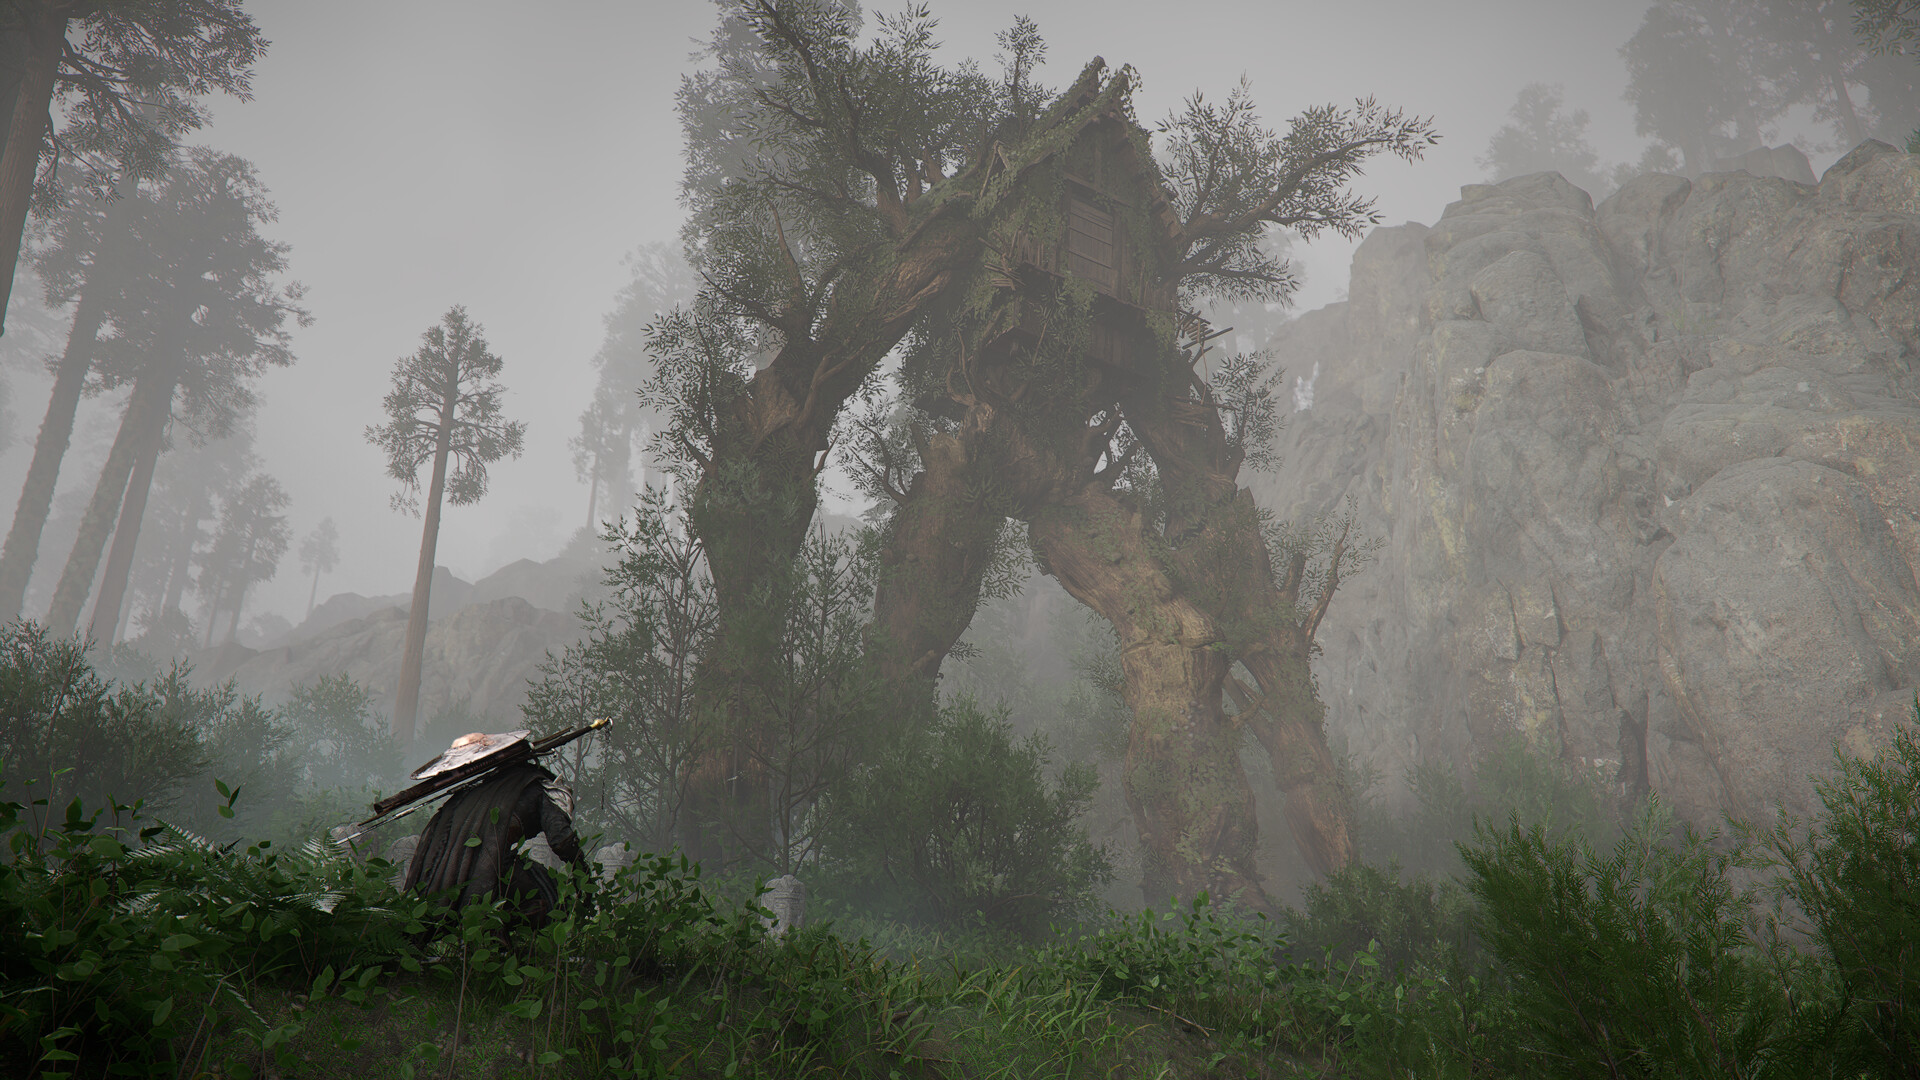
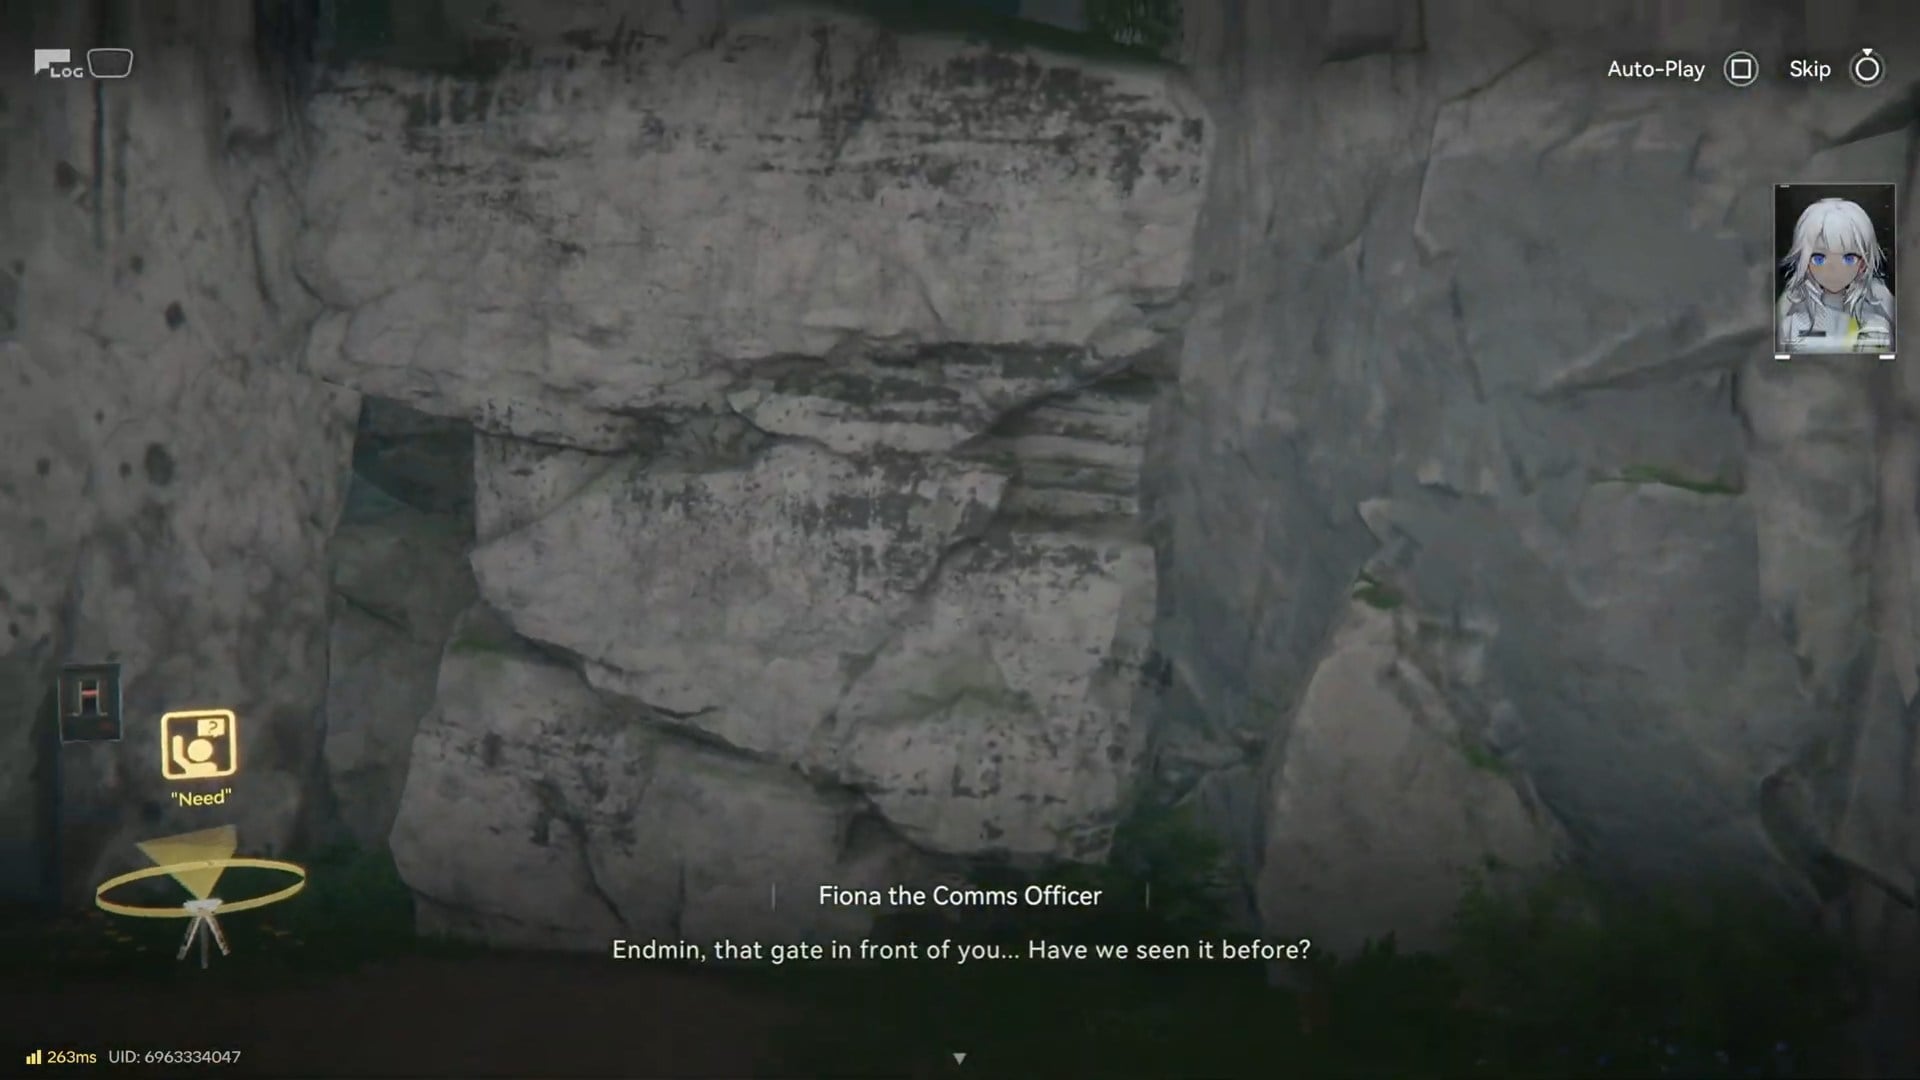
The puzzle is located near a cave structure with a large stone gate embedded into a rocky wall. The area is visually distinct, usually marked by:
- Ancient stone architecture
- A narrow cave entrance or recessed wall
- Subtle mist or environmental effects near some glyphs
You’ll know you’re in the right place when you see a massive door with no obvious manual switch and interactable stone panels nearby.
How to reveal the Invisible Glyphs
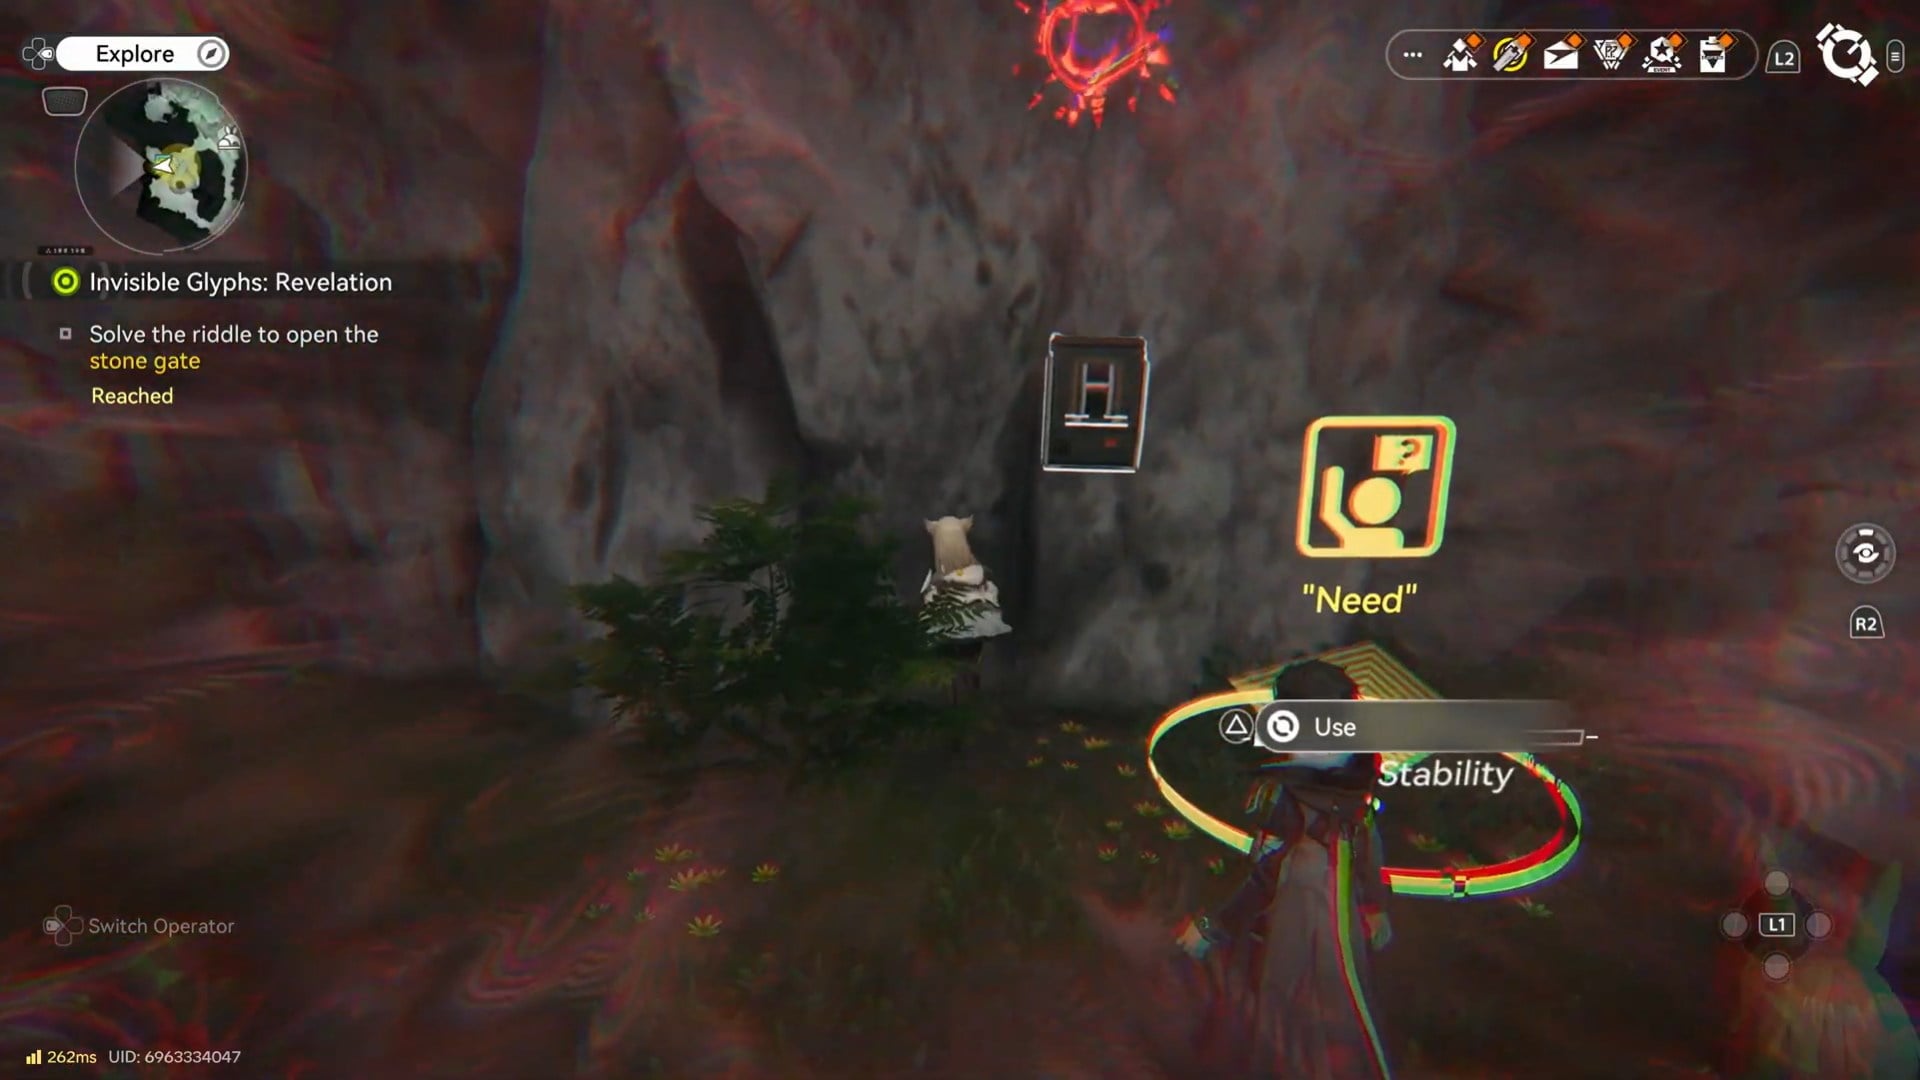
Before you can solve the riddle, you need to make the glyphs visible.
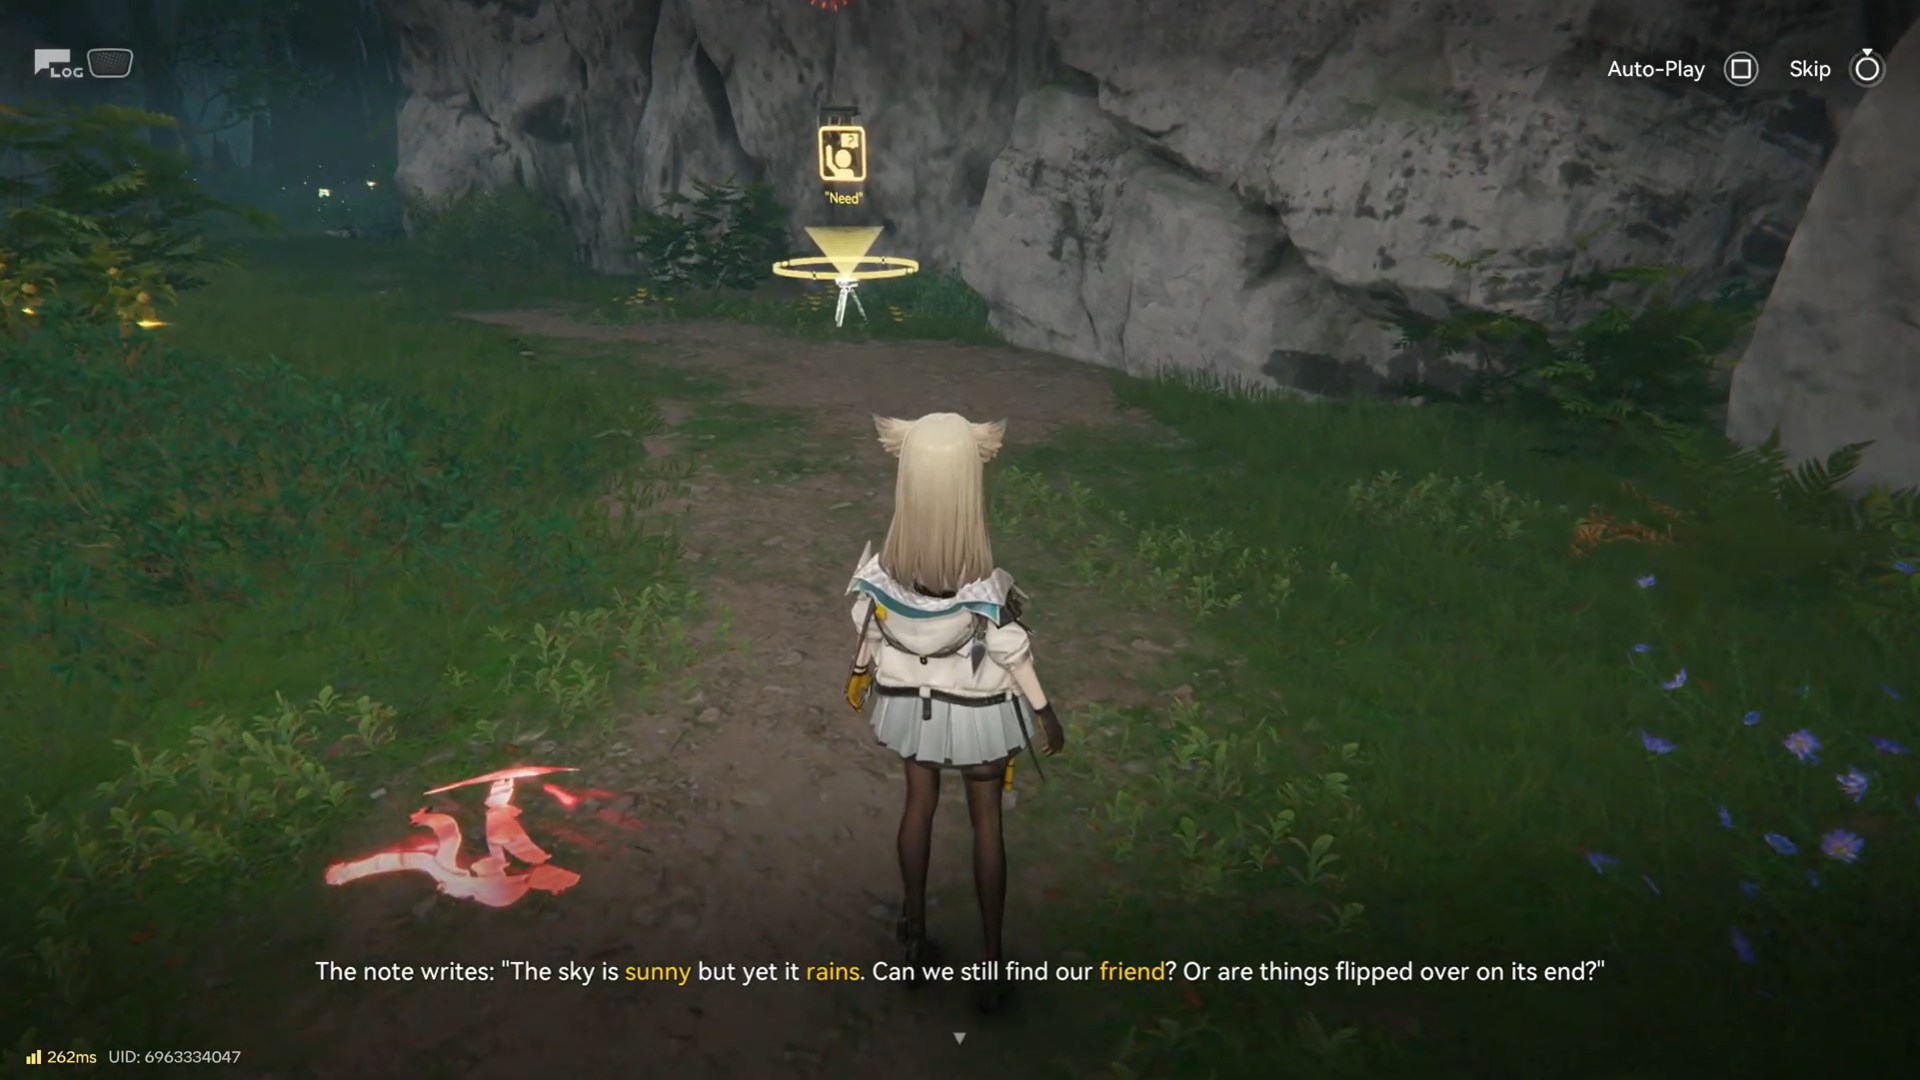
Approach the stone panels or walls around the gate and look for interaction prompts. Once triggered, the previously invisible glyphs will appear as faint glowing symbols etched into stone. Each glyph is tied to a nearby switch you can activate.
Take a moment to observe all three symbols before interacting. Their visual themes hint at the intended order.
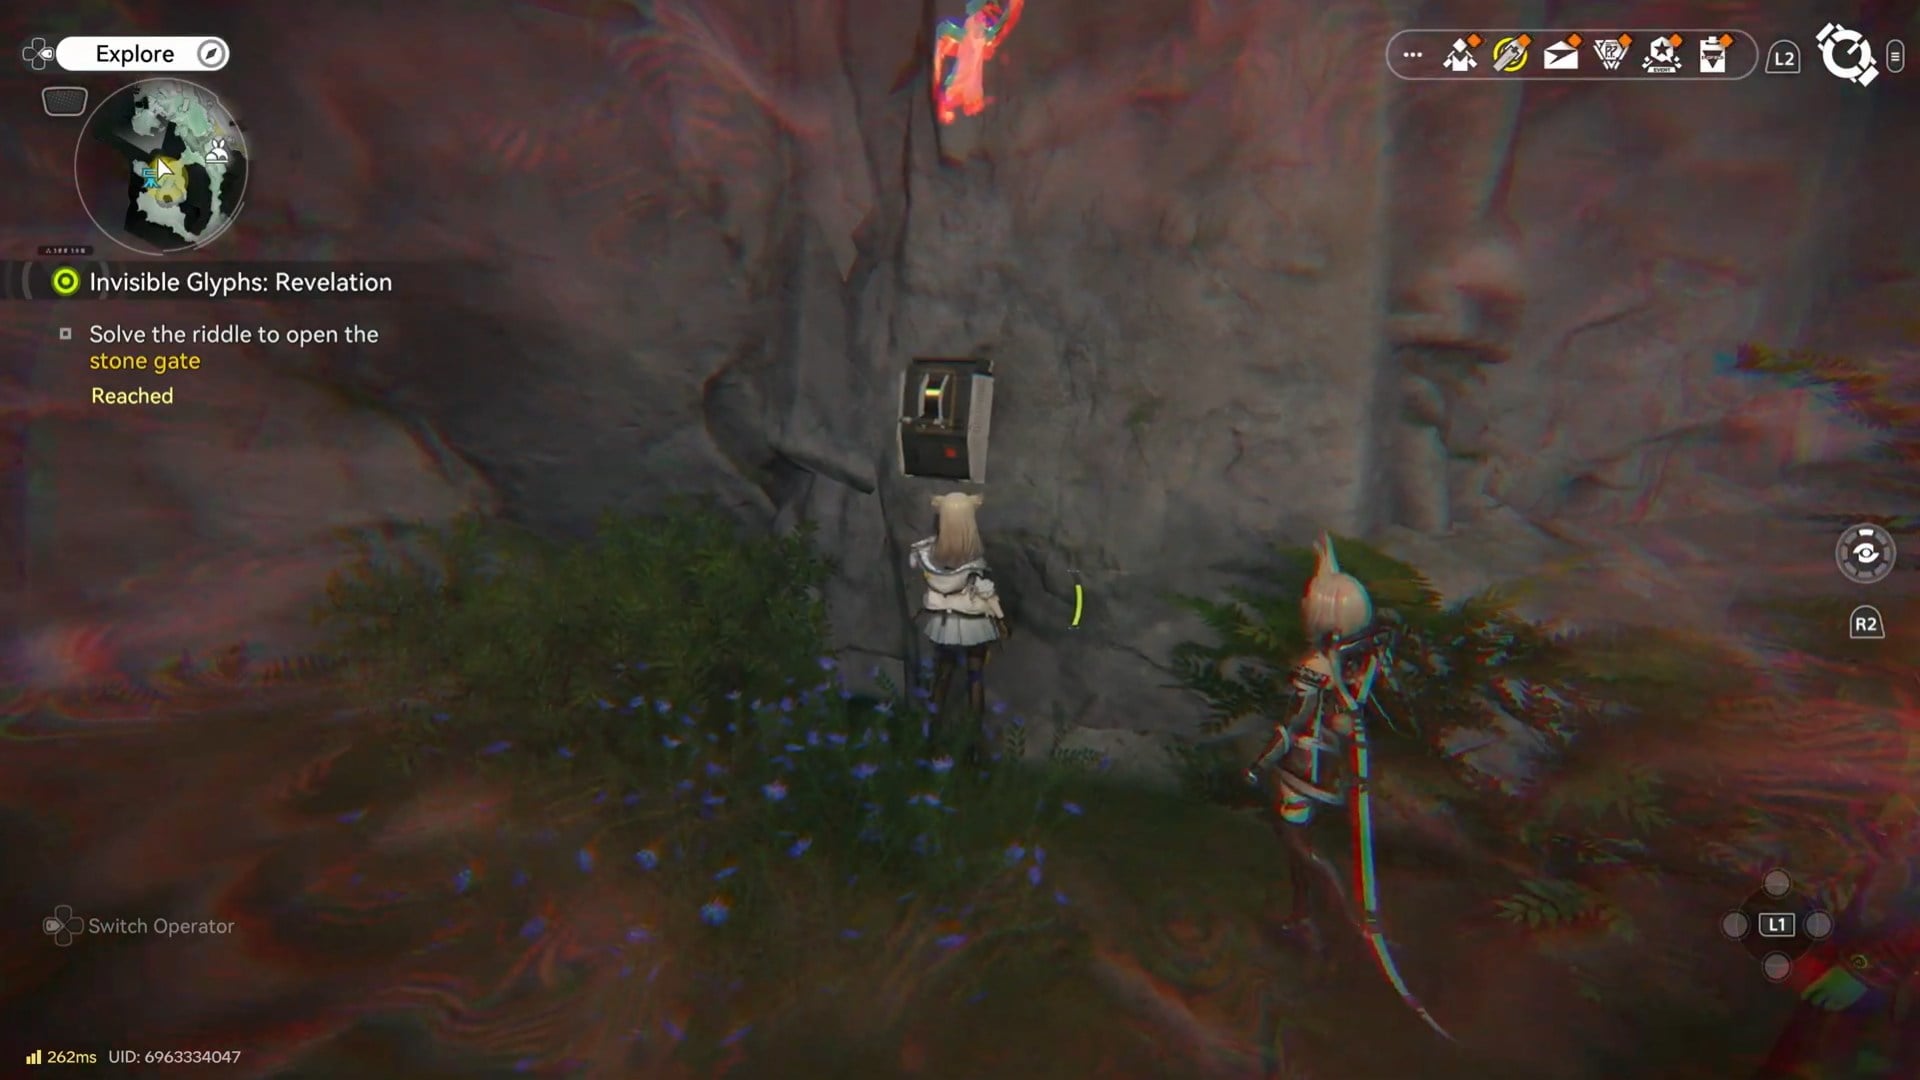
How to solve the stone gate riddle
The solution requires activating the three glyph switches in a specific sequence. Activating them out of order will not break the puzzle, but it also will not open the gate.
Step 1: Activate the sun symbol
The first switch corresponds to a sun-like glyph.
This symbol is typically found on the far left side of the puzzle area. It represents clarity, origin, or the beginning of a cycle. Interact with this switch first. You should receive a visual or audio confirmation that it has been successfully activated.
Step 2: Activate the raining symbol
Next, move to the opposite side and activate the glyph depicting rainfall.
This switch is usually on the far right, often near mist, damp stone, or subtle particle effects that reinforce the rain motif. Interact with this glyph second. As with the first, the game will confirm activation.

Step 3: Activate the upside-down symbol
The final glyph features an inverted or upside-down symbol.
This one is often closer to the center or slightly recessed compared to the others. Activate it last. Once triggered, the puzzle sequence is complete.
If all three were activated in the correct order, the stone gate will unlock immediately.
What happens when the gate opens
After the final glyph is activated correctly, the stone gate will begin to move, opening access to the sealed area beyond. This marks the completion of the main objective for Invisible Glyphs: Revelation.
Depending on your progression, the opened area may contain:
- Quest completion triggers
- Additional exploration space
- Loot containers or resources
- Lore-related environmental storytelling
Rewards from Invisible Glyphs: Revelation
| Reward type | Details |
|---|---|
| Mission completion rewards | Standard world mission rewards |
| Exploration progress | Contributes to regional completion |
| Access unlocked | New area beyond the stone gate |
| Optional loot | Chests or materials inside the gated area |
Exact reward contents can vary slightly depending on overall progression, but the primary value lies in unlocking new space and completing the mission chain.
Common mistakes to avoid
Many players struggle briefly with this puzzle due to assumptions rather than difficulty.
- Activating glyphs randomly instead of observing symbols
- Missing the leftmost sun glyph entirely
- Assuming combat or scanning tools are required when they are not
- Leaving the area before trying all visible switches
There is no penalty for experimenting, so take your time and watch how the environment responds.
About Invisible Glyph: Revelation quest
Invisible Glyphs: Revelation quietly teaches you how Endfield expects you to approach exploration. Later zones reuse similar design logic, where clues are hidden in plain sight and symbol interpretation becomes more important than waypoint-following.
Once you understand this quest, future environmental puzzles become much easier to read.
Invisible Glyphs: Revelation is a clean example of Endfield’s environmental puzzle design. By revealing the hidden glyphs and activating the sun, rain, and inverted symbols in order, you open the stone gate and complete the mission without guesswork. It’s a short quest, but one that reinforces how observation and logic shape exploration across the game.
Thanks for taking the time to go through this how to solve Stone Gate puzzle for Invisible Glyphs Revelation quest guide for Arknights Endfield. If it helped you understand things better, do share your thoughts, impressions, or doubts in the comments section. We keep a close watch and try to respond promptly to ensure you always get the support you need.