- What to know
- Quick reference for Facility-to-facility belt chain map
- How to build the self-feeding seed and planting loop
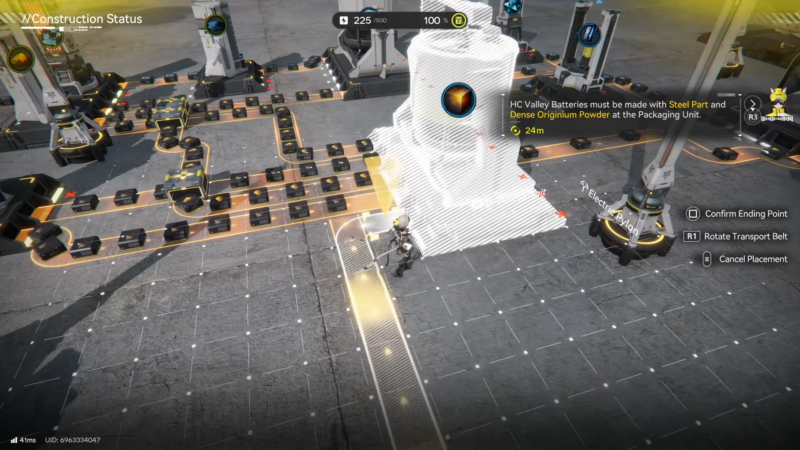
- How to route materials into the Packaging Unit (the full production line)
- How to fix the Depot Unloader “no materials” stall
- Troubleshooting checklist (fast fixes)
- Rewards
- Building a stable Belt Integration line
What to know
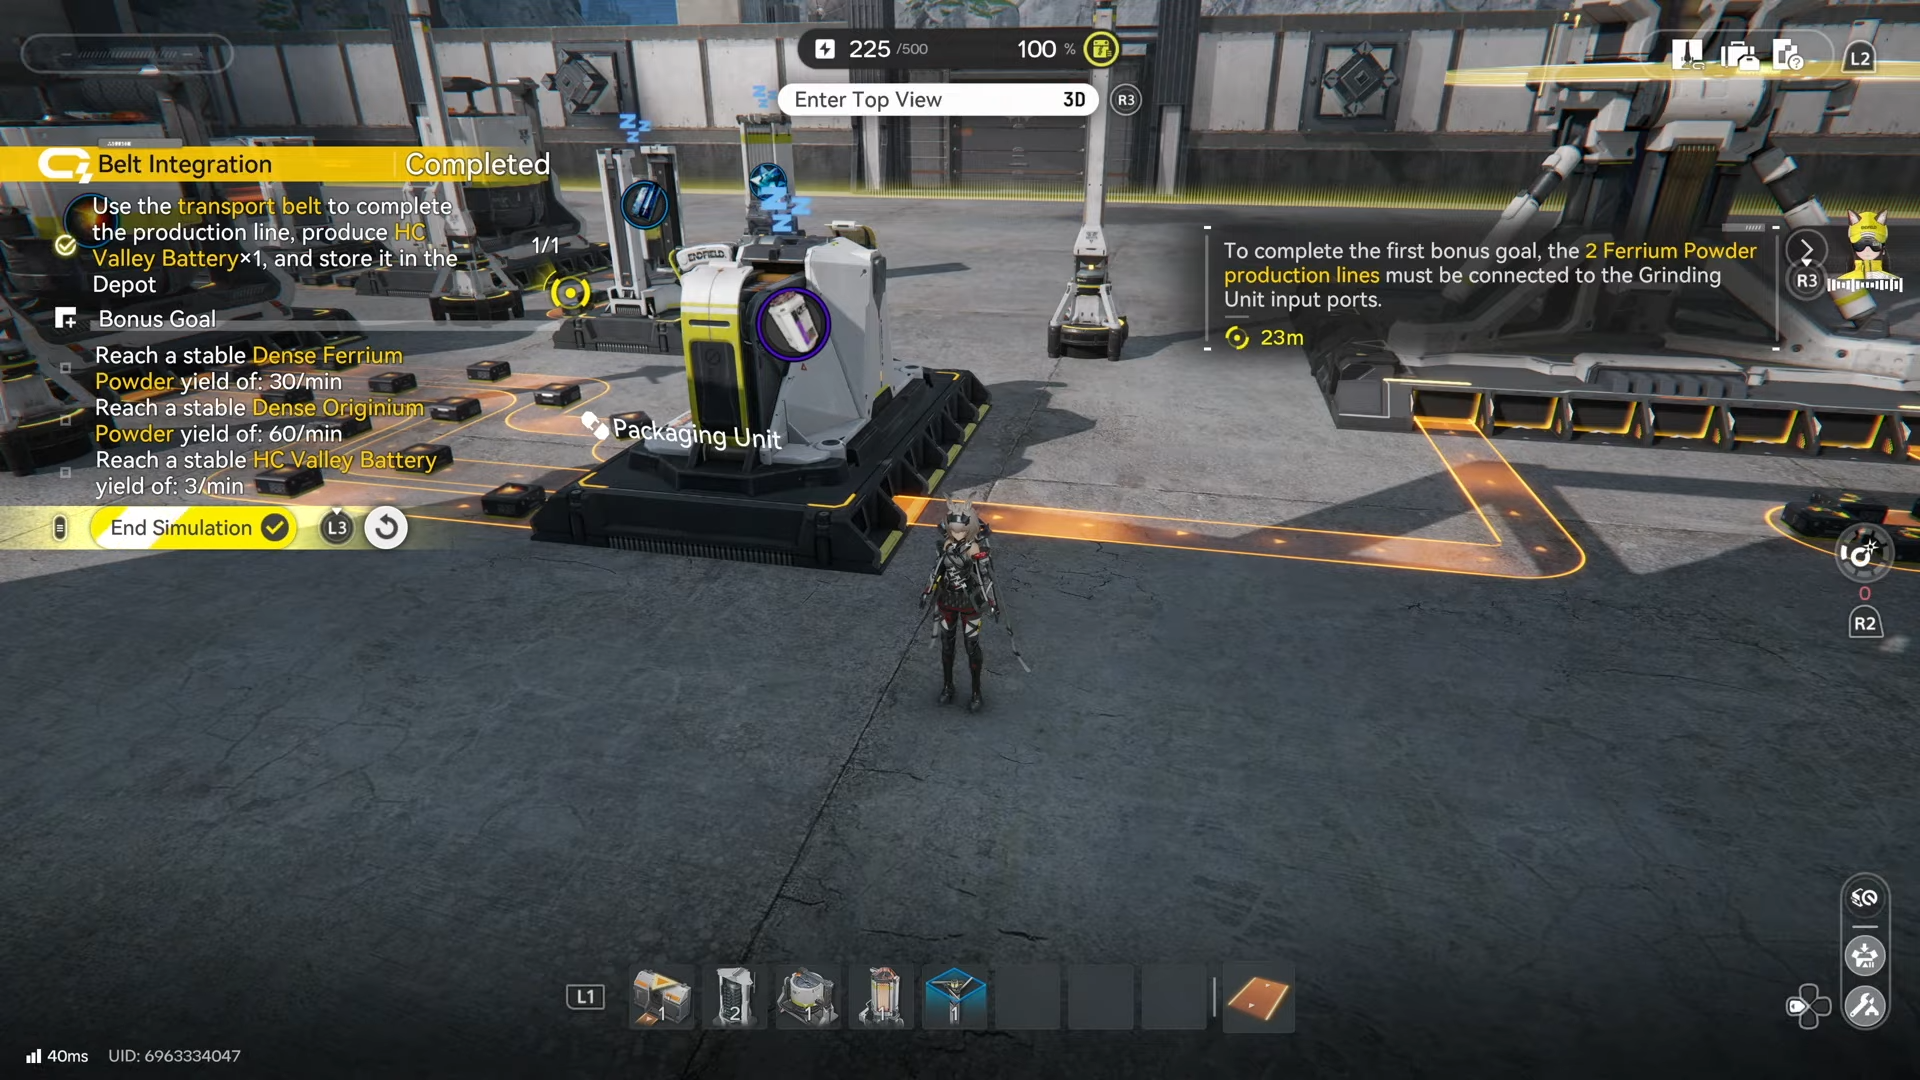
- The clear condition is producing HC Valley Battery x1 and storing it in the Depot after completing the belt-based production line.
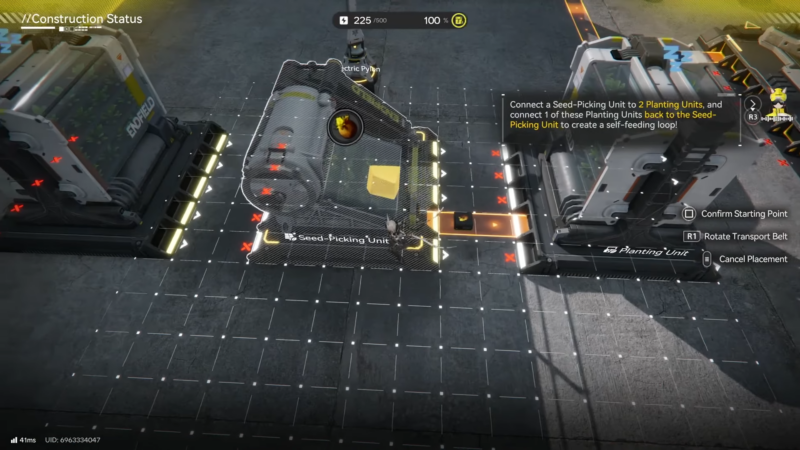
- The first required setup is a self-feeding loop: connect a Seed-Picking Unit to 2 Planting Units, then route 1 Planting Unit back into the Seed-Picking Unit.
- The main point of failure is two-input machines (especially Grinding Units) stalling because one ingredient isn’t reaching the input.
- Bonus goals are yield-based and require stable throughput, so belt splits and avoiding supply starvation matters more than “perfect” layouts.
Belt Integration is easiest when treated as two halves: first, build the seed-and-plant loop to ensure a reliable plant supply; second, construct two ingredient pipelines that both feed the Packaging Unit. After the Packaging Unit produces the battery, route it into the Depot to finish.
Quick reference for Facility-to-facility belt chain map
| Segment | Belt routing (input → output) | Why it matters |
|---|---|---|
| Self-feeding farm | Seed-Picking Unit → 2× Planting Units, plus one loop-back line | Keeps plant supply stable for later powder needs |
| Blue chain (front) | Blue source → Refining Unit → Shredding Unit | Generates blue powder input |
| Yellow powder | Yellow flowers → Shredding Unit | Feeds multiple two-input grinders |
| Blue chain (back) | Grinding Unit → Refining Unit → Fitting Unit → Packaging Unit | Creates Packaging ingredient #1 |
| Ore chain | Ore → Shredding Unit → Grinding Unit → Packaging Unit | Creates Packaging ingredient #2 |
| Final delivery | Packaging Unit → Depot | Completes the sim clear condition |
Simulation objectives and bonus goals
Main objective:
- Use the transport belt to complete the production line, produce HC Valley Battery x1, and store it in the Depot.
Bonus goals (stability targets):
- Reach a stable Dense Ferrium Powder yield of 30/min.
- Reach a stable Dense Originium Powder yield of 60/min.
- Reach a stable HC Valley Battery yield of 3/min.
These bonuses typically fail when any upstream machine intermittently pauses (most often from missing the second input on a two-input step). If belts are continuously moving and buffers don’t empty out, the “stable yield” targets become much more achievable.
How to build the self-feeding seed and planting loop
This loop is the foundation because it provides plant materials that later convert into yellow powder used by multiple grinders.
Step 1: Load the Seed-Picking Unit
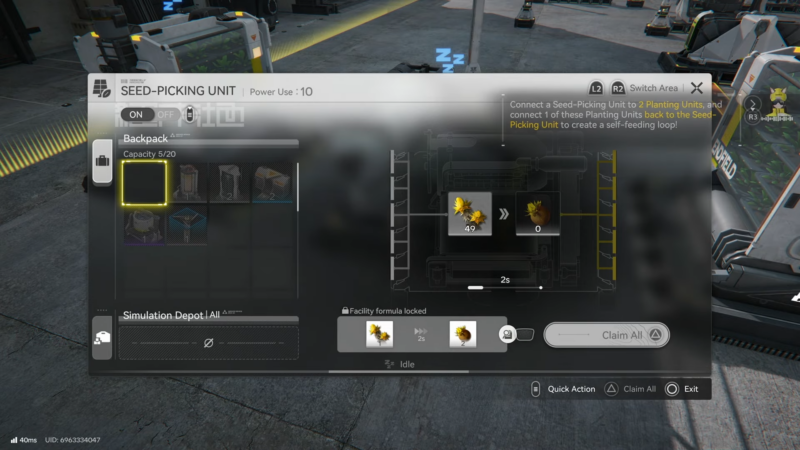
Open the Seed-Picking Unit and load the seeds that are already provided in inventory for the simulation.
Step 2: Feed two Planting Units
Create belt connections from the Seed-Picking Unit into each of the two Planting Units so both can run in parallel.
Step 3: Create the self-feeding loop
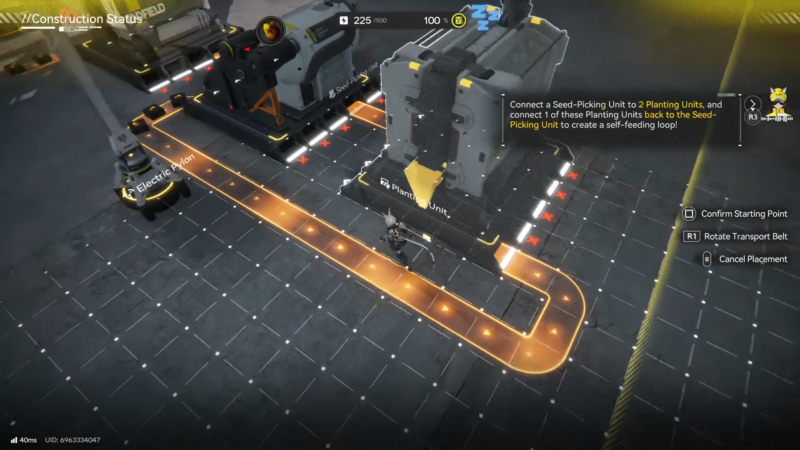
Add another belt line that routes output back so one Planting Unit feeds into the Seed-Picking Unit. This prevents the system from running dry later and keeps the farm side “always on.”
Step 4: Wait for the sim to advance
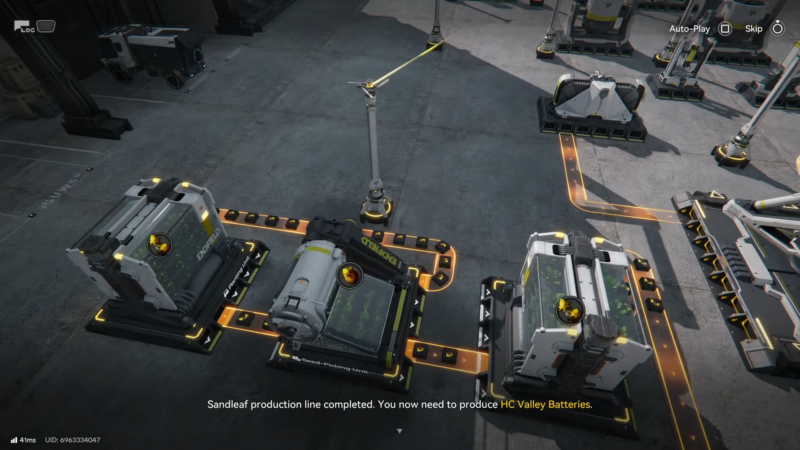
Once the loop is running and early processes complete, the sim will point toward the other side of the map for the main production line.
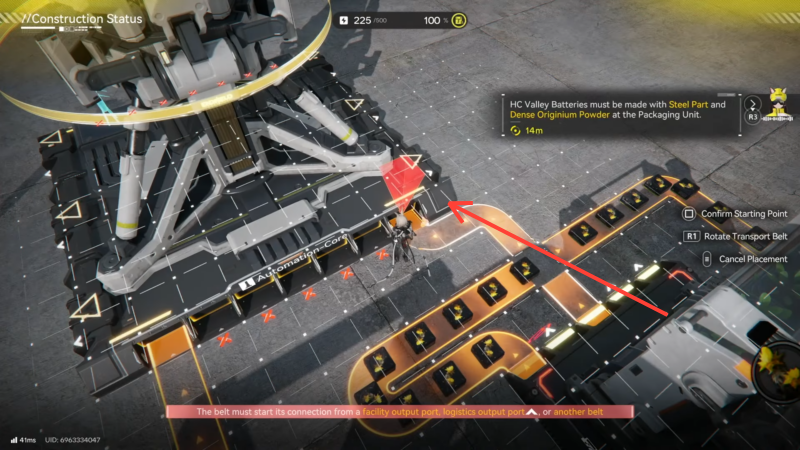
How to route materials into the Packaging Unit (the full production line)
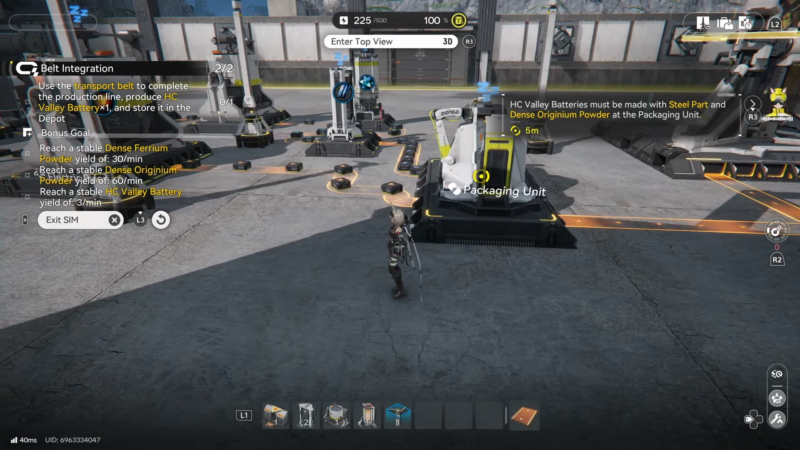
The Packaging Unit is the finish line. It needs two separate ingredients, produced by two different chains. A reliable clear comes from building one complete chain at a time and verifying each machine is actually processing (not just connected).
Chain A: Blue-material line into a packaging-ready component
This chain turns a blue input stream into a refined series of intermediates that eventually becomes one of the Packaging Unit’s required materials.
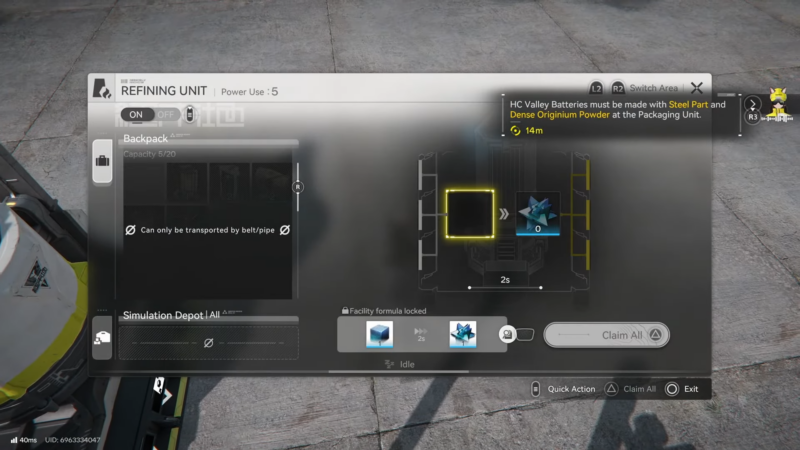
Step 1: Blue materials into Refining
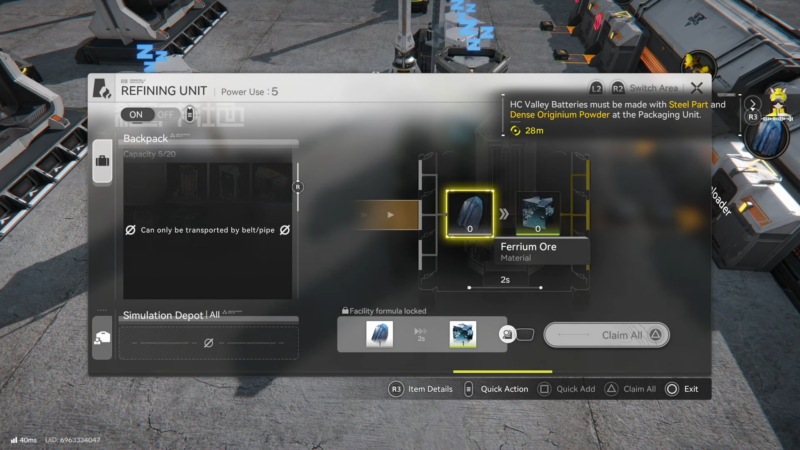
Connect the blue material belt line into a Refining Unit to convert it into refined ore.
Step 2: Refined ore into Shredding
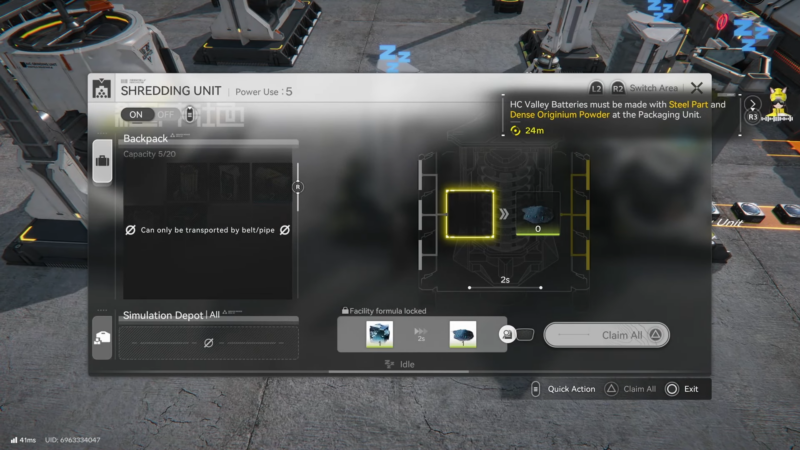
Route refined ore into a Shredding Unit to create blue powder.
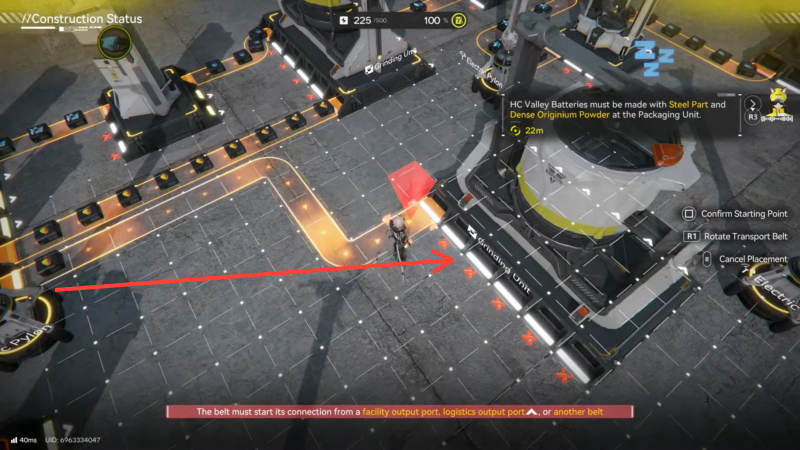
Step 3: Blue powder into Grinding (two-input)
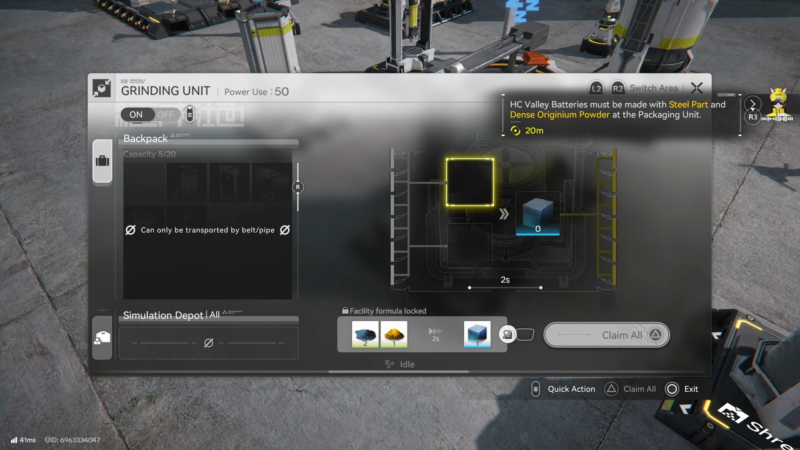
Send the blue powder into a Grinding Unit, but do not expect it to run until the second ingredient (yellow powder) is also provided.
Step 4: Create yellow powder from yellow flowers
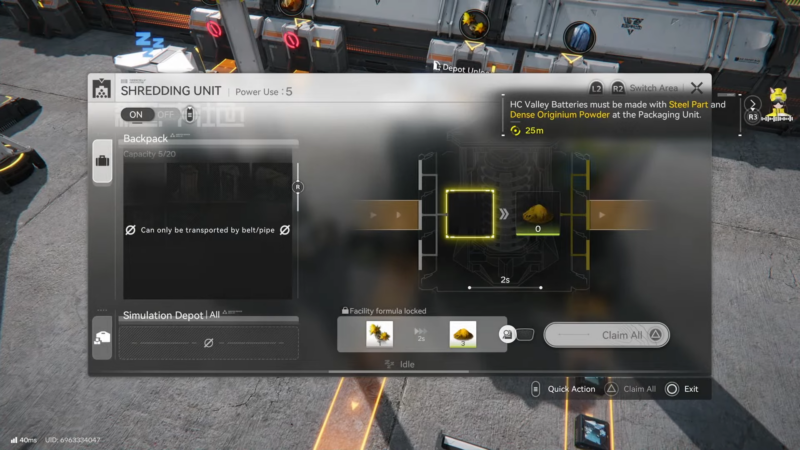
Connect the yellow flowers to a Shredding Unit, then route the output yellow powder to the same Grinding Unit. Once both inputs arrive, the grinder will begin producing blocks consistently.
Step 5: Blocks into Refining, then into Fitting
Route the grinder’s block output into a Refining Unit to produce crystals, then connect Refining → Fitting to transform the crystals into the “finished component” that this chain contributes to the Packaging Unit.
Step 6: Feed the Packaging Unit
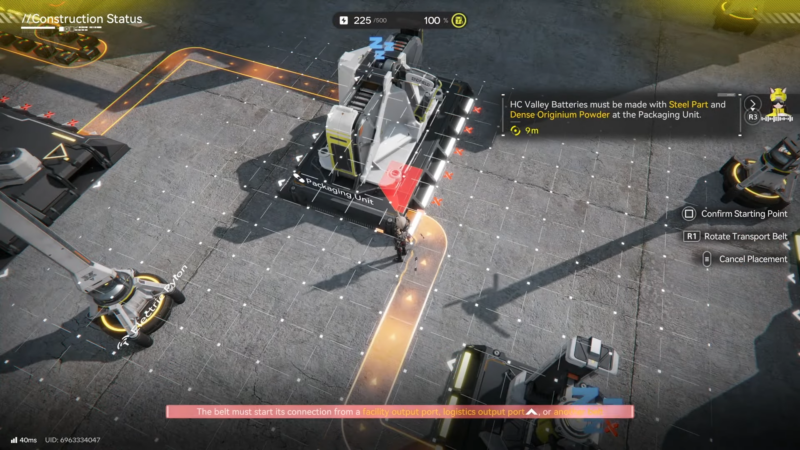
Connect the Fitting Unit output into the Packaging Unit as ingredient #1.
Chain B: Ore line into the “orange/yellow block” ingredient
This chain starts from ore, converts it into powder, then combines it with the same yellow powder stream used earlier.
Step 1: Ore into Shredding
Connect the ore belt line into a Shredding Unit to produce ore powder.
Step 2: Ore powder into the second Grinding Unit
Route ore powder into the right-side Grinding Unit (or the second grinder on the intended side of the layout).
Step 3: Supply yellow powder to the second grinder (belt split)

The second grinder also needs yellow powder. The simplest solution is to run a second belt line from the plant/yellow-powder source so yellow powder is split to feed both grinders at the same time.
Step 4: Output into the Packaging Unit
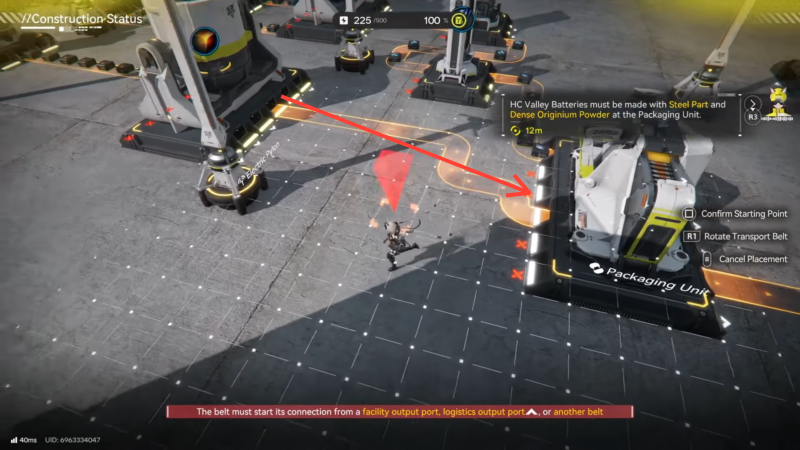
Connect the second Grinding Unit output into the Packaging Unit as ingredient #2.
Step 5: Let the Packaging Unit accumulate and craft
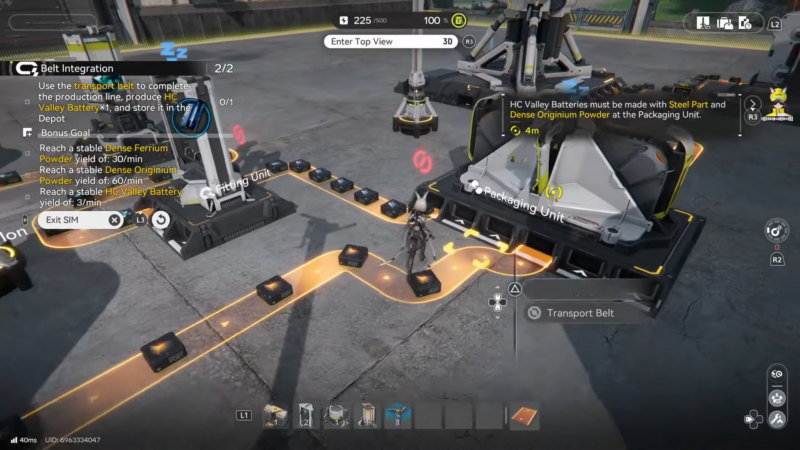
The Packaging Unit may take a bit to “spin up” because it needs enough intermediate items delivered before it begins producing the final battery. If one ingredient arrives much slower than the other, the Packaging Unit will appear idle even though one side is working fine.
How to fix the Depot Unloader “no materials” stall
A common sticking point is that one side’s Depot Unloader shows nothing, which blocks a downstream step that expects plant-based materials.
Step 1: Belt plants into the bank/deposit input
From one of the Planting Units in the initial loop, create a belt line that sends plants into the bank/deposit.
Step 2: Confirm the unloader outputs materials

After deposit occurs, materials should begin appearing from the relevant unloader output, allowing the stalled chain to continue.
This is effectively a “bootstrap” action: it primes the system so the rest of the line can start consuming what it needs.
Troubleshooting checklist (fast fixes)
| Symptom | Most likely cause | Fix that usually works |
|---|---|---|
| Grinder has one input full, does nothing | Missing second ingredient | Ensure both inputs are connected; run a belt split to supply the second input |
| Packaging Unit won’t start | Only one ingredient arriving, or one arriving too slowly | Verify both ingredient belts; increase throughput on the slower side |
| Belts move but output is tiny | Bottleneck machine starved or too slow | Add another input belt line; duplicate upstream production if the sim allows |
| One side seems “dead” | Unloader not outputting required materials | Deposit plants into the bank/deposit to activate the flow |
Rewards
| Category | What is known in this simulation |
|---|---|
| Clear requirement | Produce HC Valley Battery x1 and store it in the Depot |
| Bonus targets | Stable yields for Dense Ferrium Powder (30/min), Dense Originium Powder (60/min), and HC Valley Battery (3/min) |
| Extra rewards | Not shown in the provided objective details (varies by build/event); only the completion/bonus targets are explicitly defined here |
Building a stable Belt Integration line
Belt Integration is less about complicated routing and more about consistency: keep the seed/plant loop running, keep yellow powder feeding every grinder that needs it, and make sure both Packaging ingredients arrive without interruptions. Once the Packaging Unit starts producing, route the HC Valley Battery into the Depot to complete the objective, then scale belt throughput if the bonus yield targets still aren’t stabilizing.