
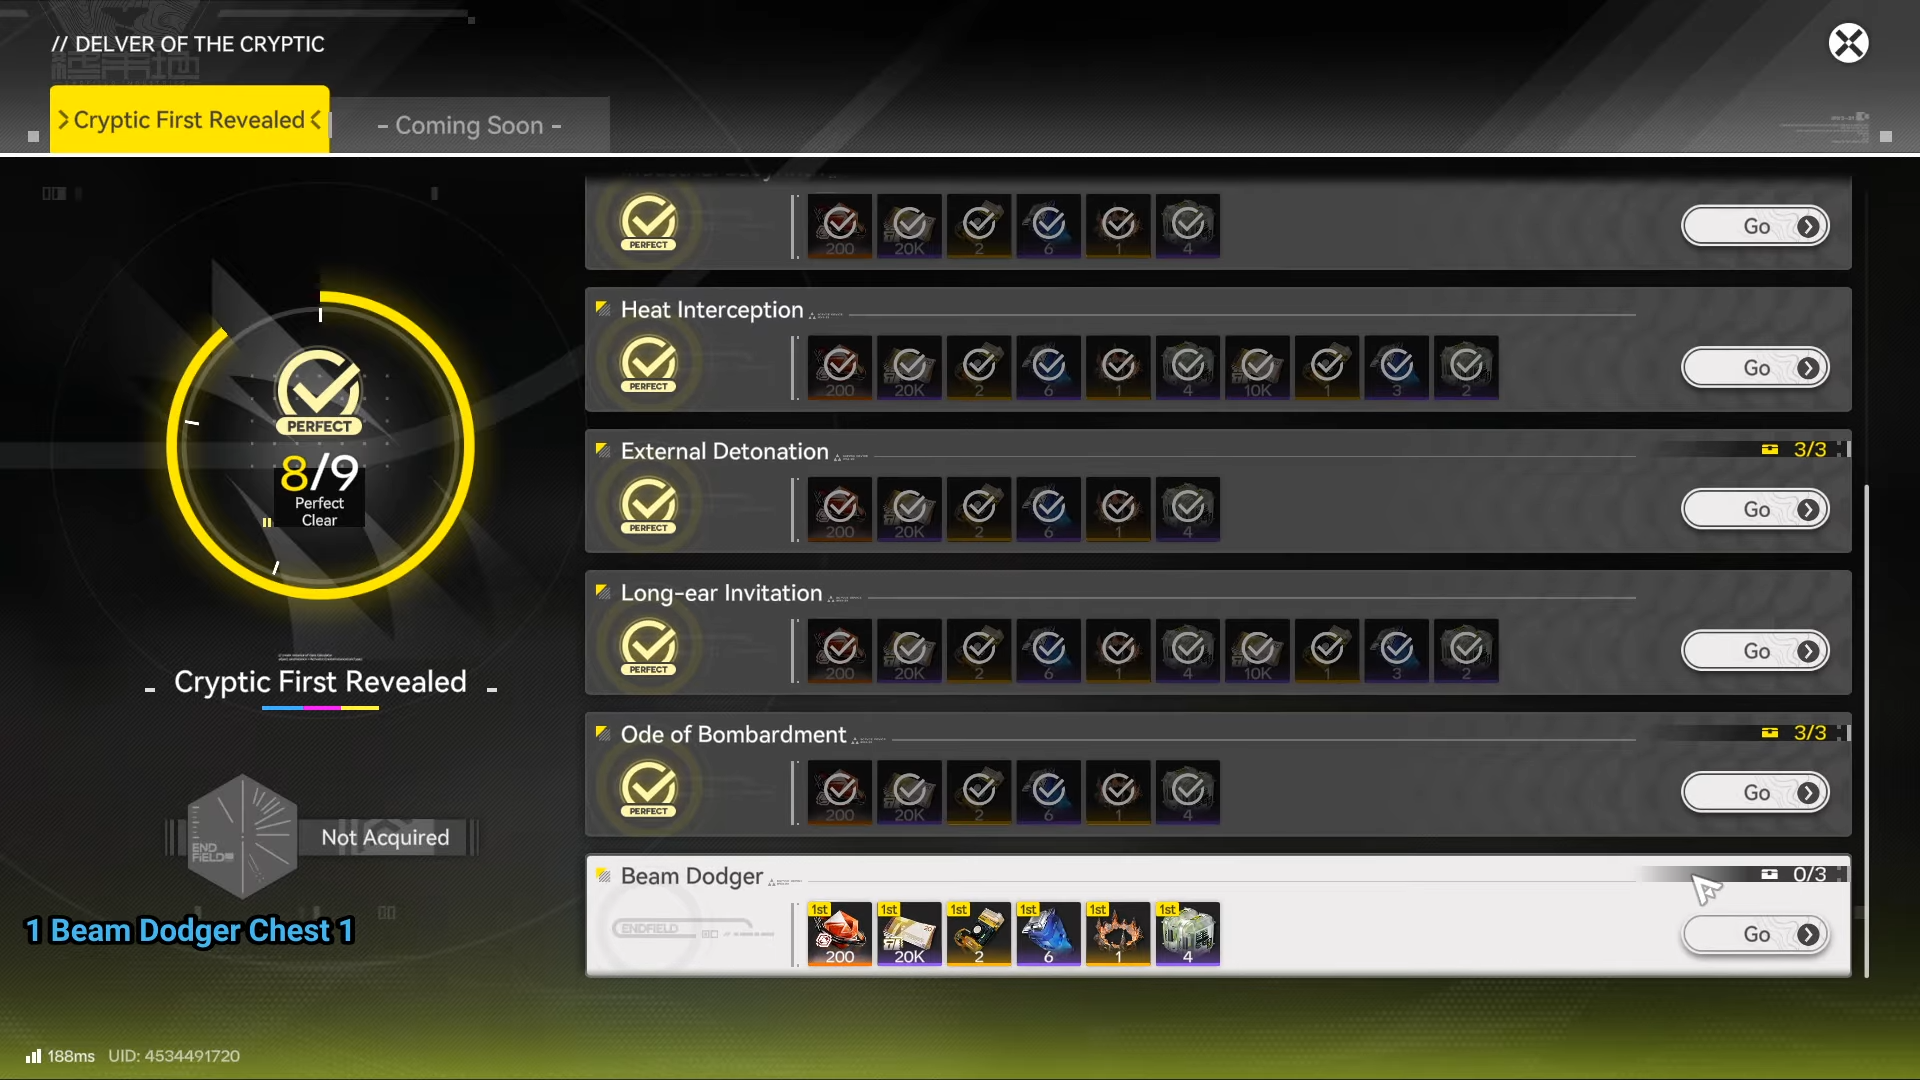
What to know
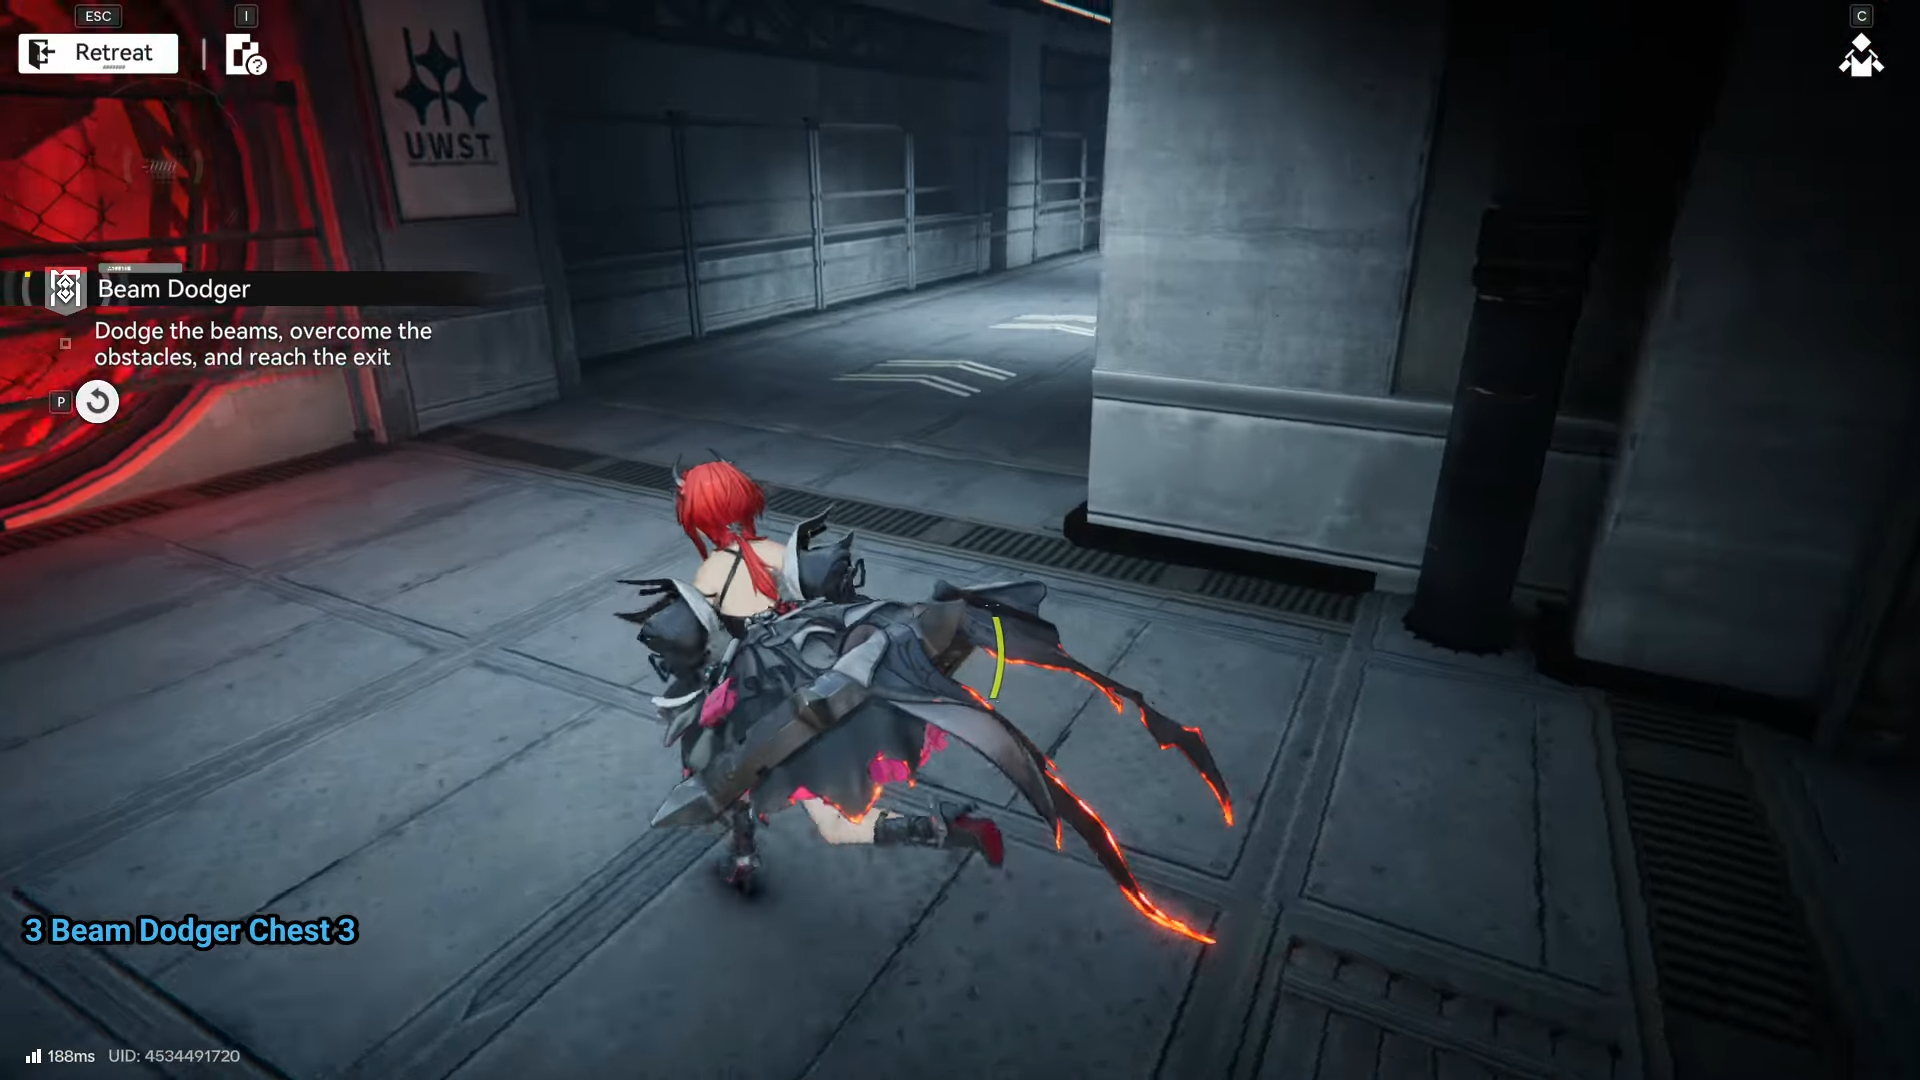
- Beam Dodger is stage 9 in Cryptic First Revealed of Delver of the Cryptic mode.
- Dodge static and moving beams while reaching the exit and grabbing all crates.
- Three crates hide along the main path, requiring backtracking.
- Clear rewards include Oroberyl and T-Creds; crates give Protohedron and more.
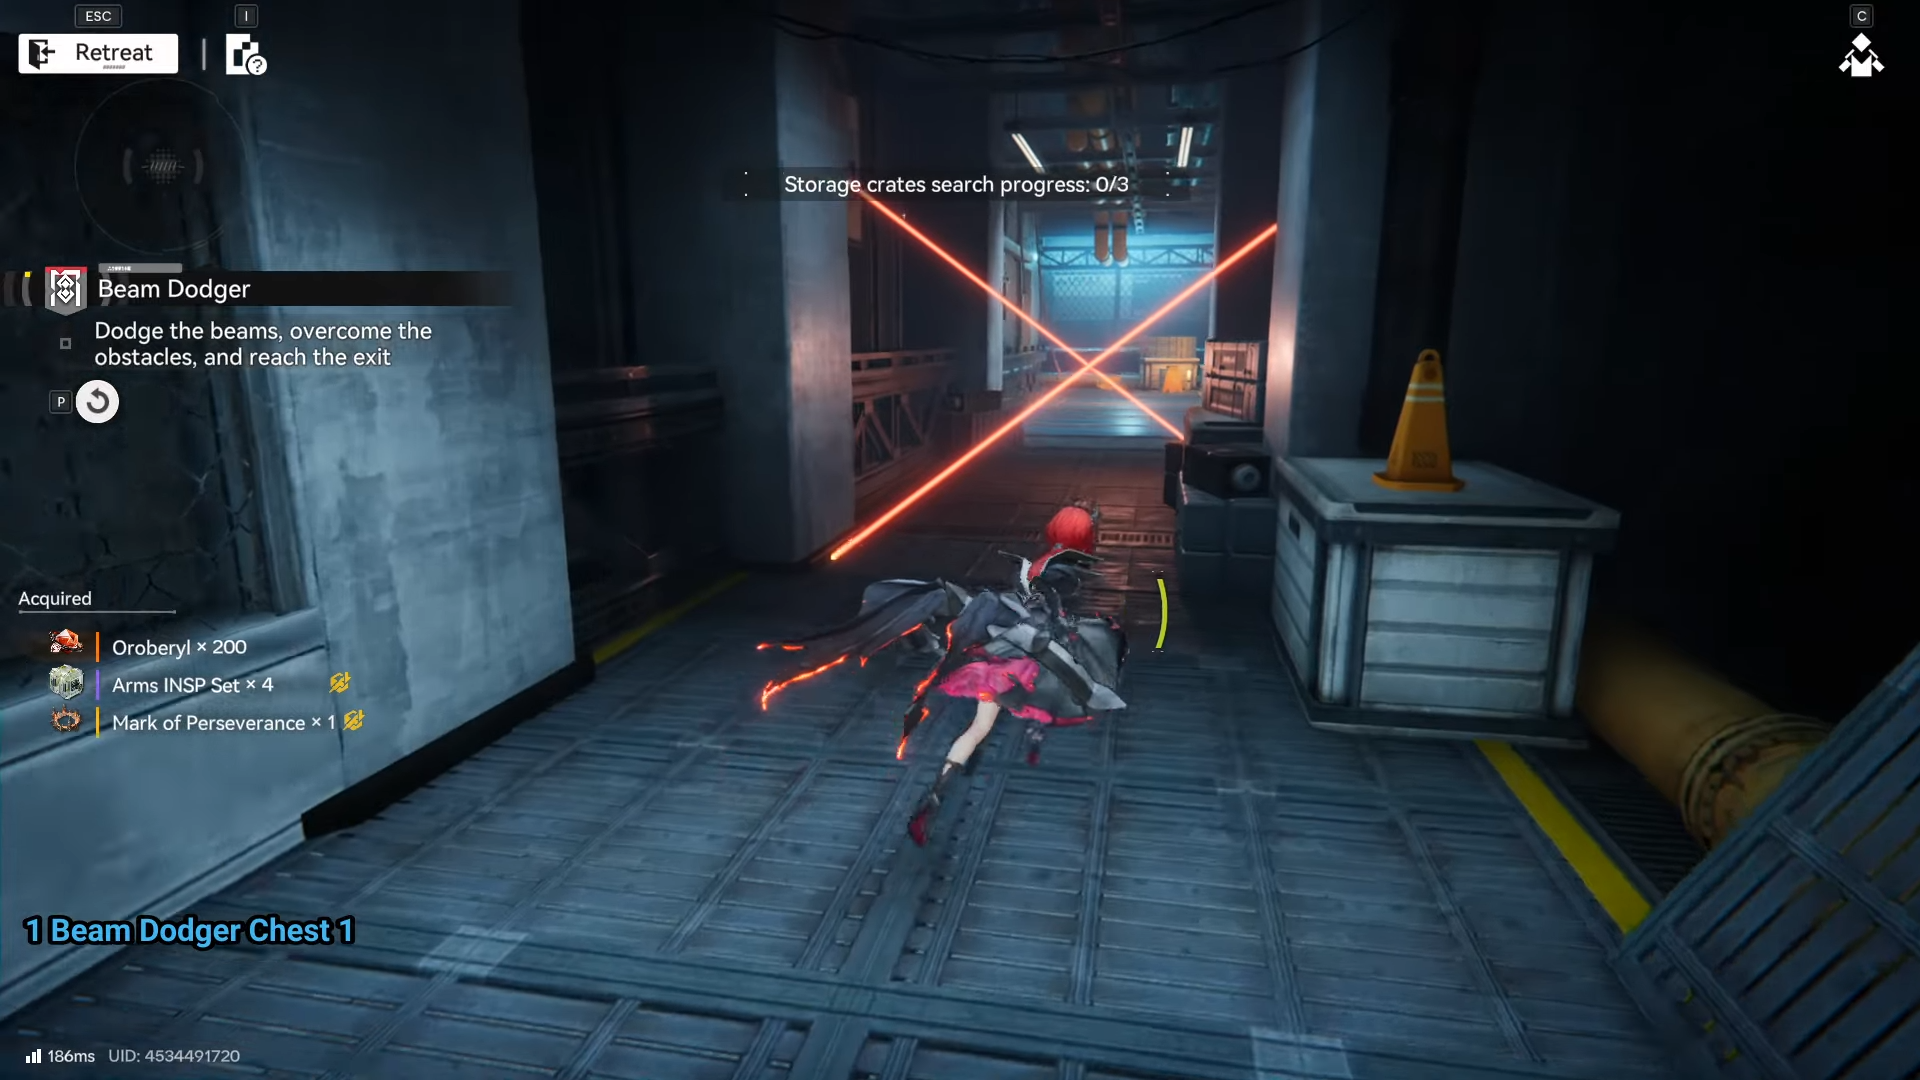
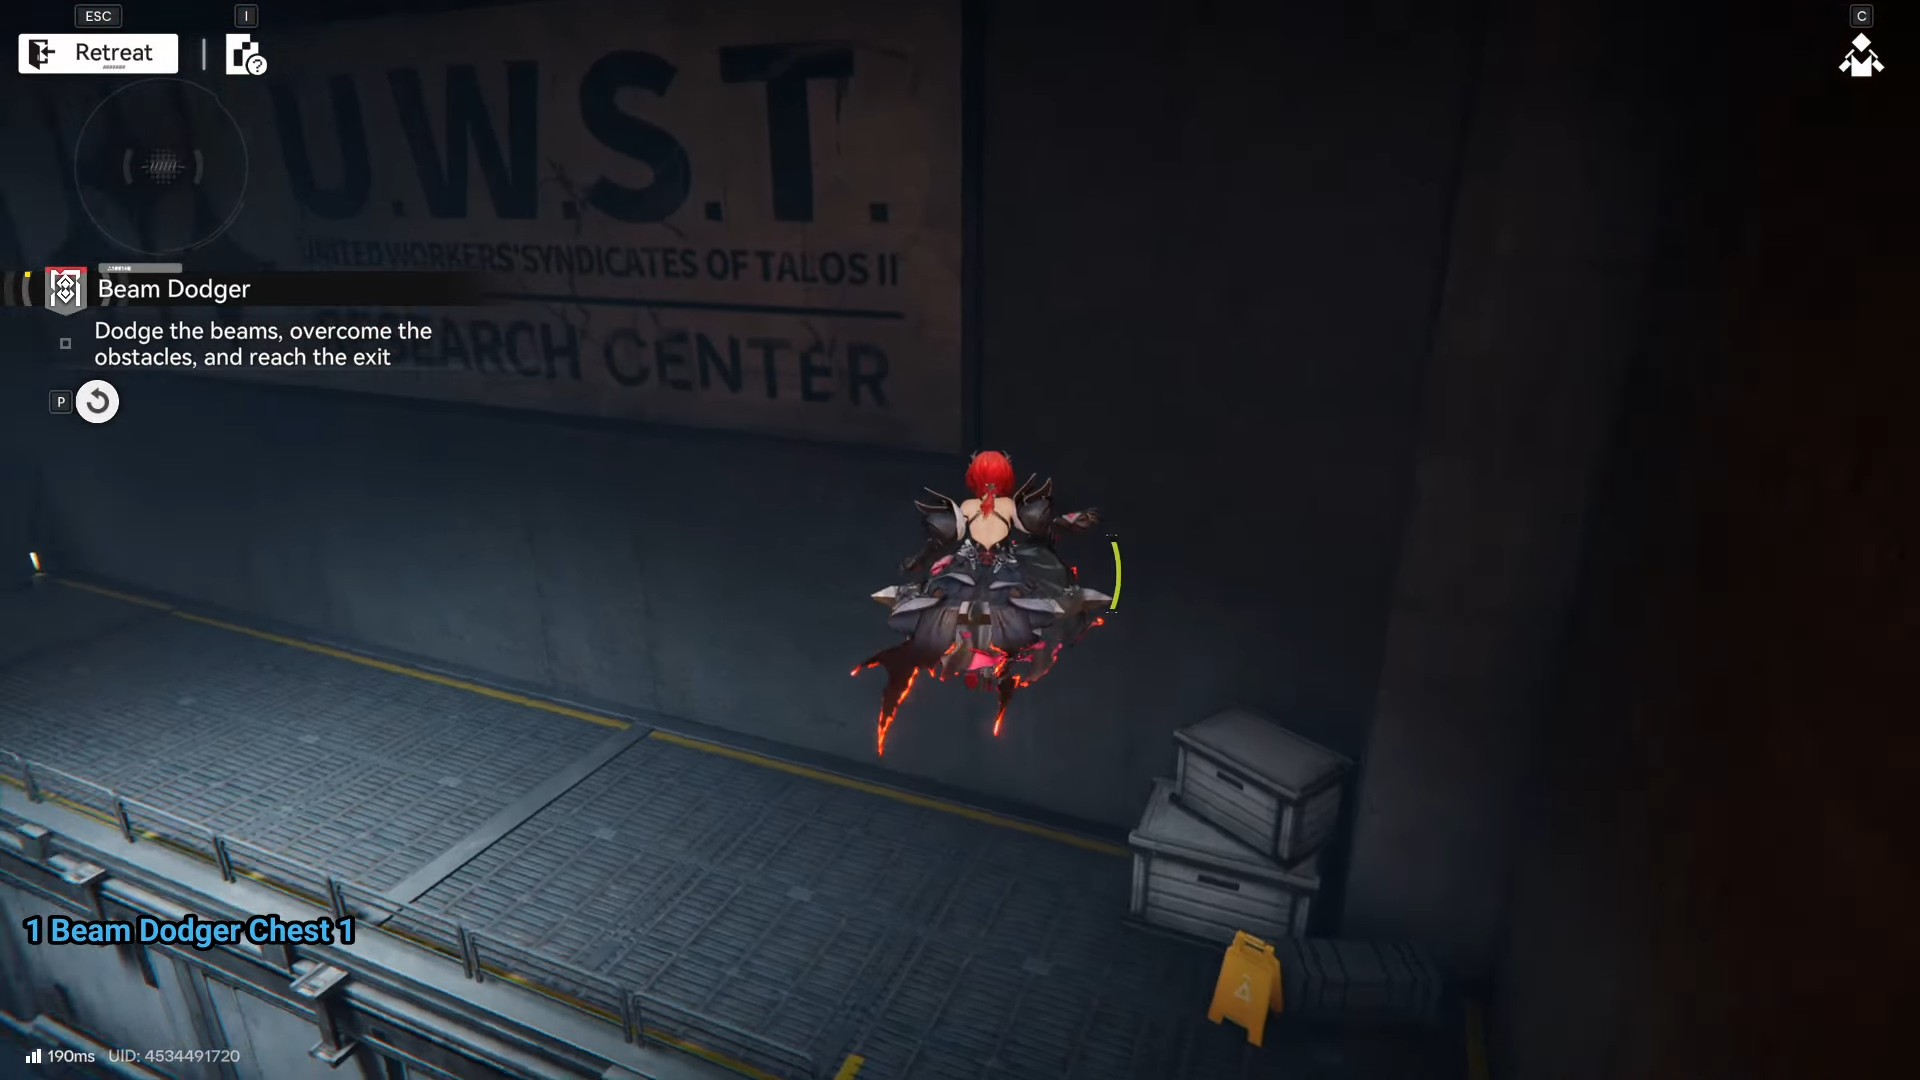
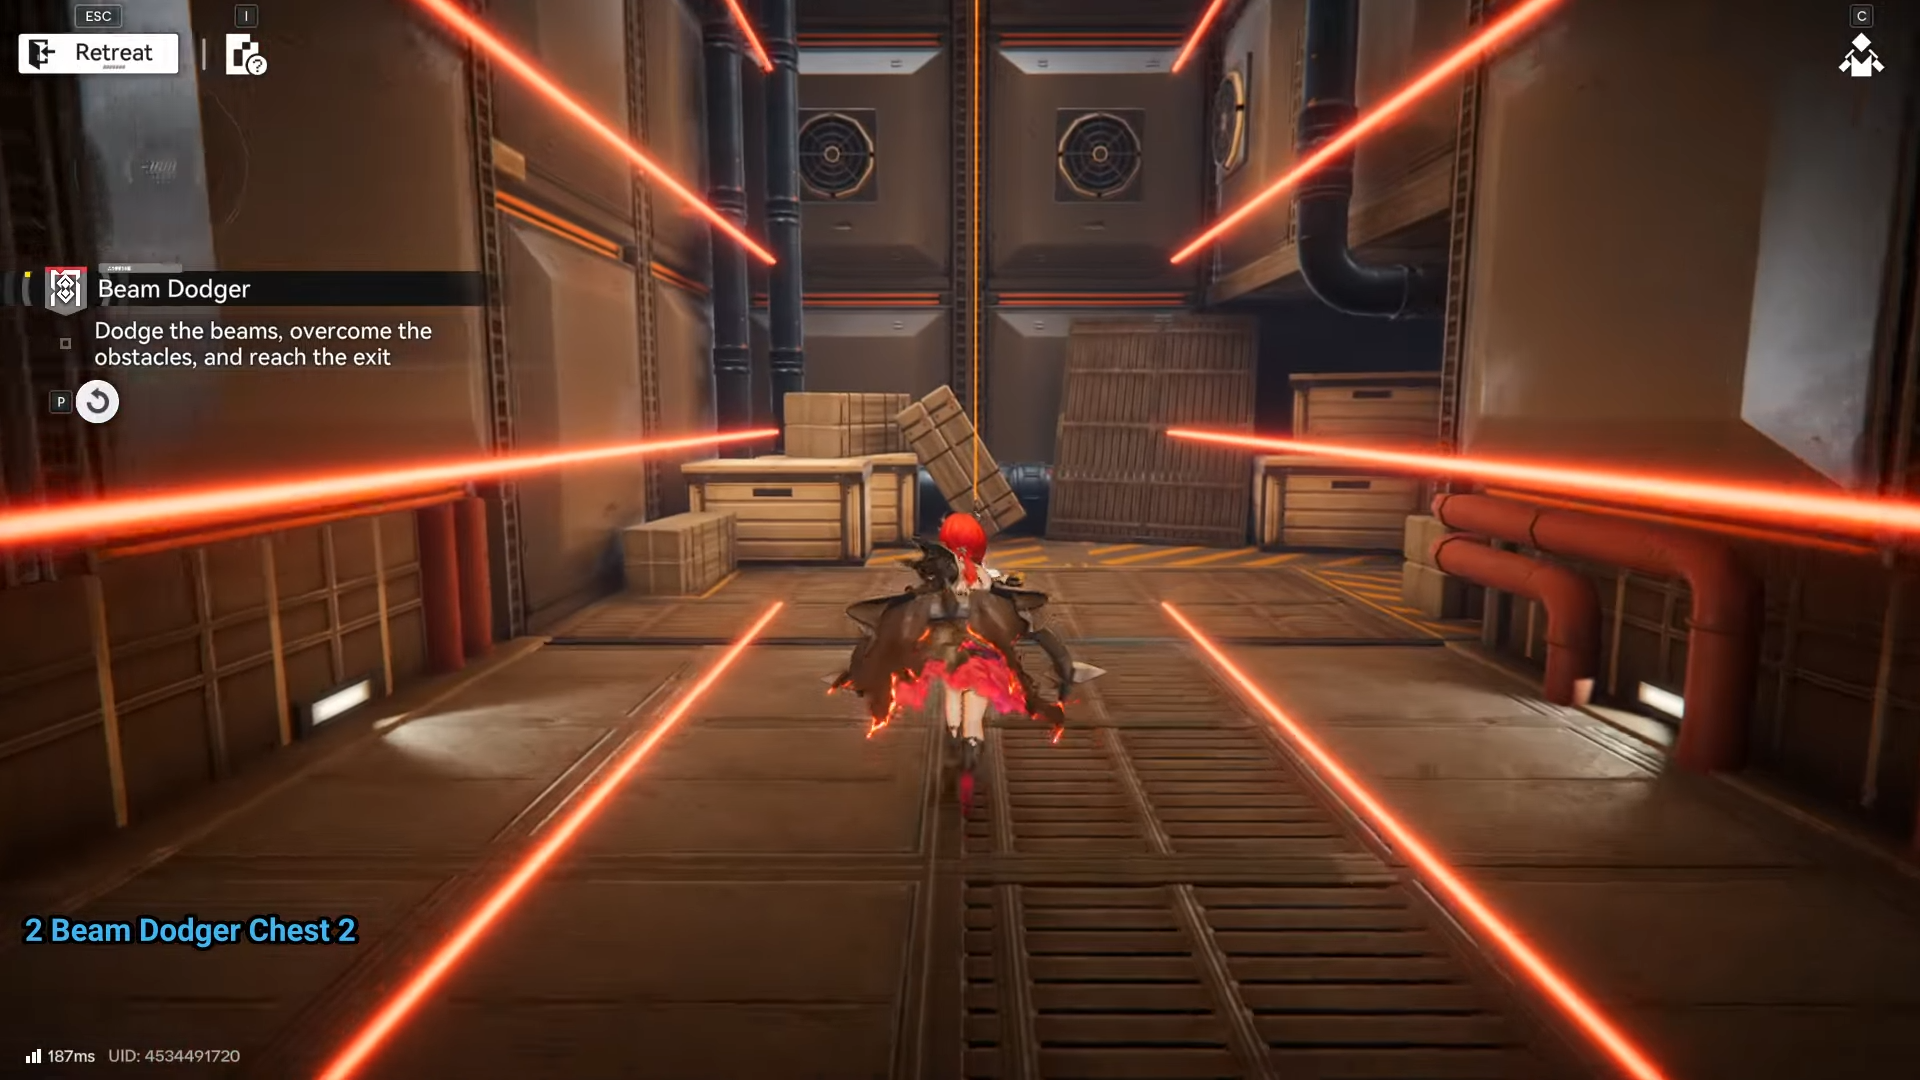
In Arknights: Endfield, Beam Dodger challenges you to weave through deadly laser beams in tight corridors and platforms, spotting crates amid the chaos. You drop through floors and rappel up walls, timing every move perfectly.
| Aspect | Details |
|---|---|
| Stage | Cryptic First Revealed – Stage 9 |
| Mechanics | Dodge beams, jump pads, rappels, collapsing floors |
| Goal | Reach Protocol Space exit |
| Chests | 3 hidden crates |
| Difficulty | Timing-based puzzles with narrowing paths |
Locations
How to complete the main path
Follow these steps to navigate from start to exit while noting chest spots.
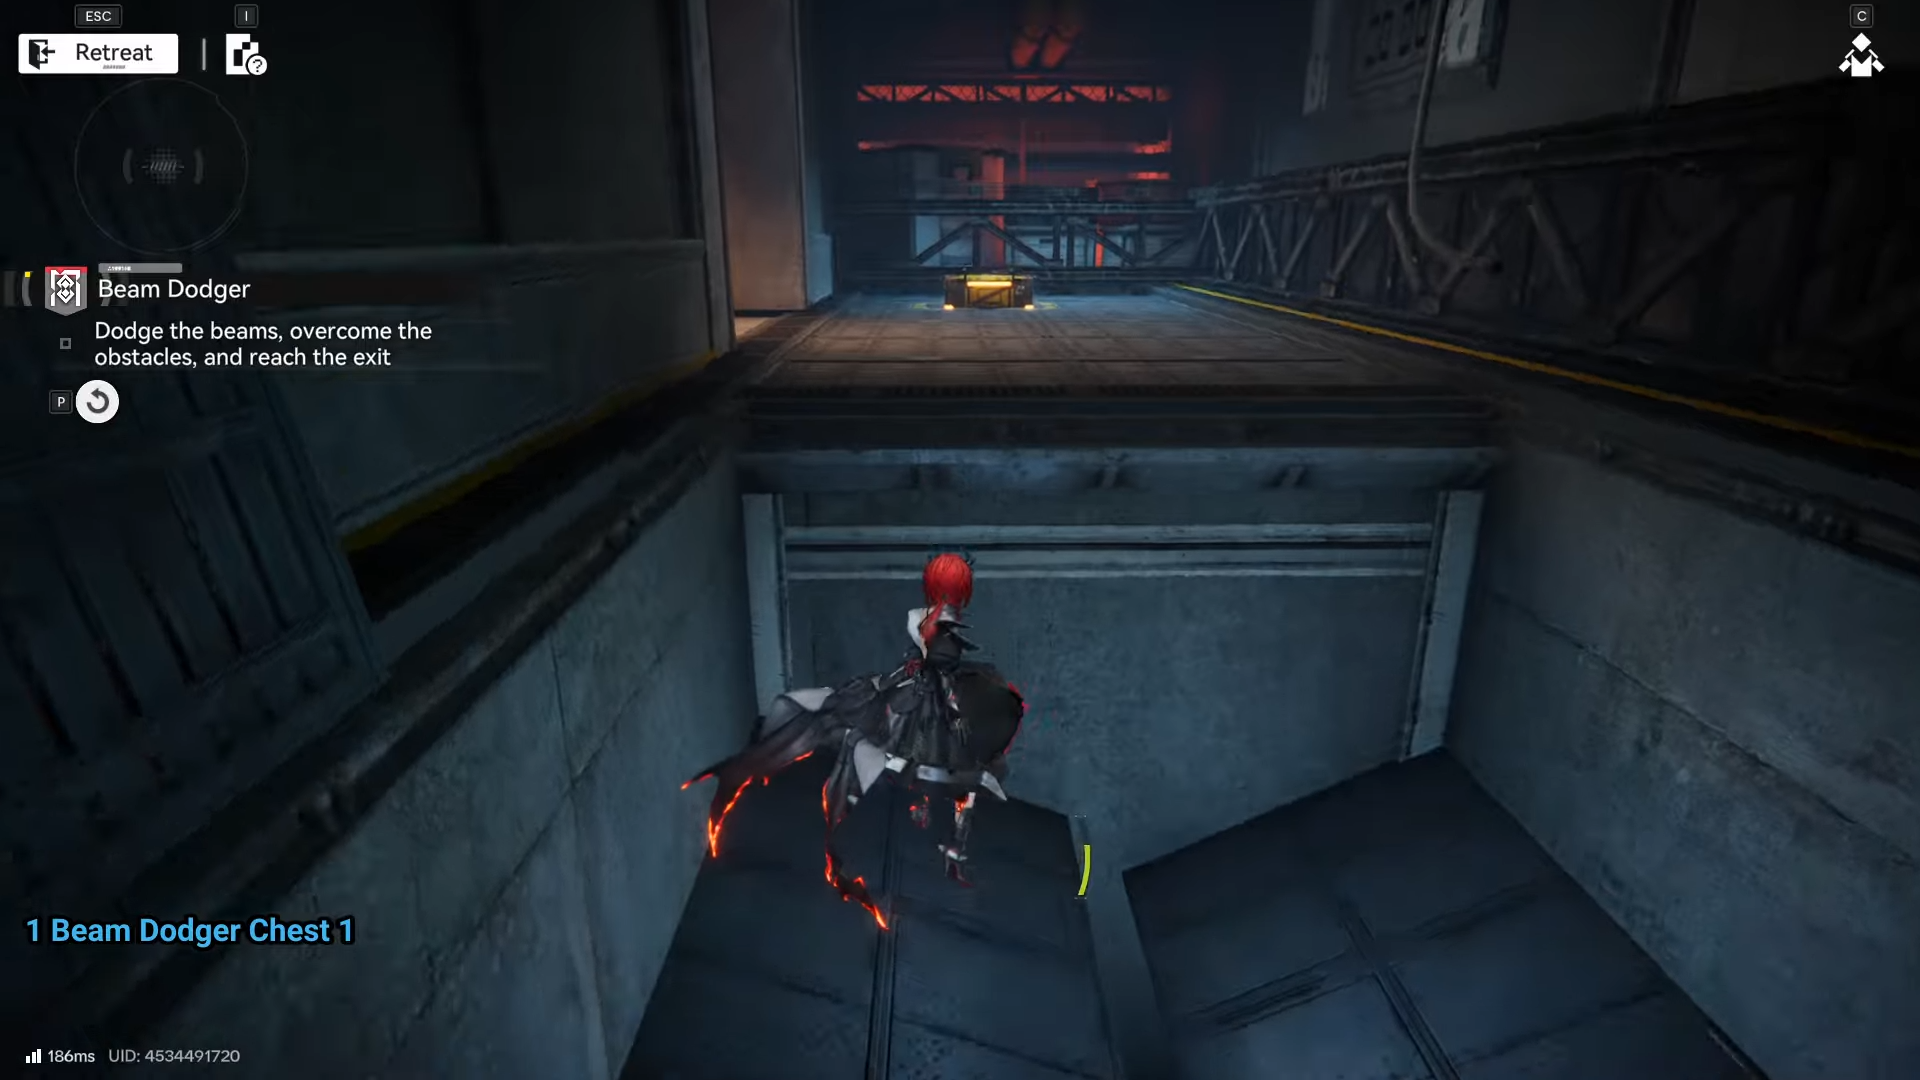
Step 1
Go down the hallway from the start and turn left at the corner. Duck under the static lasers ahead.
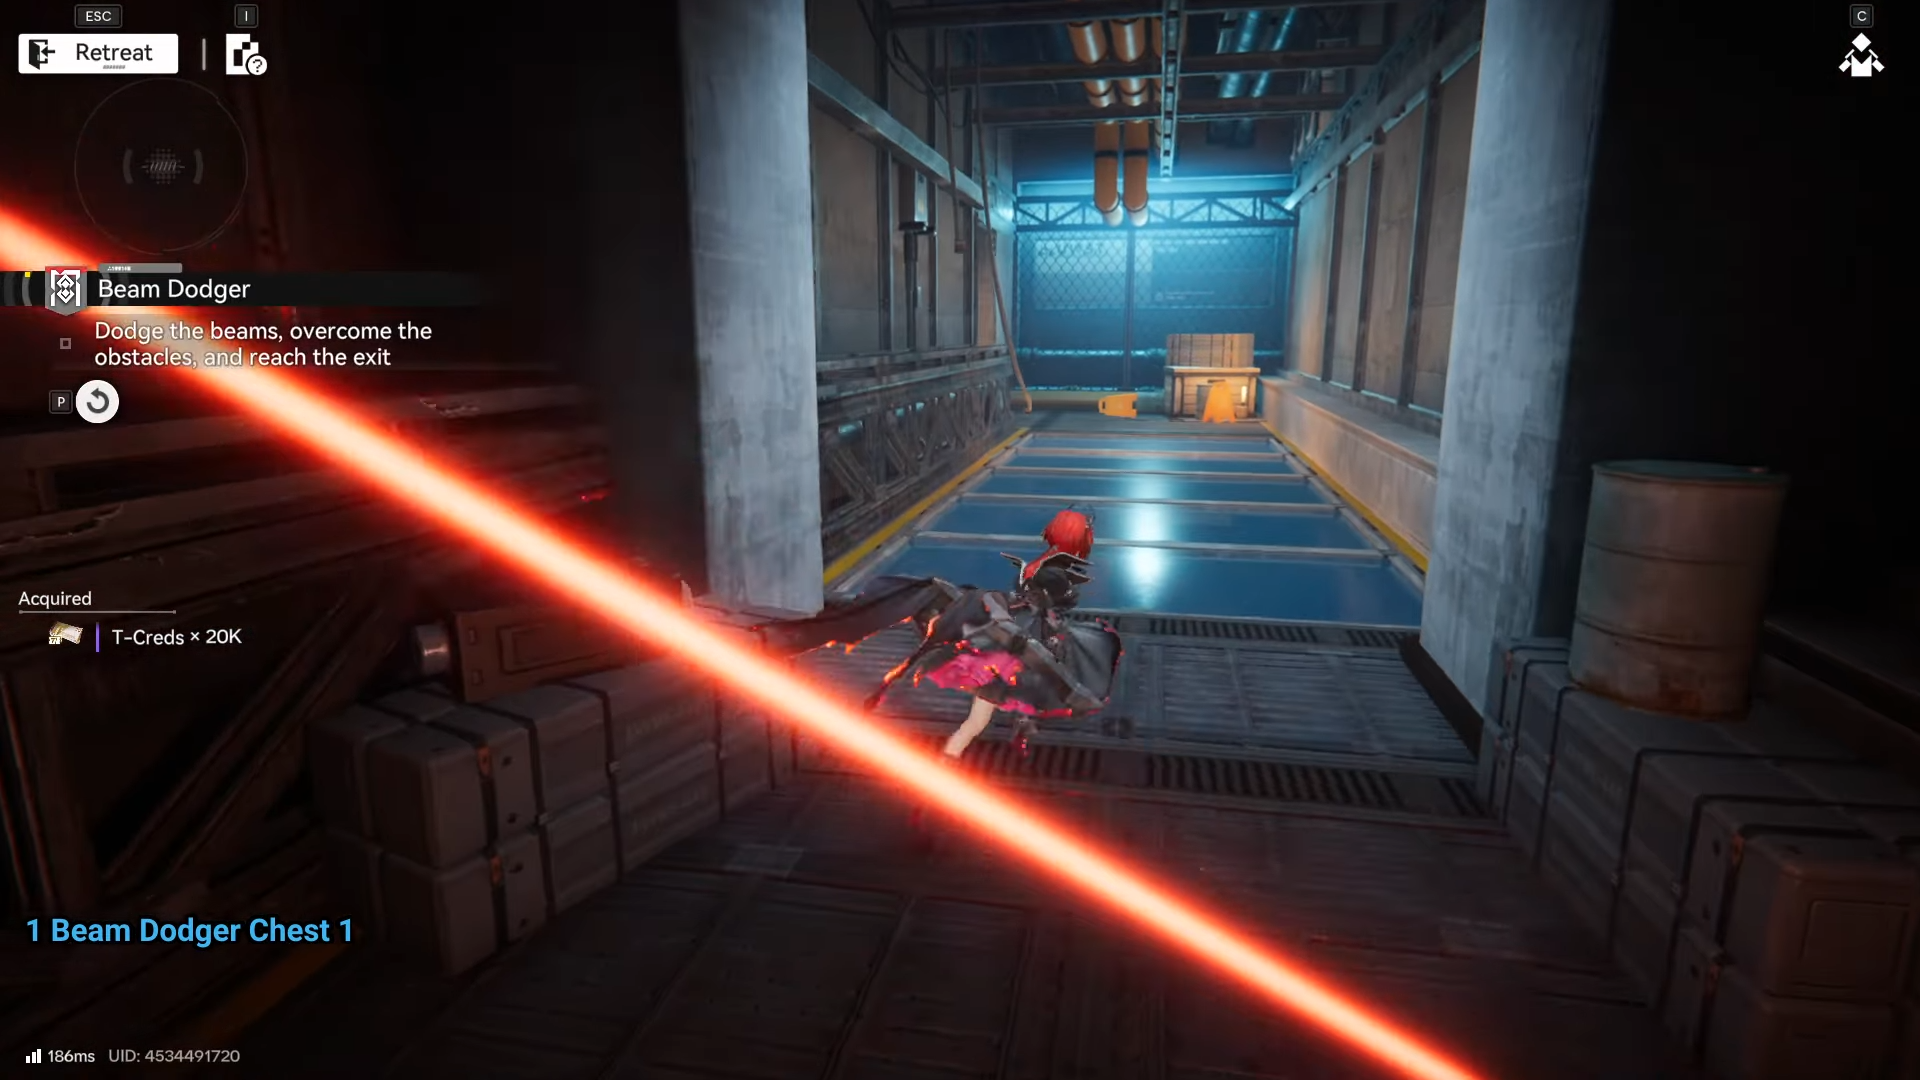
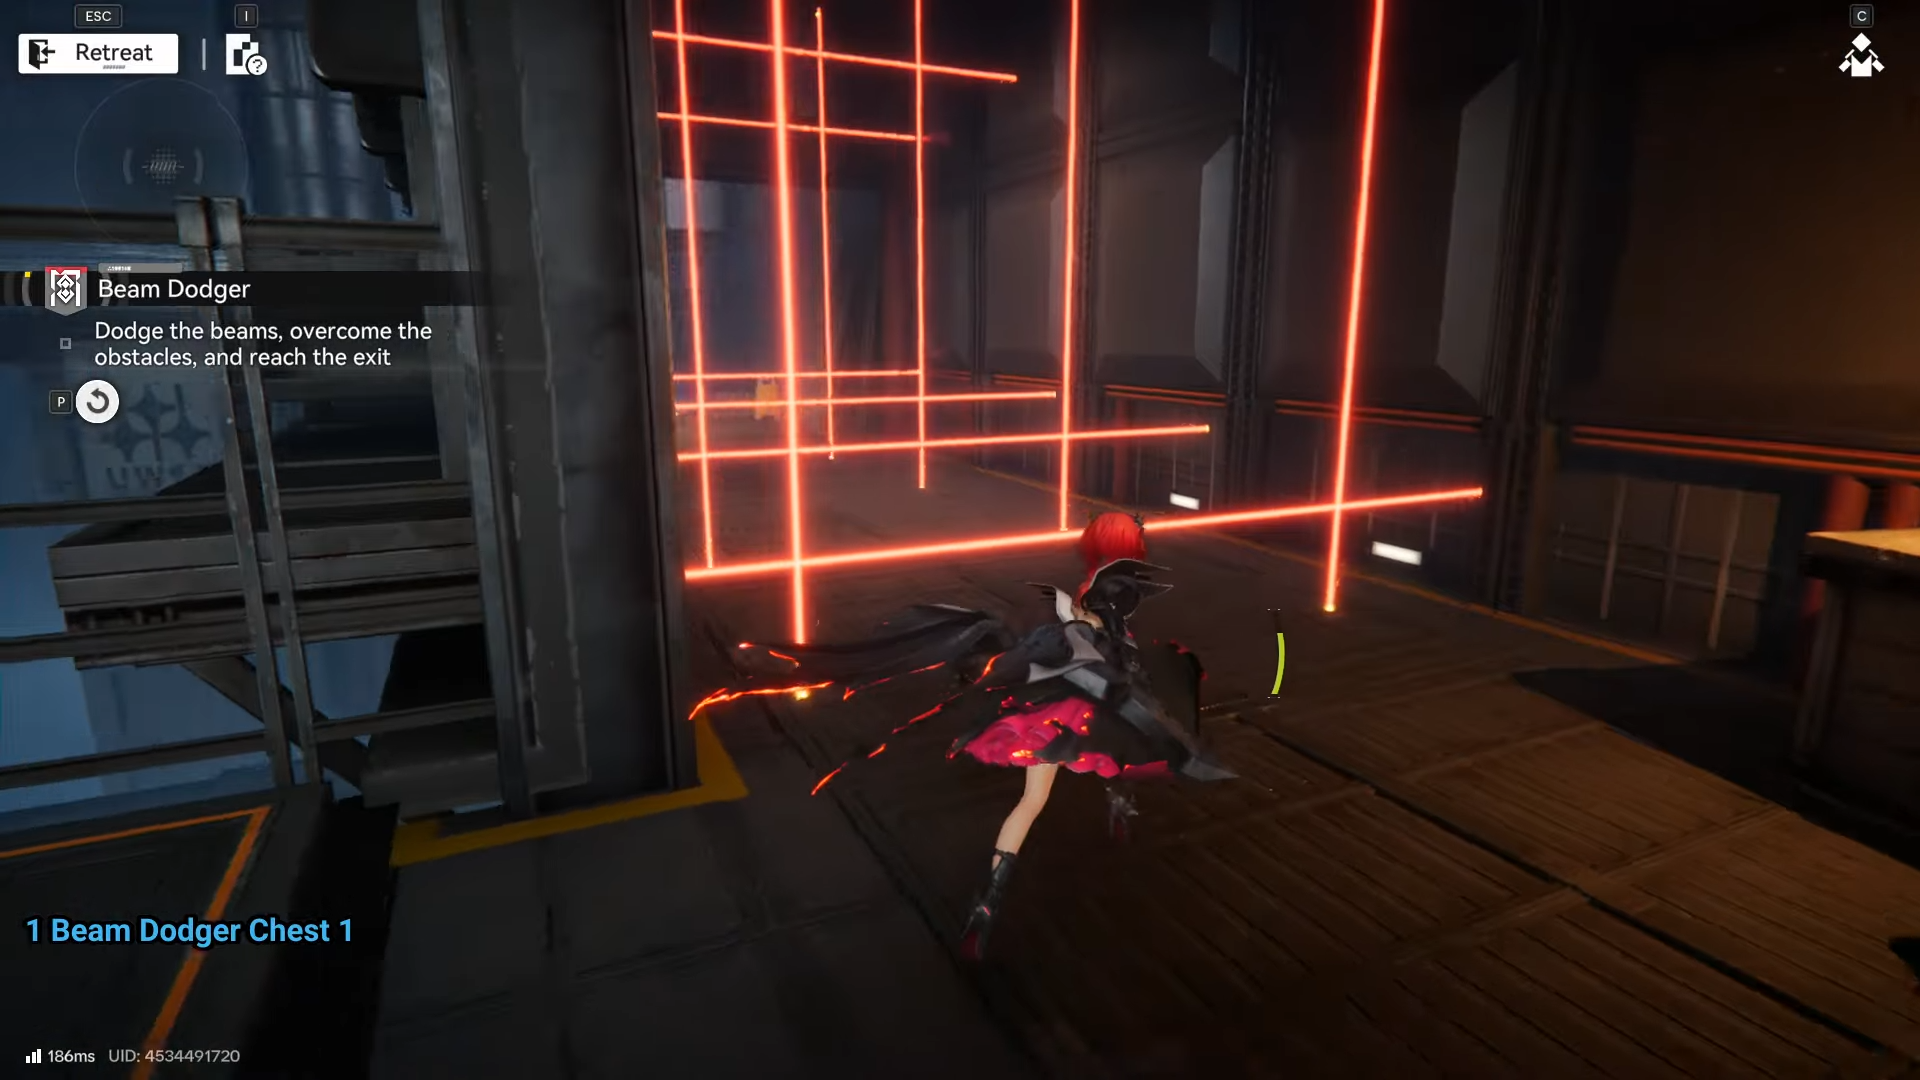
Step 2
Move forward along the path until two pairs of lasers block ahead. Time your pass—the farther pair pulses on and off.
Step 3
Continue onward past lasers.
Approach the visible crate; the floor collapses, dropping you below regardless of timing.
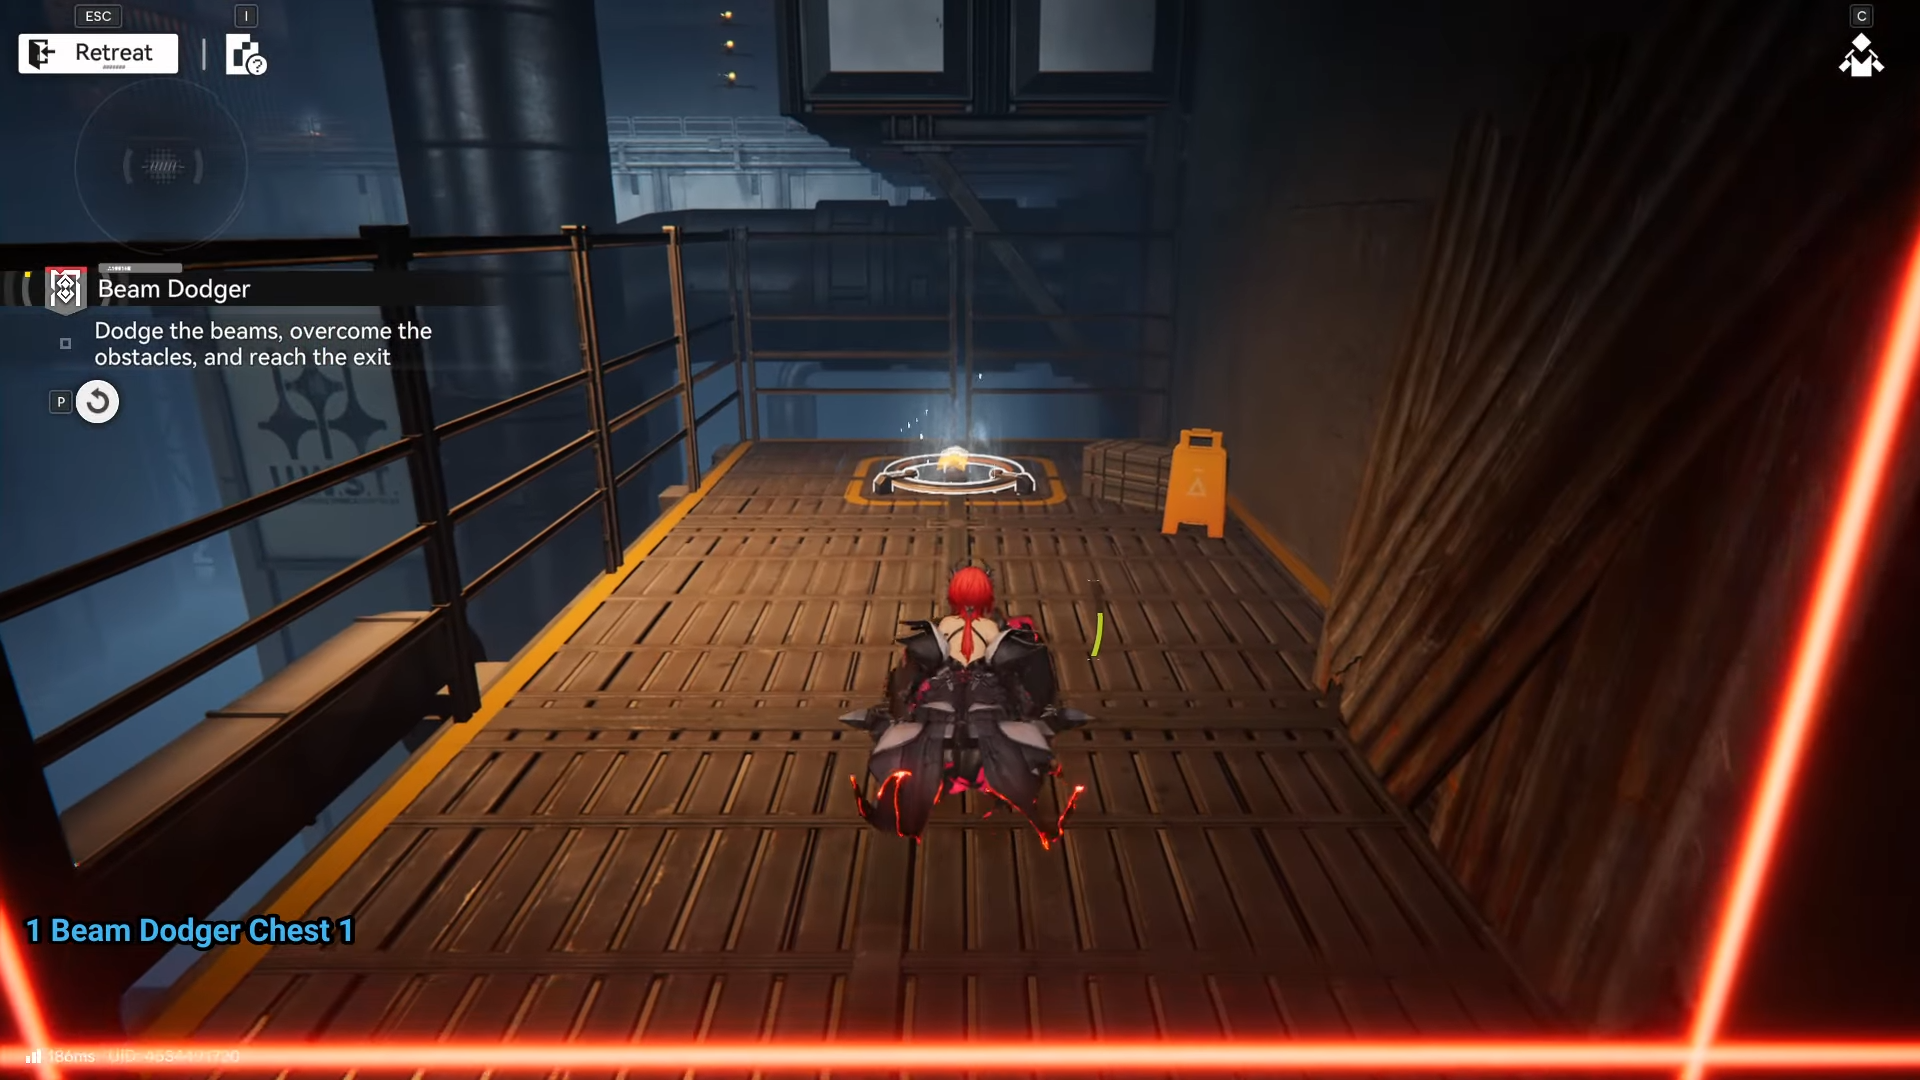
Step 4
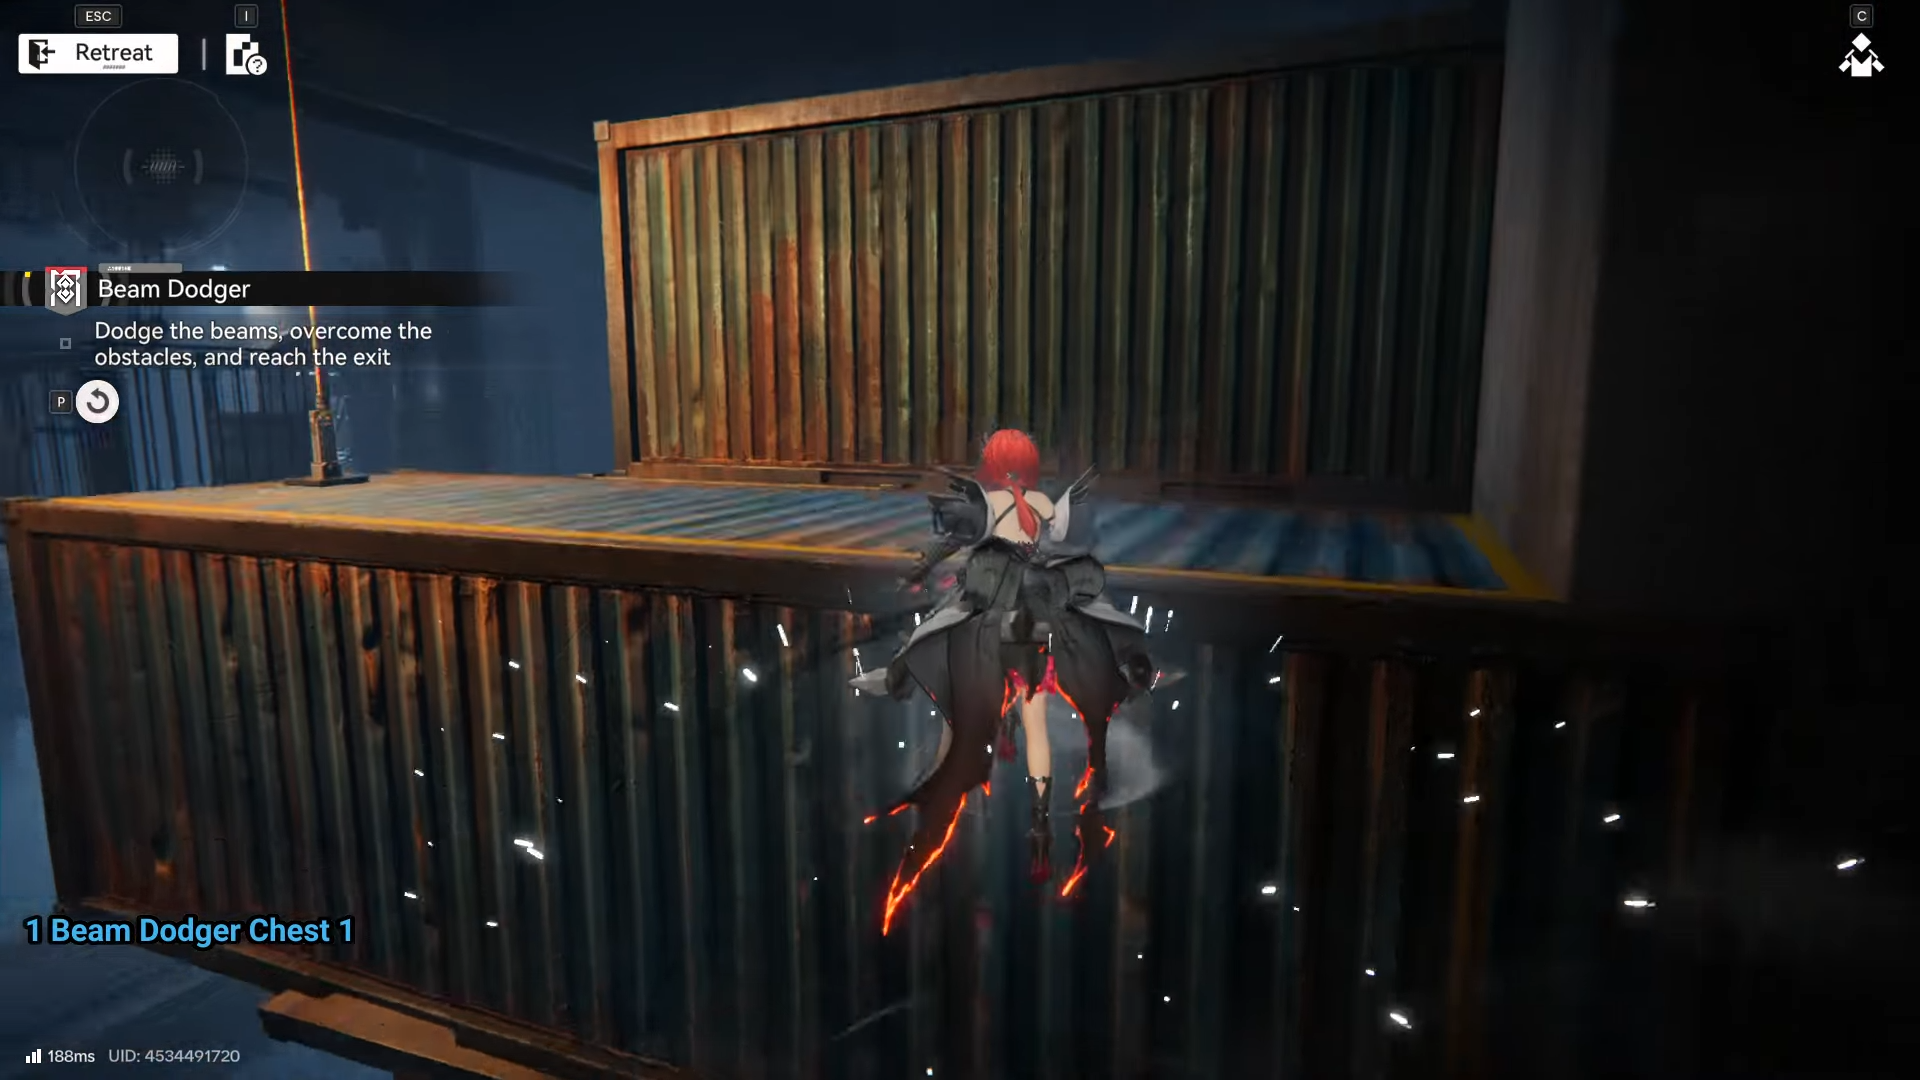
From the drop point, judge jump distances carefully across lasers.
Land on the far side and hit the jump pad to reach the upper container.
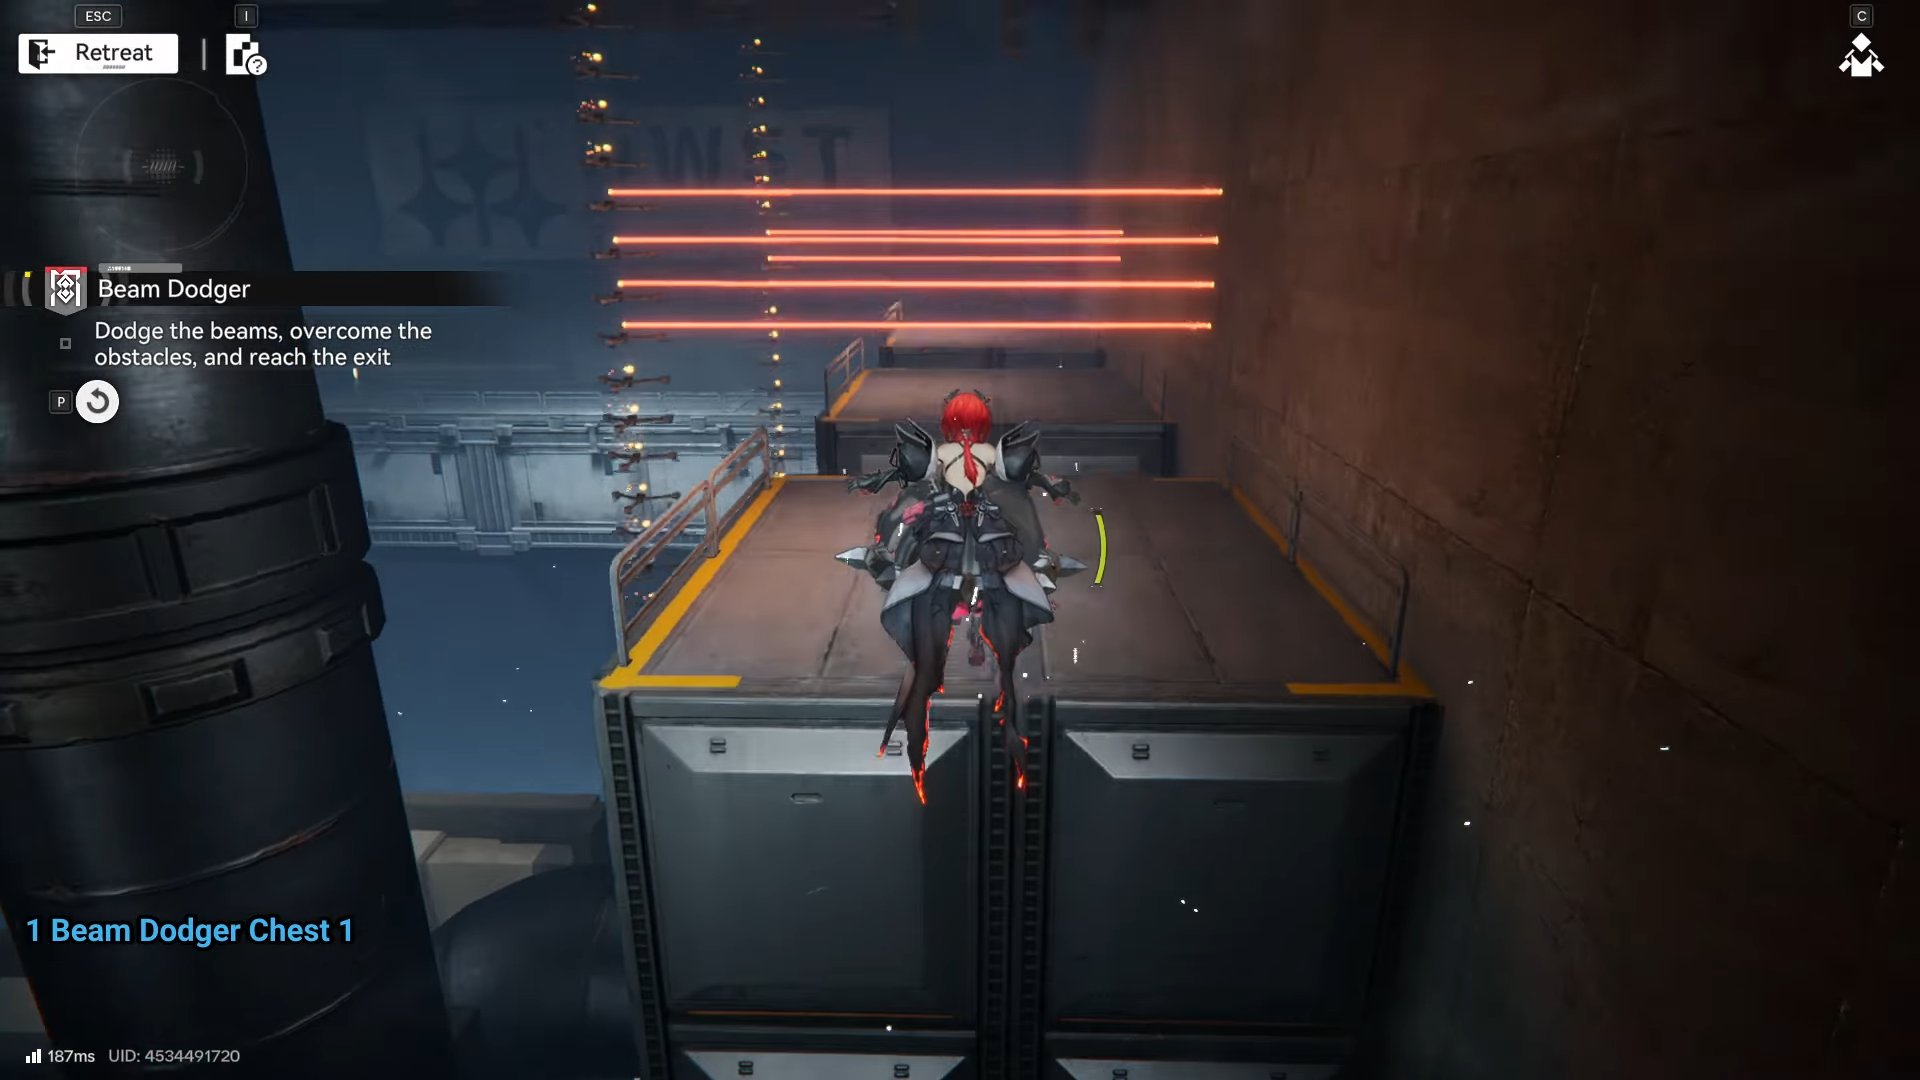
Step 5
Face rising lasers that activate row by row. Wait for gaps and leap across both sections in sequence.
Step 6
Descend the following path.
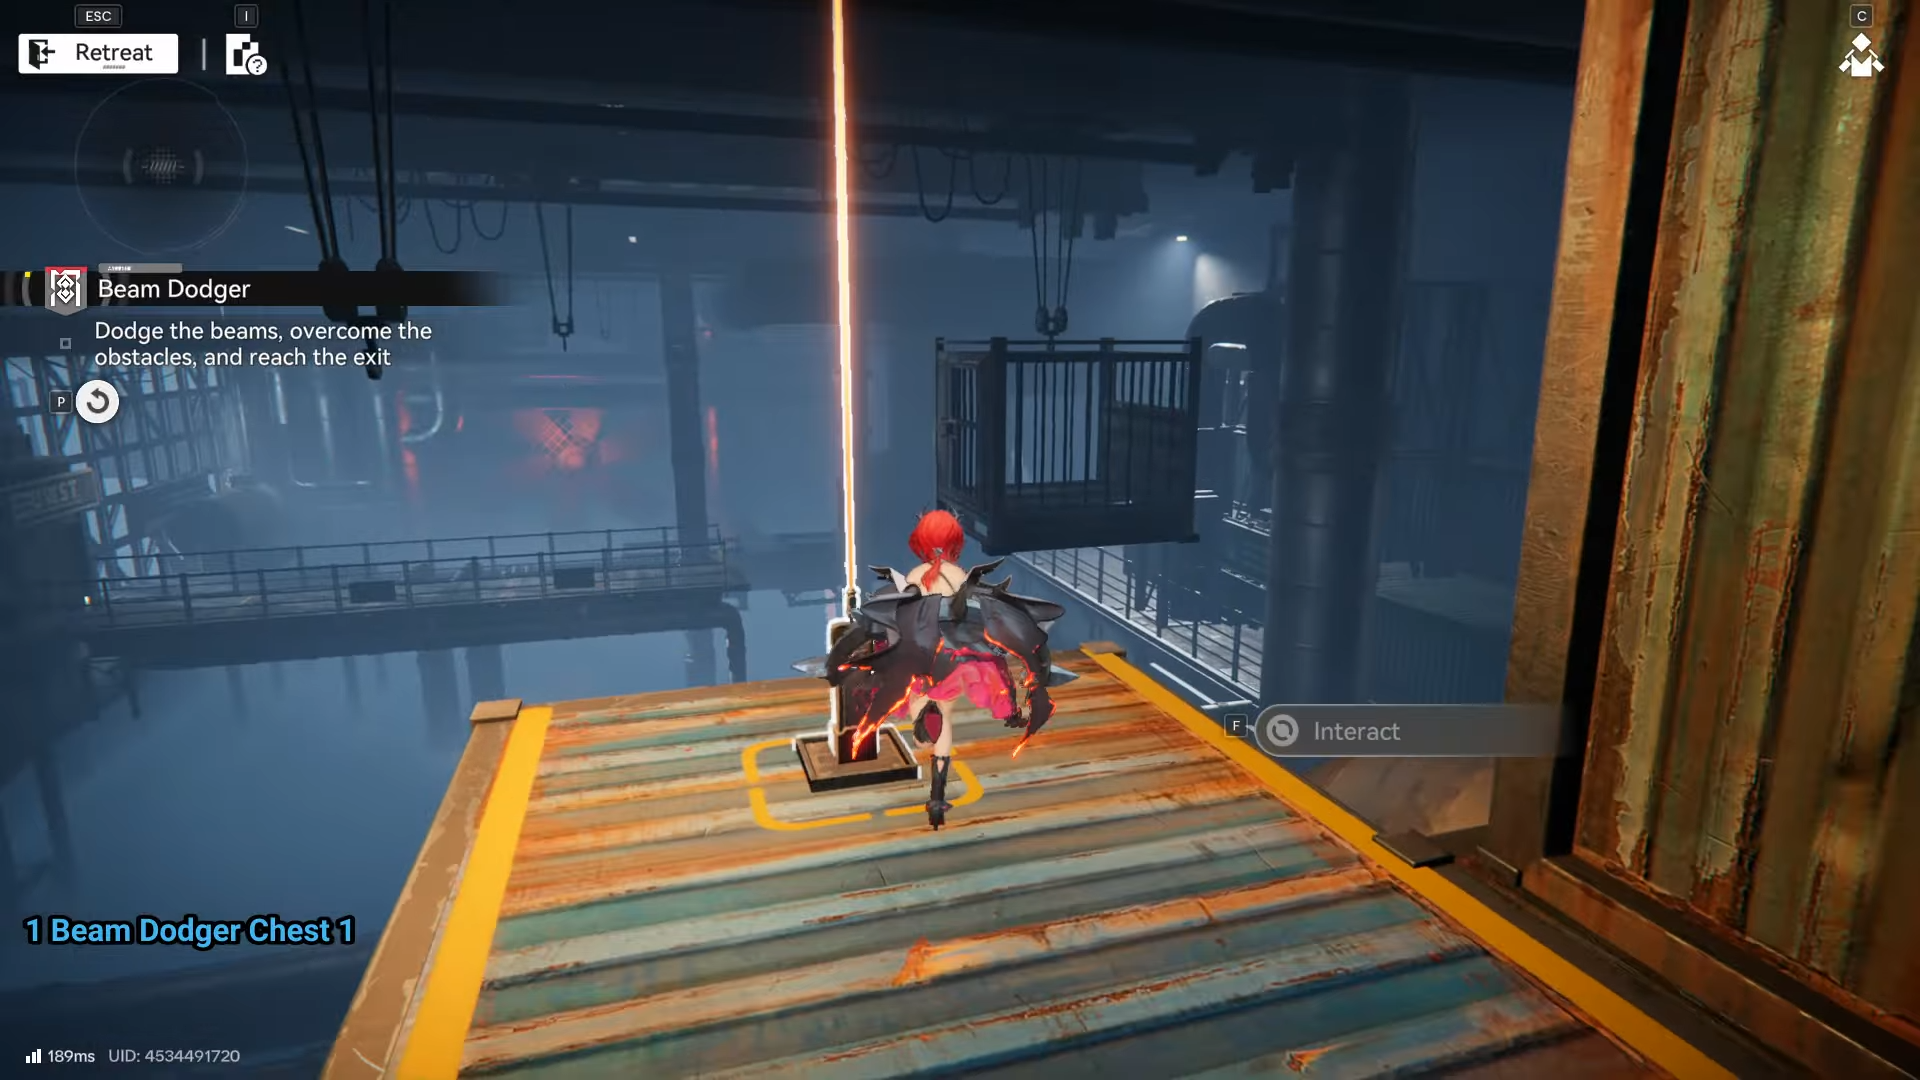
Activate the jump pad to climb the container, then grab the first rappel rope upward.
Step 7
Sprint post-rappel to the hall’s end rope—new beams spawn mid-run, narrowing the floor rapidly.
Step 8
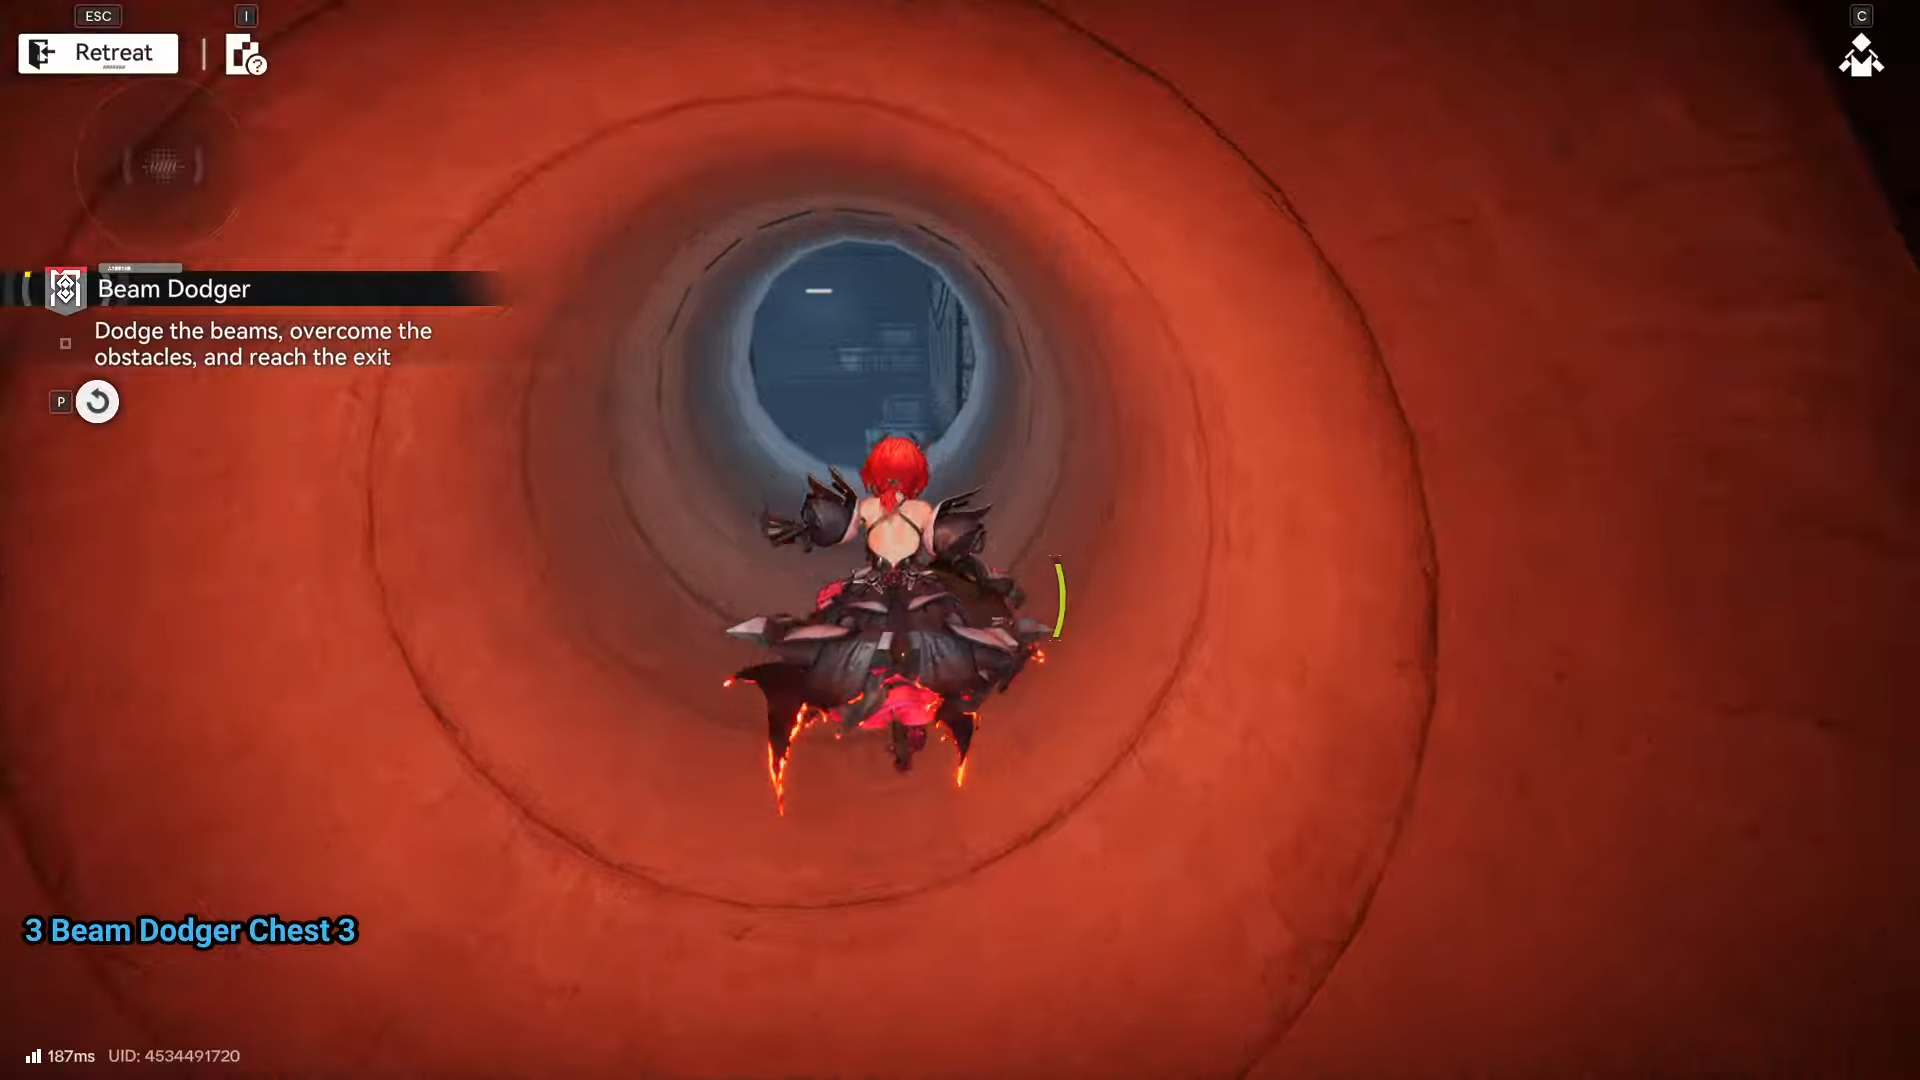
Rappel up, veer left into the red-lit tunnel. Note the second chest visible on the right beforehand.
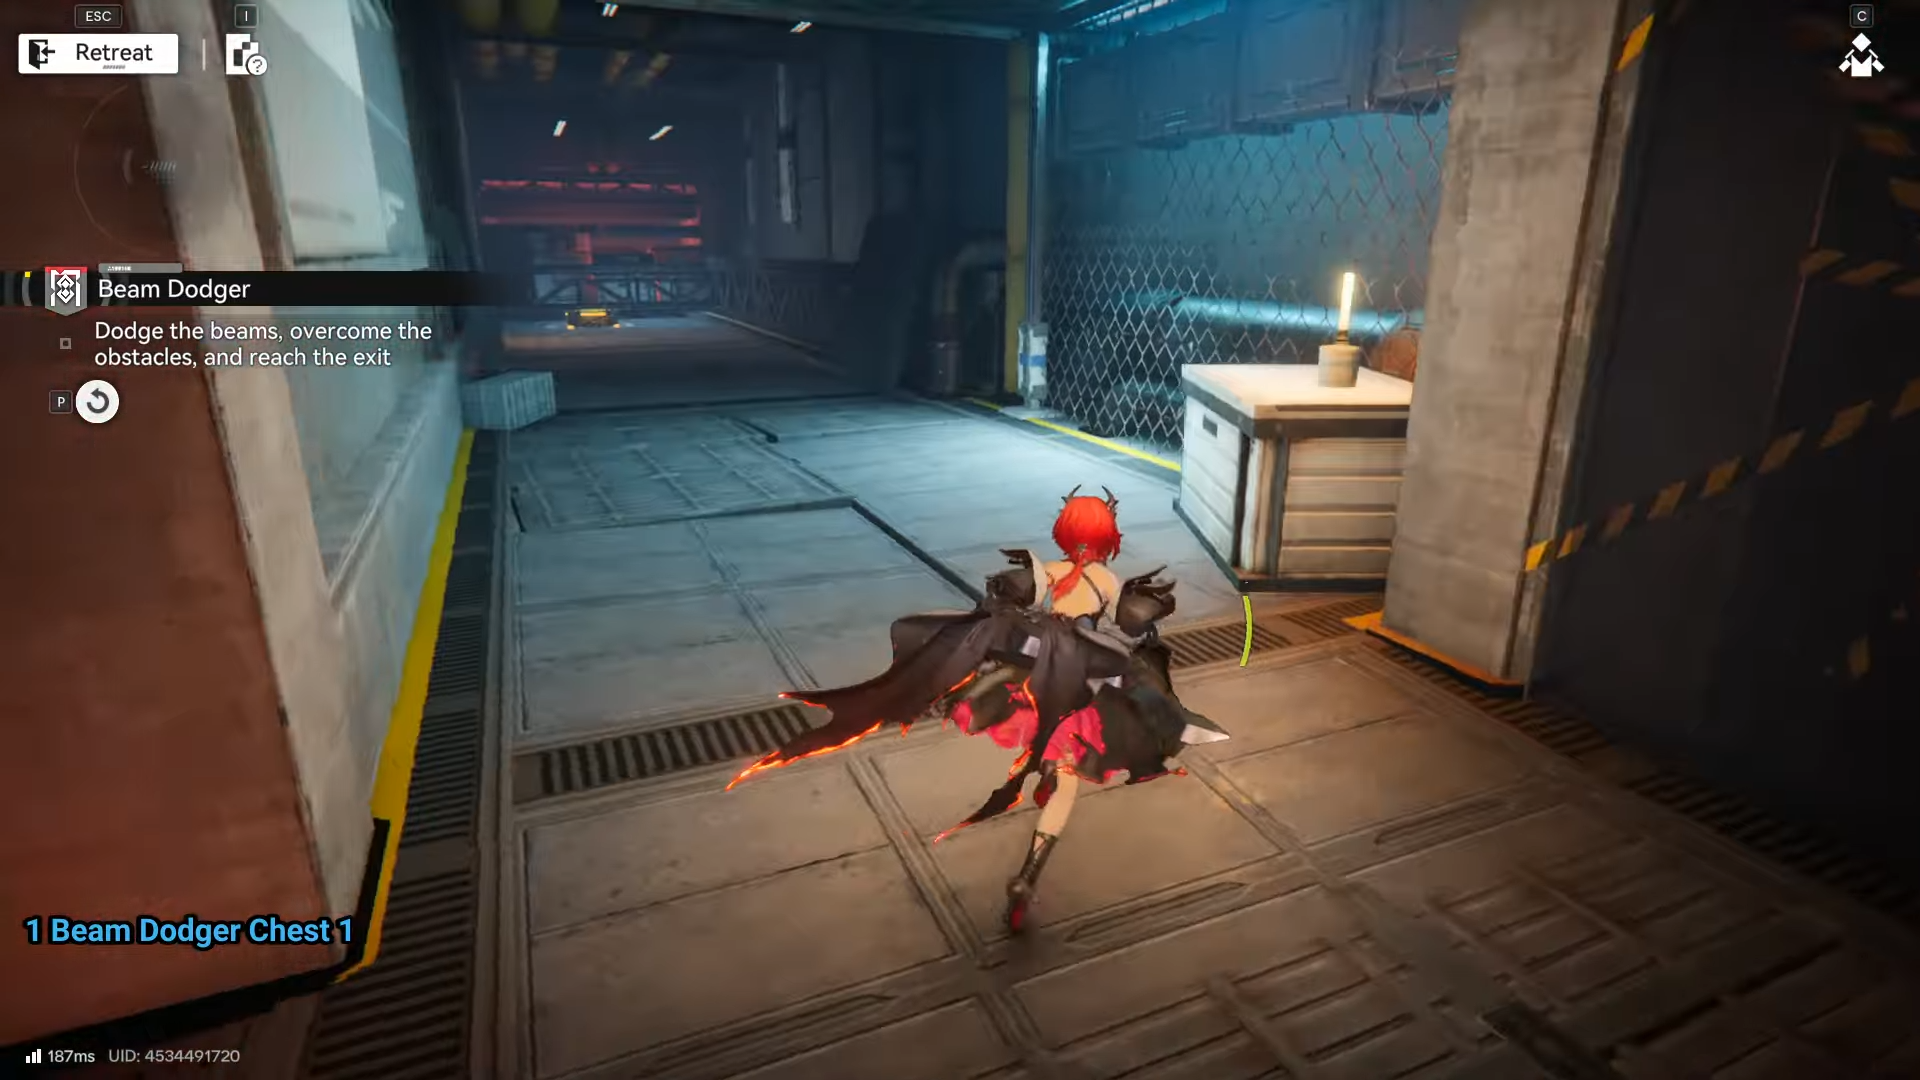
Step 9
Exit tunnel and drop down. Maneuver through dense static beams to the central Protocol Space exit.
How to get chest 1
This crate sits during the first ascent after step 6.
Step 1
After step 5, follow to the jump pad and ascend the container.
Step 2
Grab the rappel rope and climb up.
Step 3
Turn around mid- or post-rappel to scan surroundings.
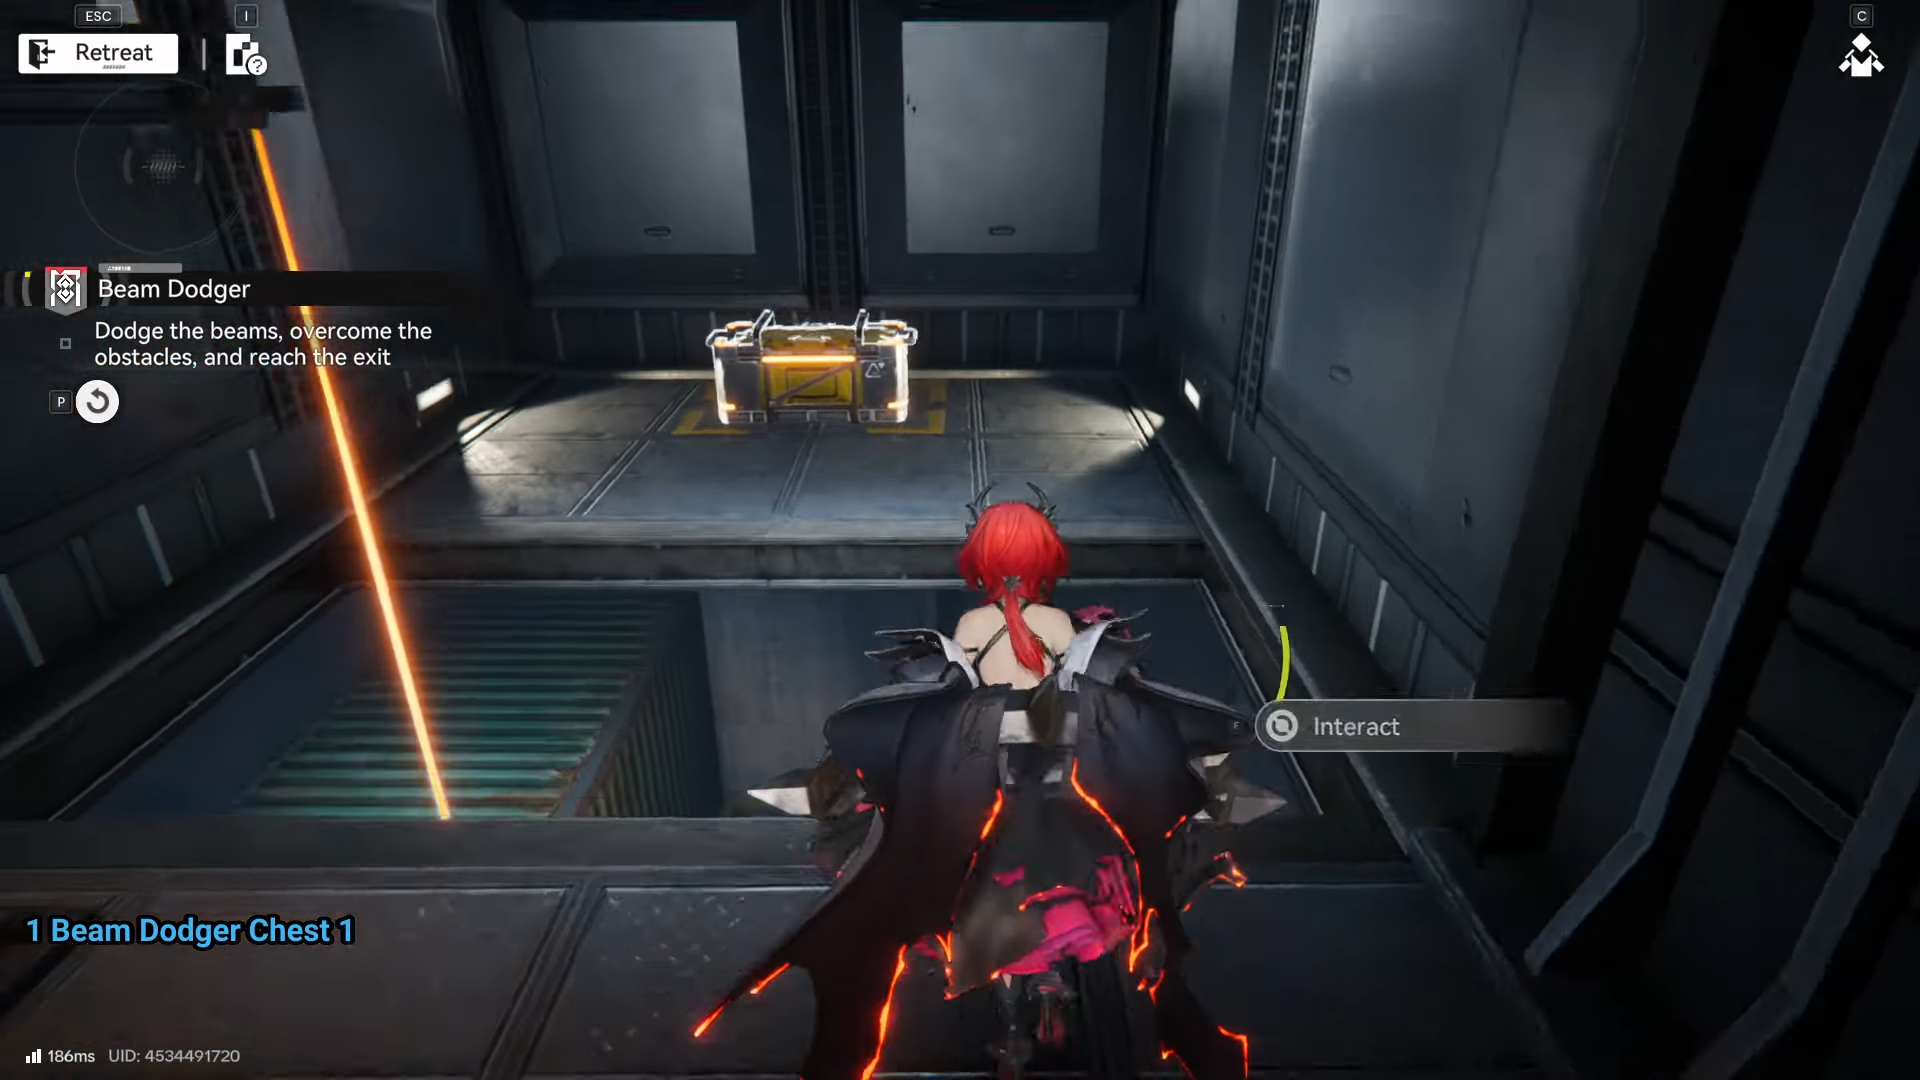
Step 4
Spot and reach the crate on the nearby platform.
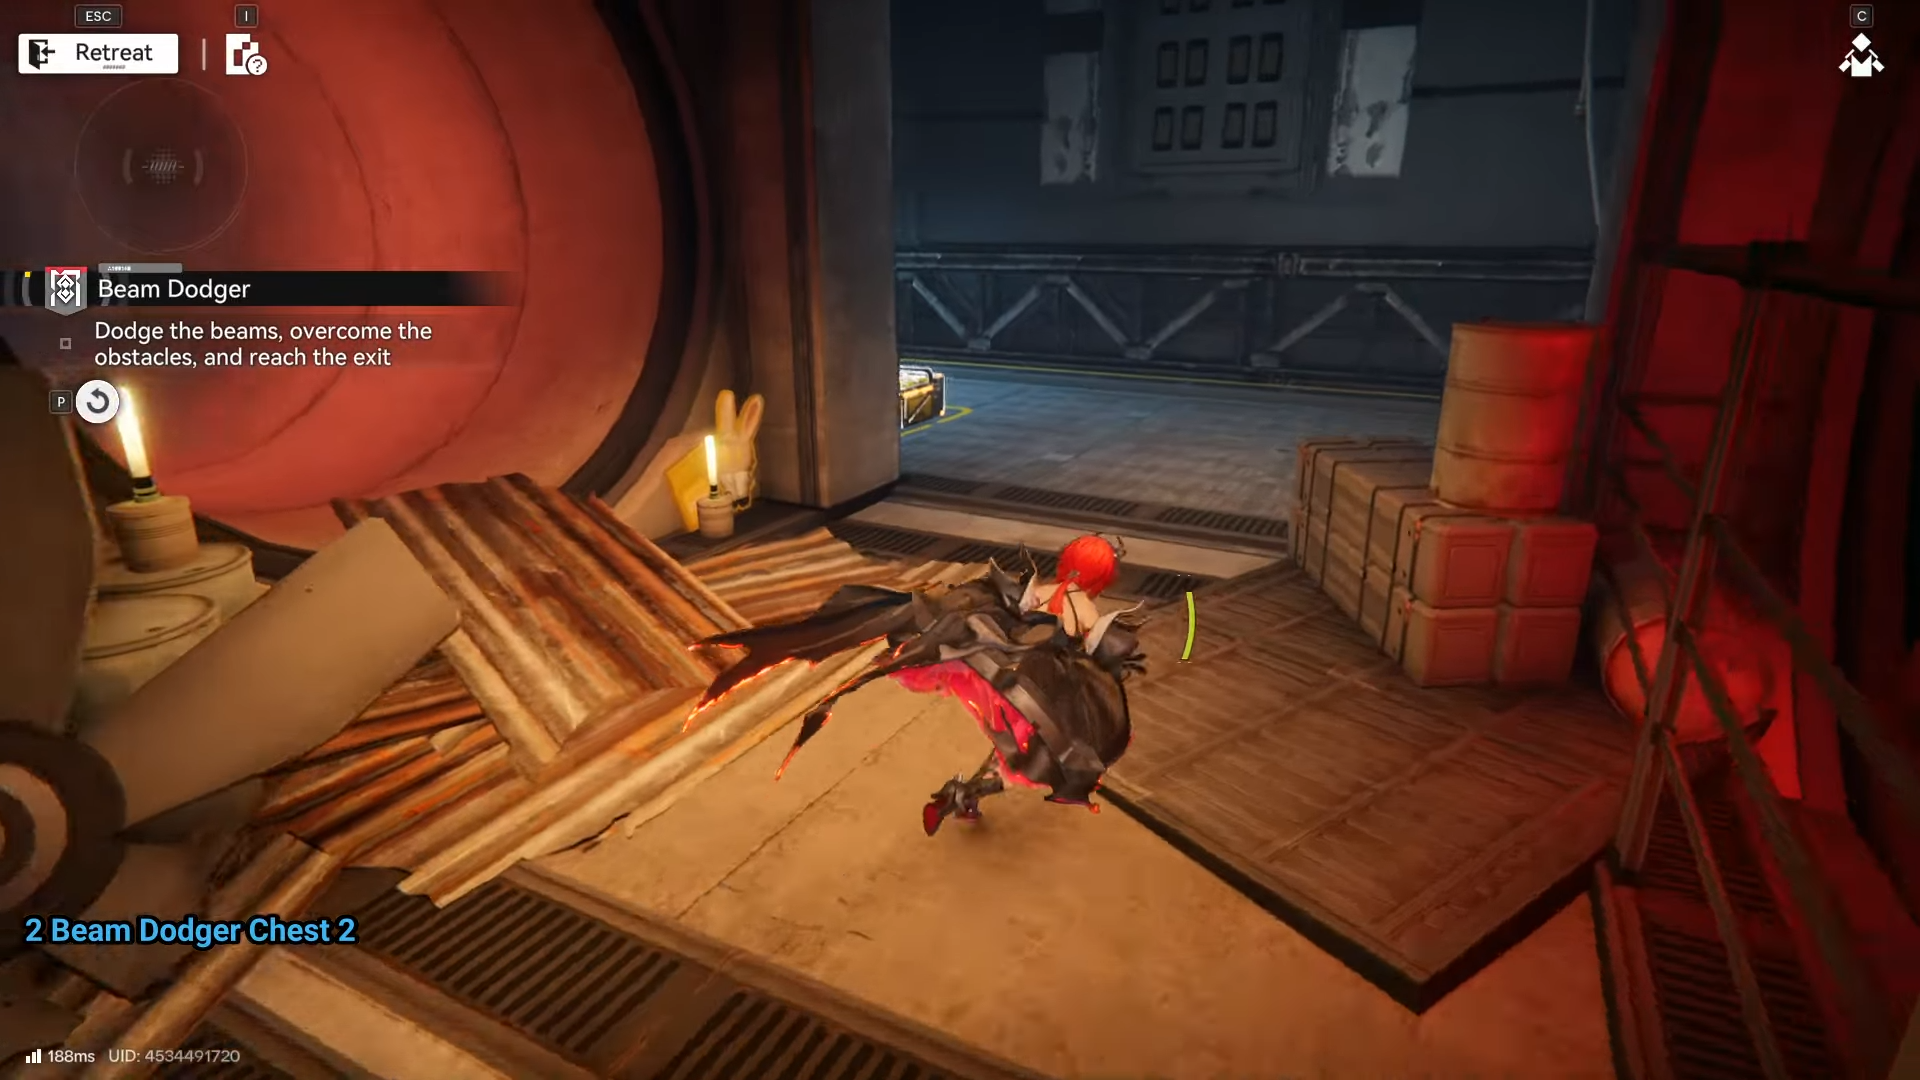
How to get chest 2
Visible early but accessible late, near step 8.
Step 1
Complete up to step 7’s second rappel.
Step 2
Before entering the left red tunnel, look right.
Step 3
Backtrack slightly to the ledge from the step 3 collapse view.
Step 4
Approach and open the crate.
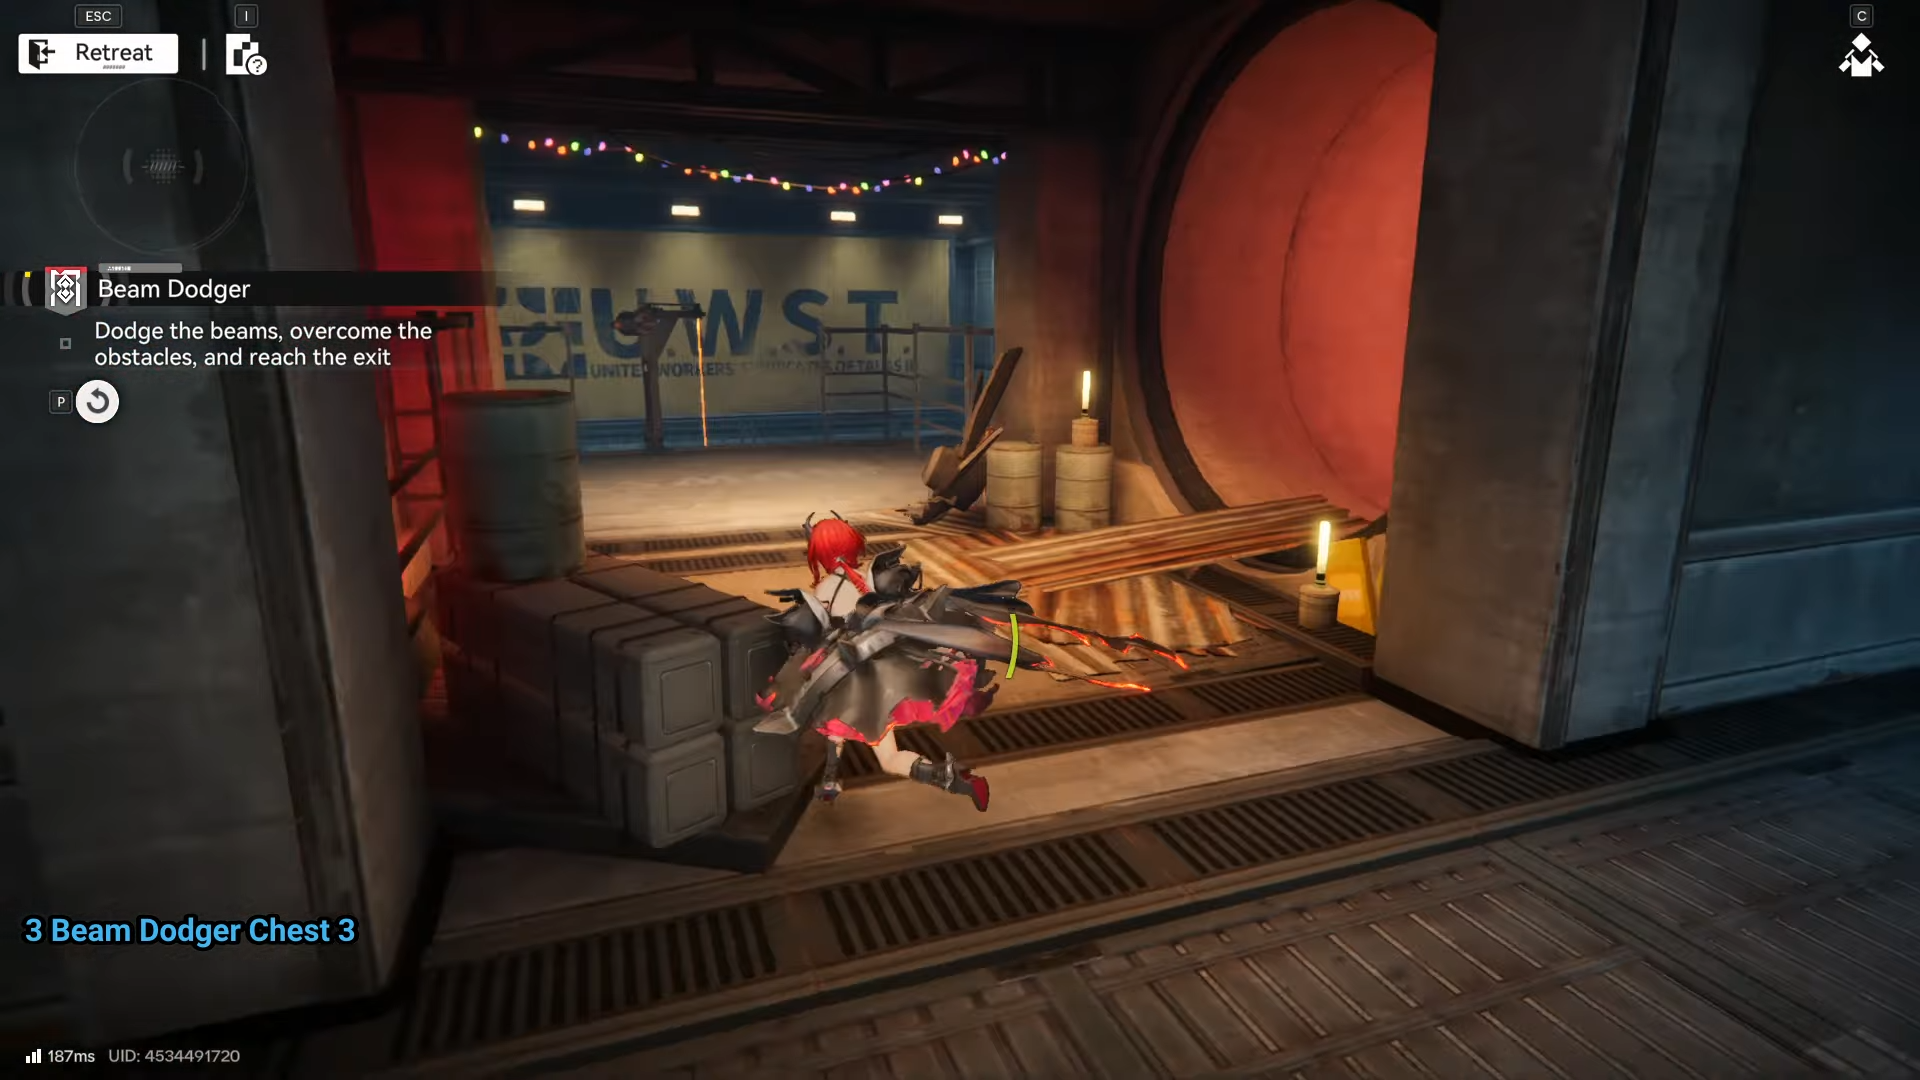
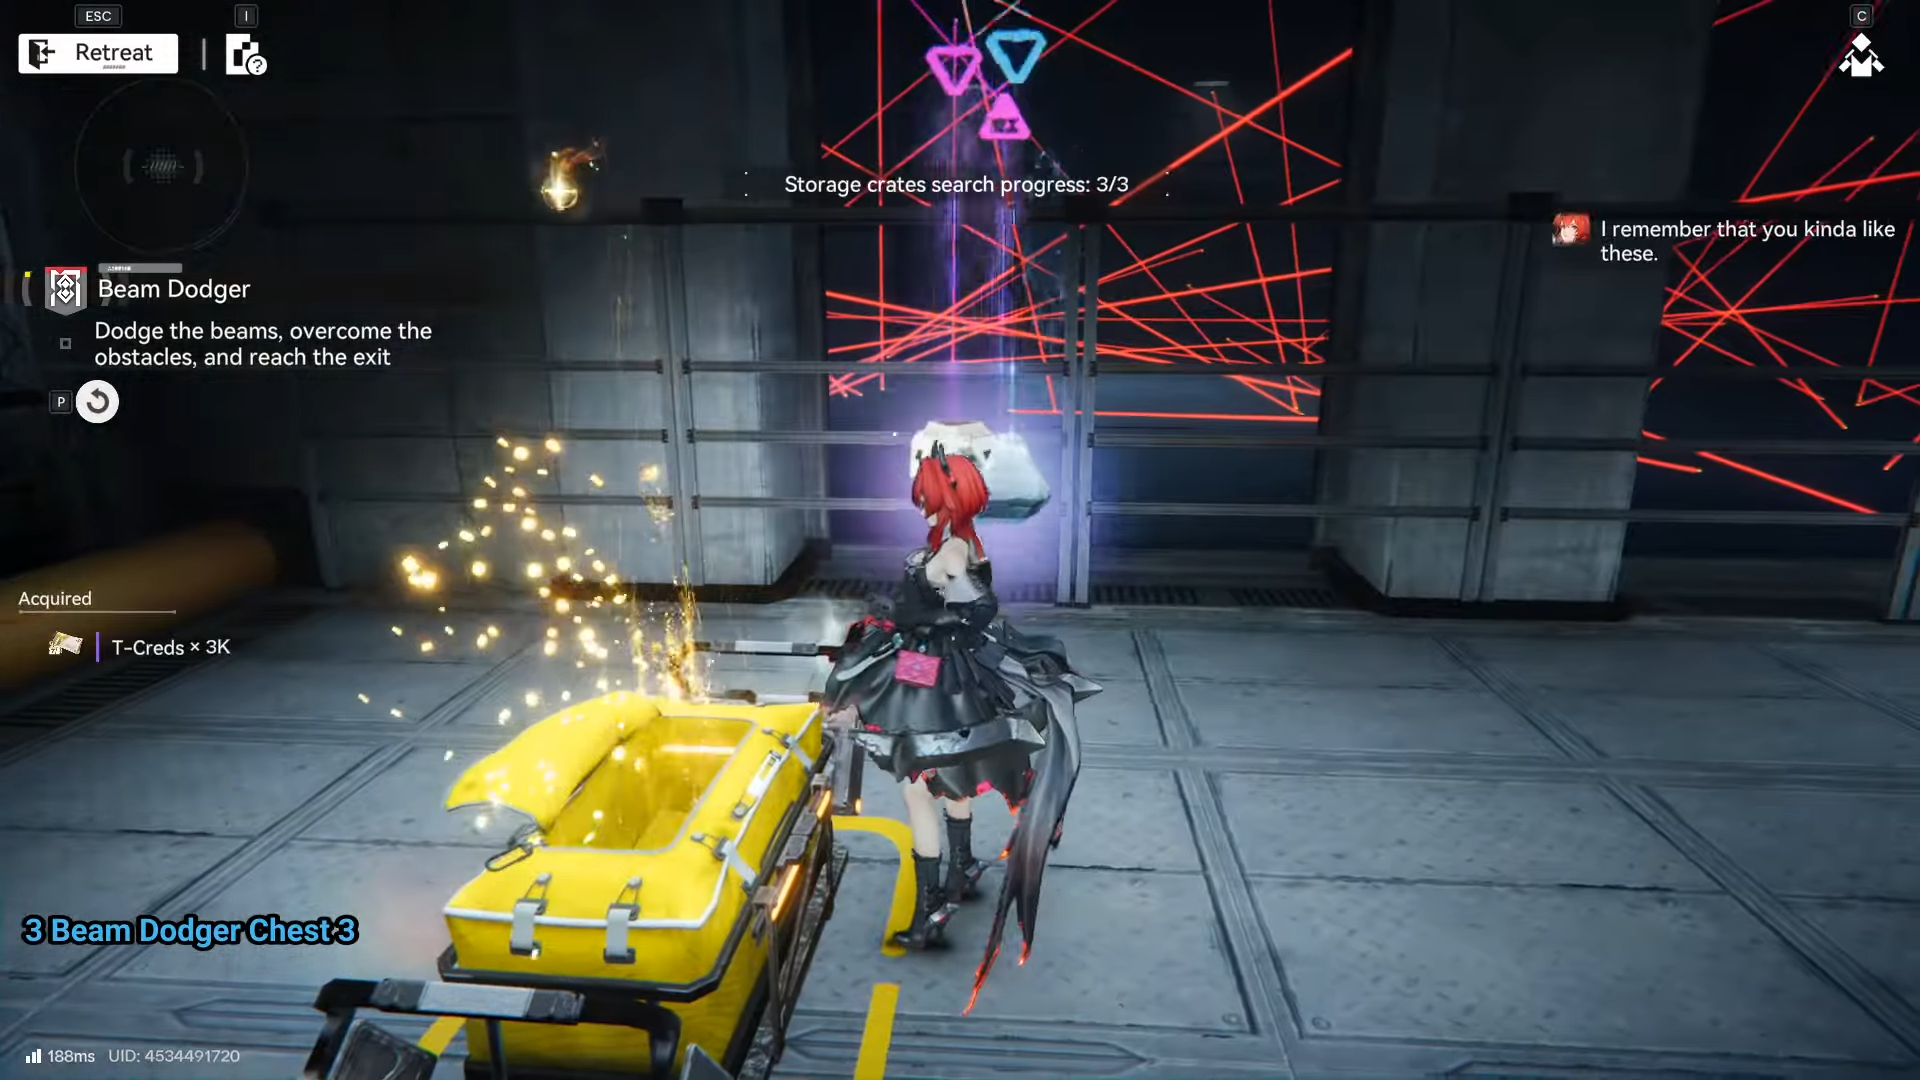
How to get chest 3
Found right after the final drop.
Step 1
Finish the red tunnel in step 8.
Step 2
Jump down into the beam-filled area.

Step 3
Immediately turn around instead of heading center.
Step 4
Follow the side pathway to the crate.
Rewards
| Reward Type | Items |
|---|---|
| Stage Clear | Oroberyl x200, T-Creds x20,000, Protohedron x6, Mark of Perseverance x1 |
| All 3 Crates | T-Creds x9,000, Protohedron x3, Arms INSP Kit x21 |
Nail all chests by pausing for backtracks at rappels and drops—perfect your timing to avoid restarts.


