What to know
- The best gun parts loot route runs through Stella Montis, hitting eight key areas from Medical Research all the way down to Seed Vault.
- The Lobby area is the highest priority stop, where trash cans and suitcases on the north side drop gun parts at an unusually high rate.
- Business Center, Loading Bay, Sandbox, and Seed Vault each offer weapon cases and additional containers worth checking along the way.
- A single run through this route can yield over 12 simple gun parts, 6 heavy, 3 medium, 4 light, and 2 complex gun parts, plus salvageable weapons.
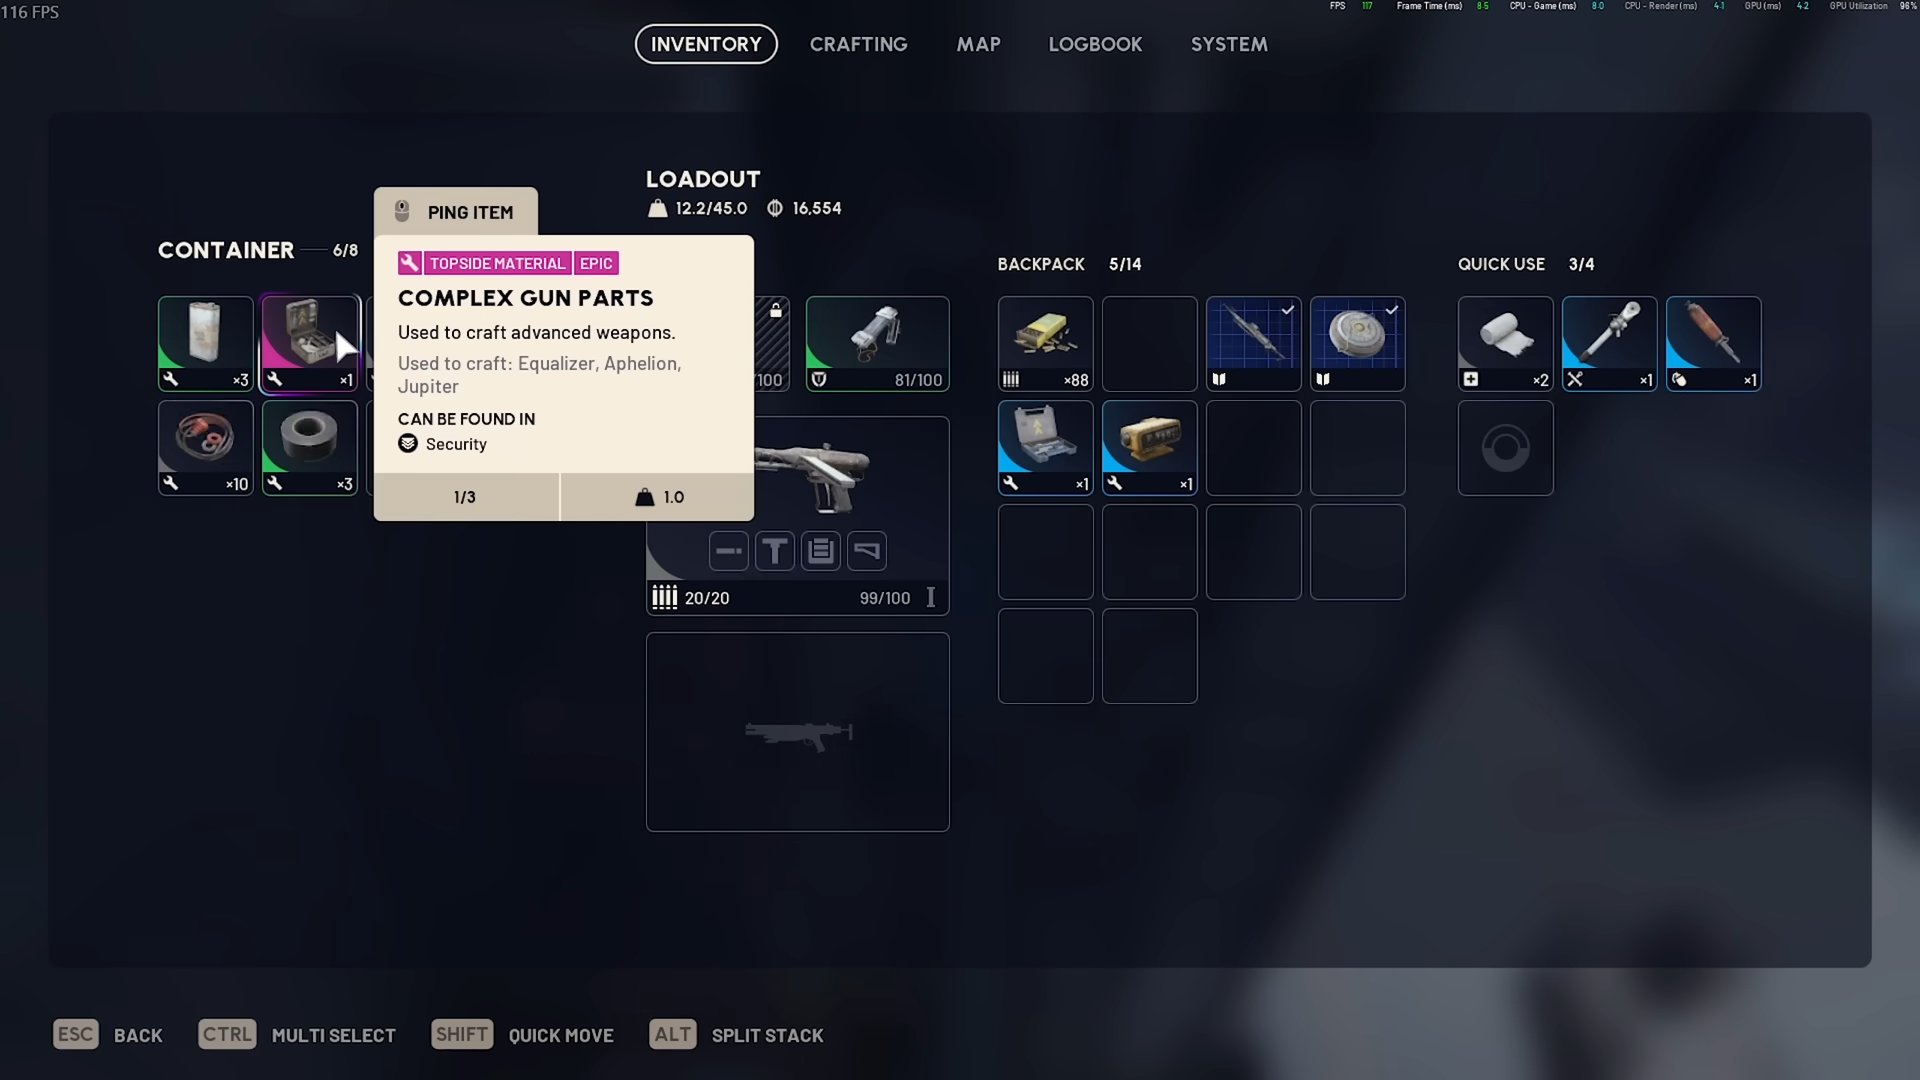
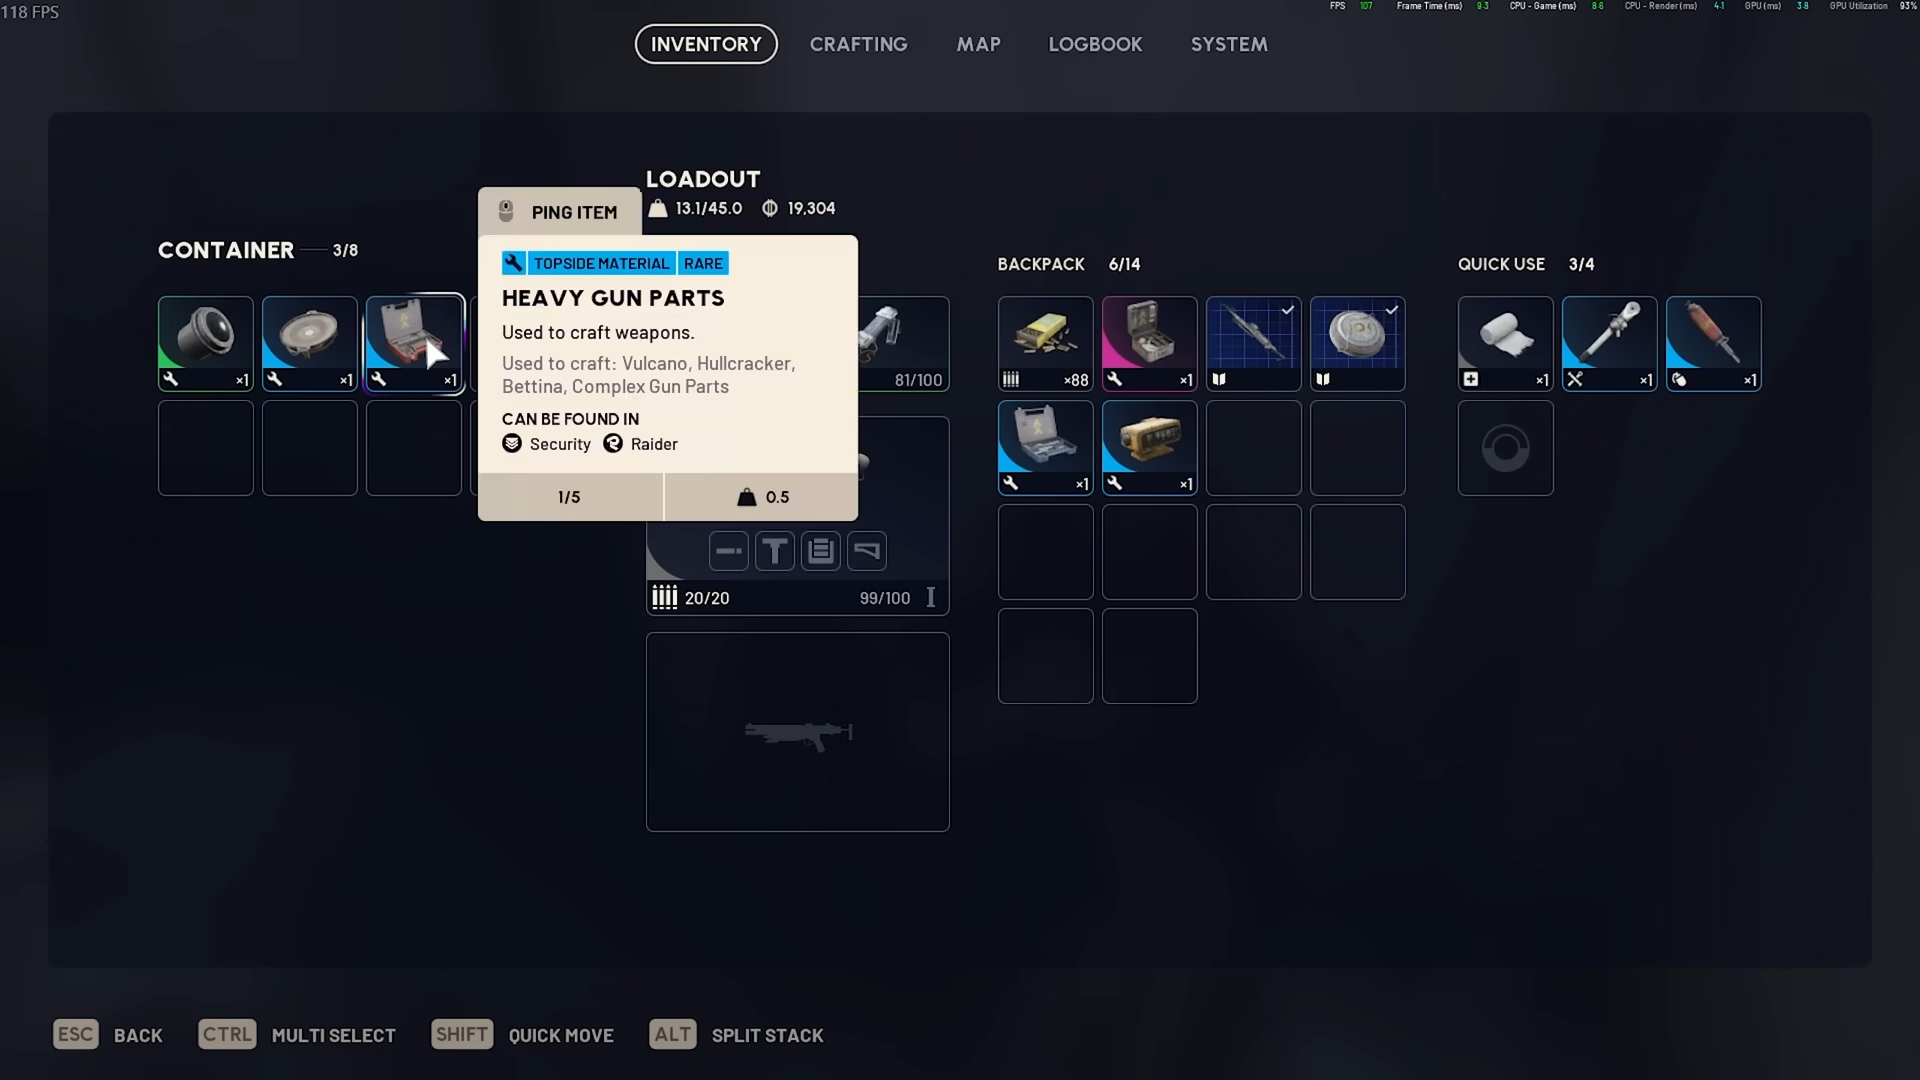
Gun parts are the one resource you will constantly burn through in ARC Raiders. Every weapon in the game requires them for crafting, upgrading to level four, and repairing. Unlike other materials such as magnets, springs, or oil that are weapon-specific, gun parts are universally needed across your entire arsenal. Following a reliable farming route on Stella Montis is the best way to build a stockpile so large you never have to think about running low again.
| Area | Priority | Key loot sources | What to expect |
|---|---|---|---|
| Medical Research | Low | Weapon case spawn | One potential weapon case, not always present |
| Assembly Workshops | Low | Security case, weapon case, containers | Occasional spawns, worth a quick sweep |
| Lobby | Very High | Trash cans, suitcases, breachable trucks, raider backpacks | Massive gun parts drops from nearly every container |
| Business Center | High | Weapon cases, containers | Good weapon case spawns, traditional loot pools |
| Atrium | Low | Weapon case, zip line access | One weapon case spawn, mostly residential loot |
| Loading Bay | Medium | Weapon cases | Decent weapon case availability |
| Sandbox | Low | Weapon case, shredder area | One weapon case inside, watch for heavy ARC presence |
| Seed Vault | Low | Weapon cases, security breach | Multiple weapon cases and a security breach spawn |
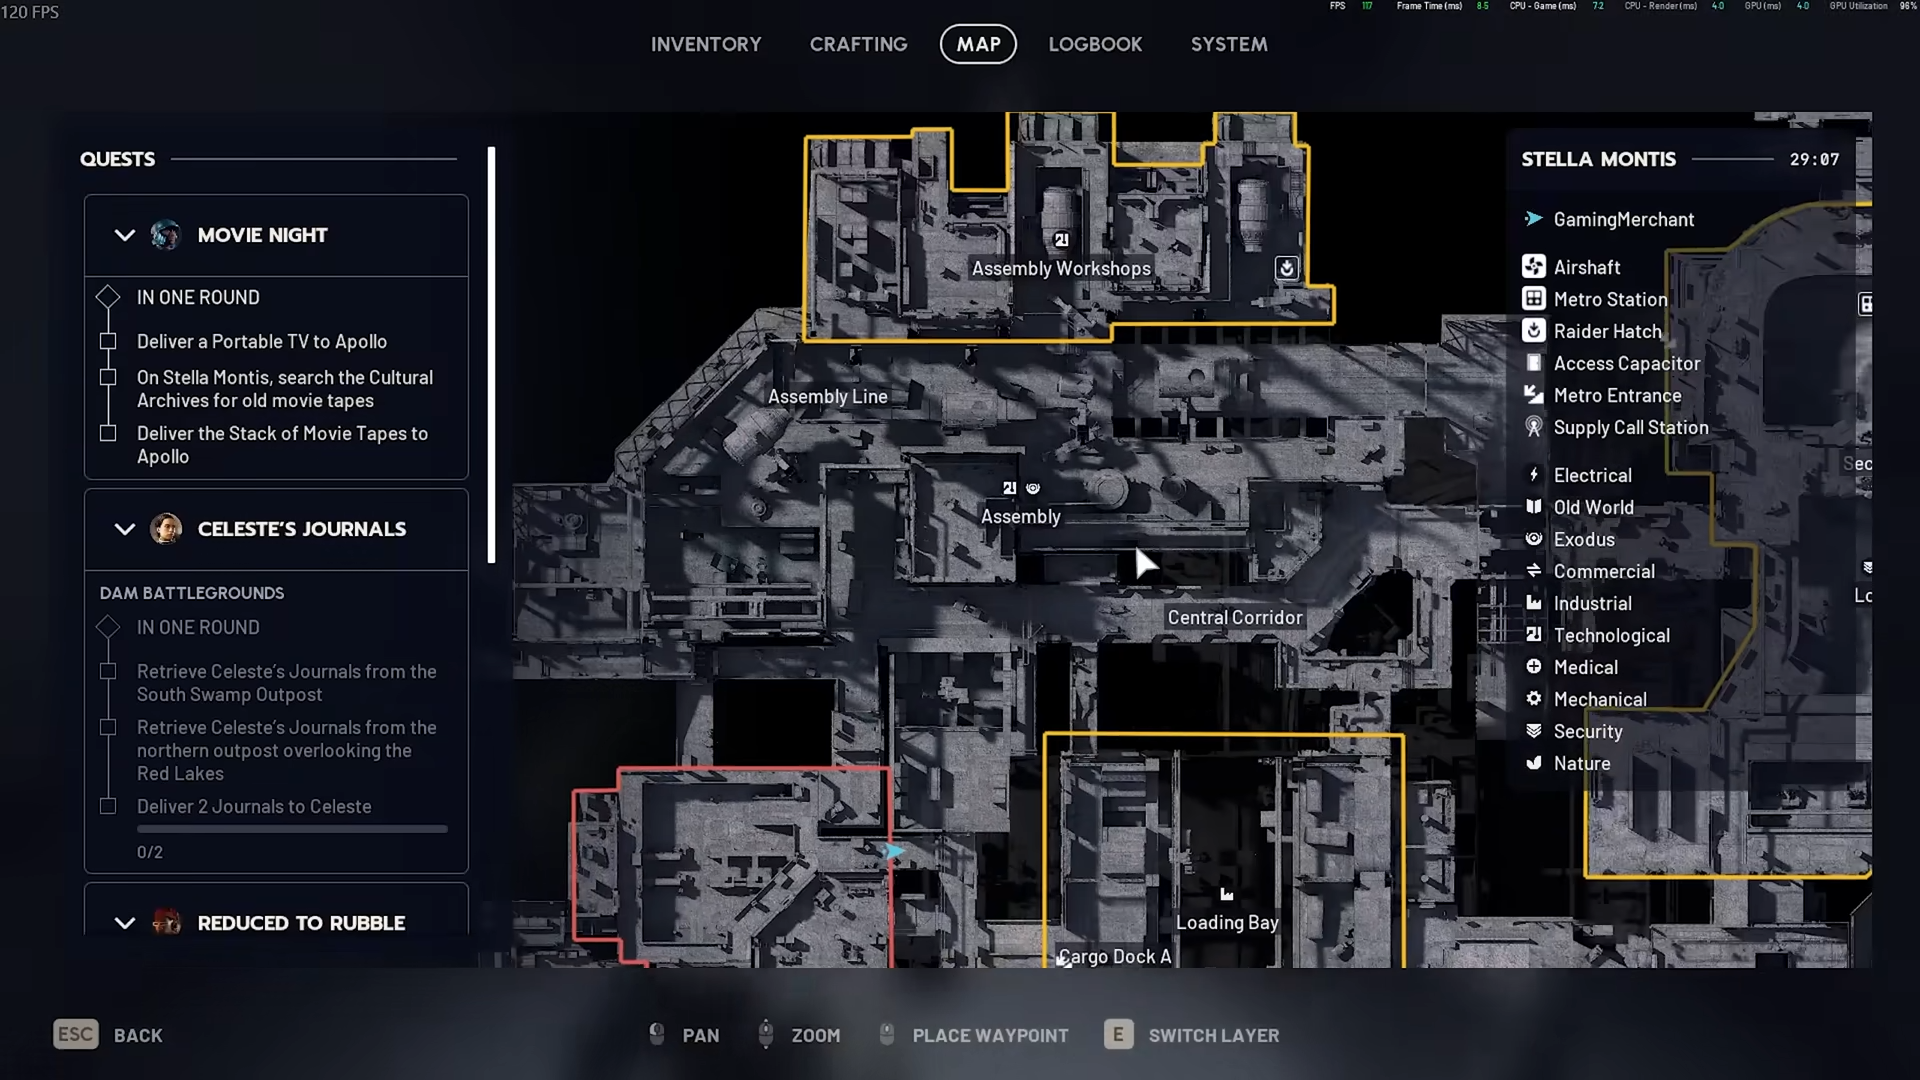
Locations on Stella Montis
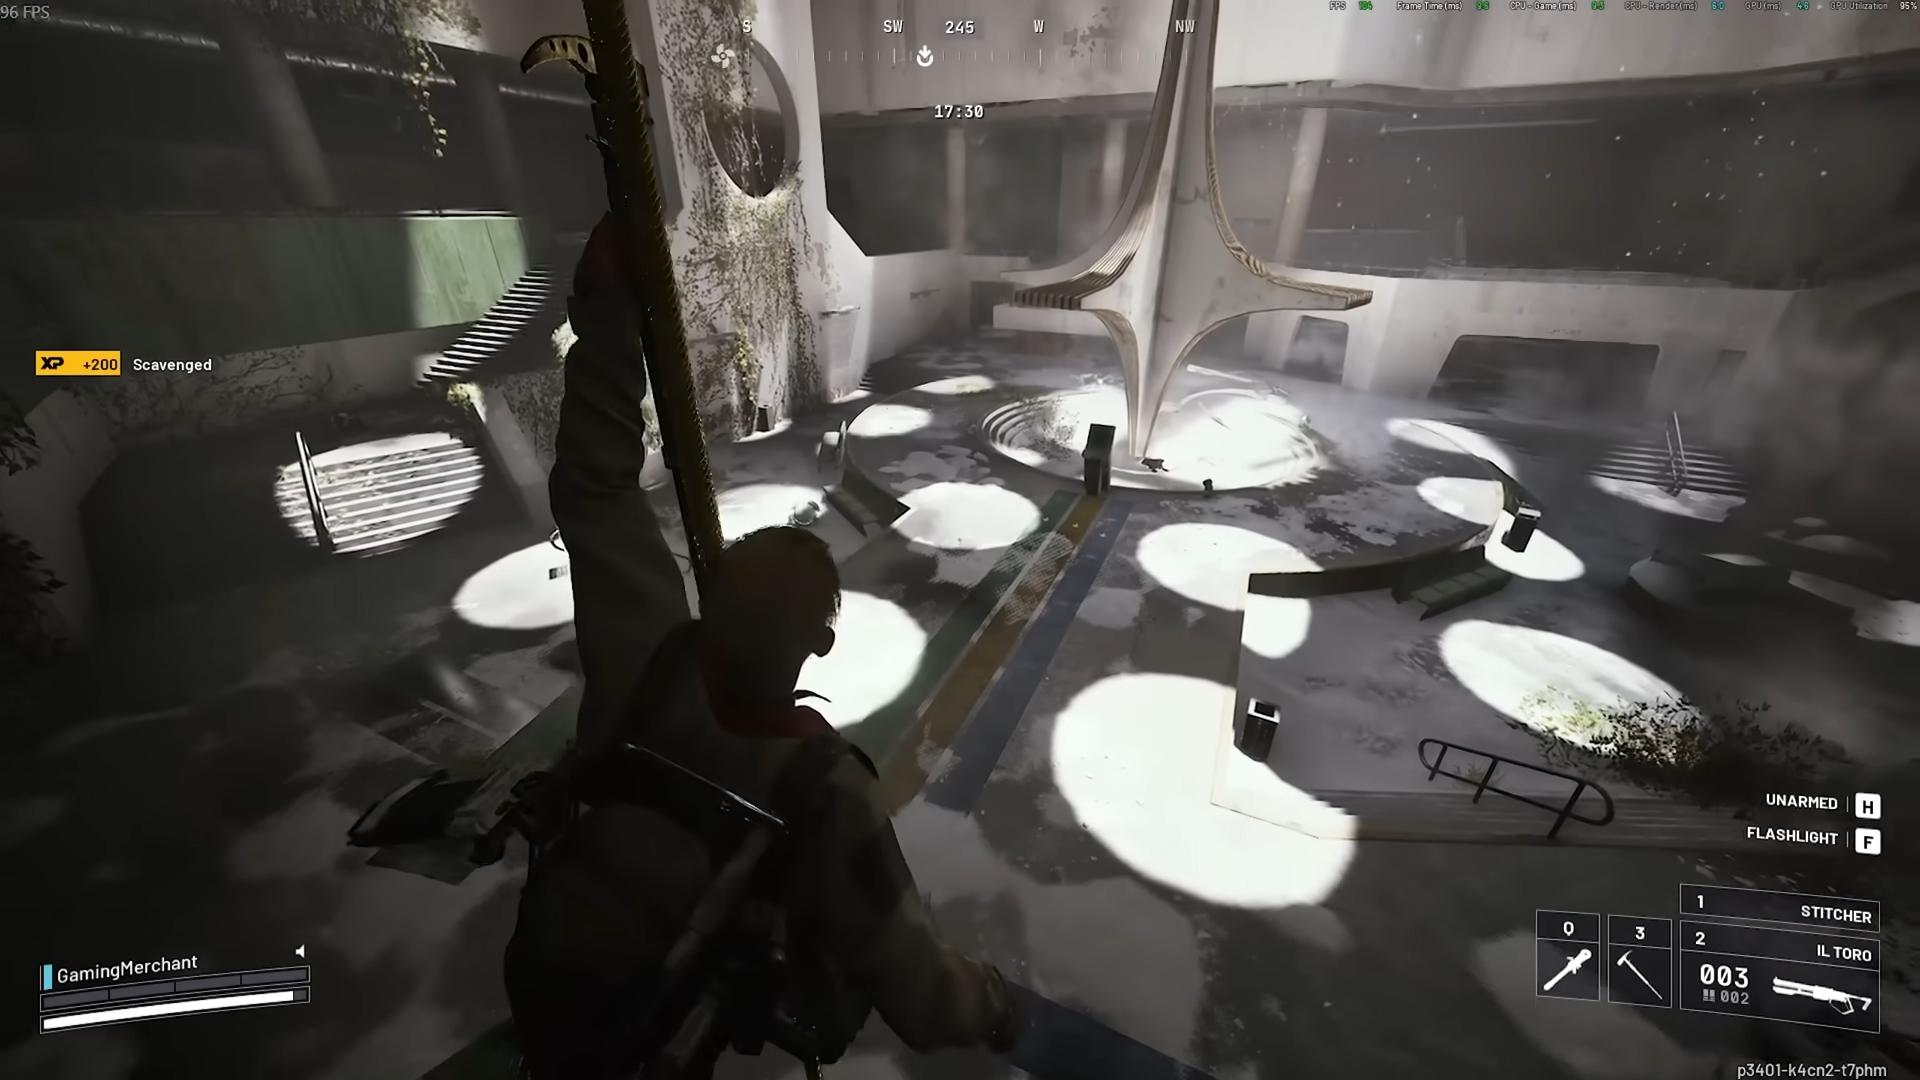
This entire route takes place on the Stella Montis map, a hidden research facility set inside a snow-covered mountain. Stella Montis is widely considered one of the best loot maps in ARC Raiders due to its high volume of lootable containers and access to higher-tier materials. The route flows naturally from the upper levels of the facility starting at Medical Research, down through the central Lobby and Business Center, and eventually out through Sandbox and Seed Vault toward extraction points like Lobby Metro or the Air Shaft.
How to run the gun parts route step by step
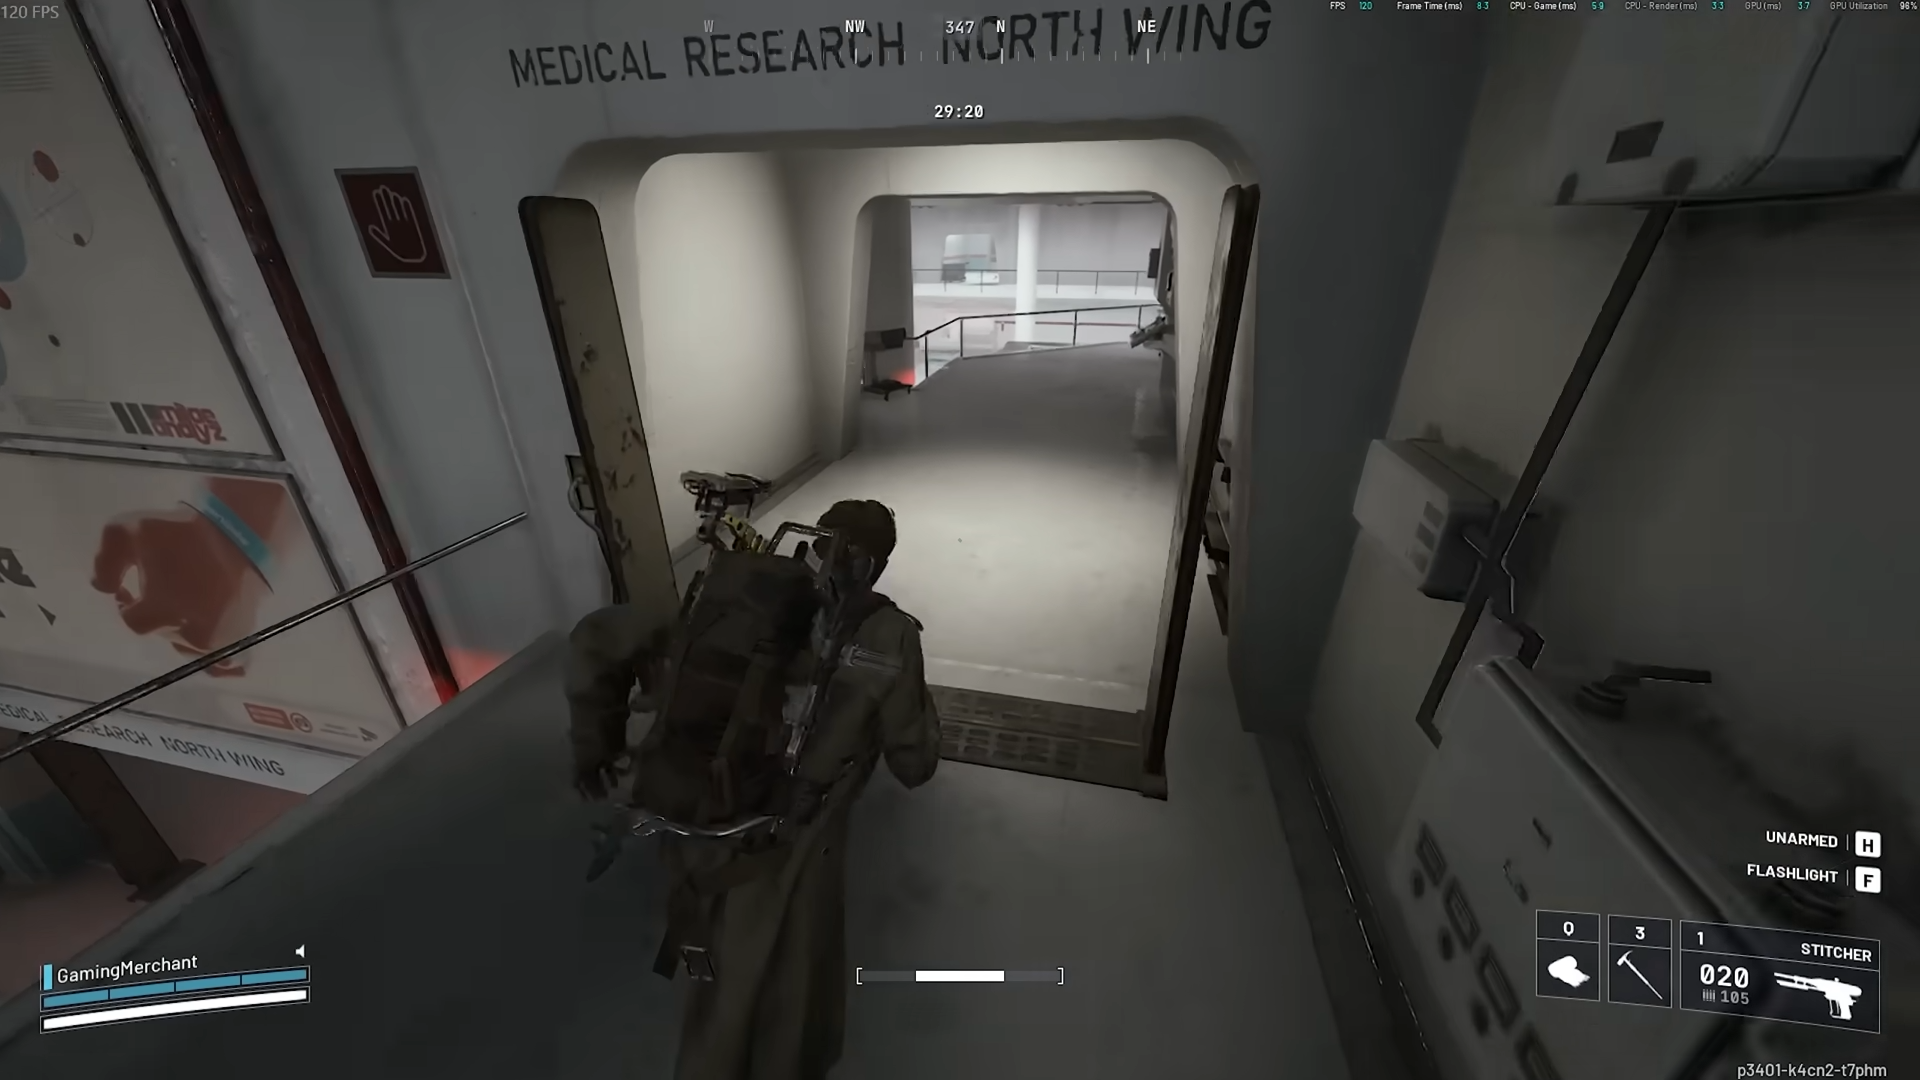
Medical Research
Step 1
After spawning in, head down toward Medical Research. Look for a weapon case spawn in this room. It does not always appear, so do not worry if it is empty. Tick this area off quickly and move on.
Assembly Workshops
Step 2
From Medical Research, navigate upward through the facility toward Assembly Workshops. Use the stairs and watch out for pops and other ARC enemies patrolling this area.
Step 3
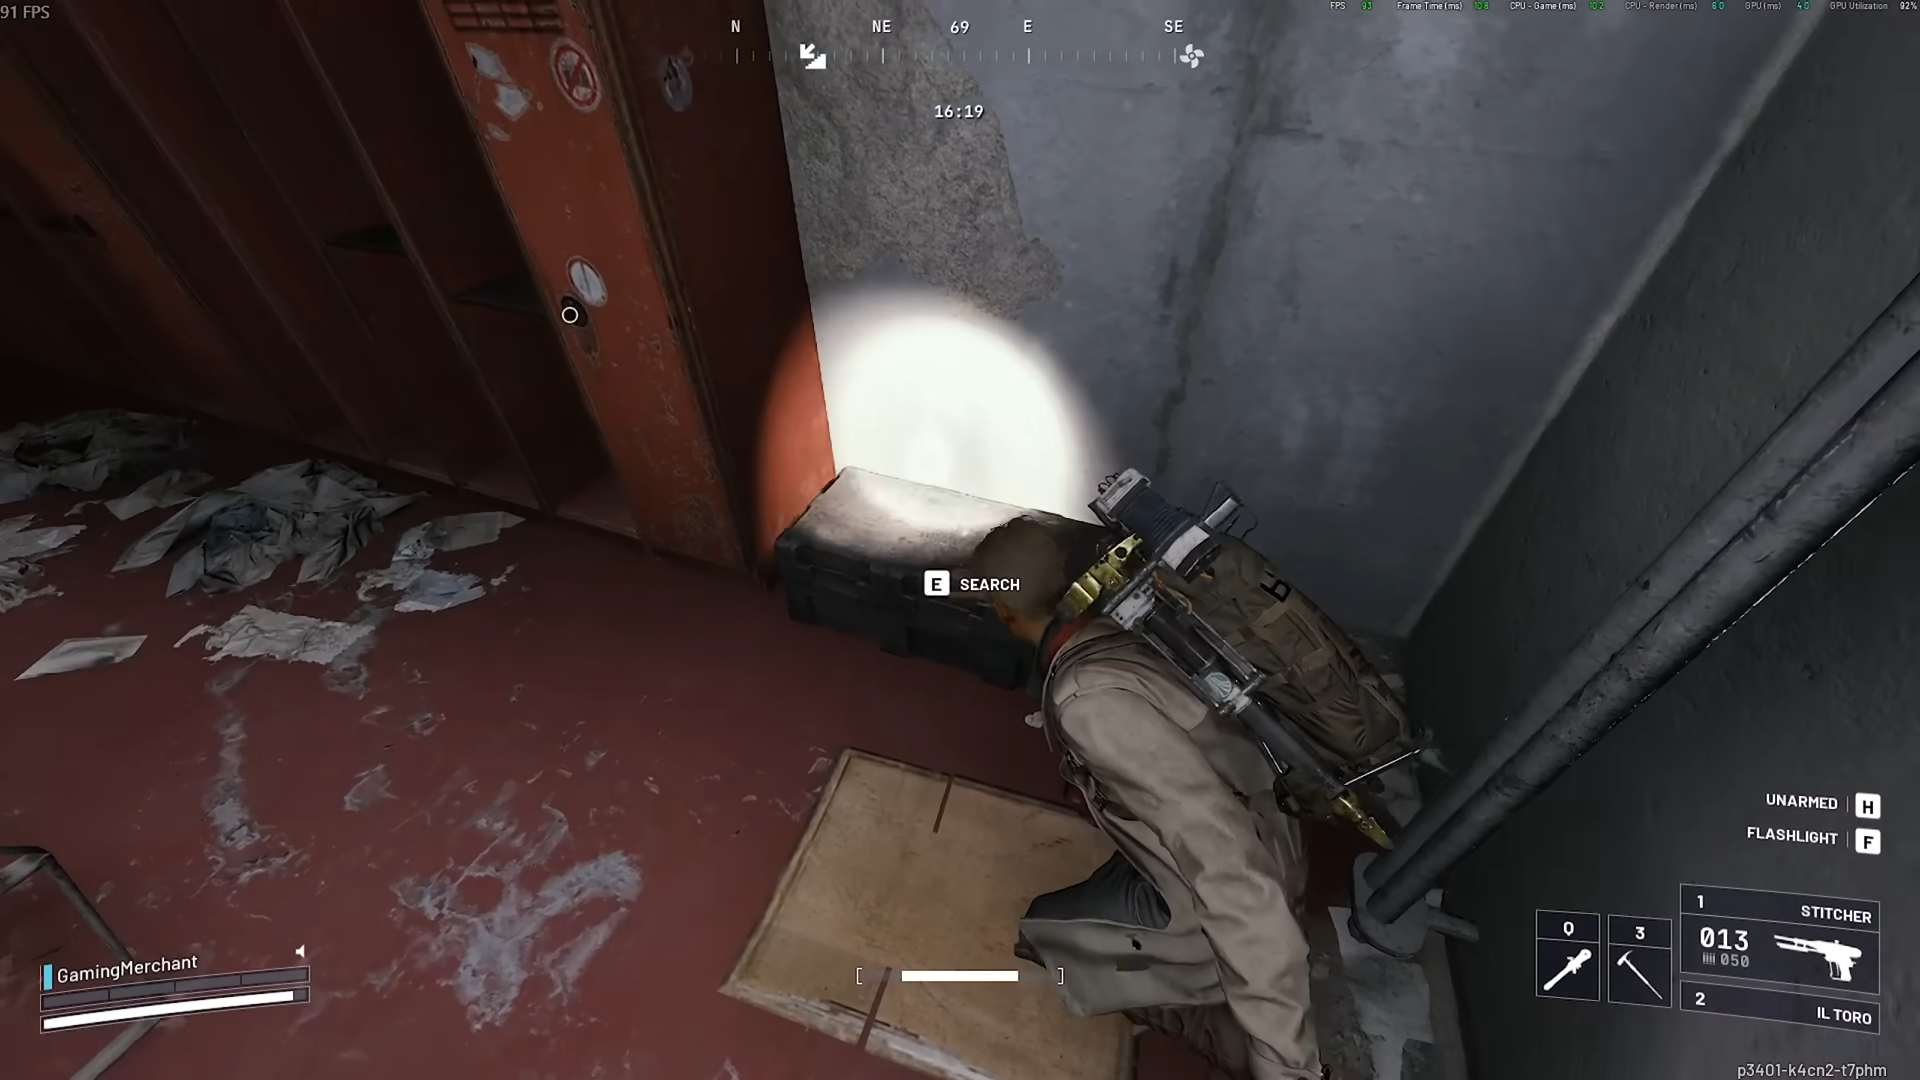
Check every trash can along the way. Trash cans in this section frequently contain weapon parts and mod components, making them surprisingly valuable.
Step 4
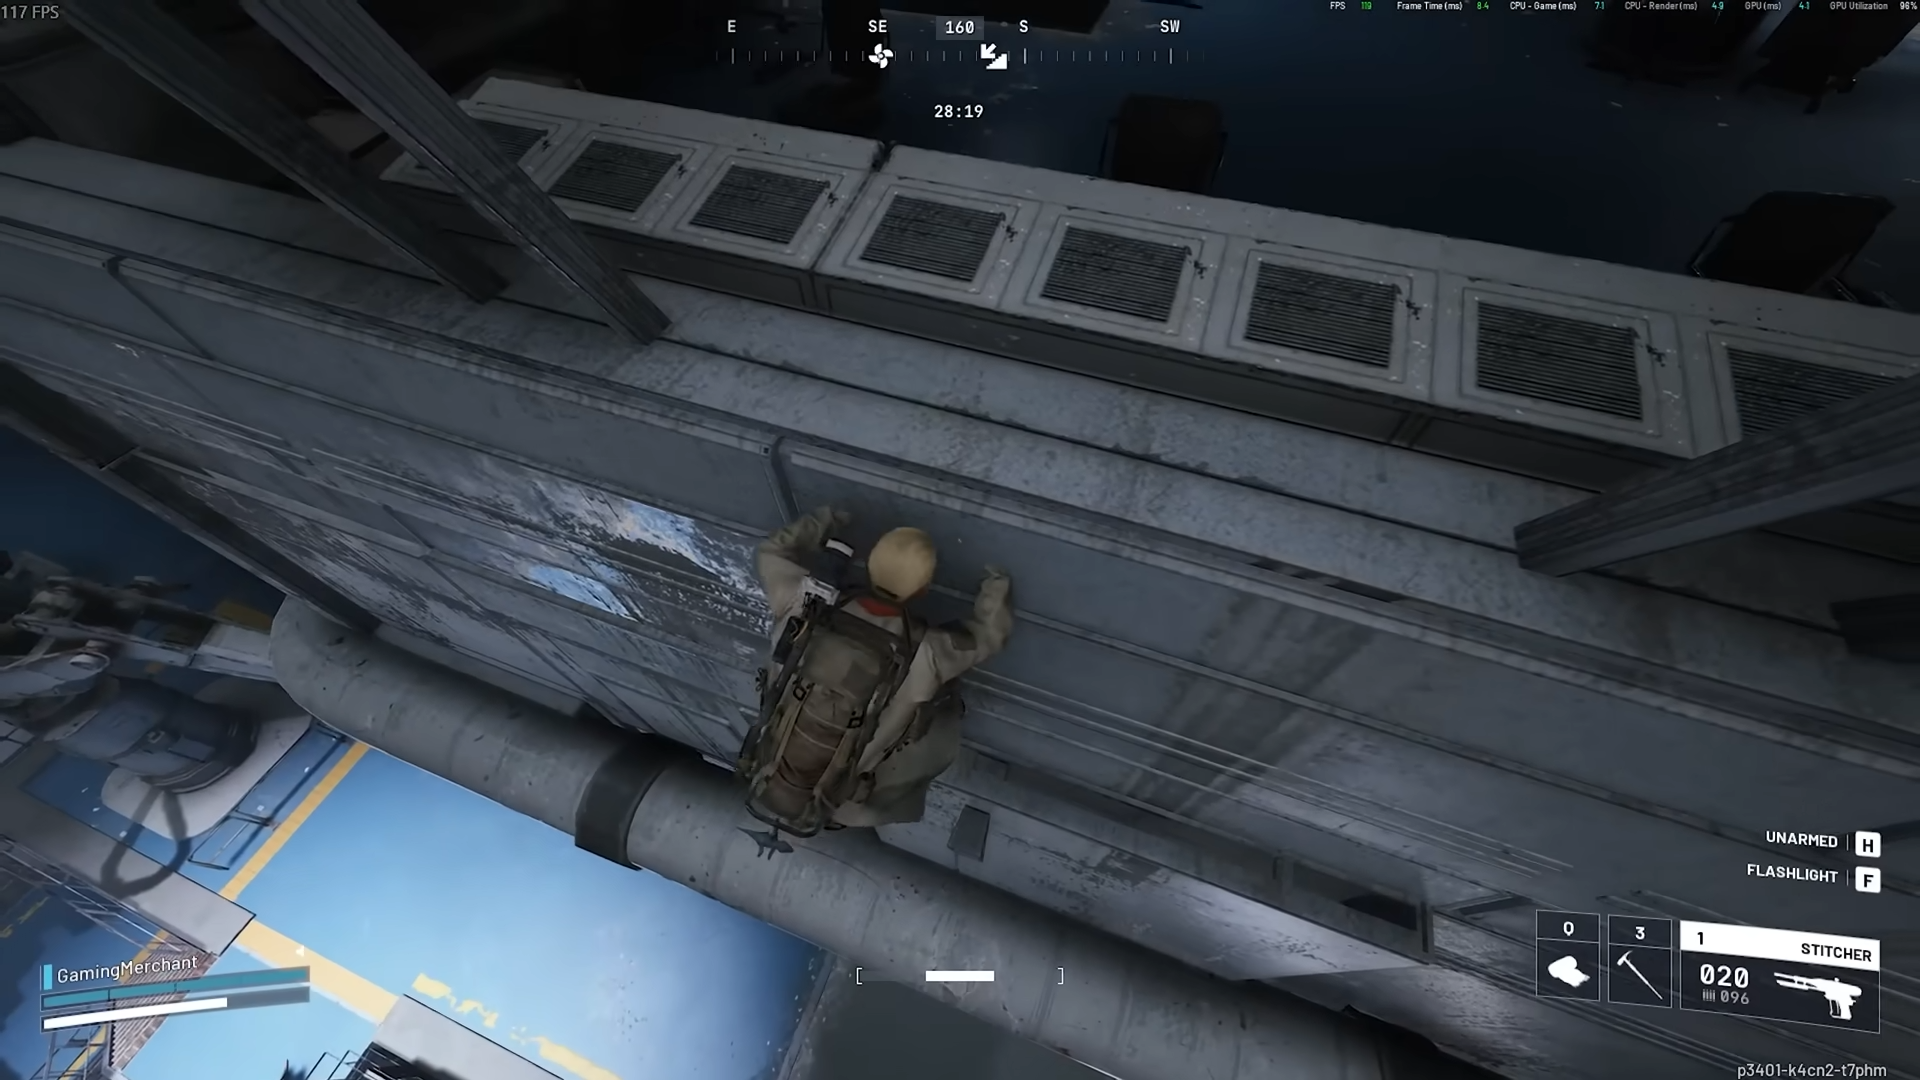
Look for the pipe you can jump onto and cross over to reach a platform where a weapon case or raider bag can spawn. Spam the jump button on the pipe to avoid falling.
Step 5
Check for the security case spawns in this area. There are two possible security case locations in Assembly Workshops, but neither is guaranteed to appear every run.

Step 6
Loot any nearby containers as well. While this run focuses on gun parts, these containers can hold advanced mechanicals and other useful materials.
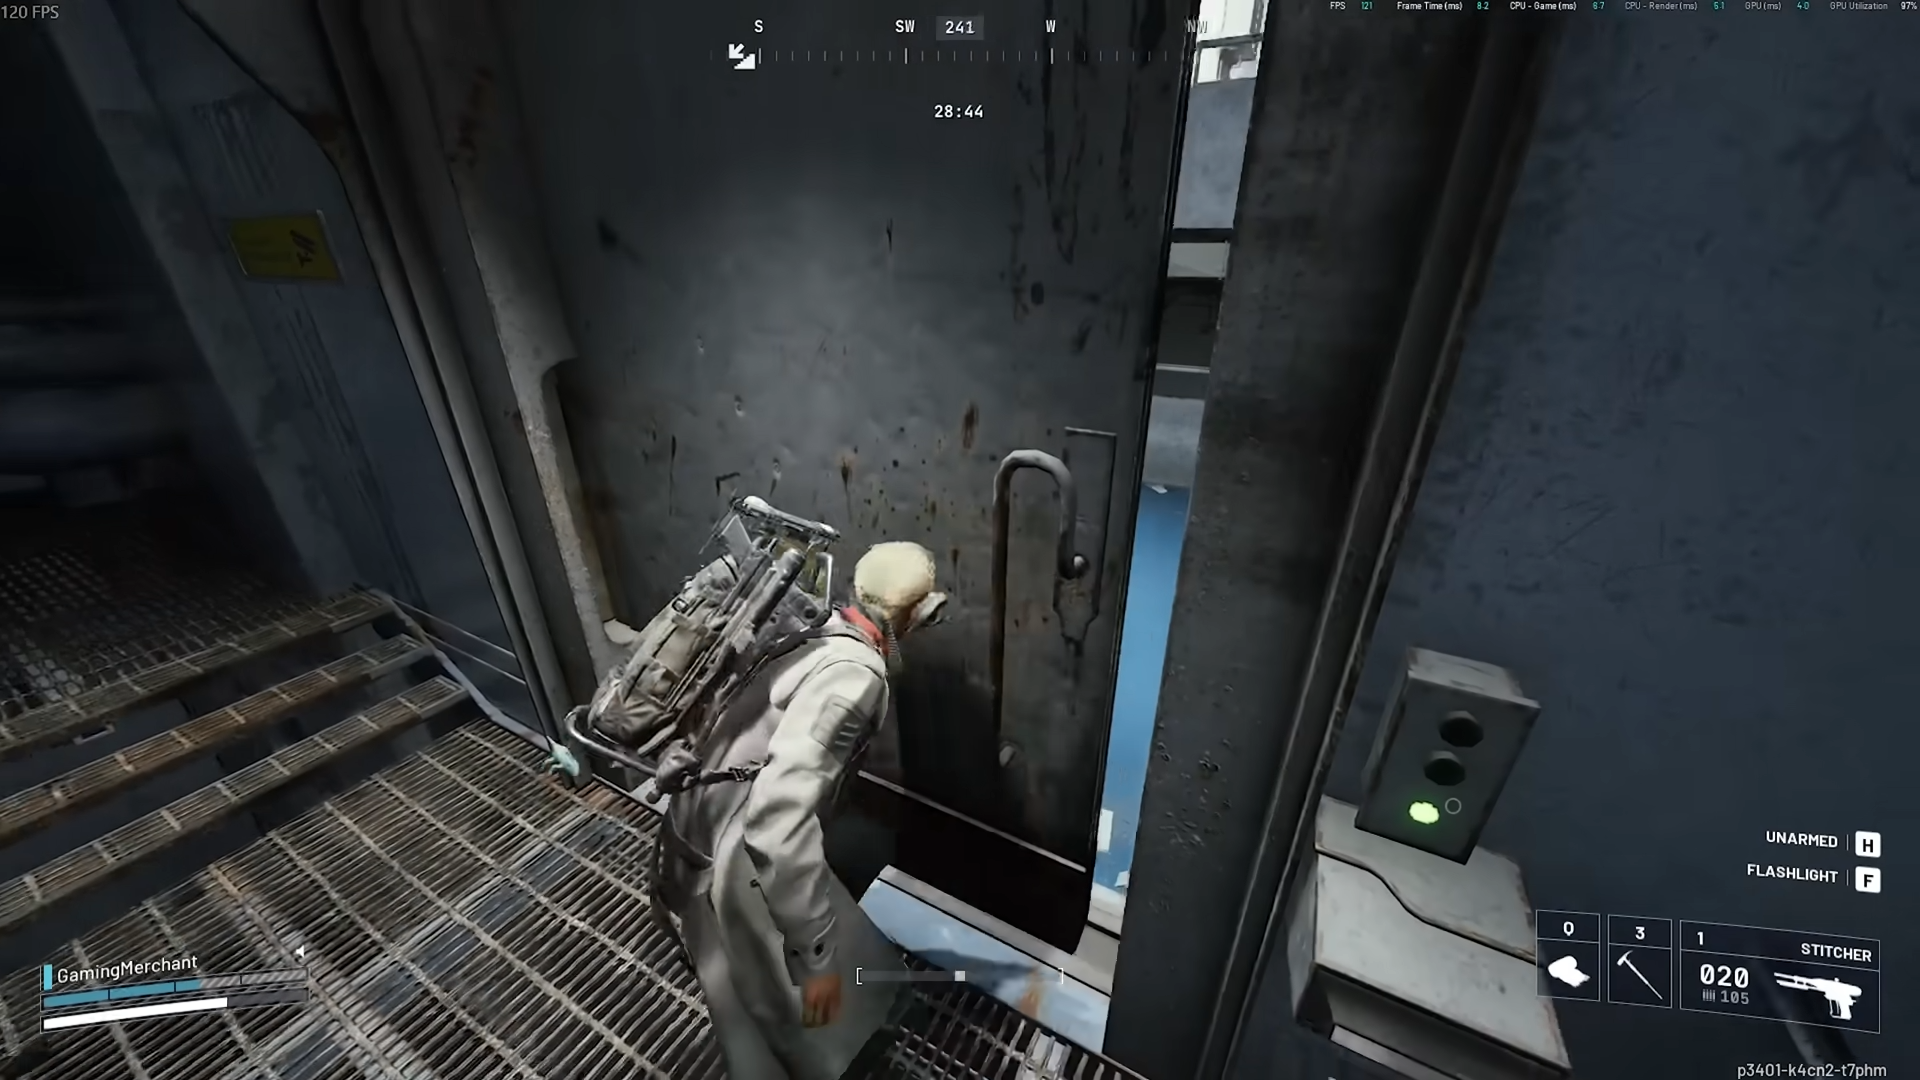
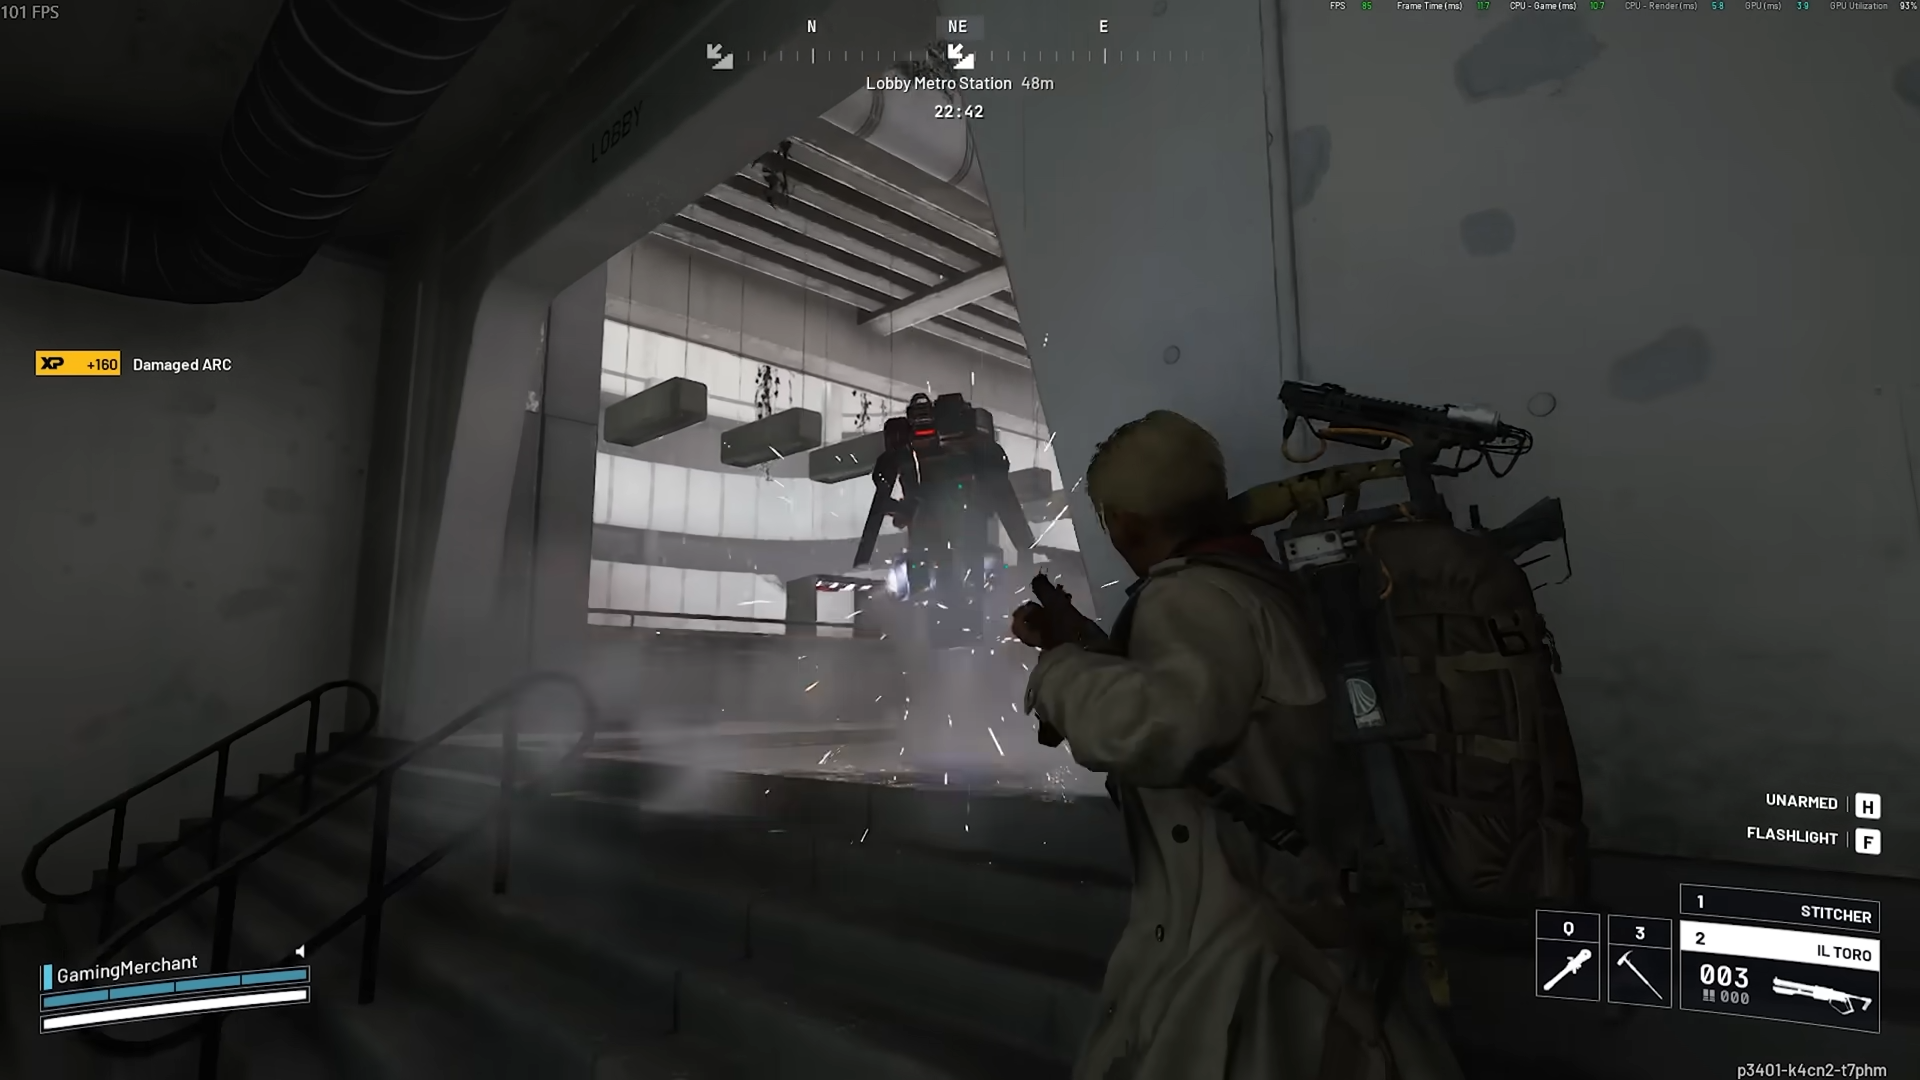
Lobby (the main farming zone)
Step 7
Make your way down from Assembly Workshops into the Lobby area.
There is a tricky jump where you need to sprint and leap across a gap. Stand at the edge, sprint forward, and jump to clear it.
Step 8
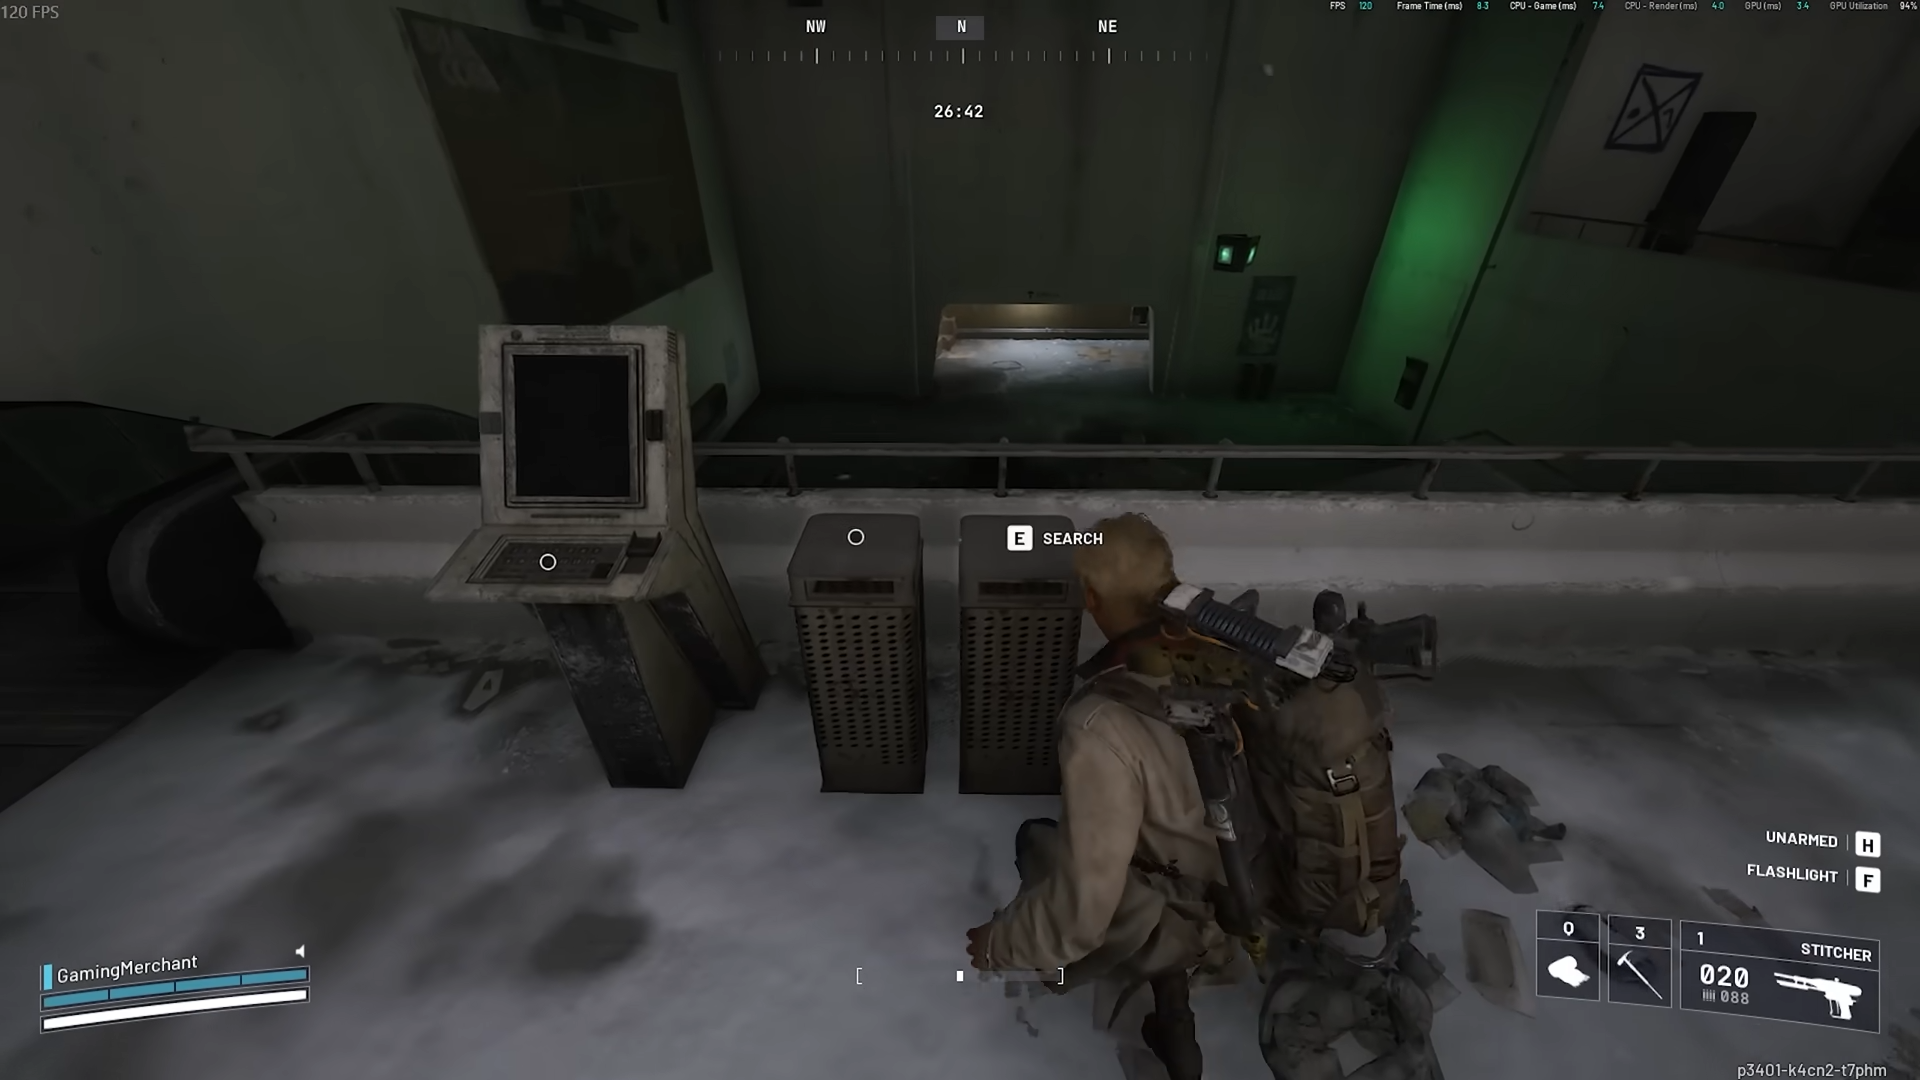
Once inside Lobby, start looting every trash can you see.
This is where the route becomes extremely productive.
The trash cans on the north side of Lobby have an unusual loot pool that drops gun parts at a very high rate. Nearly every single container in this section can give you gun parts.
Step 9
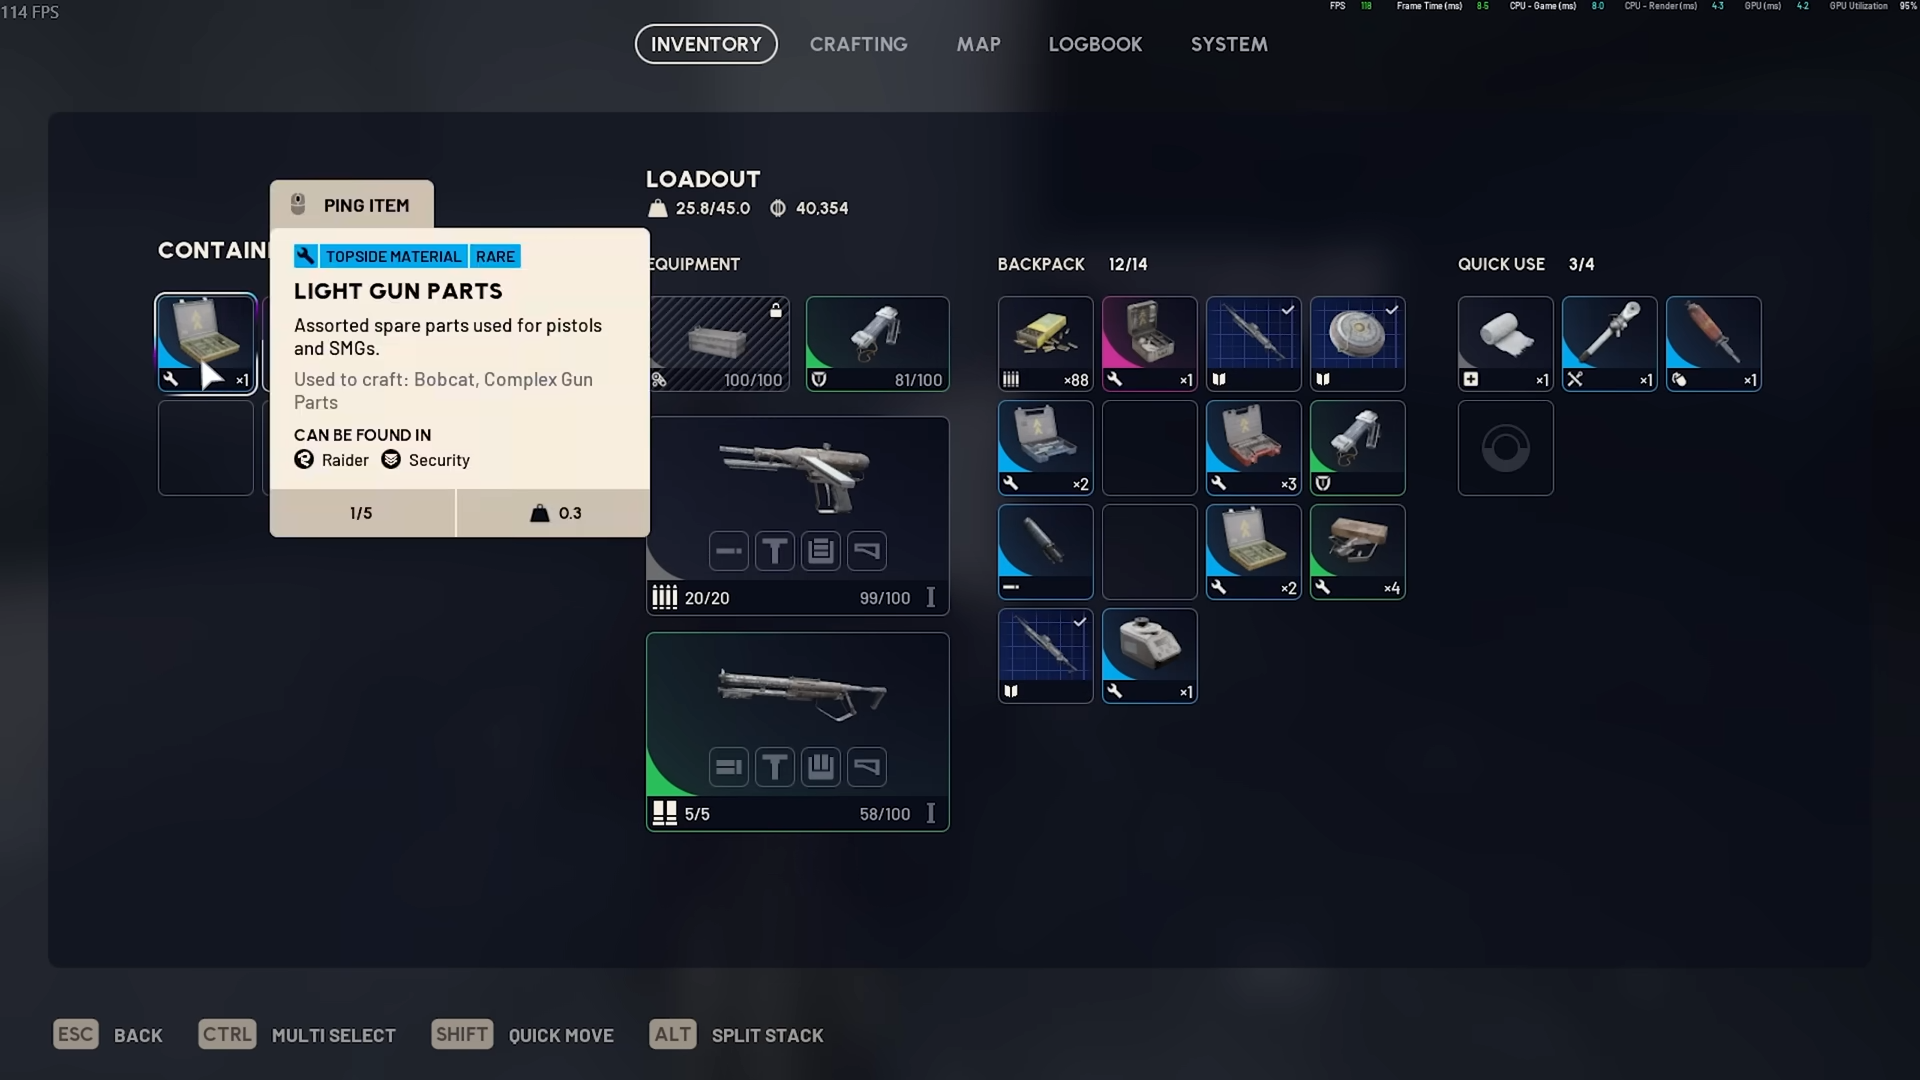
Check all suitcases in the area as well. These also drop gun parts frequently within this specific section of Lobby. Gun parts stack in groups of five, so inventory management stays manageable even on a free loadout.
Step 10
Look for the augment boxes, though these are often already looted by other players. Check for security breach spawns in the nearby rooms as well.
Step 11
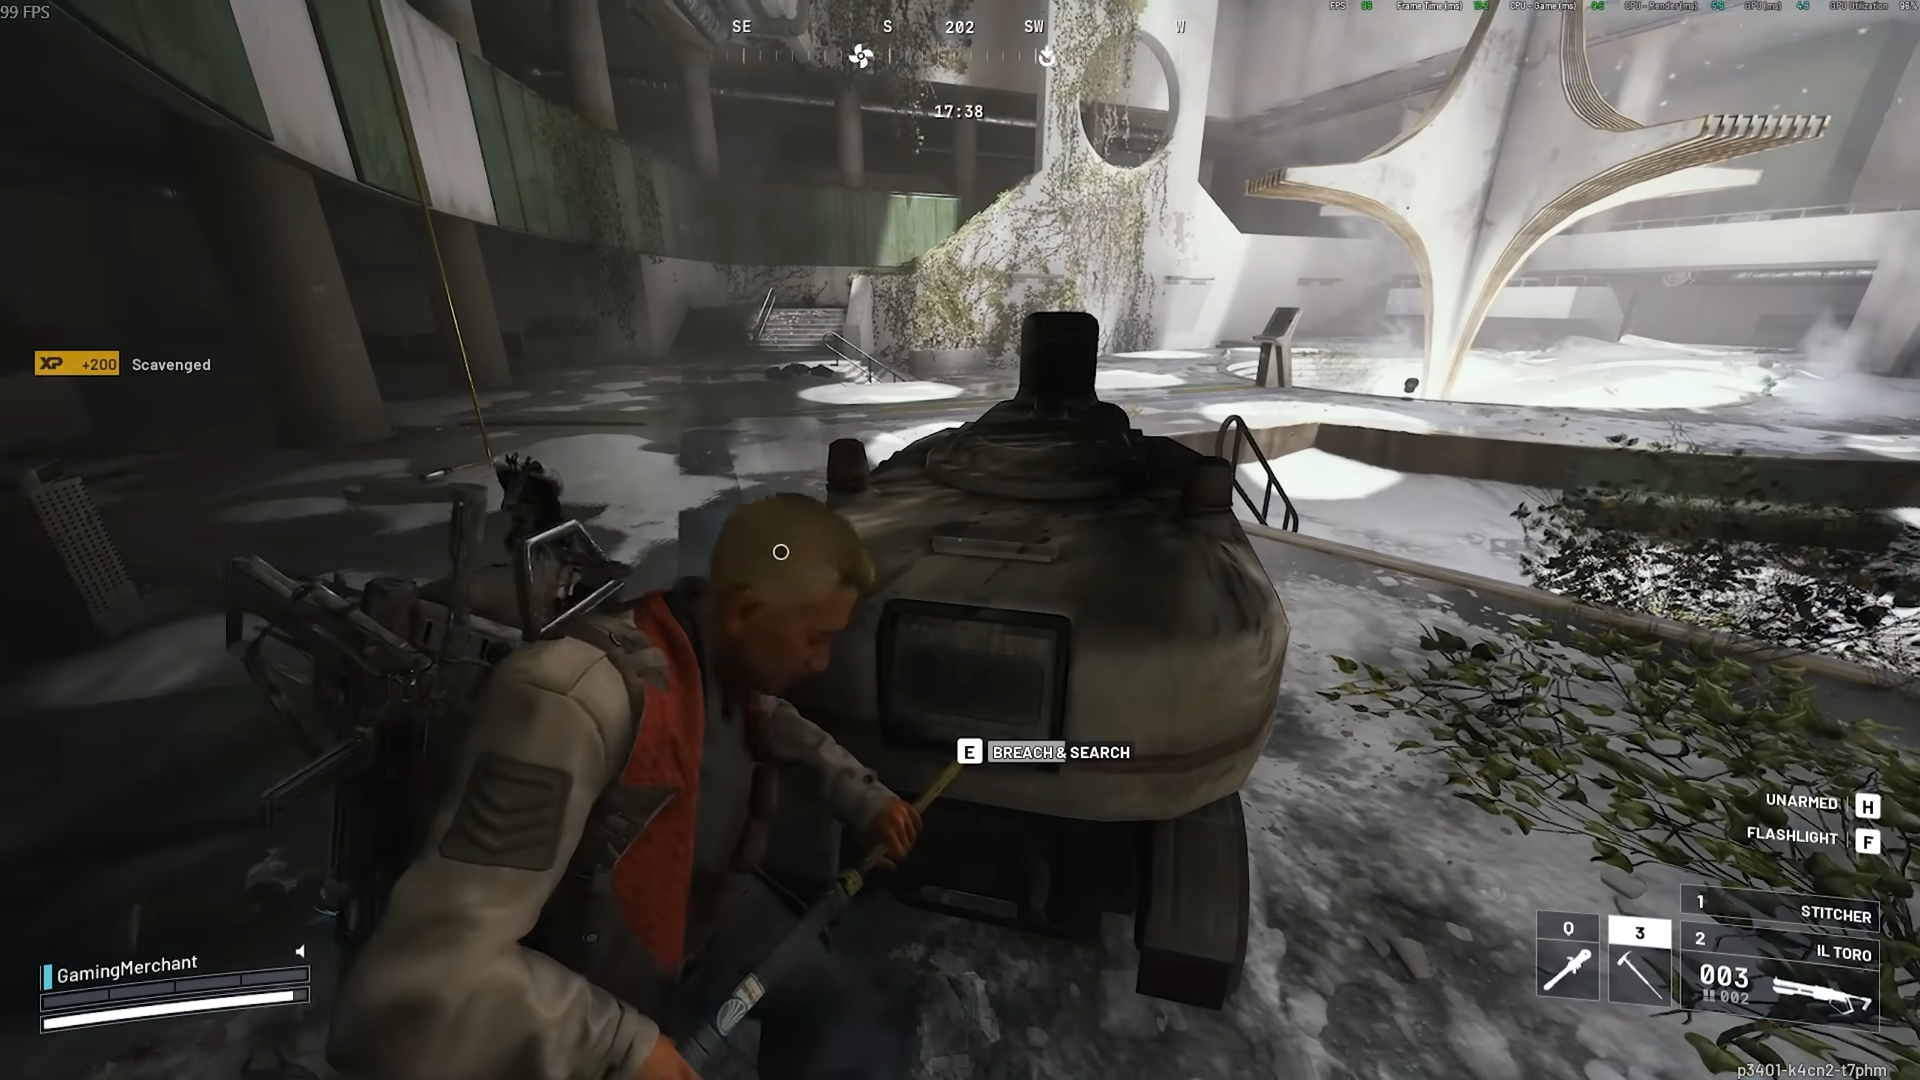
Loot the breachable trucks and containers in Lobby. These containers in the Lobby area specifically give a variety of items including gun parts, unlike their counterparts in other map zones where they typically only drop mechanical components.
Step 12
Check for raider backpack spawns in this section. Raider backpacks are always worth grabbing since they can contain valuable items and are sometimes difficult to find elsewhere.
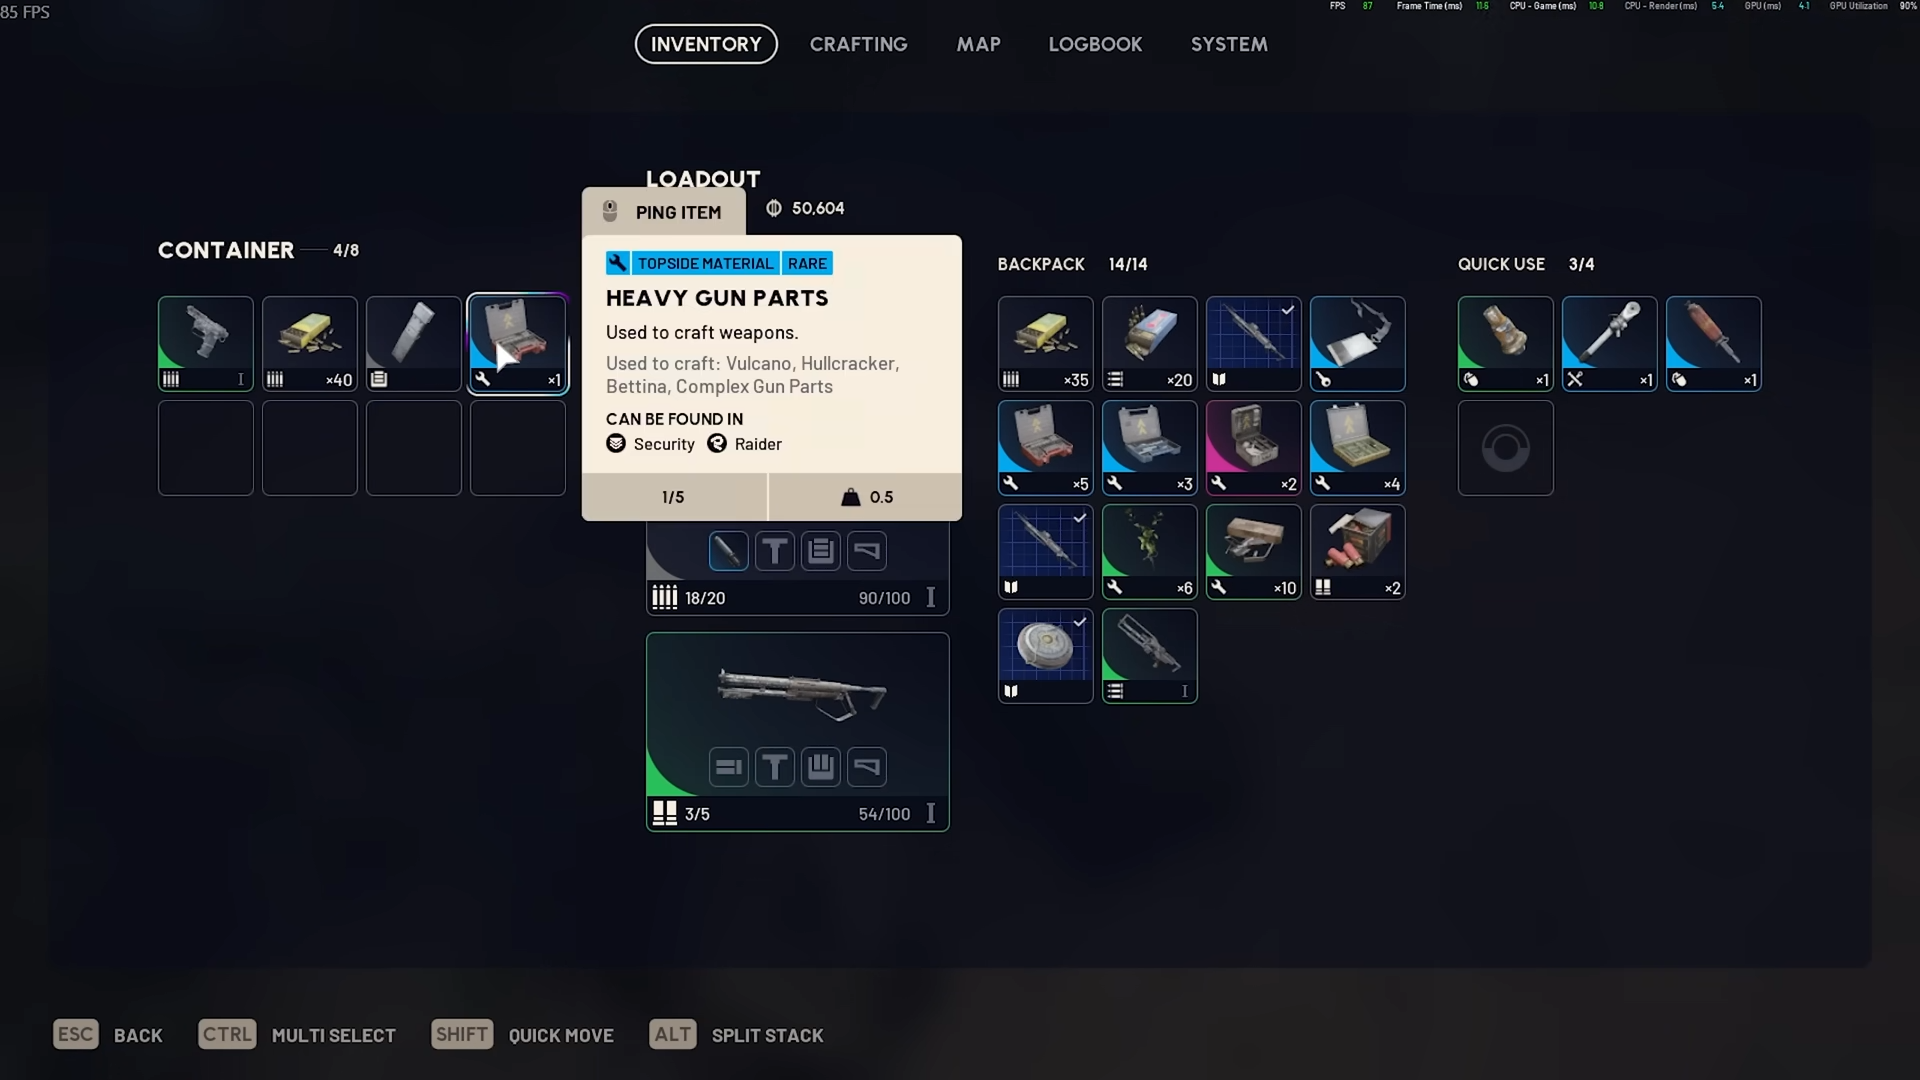
Step 13
If you pick up weapons you do not plan to use, salvage them right there in the match. Breaking down a weapon during a raid still gives you gun parts, and it frees up inventory space for more loot.
Step 14
Be aware of the shredder patrolling the lower section of Lobby. You will likely need to either fight it or trap it inside a room to safely loot the remaining trash cans and containers in the center area.
Step 15
After dealing with the shredder, loot the remaining trash cans in the middle section and any suitcases on the lower level. There are also breachable containers down here worth opening.
Business Center
Step 16
Move from Lobby into the Business Center. Note that once you cross into this zone, the loot pool shifts back to traditional residential loot. The suitcases and trash cans here do not drop gun parts at the same elevated rate as the Lobby section.
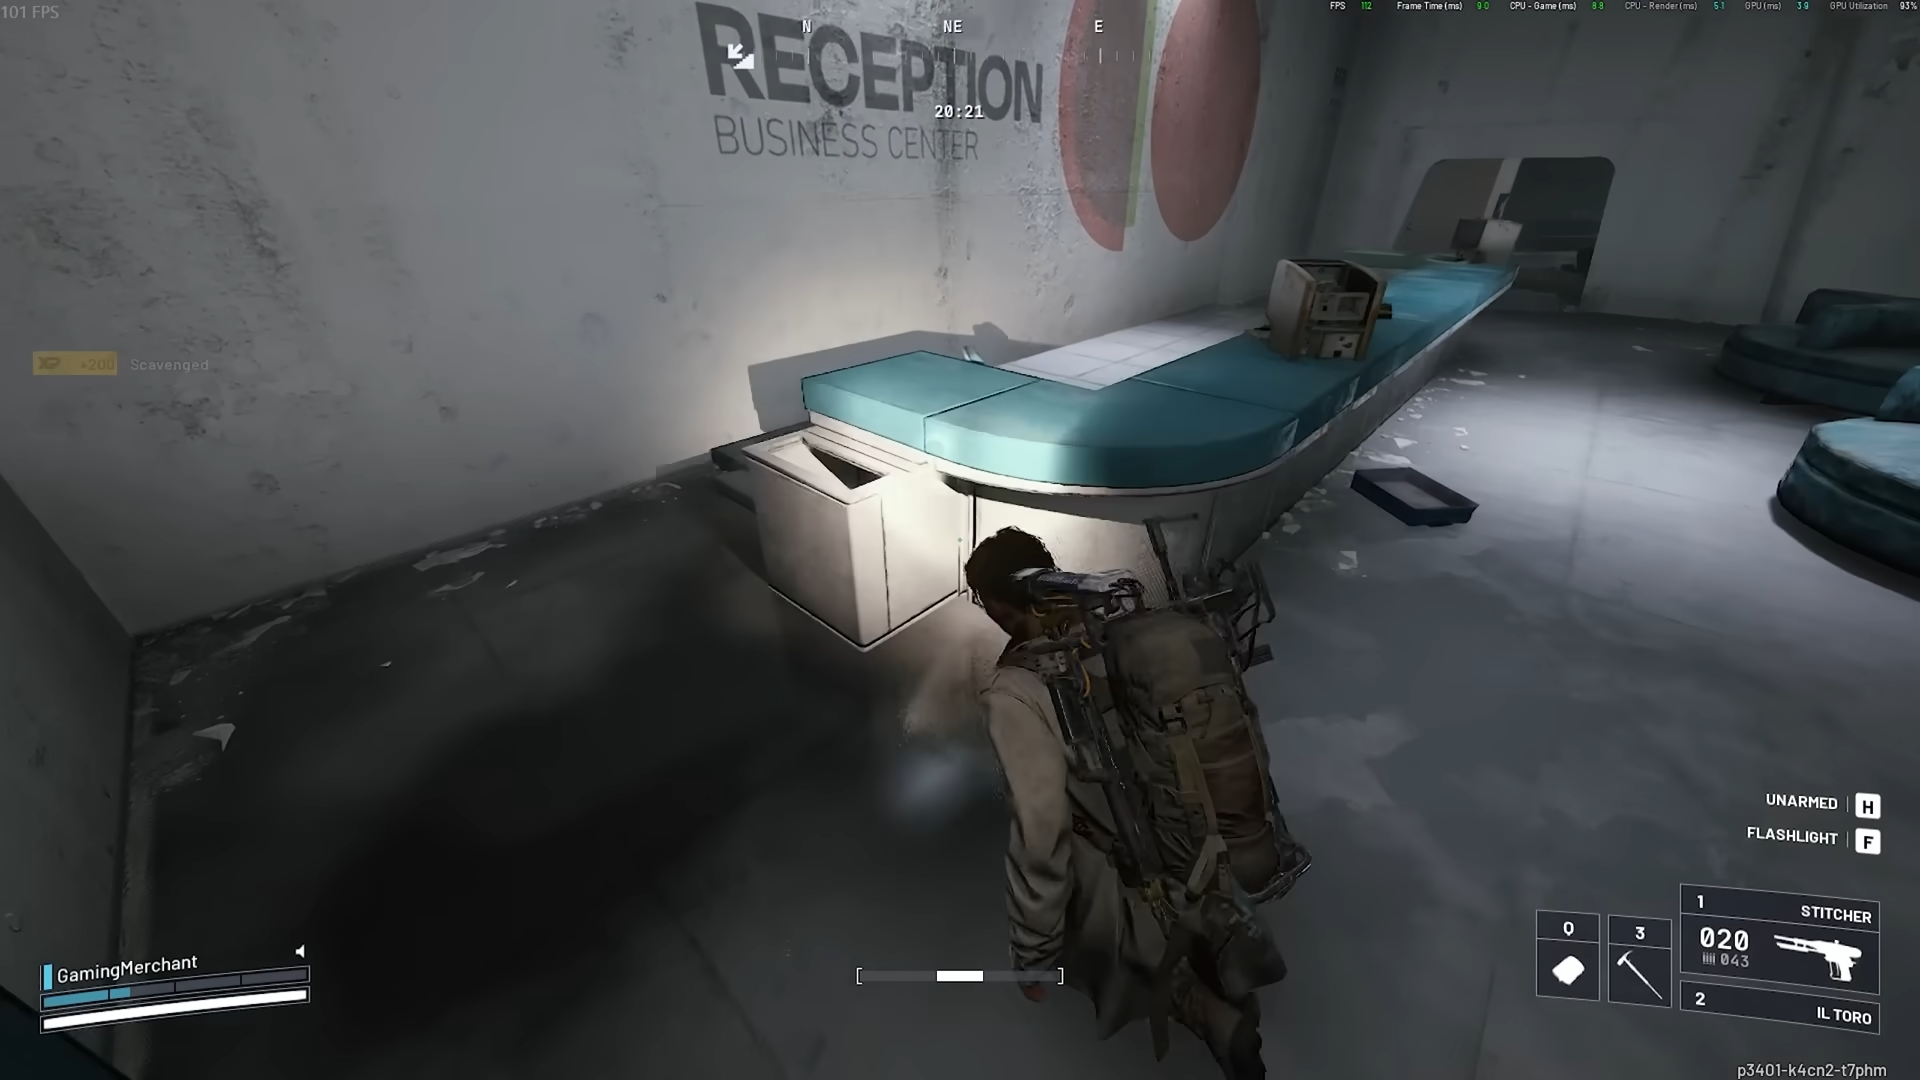
Step 17
Focus on weapon case spawns in the Business Center. There are multiple weapon case spawn locations inside the auditorium area that can contain weapons you can break down for gun parts.
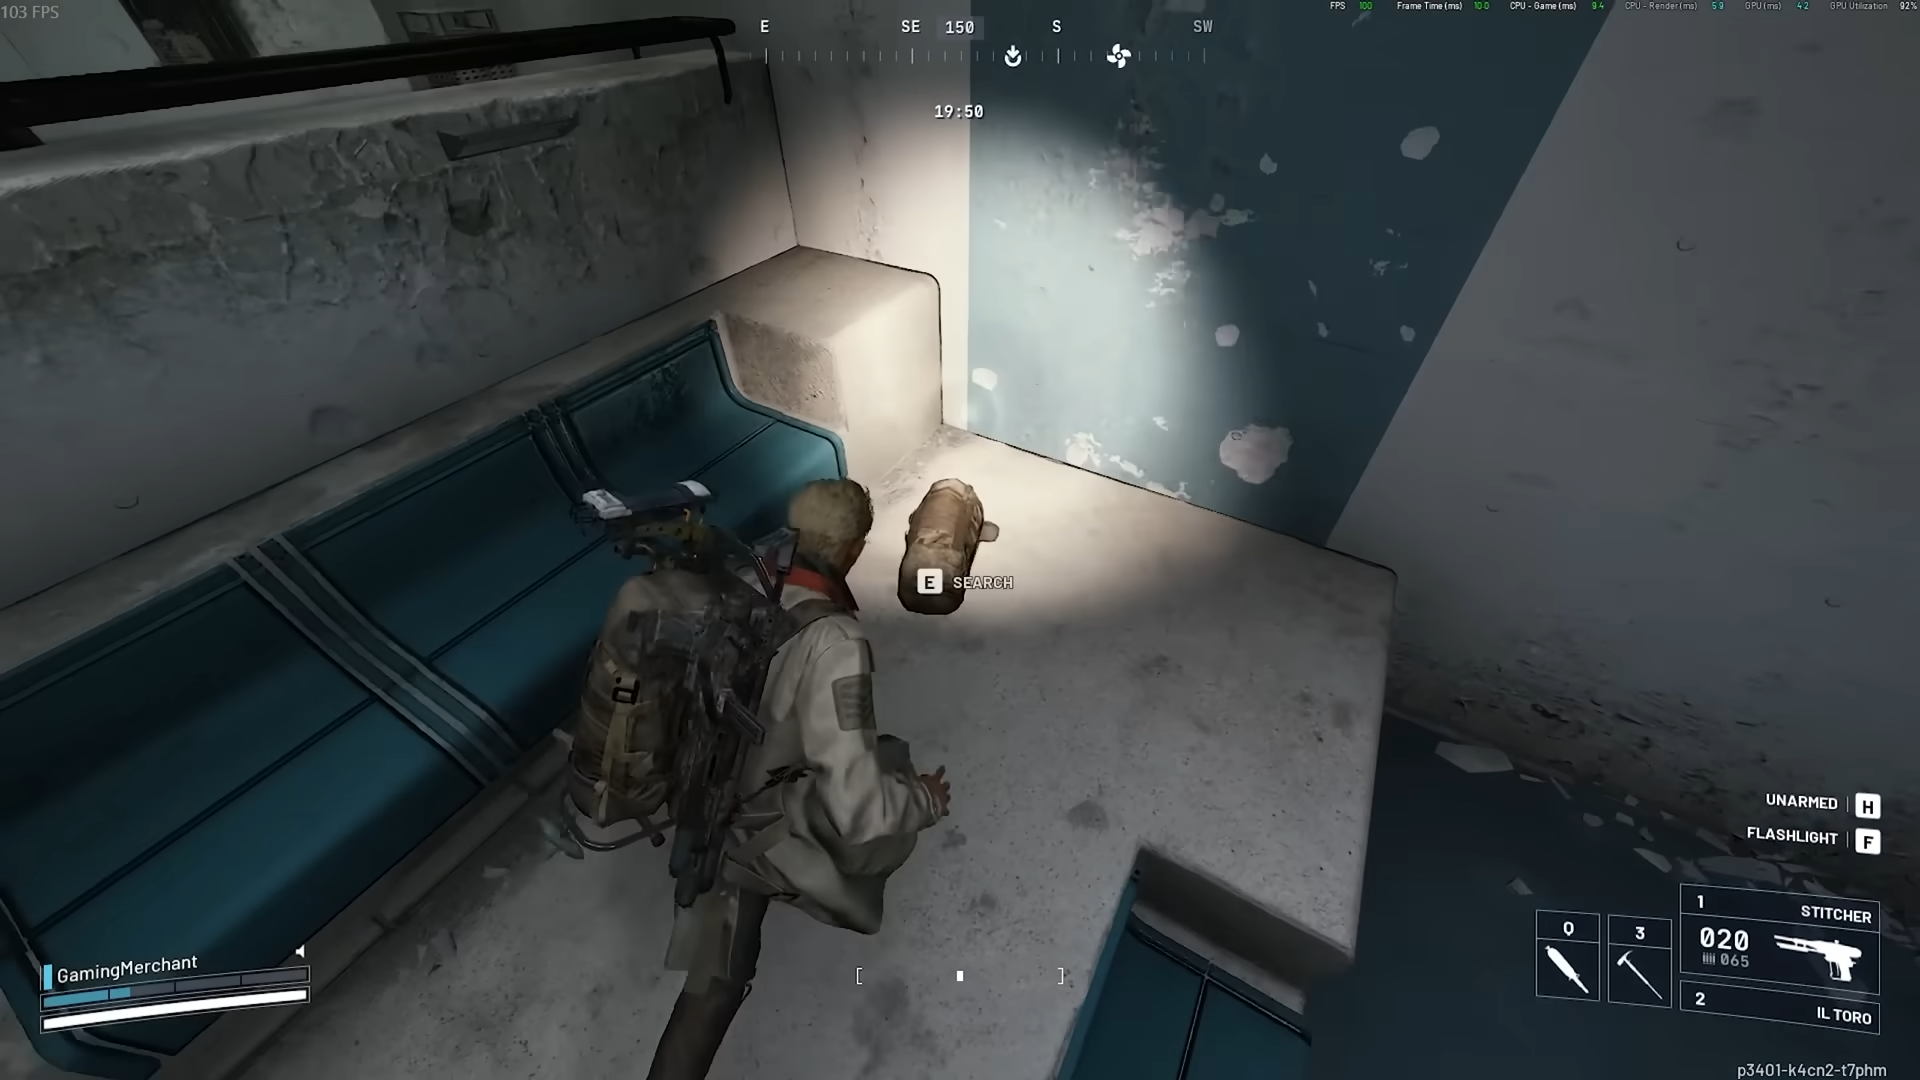
Atrium
Step 18
Head into Atrium from Business Center.
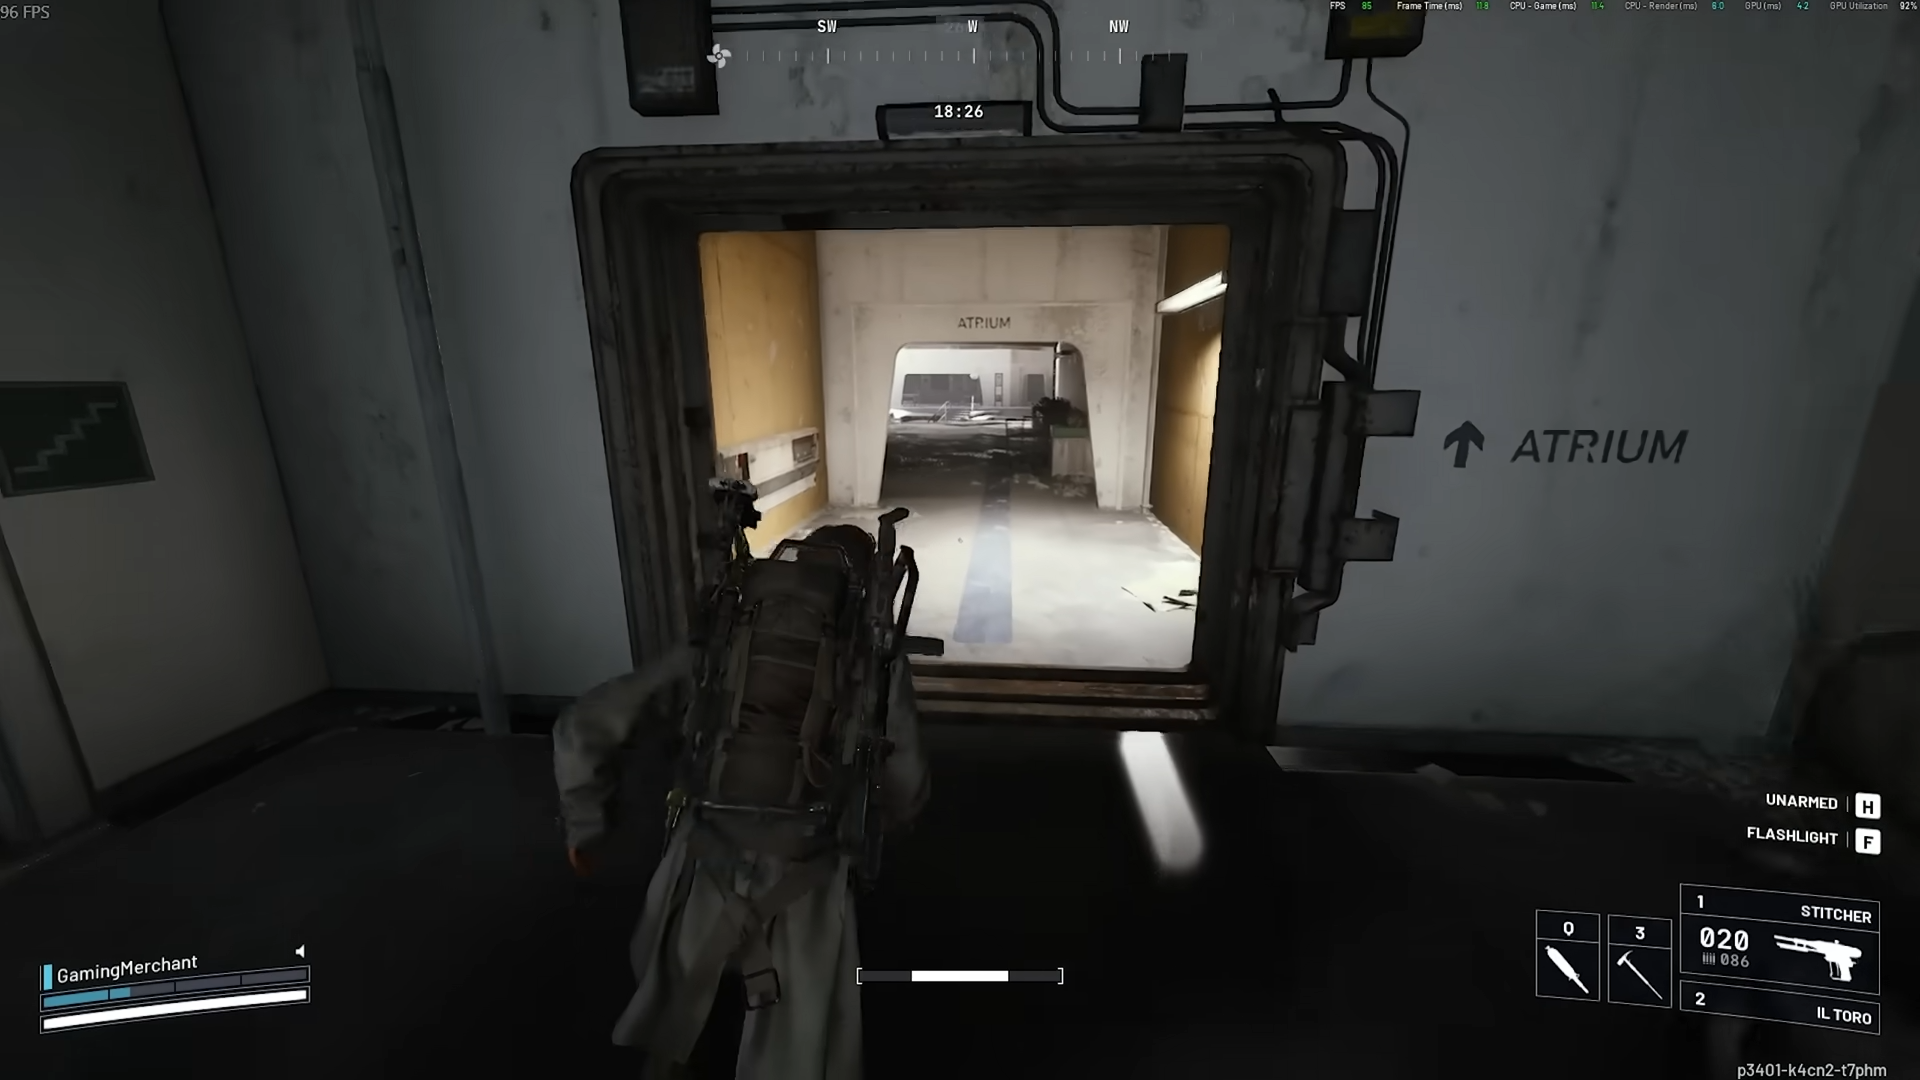
There is a weapon case spawn accessible by using a zip line to reach an upper platform. Check this spawn and grab any weapons available.
Step 19
The containers in Atrium return to normal residential loot pools. Do not spend too much time here unless you spot weapon cases or raider backpacks.
Loading Bay
Step 20
Continue your route toward Loading Bay.

Check for weapon case spawns in both the north and south Loading Bay sections.
Step 21
Keep an eye out for any additional raider backpacks. These can appear on ledges and in corners that are easy to overlook.
Sandbox
Step 22
Enter Sandbox and be cautious of heavy ARC presence, including multiple shredders. If your health is low at this point, move carefully through the area.
Step 23
Locate the weapon case inside Sandbox. There is one reliable weapon case spawn in this section, and the weapons you find can be salvaged for additional gun parts.
Step 24
Make your way to the bottom of Sandbox and head toward Seed Vault.
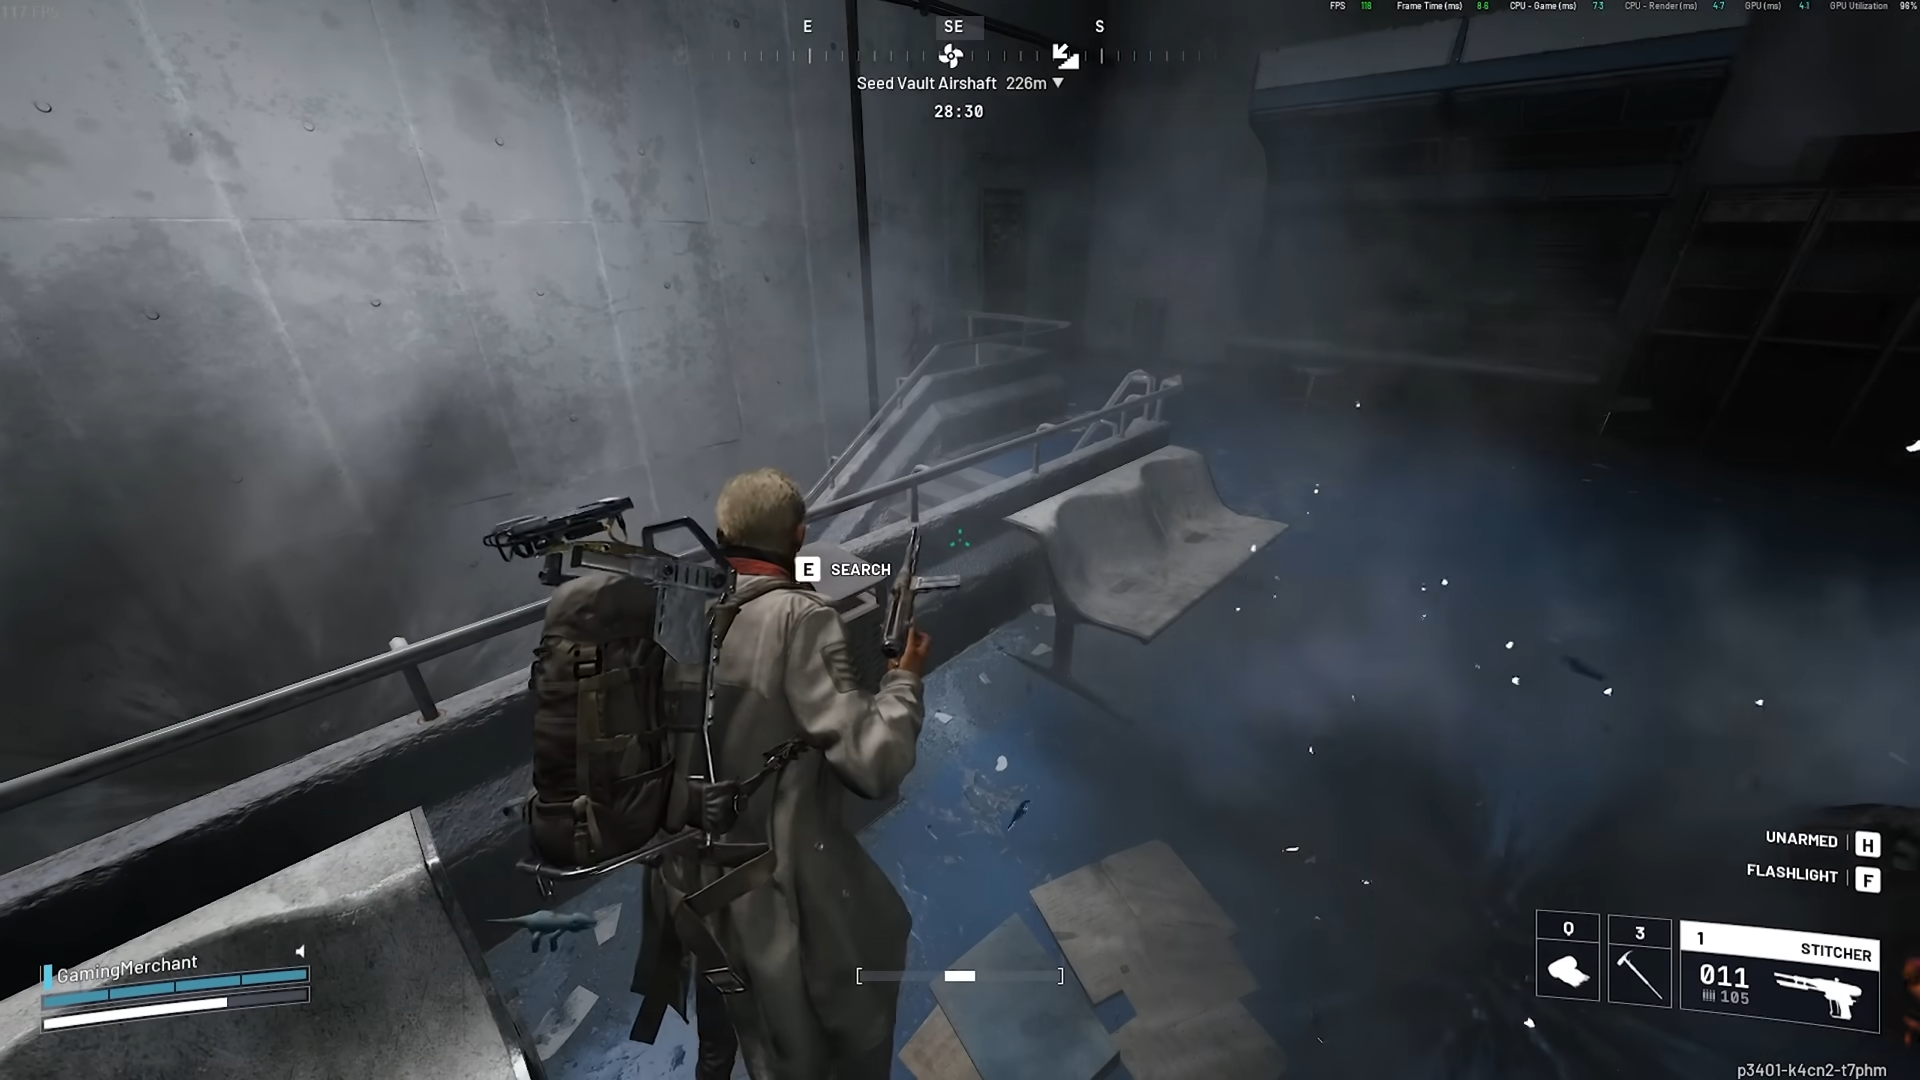
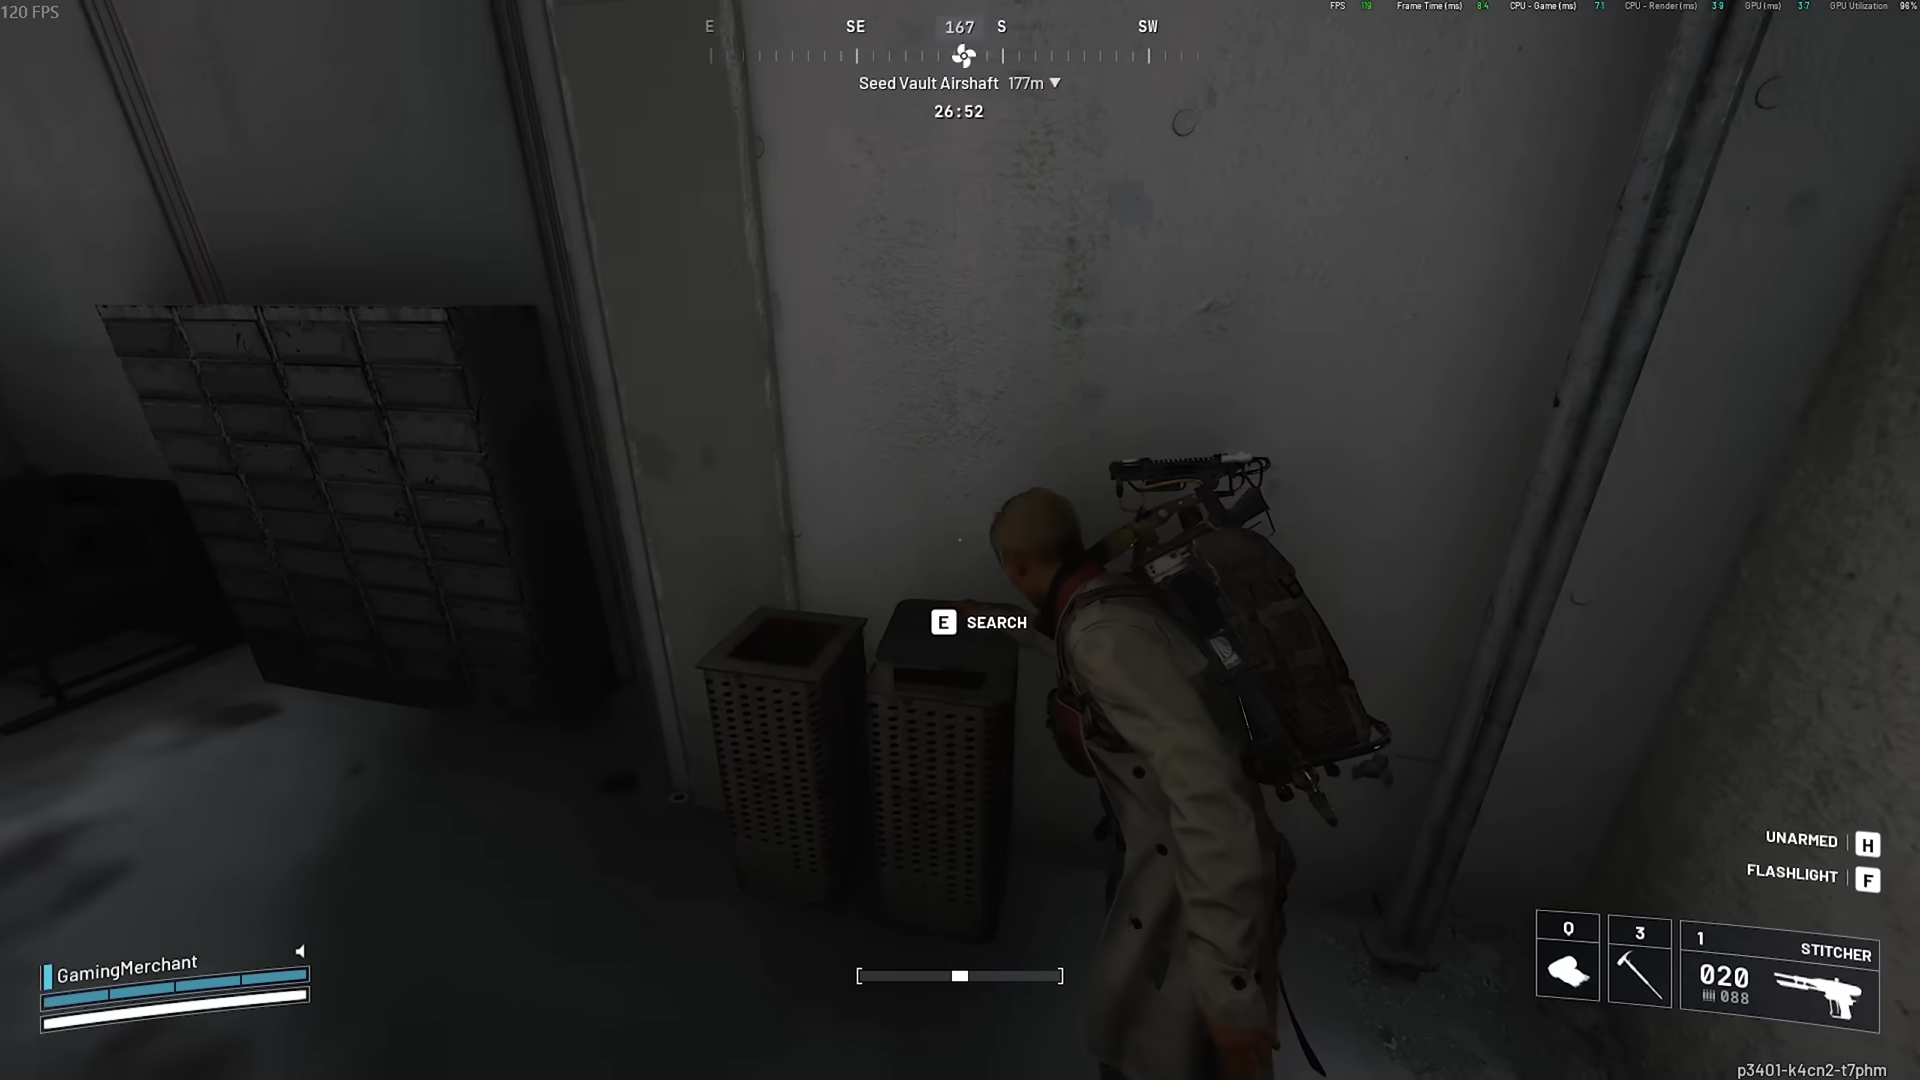
Seed Vault
Step 25
In Seed Vault, look for multiple weapon case spawns and a security breach location. There is also a puzzle room in this area, though it can be difficult to complete safely due to ARC enemies roaming nearby.
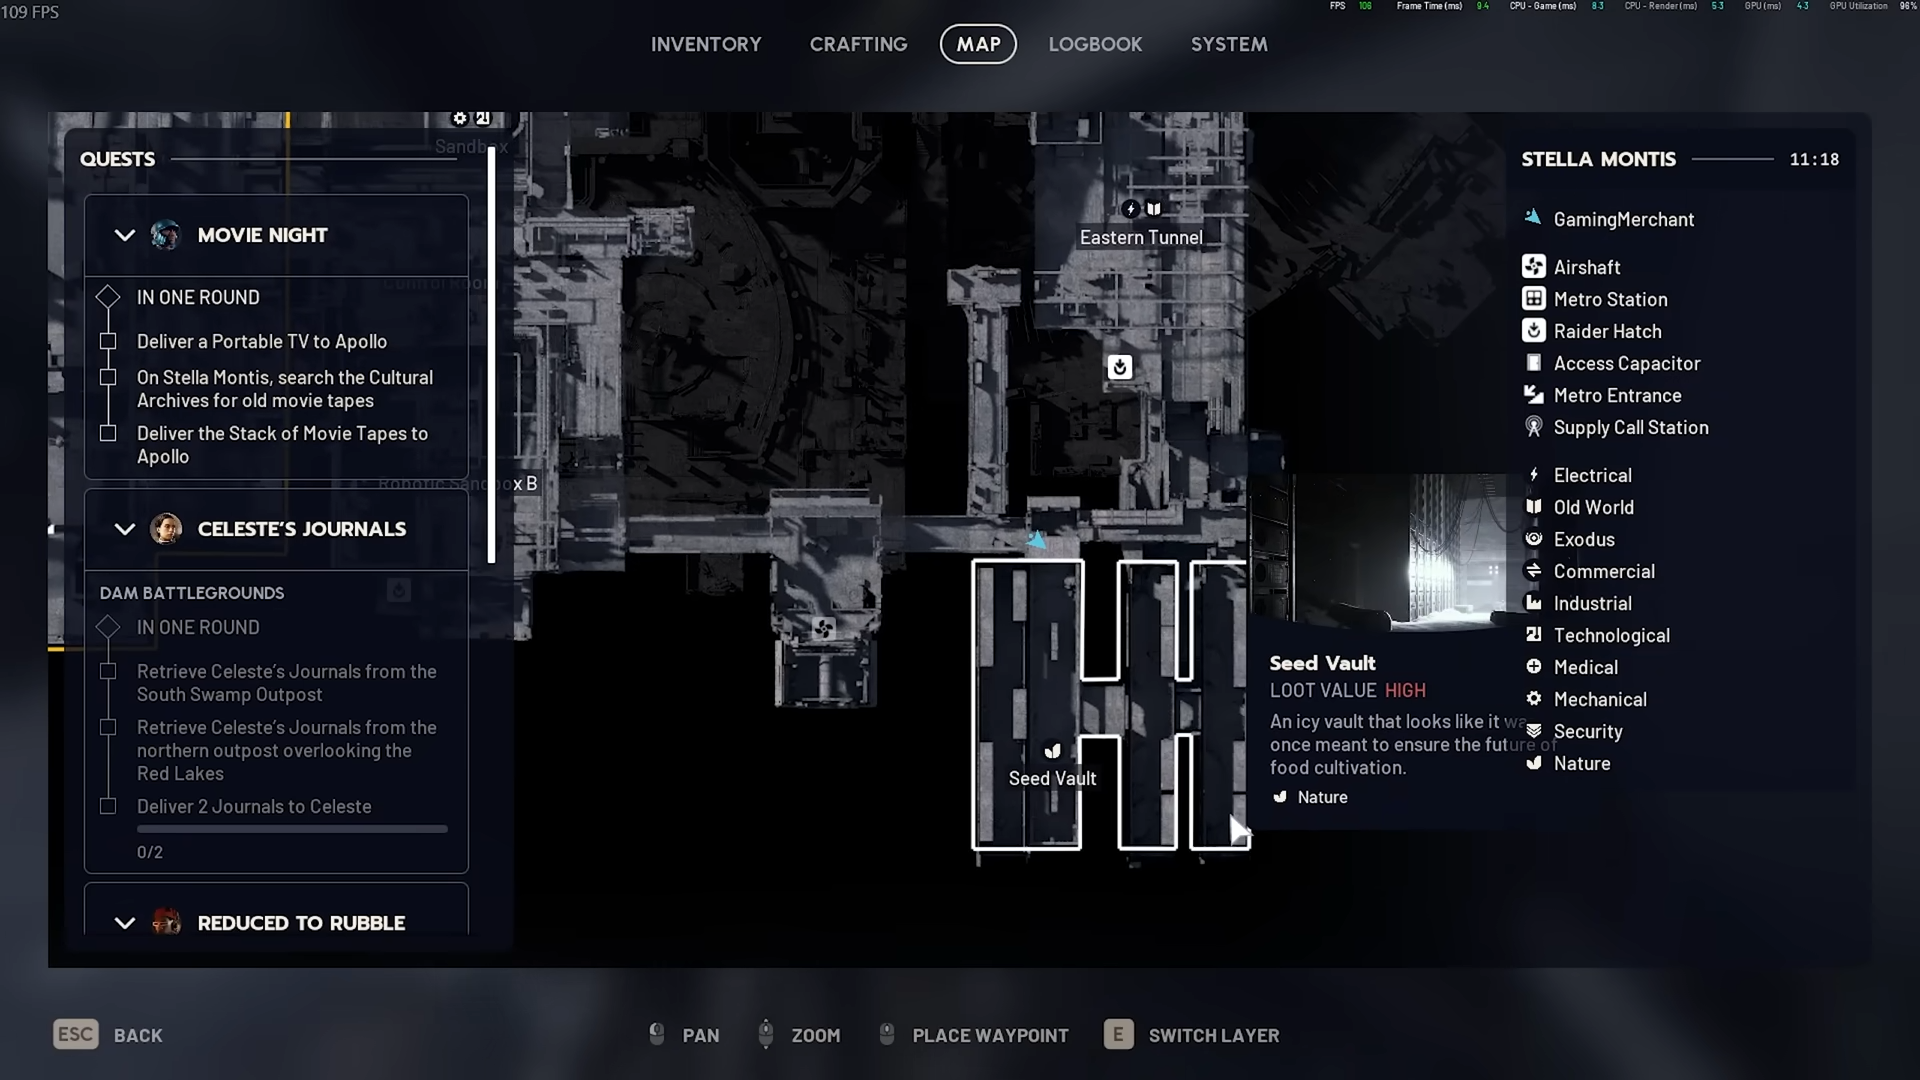
Step 26
Loot everything available and then head to your extraction point. Lobby Metro is typically the safest extraction if the Air Shaft is not open.
Rewards
| Item type | Approximate quantity |
|---|---|
| Simple gun parts | 12+ |
| Heavy gun parts | 6 |
| Medium gun parts | 3 |
| Light gun parts | 4 |
| Complex gun parts | 2 |
| Salvageable weapons | 2-4 |
| Raider backpacks | 1-2 |
| Blueprints | Variable (occasionally drop from containers) |
Tips to maximize your gun parts haul
- You can run this route on a free loadout since gun parts stack in groups of five and the route does not require expensive gear to complete.
- Salvage unwanted weapons during the raid rather than leaving them behind. Even a basic weapon breaks down into simple gun parts.
- The north side of Lobby is the single most important section of the entire route. If you are short on time, prioritize this area above everything else.
- Watch for shredders in Lobby and Sandbox. They are the biggest threats on this route and can end a run quickly if you are caught off guard.
- Security breaches now spawn at random locations across every map rather than in fixed spots, so always check rooms marked with security symbols when you pass them.
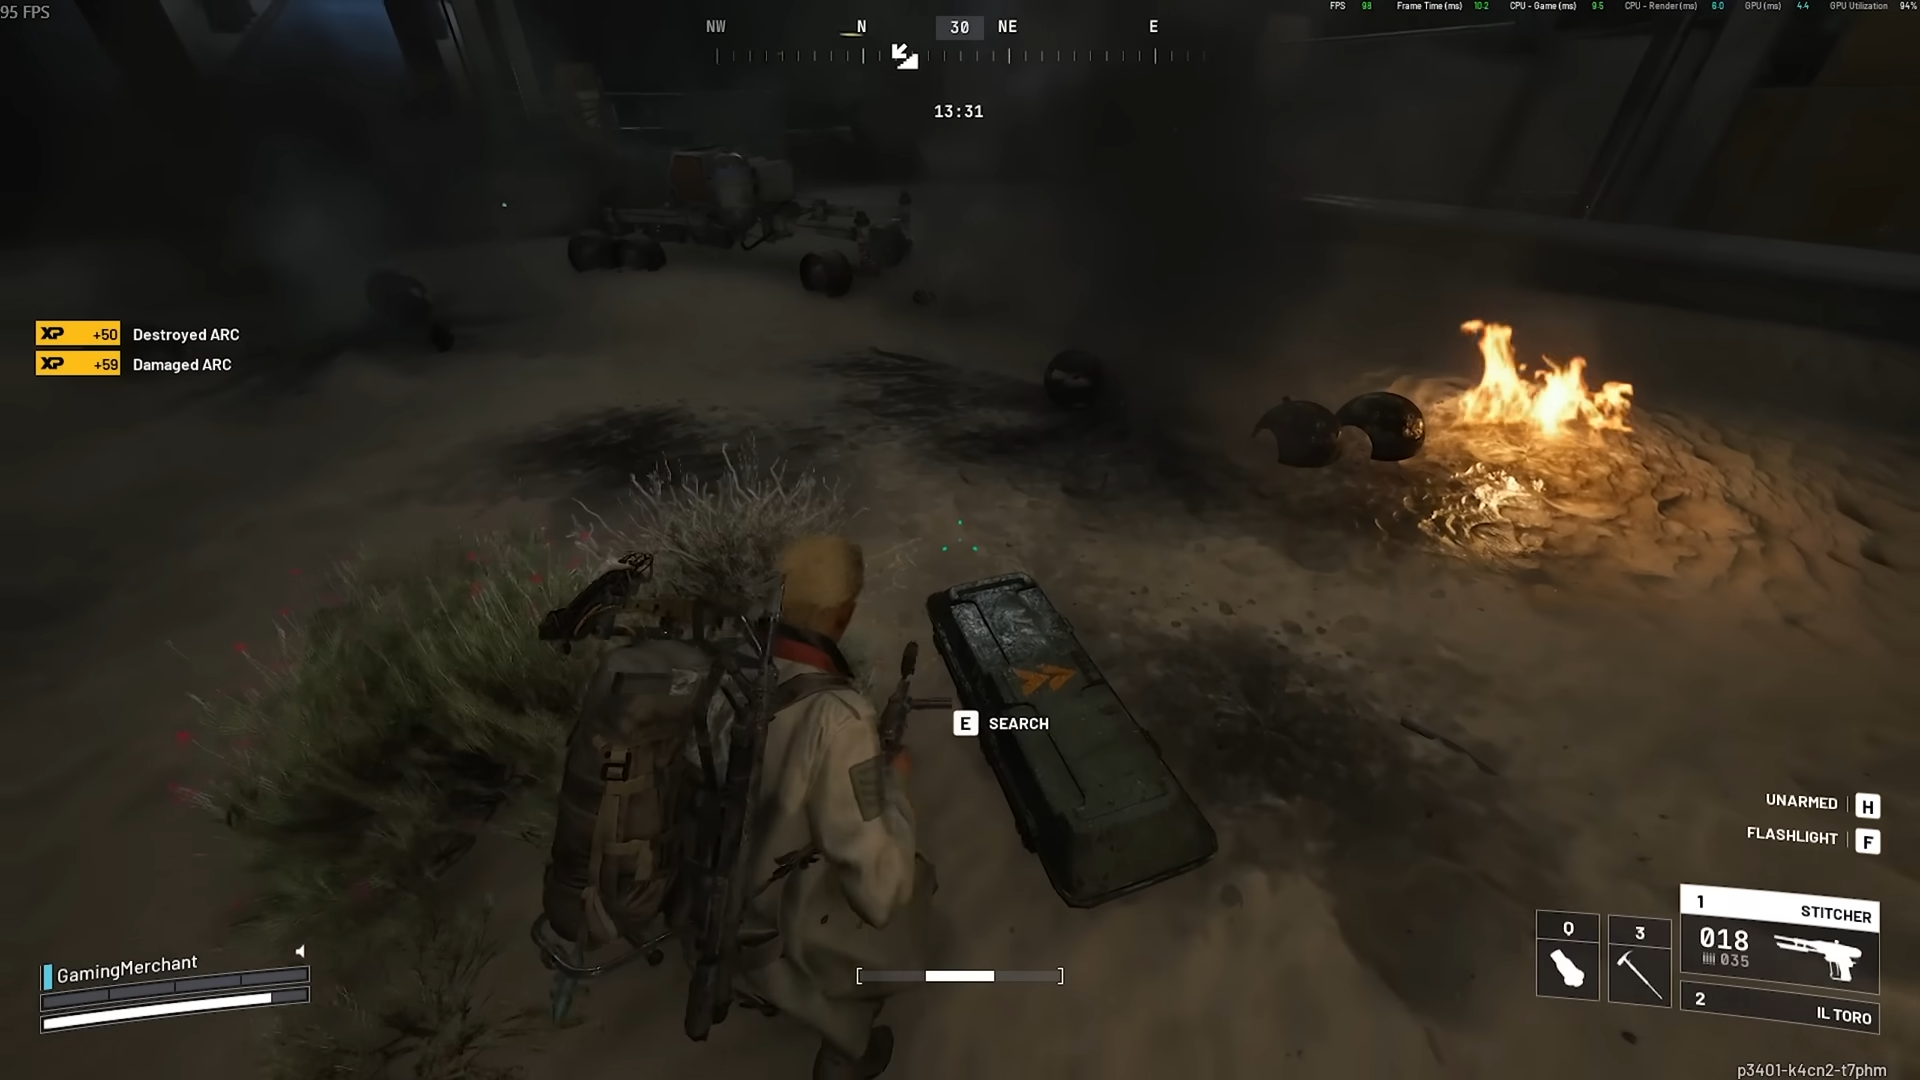
- Killing Wasps, Hornets, and Turrets along the way is also a reliable source of simple gun parts, as these enemies have a high chance of dropping one to two per kill.
- Consider running this route during Night Raids or Electromagnetic Storms, as these events significantly increase loot quality and the chance of finding higher-tier gun parts and blueprints.
Why Stella Montis is the best map for gun parts
Stella Montis stands out among all ARC Raiders maps for gun parts farming for several reasons. The facility has an extremely high density of lootable containers packed into a relatively compact space. The Lobby area in particular seems to have a unique loot designation where trash cans and suitcases pull from a different, more generous loot pool that heavily favors gun parts. On top of that, the map features up to 28 weapon case spawn locations spread across its various zones, giving you plenty of chances to pick up weapons that can be recycled into parts back at base. The route flows naturally from one area to the next with minimal backtracking, and multiple extraction points make getting out with your haul straightforward.
Stock up and never run out
Following this gun parts route consistently will keep your stockpile healthy enough to craft, upgrade, and repair any weapon in your collection without hesitation. The key takeaway is that the north side of Lobby on Stella Montis is the single best gun parts farming spot in ARC Raiders right now, and building a route around it ensures every raid counts. Run it regularly, salvage weapons you do not need, and buy your daily allotment from Celeste to stay fully stocked at all times.