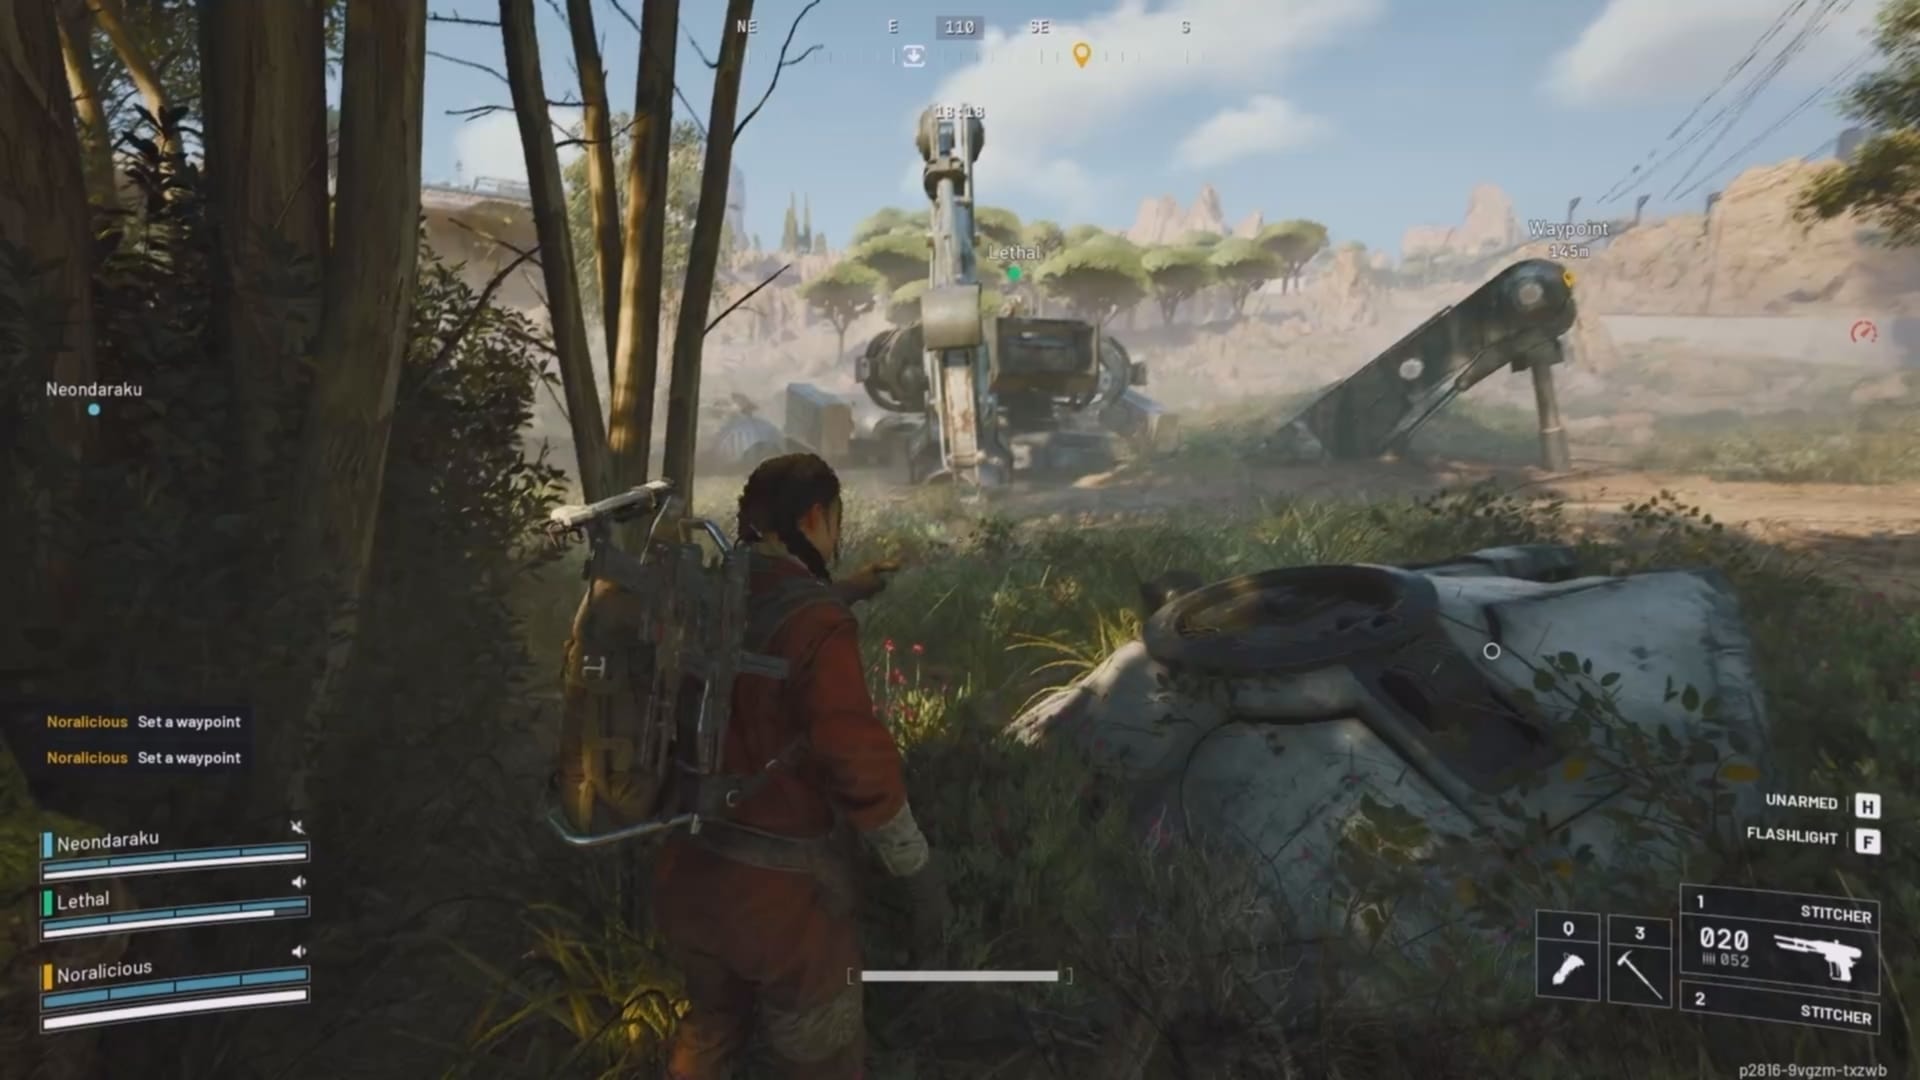
Restore the Red Tower’s lost signal and bring Buried City back online. Here’s the complete ARC Raiders Communication Hideout walkthrough — objectives, lore, rewards, and every in-game detail.
- What to know
- Communication Hideout overview and objectives
- Communication Hideout rewards
- How to reach the Red Tower in Buried City
- Finding the missing battery cell
- Enabling generator power
- Climbing and booting the antenna terminal
- Additional environmental notes
- Extraction and quest completion
- Gameplay tips and strategies
- World impact and aftermath
What to know
- Location: Buried City, Old Town district
- Quest type: Side mission (Communication Restoration)
- Objective: Repair the Red Tower’s generator and reboot the antenna terminal
- Enemy types: Raiders (human), Drones, occasional Scout Mechs
- Rewards: 25,000 XP, 2 Ziplines, rare crafting materials
- Estimated completion time: 8–12 minutes (solo)
- Difficulty: Moderate — short mission but with enemy reinforcements post-activation
The Buried City is one of the most decayed regions in ARC Raiders, littered with twisted metal, data terminals, and scavenged communication arrays. The Red Tower, once a central comms relay, has been offline since the early days of the ARC invasion.
Shani, your command liaison, tasks you with restoring its power to reestablish a local broadcast channel. In gameplay terms, completing Communication Hideout brings radio chatter back to the region — subtle world-building detail that makes the city feel connected again. You’ll also notice new side quest markers appear nearby once it’s completed.
Communication Hideout overview and objectives
| Stage | Description |
|---|---|
| Reach the Red Tower | Travel to the Red Tower courtyard in Old Town (Buried City). |
| Find the missing battery cell | Locate the yellow duffel bag containing the cell. |
| Install the cell in the generator | Insert the battery into the generator beside the tower. |
| Enable generator power | Activate the generator to restore energy. |
| Boot the antenna terminal | Climb the Red Tower and interact with the console at the top. |
| Extract safely | Leave the zone alive to claim full rewards. |
Communication Hideout rewards
| Reward type | Reward |
|---|---|
| Experience | 25,000 XP |
| Items | 2 Ziplines (consumable traversal gear) |
| Loot chance | 10% chance for rare crafting material drop from courtyard crates |
| Mission unlocks | Enables new radio chatter and follow-up quest “Echo Relay Hub” |
How to reach the Red Tower in Buried City
Spawn in the Buried City region and set your marker toward Old Town — the southern portion of the map. The Red Tower is impossible to miss: a rusted metal spire jutting up from the broken skyline.
The fastest path is via the collapsed metro tunnels leading out of the central ruins. If you move quietly, you can bypass the Raider patrols stationed along the plaza.
You’ll eventually emerge into a wide open courtyard with scattered debris and one large generator structure tucked against the base of the tower. This area marks the starting zone of the mission.
Clear enemies first. A standard group includes:
- 2–3 Raider Riflemen
- 1 Mech Drone (scanning type)
- Optional Elite Raider (spawns on higher difficulty)
Once the courtyard is safe, begin searching for the missing battery.
Finding the missing battery cell
Look around the courtyard perimeter near some collapsed scaffolding — you’ll find a yellow duffel bag with a glowing icon. This contains the missing battery cell.
If you don’t see it right away, scan behind the generator — it can occasionally spawn there instead of the open center. Pick it up to trigger the next objective.
The Red Tower’s generator is only a few steps away. Approach it with the battery equipped and insert it into the open power slot. When done correctly, the generator emits a low hum and internal lights flicker to life.
Be prepared: after the battery is installed, you might trigger a small patrol wave entering from the street. Take cover behind the generator housing or crates to stay safe.
Enabling generator power
Once the generator has a working cell, interact with the control panel to enable power. You’ll see the tower lights pulse as the system reboots.
The action isn’t just cosmetic — turning on the generator causes the comms array’s internal systems to start powering the antenna. It also draws nearby enemies who detect the energy spike.
Depending on your loadout, here’s how to handle the incoming wave:
- Solo players: Stick to mid-range engagements. The generator corner provides solid cover.
- Squads: Have one player watch the western entrance while another covers the ladder side.
- Support drones: Deploy if you have them; they can distract the enemies while you prep for the climb.
After the fight, you’ll receive a brief mission log update confirming that the Red Tower systems are active. Now it’s time to head upward.
Climbing and booting the antenna terminal
The ladder to the Red Tower is on the north-facing side of the structure. It’s narrow and easy to miss in low light, so sweep your flashlight around to spot it.
Climb up until you reach the top platform. The antenna terminal is located directly across from the ladder exit. It’ll glow faint blue now that the generator’s powered.
Interact with the console to begin the Boot Sequence. The process takes a few seconds; you’ll see static distortions and faint radio signals pulsing through your HUD.
Once complete, your objective log will update to confirm successful activation. The Red Tower is now broadcasting again, and the Buried City comms network comes partially online.
Additional environmental notes
- Hidden loot: Behind the generator is a small maintenance alcove with two storage crates — loot them for components.
- Audio log: Occasionally, a data recorder spawns near the tower ladder. Collecting it plays a short log from an old engineer, adding minor lore flavor about the pre-ARC communication system.
- Visual cue: Once you complete the quest, you can actually see distant towers blinking red in the horizon — a neat detail showing network restoration.
Extraction and quest completion
With the antenna active, you can now extract from the area. You don’t have to backtrack — the nearest extraction zone is about 150 meters east, past the collapsed freeway.
Completing Communication Hideout awards you 25,000 XP and two Ziplines, plus any additional loot you collected from the crates or fallen enemies.
You’ll also unlock ambient comms chatter in Buried City zones. NPCs occasionally reference “the old tower humming again,” hinting that you’ve reactivated a piece of the world’s infrastructure.
Gameplay tips and strategies
Cover awareness
The Red Tower courtyard has plenty of partial cover — crates, metal barriers, and debris piles. Don’t stand exposed near the generator while enabling power. If you’re under fire, move between cover points rather than crouching in one spot; AI Raiders tend to flank aggressively here.
Weapon recommendation
A balanced assault rifle or LMG gives you the control you need in the courtyard’s mid-range fights. Avoid shotguns unless you’re confident with close combat — the enemies often keep distance or take cover. If you’re running solo, a scope helps pick off drones before they swarm.
Squad synergy
In a team, communication is everything. Have one player handle the generator activation while another climbs the tower early and provides overwatch from above. The height gives great sightlines to spot reinforcements entering the area.
Don’t rush the climb
If you still hear gunfire or enemy chatter after enabling the generator, hold off on climbing. Raiders below can fire upward through the metal gaps in the tower frame, and you’ll be fully exposed during the climb. Clear the area first, then ascend.
Loot efficiently
Once the power’s on, more crates can spawn around the courtyard and inside the small garages nearby. Do a quick sweep before heading to extraction. These often drop crafting materials or attachments that won’t appear before activation.
Energy spike awareness
Enabling the generator sends out a short-range energy pulse that attracts patrols. Expect a small delay (about 15 seconds) before they arrive. Use that window to reposition and reload so you’re ready when they come in.
Extraction strategy
The closest extraction point is southeast of the tower, behind a collapsed freeway section. If enemies are still active, use one of your newly earned Ziplines to reach the rooftops for a faster, safer route out.
World impact and aftermath
After completing the Communication Hideout, Buried City becomes a partially “lit” zone — map icons flicker back to life, and some secondary contracts in the nearby ruins unlock.
You’ll also receive occasional mission intel messages through the comms system you reactivated, adding flavor text and teasing upcoming regions.
It’s a subtle but satisfying piece of ARC Raiders’ environmental storytelling — your actions literally make the dead city talk again.
With the Red Tower humming and static fading from your headset, Communication Hideout ends on a quiet note of victory. The Buried City feels less like ruins and more like something trying to breathe again.
It’s not a massive mission, but it’s pure ARC Raiders — atmosphere, teamwork, and world-building tucked into a single well-paced task.


