Explore the four major maps in ARC Raiders with key location overviews and map-specific highlights to boost your extraction runs.
Mastering the four major maps in ARC Raiders gives you a strategic edge. By understanding where the high-reward locations are, knowing when and where to use your keys, and planning extraction routes in advance, you’ll consistently increase your successful runs and loot returns.
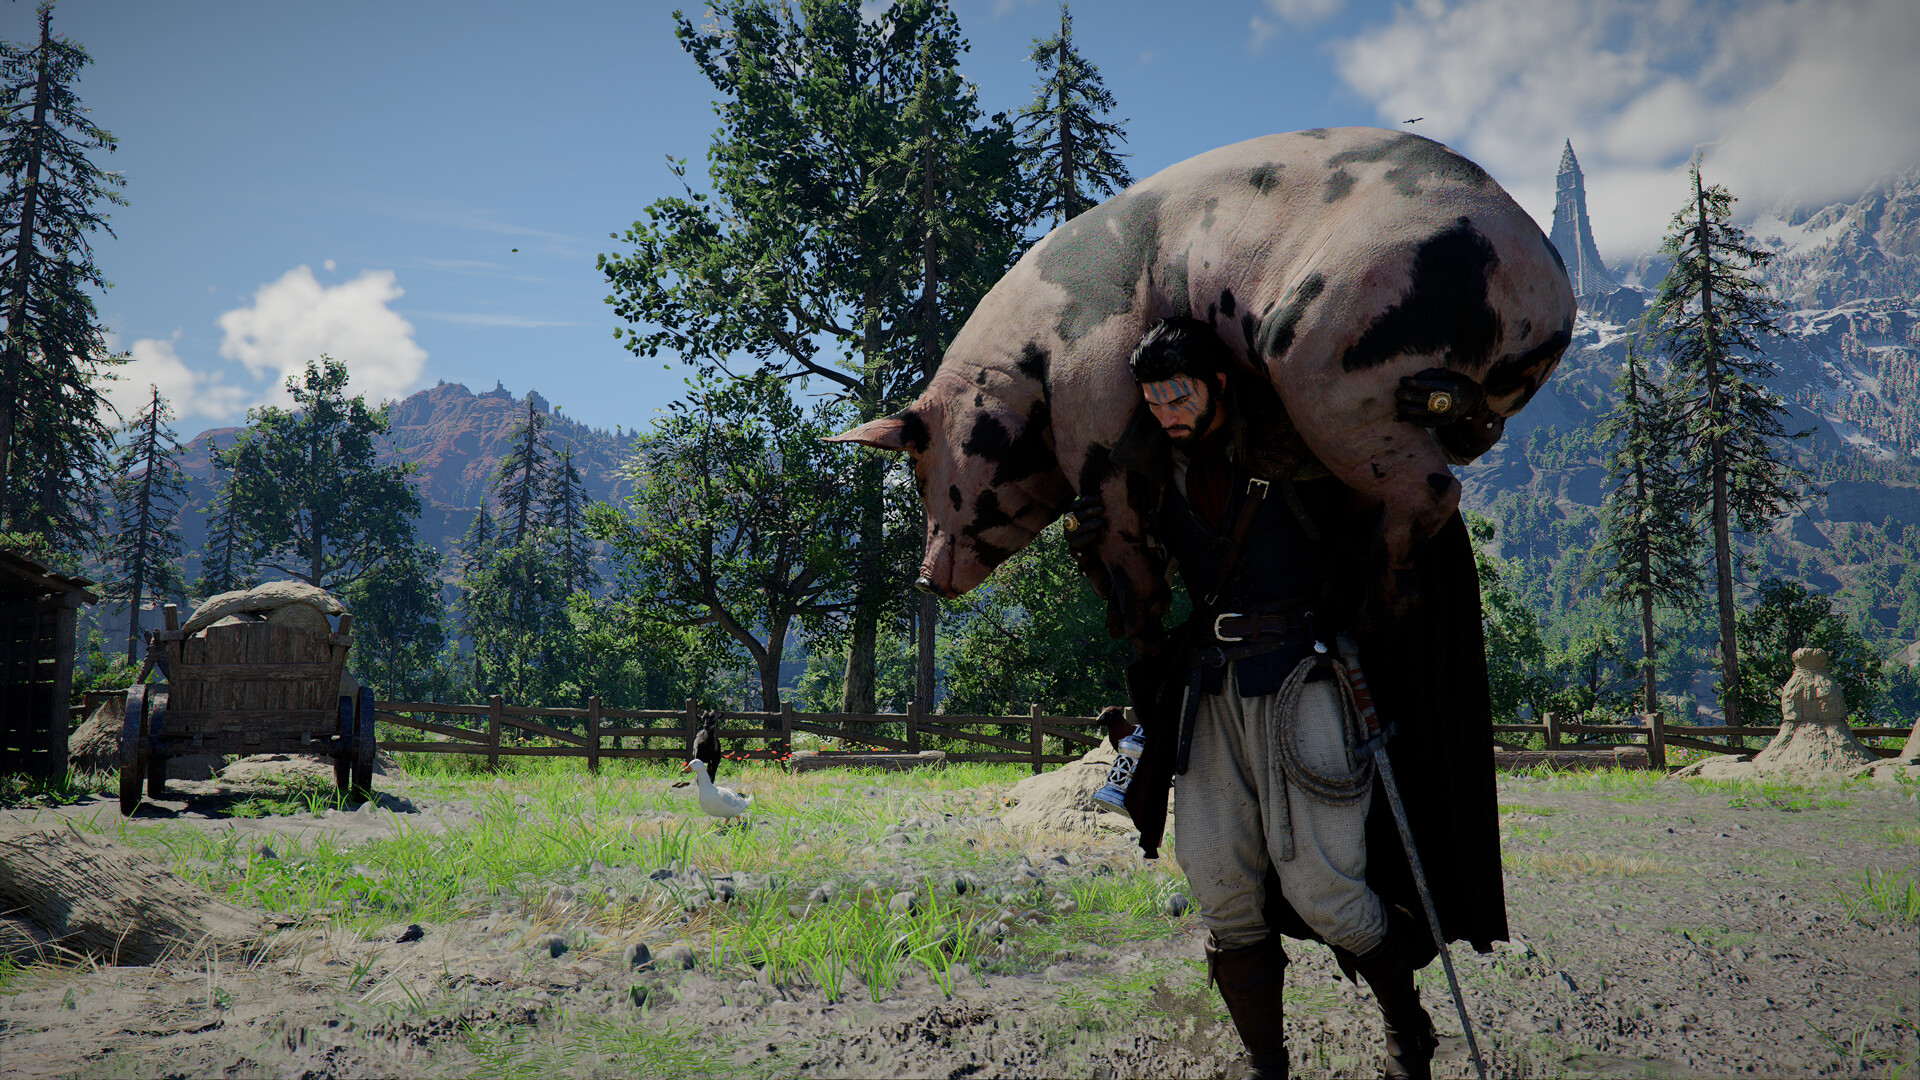
ARC Raiders All Maps
| Map | Environment | Gameplay Focus |
|---|---|---|
| Dam Battlegrounds | Flooded industrial power plant | Beginner-friendly PvE & loot farming |
| Spaceport | Launch facility with container zones | High risk → high tech loot |
| Buried City | Desert-buried urban ruins | Close-quarters PvP & varied loot |
| Blue Gate | Mountain tunnels & open terrain | Balanced PvE & strategic play |
| Stella Montis | Snowy abandoned facility | New high-risk zone (late game) |
| Practice Range | Training ground | Aim and mechanic practice |
1 – Dam Battlegrounds
A medium-sized flooded industrial zone centered around a power plant. This map is ideal for new Raiders learning the ropes — combat is less chaotic and movement zones are straightforward.

Key locations
- The central power-plant building (good loot, but heavy machine-ARC presence)
- Submerged or partially flooded corridors where mobility is slower
- Extraction points around the perimeter where exiting Raiders often congregate
Tactical tip
Use verticality in the plant building to spot incoming ARC machines. Note that dynamic events like Night Raid or Husk Graveyard make this map more dangerous.
2 – Spaceport
A sprawling launch facility filled with shipping containers, bunkers, and massive infrastructure. Offers some of the best end-game loot — but also fierce fights.

Key locations
- Launch Tower: high-reward but risky vertical climb
- Outskirts Bunker: locked area needing special condition/key to access (see where keys come in)
- Container Storage yards: large open zones filled with loot crates but also high exposure.
Tactical tip
Time your run to avoid being exposed by other players when going for high-value zones. The Hidden Bunker event (new) adds extra contest.
3 – The Buried City
Sand-covered streets, tight alleys, and multi-level rooftops make Buried City ideal for close-quarters combat and ambush play.

Key locations
- Narrow streets and plazas from old dwellings – good for ambushes
- Residential blocks and town-halls: closer-quarters combat
- Extraction corridors leading through dunes – less cover.
Tactical tip
Use sand dunes for cover but be wary of flank routes; loot in residential zones is often less contested but extraction is riskier due to open terrain.
4 – Blue Gate
Mountain ridges and tunnel networks set the stage for thoughtful rotation and tactical positioning. This map rewards strategic play over brute force.

Key locations
- Ridgeline observation decks: good vantage points but exposed
- Olive Grove & Village areas: loot-rich but easier to get flanked.
- Tunnels/underground complexes: high-reward but high risk
Tactical tip
Mobility and awareness matter a lot here. Use ridgelines to your advantage, but always have an escape path – mountains make traversal slower.
5 – Stella Montis (Latest Map)
Unlocked through the Breaking New Ground community event, Stella Montis introduces a snowy, abandoned facility with new enemies like Shredders and survival dynamics not seen on earlier maps.


Image credit: Embard Studios – Via: Mapgenie
Key Locations
- Abandoned labs and barracks with rare gear.
- Close-quarters sections perfect for squad play.
- Expect enemy patrol hotspots near power nodes.
Tips
- Prioritize planning — this map’s terrain can be confusing.
- Use cover and environmental awareness to avoid ambushes.
Tactical Loot & Combat Tips
- High-tier loot = hotspots: Launch Towers and bunkers draw everyone — move smartly.
- Rotate early: Avoid getting caught near extraction by camping players.
- Map knowledge + sound cues: ARC enemies and players both make recognizable audio — learn them.
- Loot routes: Core loot loops (Warehouse → Station → Rooftops) can net resources without too much risk.
Extraction Points & Events
Every map has multiple extraction routes: elevators, metro stations, and hatches — including raider hatches that require keys for safe extractions.
Map events like Lush Blooms, Harvester spawns, Electromagnetic Storms, and Night Raids dynamically alter loot availability and combat pacing.
Whether you’re farming resources, chasing high-tier tech, or outplaying other Raiders, knowing every map’s terrain, high-value zones, and key paths is crucial in ARC Raiders. Mastering this knowledge not only improves your loot efficiency but also your survival rate on each run.