
- What to know
- What the Trophy Display actually is and why it matters
- How the Trophy Display progression works
- Phase 1 item locations: medical research zones
- Phase 2 item locations: Dam Battlegrounds containers
- Phase 3 item locations: ARC enemies and probes
- Phase 4 item location: the Shredder on Stella Montes
- Phase 5 item locations: boss-exclusive reactors and cells
- Why the Trophy Display is worth completing
What to know
- The Trophy Display is a long-term PvE progression project, not just a cosmetic feature
- It was added with the Headwinds update on January 27, 2026
- Progress carries over between Expeditions, with no time limit
- All five phases require specific ARC enemy parts and location-based loot
The Trophy Display in ARC Raiders is one of the most substantial progression systems introduced so far. Added with the Headwinds update, it gives you a clear long-term goal that rewards methodical PvE play rather than pure extraction success. Instead of being a simple hideout decoration, the Trophy Display is a five-stage player project that asks you to hunt ARC machines, gather rare components, and trade them in for powerful rewards.
If you enjoy structured objectives and boss hunting, this system is designed specifically for you.
What the Trophy Display actually is and why it matters
The Trophy Display is a persistent hideout project made up of five distinct phases. Each phase represents a physical expansion of a trophy case in your hideout and requires you to submit specific ARC-related items. These items range from common scavenged components to boss-exclusive reactors and cells.
What makes this system stand out is its permanent progression. Even if an Expedition ends early or you lose gear, your submitted items remain counted. There is no expiration timer, meaning you can approach it casually or grind it out over time.
From a design perspective, the Trophy Display encourages you to gradually move up the enemy hierarchy, starting with basic ARC bots and ending with elite threats like Queens and Matriarchs.
How the Trophy Display progression works
Each of the five phases has a fixed list of required items. Once all items for a phase are turned in, that phase is completed instantly and rewards are unlocked. Early phases emphasize exploration and scavenging, while later phases revolve around high-risk boss encounters.
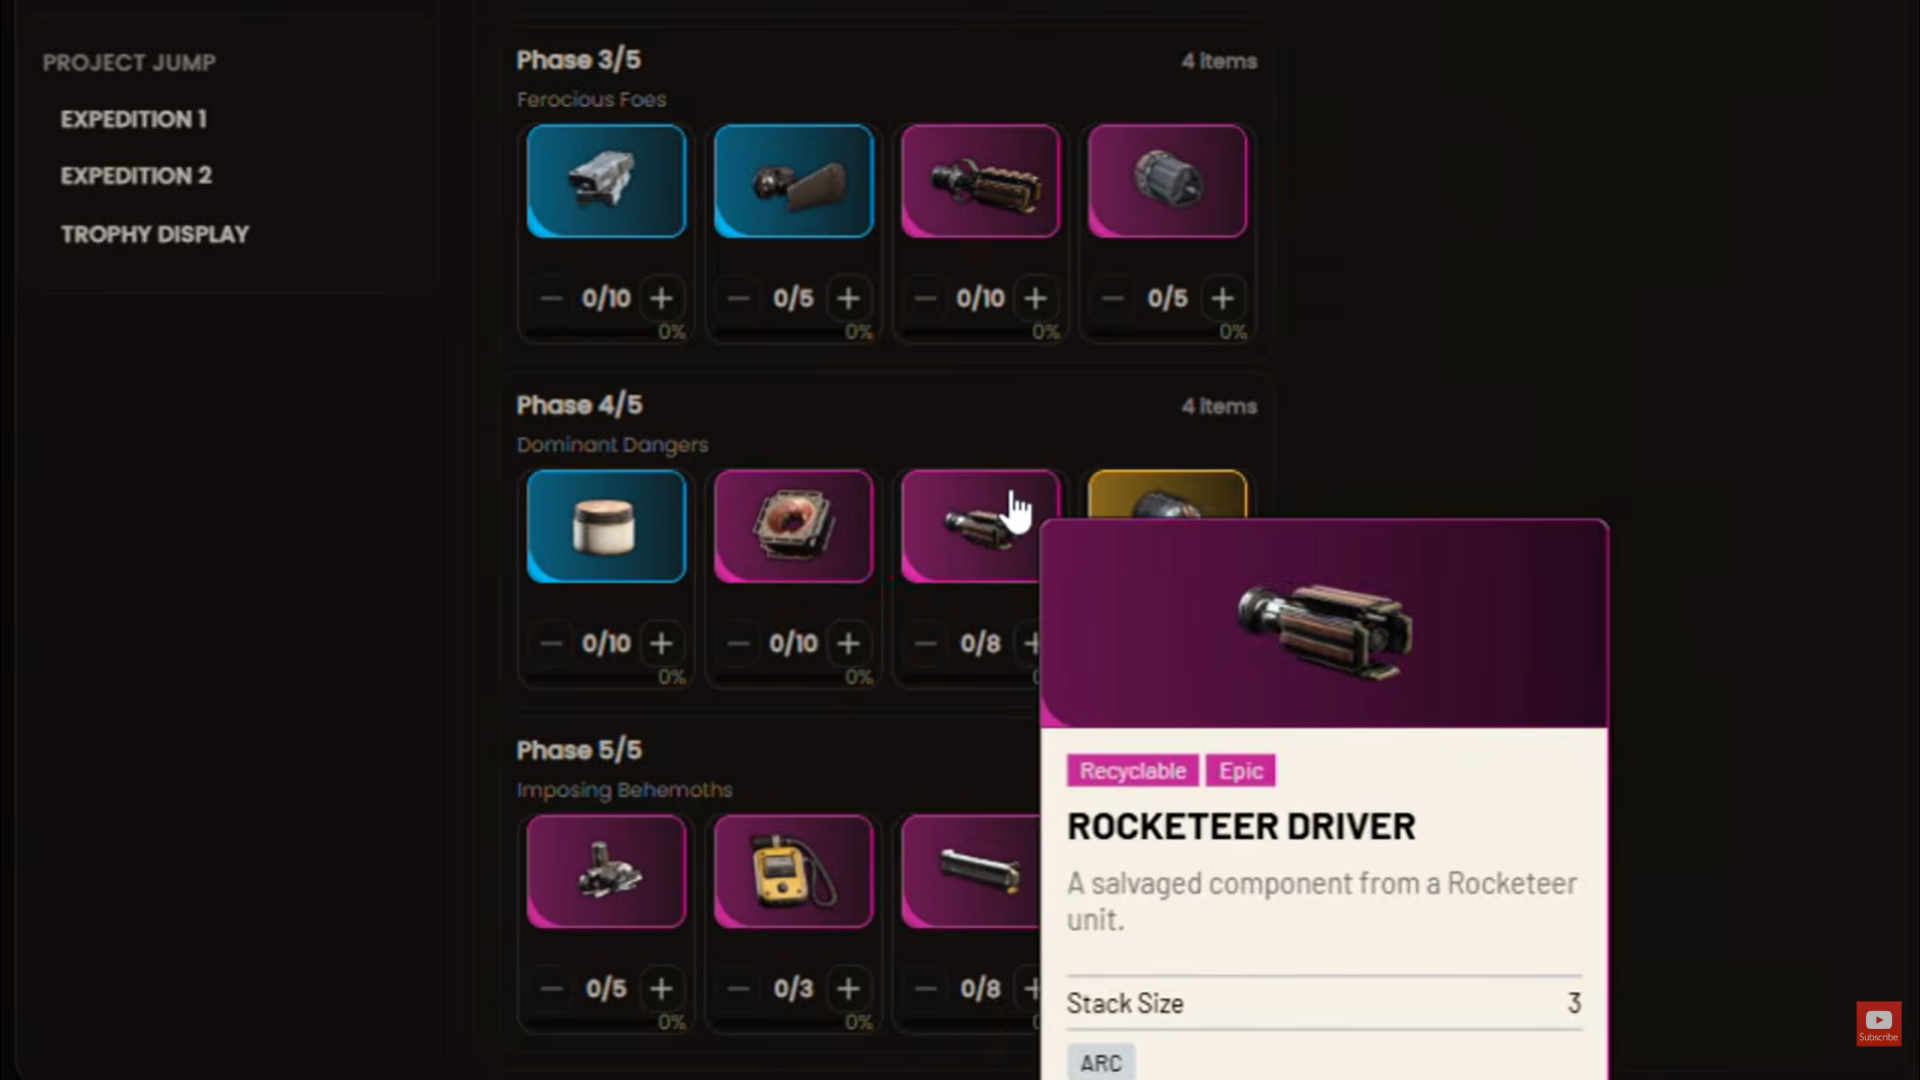
Rewards scale accordingly. You earn blueprints, Raider Tokens, consumables, and weapons along the way, with the final completion granting top-tier rewards, including a legendary sniper rifle such as Jupiter, exclusive cosmetics or emotes, and a large coin payout.
Trophy Display progression overview
| Phase | Focus | Difficulty |
|---|---|---|
| Phase 1 | Medical & utility loot | Low |
| Phase 2 | Industrial components | Low–Medium |
| Phase 3 | ARC materials | Medium |
| Phase 4 | Elite ARC enemy | High |
| Phase 5 | Boss reactors & cells | Very High |
Phase 1 item locations: medical research zones
The first phase introduces you to the Trophy Display’s scavenging loop. Two items are required here: Geiger Counter and Expired Respirator.
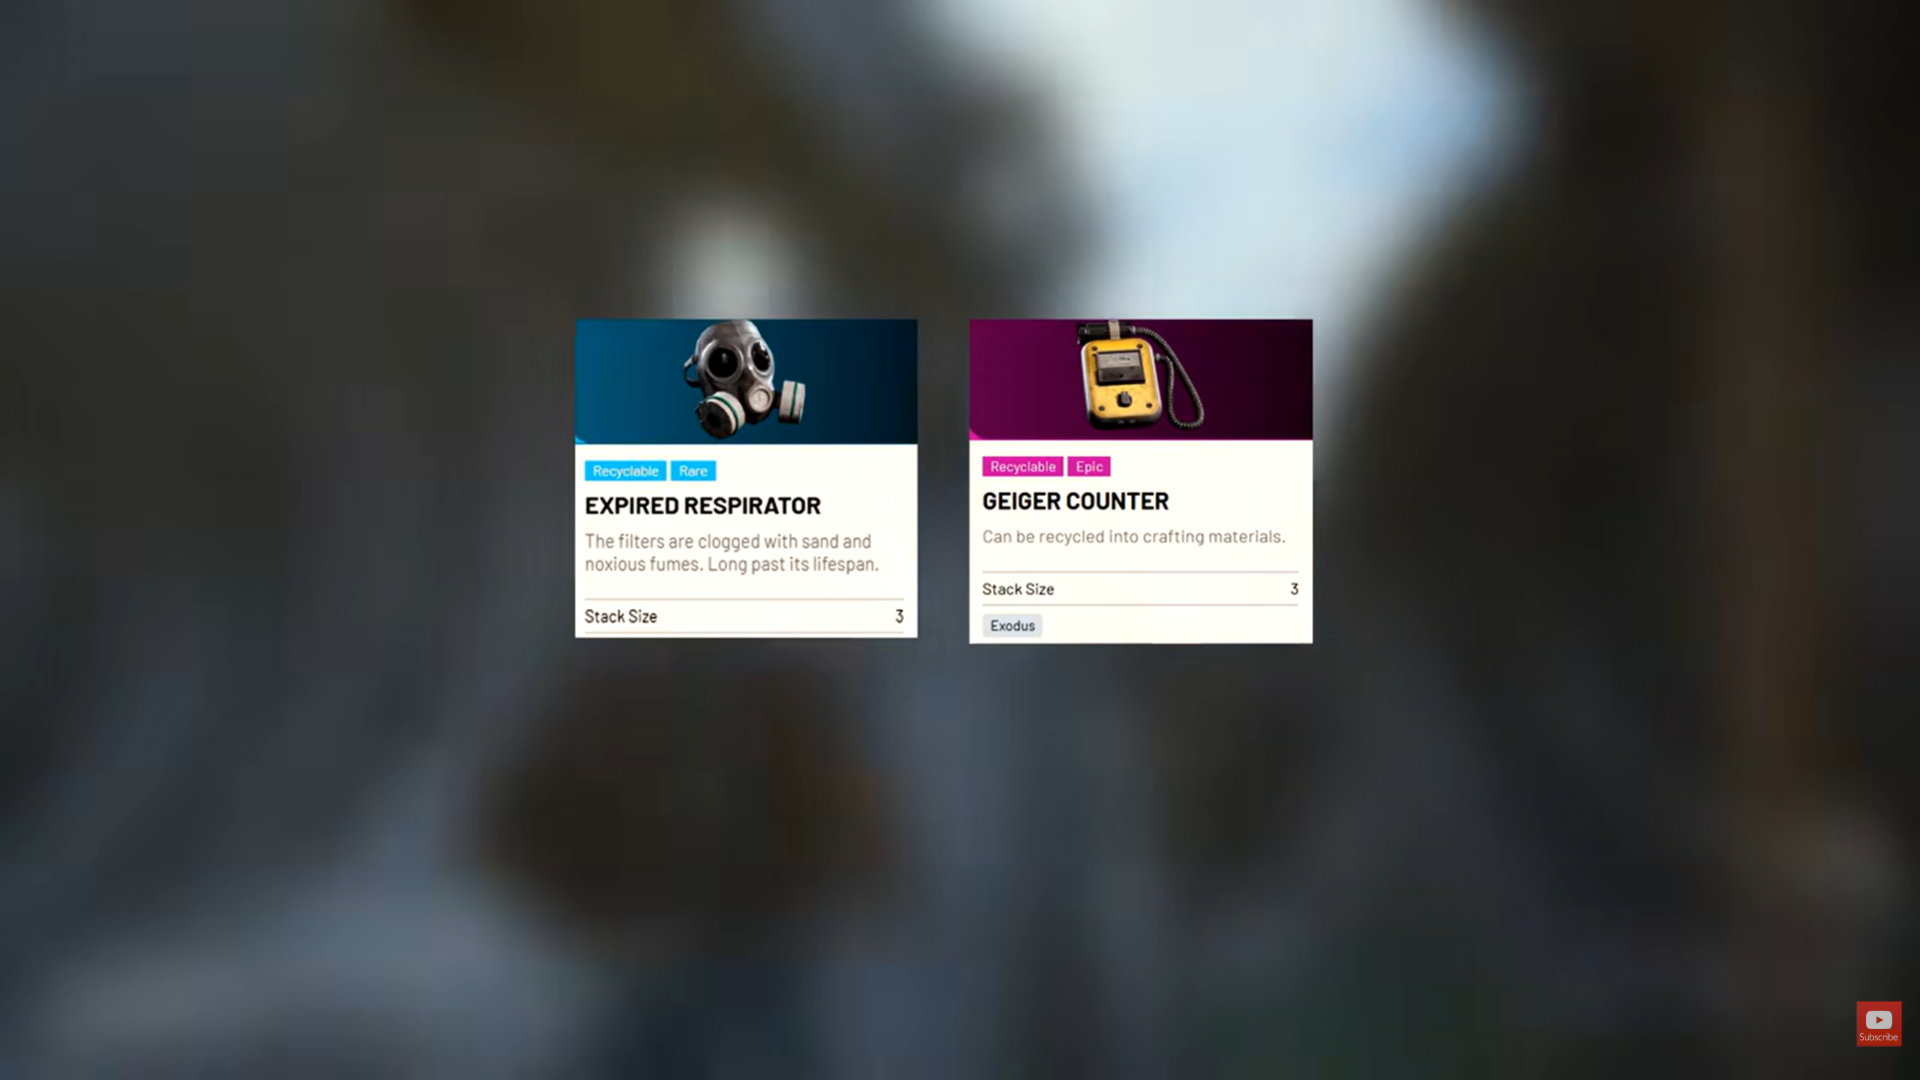
Both items are commonly found in white drawers inside the medical research area on Stella Montes. This area is relatively low-risk compared to later zones, making it ideal for early progression.
The spawn rate is generous, so repeated runs through the medical complex will usually yield both items without needing PvP engagement.
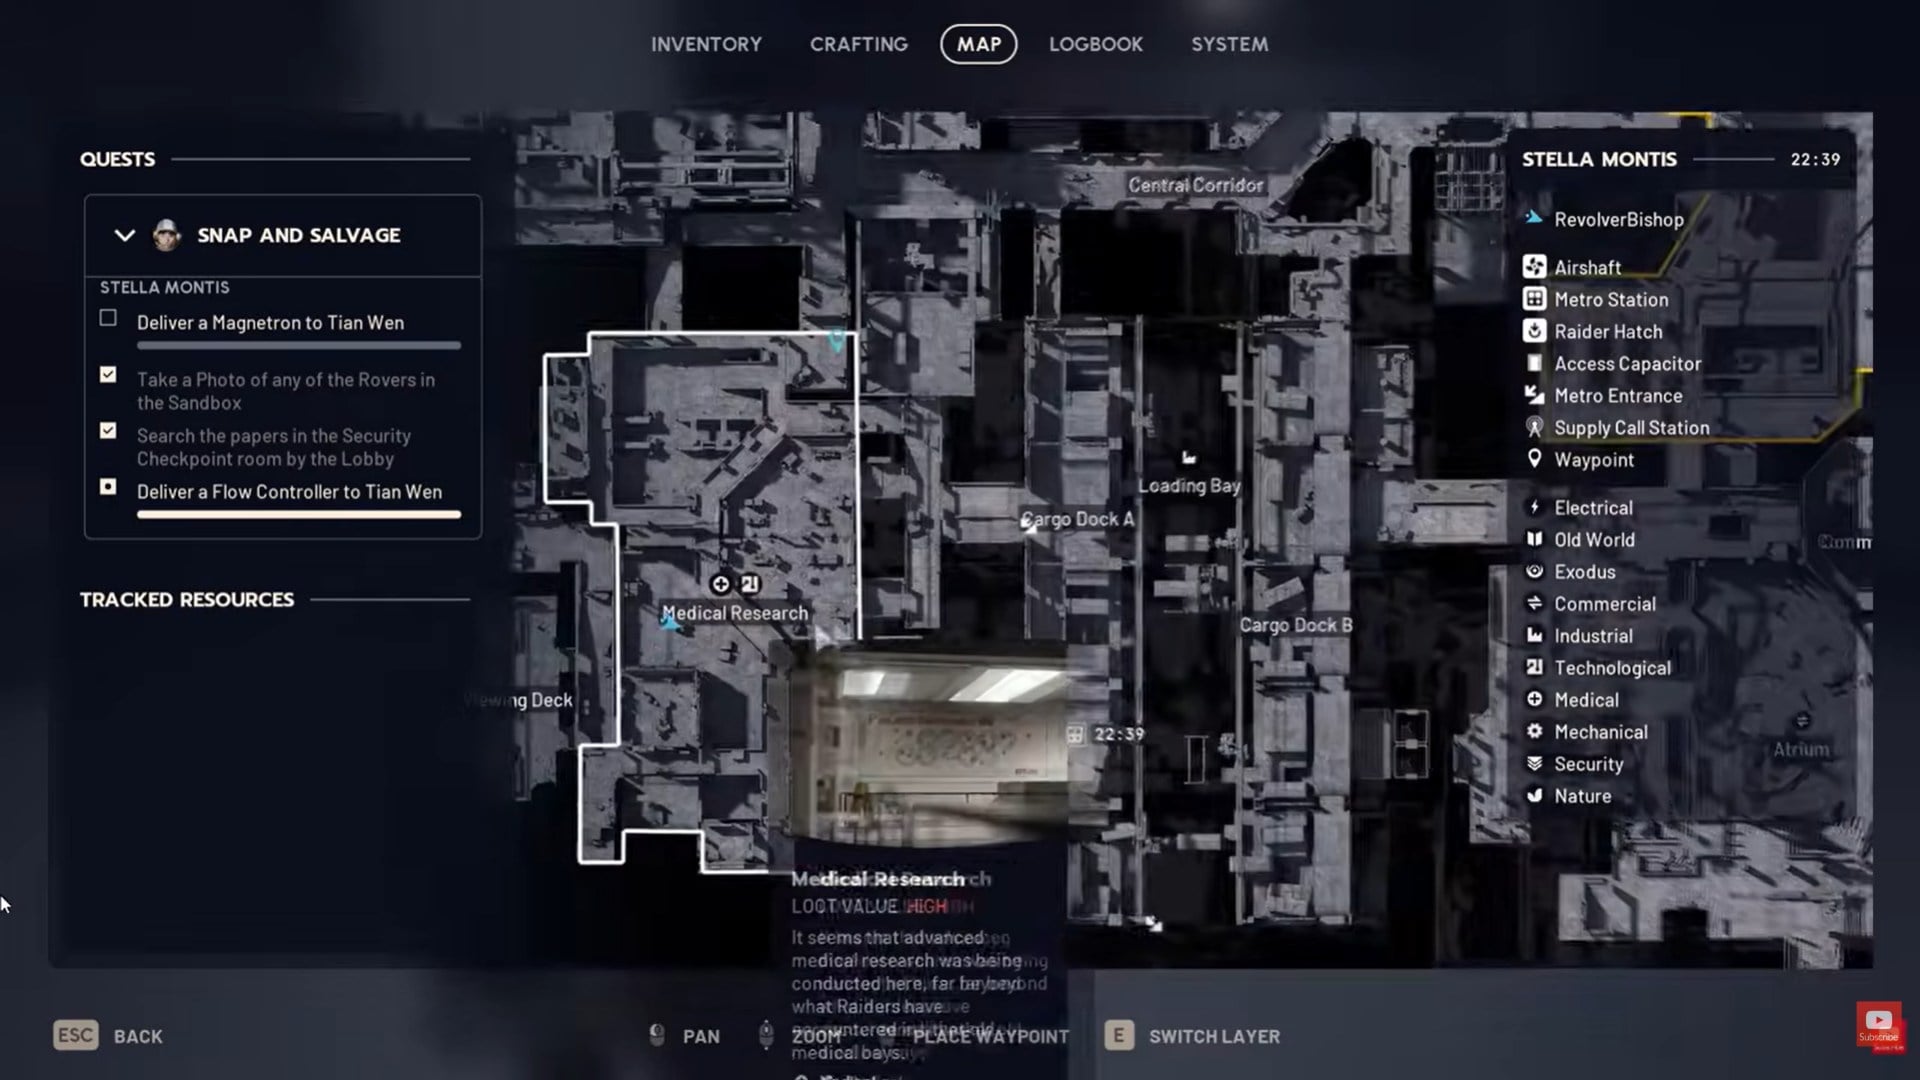
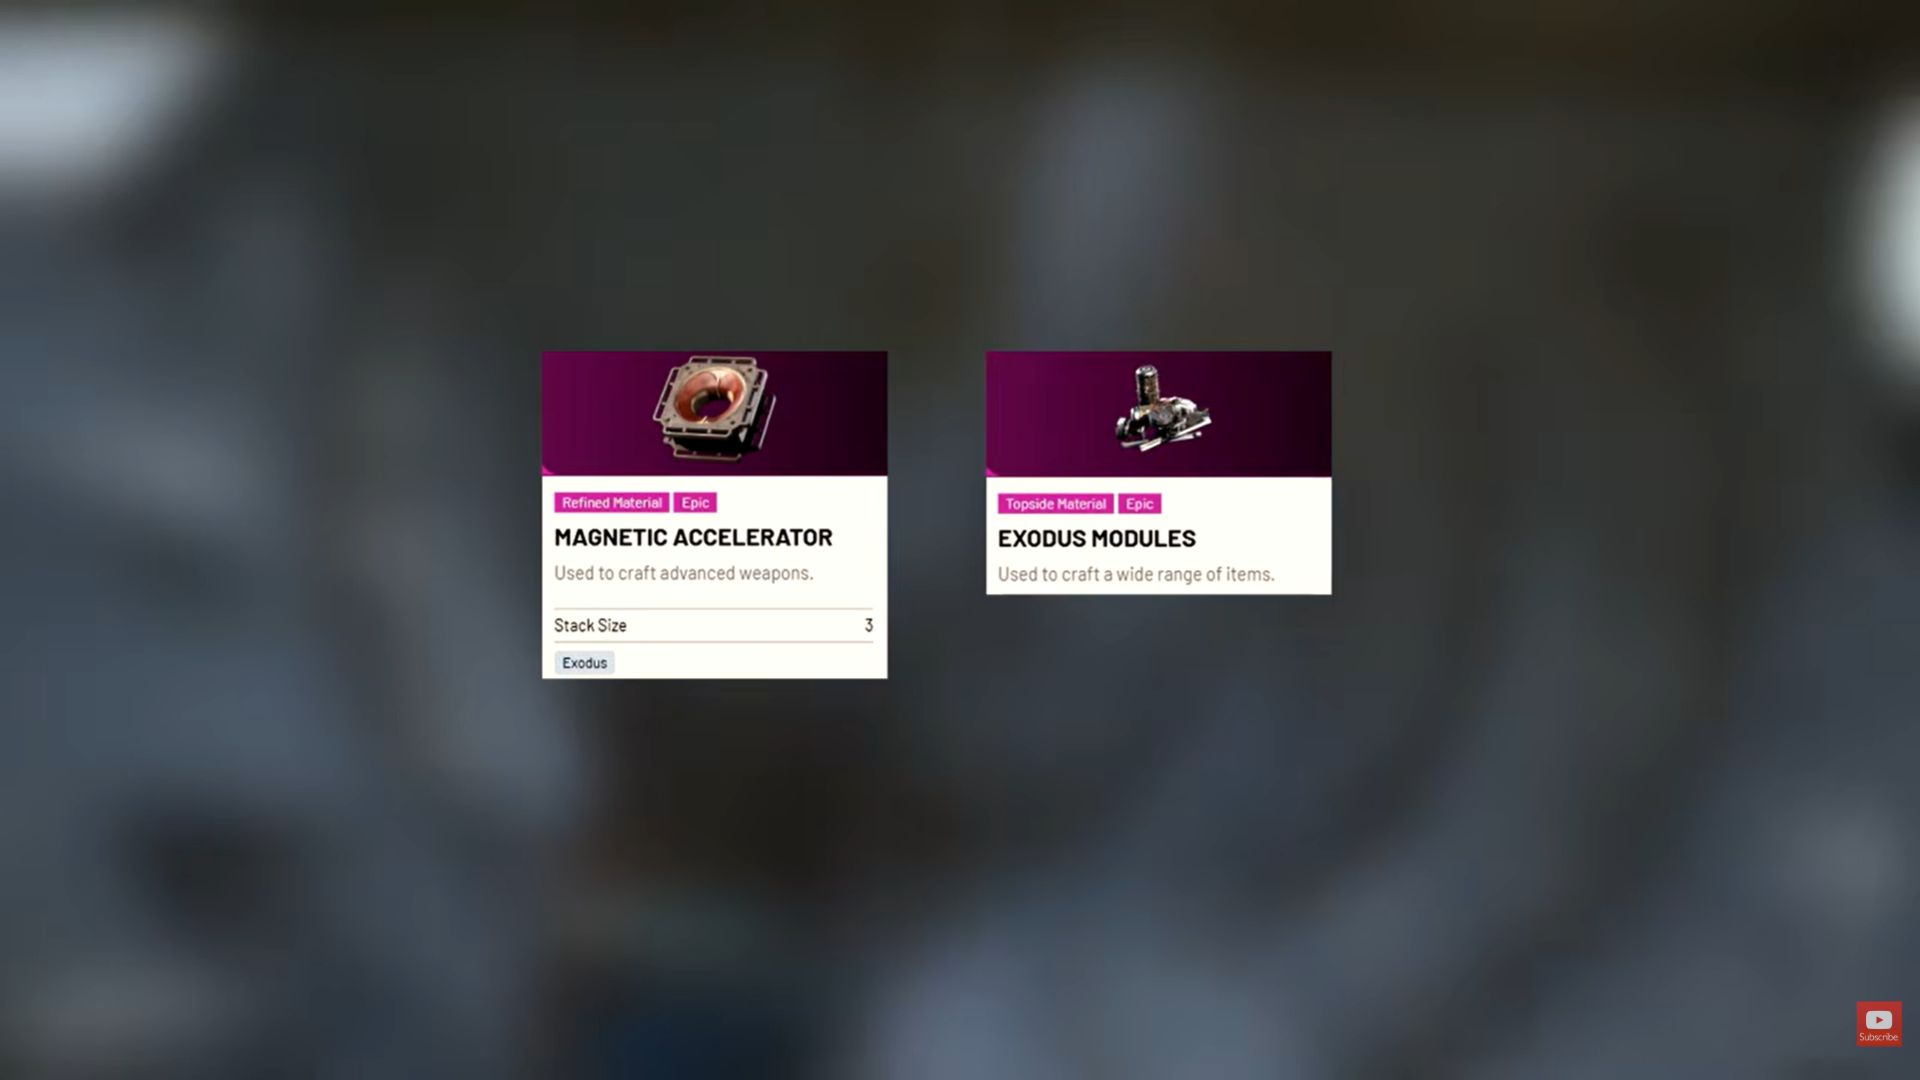
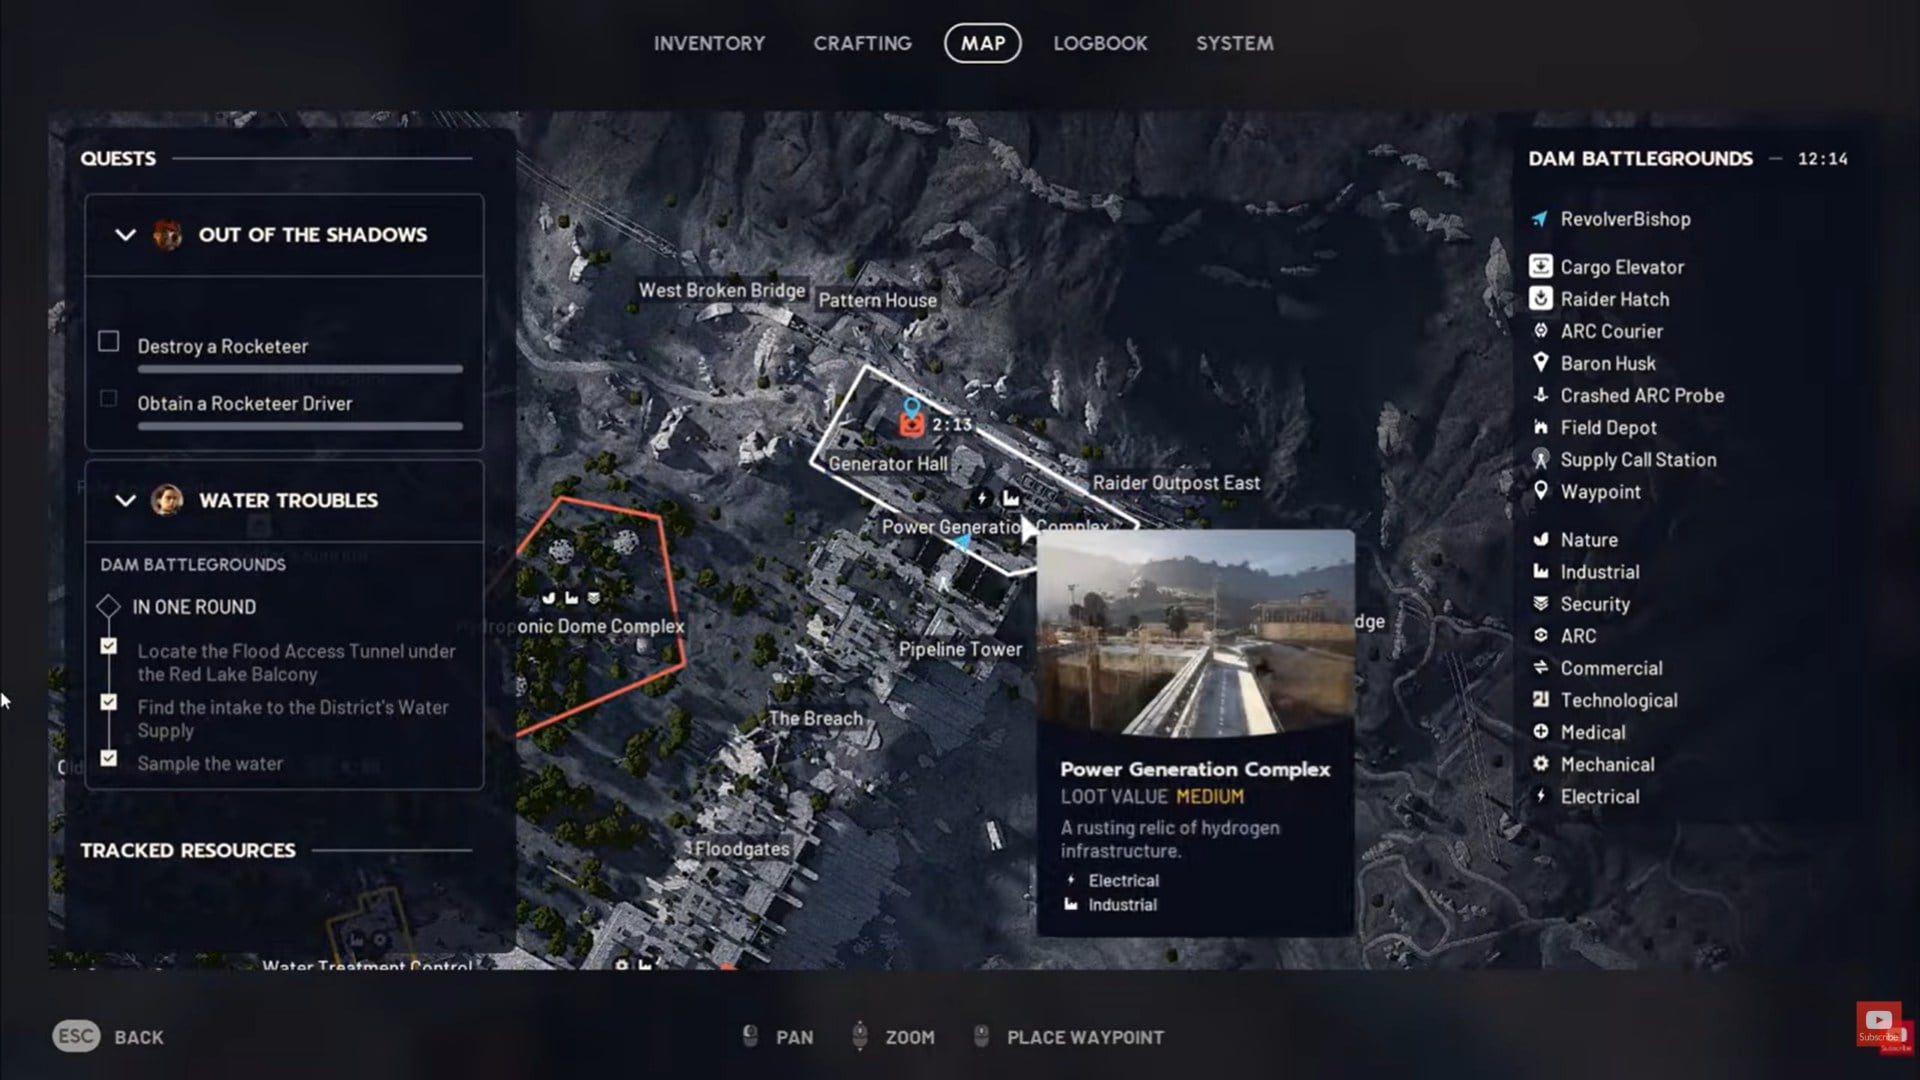
Phase 2 item locations: Dam Battlegrounds containers
Phase 2 shifts toward industrial scavenging. You need a Magnetic Accelerator and an Exodus Module.
These items share loot tables with power rods, meaning you should search large industrial containers. The most reliable location is the building on the metal bridge in the northern section of the Dam Battlegrounds.
If you are farming efficiently, prioritize containers that already have a chance to spawn power rods—this dramatically improves your odds.
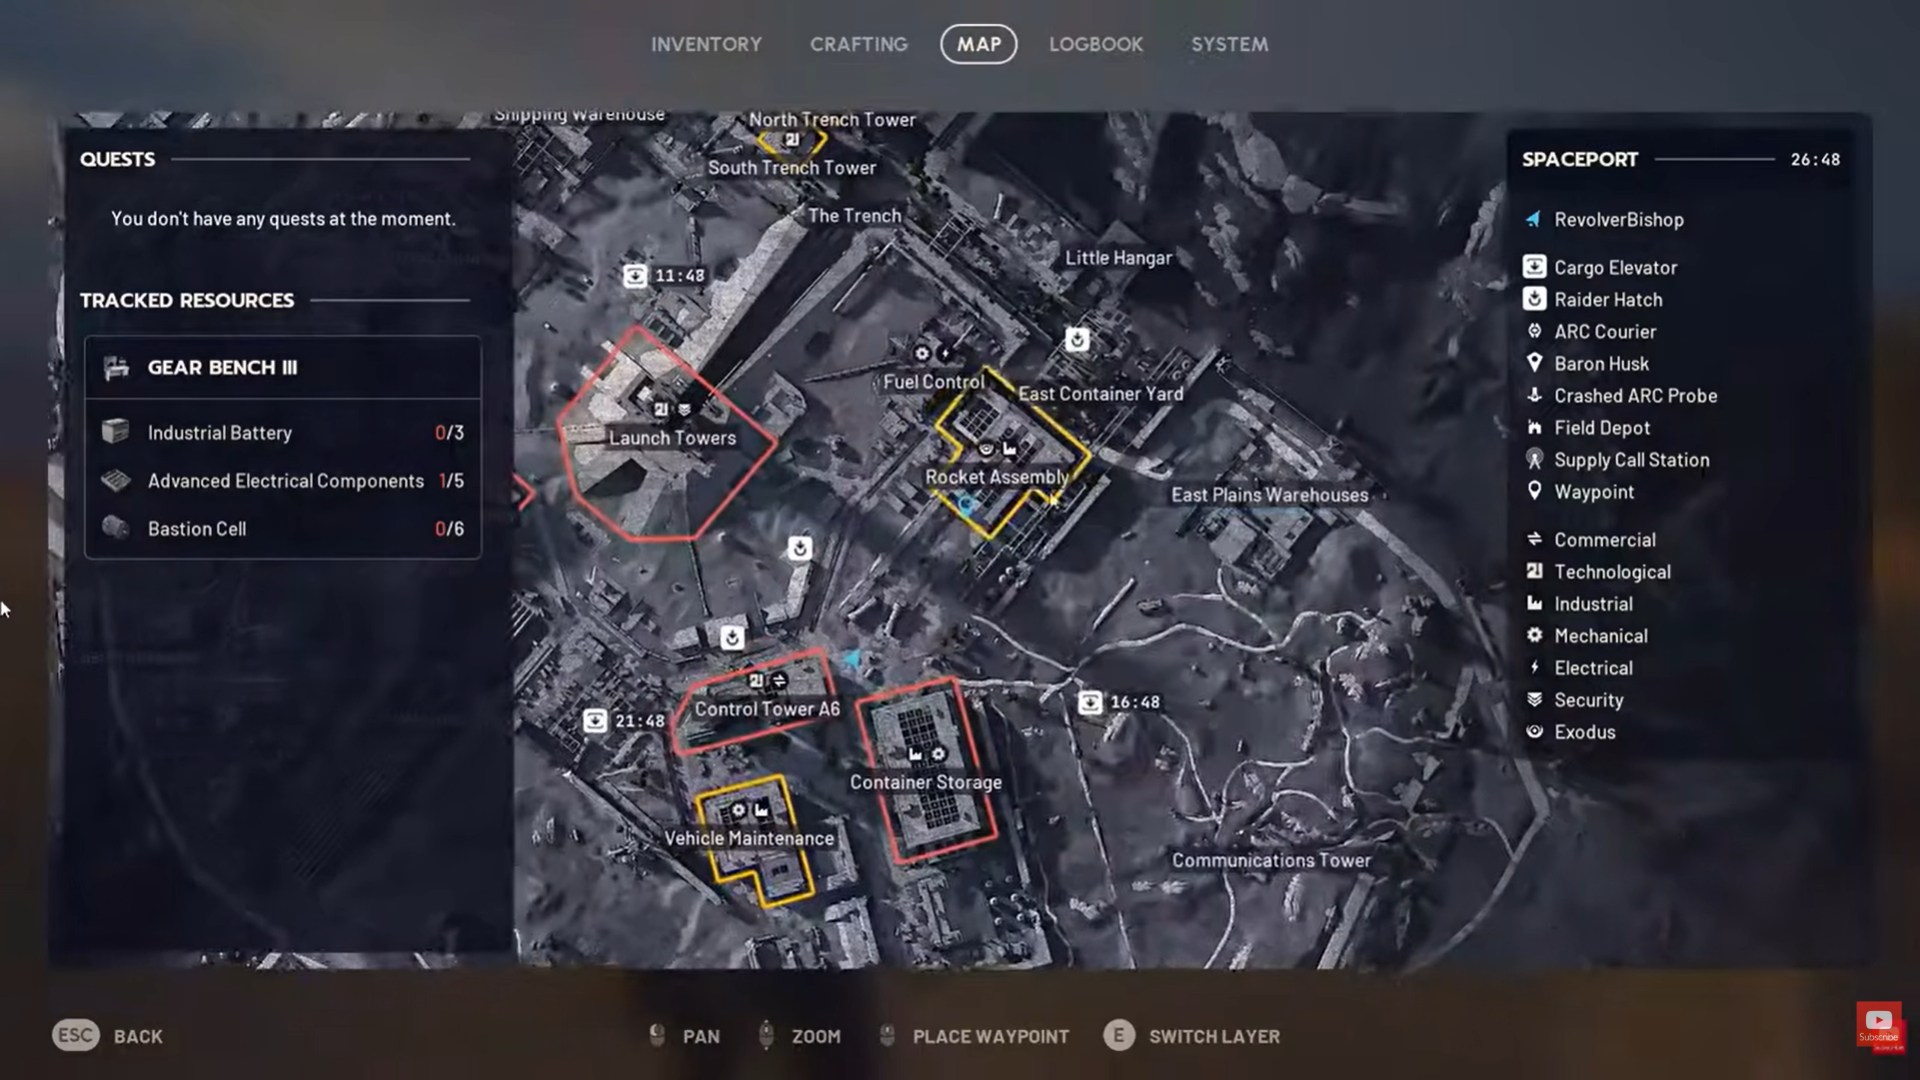
Phase 3 item locations: ARC enemies and probes
Phase 3 marks the transition from scavenging to active ARC combat. The required items are ARC Performance Steel and ARC Synthetic Resin.
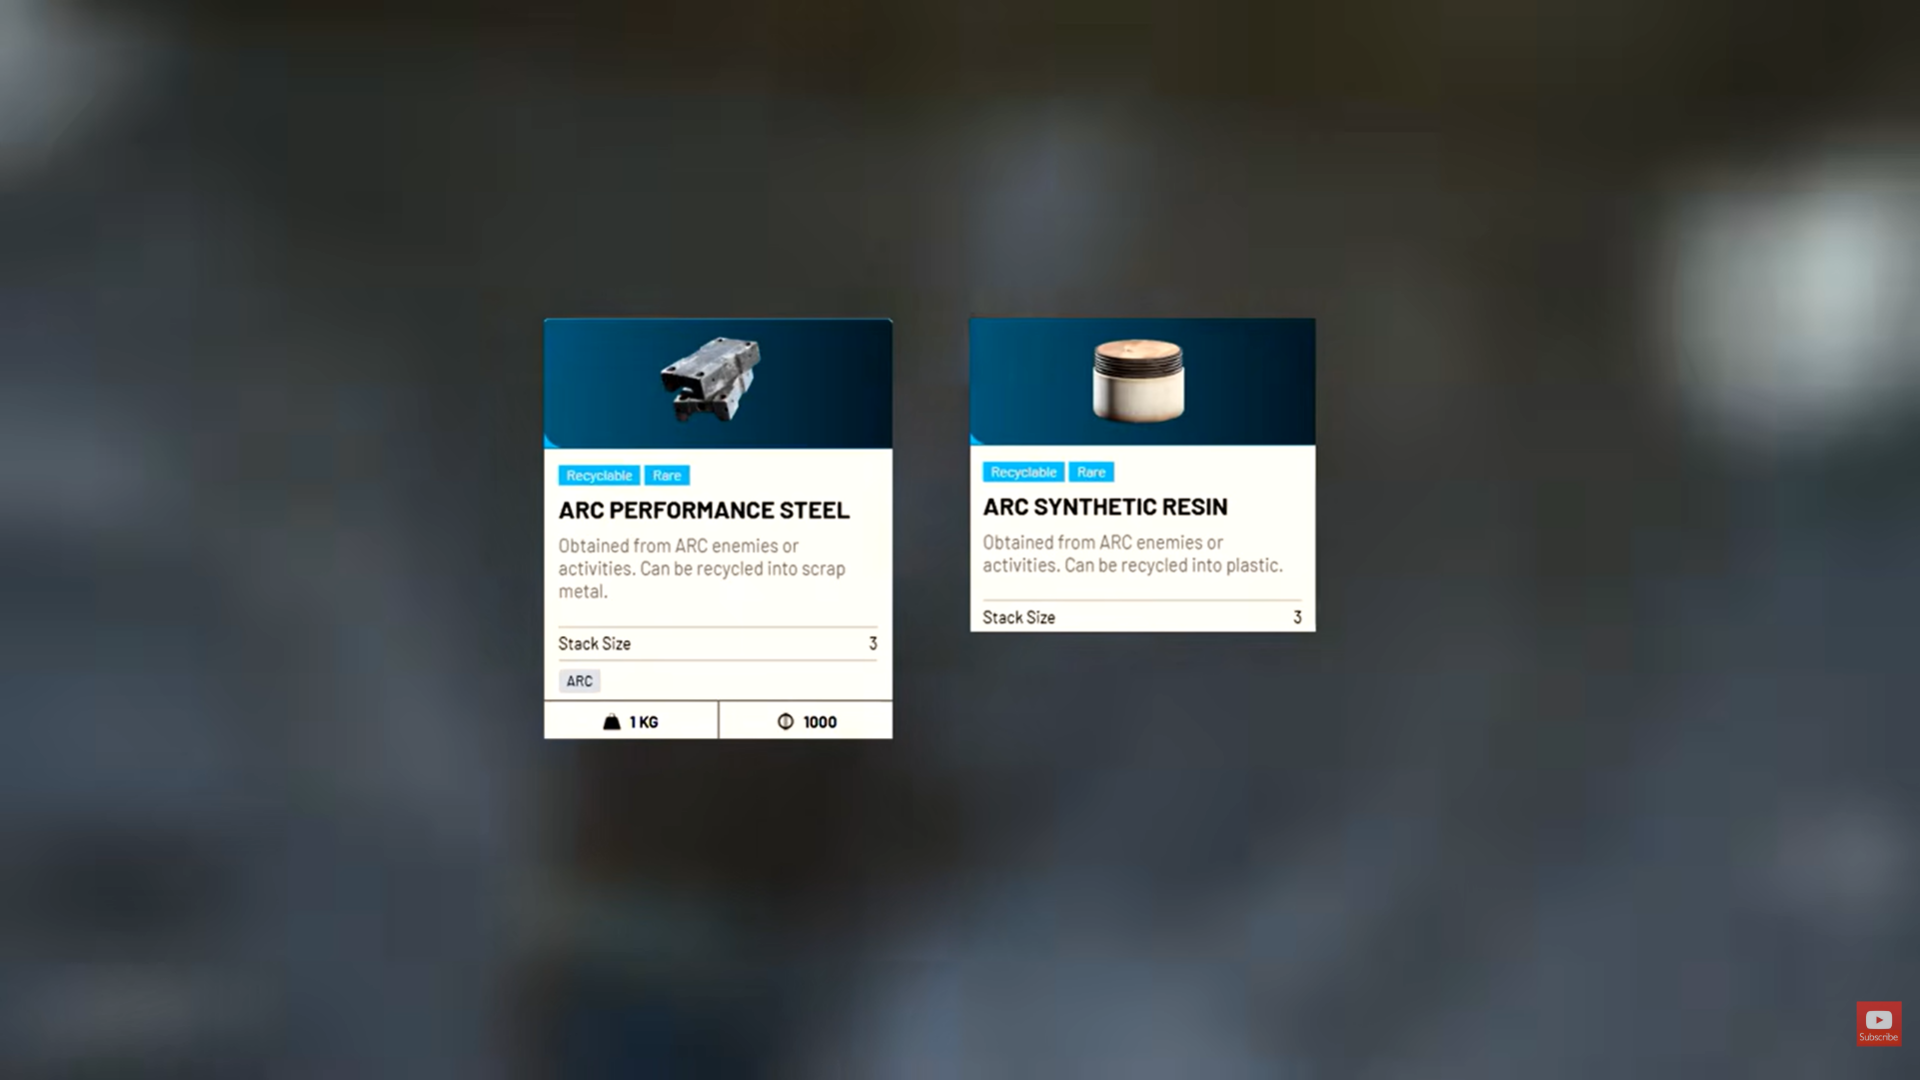
You can obtain these in two ways:
by defeating and looting ARC enemies, or by looting ARC probes.
The most efficient farming route is Spaceport, especially near the rocket assembly area, where probes spawn frequently. Intact probes have a noticeably higher drop chance, so avoid damaged ones when possible.
Phase 4 item location: the Shredder on Stella Montes
Phase 4 introduces your first exclusive enemy requirement. The Shredder Gyro can only be obtained by defeating the Shredder enemy.
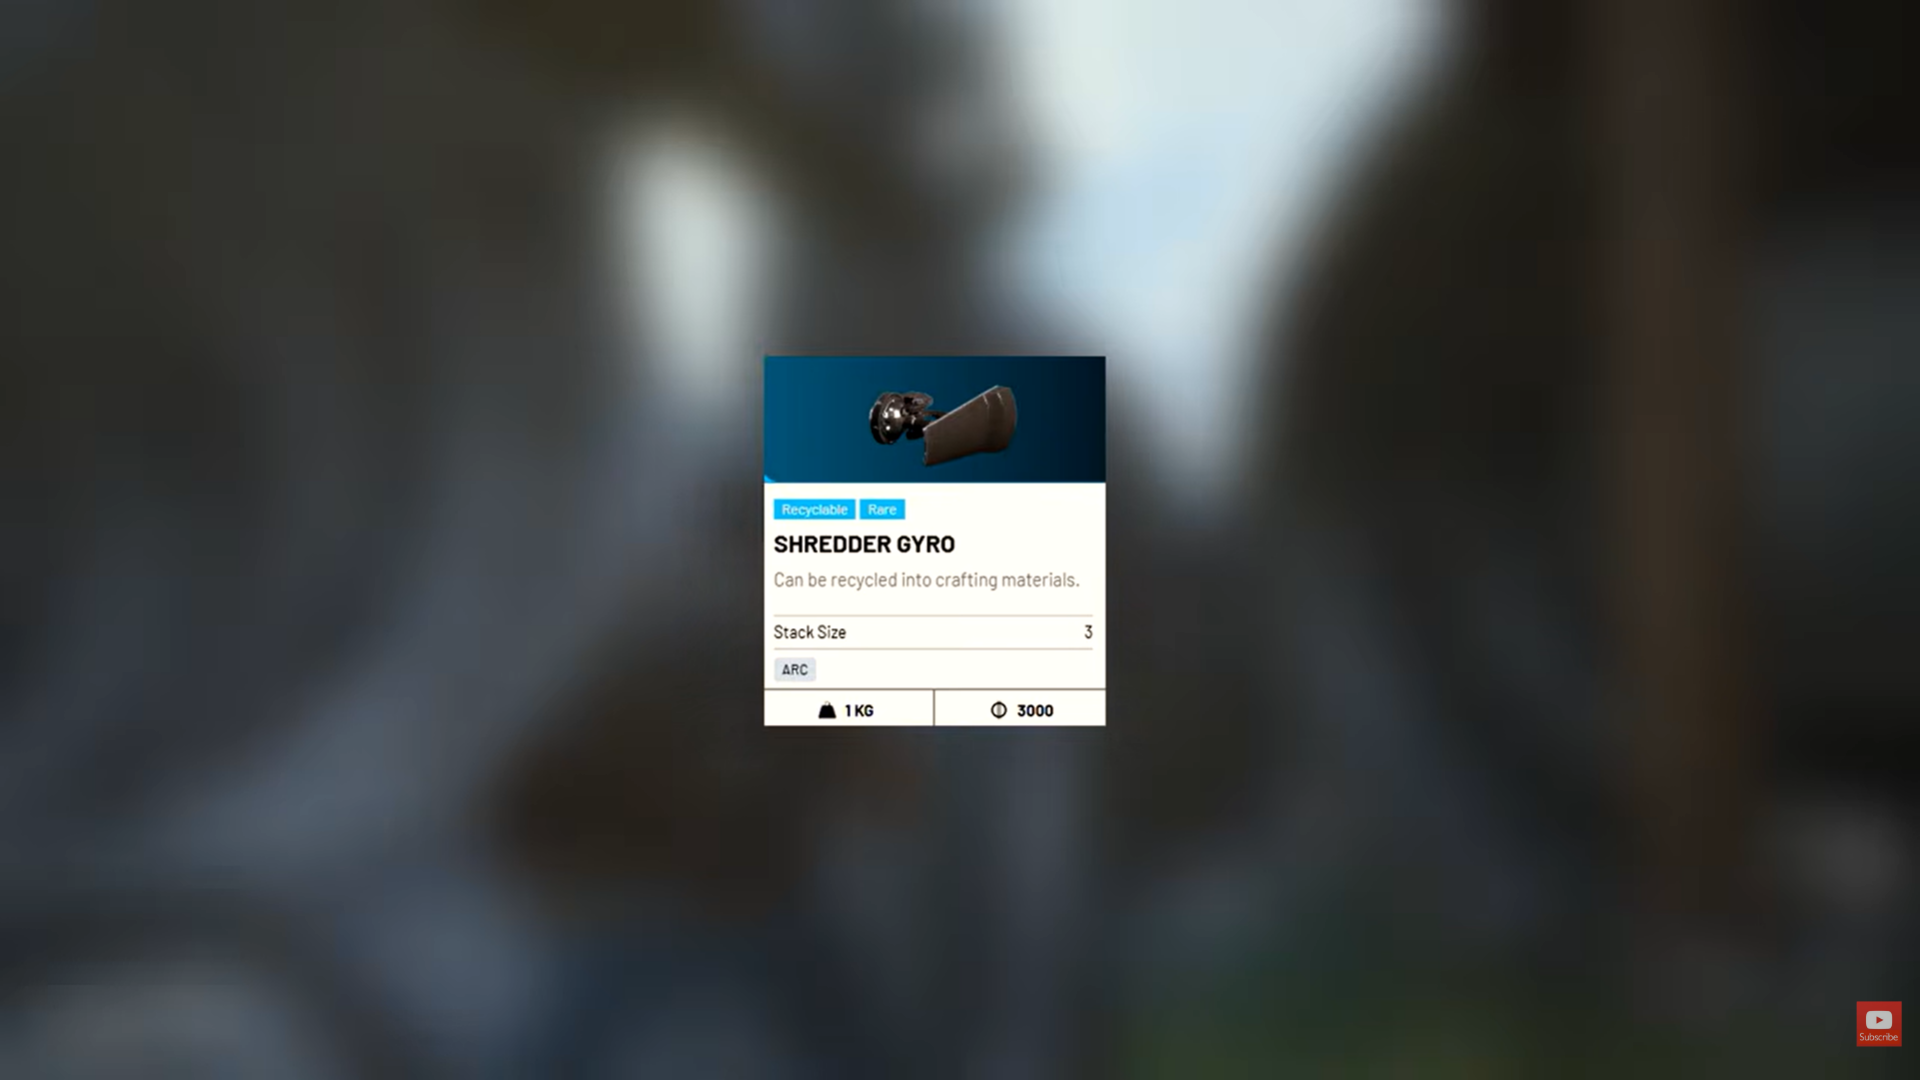
This enemy spawns exclusively on Stella Montes, and the Gyro does not drop from any other source. Because of this, the phase is more about learning the fight than farming volume.

Expect heavier resistance and plan your loadout accordingly before committing to this encounter.
Phase 5 item locations: boss-exclusive reactors and cells
The final phase is the most demanding. You must collect four boss-specific items:
- Matriarch Reactor
- Queen Reactor
- Bastion Cell
- Bombardier Cell
Each item drops only from its corresponding boss, meaning there is no shortcut. These encounters represent the highest PvE difficulty currently tied to the Trophy Display.

Because of their risk, most players tackle this phase gradually, completing one boss at a time rather than attempting to rush all four.
Phase 5 boss drops overview
| Boss | Drop |
|---|---|
| Matriarch | Matriarch Reactor |
| Queen | Queen Reactor |
| Bastion | Bastion Cell |
| Bombardier | Bombardier Cell |
Why the Trophy Display is worth completing
Beyond the obvious rewards, the Trophy Display acts as a skill progression benchmark. Completing all five phases demonstrates mastery over ARC enemy behaviors, map knowledge, and risk management.
The final rewards—including legendary-tier weapons like Jupiter, exclusive cosmetics, and a large coin cache—make the grind worthwhile even for veteran Raiders.
More importantly, the system gives long-term purpose to PvE runs that might otherwise feel repetitive.


