Discover all 18 Purgatory Trials in Ninja Gaiden 4, with step-by-step locations and tips for defeating enemy waves.
- What to know
-
All Purgatory Trials location and difficulty
- Chapter 1 – Blood-Soaked Tokyo
- Chapter 2 – Haunted District
- Chapter 3 – Phantom Pleasure Quarter
- Chapter 4 – Pilgrim’s Windswept Path
- Chapter 5 – Raging Valley
- Chapter 6 – Guiding Winds
- Chapter 7 – Altar of the Mountain Gods
- Chapter 8 – Drowned District
- Chapter 9 – Realm of the Silent Dead
- Chapter 10 – Bounding Spirits
- Chapter 11 – Infiltration
- Chapter 12 – Dragon’s Maw
- Chapter 13 – Clash of Convictions
- Chapter 15 – Fanged Gate
- Chapter 16 – Downpour
- Chapter 17 – Howling Ravine
- Chapter 18 – Darkness Reborn
- Chapter 19 – Endless Rain (Yakumo)
- How to tackle each trial
What to know
- There are 18 Purgatory Trials, one in nearly every chapter except Chapter 14.
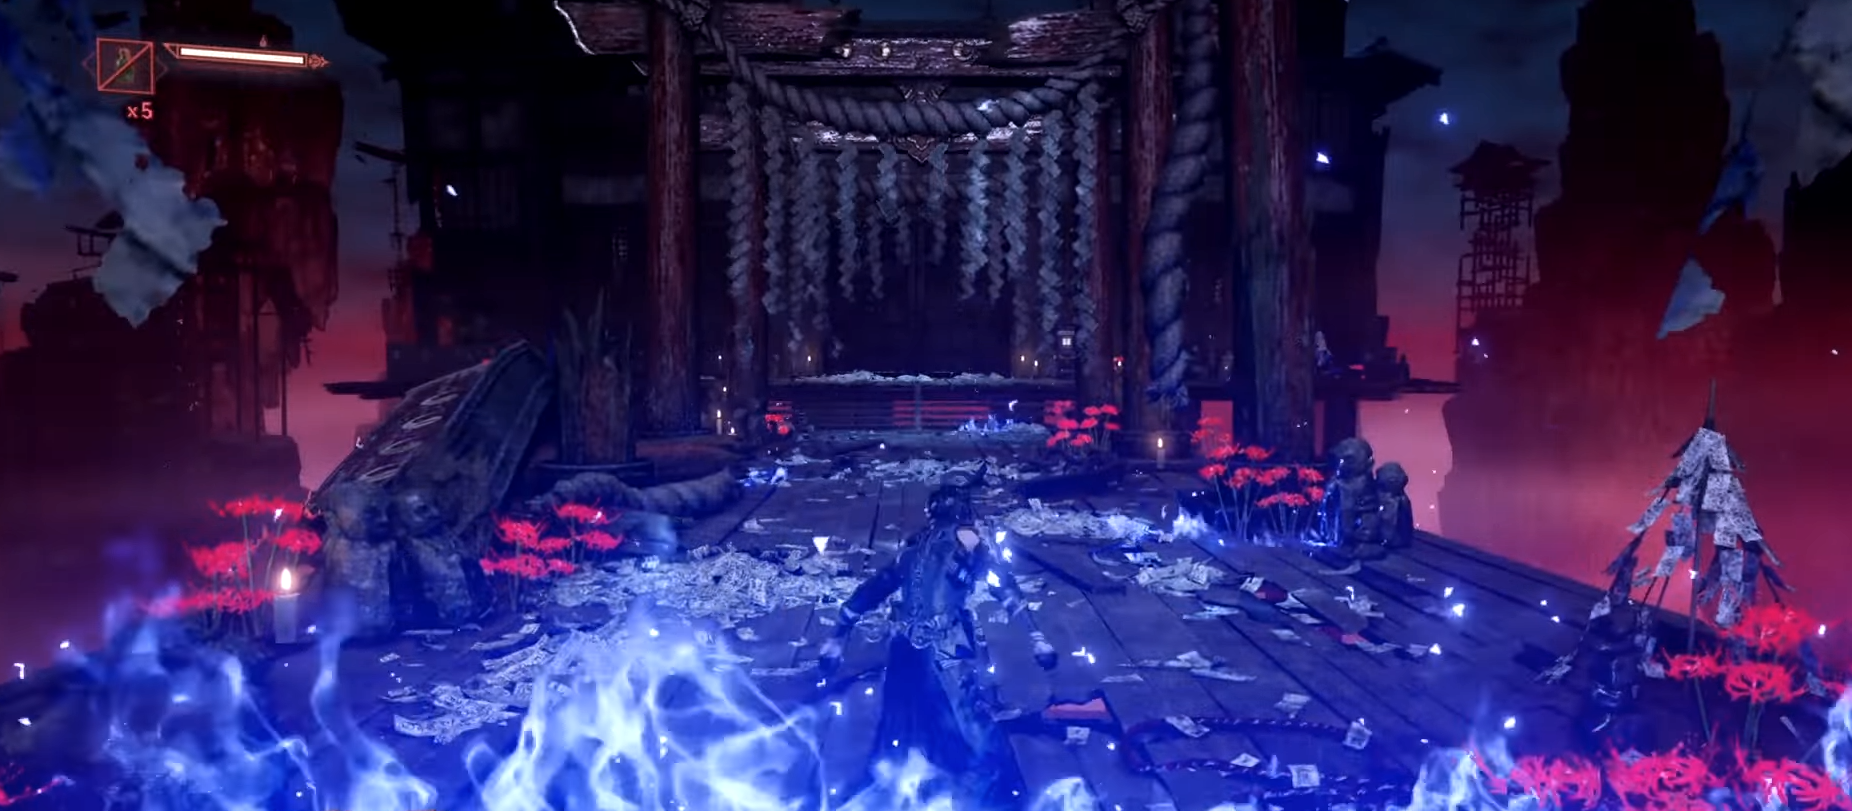
- You access them via glowing torii gates off the main path—look for distinct red/blue gates in each level.
- Each trial is a fight against waves of tough enemies, often harder than the main story battles.
- Sacrifice a chunk of your max health to enter—higher risk yields greater rewards. Completing all grants the Annihilator trophy.
Walking through all Purgatory Trials provides a real test of skills—with increased enemy aggression and tactical demands that mirror the game’s Master Ninja difficulty.
All Purgatory Trials location and difficulty
Each Purgatory Trial is accessed via a special Purgatory Gate located within its chapter (except Chapter 14). The gates stand out with their blazing colors and are tucked away just off the main path. Upon entering, you’ll fight a sequence of enemy waves; victory grants a reward such as rare gear, upgrade materials, or achievement progress.
Chapter 1 – Blood-Soaked Tokyo
The journey begins in the neon-stained backstreets of Tokyo, where Yakuza thugs and mechanical drones test your blade early on.
- Location: Left alley past three dump trucks; bird-flip to roof.
- Enemy Waves: 3 waves – low-tier Yakuza + drones → small ninja elite → dual katana leader.
- Difficulty: Easy / Medium
Chapter 2 – Haunted District
Dark spirits gather among crumbling skyscrapers and flickering signs — a test of agility and precision in tight urban arenas.
- Location: Climb building via Caddis Wire; through containers to monorail track.
- Enemy Waves: 4 waves – mixed ninjas + fliers → heavy drones → wave of explosive kunai ninjas + mini-boss.
- Difficulty: Medium
Chapter 3 – Phantom Pleasure Quarter
This district hides danger behind its seductive glow — assassins lurk in shadowed alleys where pleasure turns to peril.
- Location: Backtrack from bridge; dead-end alley.
- Enemy Waves: 3 waves – assassin squad ×2 + flier support → twin Claw Ninjas.
- Difficulty: Medium
Chapter 4 – Pilgrim’s Windswept Path
Among the sacred cliffs, the wind howls with memories of fallen warriors. Grace and patience are key to survival here.
- Location: Cliffside detour before main ascent.
- Enemy Waves: 3 waves – mixed demons → masked ronin duo → large oni.
- Difficulty: Medium
Chapter 5 – Raging Valley
The valley rumbles beneath your feet as ancient oni rise from the ruins — each wave fiercer than the last.
- Location: Drop into valley under temple ruins.
- Enemy Waves: 4 waves – oni brutes + archers → mini-boss cyclops → twin oni archers.
- Difficulty: Medium / Hard
Chapter 6 – Guiding Winds
Tranquility hides behind chaos — the winds whisper of challenge as assassins descend from the skies.
- Location: Right-side Caddis Wire path after vendor shops.
- Enemy Waves: 4 waves – kunoichi teams → gliders → dual katana ninjas → mid-boss D.D.O. elite.
- Difficulty: Medium / Hard
Chapter 7 – Altar of the Mountain Gods
A sacred battleground where monks and spirits stand between you and enlightenment — or annihilation.
- Location: Down the right stairs near start.
- Enemy Waves: 5 waves – monks → elemental spirits → oni archers → samurai boss.
- Difficulty: Hard
Chapter 8 – Drowned District
Submerged ruins echo with whispers of the drowned — beware the fliers that circle above as oni rise from below.
- Location: Right hallway, bird-flip + Pond Strider surf on pipe.
- Enemy Waves: 5 waves – aquatic demons → fliers → triple oni spawn.
- Difficulty: Hard
Chapter 9 – Realm of the Silent Dead
A misty graveyard realm where the dead do not rest — only swift execution will silence their cries.
- Location: Left-side cave in water area.
- Enemy Waves: 4 waves – undead warriors → ghost archers → phantom ogre.
- Difficulty: Hard / Very Hard
Chapter 10 – Bounding Spirits
In a district alive with restless energy, waves of ninja fury test your precision and resolve.
- Location: Right-hand door beyond twin shops.
- Enemy Waves: 5 waves – melee ninjas → explosive drones → dual mini-boss samurai pair.
- Difficulty: Hard
Chapter 11 – Infiltration
High-tech corridors and heavy firepower define this gauntlet — where brute strength meets digital warfare.
- Location: Jump left onto side rail from E4 building.
- Enemy Waves: 5 waves – heavy D.D.O. soldiers → gunner bots → elite drone boss.
- Difficulty: Hard / Very Hard
Chapter 12 – Dragon’s Maw
Step into the dragon’s jaws — a test of mastery where only the sharpest reflexes can keep you alive.
- Location: Left path via Caddis Wire, up stairs.
- Enemy Waves: 6 waves – elite ninjas → oni duo → dragon phantasm mini-boss.
- Difficulty: Very Hard
Chapter 13 – Clash of Convictions
Two forces collide atop sacred ground — the true test of your spirit begins here.
- Location: Backtrack stairs, rail-surf and wall-run to top platform.
- Enemy Waves: 6 waves – fast assassins → multi-element oni → final D.D.O. boss.
- Difficulty: Very Hard
Chapter 15 – Fanged Gate
Beneath the neon lights of the underworld, demonic dancers await — a deadly performance in motion.
- Location: Disco underworld left platform path.
- Enemy Waves: 6 waves – demon dancers → oni brutes → triple boss rush.
- Difficulty: Very Hard
Chapter 16 – Downpour
Rain slicks the rooftops as the city turns hostile — fast, relentless, and unforgiving.
- Location: Right path past shop; rooftop gap run.
- Enemy Waves: 5 waves – city ninjas → hover snipers → oni boss duo.
- Difficulty: Very Hard
Chapter 17 – Howling Ravine
The wind shrieks through the ravine as yokai descend in droves — a haunting blend of chaos and beauty.
- Location: Right-side optional Caddis Wire path.
- Enemy Waves: 6 waves – yokai flock → masked demons → boss samurai + oni.
- Difficulty: Very Hard
Chapter 18 – Darkness Reborn
In the sterile glow of a white cube, shadows take form — face the darkness that mirrors your own.
- Location: Left metal-barrier hallway off white cube room.
- Enemy Waves: 6 waves – elite ninjas → dark spirit beasts → final boss form.
- Difficulty: Extreme
Chapter 19 – Endless Rain (Yakumo)
Yakumo’s final stand — a relentless gauntlet of oni bosses that push both skill and soul to the limit.
- Location: Same as Chapter 18, playing as Yakumo.
- Enemy Waves: 6 waves – Yakumo solo gauntlet vs oni boss rush.
- Difficulty: Extreme +
How to tackle each trial
Here is how you can complete each Purgatory trial in Ninja Gaiden 4:
Step 1 – locate the purgatory gate
Locate the glowing Purgatory Gate in the chapter as described above.

Step 2 – interact and sacrifice
Interact with the gate to sacrifice a portion of your maximum health (the higher the sacrifice, the better the rewards).

Step 3 – fight with enemy waves
Enter the arena and prepare for immediate combat with multiple enemy waves.

Step 4 – use of combat techniques
Use precise combat techniques — parry, dodge, and counterattack — focusing on high-threat enemies first.

Step 5 – clear all waves of trial
Clear all waves to complete the trial, earning gear upgrades, crafting materials, or rare accessories.

These trials are designed to push your combat skills and tactical decision-making beyond the main story’s challenge. With each trial offering unique enemies and escalating difficulty, finding all gating locations and completing every gauntlet on Master Ninja difficulty unlocks the ultimate trophy, Annihilator. With consistent practice, strategic use of your arsenal, and learning enemy patterns, you can triumph in every Purgatory Trial.