Navigate 7 challenging combat zones across frozen Lahai-Roi, master debuff mechanics, and claim rare Astrite rewards.
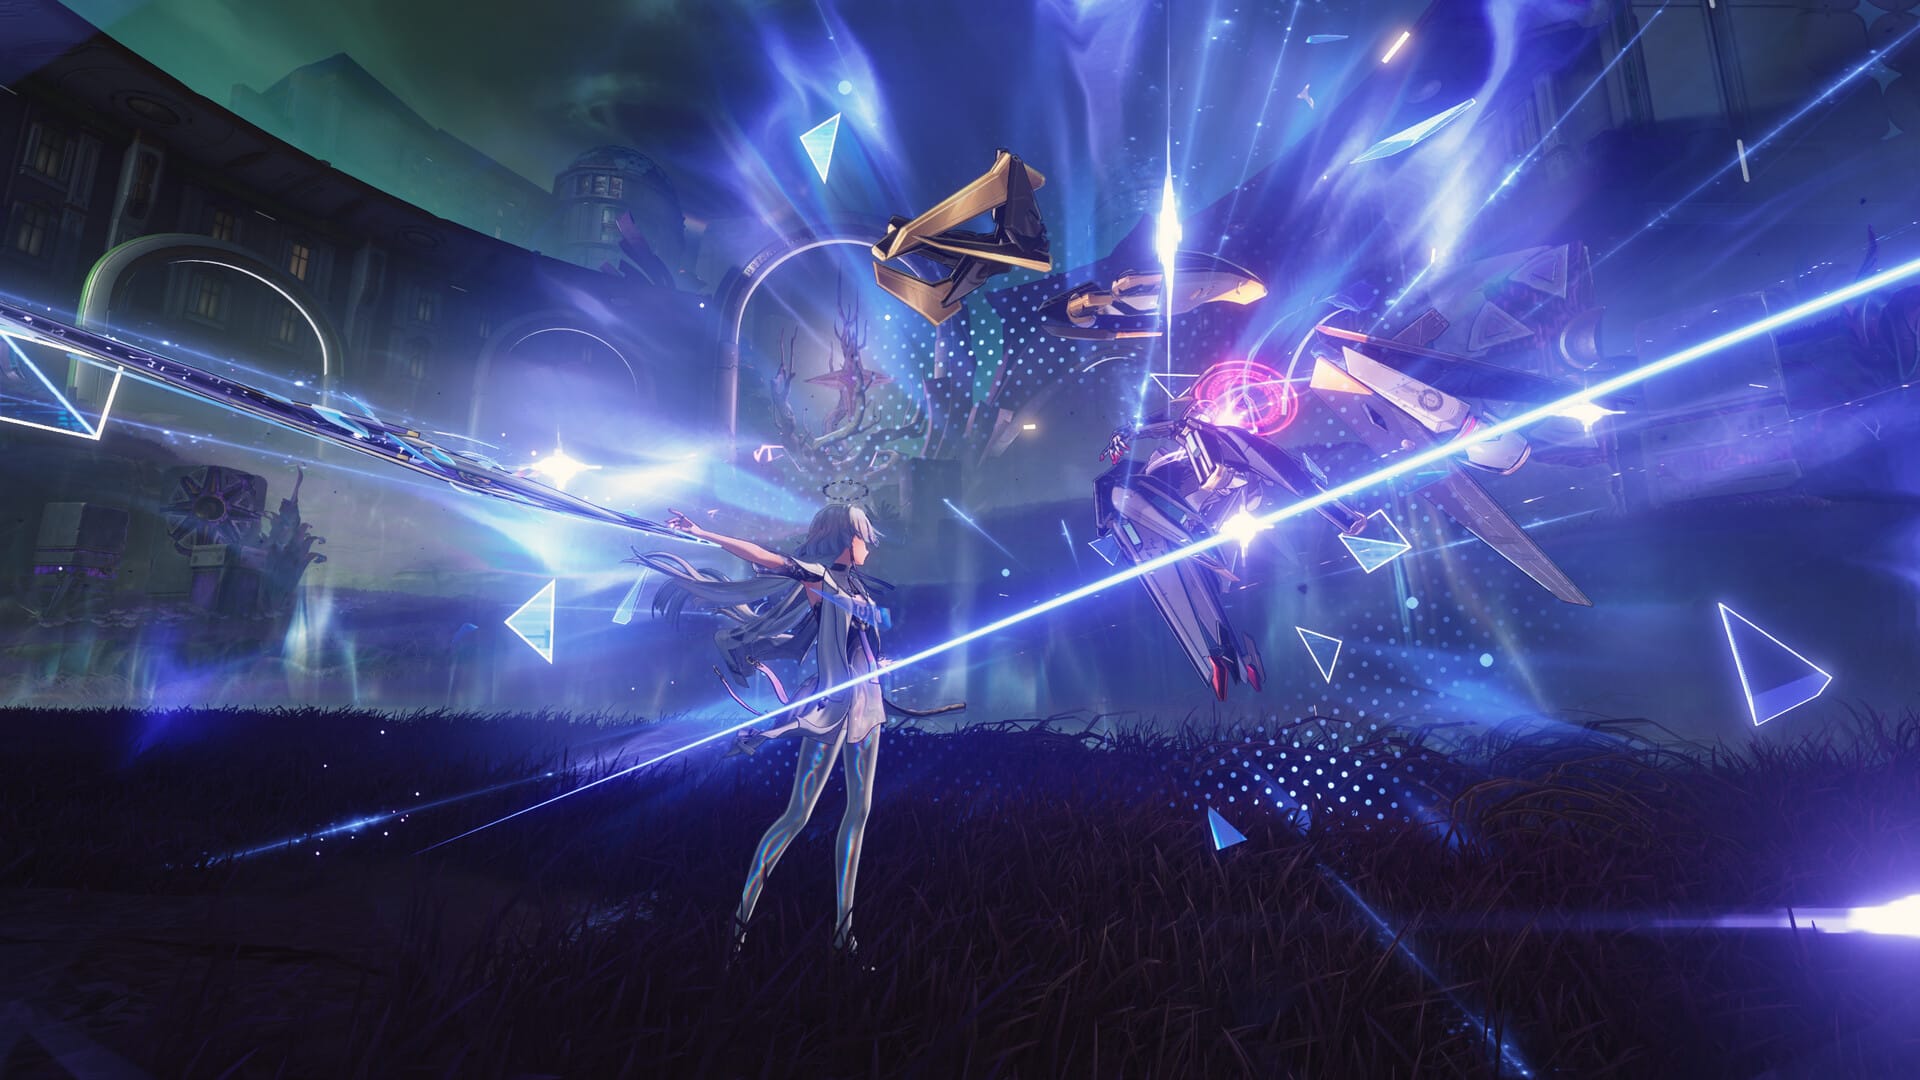
The Void Store Zones are Wuthering Waves‘ primary endgame combat challenges. Introduced in Version 3.0 with the Lahai-Roi region, these zones are environmental combat arenas affected by the Void Storm – a recurring Waveworn Phenomenon that creates unique mechanical pressures absent from regular combat encounters.
Each zone presents unique difficulty levels and enemy compositions, creating a natural progression path from moderate challenges to extremely difficult encounters. Here’s everything you need to know about each of the seven Storm Zones.
Void Storm Zone 1 – Etching Plains
Void Storm Zone 1 serves as your introduction to Void Storm mechanics, featuring moderate difficulty and foundational combat challenges.
Location
This zone is located in the borderland between Etching Plains and Fangspire Chasm.


(Image credit: Kuro Games | YouTube – ZaFrostPet)
Fast travel to Void Storm Zone 1. Then enter the arena.
Boss
Twin Nova: Void Revenant (Lv. 100)
The Twin Nova enemy presents a classic dual-enemy encounter where both targets must be managed simultaneously. This boss is moderately threatening but survivable.


(Image credit: Kuro Games | YouTube – ZaFrostPet)
Rewards
- Premium Tuner – x5
- Union EXP – x80
- Shell Credit – x5000
- Medium Sealed Tube – x2
- Astrite – x50
Void Storm Zone 2 – Fangspire Chasm
Location
This zone is located in the Expospine Barrows (Emberfall Barrows) in Fangspire Chasm.


(Image credit: Kuro Games | YouTube – ZaFrostPet)
As before, fast travel to the location and then enter the Void Storm Zone.
Boss
Mech Abomination (Lv. 100)

Once you enter the arena, the boss will drop from above. It’s a slow hunk that sometimes uses very fast mobility to get across the arena. Be wary of its spinning attack and grab attack.
Rewards
- Union EXP – x80
- Premium Tuner – x20
- Shell Credit – x15000
- Medium Sealed Tube – x4
- Astrite – x10
Void Storm Zone 3 – Fangspire Chasm
This zone demands more engagement with mechanical execution. Enemy patterns become less forgiving, and healing pressure increases substantially compared to previous zones.
Location
This zone is located in the lowlands near Riseway-Sundermere Corridor, accessible after progressing through earlier zones.


(Image credit: Kuro Games | YouTube – ZaFrostPet)
Boss
Hyvatia (Lv. 120)

The boss is quite fast in the arena. To defeat Hyvatia, you’ll need to leverage the Tunability Mechanics. Make sure to dodge the lasers and the sword waves.
Rewards
- Union EXP – x70
- Premium Tuner – x20
- Shell Credit – x12000
- Medium Sealed Tube – x4
- Astrite – x10
Void Storm Zone 4 – Giant’s Gaze
This zone provides a progression endpoint before advancing to harder regions. It serves a bridge purpose in overall progression, featuring moderate challenge that tests fundamentals without extreme punishing mechanics.
Location
The zone is located in Giant’s Gaze


(Image credit: Kuro Games | YouTube – ZaFrostPet)
Boss
Lampylumen Myriad: Mistfield Tunes (Lv. 100)

The boss has a downward slash move that you should be watch out for. It will push up against the ground to jump up and then come down on you.
Rewards
- Union EXP – x70
- Premium Tuner – x20
- Medium Sealed Tube – x4
- Shell Credit – x12000
- Astrite – x10
Void Storm Zone 5 – Etching Plains
Void Storm Zone 5 remains in the moderate difficulty range while introducing slightly more complex enemy patterns than Zone 1.
Location
This zone is located in the borderland between Etching Plains and Startorch Academy.


(Image credit: Kuro Games | YouTube – ZaFrostPet)
Boss
Impermanence Heron: Death Incarnate (Lv. 100)

The Impermanence Heron represents a single-target boss encounter with mobile combat patterns. This enemy moves frequently, requiring positioning adjustments and careful attack timing.
Rewards
- Union XP – x80
- Premium Tuner – x5
- Shell Credit – x15000
- Medium Sealed Tube – x4
- Astrite – x5
Void Storm Zone 6 – Stagnant Run
Void Storm Zone 6 represents one of the two hardest zones in the entire challenge.
Location
This zone is located in the northeastern area of Stagnant Run near Jetrified Ridge.


(Image credit: Kuro Games | YouTube – ZaFrostPet)
Boss
Reactor Husk (Lv. 120)
For this boss too, you’ll need to rely on the Tunability Mechanics. Dodge the slashes and keep an eye out for the pounce attack – the boss will step back before jumping on you.
Rewards
- Union EXP – x30
- Premium Tuner – x5
- Shell Credit – x15000
- Medium Sealed Tube – x4
- Astrite – x5
Void Storm Zone 7 – Stagnant Run
Stagnant Run ranks among the most challenging encounters and features significantly stronger enemies than zones in other regions.
Location
This zone is located near Atuja Camp, Stagnant Run.


(Image credit: Kuro Games | YouTube – ZaFrostPet)
Boss
Tempest Memphis: Mourning Thunder (Lv. 100)

This boss is light on his feet and can go invisible at times. Thankfully, you can still attack at during these times and parry and counter-attack its moves to bring it down.
Rewards
- Union EXP – x80
- Premium Tuner – x5
- Shell Credit – x15000
- Medium Sealed Tube – x4
- Astrite – x5
Successfully clearing all 7 Void Storm Zones marks a significant Lahai-Roi progression milestone and demonstrates mastery of combat mechanics central to Wuthering Waves.


