
Make power cables look neat by raising them with wooden pillar halves, temporary steps, and power connectors, creating a clean spider-webbed layout that keeps wiring off the ground.
To make your power cables look neat, place wooden pillar halves near your fountains or sprinklers, stand on a temporary step to gain height, run a cable up to a higher half-pillar, then remove the temporary supports and link everything to a power connector so the wiring sits raised and spider-webbed instead of cluttering the ground.
If your base looks great until the power wiring drags across the ground between every fountain and sprinkler in Solarpunk, there is a simple placement trick that lifts those cables up and spreads them into a tidy, spider-webbed pattern. It is worth being clear up front: this is a decorative routing technique a player demonstrated, not a confirmed built-in item called “Neat Cables.” You are not buying a special piece — you are using ordinary build parts in a specific order to keep the wiring off the floor.
The raised, spider-webbed cable look and the pieces it uses

The goal is purely visual: instead of cables sitting on the ground around your fountains or sprinklers, they run up onto half-pillars and stretch between them like webbing. The trick uses temporary supports to get the cable up high, then pulls those supports back out once the higher half-pillar is holding the line, leaving a clean raised span.
You only need a small set of parts to pull it off — the wooden pillar halves that hold the cable at two heights, a step you stand on to reach the upper placement, and the power connector the finished run plugs into. Nothing here is a named “neat cables” object; it is the order of placement that produces the look.
How to raise and route neat power cables in your build
STEP 1/8
Grab wooden pillar halves

Open your build menu and select the wooden pillar halves you will use to carry the cable.
STEP 2/8
Place three halves at the fountain or sprinkler
Stand where your fountains or sprinklers are and put down three half-pillars as your temporary supports.
STEP 3/8
Set down a step

Place a step beside the supports so you have something to stand on for the higher placement.
STEP 4/8
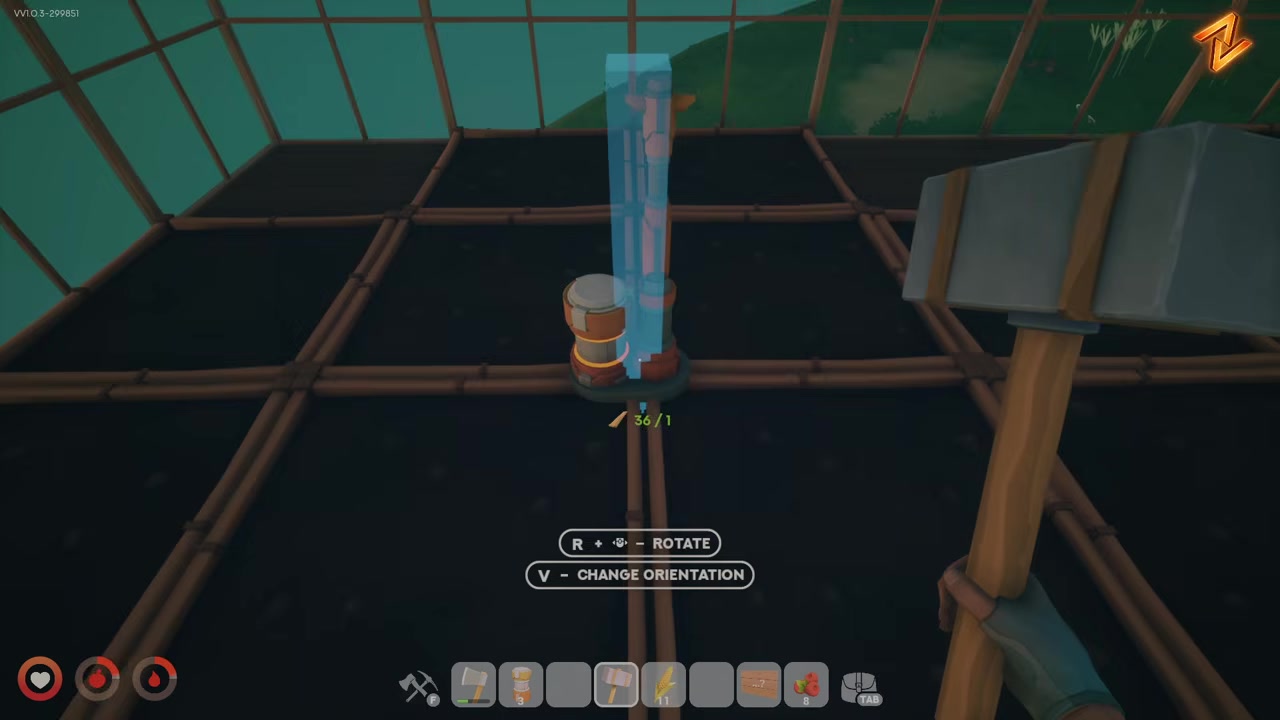
Stand on the step and place the cable
While stood on the step, place the cable up at the raised height the half-pillars give you.
STEP 5/8
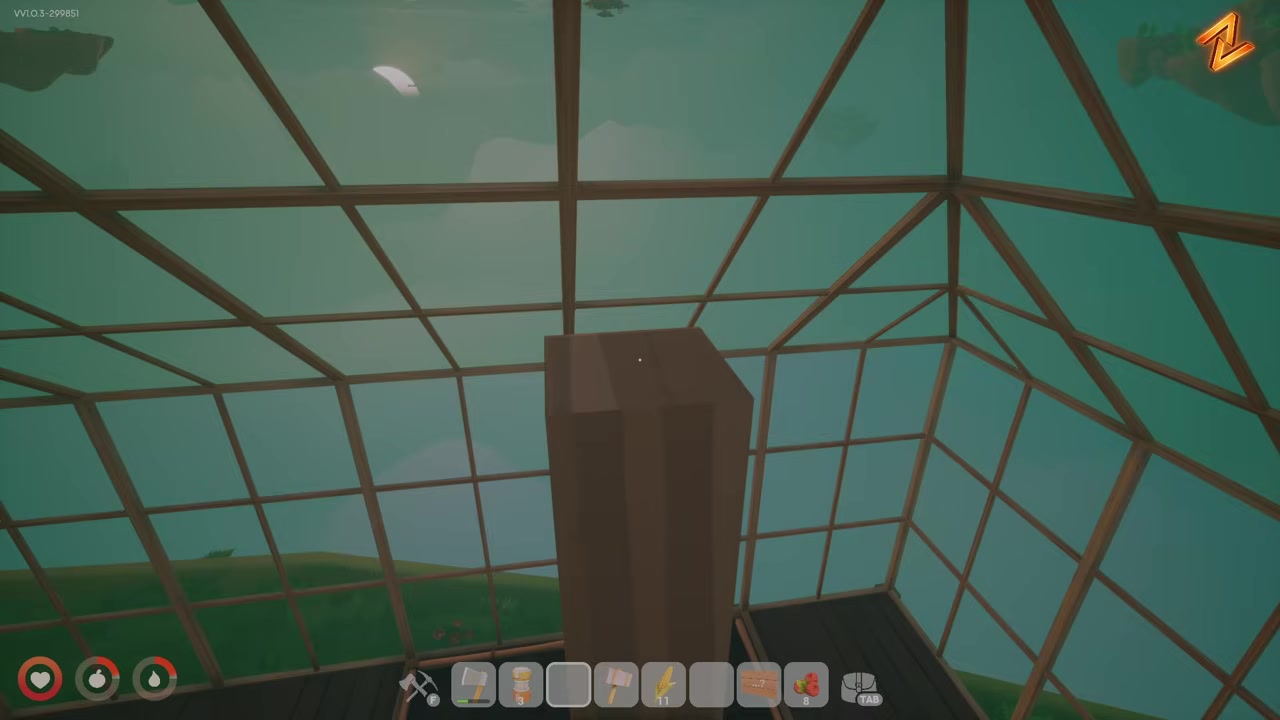
Add another half pillar up top
Place another half pillar so it connects to the raised cable and locks the high point in place.
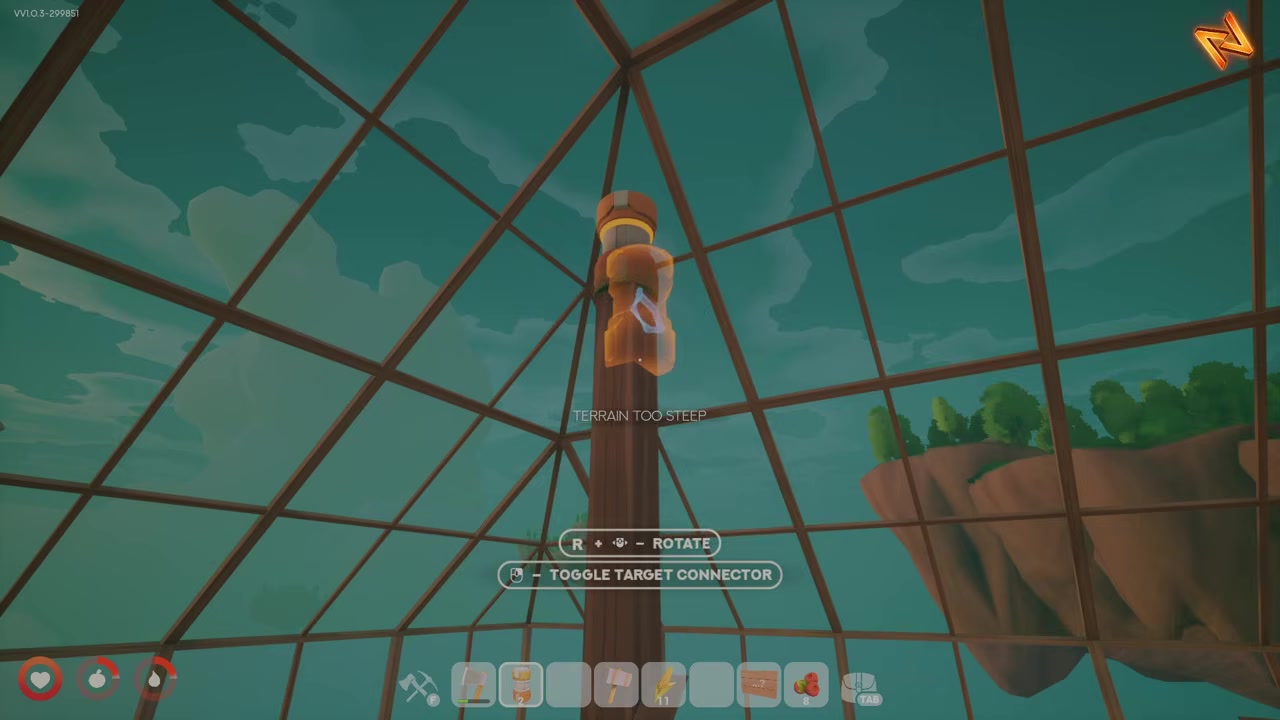
STEP 6/8
Remove the temporary supports

Take out the other half-pillars you placed underneath now that the upper piece is holding the cable.
STEP 7/8
Connect to a power connector
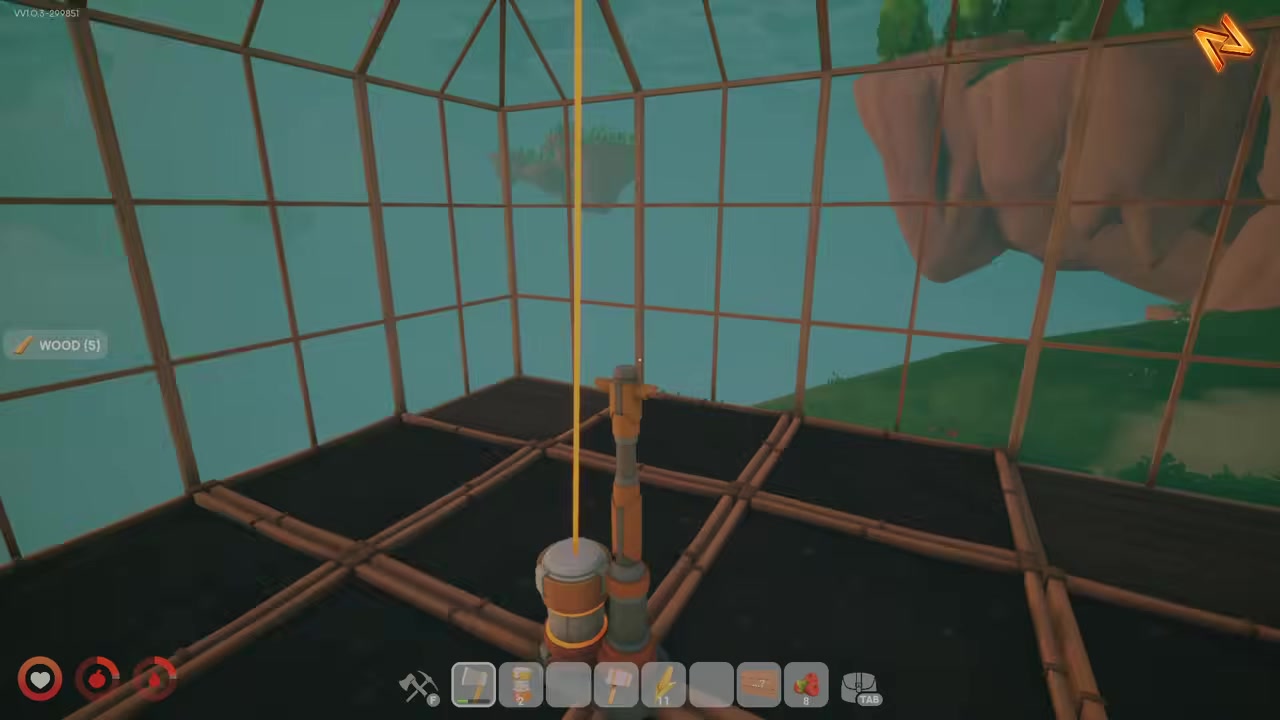
Run the raised cable into a power connector to finish the span.
STEP 8/8
Repeat at the next connector

Move to the next pole, place three, step up, add the top half pillar, clear the supports underneath, and connect it up the same way.
Watch the bottom corner as you place the upper piece — nudge it so the cable does not clip into the geometry, which is what spoils the clean raised look.
Video help
Keeping the result clean at every pole
Beyond that, the aim is simply the raised, spider-webbed span rather than anything trailing on the ground. Run the same lift-and-route pass at every connector around your fountains and sprinklers so the whole layout matches, with no pole left wired at floor level.
Frequently Asked Questions
What pieces do you need to make the cables look neat?
Three things: wooden pillar halves to hold the cable at height, a temporary step to stand on while you place the upper cable, and a power connector to tie the finished run together. The half-pillars and step at the base are temporary and get removed once the upper piece is holding the line.
Why stand on a step while placing the cable?
The step gives you the height to place the cable at the raised level instead of down on the ground. Standing on it lets you set the cable and the upper half-pillar up high, which is what creates the lifted, webbed span once you pull the lower supports back out.
Is this a built-in “Neat Cables” item or just a placement technique?
It is a placement technique, not a confirmed named item. The neat, spider-webbed result comes from how you order ordinary build parts — half-pillars, a step, and a connector — rather than from any special “Neat Cables” piece. Treat it as a build trick.
Does this change how the cables work, or is it purely cosmetic?
It is best treated as cosmetic. The technique is about how the wiring looks — raised and spread out rather than cluttering the ground — and there is no confirmation it changes power or function. Whether routing this way affects anything mechanically is not confirmed, so assume it is for appearance.