This The Adventures of Elliot prologue walkthrough guides you through Huther, the Doorway of Time, Little Hope, major fights, key pickups, and save-transfer details.
Here is the full rewritten HTML:
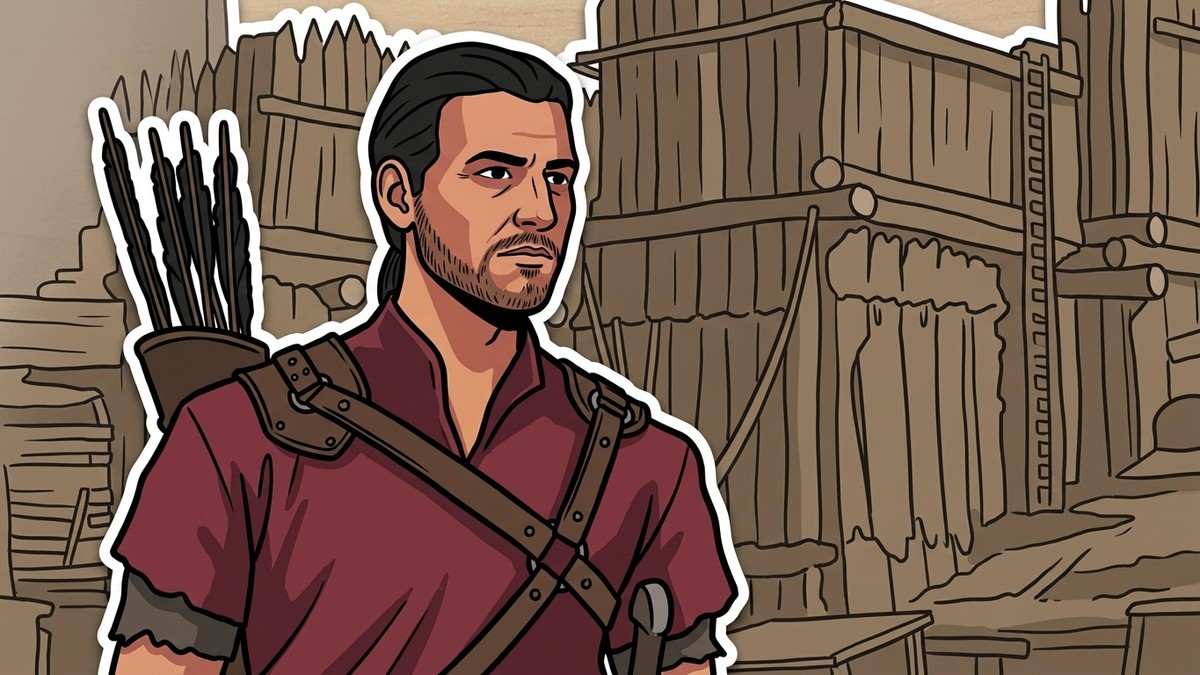
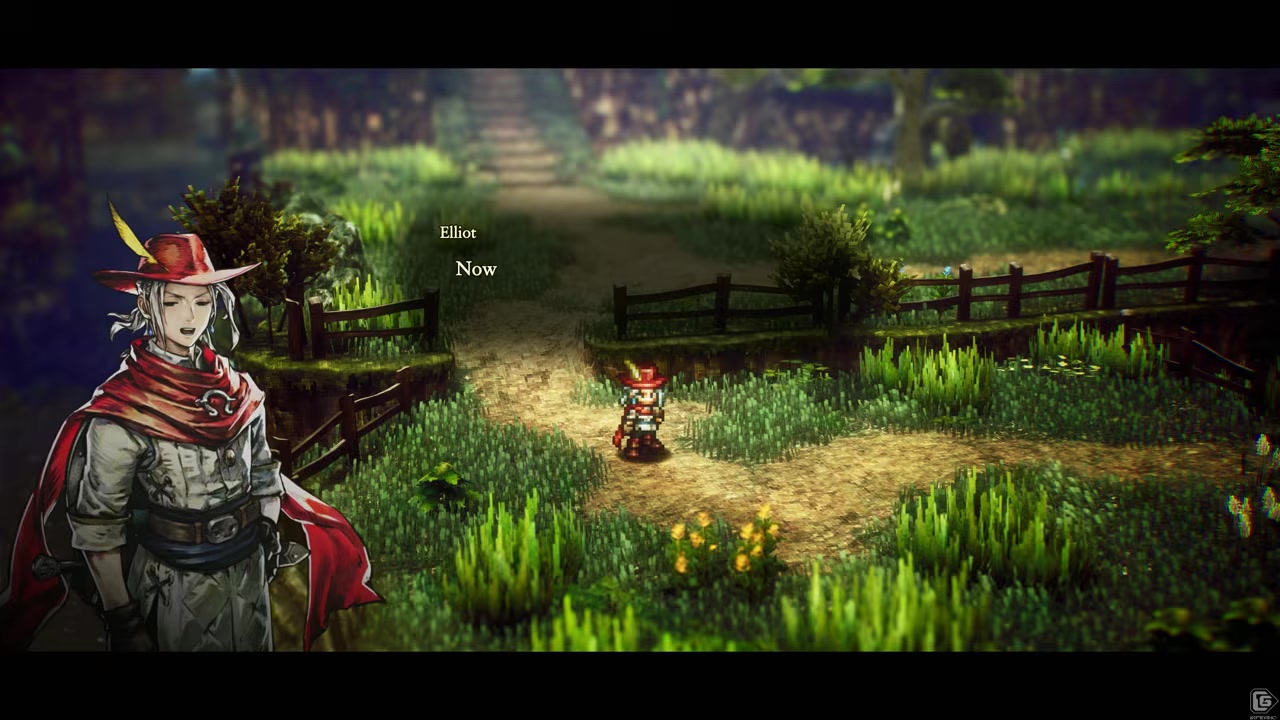
The prologue of The Adventures of Elliot: The Millennium Tales is a roughly 4–5 hour opening chapter that follows the adventurer Elliot from the Kingdom of Huther, through the Doorway of Time, to the Northern Tower in Little Hope — and this Part 1 walkthrough covers every story beat, fight and key pickup, with your entire save carrying over into the full game.
This is an HD-2D story RPG, not a live-service grind, so the prologue plays as one continuous adventure rather than a checklist of things to farm. You guide Elliot, an orphan-raised adventurer, on a job that snowballs from a tiny shore errand into a desperate chase through time. Along the way you’ll meet Princess Yuria (who supports you with healing magic), her father King Hikard, the scheming Minister Kyifrey, the royal scholar Euigene, and caretaker Leica with the orphanage children. Everything below follows the chapter in the order you actually play it.
What the prologue demo covers
| Detail | Info |
|---|---|
| Length | Roughly 4–5 hours (varies with exploration; some finish in under 3) |
| Start | Kingdom of Huther |
| End | Northern Tower, Little Hope |
| Save carryover | Yes — same console/platform, via “Carry over from demo” |
| Faie playable | No |
| Default weapon | 1-Star Sword |
The prologue is a single, self-contained arc that runs from the very start of the game to its first major boss, and the whole demo save transfers into the full release. Here are the facts worth knowing before you set out.
The chapter takes you out of the magic-protected human lands and into Beast Tribe territory, then several hundred years into the past after Kyifrey forces open the Doorway of Time. Because it’s one long story beat — Huther to the ruins, the Mist Ruins rescue, the time jump, Little Hope, and the climb to the Northern Tower — the smart way to play is to soak up every optional pickup as you pass it rather than backtracking later. How long it takes varies: a clean, exploration-light run lands closer to three hours, while thorough play stretches toward five.
How to complete the Elliot prologue, from Huther to the Northern Tower
Take the shore job from town
Elliot sets out to recover an acquaintance's lost keepsake, last seen on the shore just outside Huther.
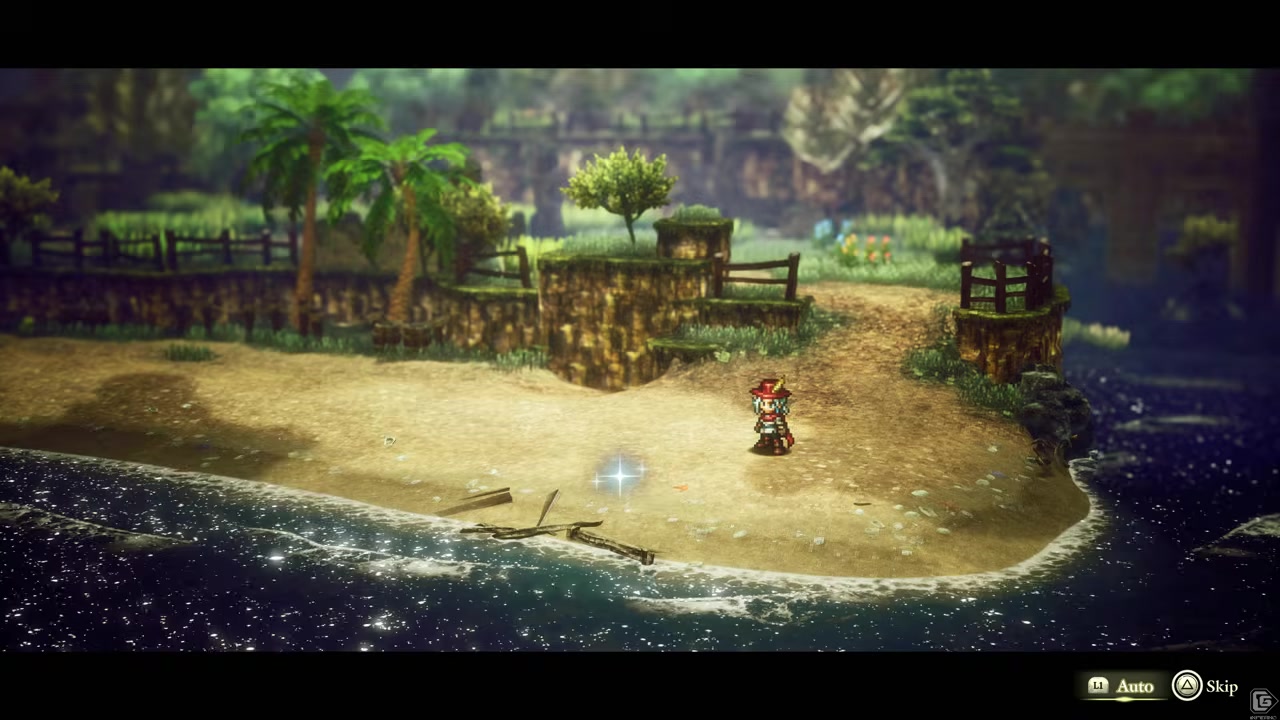
Recover the comb on the shore
Search the beach and pick up the well-cared-for comb — it's the keepsake you'll return next.
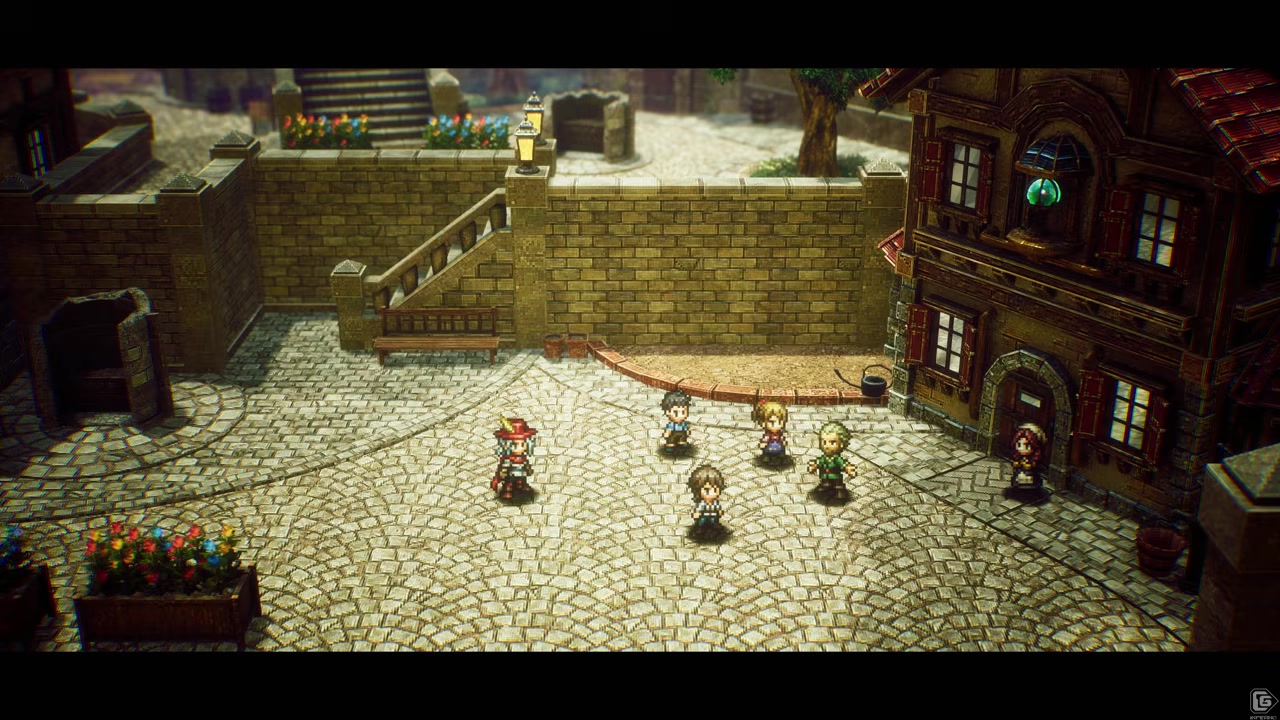
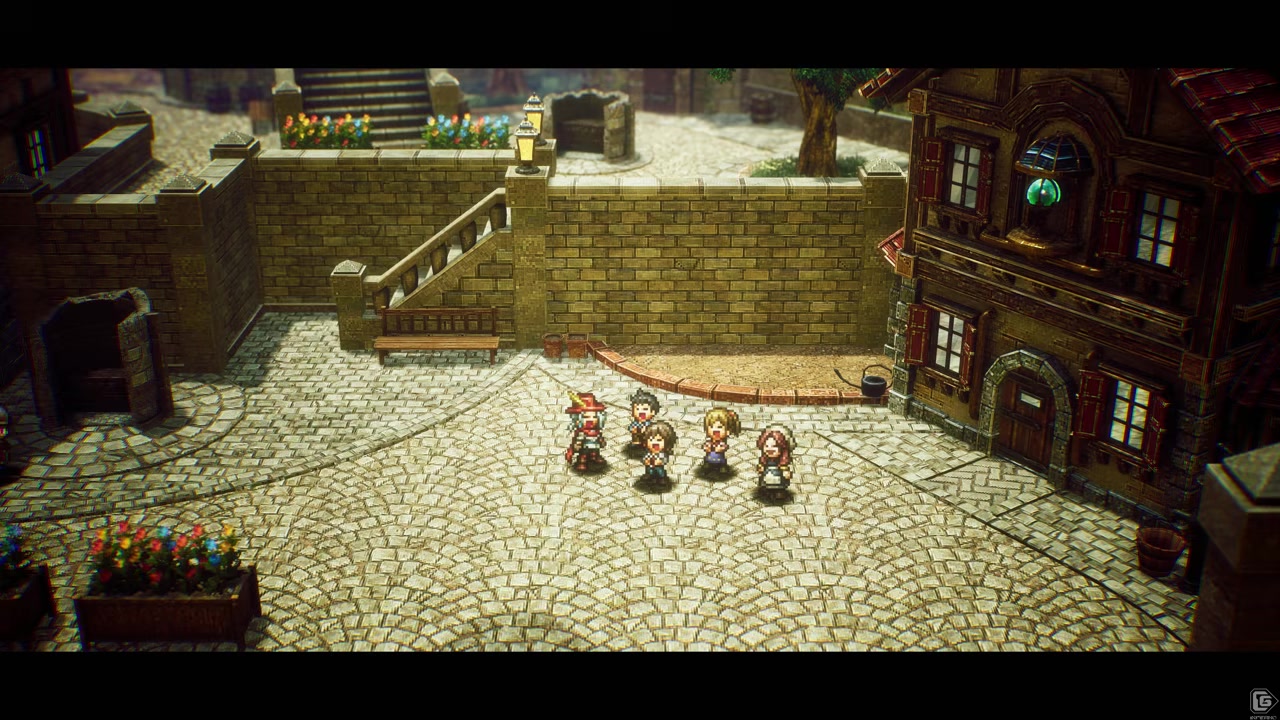
Return the comb to the orphanage
Bring it back to the old man waiting at the orphanage, where Leica and the kids welcome Elliot home.
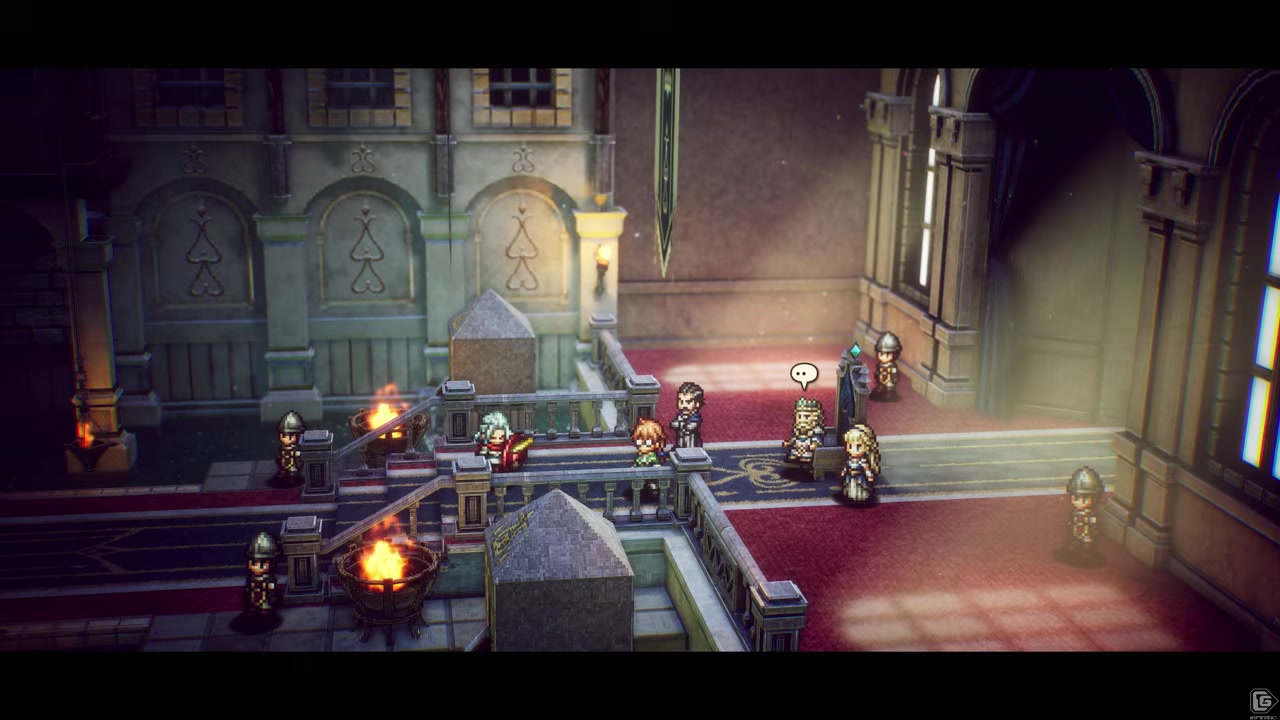
Answer King Hikard's summons
A soldier calls Elliot to the castle; head there to learn why the king wants an adventurer.
Accept the ruins investigation
King Hikard asks Elliot to survey newly discovered ruins in Beast Tribe territory to ease Yuria's burden.
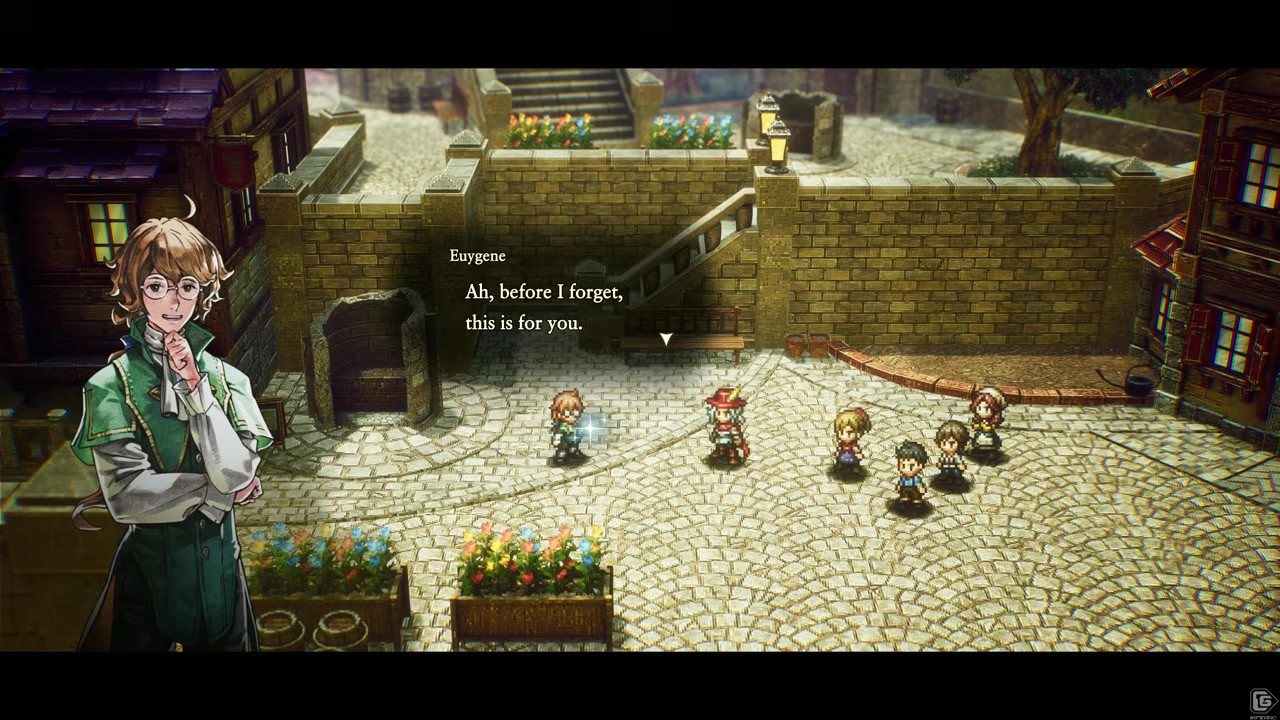
Take Euigene's travel talisman
The scholar hands you a talisman tied to the adventuring guideposts that later doubles as fast travel.
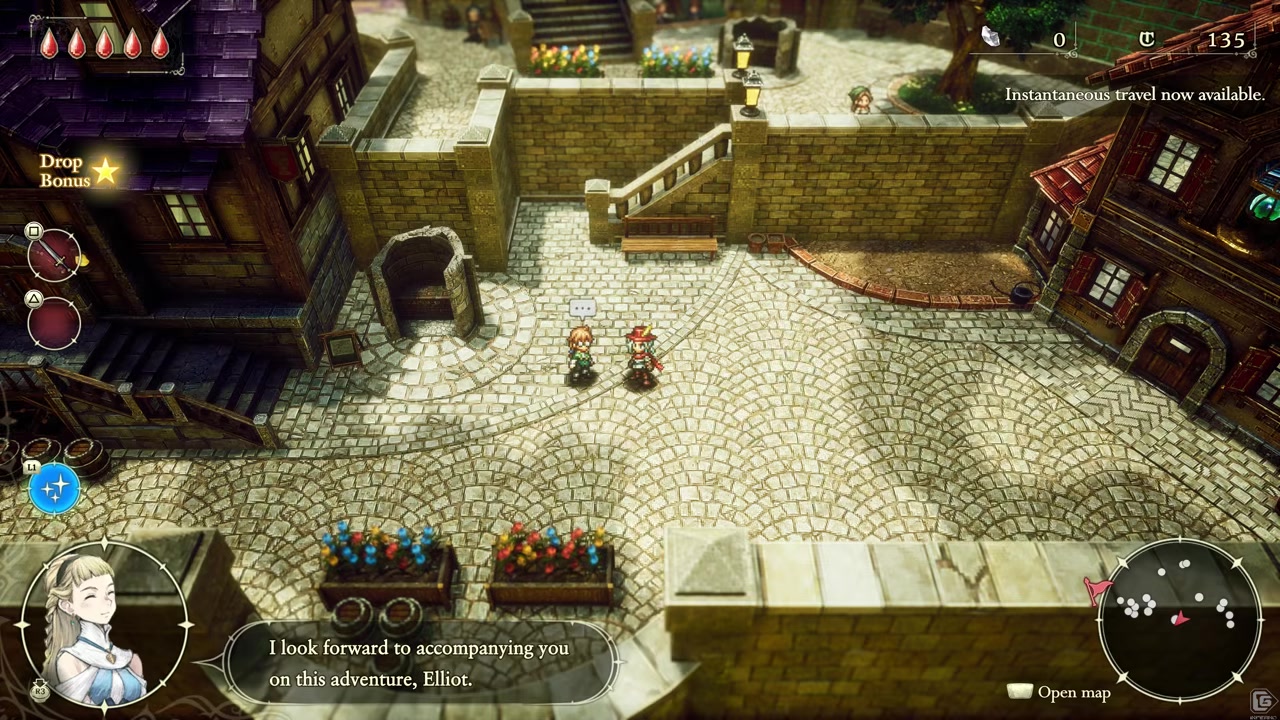
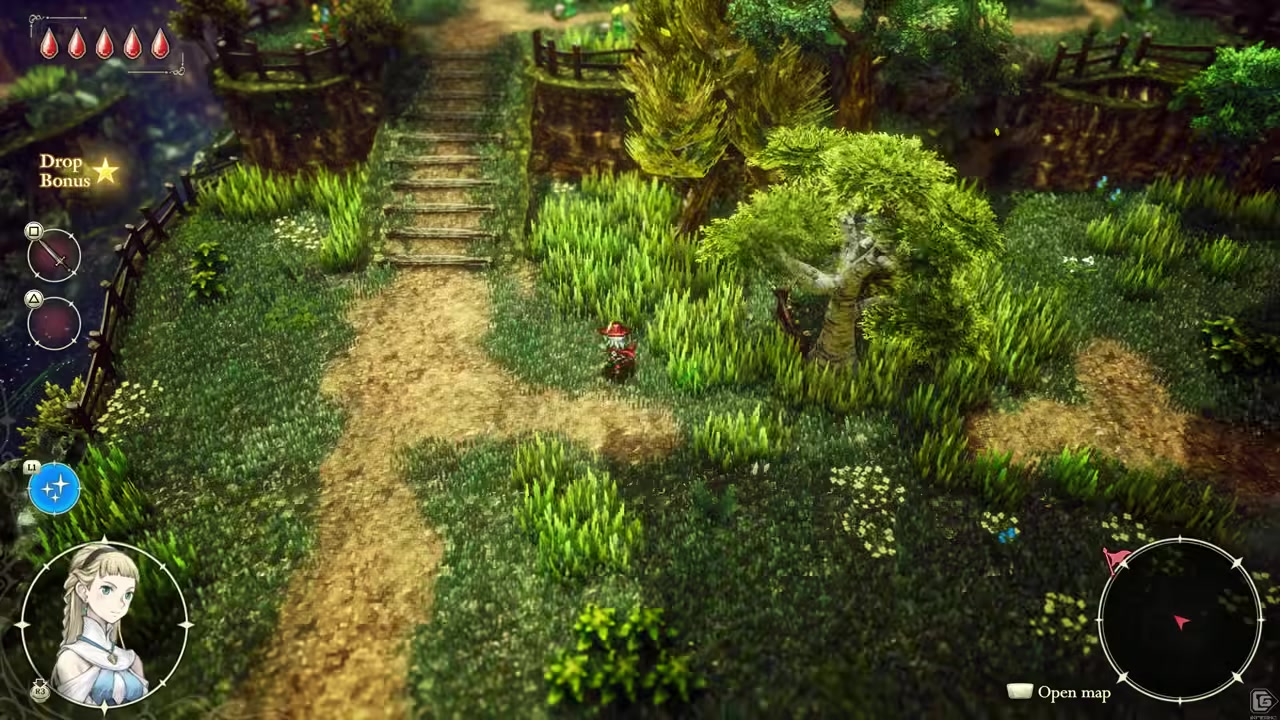
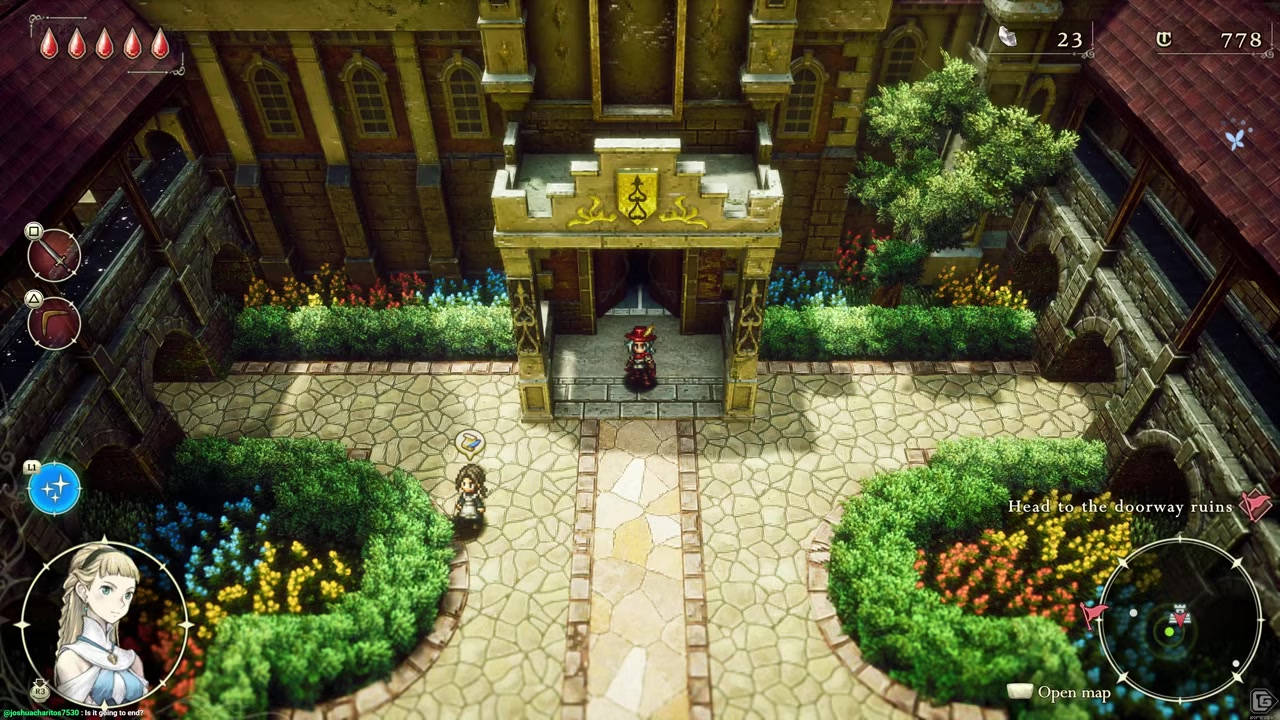
Cross the western bridge to the ruins
With Yuria guiding you through your enchanted earrings, head west across the bridge.
Activate the first adventuring guidepost
Touch every guidepost you pass — they serve as waypoints across the land.
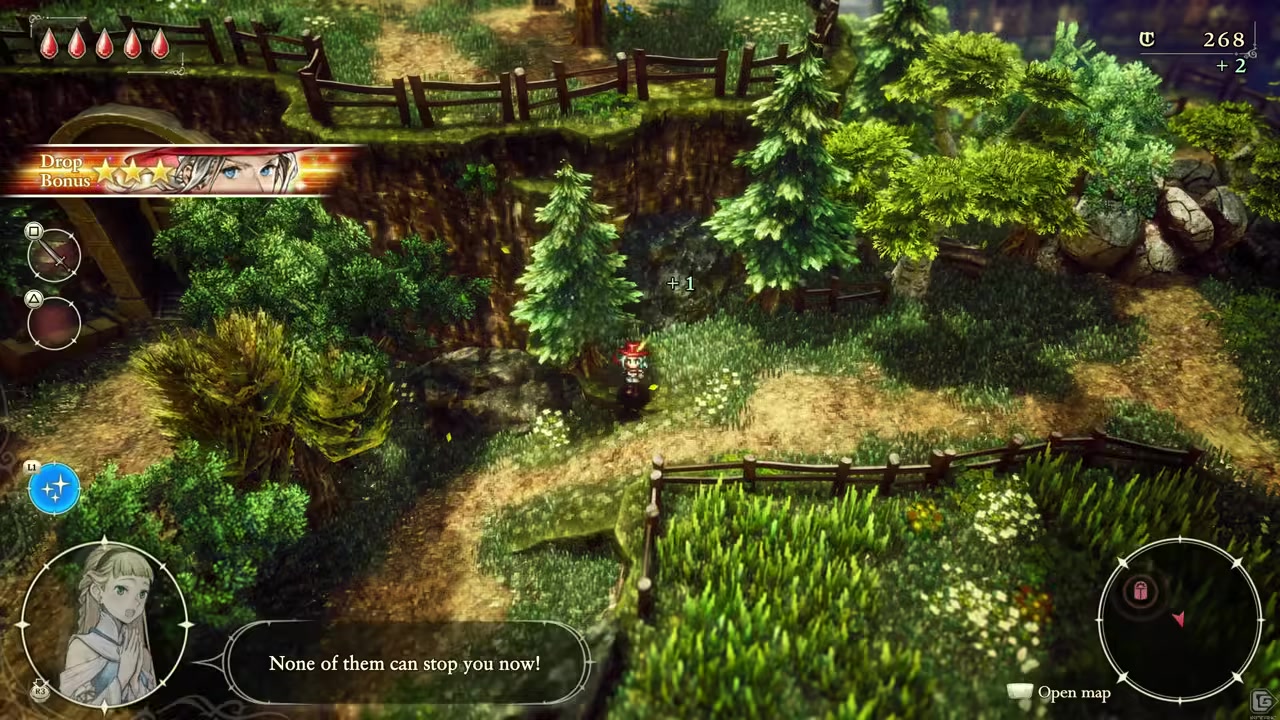
Win your first field fight
Outside the spell of safekeeping, monsters and beastmen attack; clear them to move on.
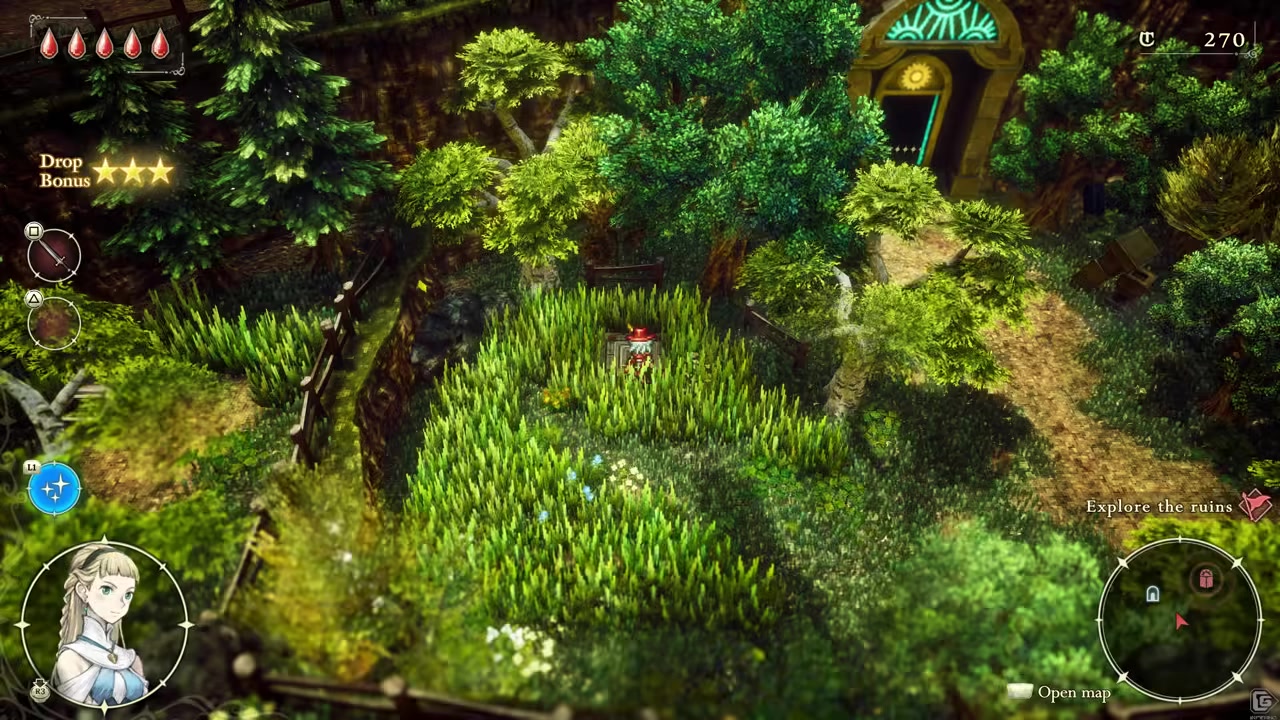
Reach the sealed western ruins
The gear-etched door won't budge, so look nearby for the way to open it.
Open the ruins door
Find and trigger the mechanism that swings the gate open.
Grab the key inside
Open the chest for a key, then find the door it unlocks.
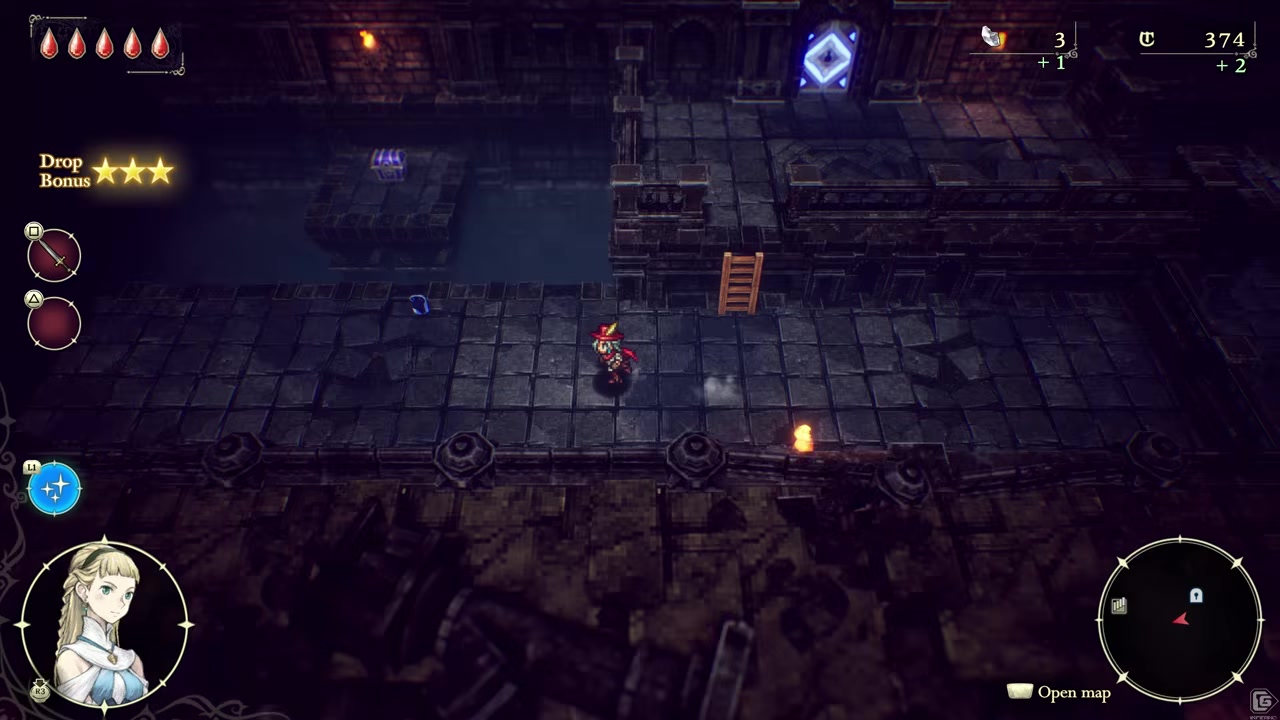
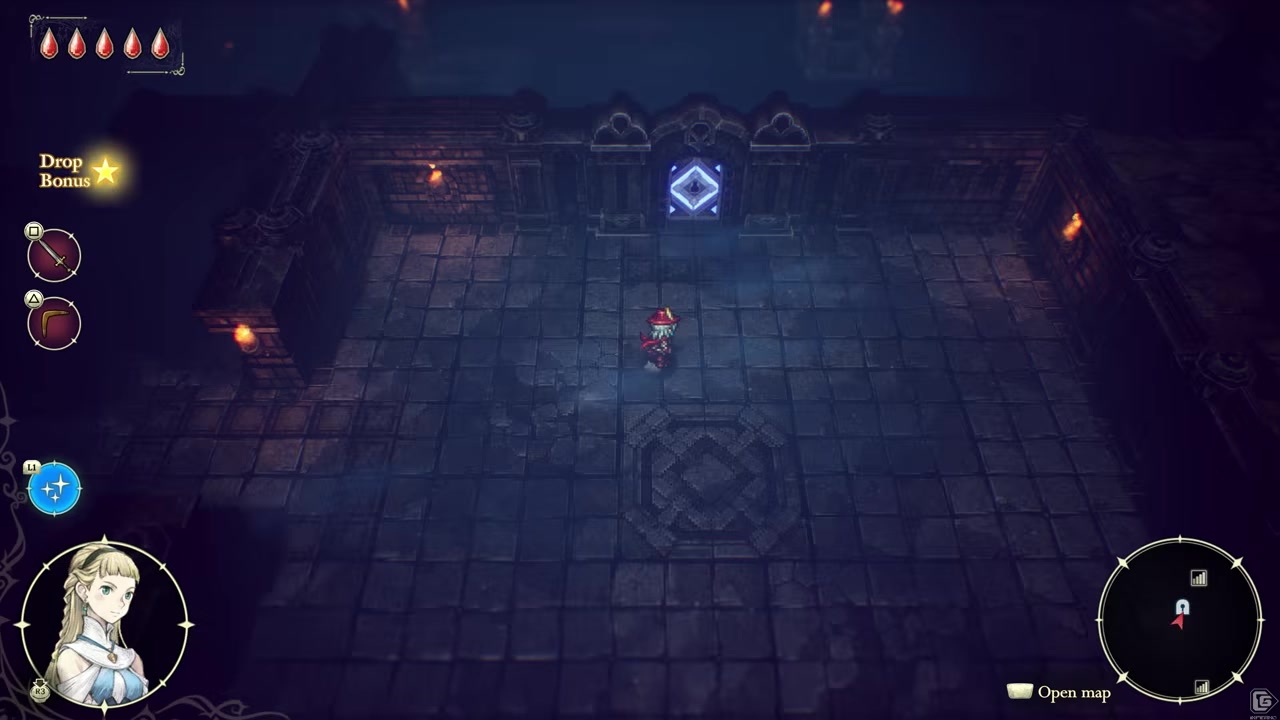
Clear the sealed trap room
Stepping in locks the exits — defeat every foe to reopen the way out.
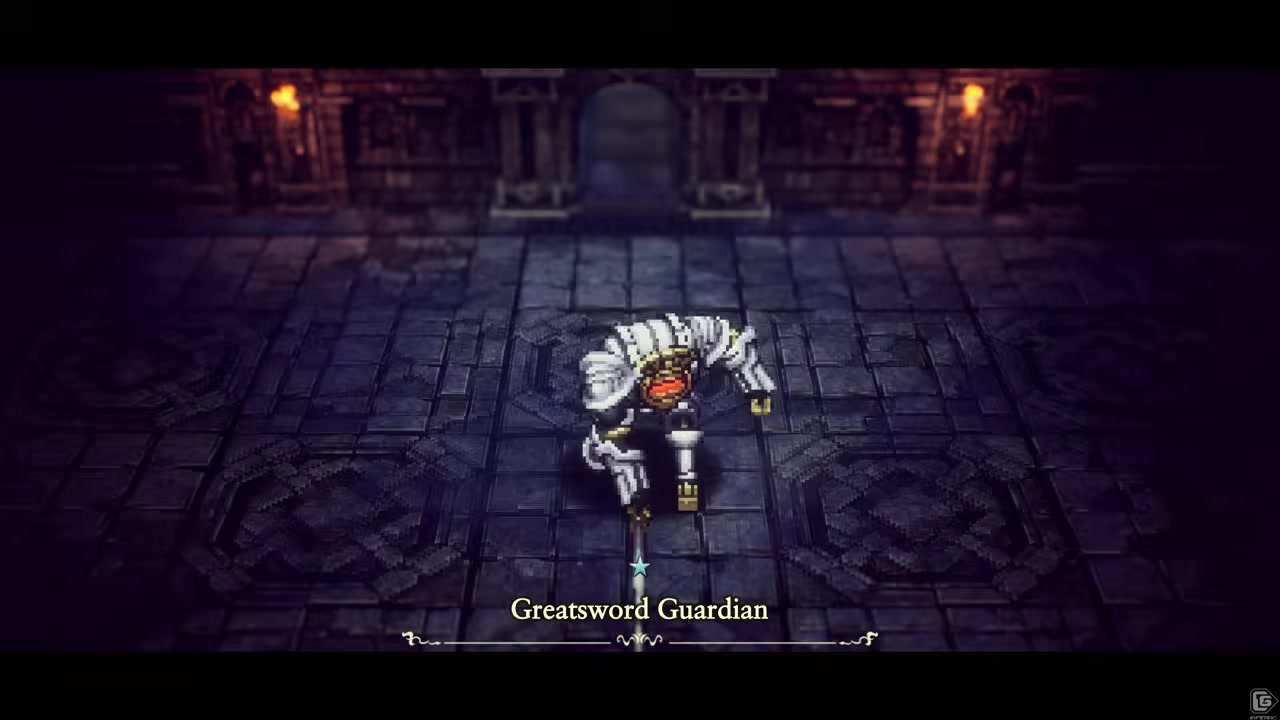
Defeat the ruins guardian
A large, sword-wielding guardian blocks the depths; stay clear of its heavy swings and wear it down.
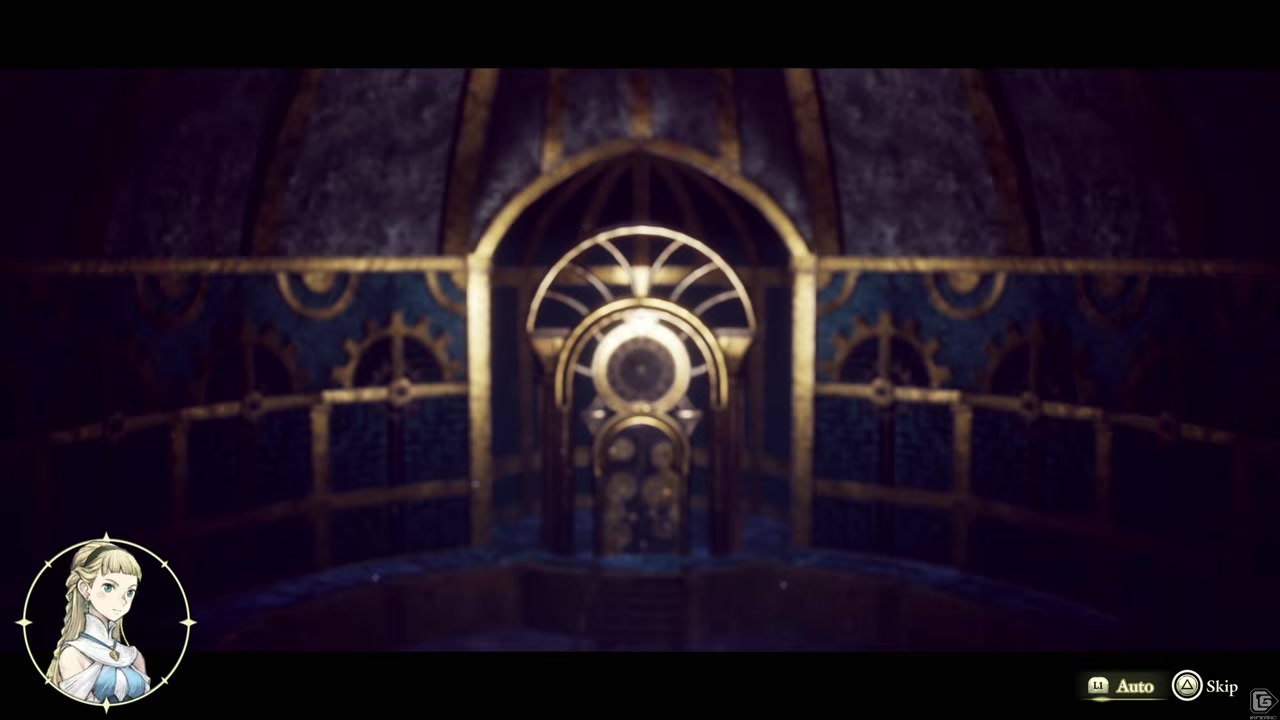
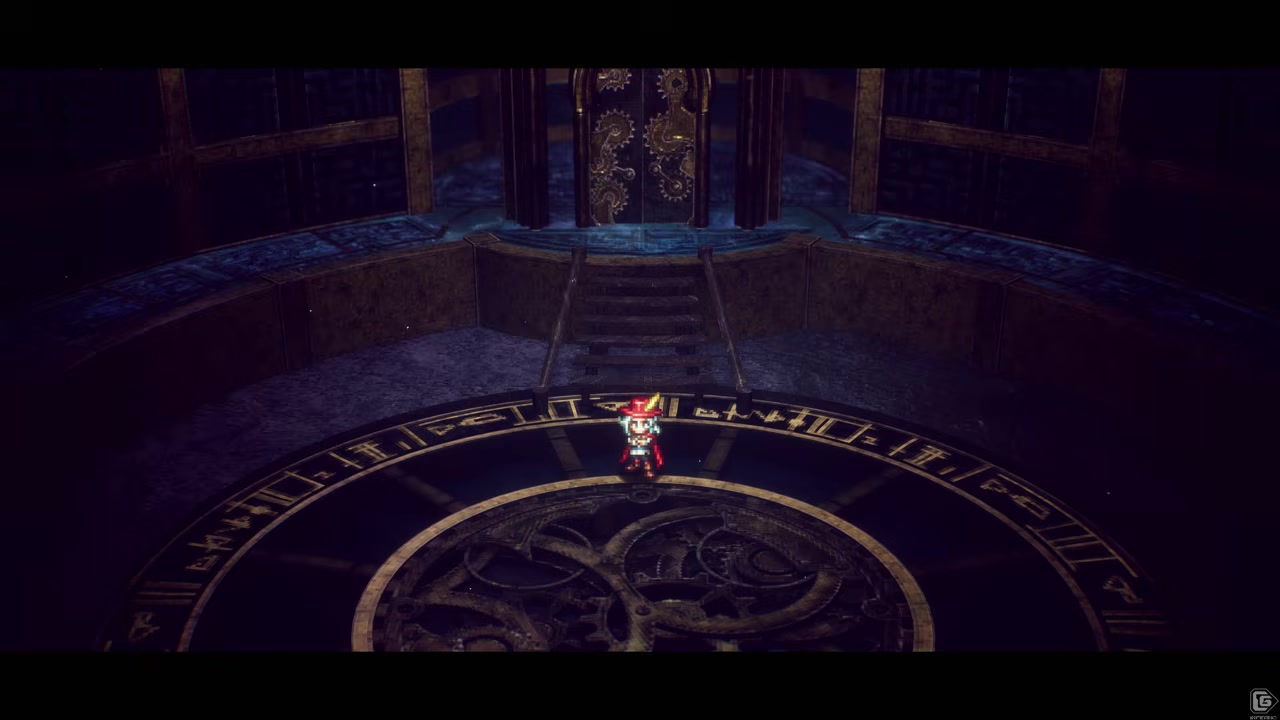
Examine the giant time-door
At the ruins' end you find a strange giant door — note it for now and press on.
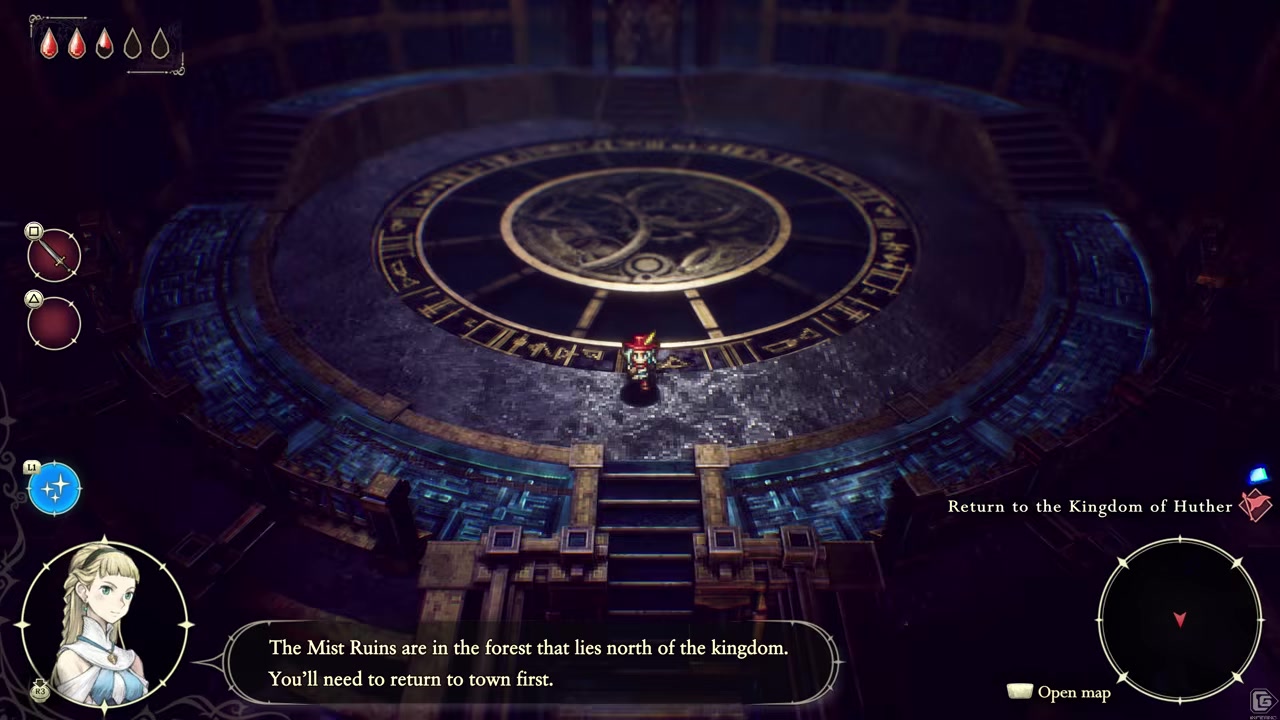
Divert to the Mist Ruins rescue
Word arrives that adventurers are stranded in the Mist Ruins north of town, and Elliot drops everything to help.
Fast-travel back to town with the talisman
Use Euigene's talisman to warp back to Huther in an instant.
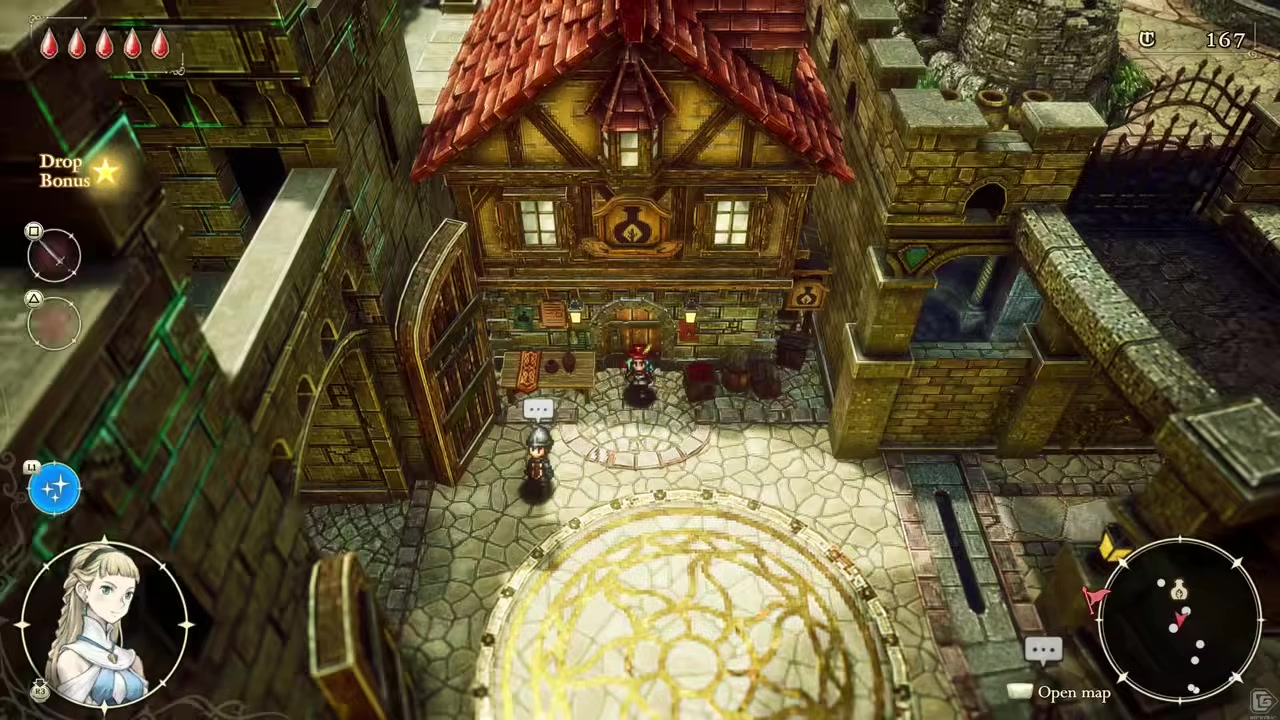
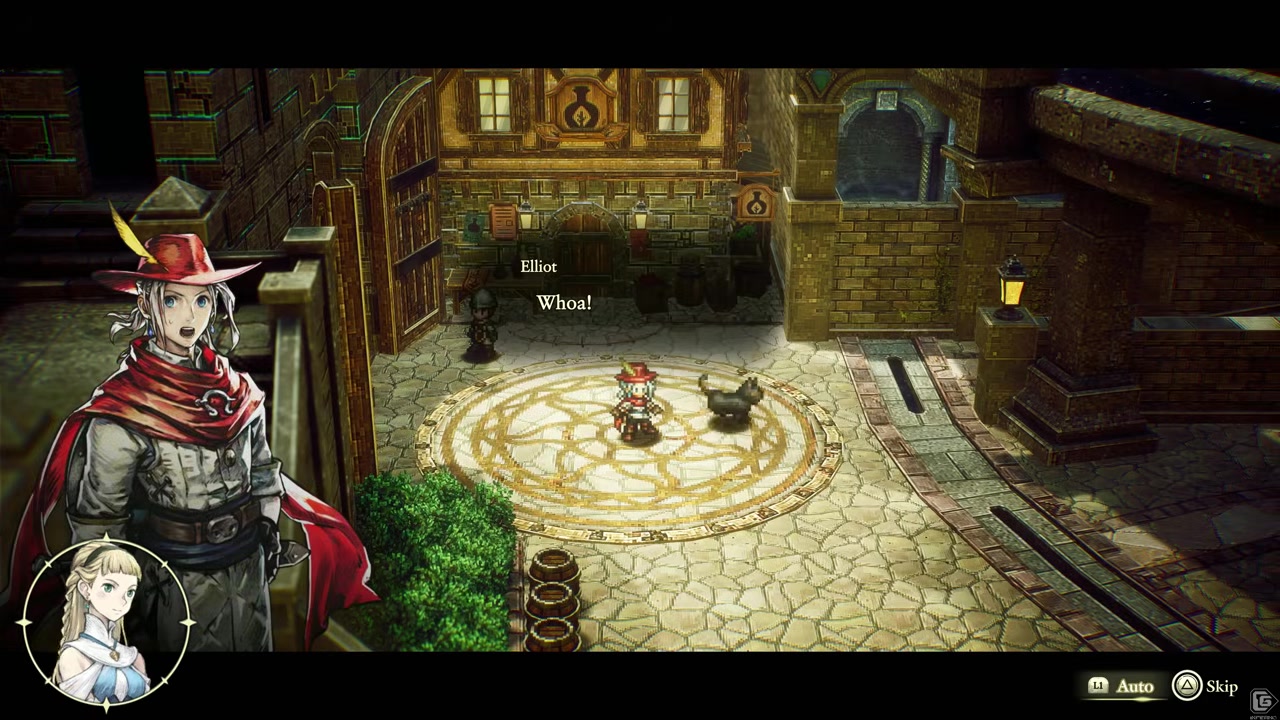
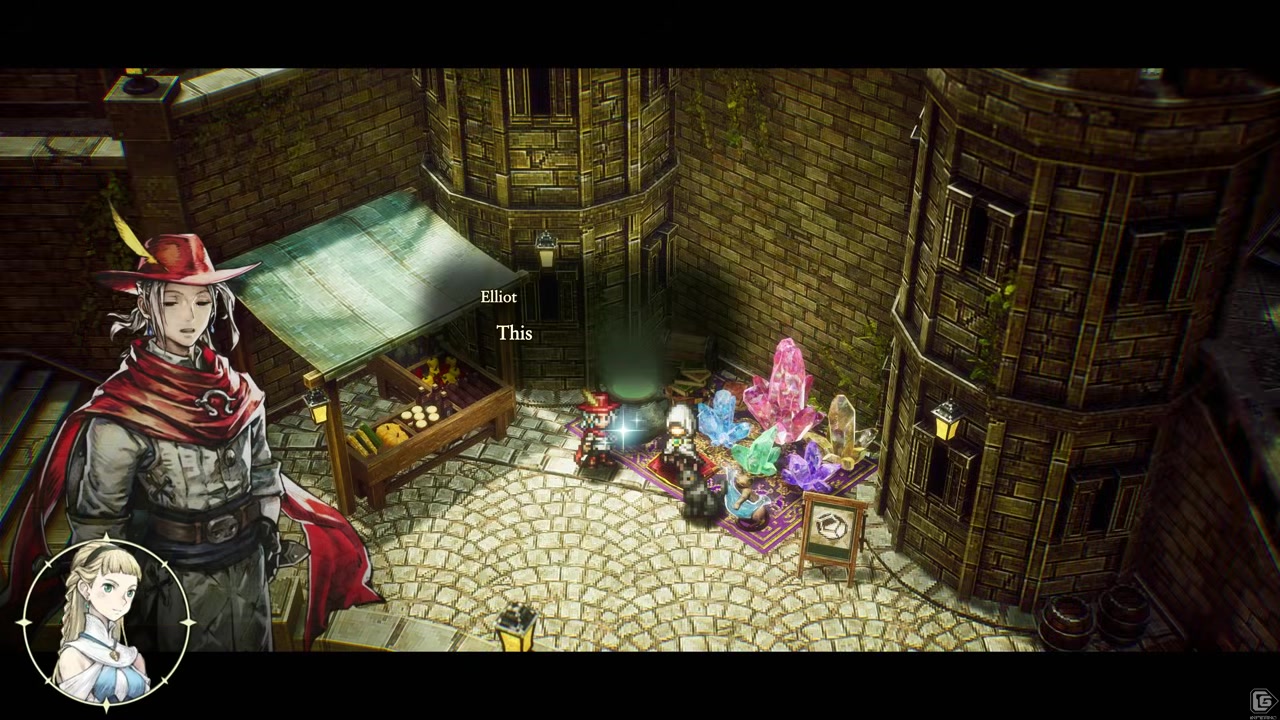
Meet the wandering merchant
A mischievous cat lifts a merchant's purse and leads you to him — he deals in mysterious stones.
Form your first magesite
Combine magisite fragments into a whole stone to unlock new magic.
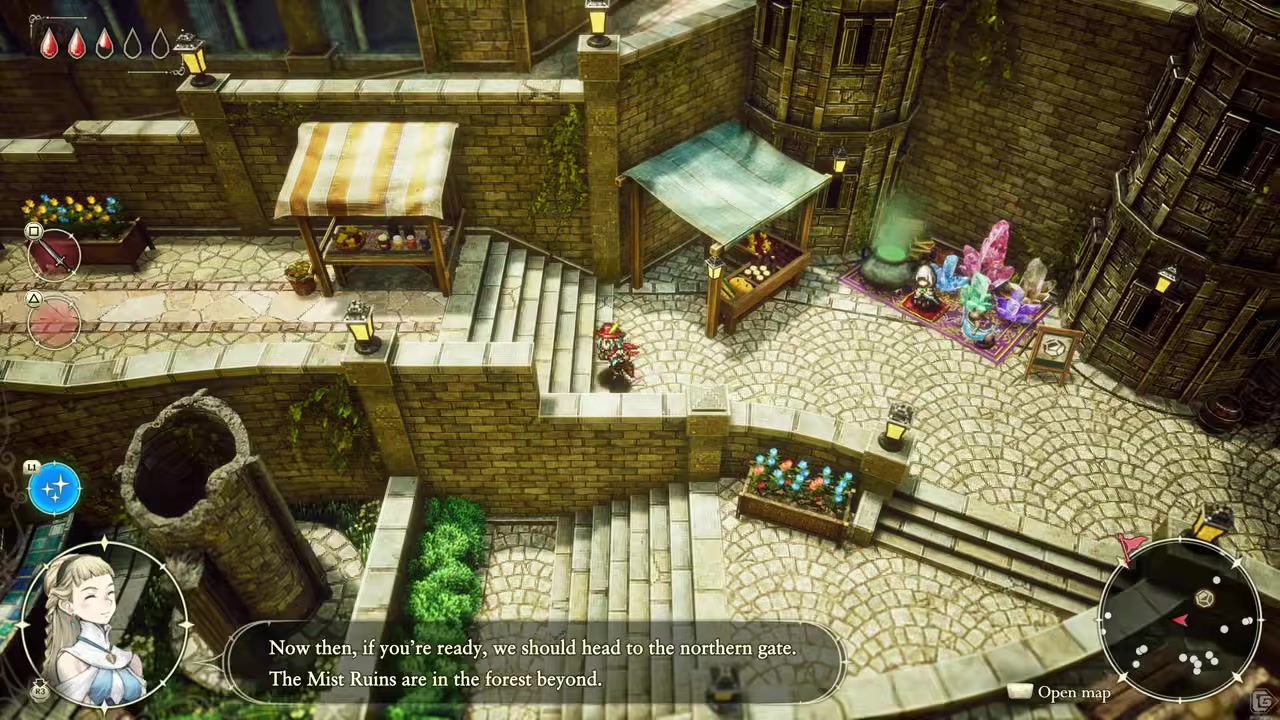
Stock up at the Huther shop
Buy adventuring goods now — once you depart you won't get the chance again.
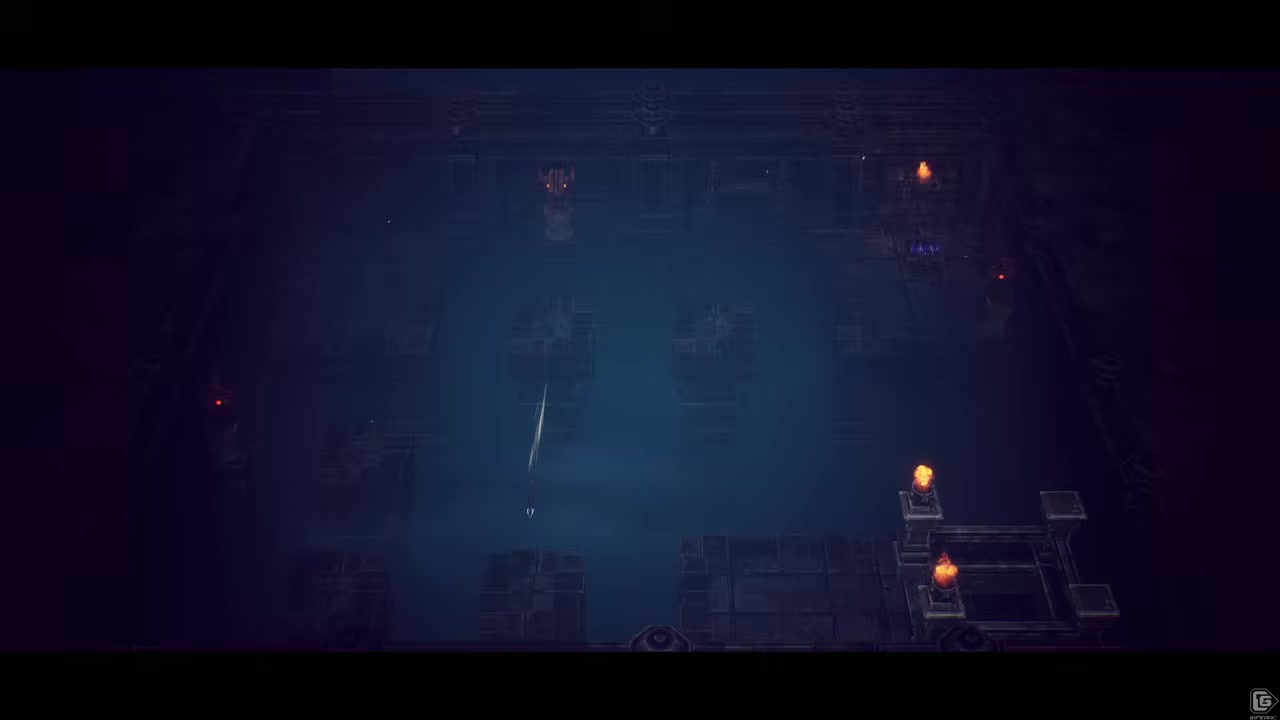
Enter the Mist Ruins
Push into the foggy ruins north of the kingdom and find any survivors fast.
Solve the switch-and-foothold puzzles
Place objects on switches and shove blocks into place to open the path deeper.
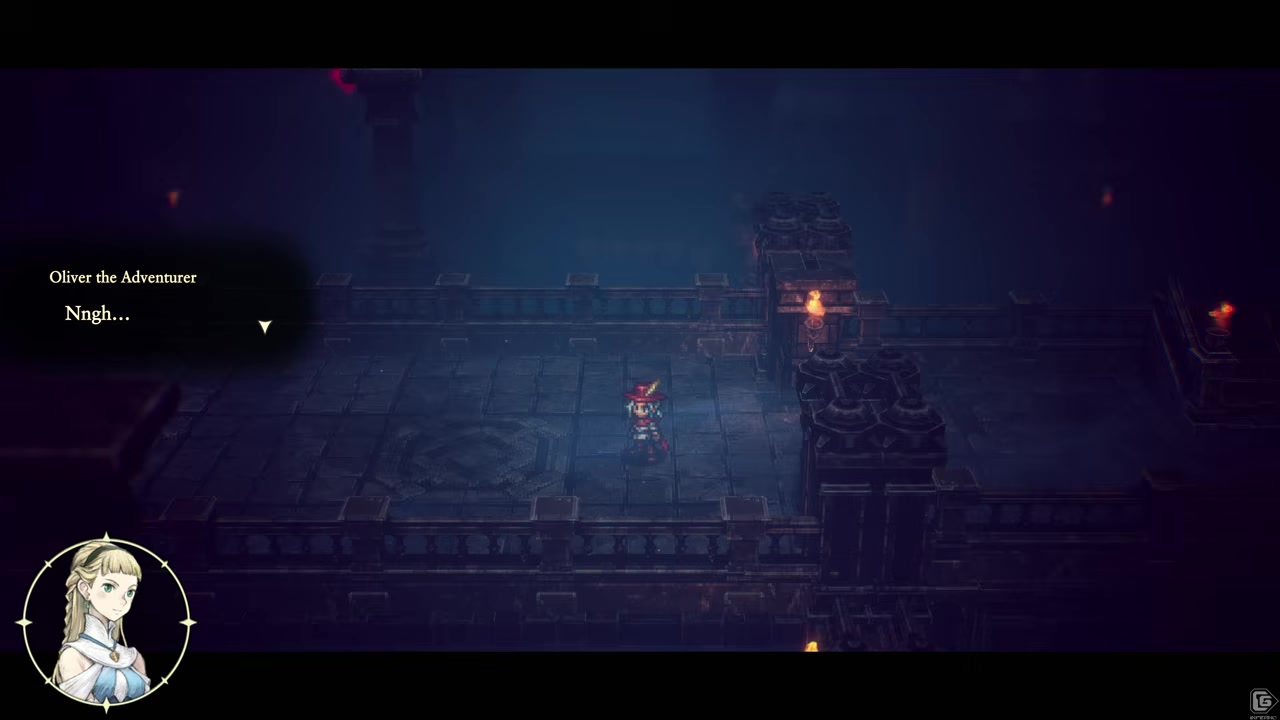
Reach Oliver — a death you can't prevent
Oliver is found mortally wounded; no magic can restore him, so this loss is scripted.
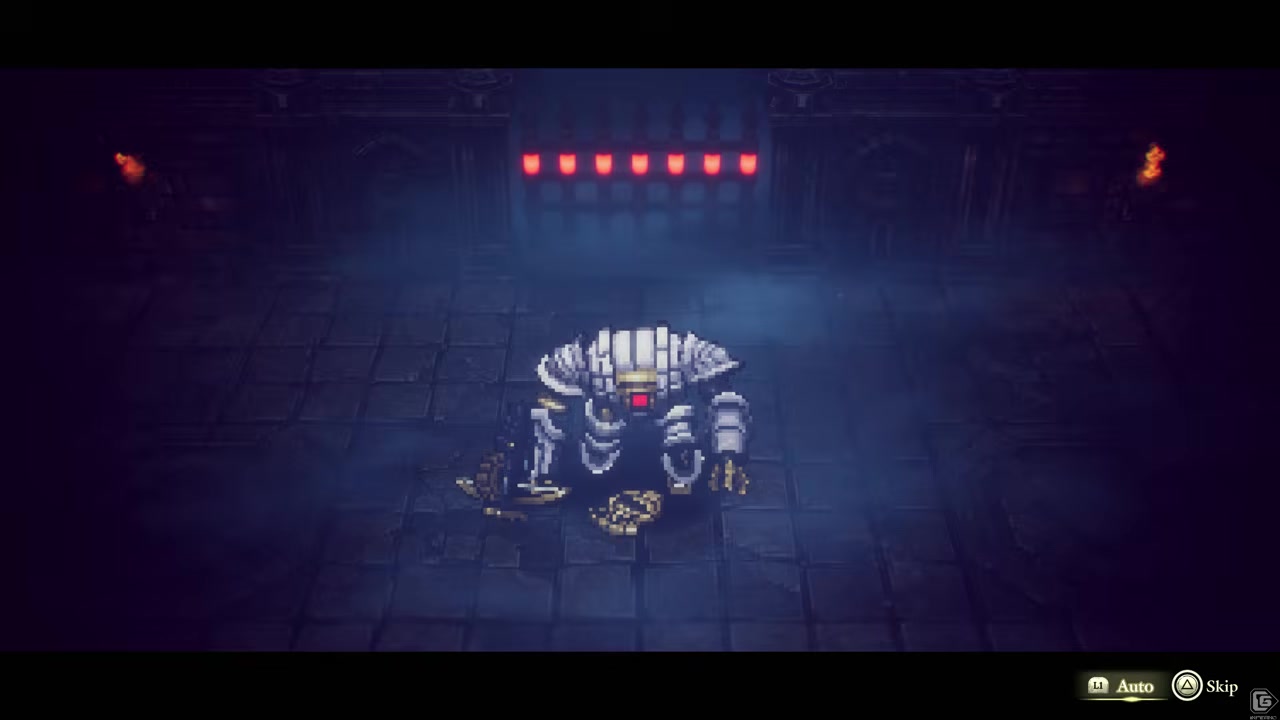
Beat the Mist Ruins guardian
A powerful threat in the deepest chamber falls after one last hard push.
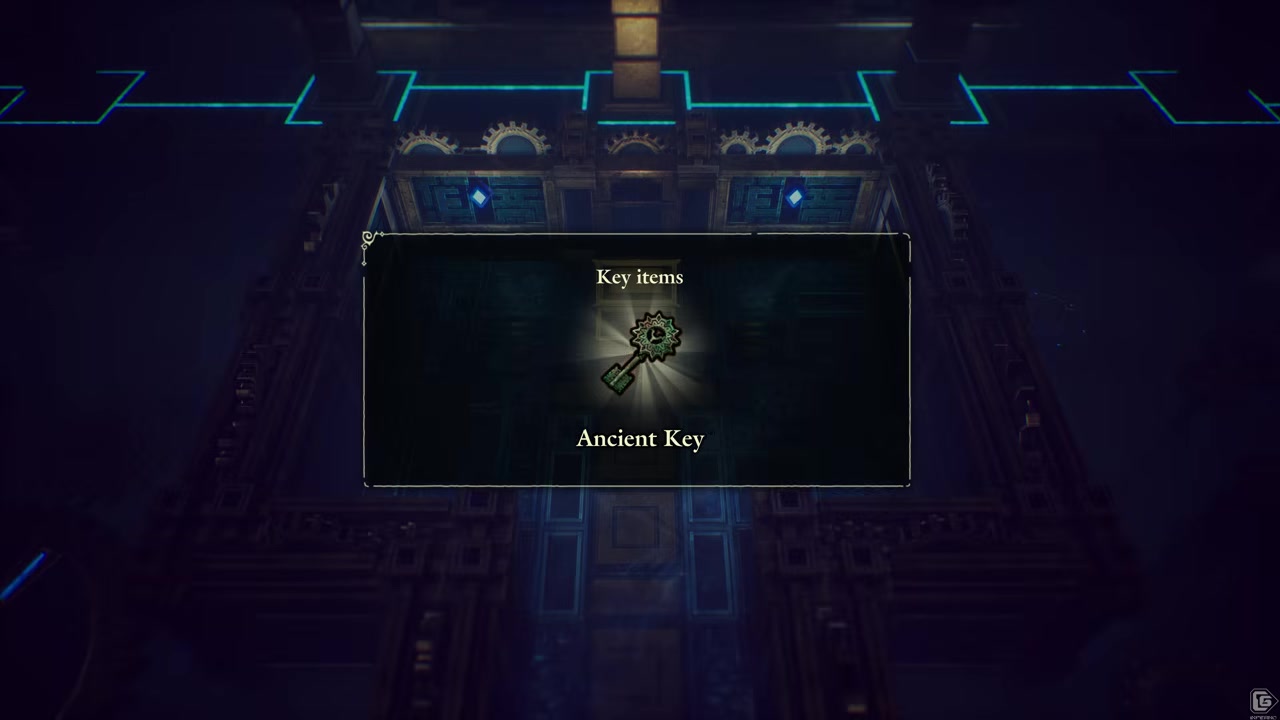
Claim the tome and key
The final chest holds an ancient tome and a curiously designed key — take both back to the castle.
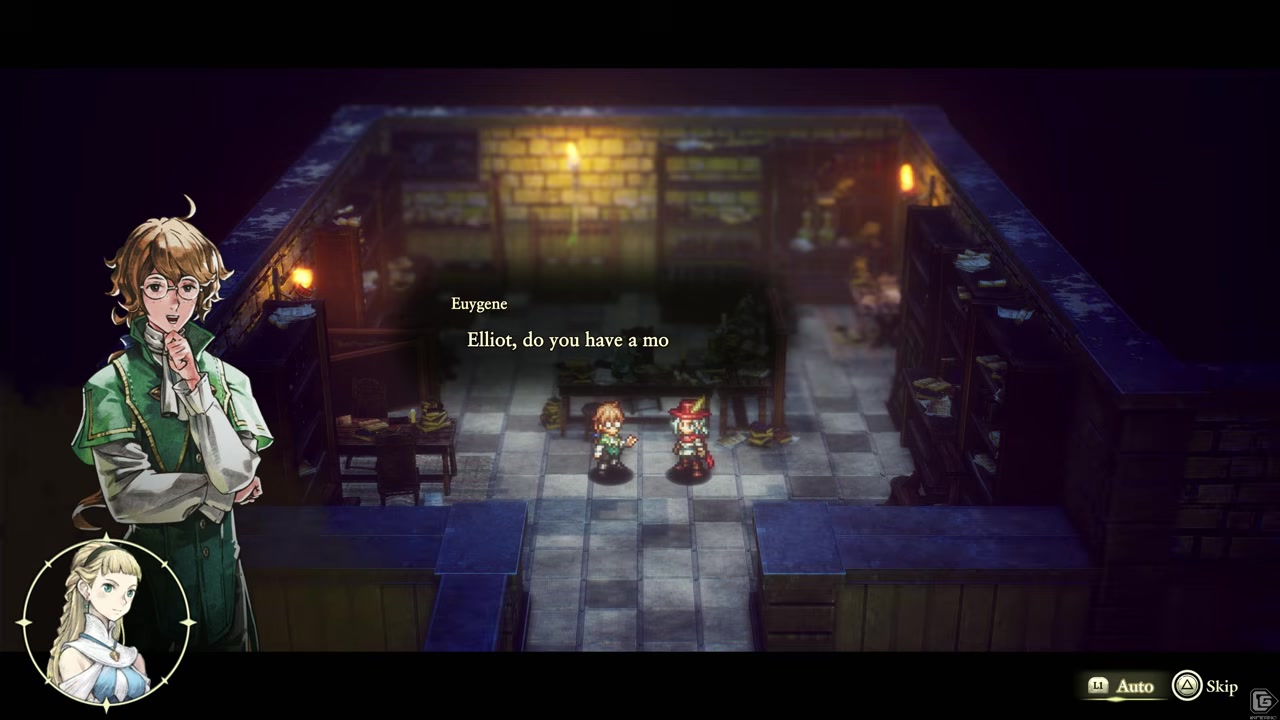
Have Euigene read the tome
At court the tome is revealed to describe the Doorway of Time, and Kyifrey grows dangerously interested.

Run Leica's monster-clearing errand
Back home, thin out the monsters near town while Leica restrings Nick's old bow for you to keep.
Run Euigene's gathering errand
Collect what the scholar needs and receive his old spear in return.
Clear a radiance skill-trial
Survive an optional trial building's challenge to earn a "new radiance" upgrade.
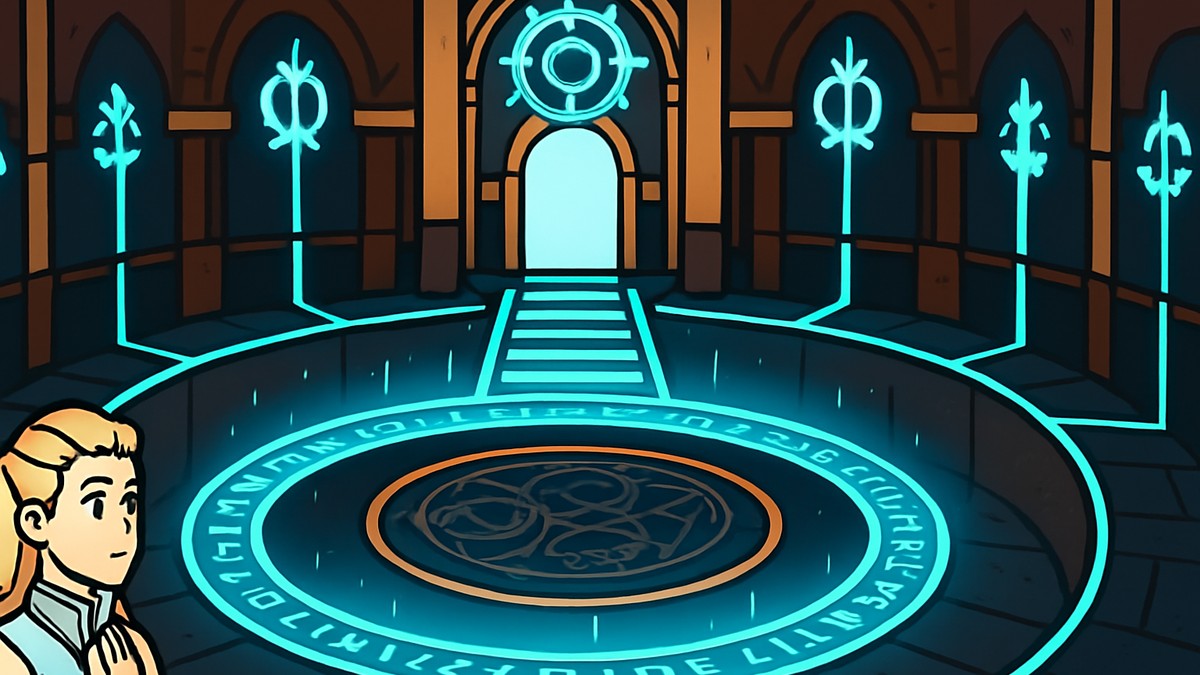
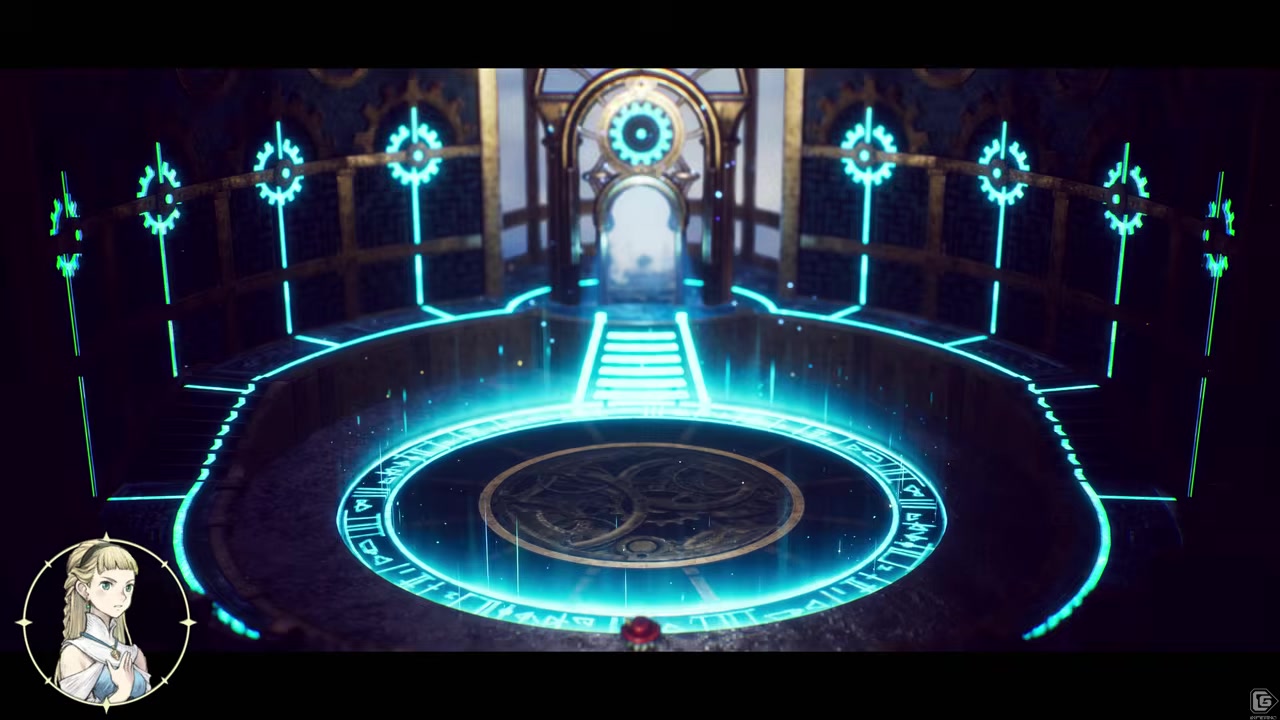
Watch Kyifrey open the Doorway of Time
The minister forces the door and crosses into another age, vowing to rewrite history.
Return the gardener's hat from the coast
Find the hat lost to the wind on the beach; Yuria even mends it when you bring it back.
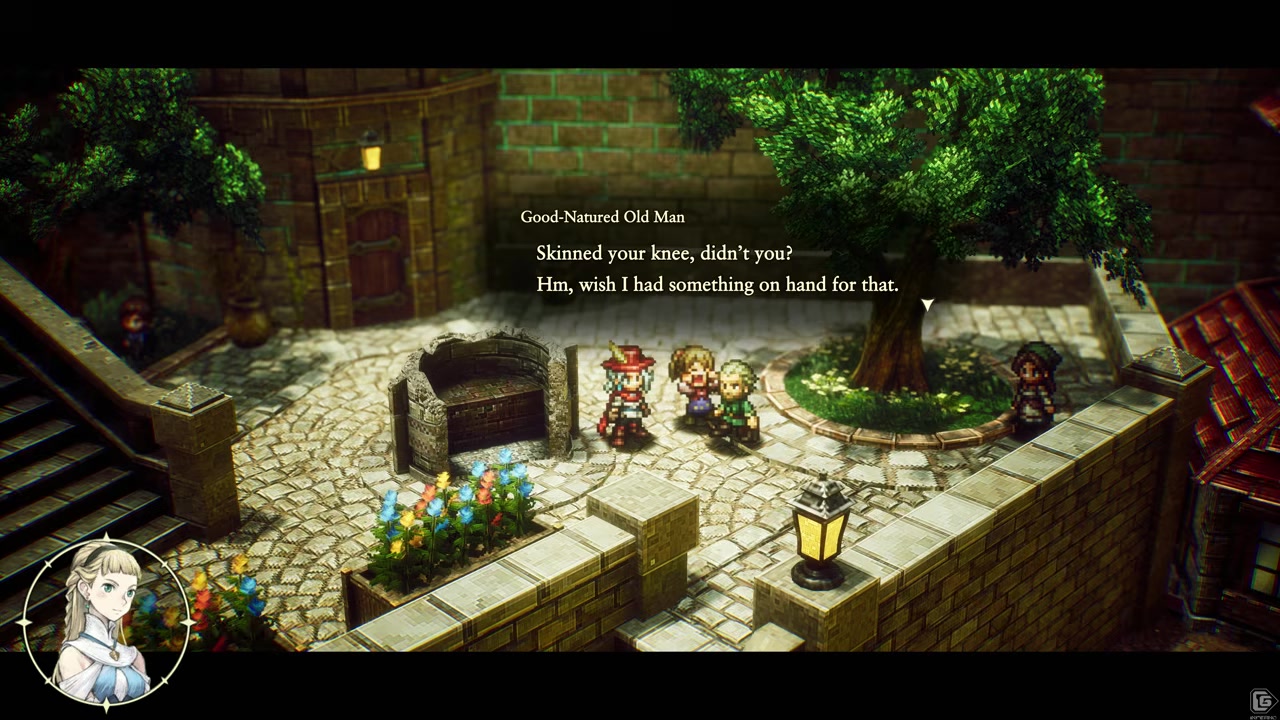
Make a prickly-pear bomb for Sandy
Gather prickly pear flesh so the old man can craft a soothing bomb-salve for the child's scraped knee.
Step through the Doorway of Time
With Yuria along, pass through the portal into the distant past.
Arrive in the unfamiliar past
You emerge near a castle-like ruin, but Yuria's healing magic now barely reaches you.
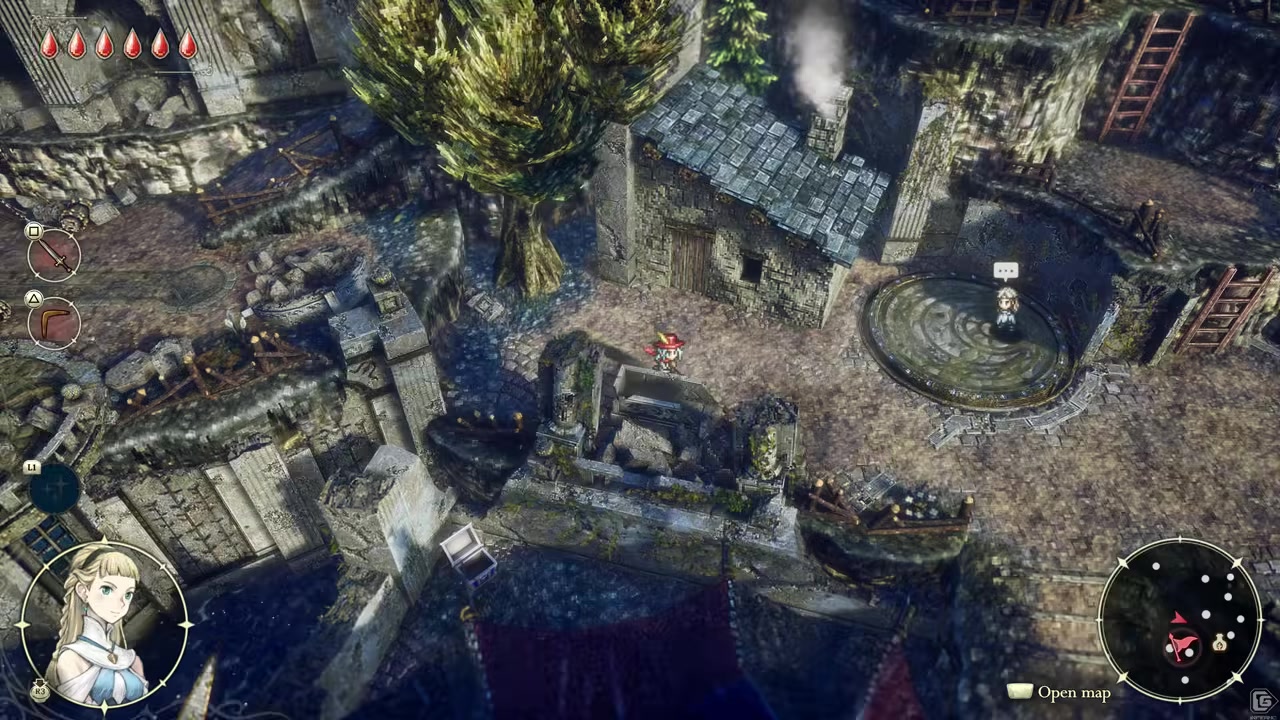
Reach the village of Little Hope
Find the worn settlement that was once a thriving magical civilization.
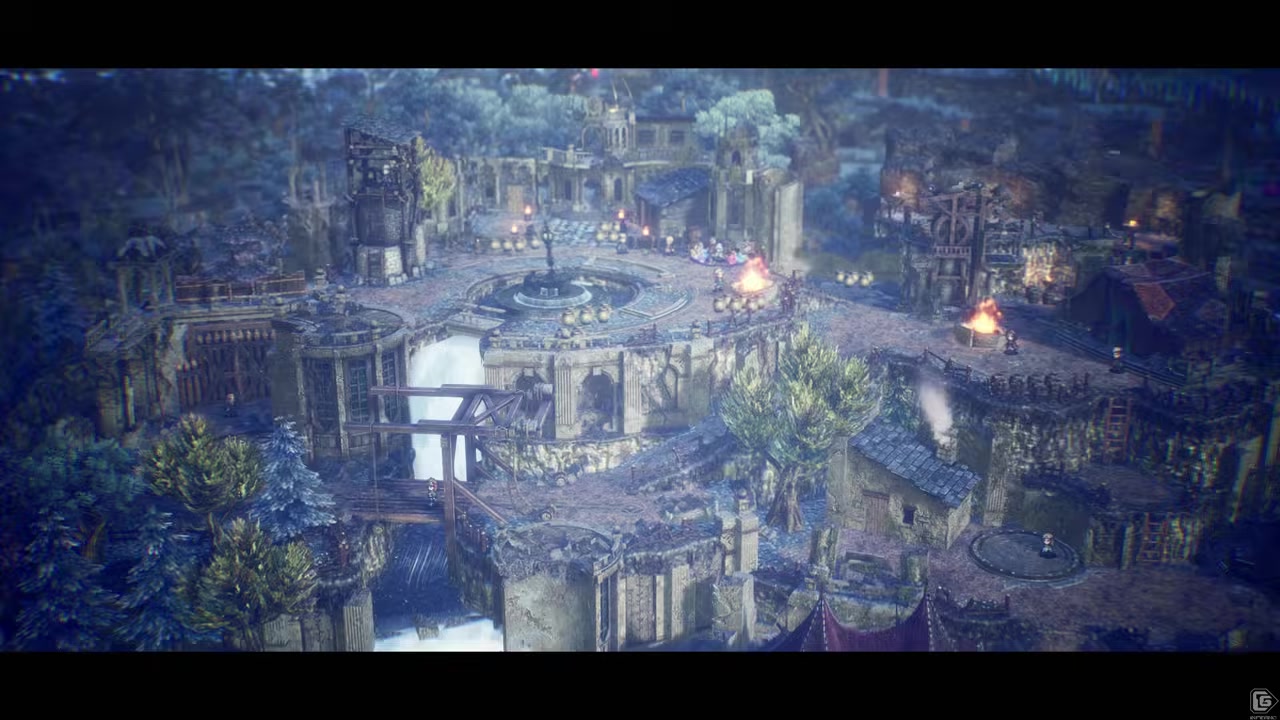
Learn Little Hope's history from Diona
The researcher explains the fallen age of magic and the power of light that once slew a witch.
Gather rumors at the tavern
The locals reveal that Kyifrey headed north.
Set out for the Northern Tower
Push through the Northern Woods and the snowfield beyond toward the tower.
Hit the rock slide blocking the road
A boulder slide cuts the path, and only a bomb will break through.
Fetch bombs from the village shop
The shopkeeper trades bombs for a field test against the beast tribes first.
Test the bombs on the beast tribe
Use the bombs in combat to prove they work, then collect more for the boulders.
Blow up the boulder slide
Demolish the boulders to finally clear the road north.
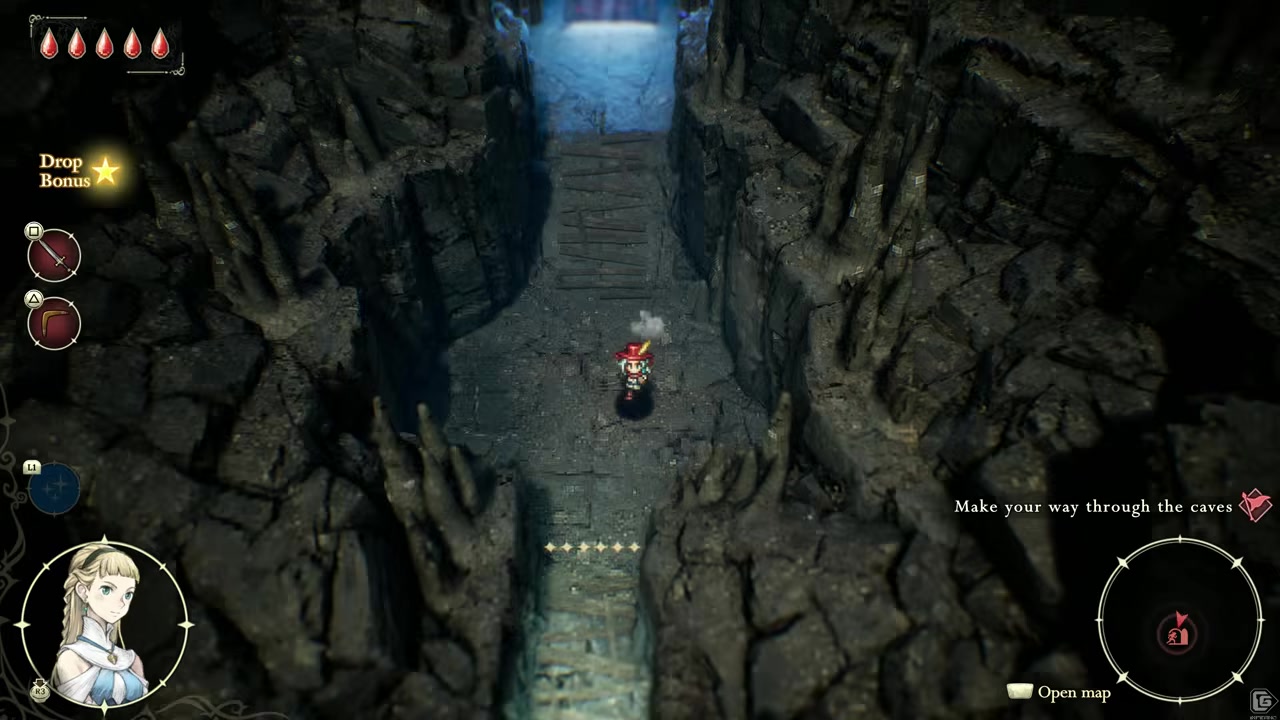
Cross the snowfield into Ulfer territory
Press through the cold, dangerous snowfield toward the caves leading to the tower.
Win the approach battle
A wave of enemies makes a stand just short of the Northern Tower.
Enter the Northern Tower
Reach the enormous ruins where the ancient power of light is said to rest.
Confront Kyifrey at the light staff
He seizes the staff's power and refuses to be talked down.
Survive the light-staff boss fight
Kyifrey's cold, overwhelming magic strikes Elliot down — this defeat is scripted, not a skill check.
Accept the mysterious revival
A strange being offers to bring Elliot back; wish to live, and the prologue ends on its cliffhanger.
Video help
Systems the prologue teaches
The chapter doubles as a hands-on tutorial for the systems you’ll lean on all game. The most important is magisite (also shown on screen as magicite) — crystallized magic that the wandering merchant introduces. You collect fragments from chests and fallen foes, then form them into whole stones, and as you progress your magic box physically grows larger so you can hold and make more magic than before. The merchant tells you outright that magisite “grants its blessing on those who open new paths,” which is a strong hint to keep crafting and experimenting rather than hoarding fragments.
Bombs are the other path-opener, but you don’t get them until the past: a village shopkeeper hands them over in exchange for testing them against the beast tribes, and from then on they shatter boulder slides and cracked, breakable walls that hide caves and side rooms. Whenever you spot something that looks fragile, it’s worth a bomb. Scattered around the world are the skill-trial structures — optional buildings where a voice sets a combat challenge and rewards you with a “new radiance” upgrade for clearing it. They’re easy to miss but clearly placed to make Elliot stronger, so detour into every one you find. The glowing adventuring guideposts, meanwhile, act as your waypoints, and Euigene’s talisman lets you warp between the ones you’ve visited.
On weapons, Elliot starts with the 1-Star Sword as his default, and a 1-Star Boomerang is reportedly purchasable back in Huther for around 100 tul — that price comes from a single account, so treat it as reported rather than fixed. The prologue’s story errands also net you a restrung bow (your childhood weapon) and Euigene’s old spear, so it’s worth running those side tasks for the gear alone. One thing to keep expectations straight: Faie is not playable in the demo, which means convenience abilities like sprinting and warping tied to her aren’t available here — you’ll only get those in the full game.
Sweeping for 100% before the demo ends
Because your entire save — items, crafted resources, and your last save point — carries into the full game on the same platform, the prologue is the rare demo where thoroughness pays off permanently. The honest framing of “100%” here is that no definitive collectible checklist exists, so chasing an exact number isn’t the goal; sweeping every area for chests, magisite fragments, and shards of life before you trigger the finale is. After the main quest beats wind down, double back through earlier zones, pop any breakable walls with bombs, and clear any radiance trials you skipped.
Before the Northern Tower finale, sweep every area for chests and resources and grab the 1-Star Boomerang in Huther — your whole prologue save, last save point included, carries into the full game, so nothing you collect now is wasted.
This is also where the reader’s “what next” naturally points. Demo save transfer is the headline reward, and the wider game opens up later weapons and upgrades beyond the starting sword and boomerang, so it’s worth heading into the finale with a fully explored map and a healthy stock of crafted magisite behind you.
Related The Adventures of Elliot guides
Frequently Asked Questions
How long does the prologue demo take to finish?
Plan for roughly 4–5 hours, though it varies a lot with difficulty and how much you explore. Some players report finishing in just under three hours by sticking to the main path, so there’s no single fixed time.
Does your save data carry over to the full game?
Yes. The entire prologue save — your items, gathered resources, and last save point — transfers into the full release, but you’ll need to play the full game on the same console/platform and choose “Carry over from demo” from the main menu. Cross-platform transfer isn’t supported.
Is Faie playable in the prologue demo?
No. Faie is not playable in the demo, so abilities associated with her — such as sprinting and warping — aren’t available until you’re in the full game.
Where does the prologue end?
It ends at the Northern Tower in Little Hope, after you cross the Doorway of Time into the past and confront Kyifrey. The chapter closes on a scripted boss defeat and a cliffhanger revival, so don’t expect to “win” that final fight through skill.
What weapons can you get during the prologue?
You begin with the 1-Star Sword as your default. A 1-Star Boomerang is reportedly available in Huther for around 100 tul (single-sourced, so treat the exact price as reported), and the chapter’s side errands also hand you a restrung bow and Euigene’s old spear.