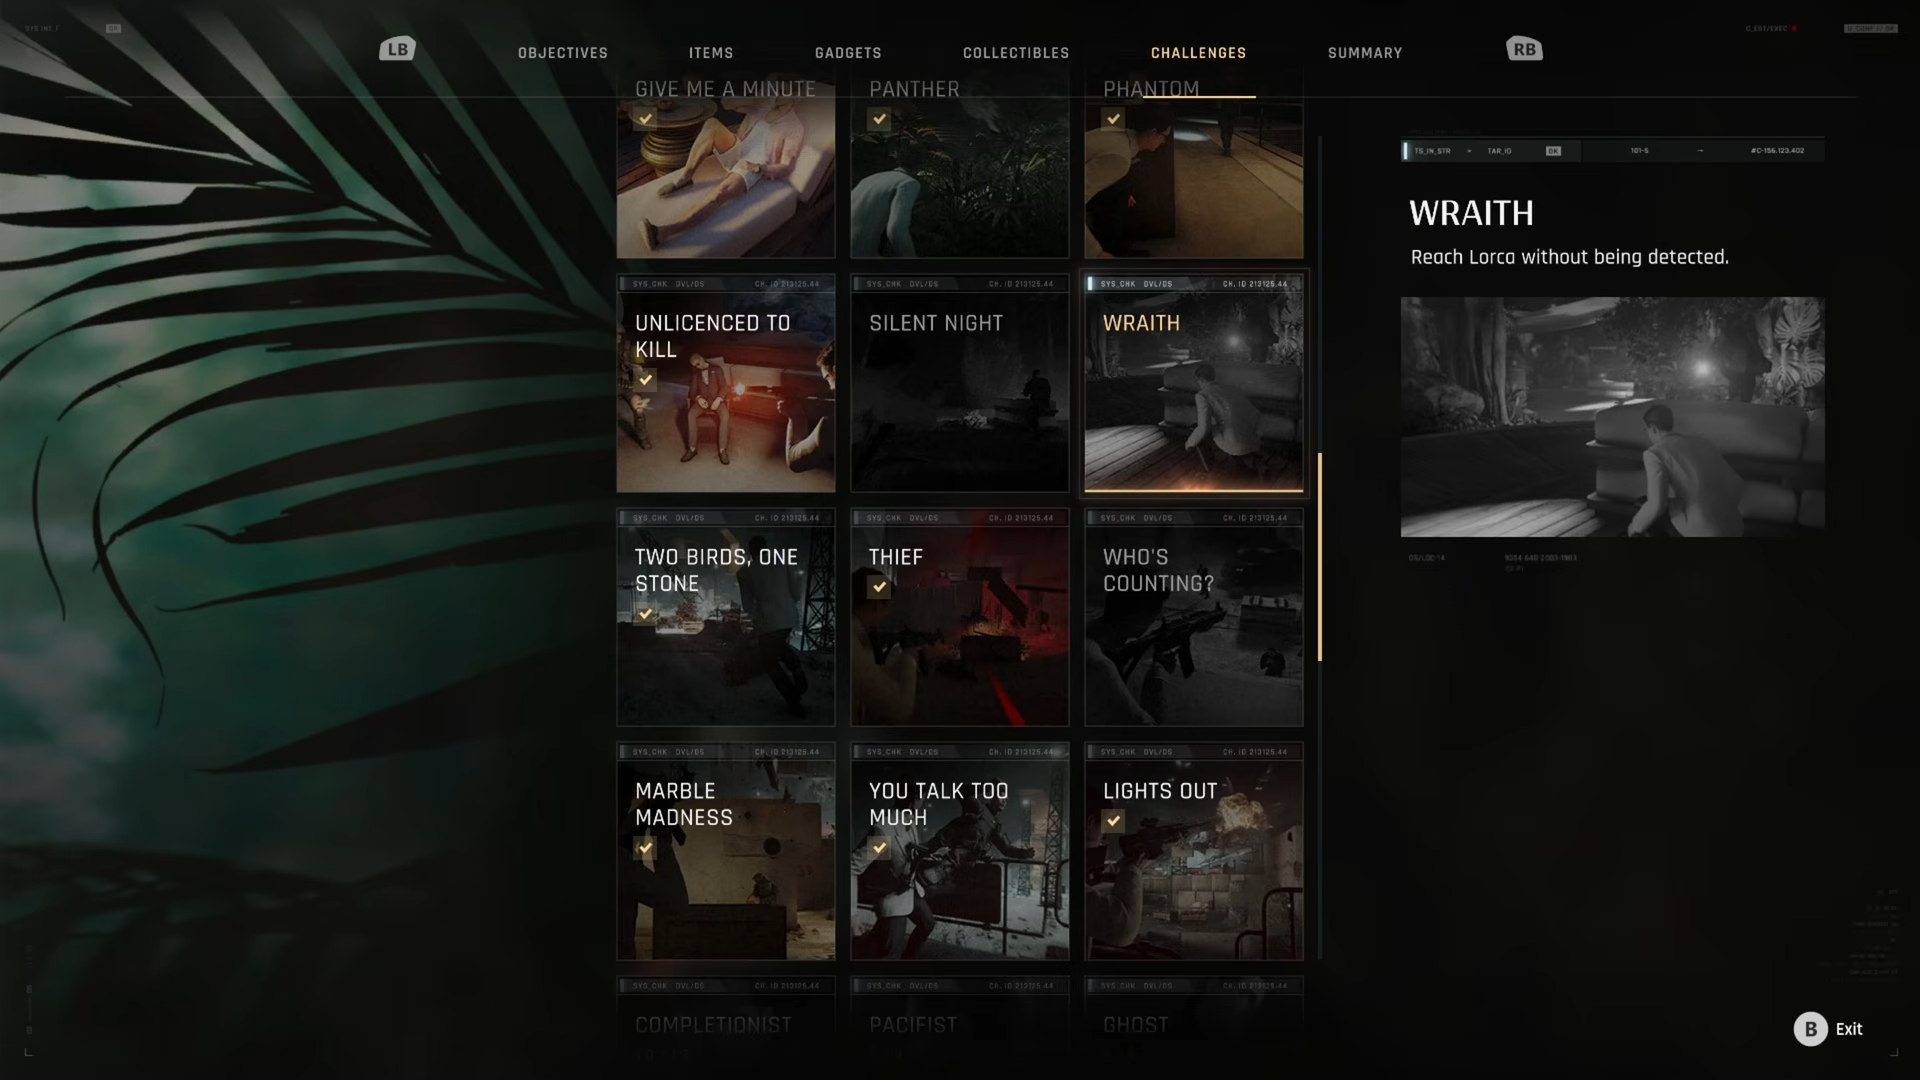
To complete the Wraith challenge in 007 First Light, reach Teresa Lorca without being detected using Smoke Pods to bypass all guards in the “Find Teresa Lorca” section of the Time to Die mission.
- Wraith Challenge details
-
How to Complete Wraith: Step-by-Step Walkthrough
- Step 1: Prepare Your Loadout
- Step 2: Load the Correct Checkpoint
- Step 3: First Guard Group – Smoke and Pass
- Step 4: Hide in Bushes and Queue Enemy Patrols
- Step 5: Lure the Single Patrolling Guard
- Step 6: The Hard Part – Final Three Guards
- Step 7: Sprint Through Smoke to Finish
- Step 8: Trigger the Cutscene
- Critical Mistakes to Avoid
Wraith Challenge details
How to Complete Wraith: Step-by-Step Walkthrough
Step 1: Prepare Your Loadout
Before starting the checkpoint, equip Smoke Pods as your primary gadget. This is essential – the challenge is nearly impossible without them. Drop to Novice difficulty if you’re struggling, as it allows unlimited gadget usage without penalties.
Step 2: Load the Correct Checkpoint
From the main menu, restart at the “Find Teresa Lorca” checkpoint (Chapter 10). This is the 10th checkpoint in the Time to Die mission. Starting here lets you focus on just the Wraith section without replaying the entire mission.
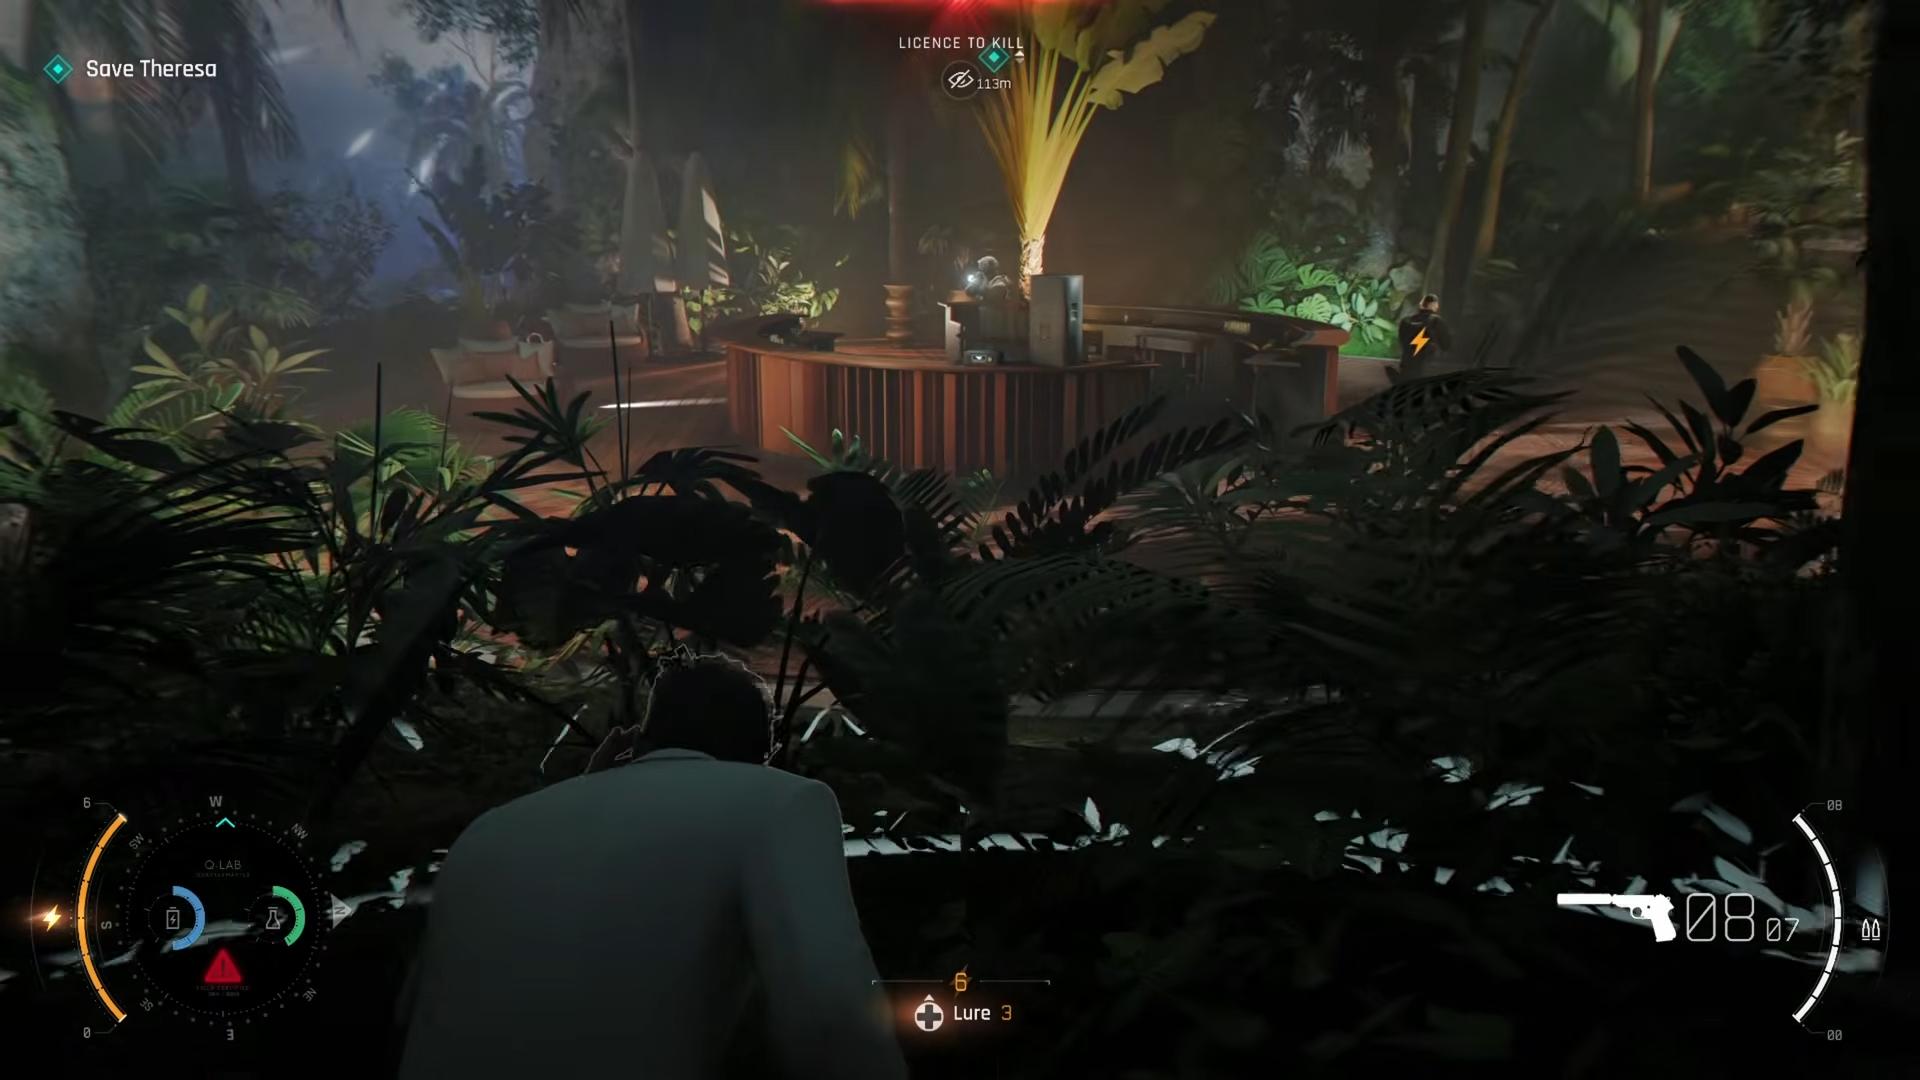
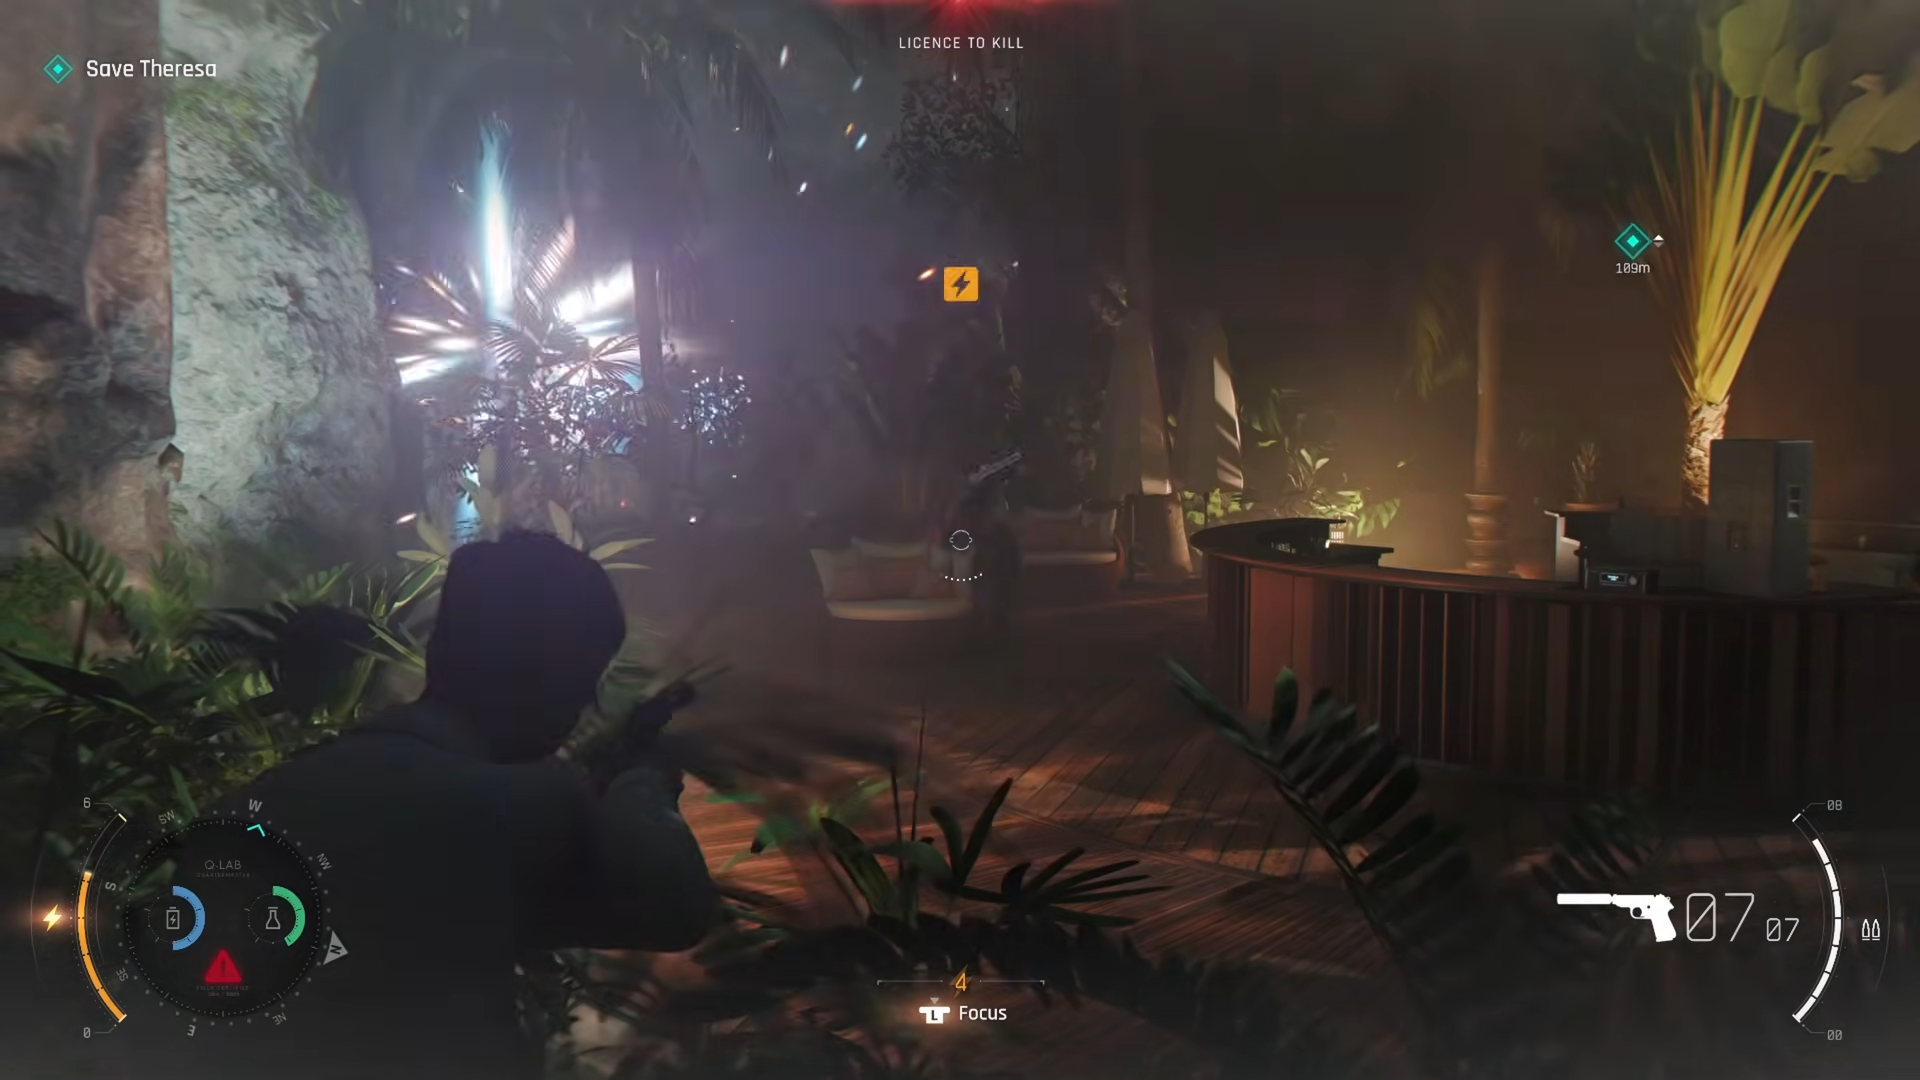
Step 3: First Guard Group – Smoke and Pass
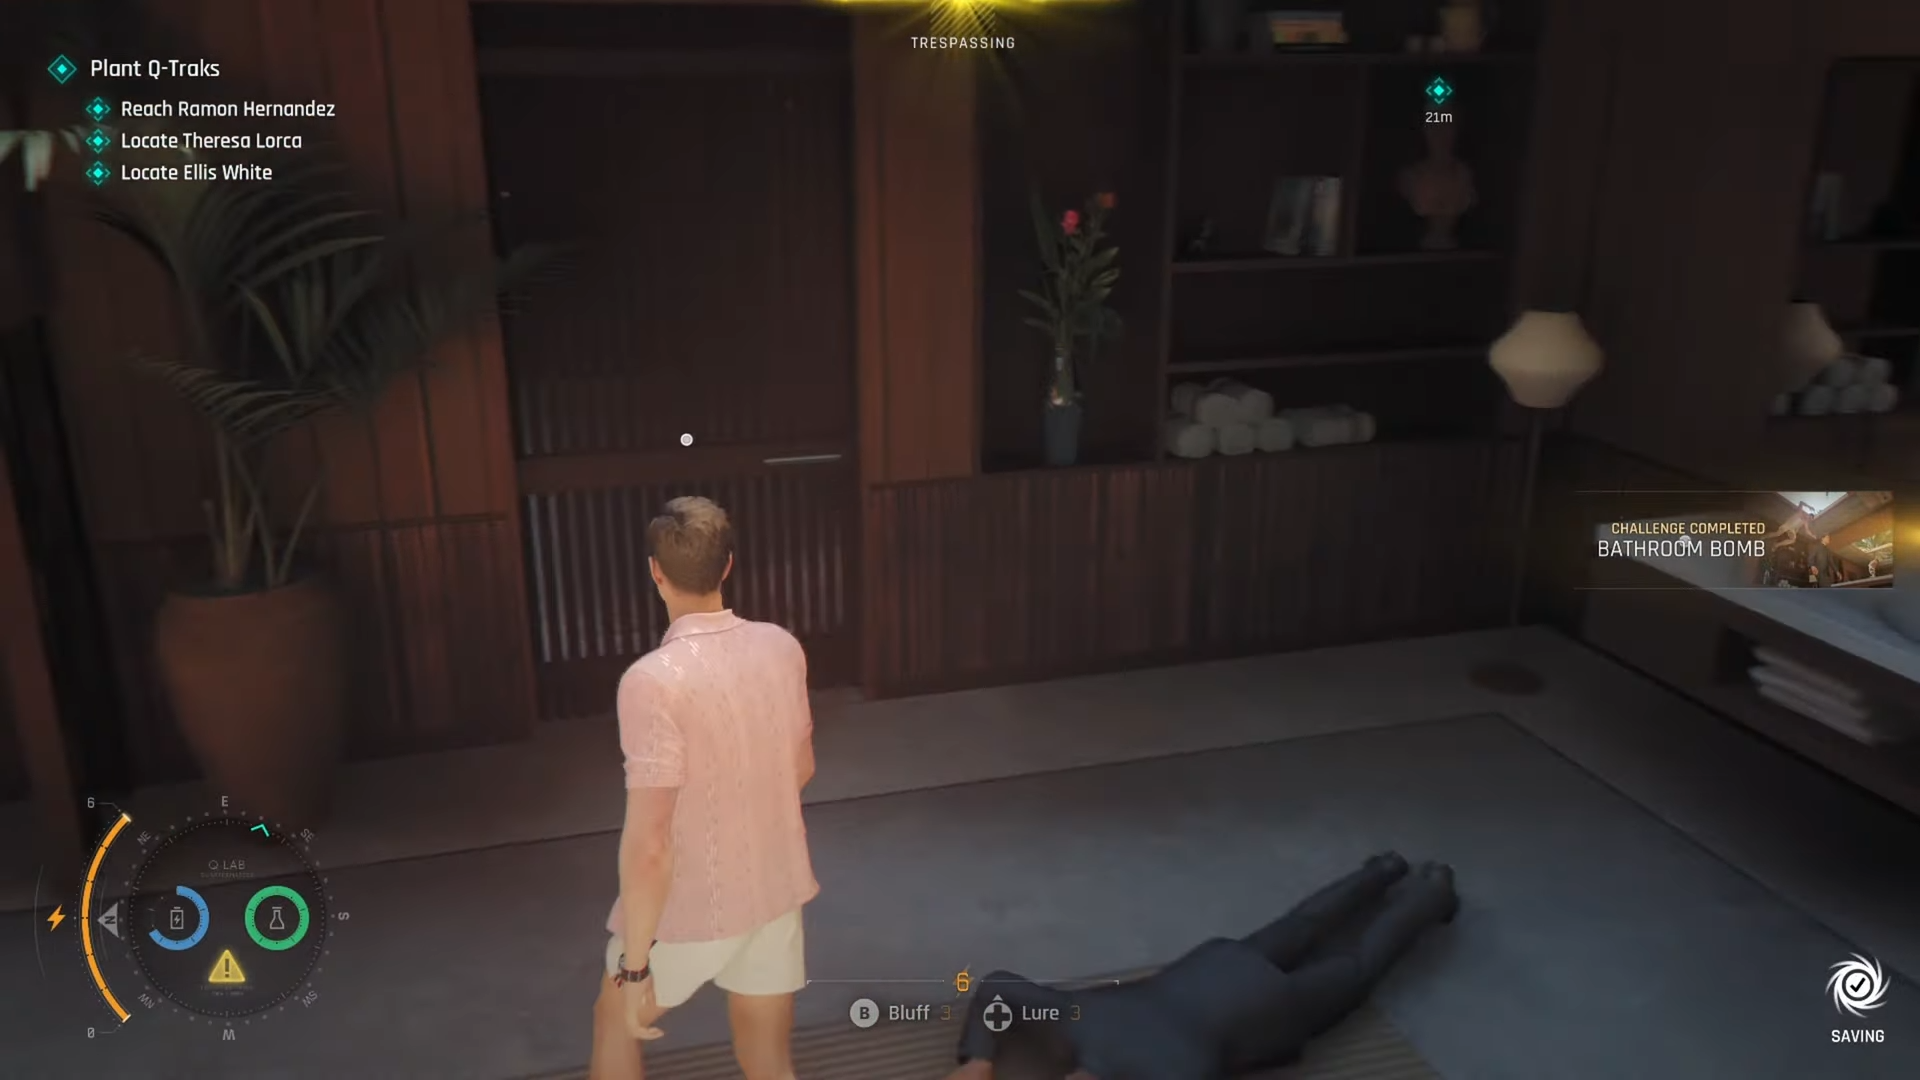
Drop into the bar area. You’ll see three guards: one behind the counter, one in the middle, and one on the left.
When the left guard approaches the counter, throw a smoke pod at the middle guard. Immediately hustle low and move past them while they’re obscured. Be ready with the takedown button to silently eliminate the left guard before he spots you.
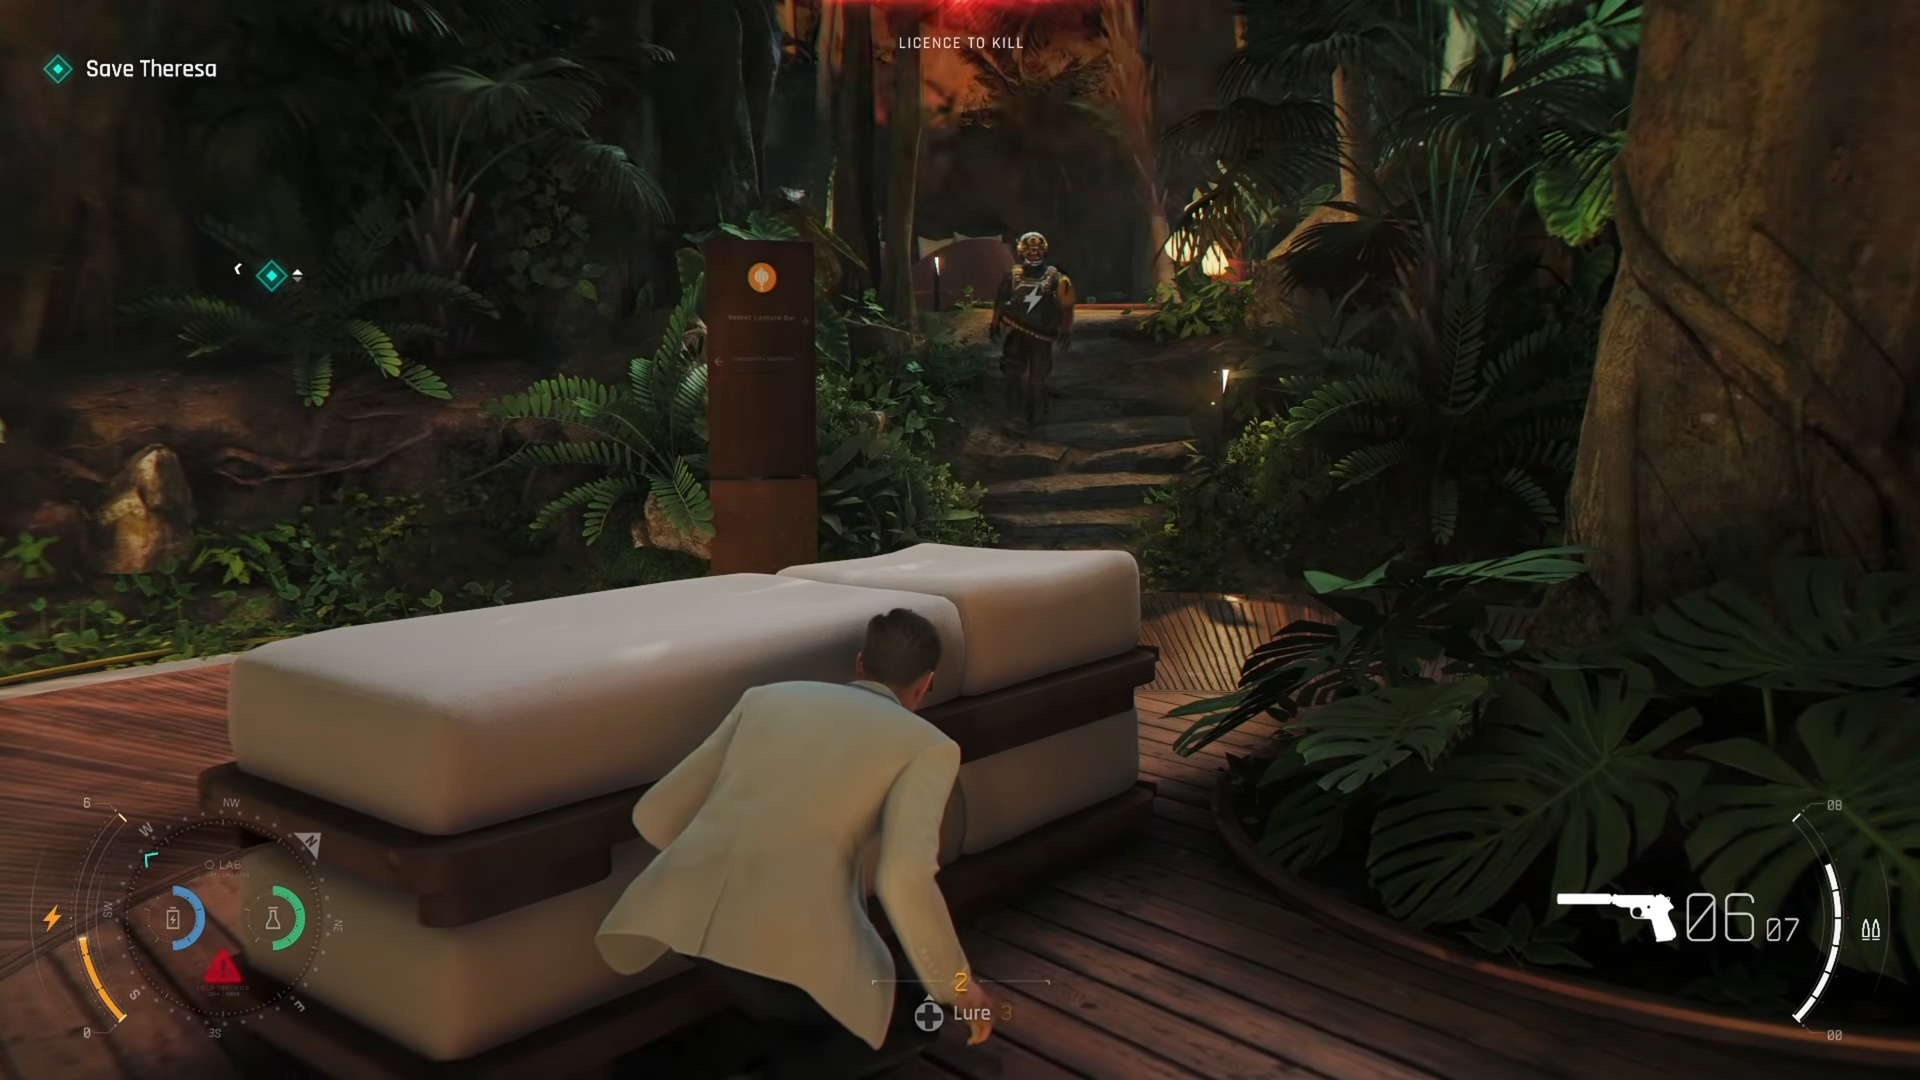
Step 4: Hide in Bushes and Queue Enemy Patrols
Run into the leaves/bushes near the beds to hide.
From cover, queue the enemies to start moving by making them spot you briefly – but only fill the yellow detection bar slightly, not fully aggroed.
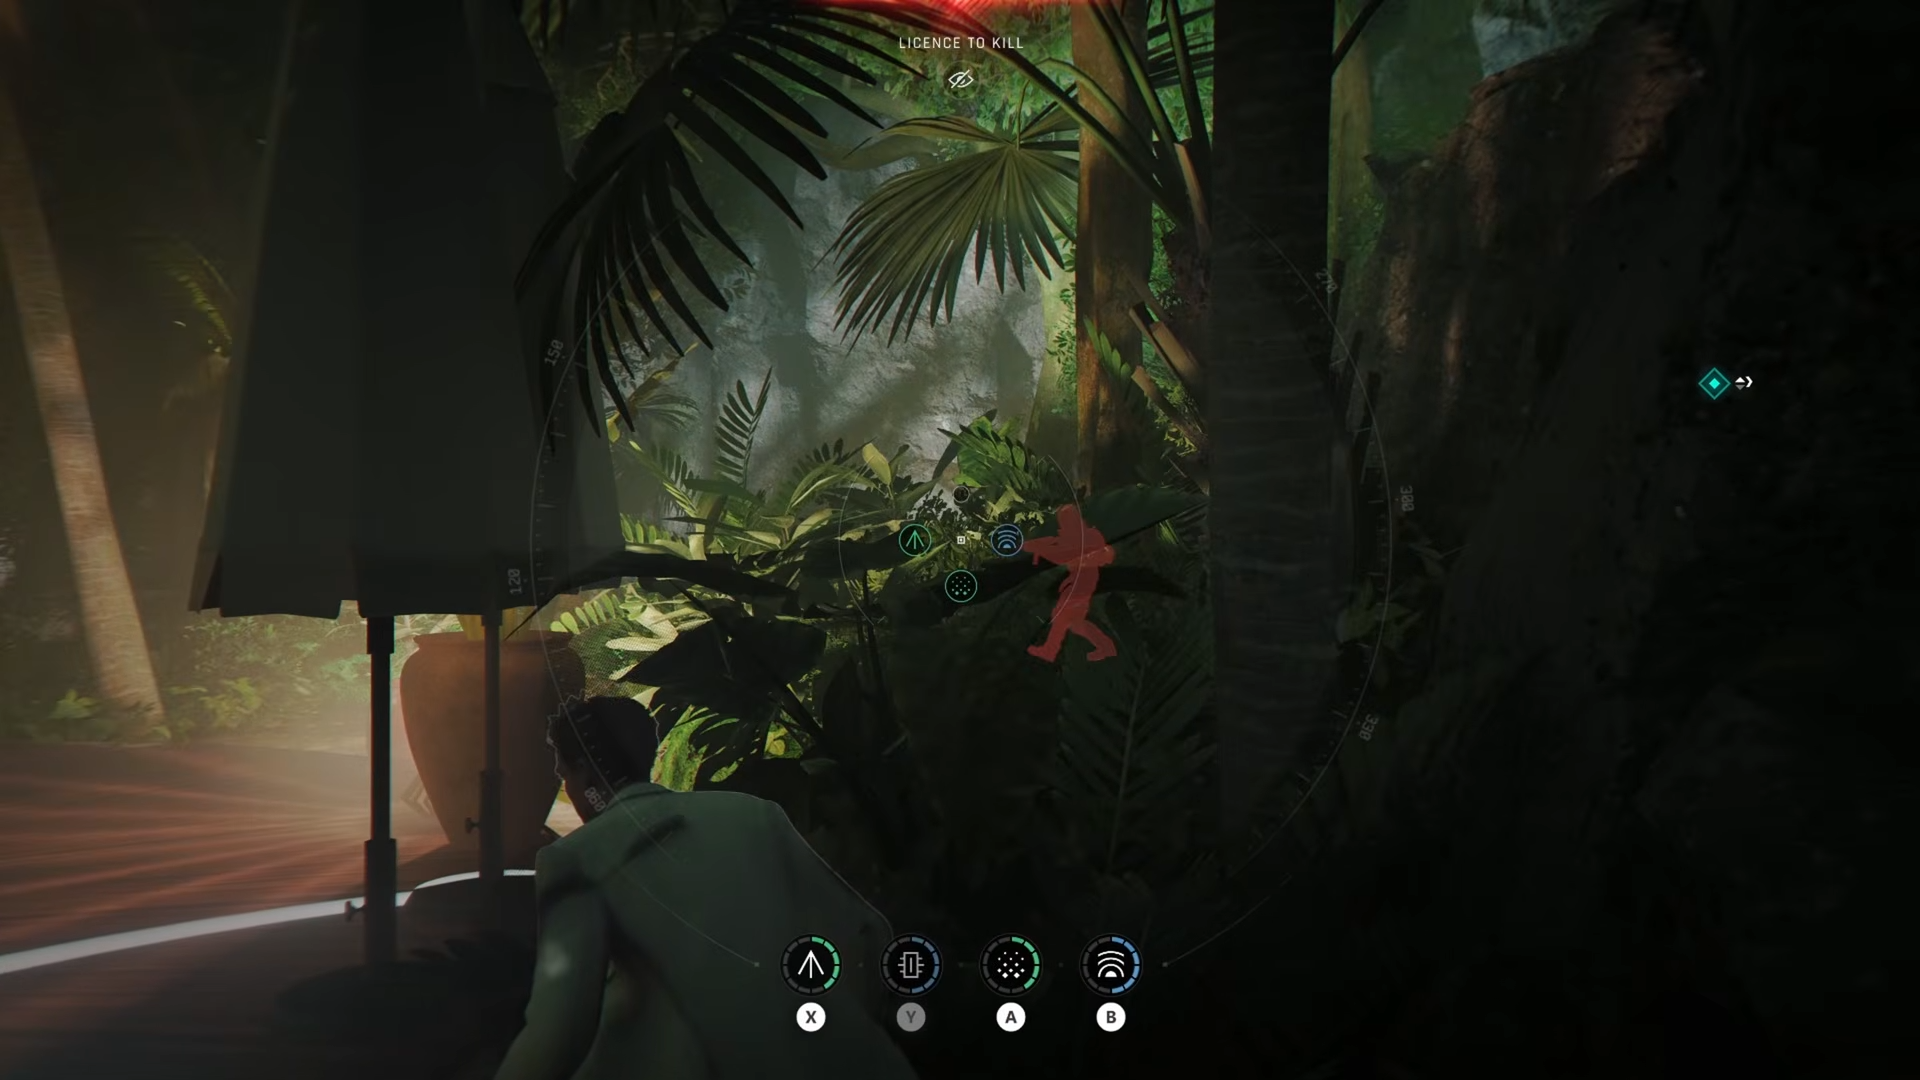
Wait patiently in the bushes – they won’t see you there. As soon as the guard turns around, dash toward him and perform a silent takedown before he reaches his light spot.
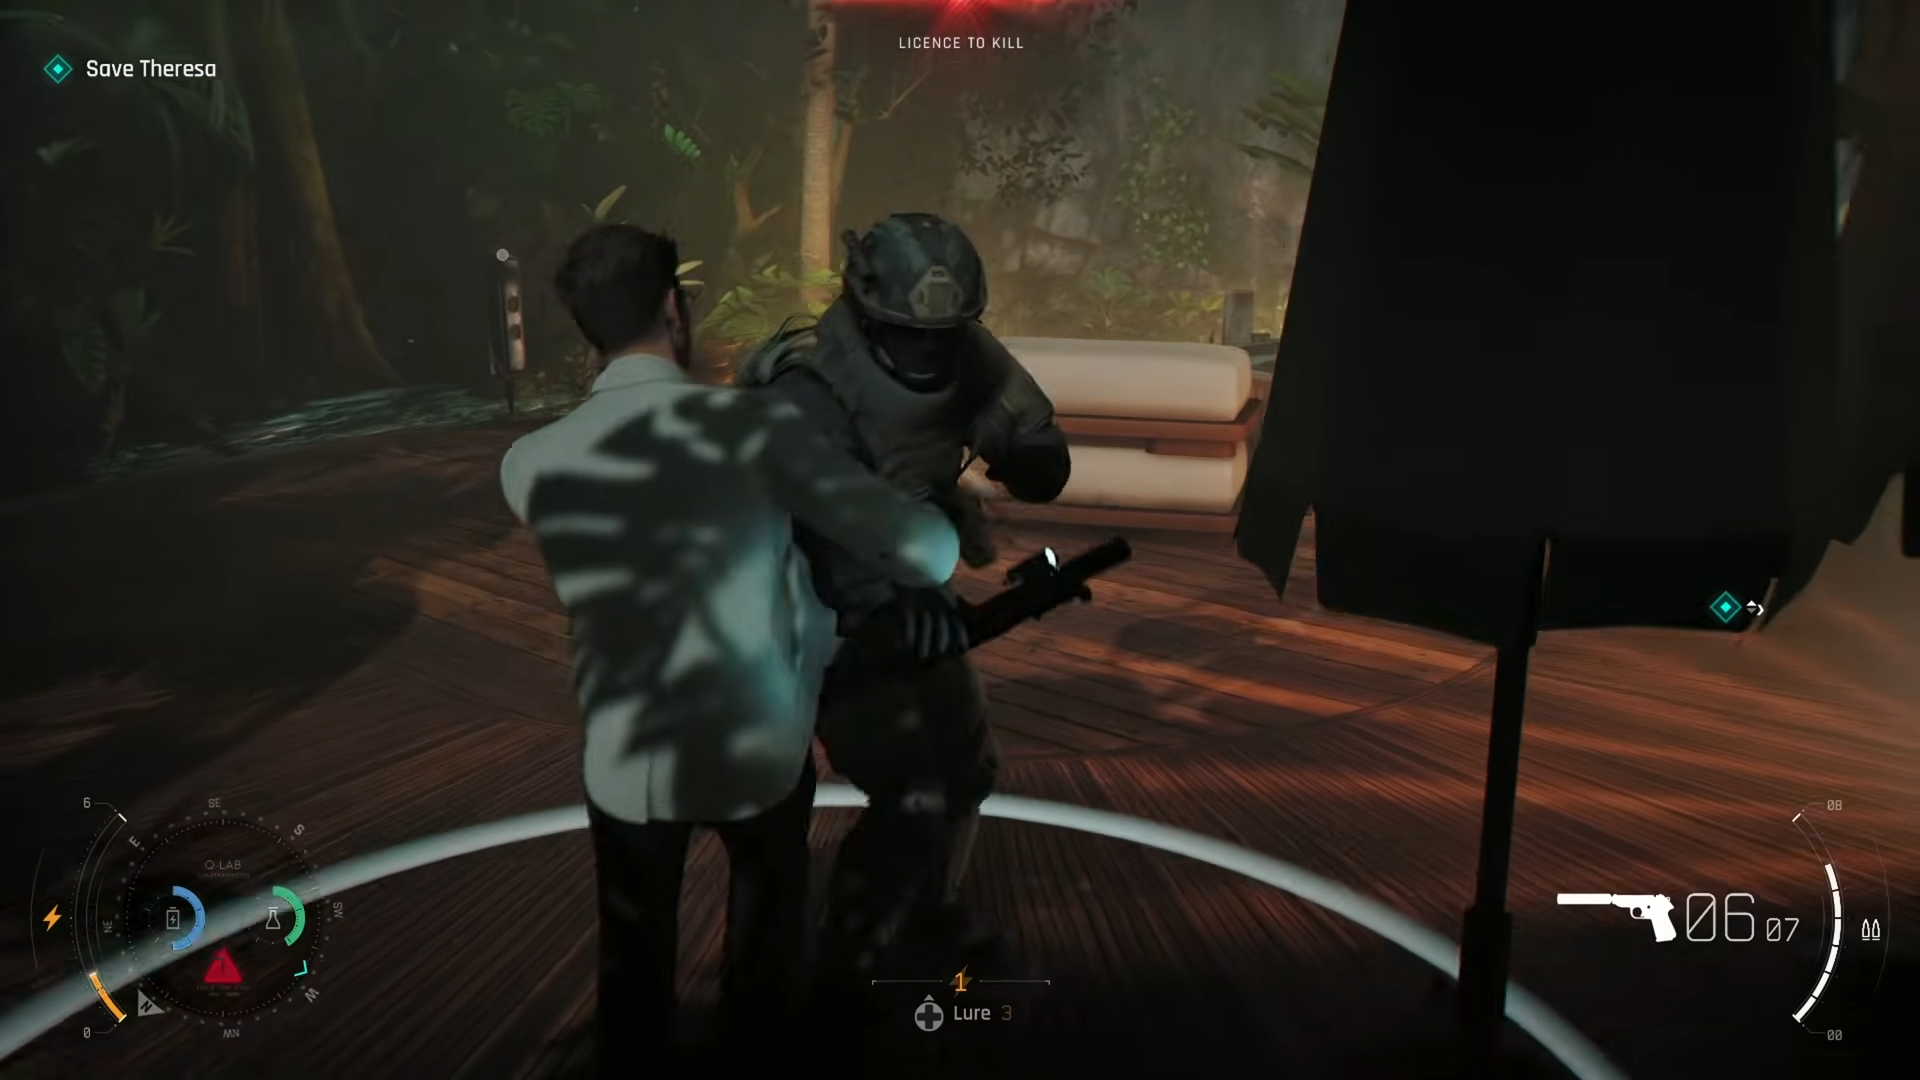
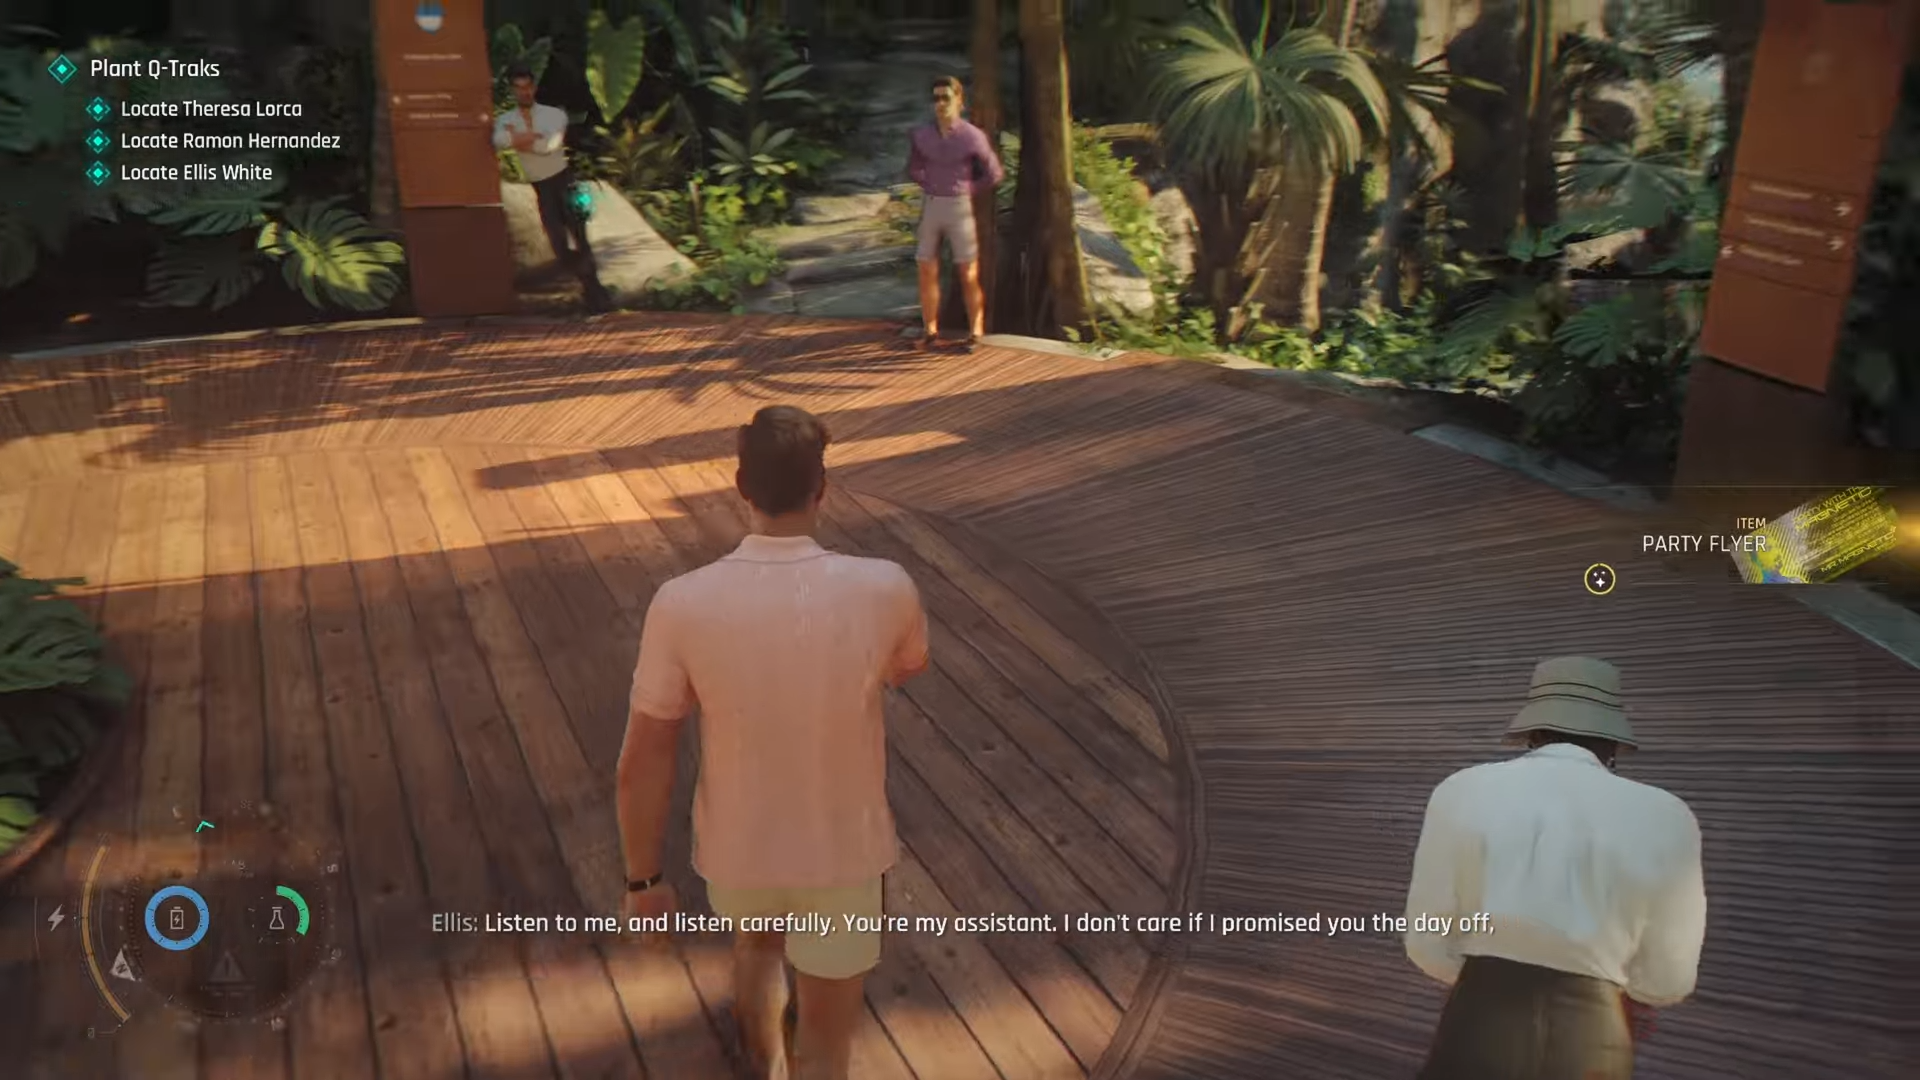
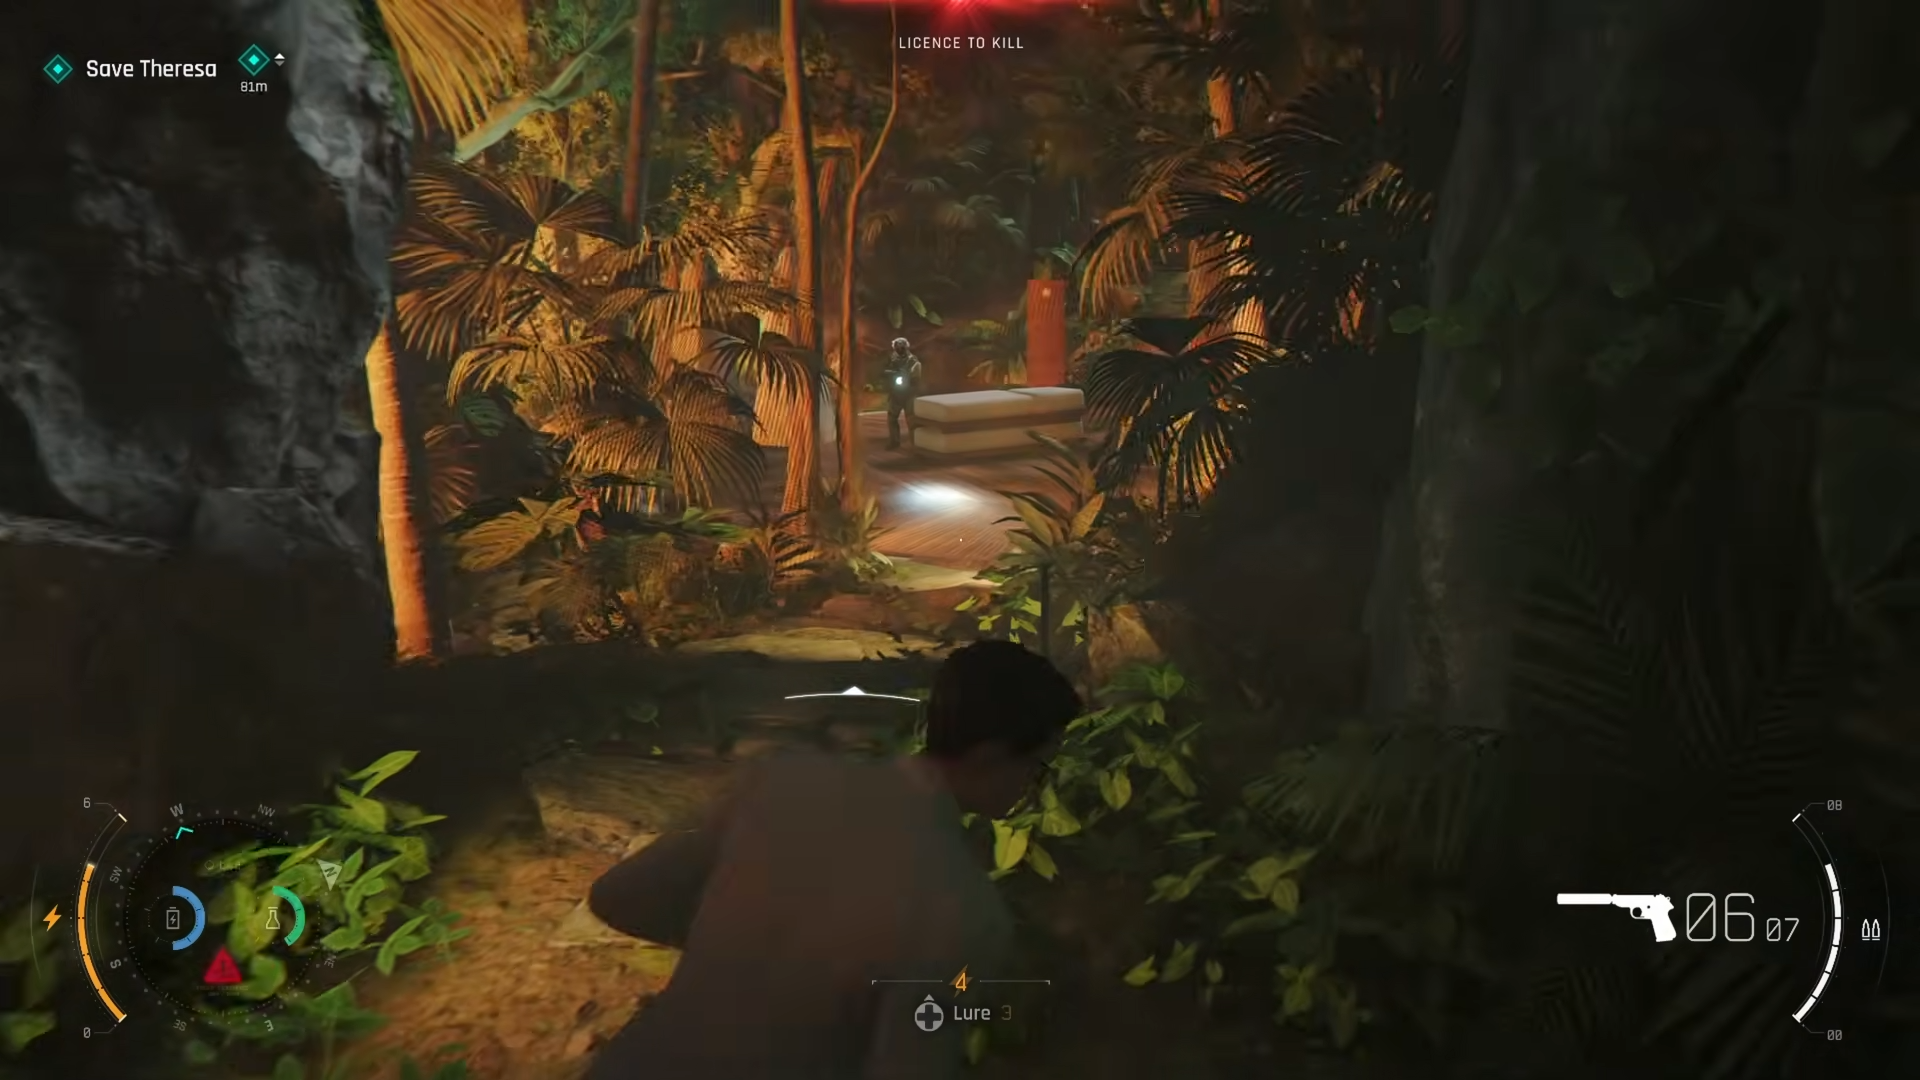
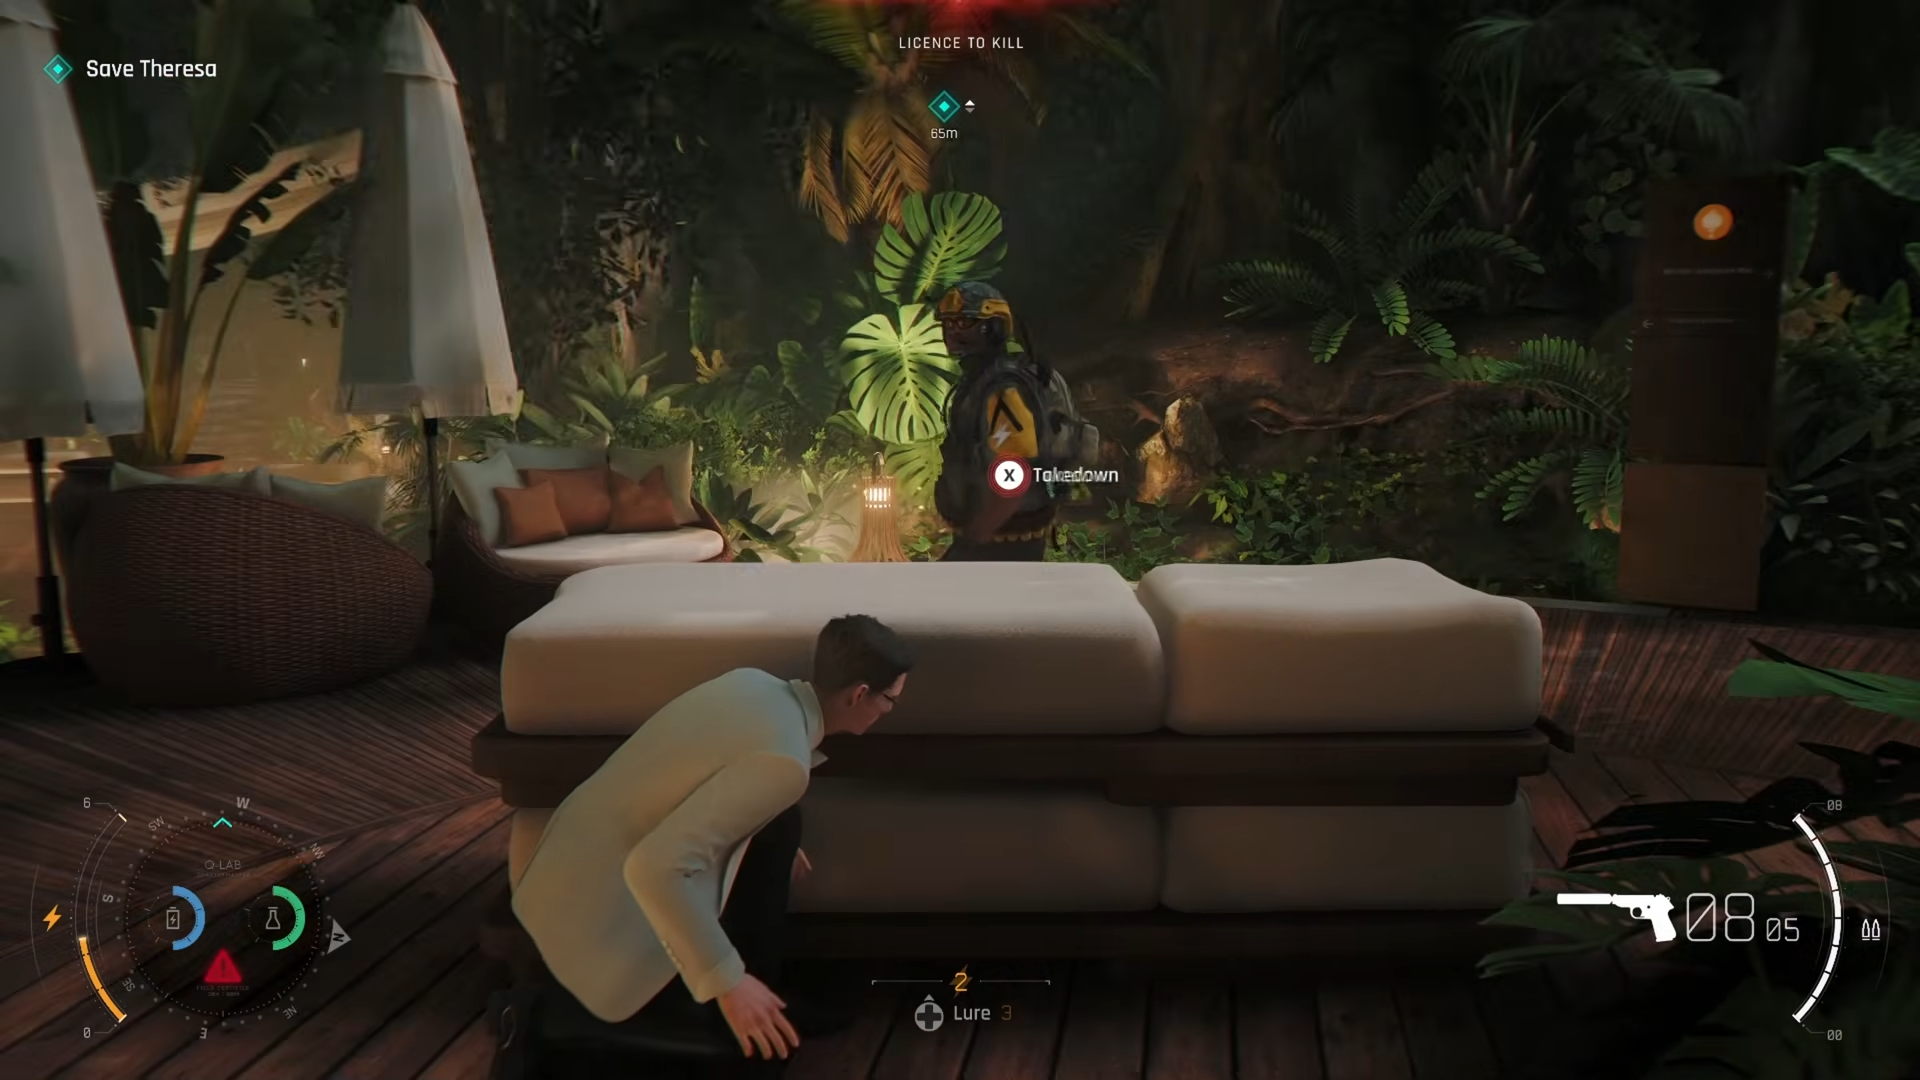
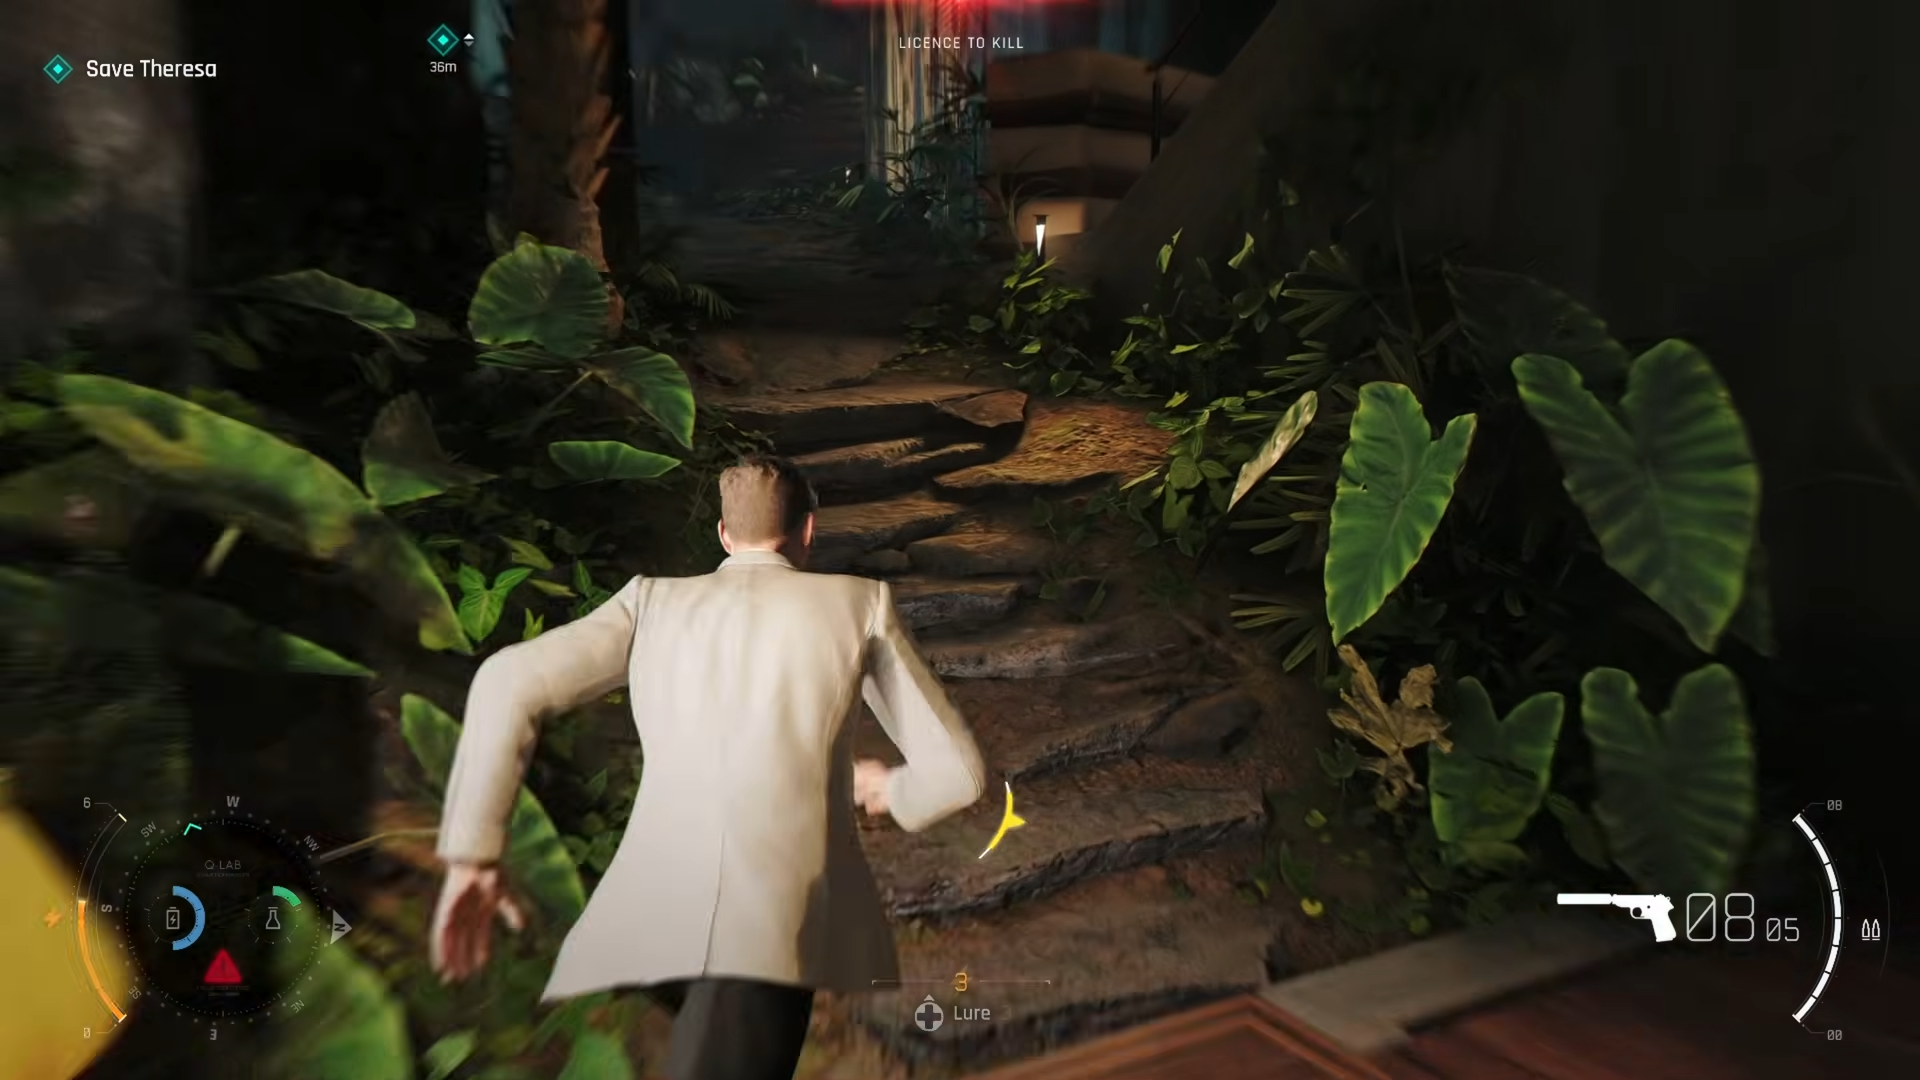
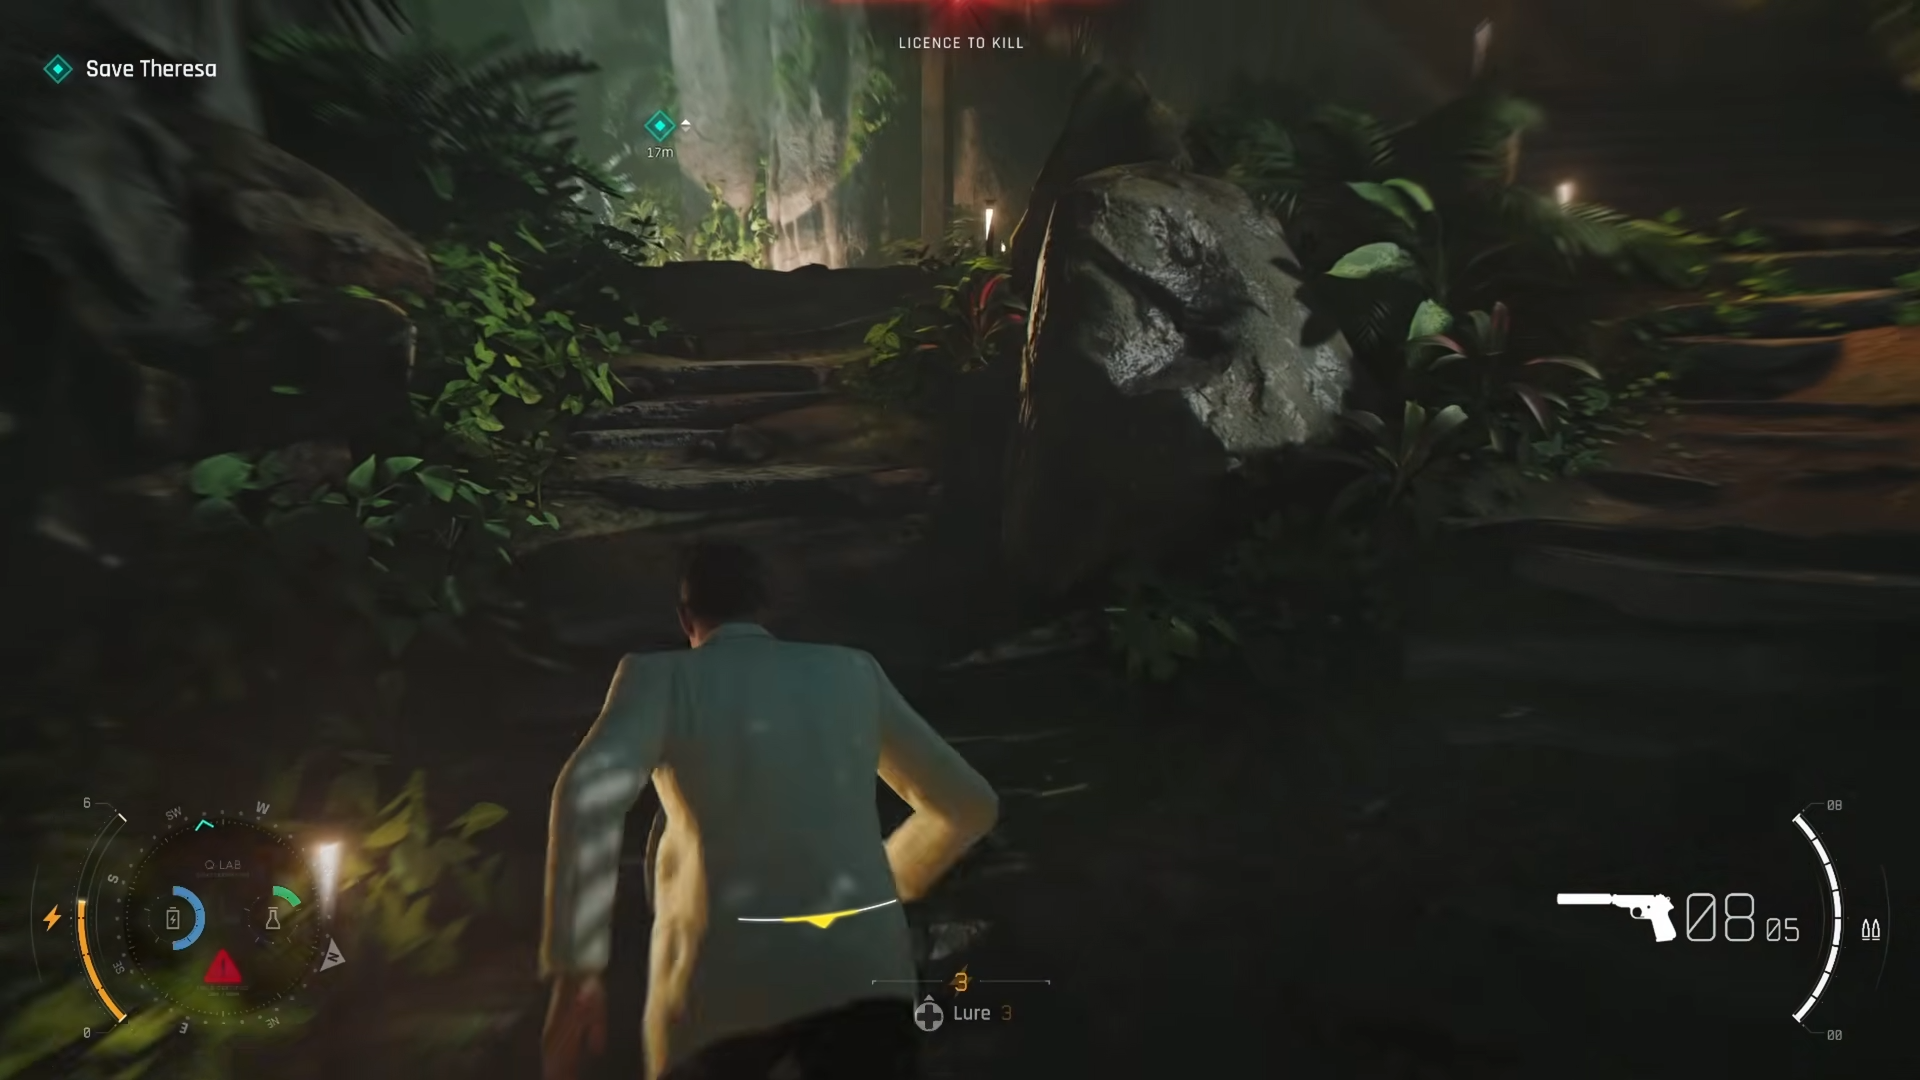
Step 5: Lure the Single Patrolling Guard
Move down the pathway toward the next guard.
You want him to see you just enough to trigger the yellow bar (partial detection), which makes him walk toward you.
Hide in the bushes – he’ll walk up to investigate but won’t spot you if you’re concealed. Wait for him to come close enough for a lure, then dash and take him down silently before he fully aggros.
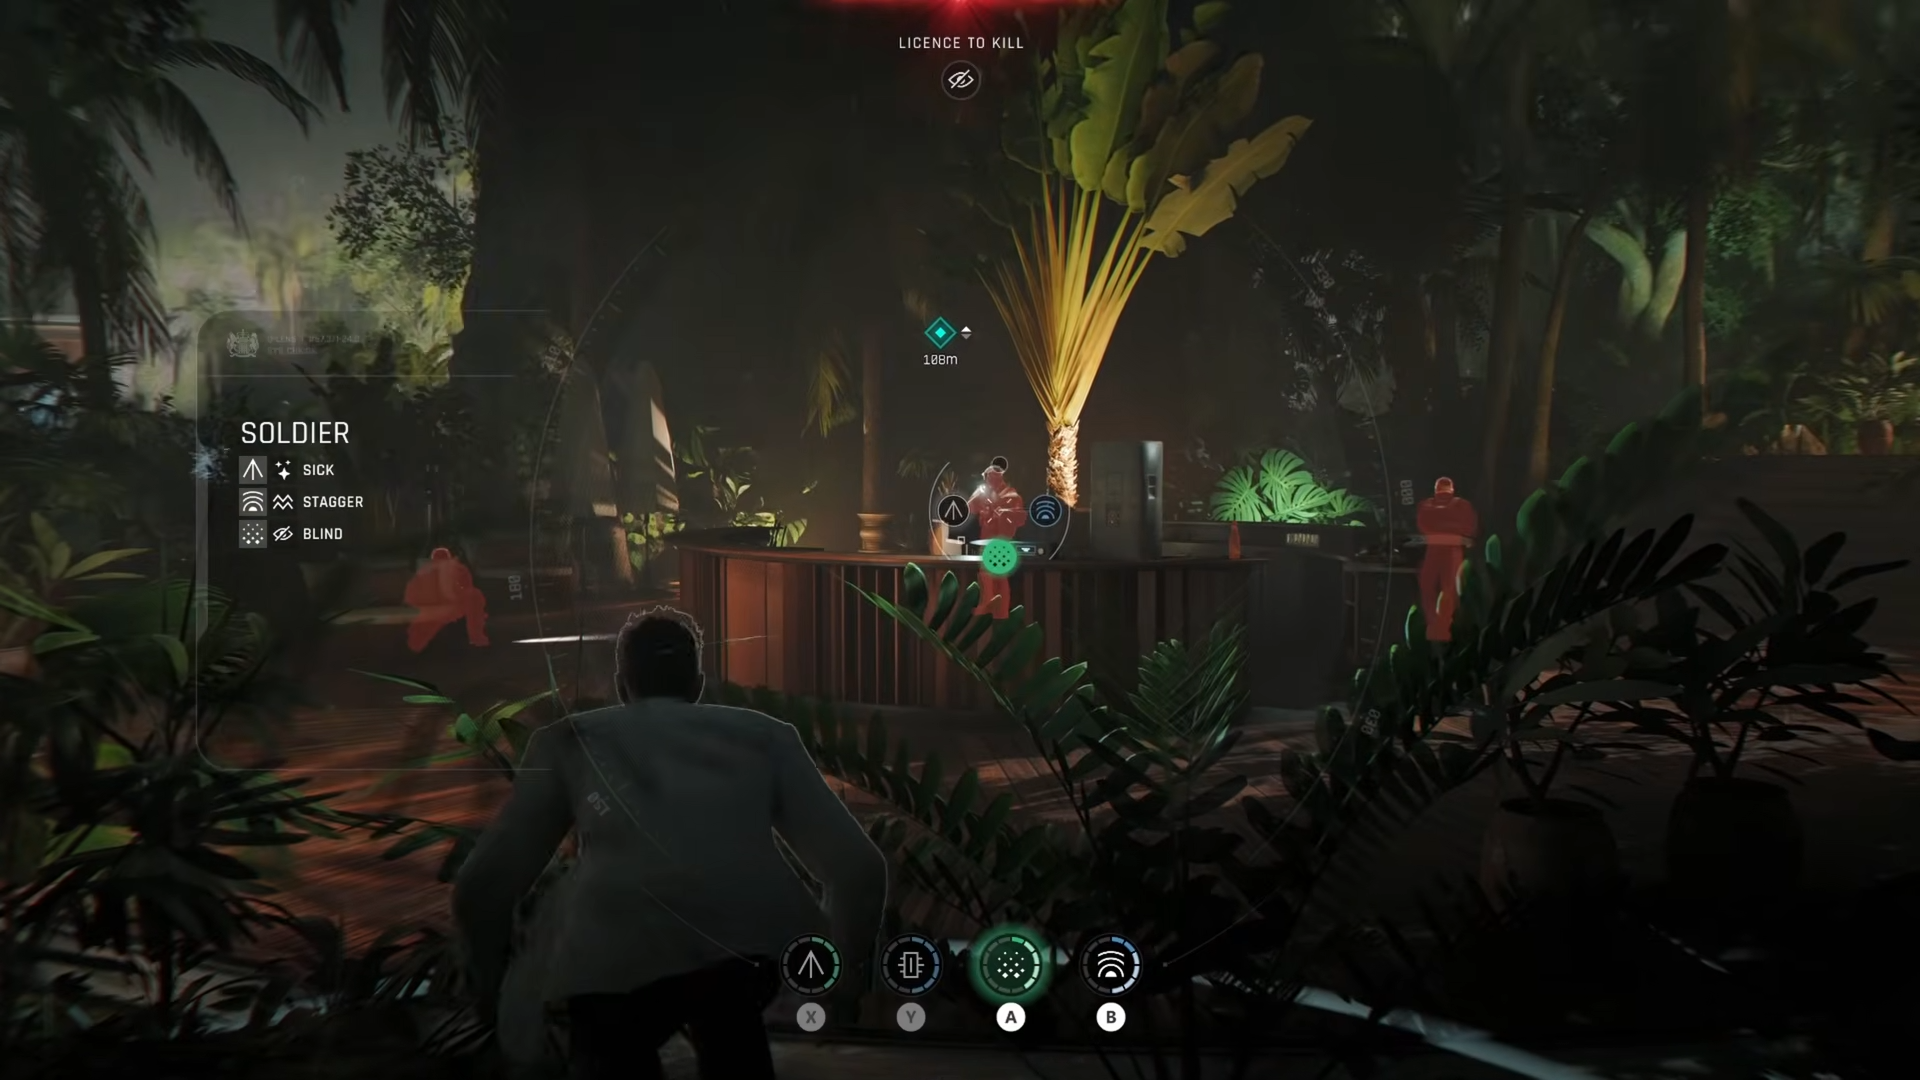
Step 6: The Hard Part – Final Three Guards
This is the most difficult section with four guards total (one behind beds, three up ahead). You’ll need two smoke bombs here.
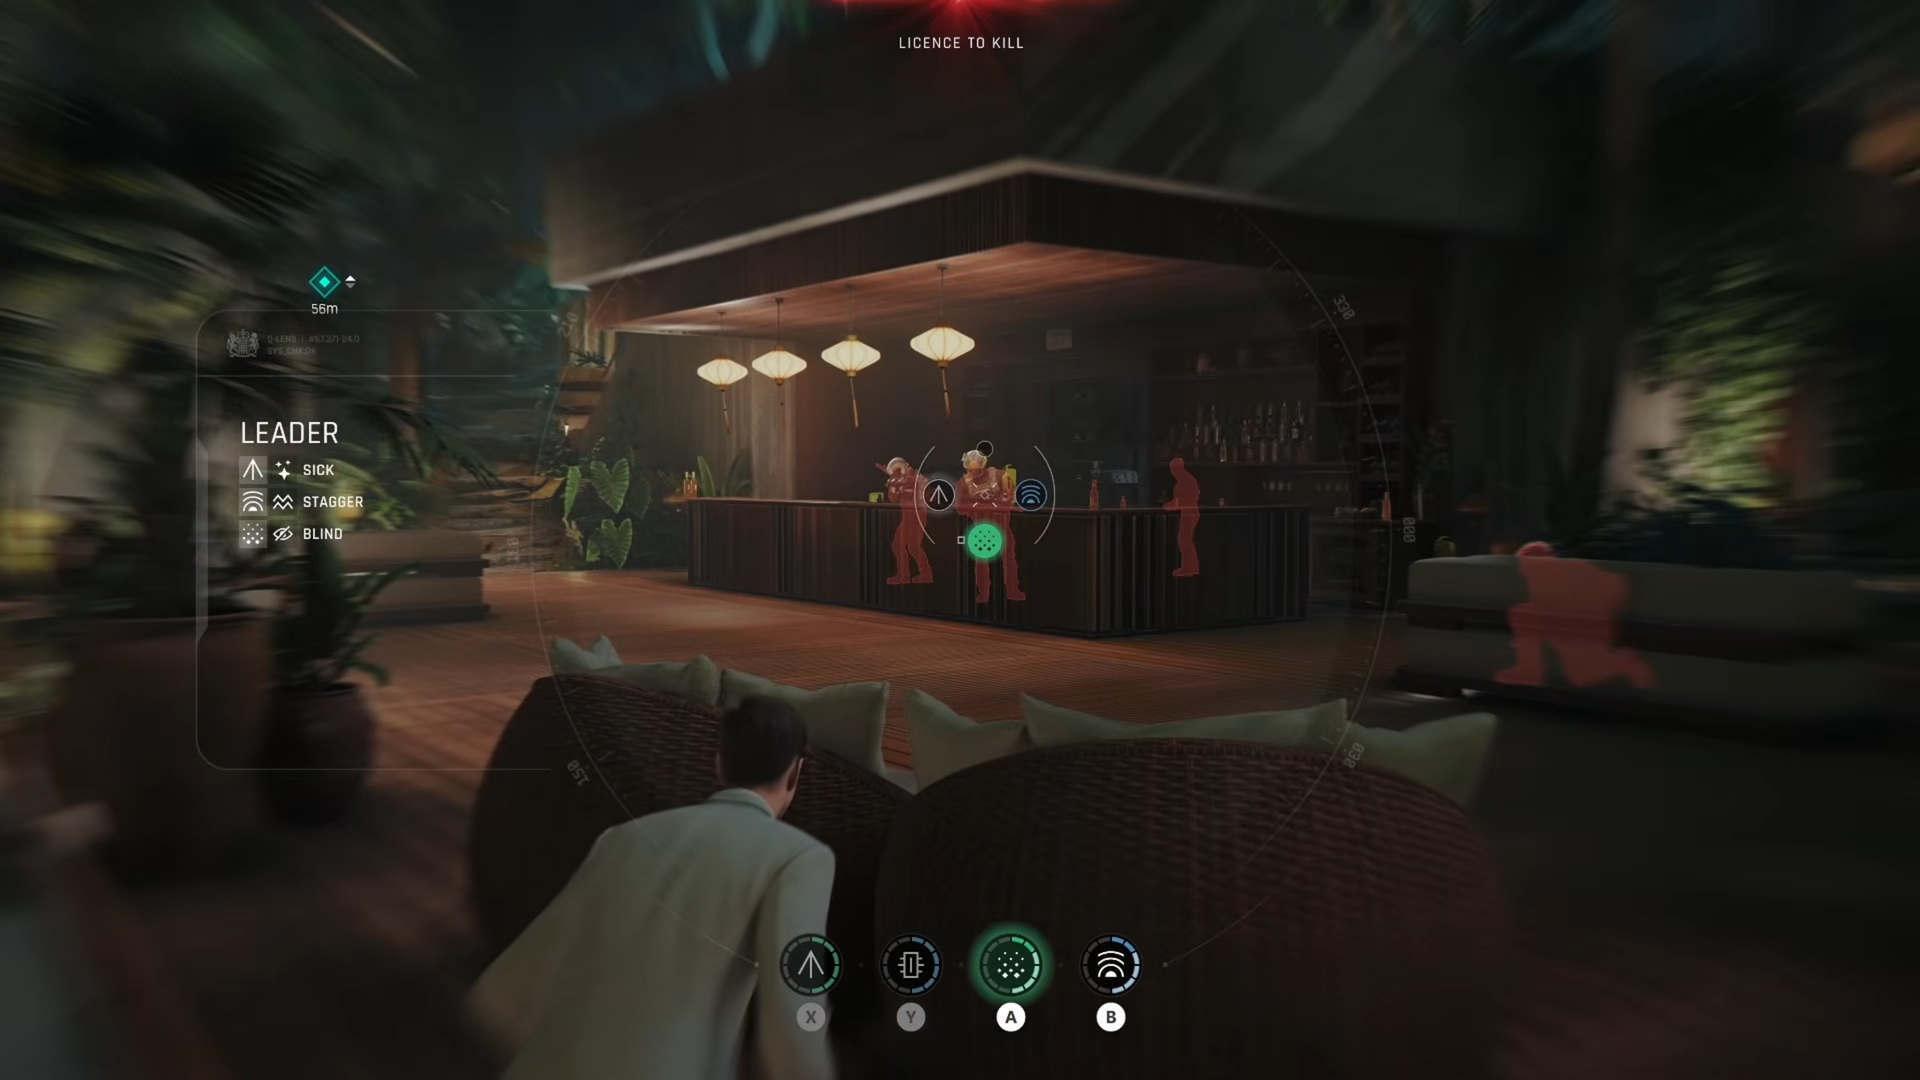
Smoke the guard furthest to the left and smoke the guard on the right – NOT the middle guard. If you smoke the middle one, the back guard will see you when you pass through.
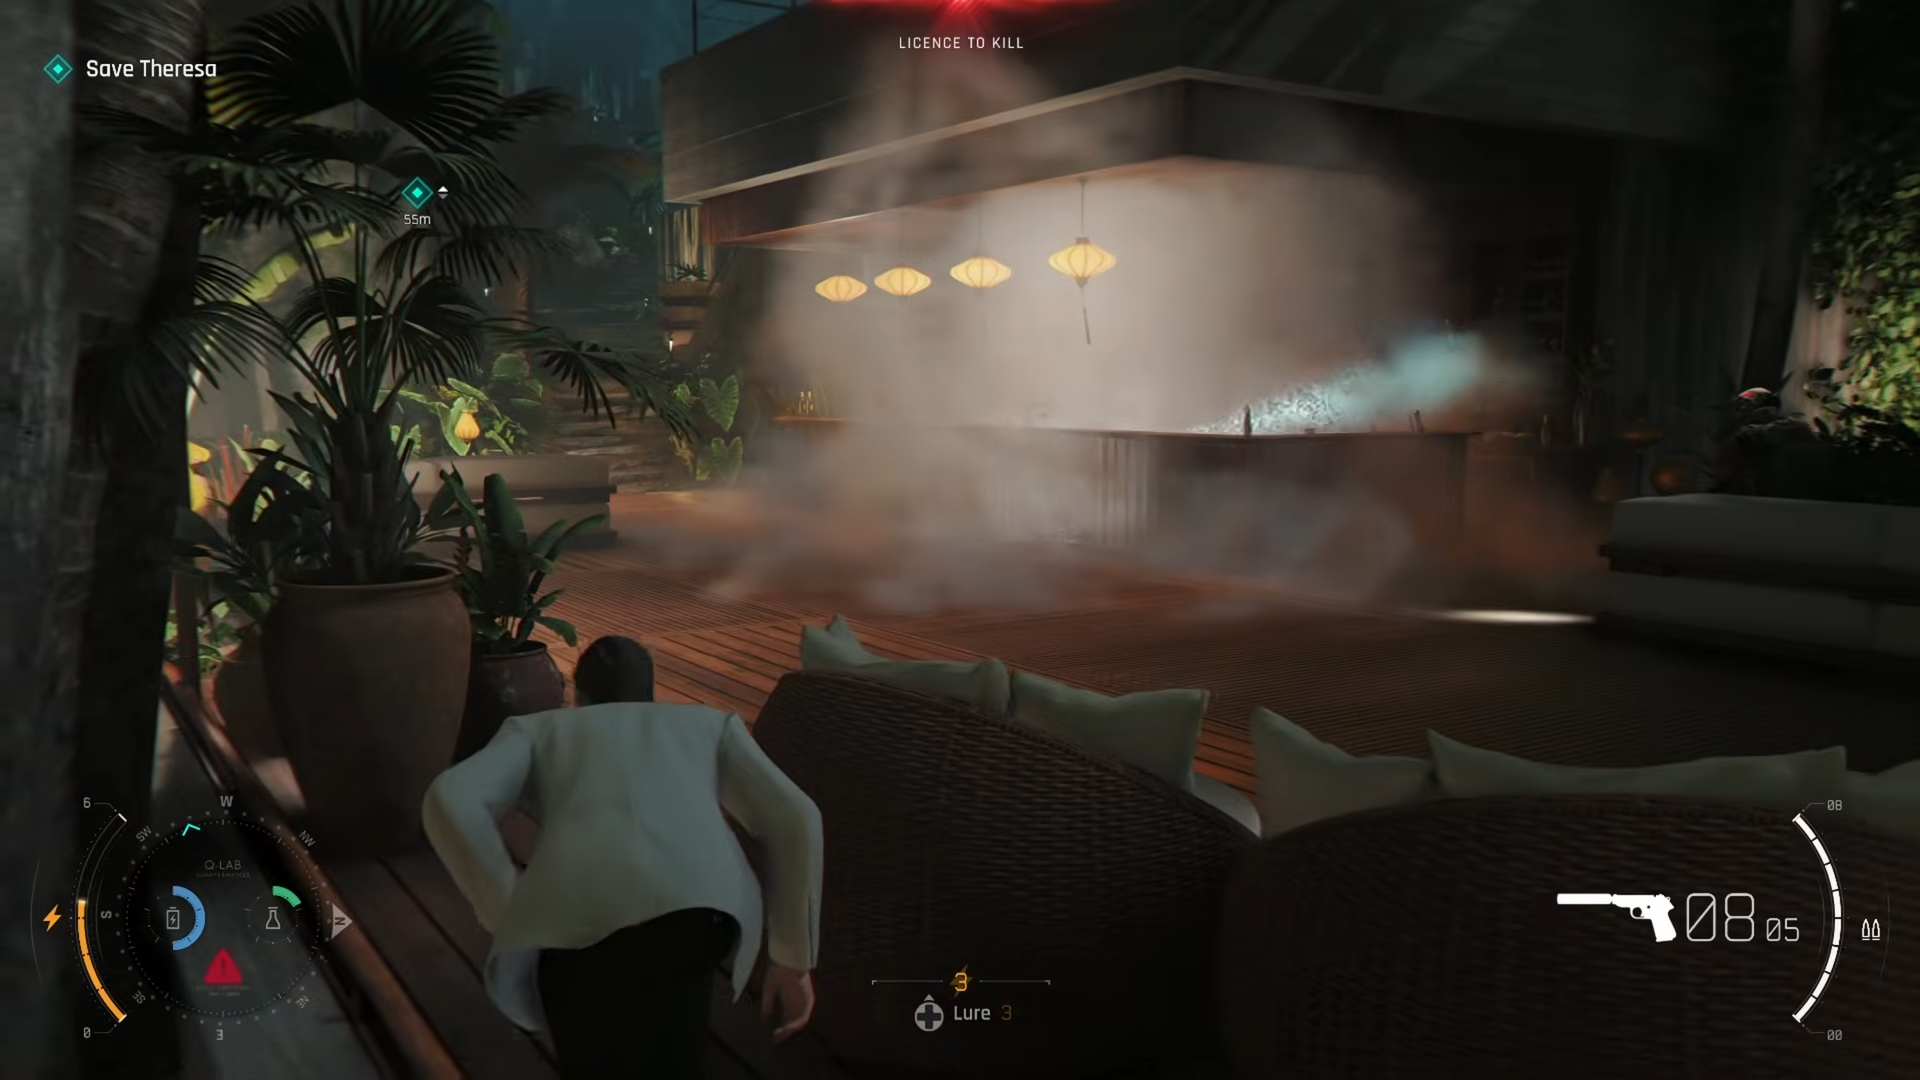
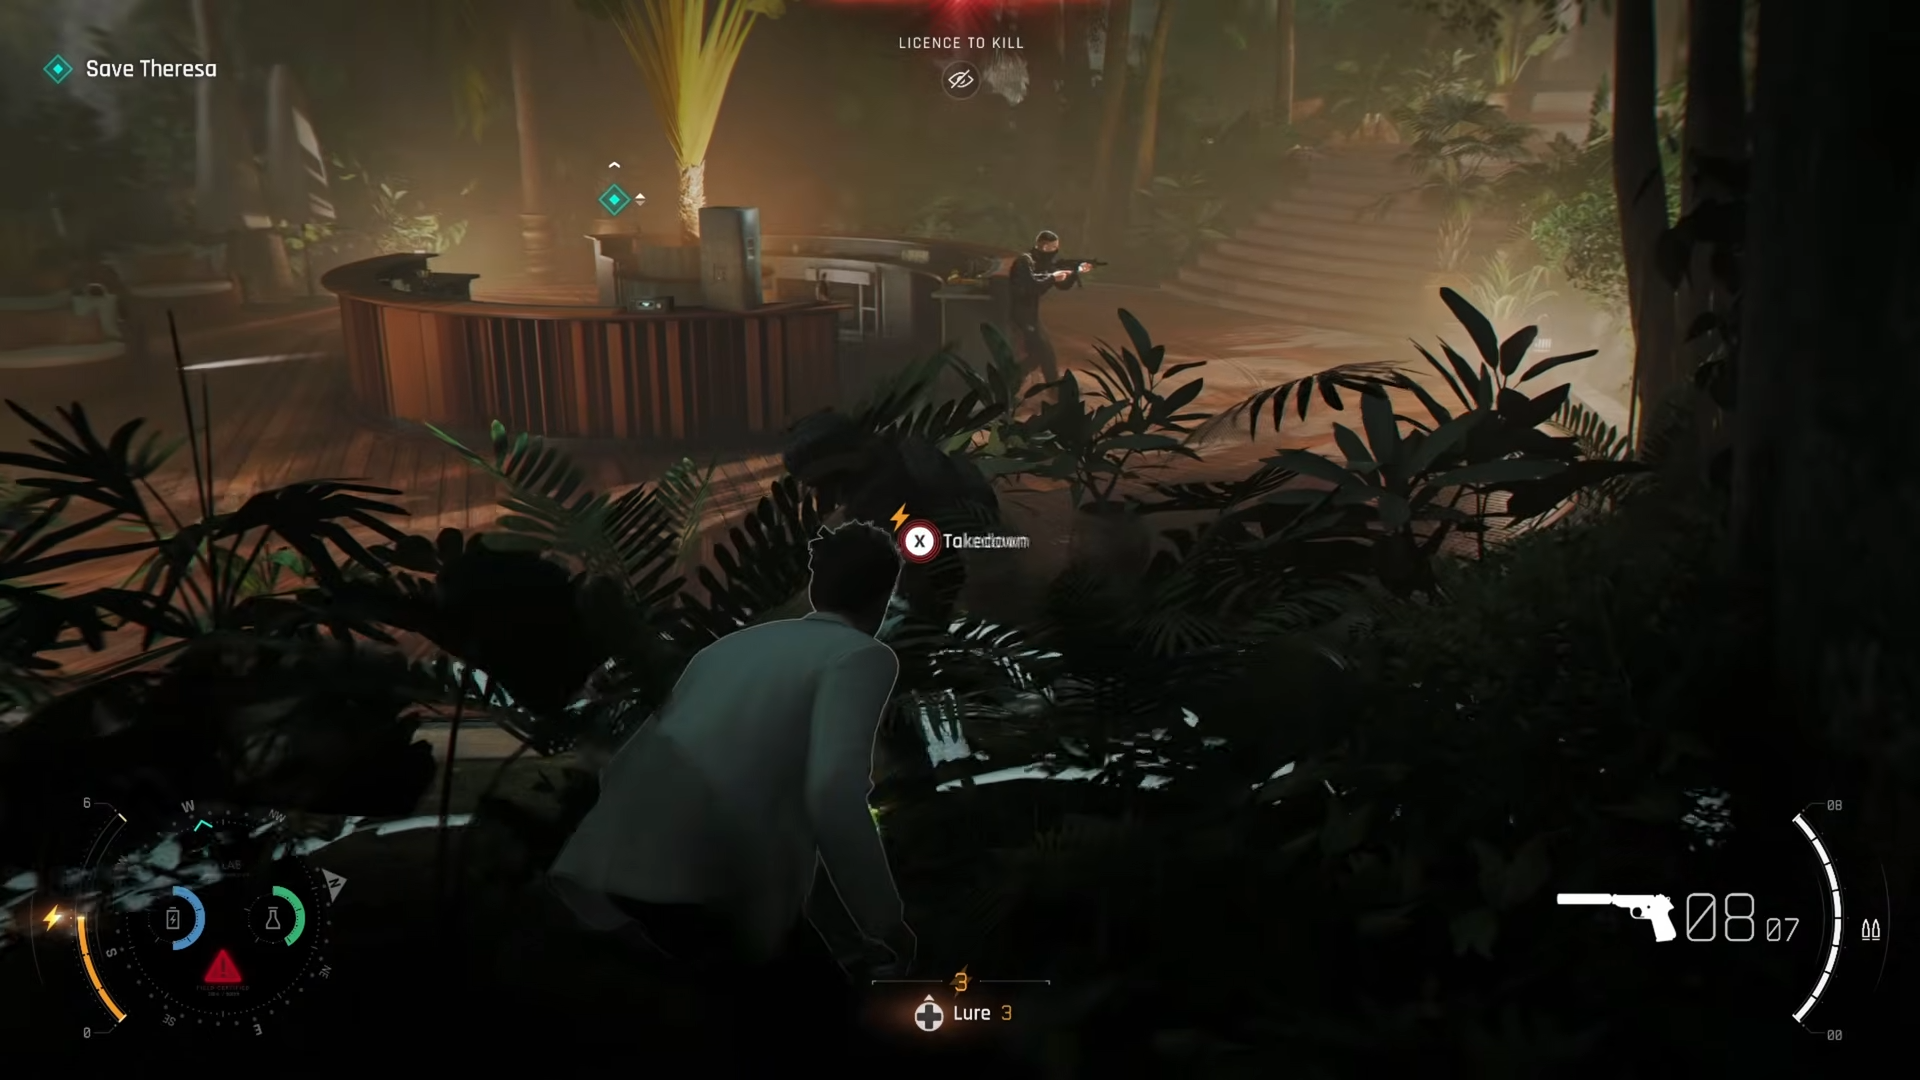
Step 7: Sprint Through Smoke to Finish
Immediately after throwing both smoke pods, start dashing repeatedly through the obscured area. Keep dashing – don’t get seen.
Once you pass the beds, you can run straight to the checkpoint objective marker. The three remaining guards in the distance don’t matter at this point.
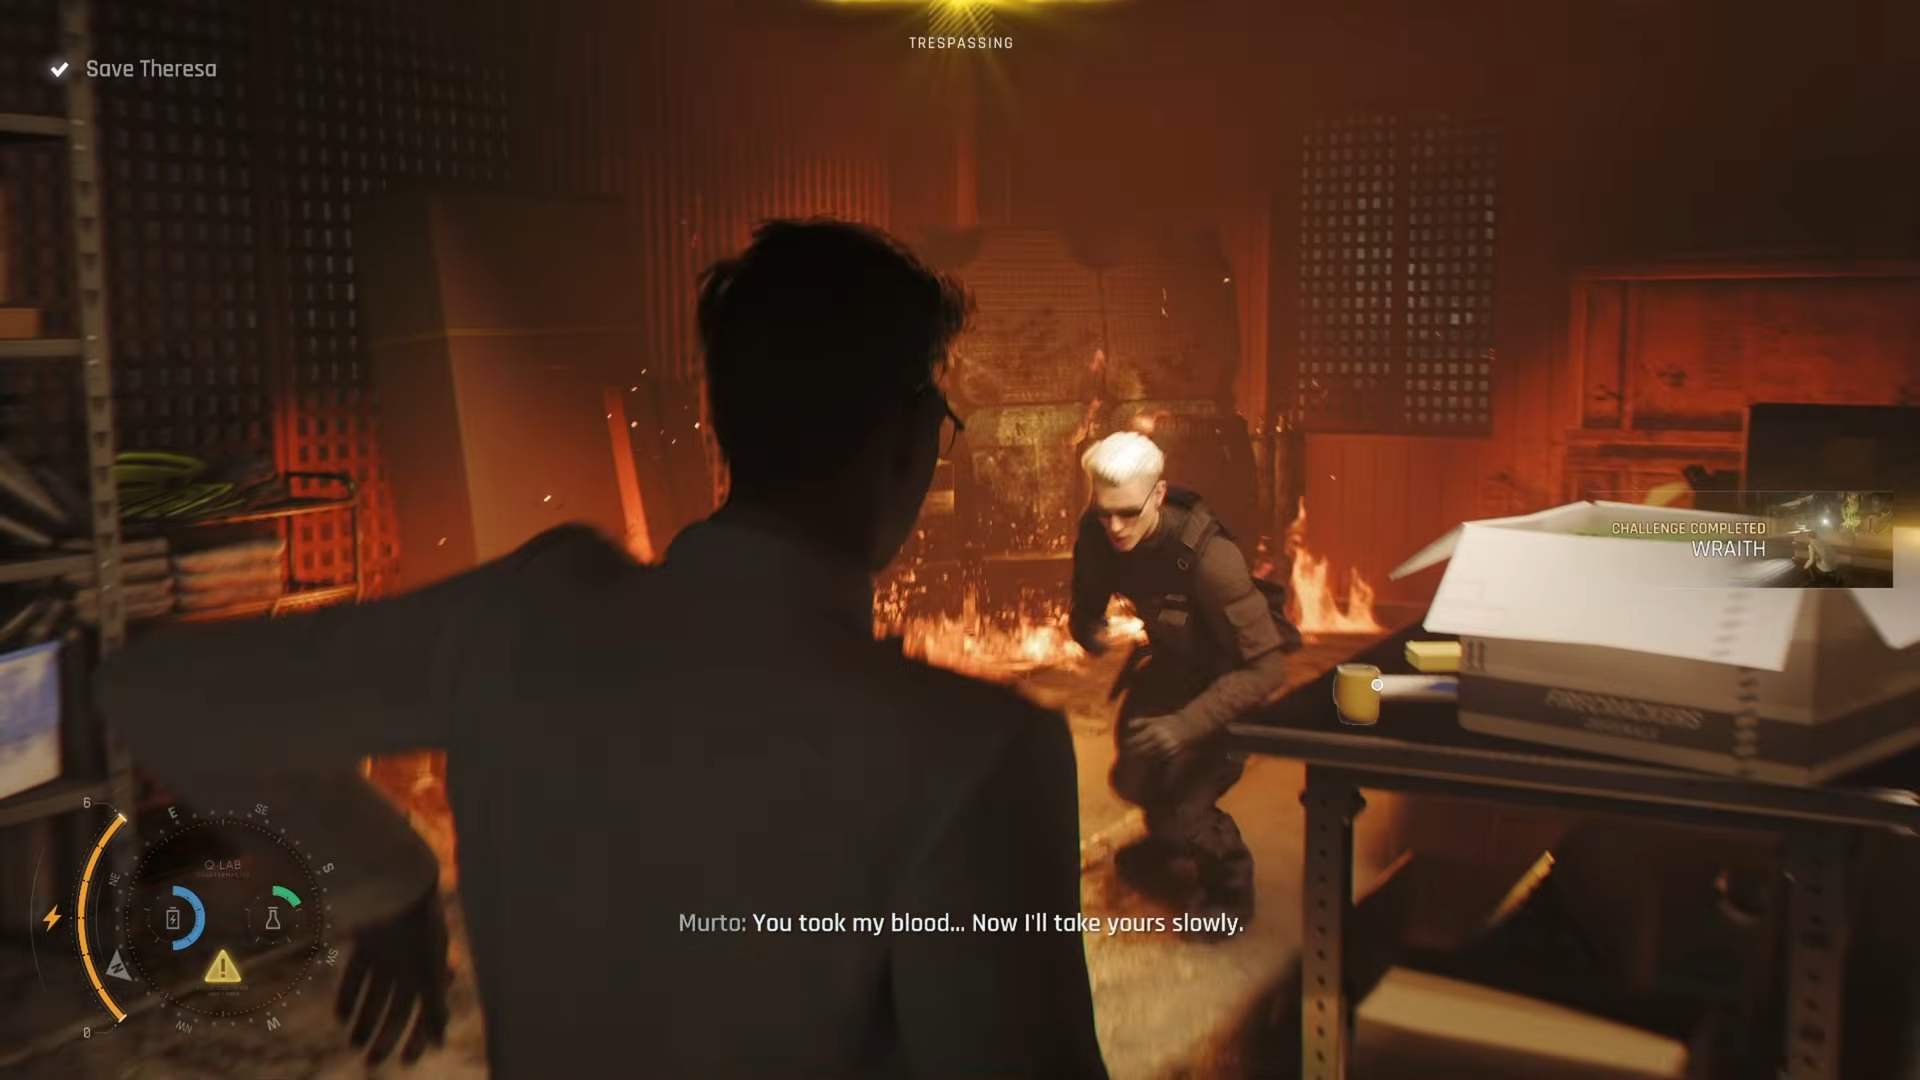
Step 8: Trigger the Cutscene
As soon as you reach Lorca and the cutscene starts, the Wraith challenge will pop. You can skip or watch the cutscene – either way, the challenge completes immediately.
Critical Mistakes to Avoid
-
No smoke pods – The challenge is essentially impossible without them
-
Getting fully detected – Don’t let the detection bar turn red; even partial detection in the wrong spot can fail it
-
Smoking the wrong guard – In the final section, smoking the middle guard instead of left/right will cause the back guard to spot you
-
Moving too slowly – After smokes pop, you must run fast or guards will notice you
-
Killing instead of takedowns – While Wraith only requires undetected passage, staying silent with takedowns is safer than engaging in combat
-
Playing on higher difficulty – Purist/Intended makes gadget constraints tighter; Novice is recommended for first attempts.
Completing Wraith unlocks part of the Resort Casual Outfit when combined with all other Time to Die challenges. This stealth section is the trickiest in the mission, so mastering smoke pod timing and guard patrol patterns is key to success.