Paralives photo mode is the fastest way to take clean screenshots: open Photo Mode with the camera icon, press P, or rebind the key, then hide the UI and capture the shot.
How to take screenshots in Paralives
Step 1: Open Photo Mode
Press P, click the camera icon, or use your rebound shortcut to enter Photo Mode from gameplay.
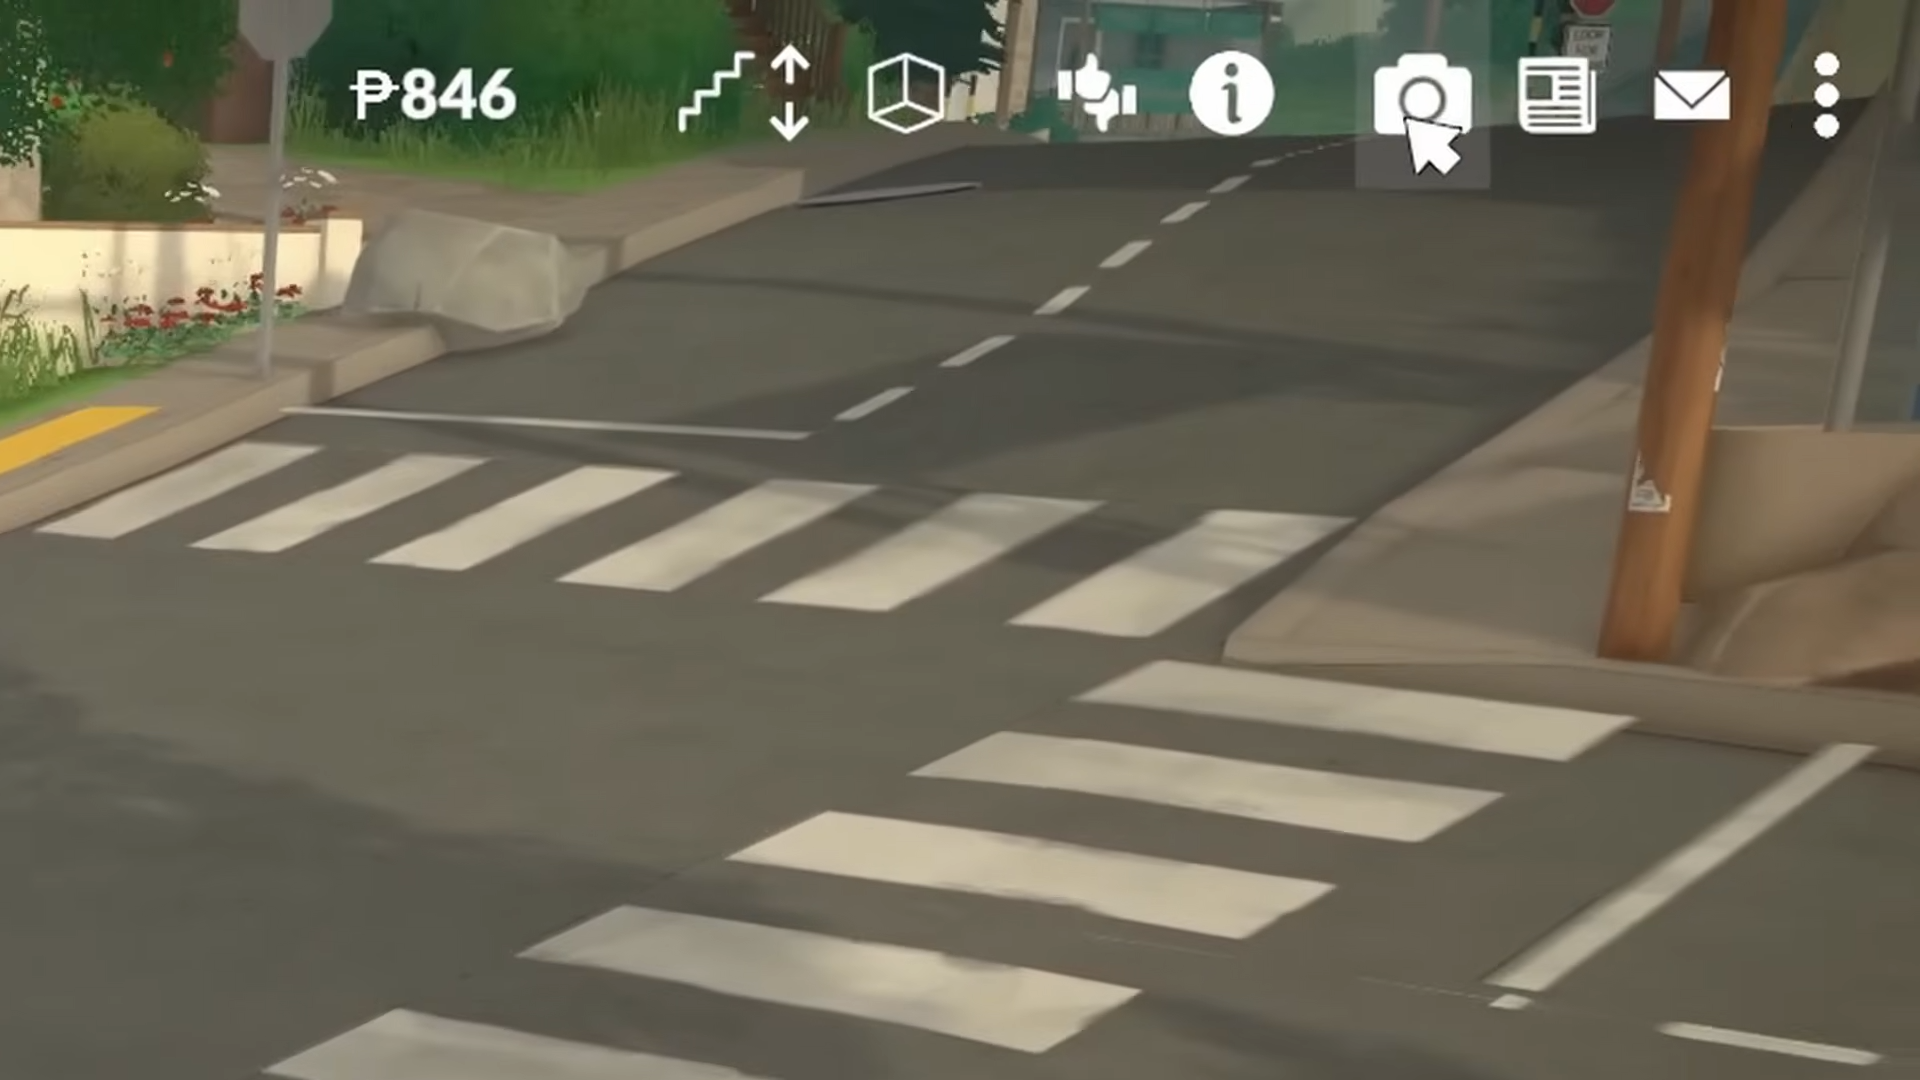
If your keyboard shortcut does nothing, use the on-screen icon first to confirm the feature is active.
Step 2: Enter camera control
Inside Photo Mode, press C to switch into camera movement so you can reposition the view more precisely.
If the shot feels flat, pull the camera lower or shift it slightly off-center for a stronger composition.
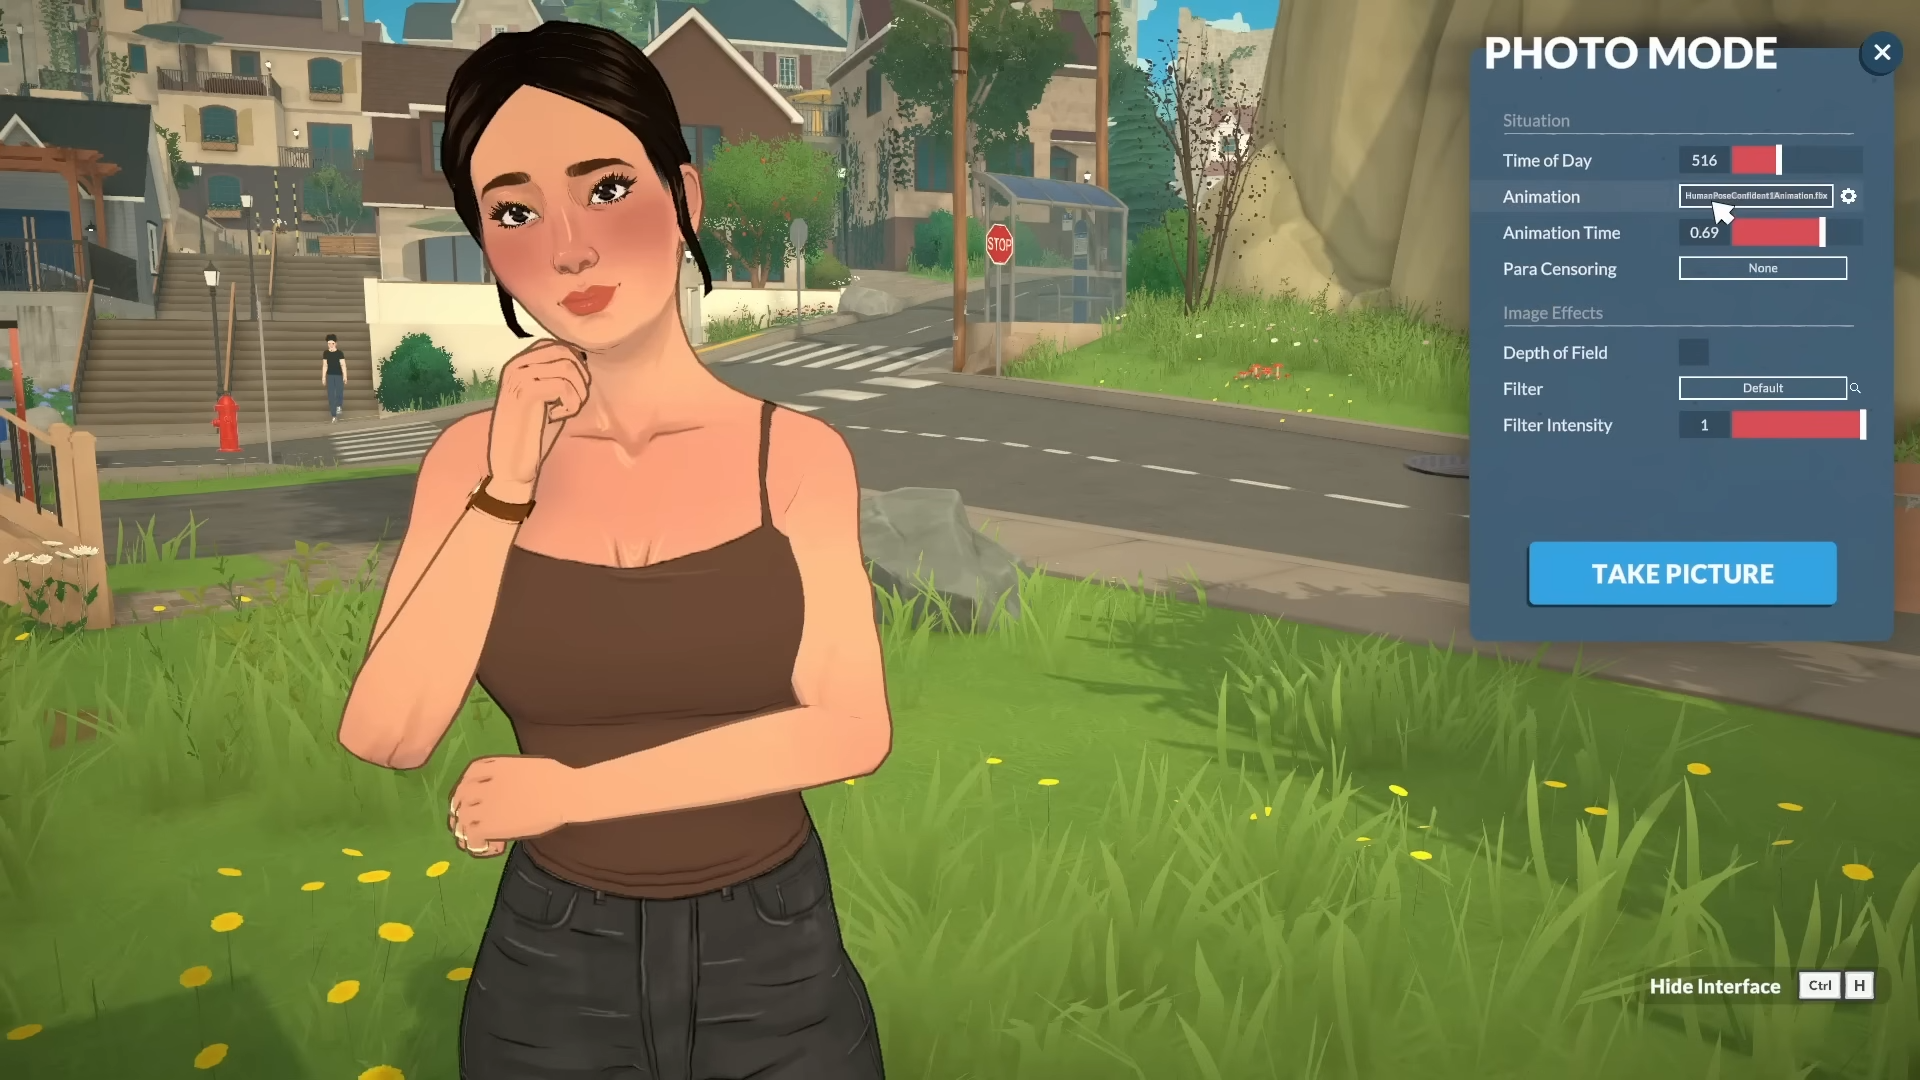
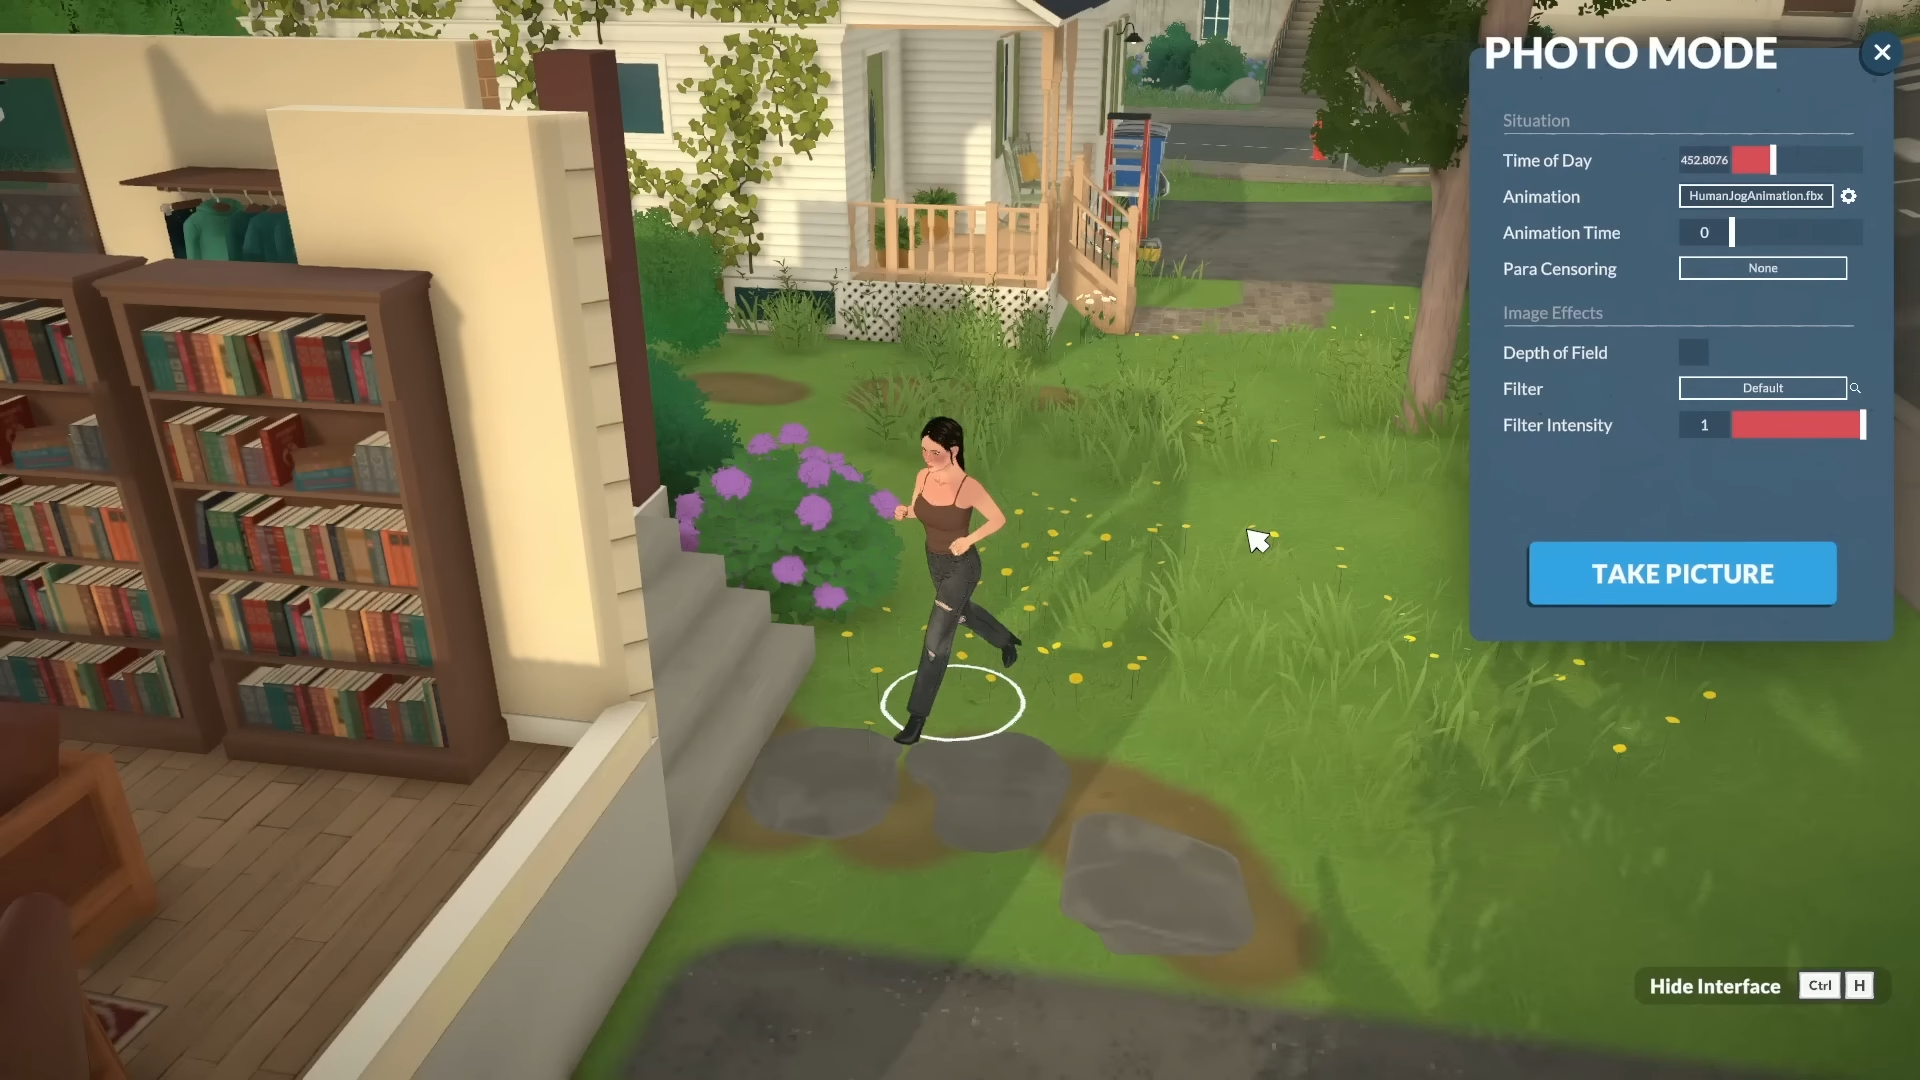
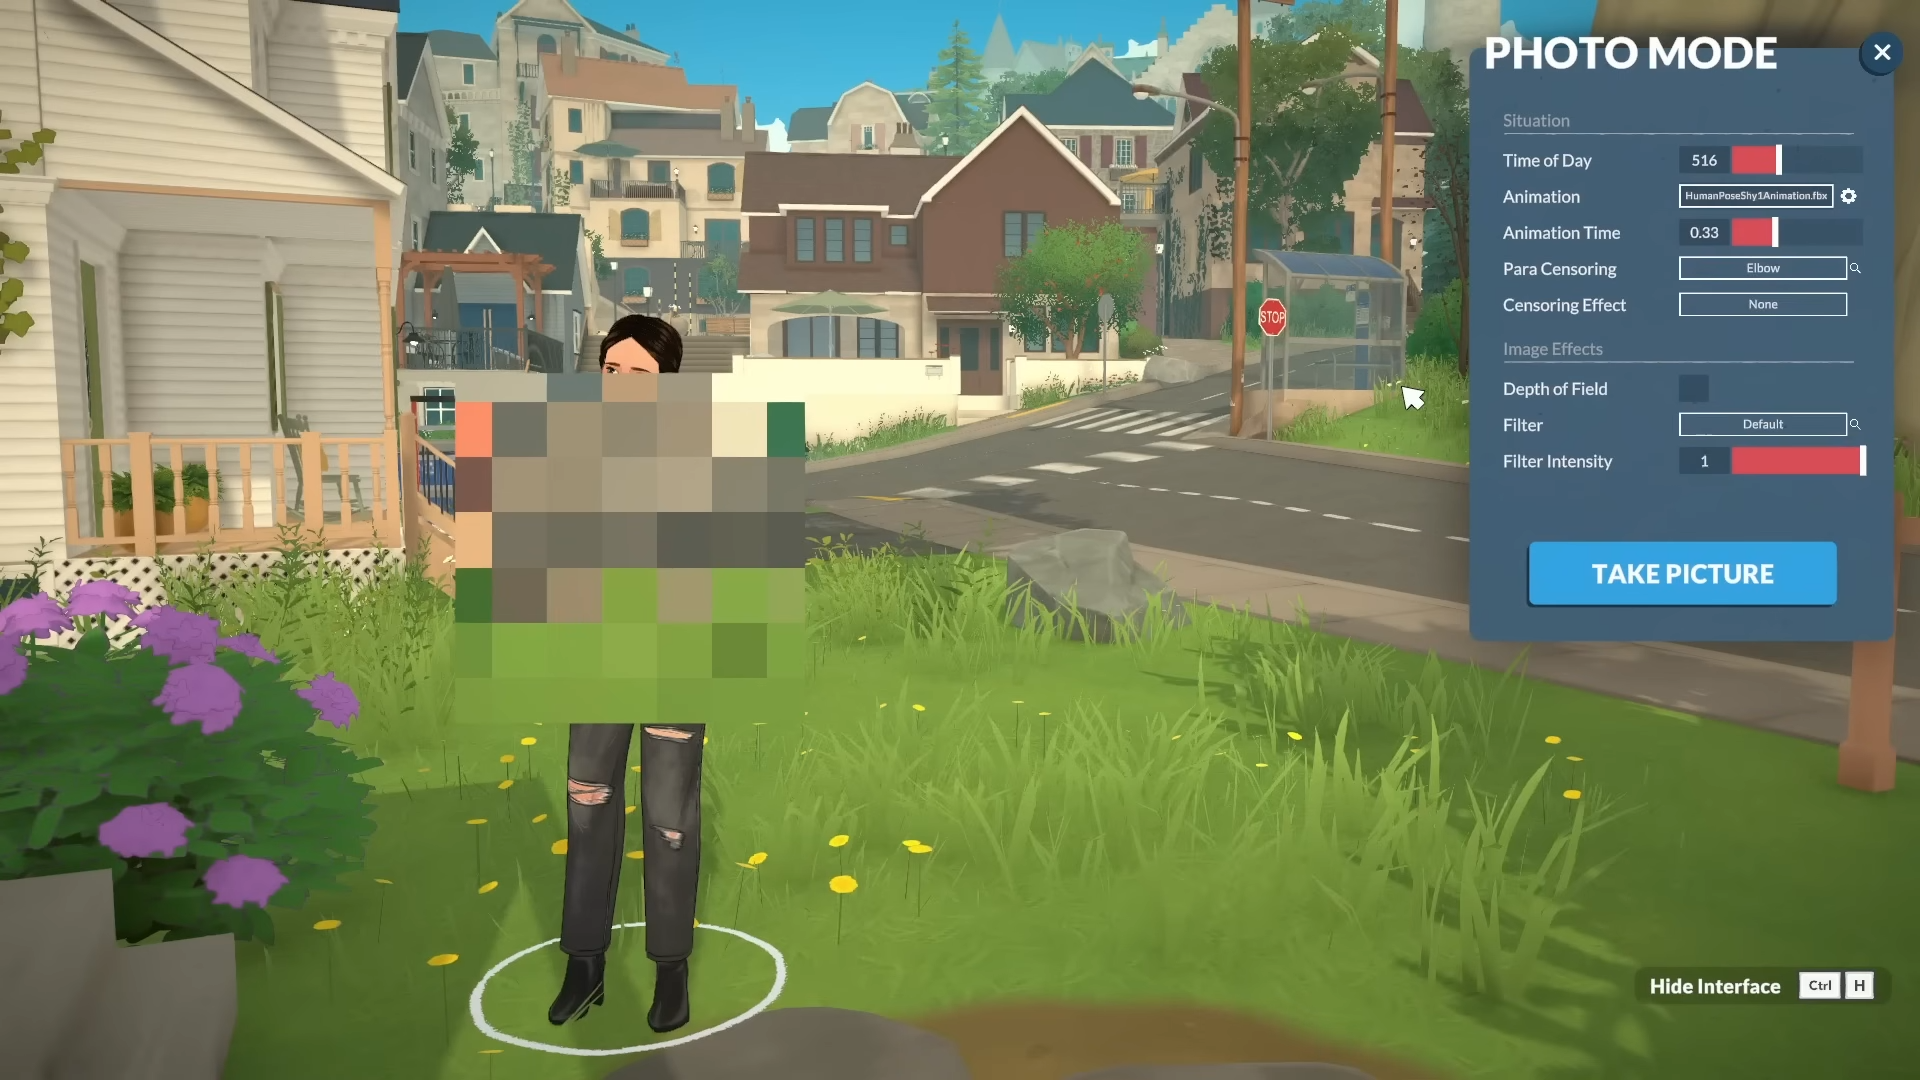
Step 3: Set the scene and para animation
Adjust the time of day.
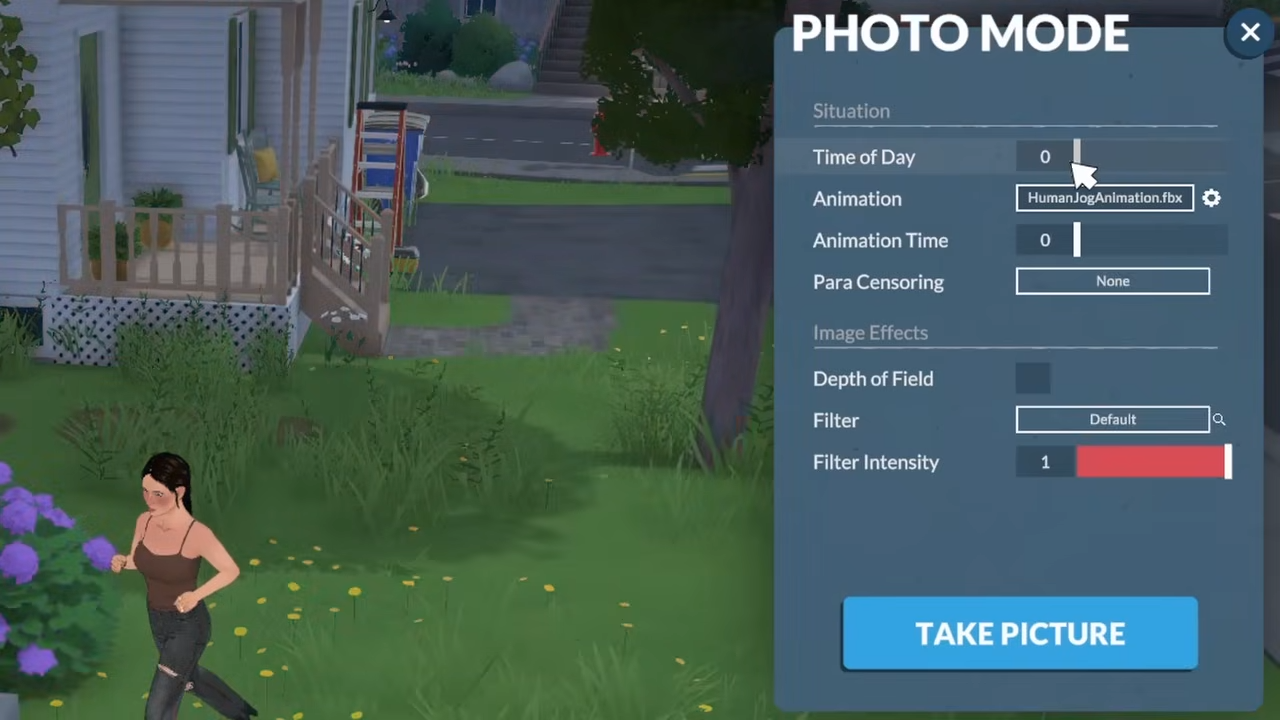
Adjust animation and animation time.
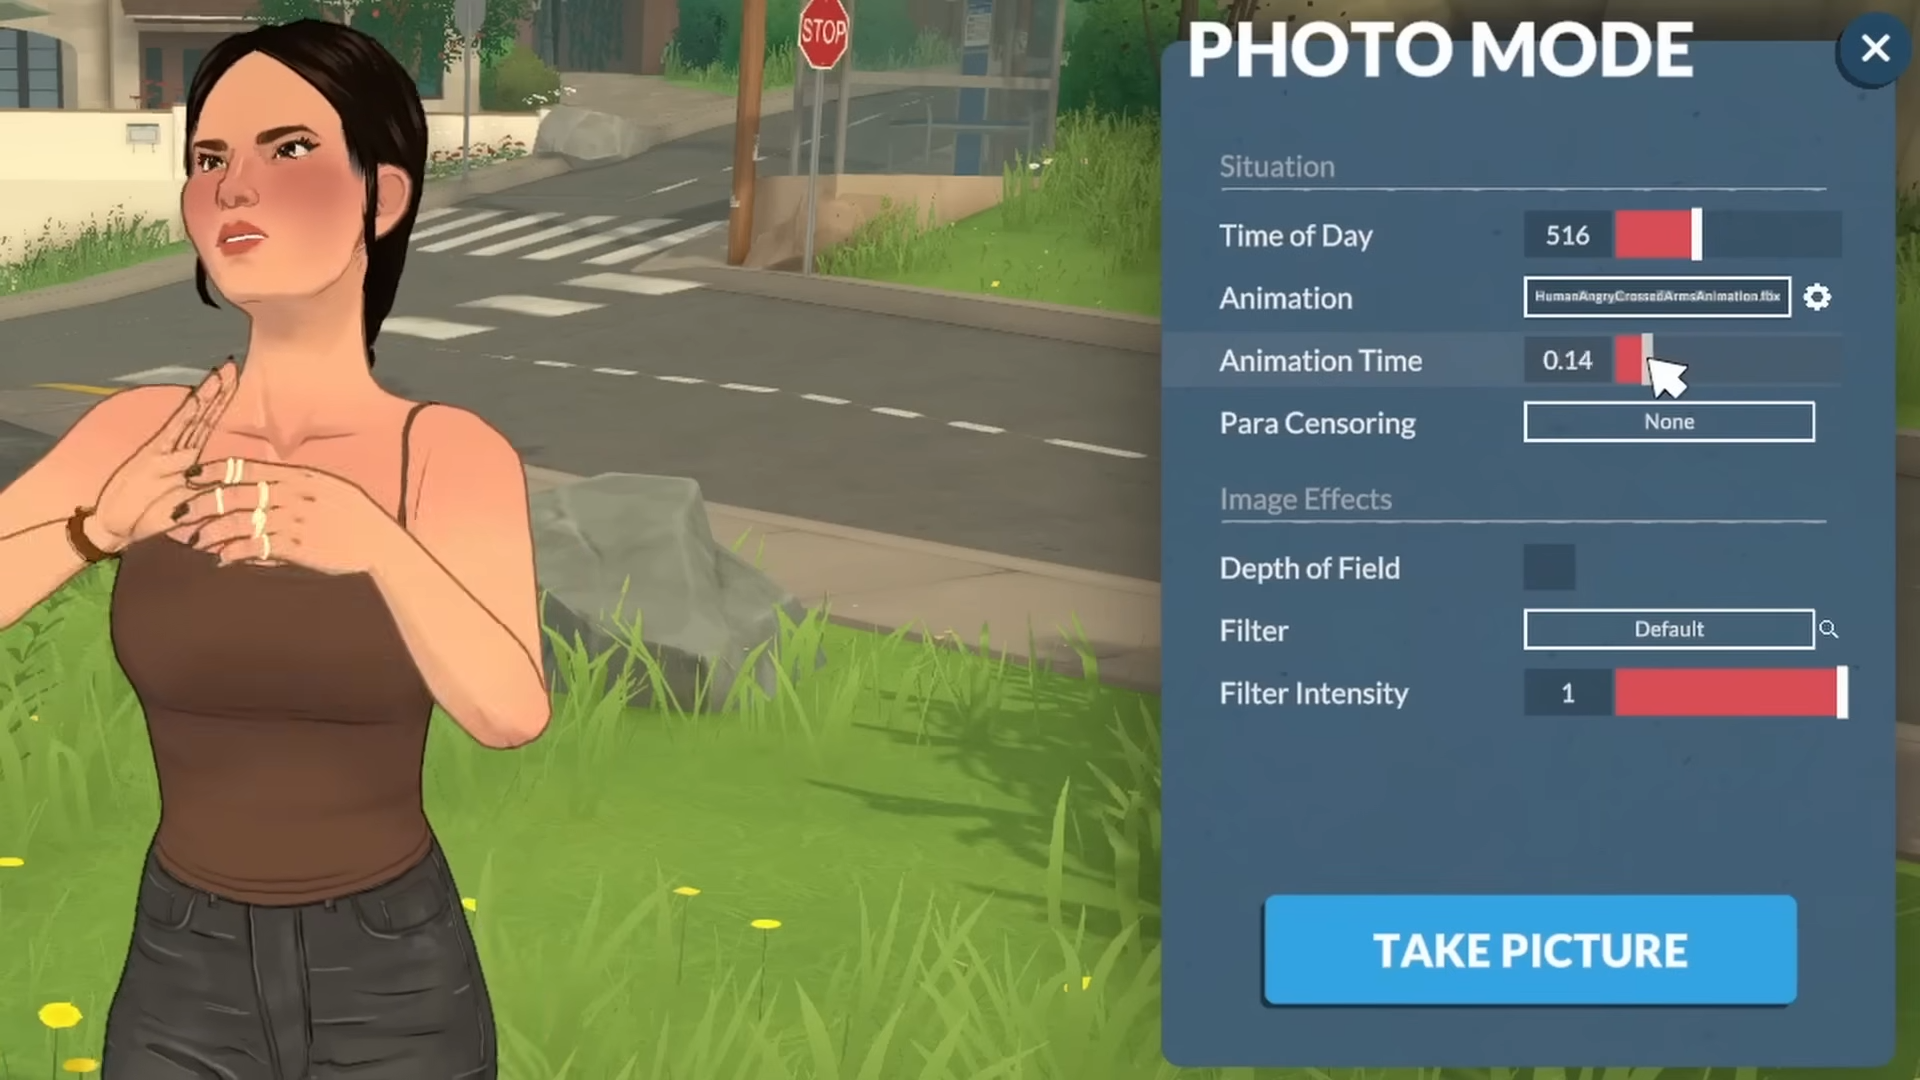
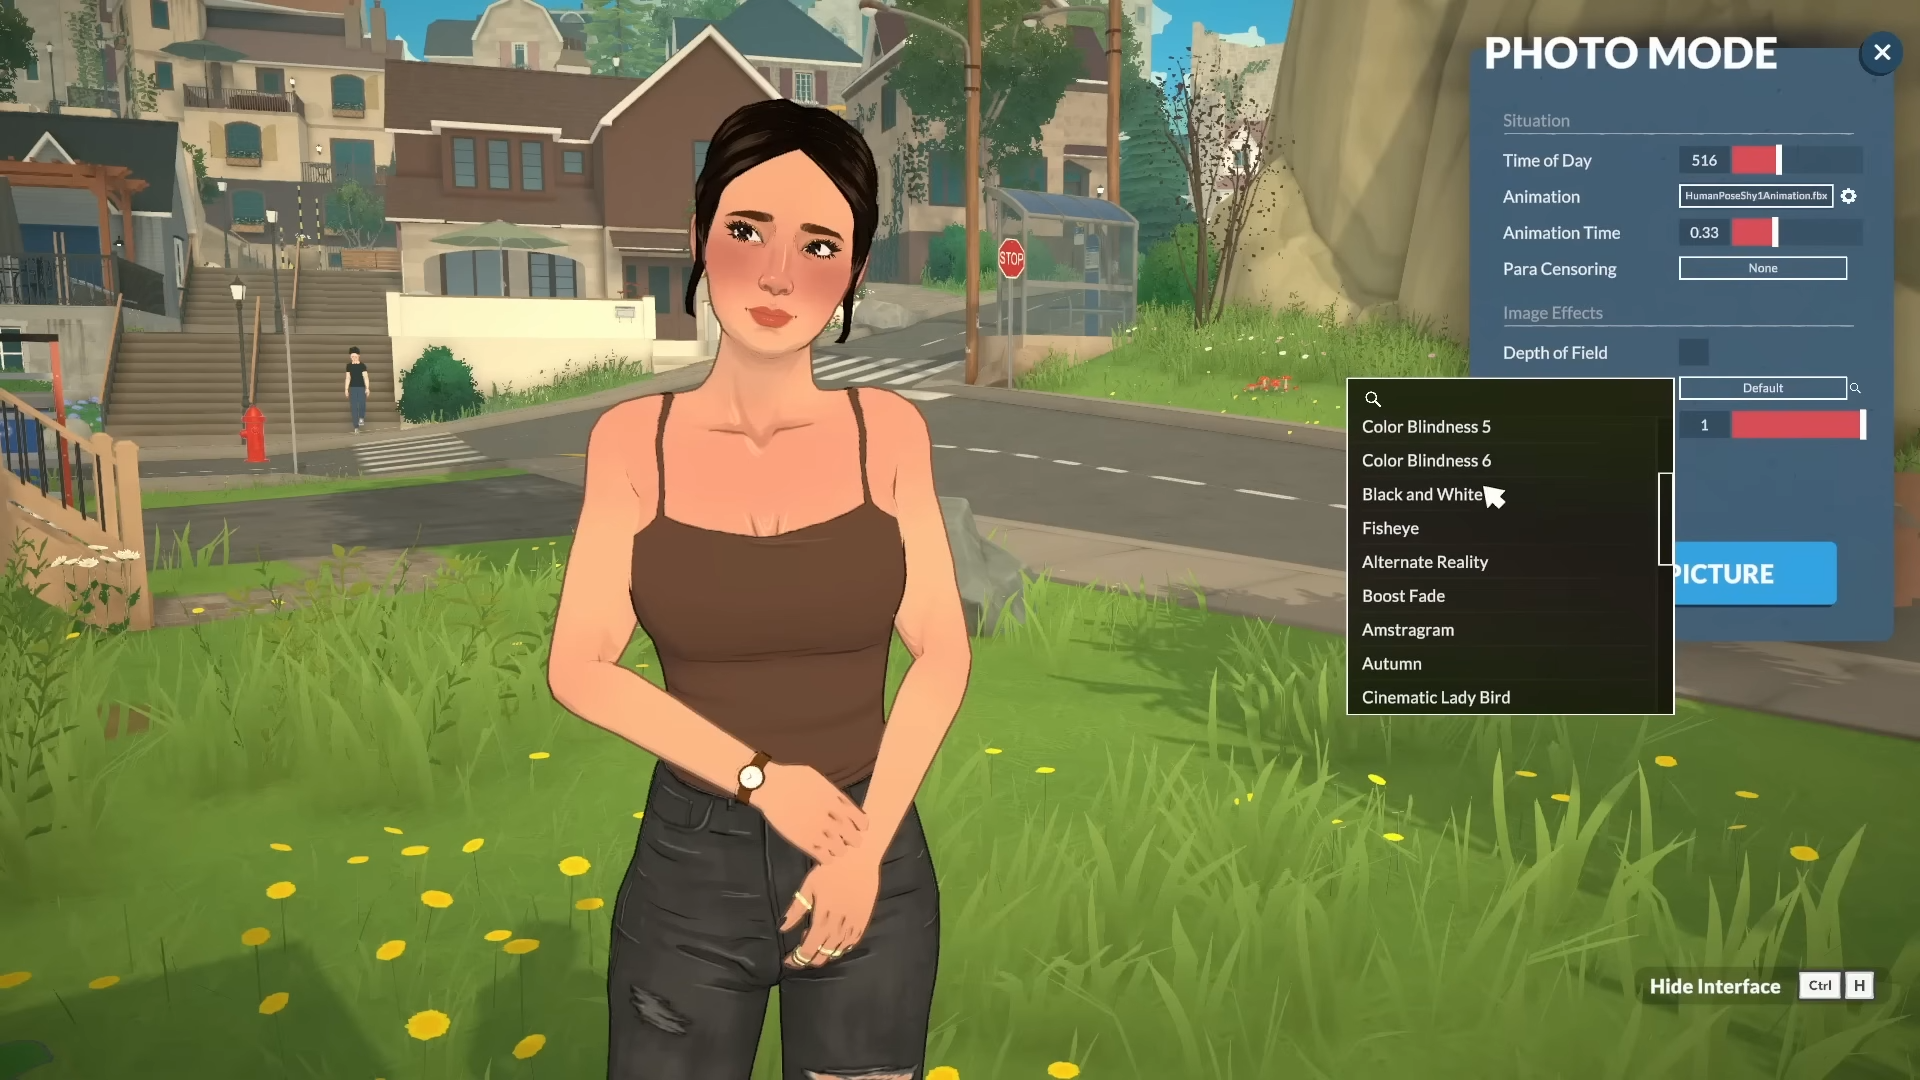
Adjust filter.
Adjust zoom and angle.
Until the scene reads clearly and the light flatters the subject. If shadows are too harsh, change the time rather than forcing the same angle to work.
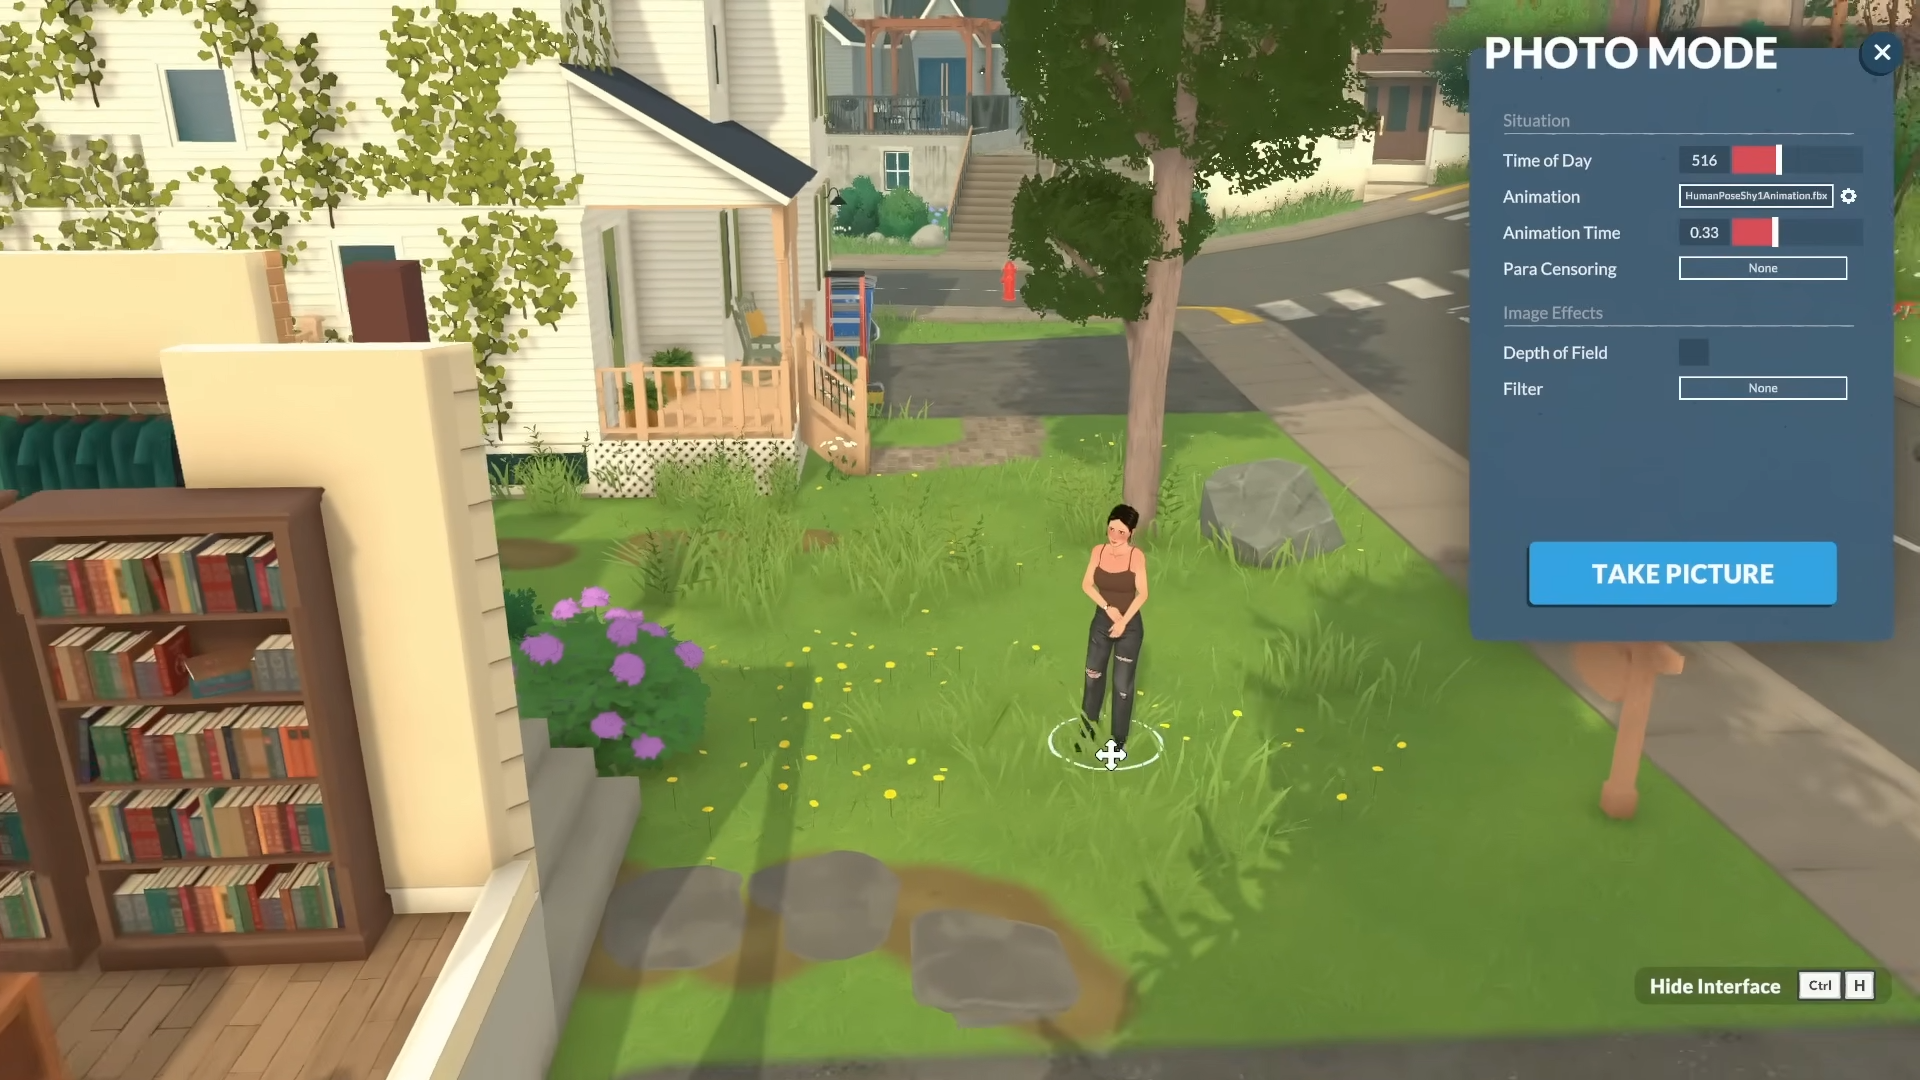
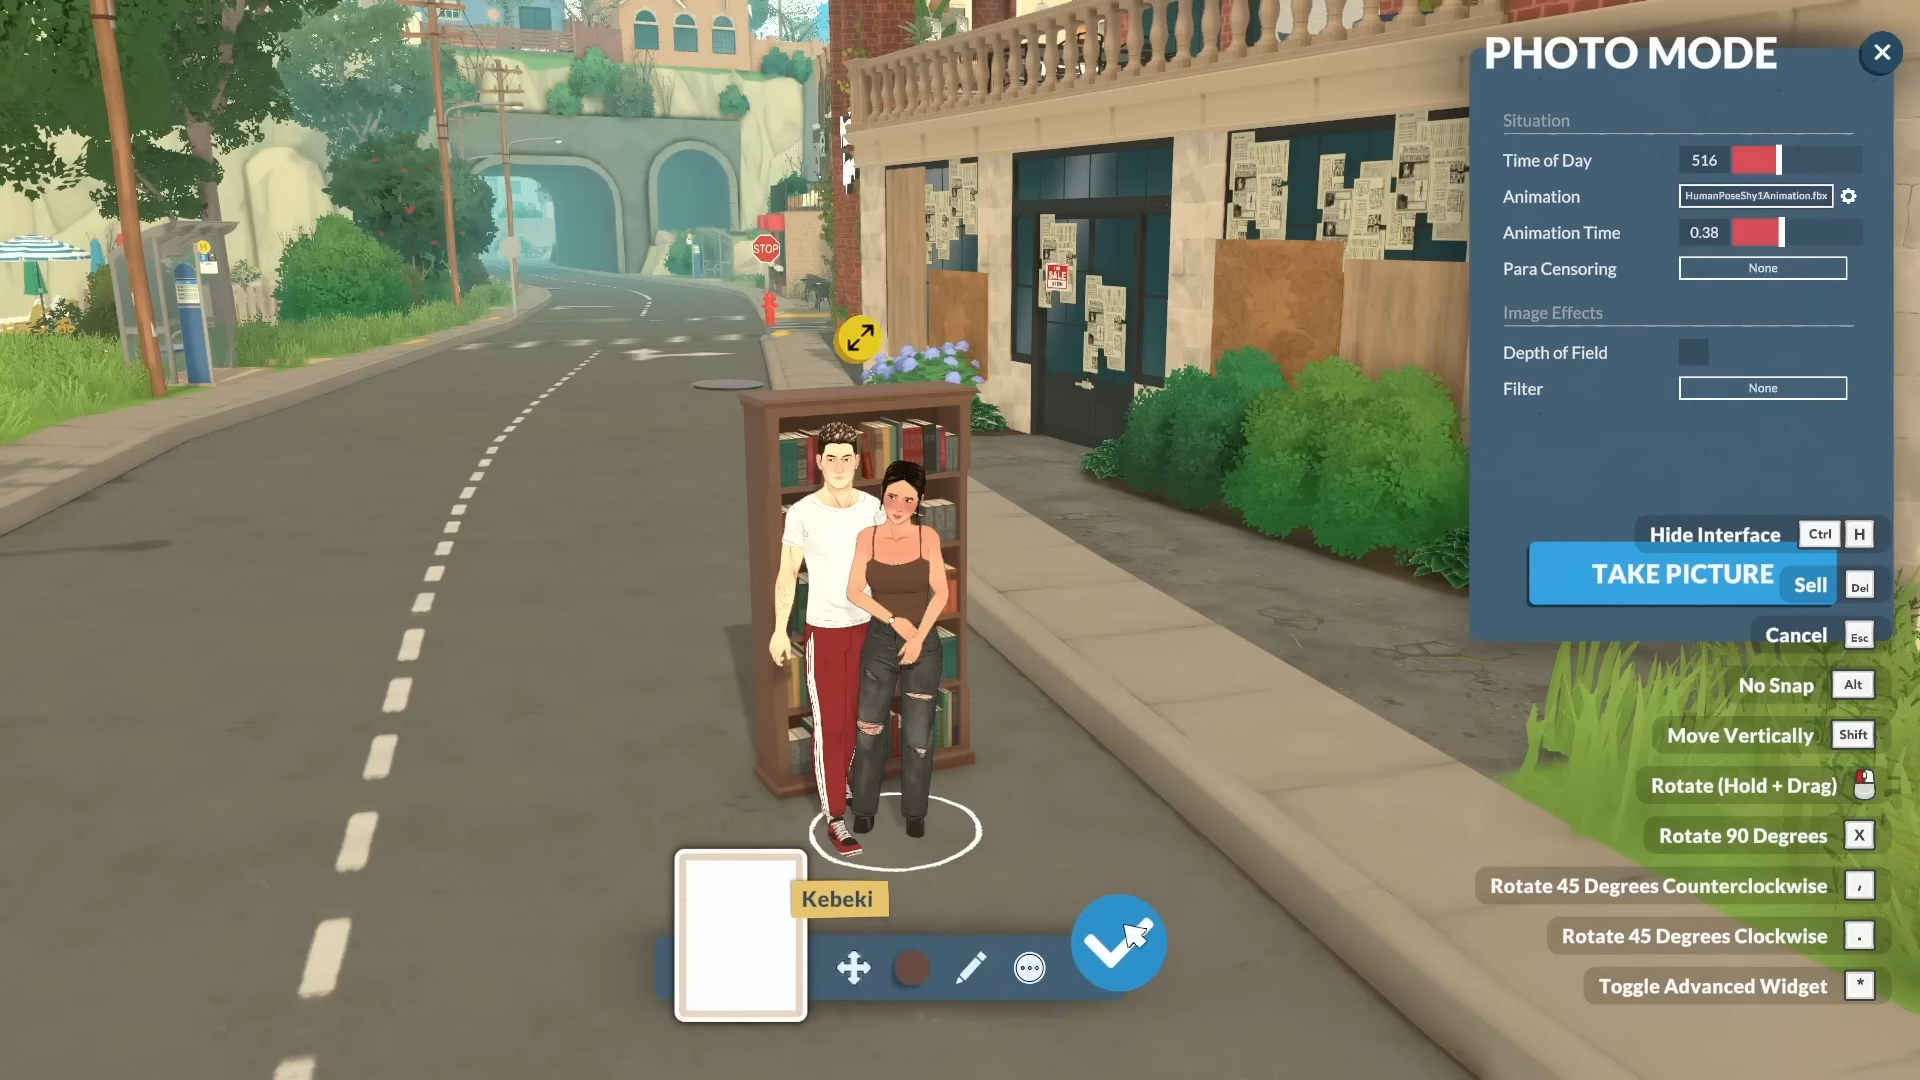
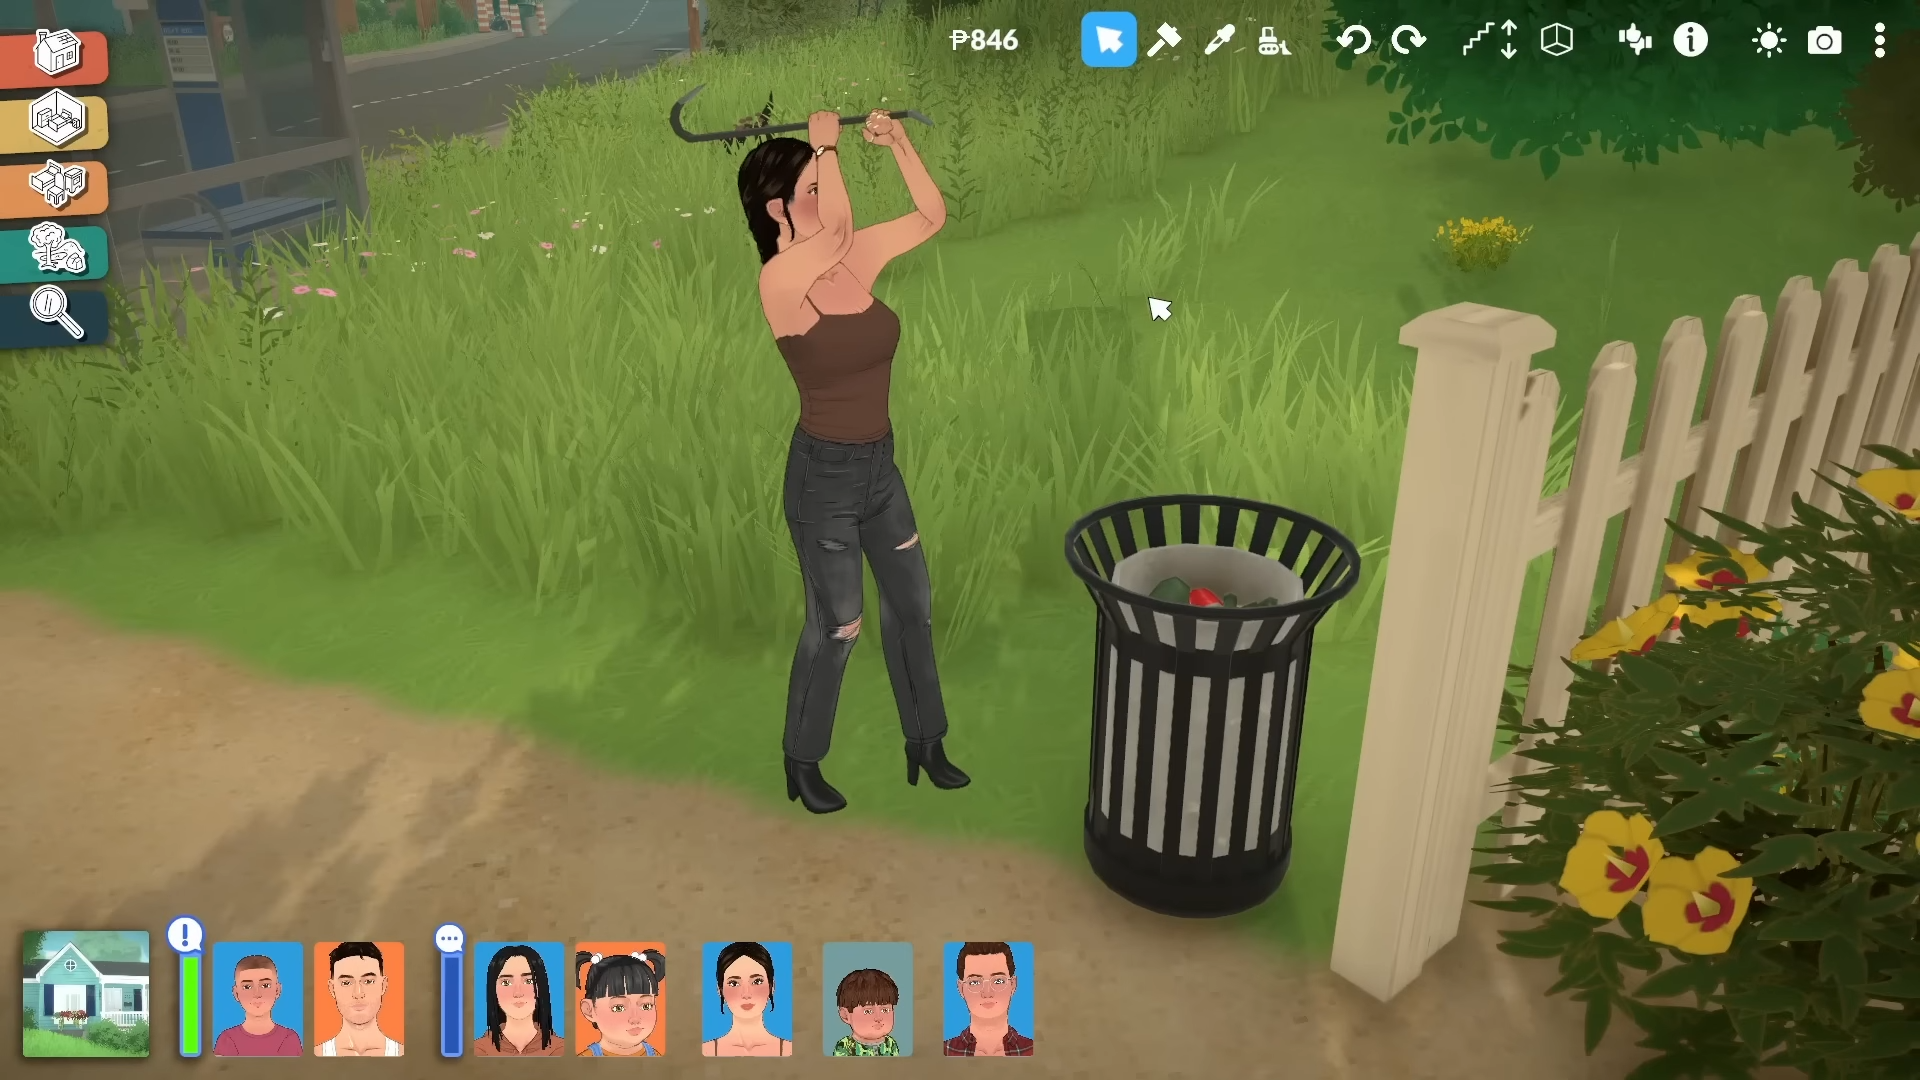
Step 4: Add Objects, Reposition and Censor Para, and Hide the interface
Add objects.
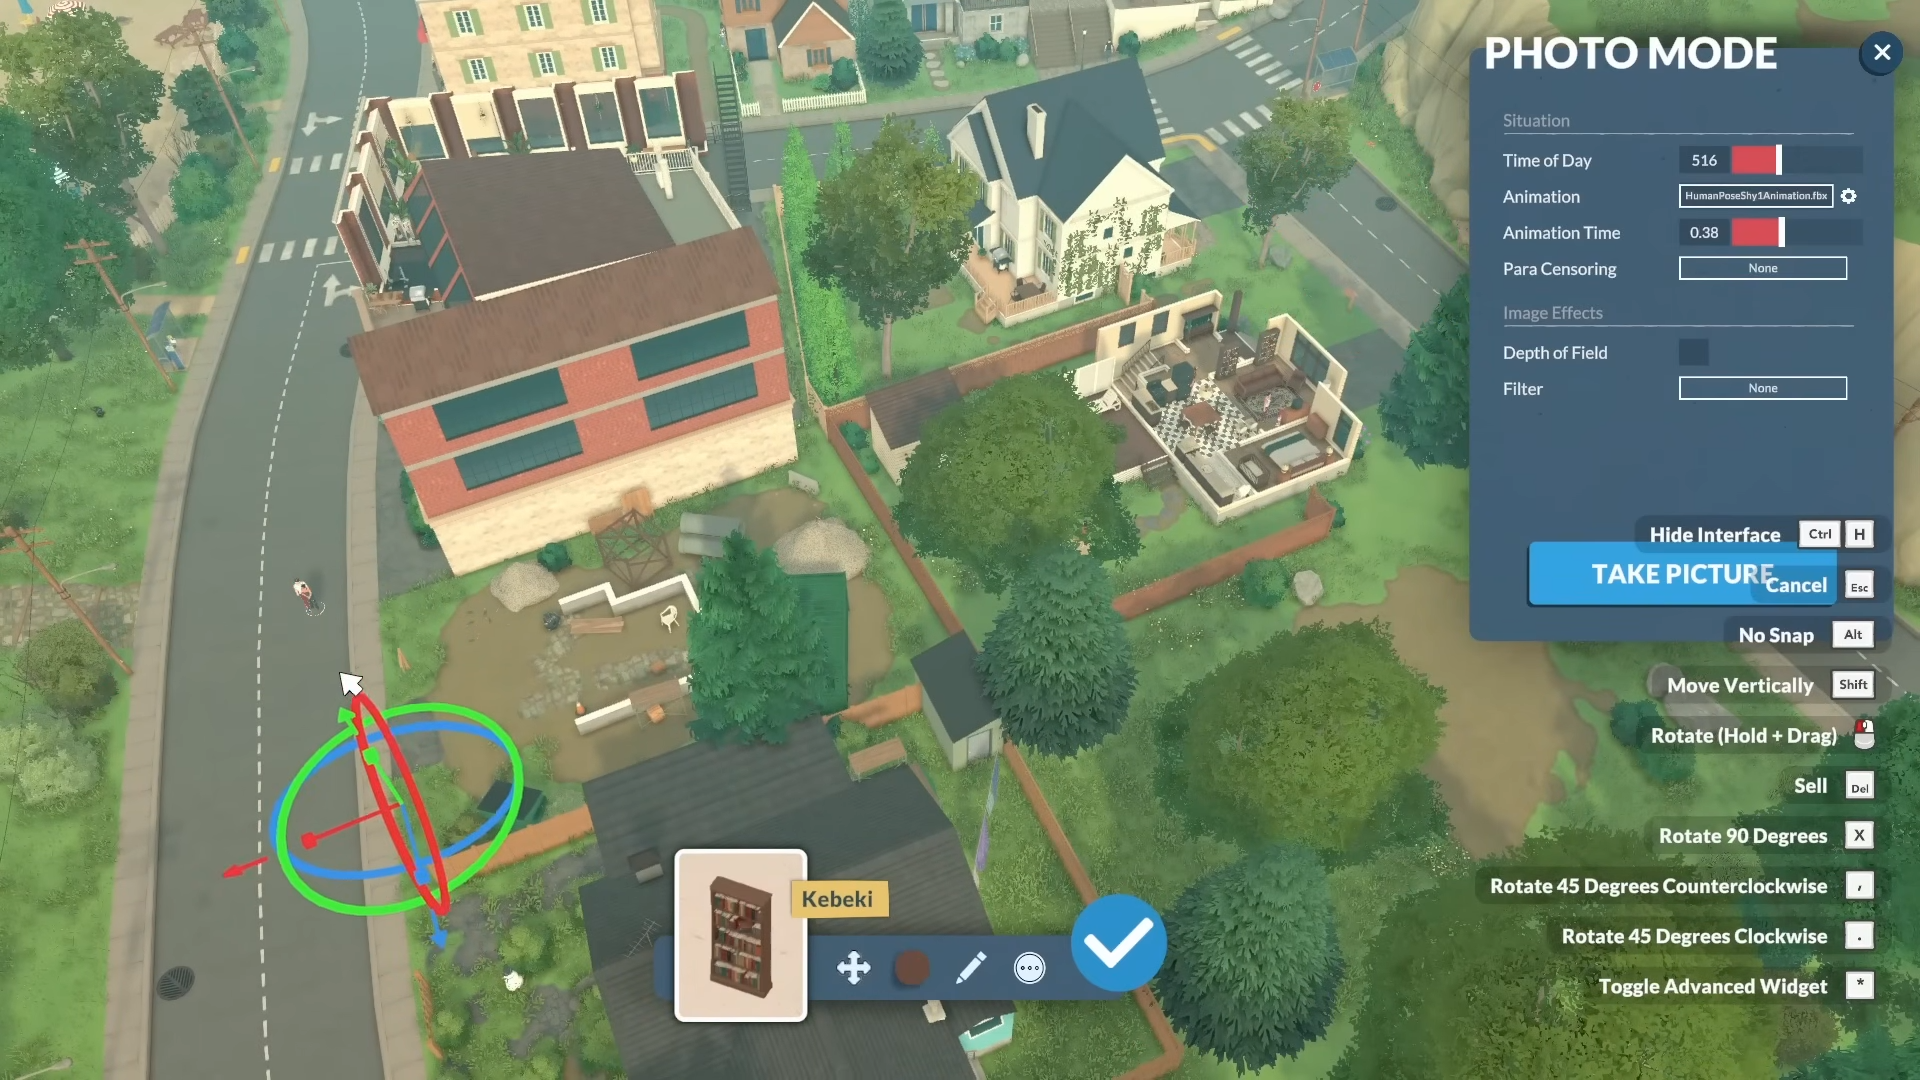
Adjust the para’s position.
You can also censor parts of your Para with Para Censoring.
Step 5: Hide the Interface
Use Ctrl + H to remove the UI before capturing the image. This matters most for portrait shots, build showcases, and cinematic scenes where the interface would distract from the composition.
Step 5: Take the shot
When the frame looks right, press the screenshot capture control shown in the photo mode workflow; use F for the capture action. If the first shot is close but not perfect, return to camera mode and refine the framing instead of settling.
Tips for better shots
-
Use evening or daytime lighting when you want softer results and clearer facial detail.
-
Combine poses, and camera angles to make the image feel more cinematic.
-
Use the camera movement mode for house tours, character portraits, and storytelling screenshots.
-
If the UI keeps reappearing, toggle Ctrl + H again before retaking the shot.
Common mistakes
-
Forgetting to hide the UI before capturing the image.
-
Using a fixed camera angle when the scene needs a lower or wider perspective.
-
Leaving harsh daylight in place when the shot would look better at another time of day.
-
Expecting one shortcut to work everywhere without checking for key rebinding or on-screen controls.
Paralives Photo Mode is designed for screenshots, cinematic scenes, family moments, and detailed build showcases, not just quick snapshots. That makes it useful for players who want clean social posts, in-game storytelling, or polished house-tour images.