To reach the red phone in 007 First Light, escape the cell block in Chapter 17 “For England,” climb the yellow ladder in the server room to the wire canopy, drop down into the security room, and pick up the red phone to speak with M after speaking with the wounded MI6 staffer.
007 First Light: Red Phone
How to Reach the Red Phone in 007 First Light
Step 1: Escape the Cell Block and Find the Wounded MI6 Staffer
Fight through the hallway packed with assailants right after Chapter 17 opens. Pull enemies into the first room on your left, then turn the valves to fill it with smoke for easier stealth kills or combat advantage. After clearing the hallway, follow the objective marker through the next door where you’ll find a dying MI6 staffer slumped against a wall.
Go through the door past the dead staff member and immediately turn right into a room full of armed enemies. You can approach this stealthily or go loud—push loose trolleys into enemies to knock them down and shoot environmental hazards like gas tanks for area damage.
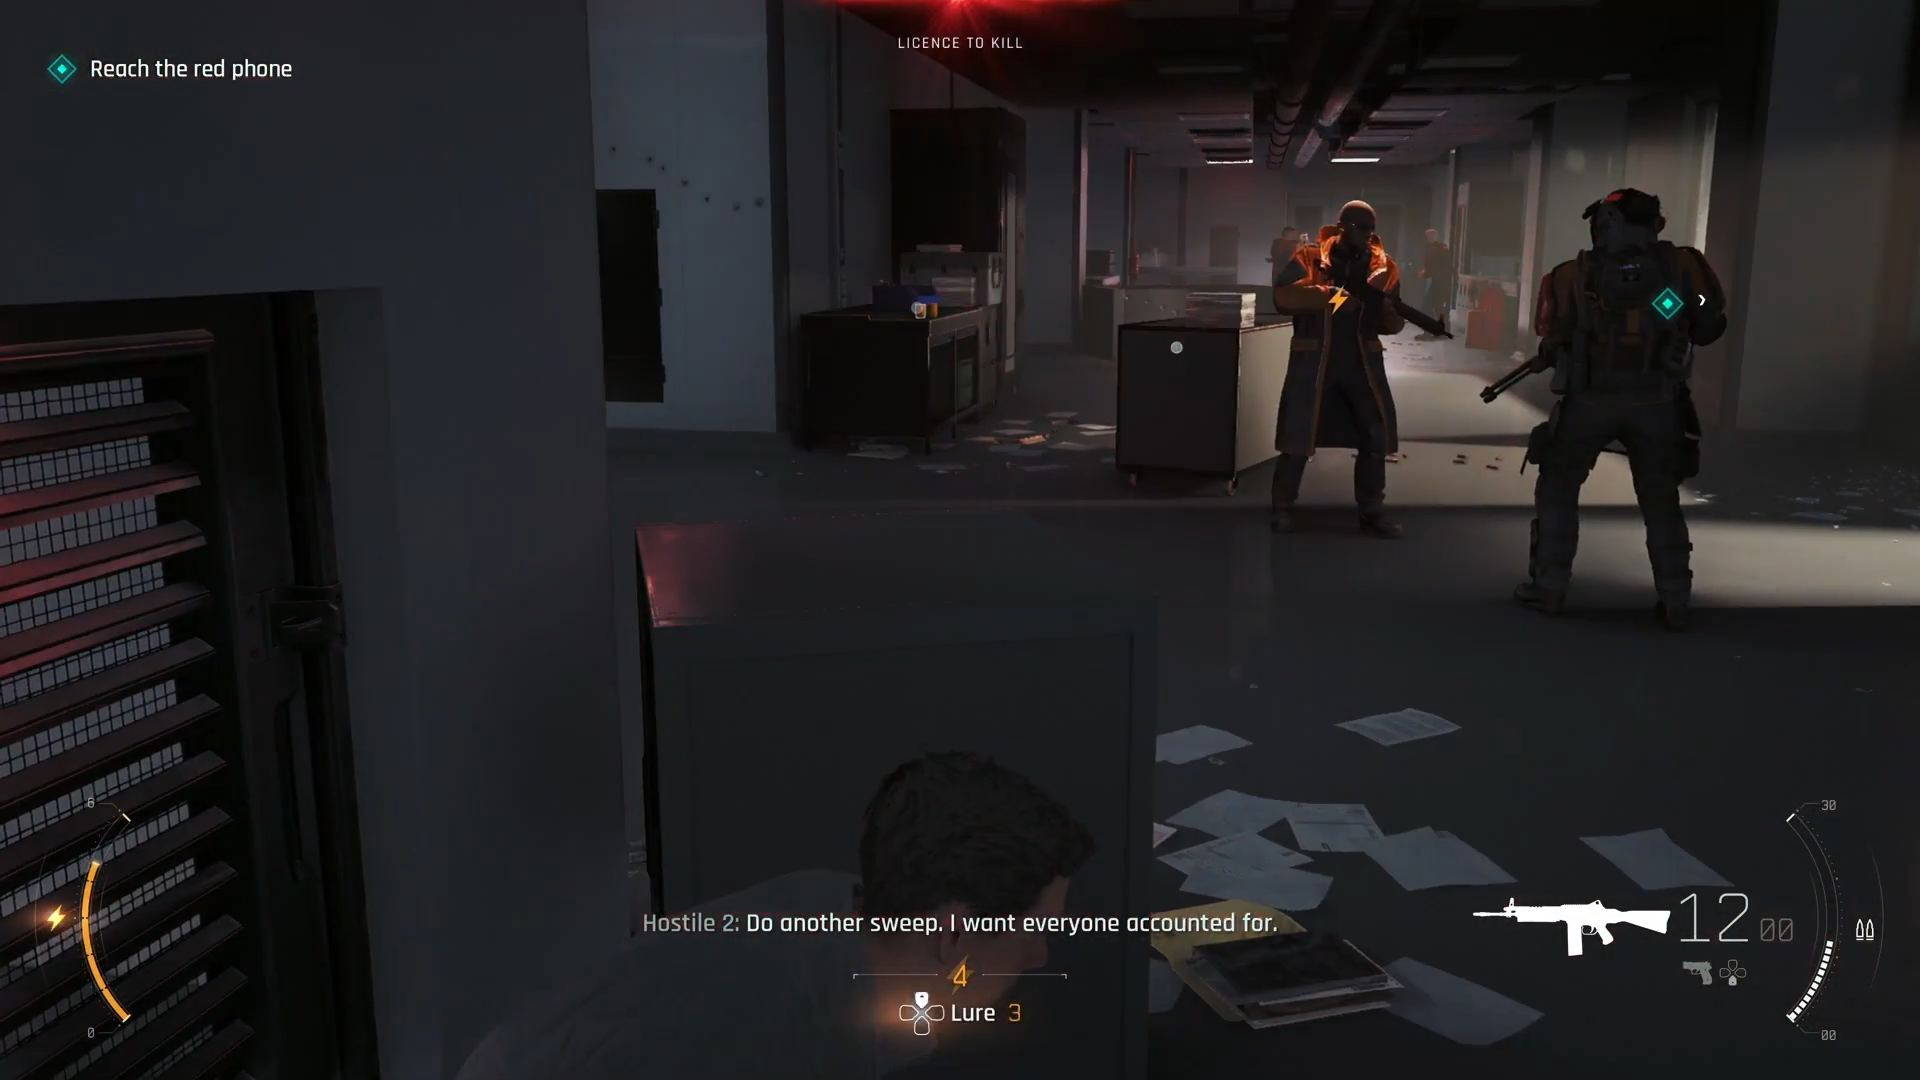
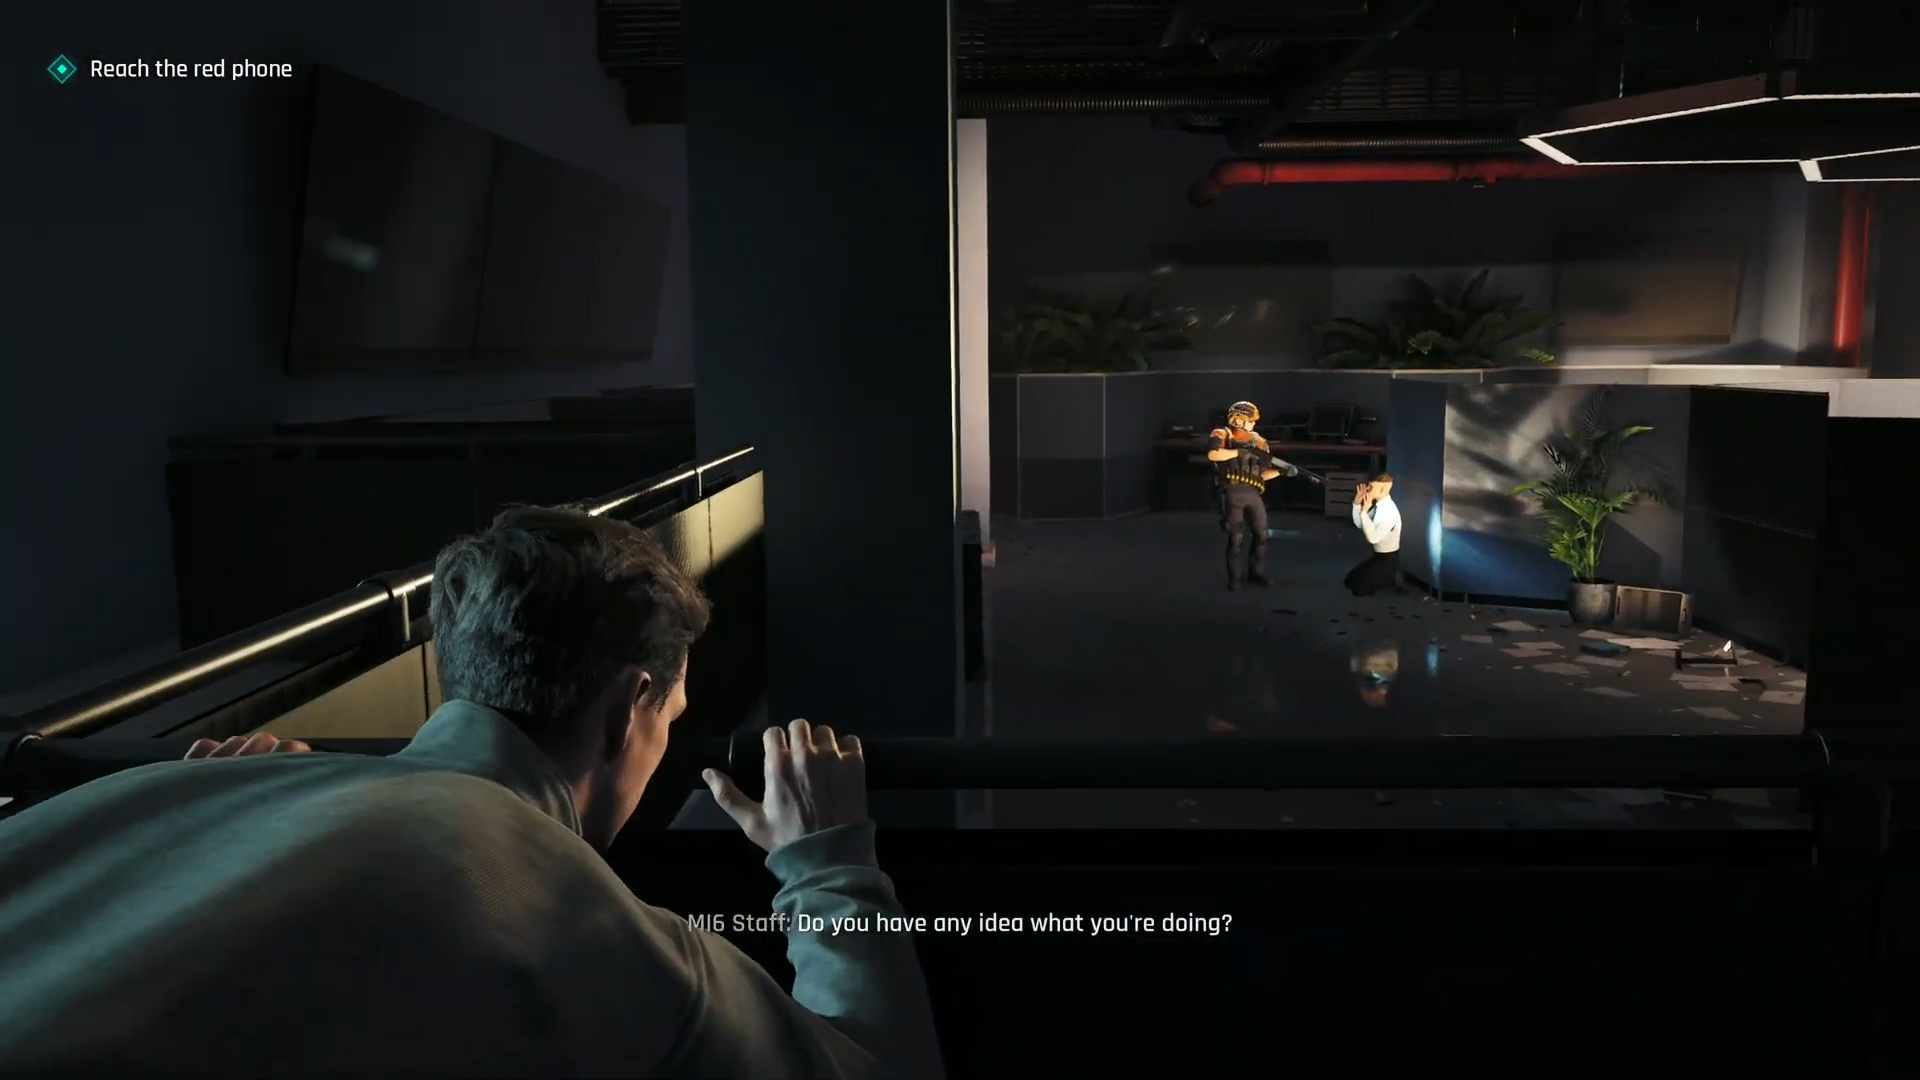
Clear the room completely, then follow the objective marker through the next doorway until you reach a larger office area where soldiers are actively attacking MI6 staff members.
Step 3: Enter the Server Room and Climb the Yellow Ladder
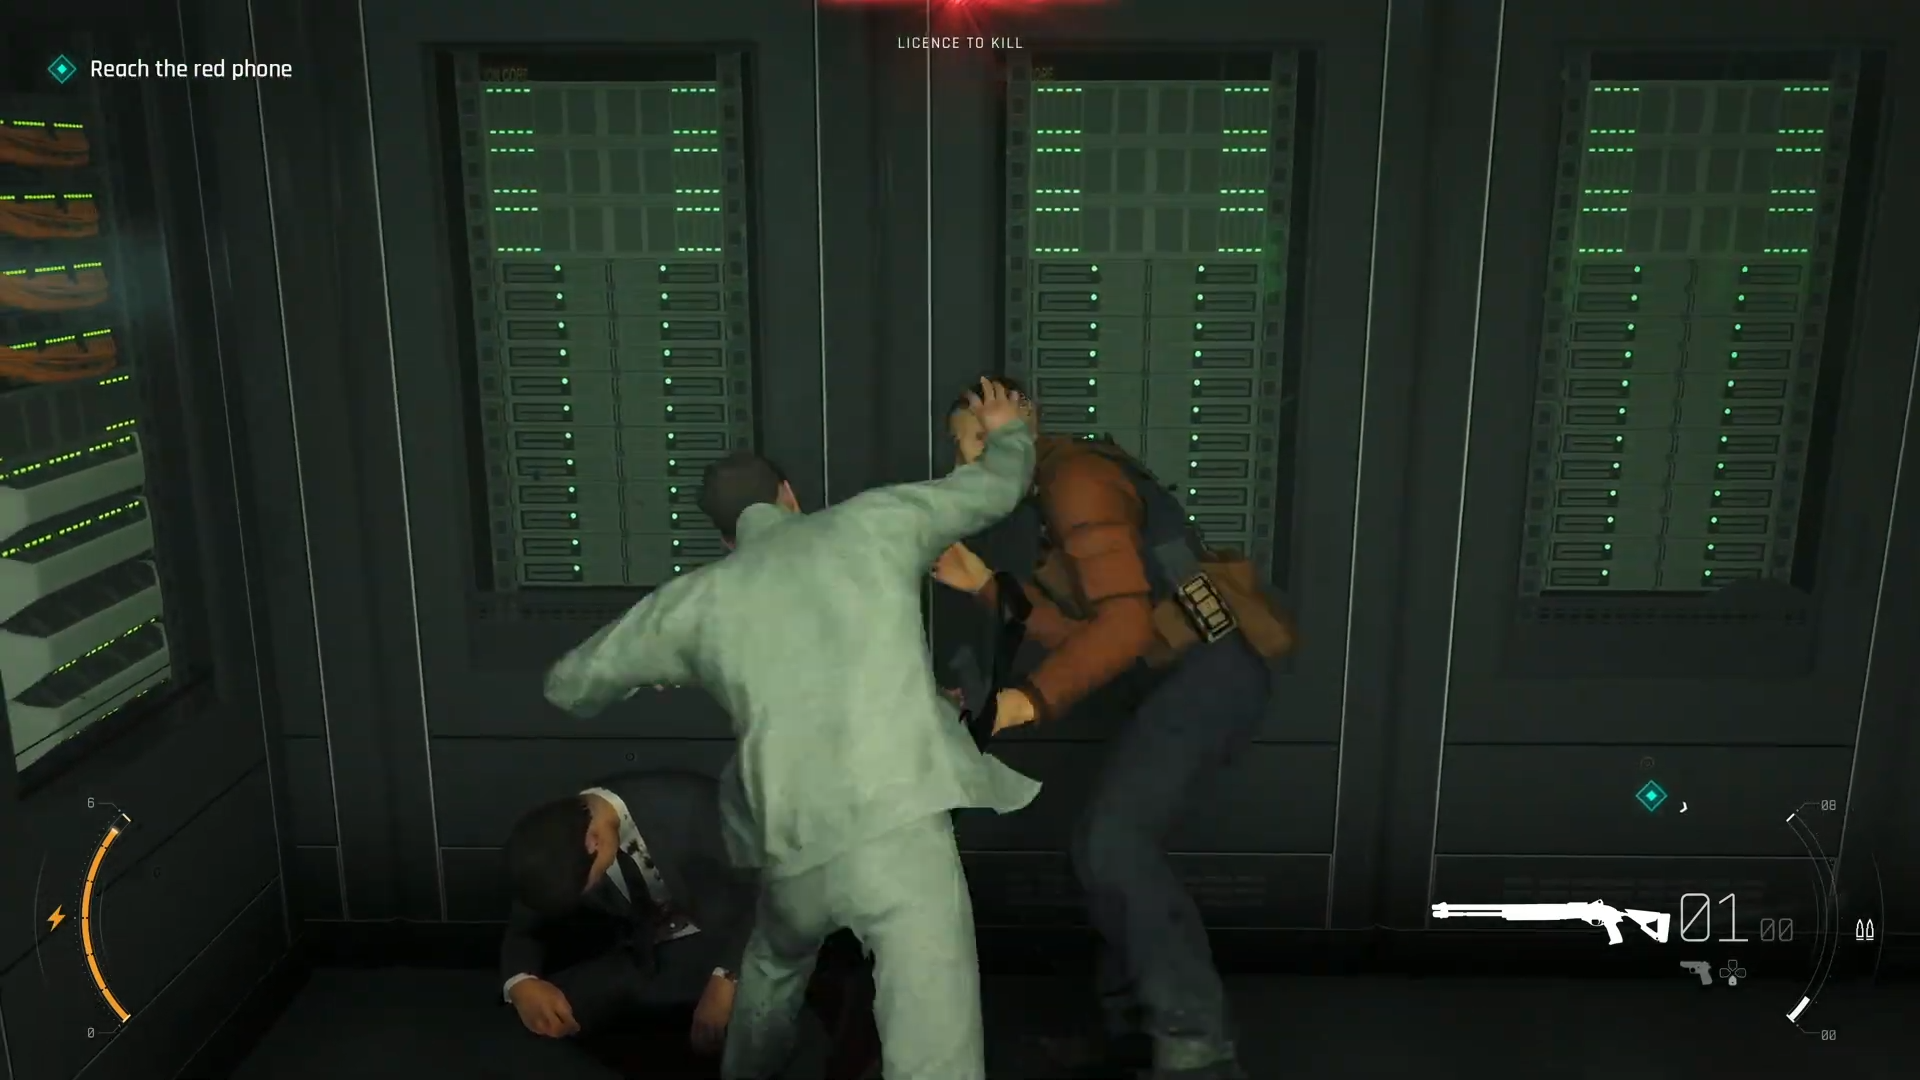
Take the left path into the server room filled with blinking equipment and racks. Deal with the single enemy inside using stealth takedown or combat.
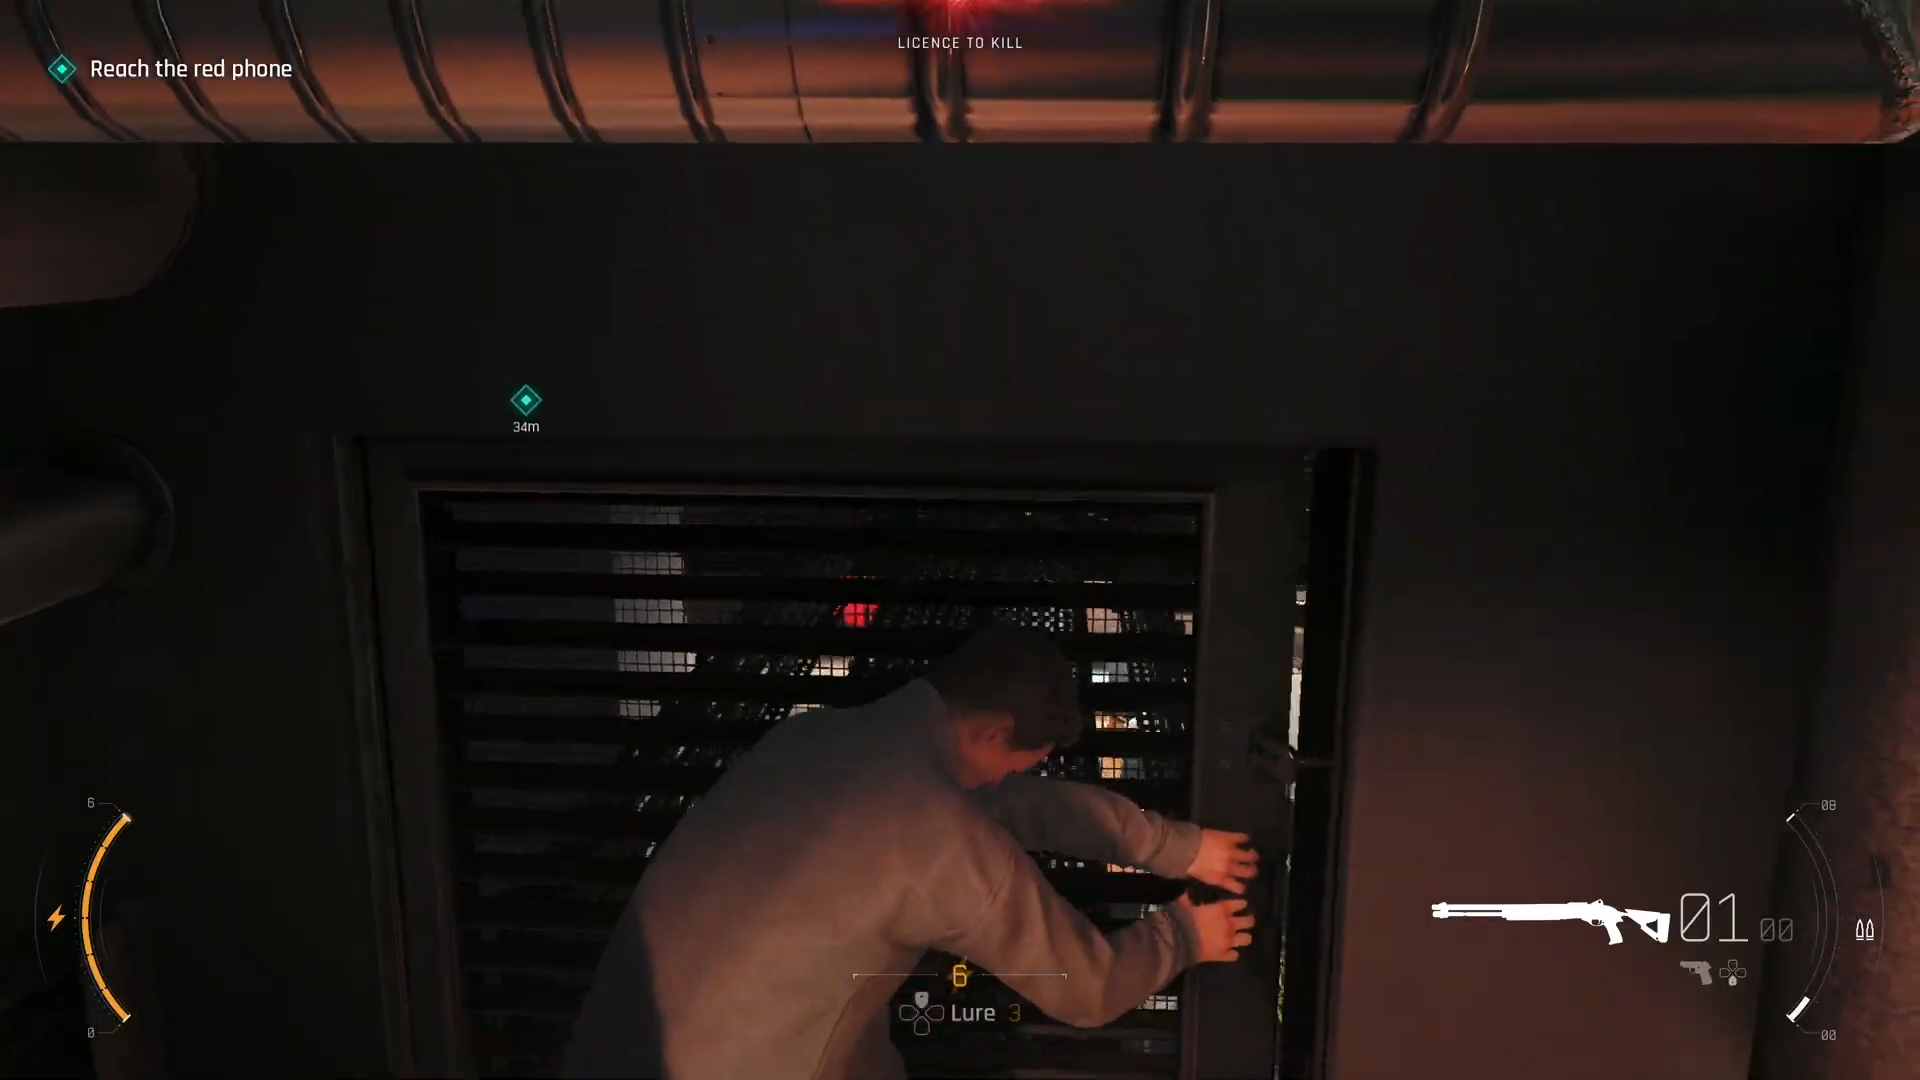
Then locate and climb the distinctive yellow ladder on the far wall.
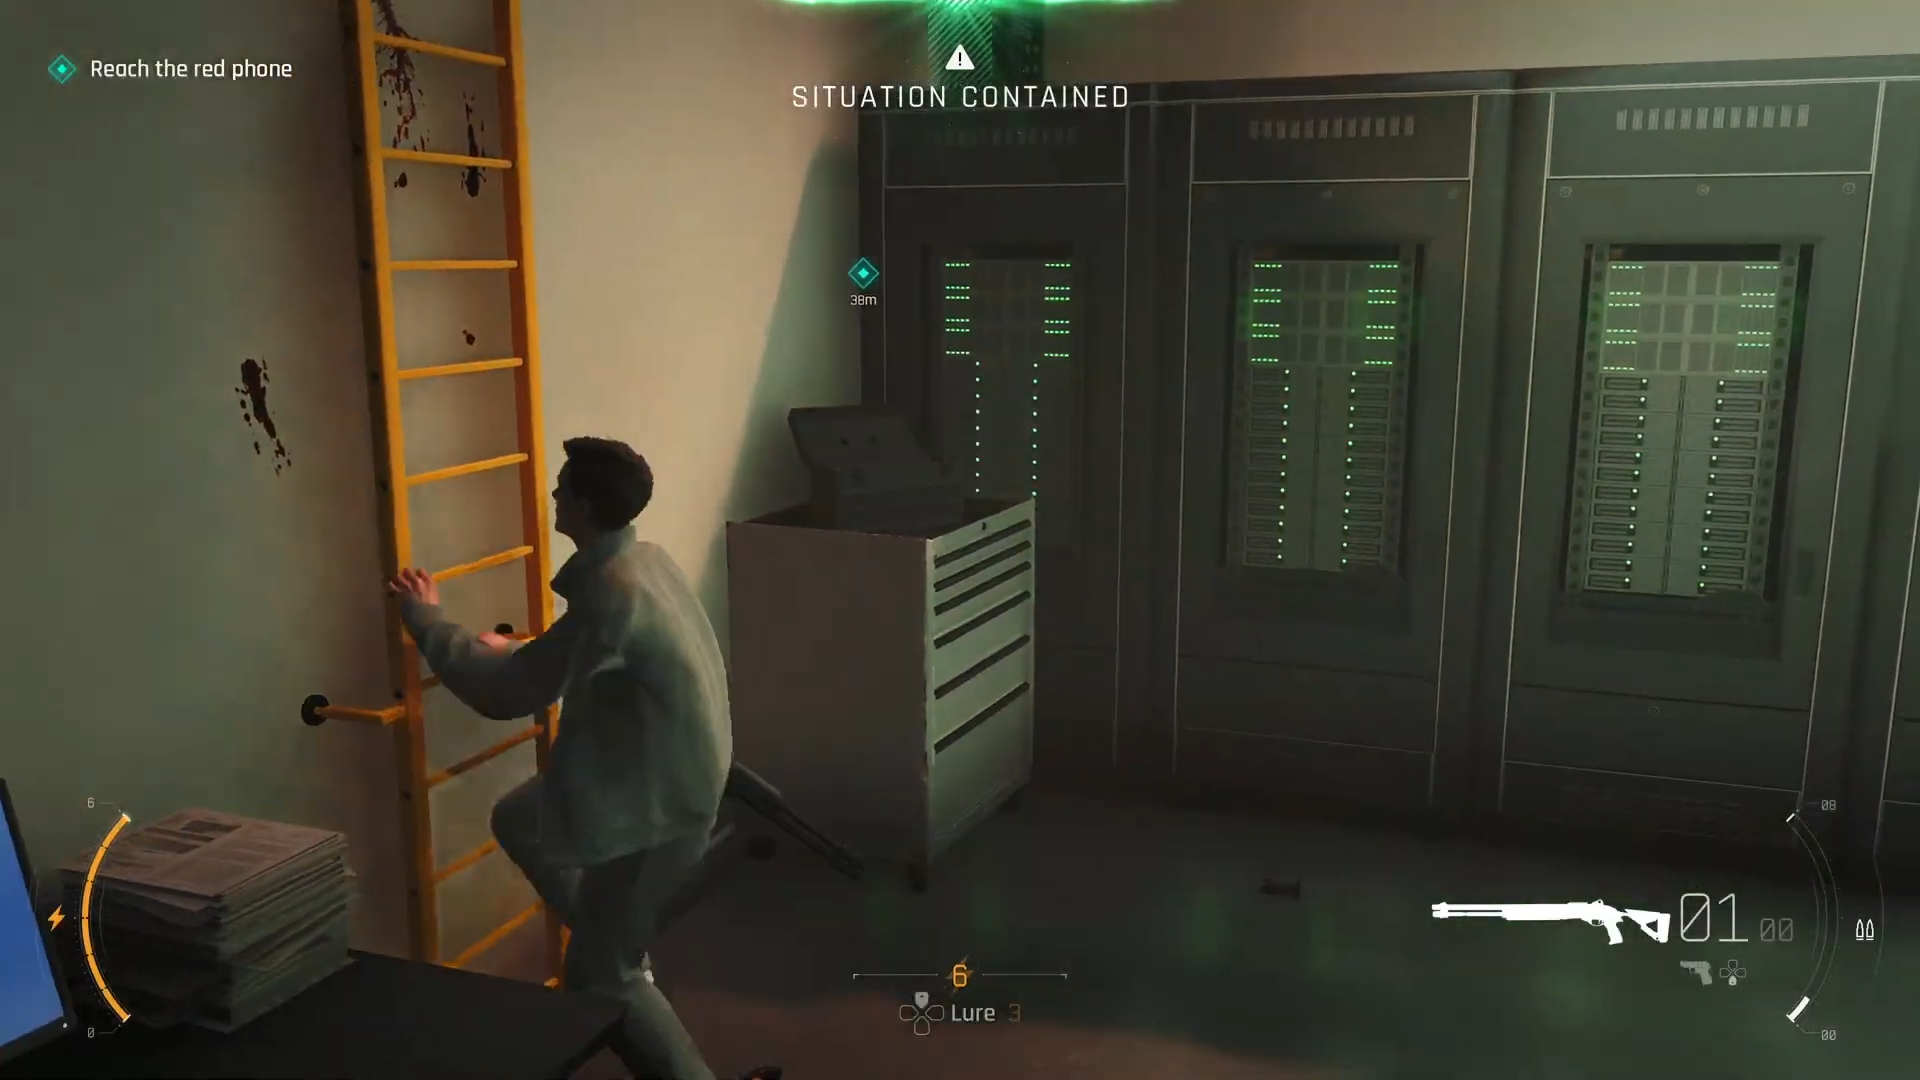
The vent at the top of the ladder opens onto the wire canopy underneath the ceiling, giving you a tactical overlooking position of the entire room below.
Step 4: Clear the Room from Above Using Environmental Hazards
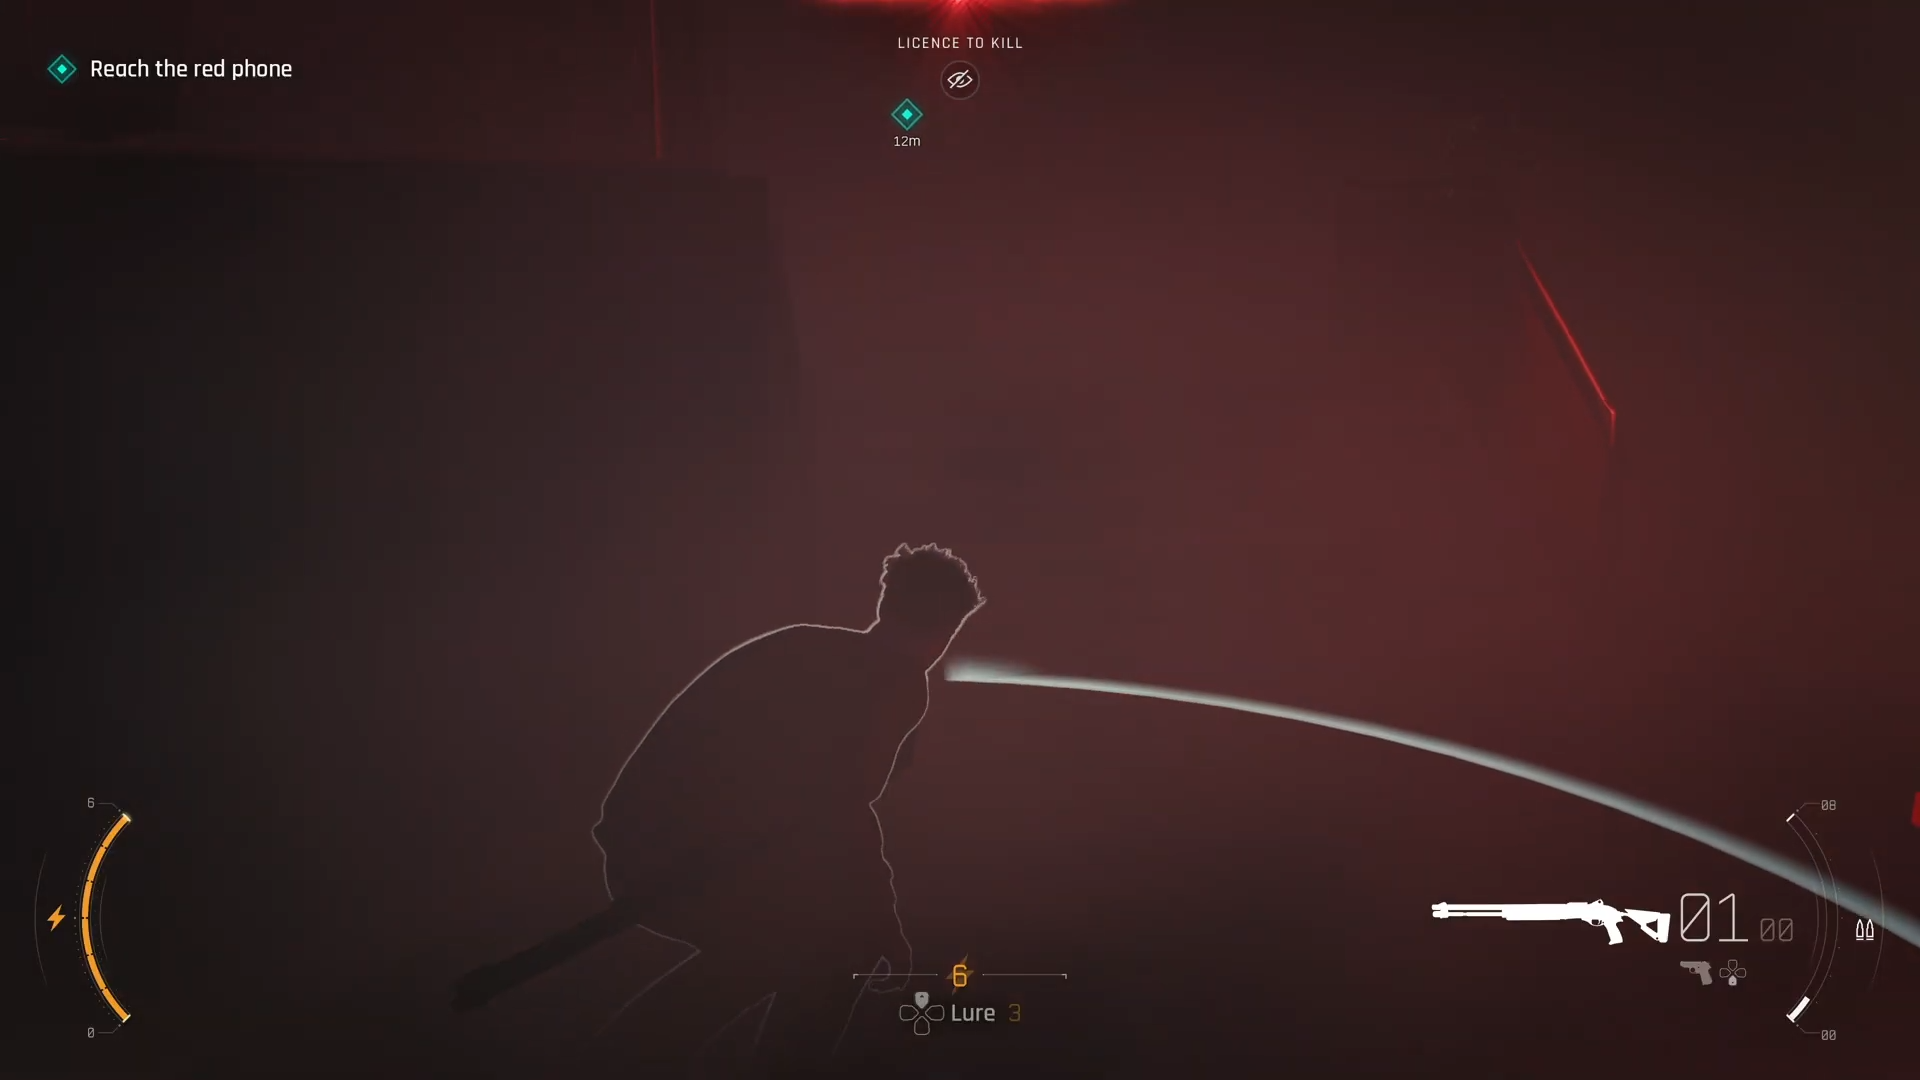
From the canopy position, turn the valves to flood the room below with smoke, which disorients enemies and reduces their visibility. Drop the hanging lights by shooting them to knock out multiple soldiers at once. Once smoke fills the room, move to the far right end of the canopy and carefully drop down to the floor.
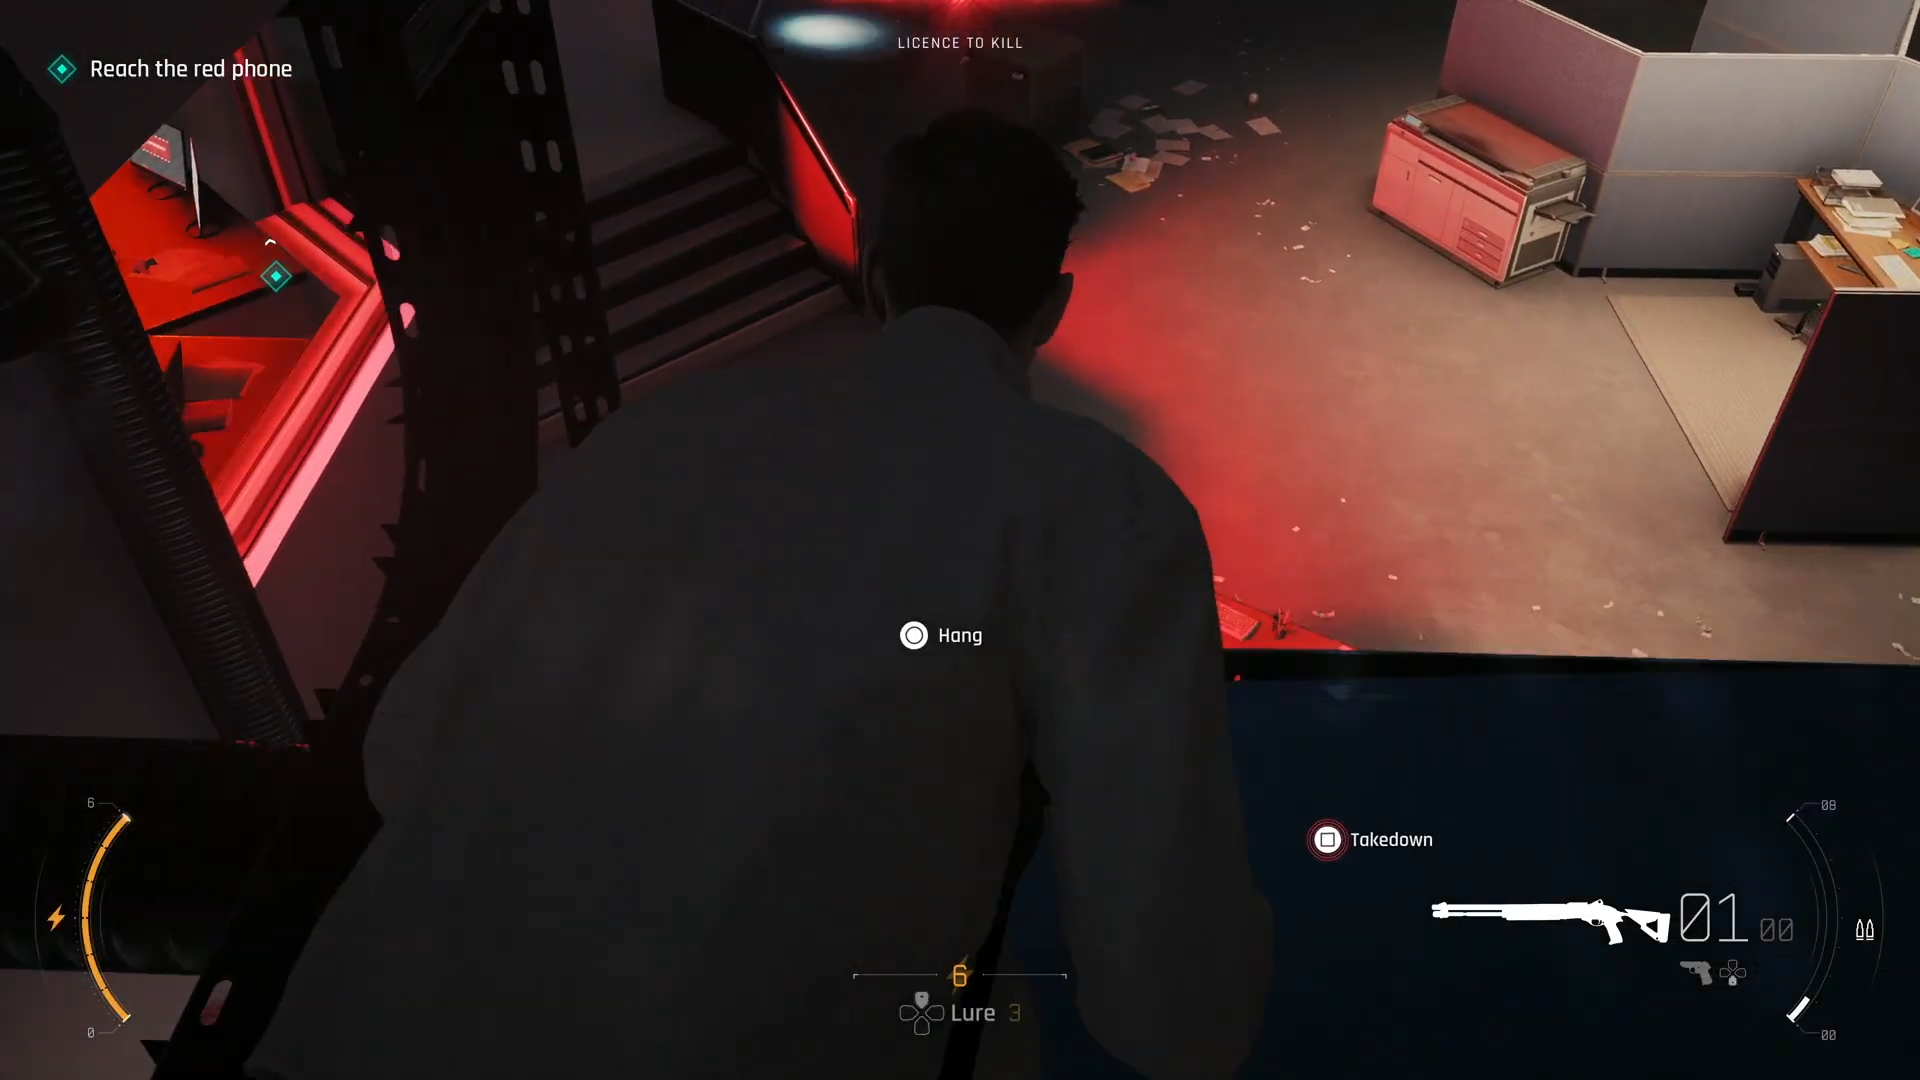
With the room clouded in smoke, you can either lure enemies out one by one for stealth kills or wait for them to wander off from their positions, then slip through the exit door undetected or with minimal resistance.
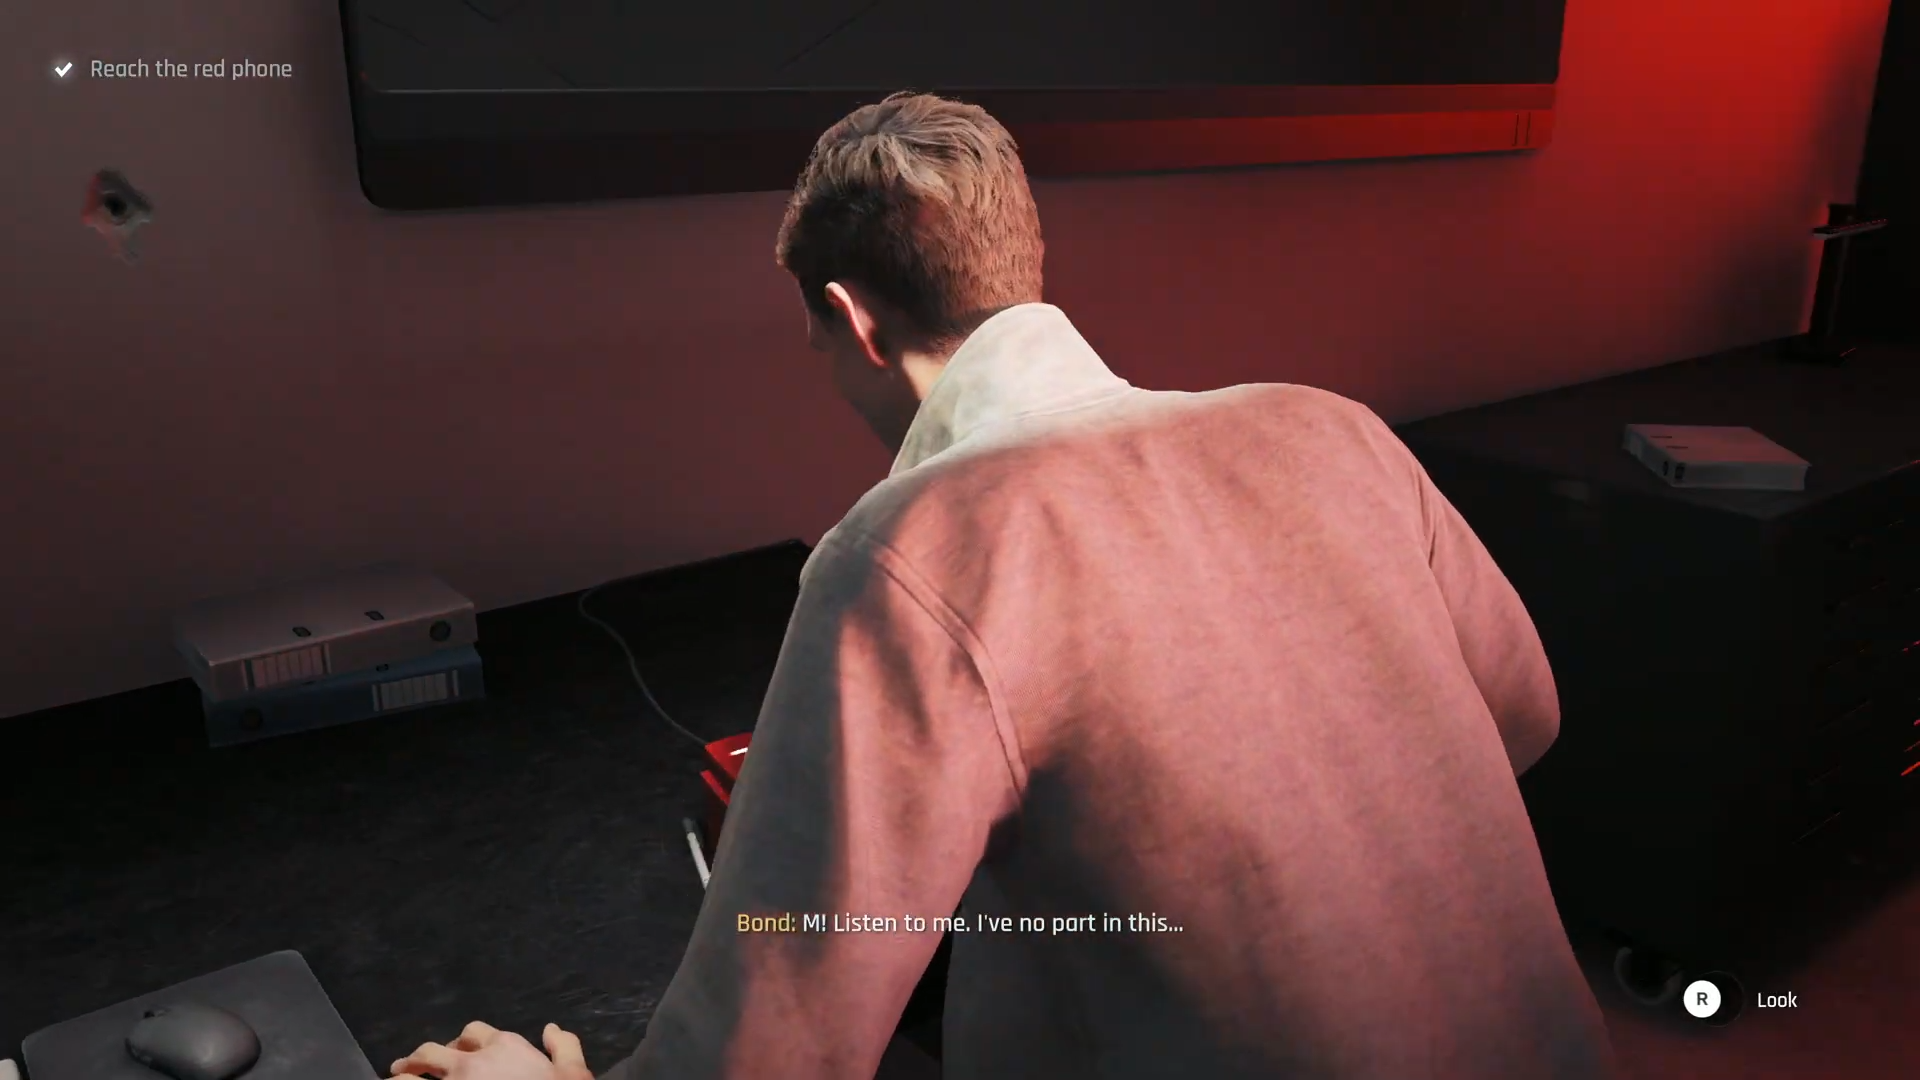
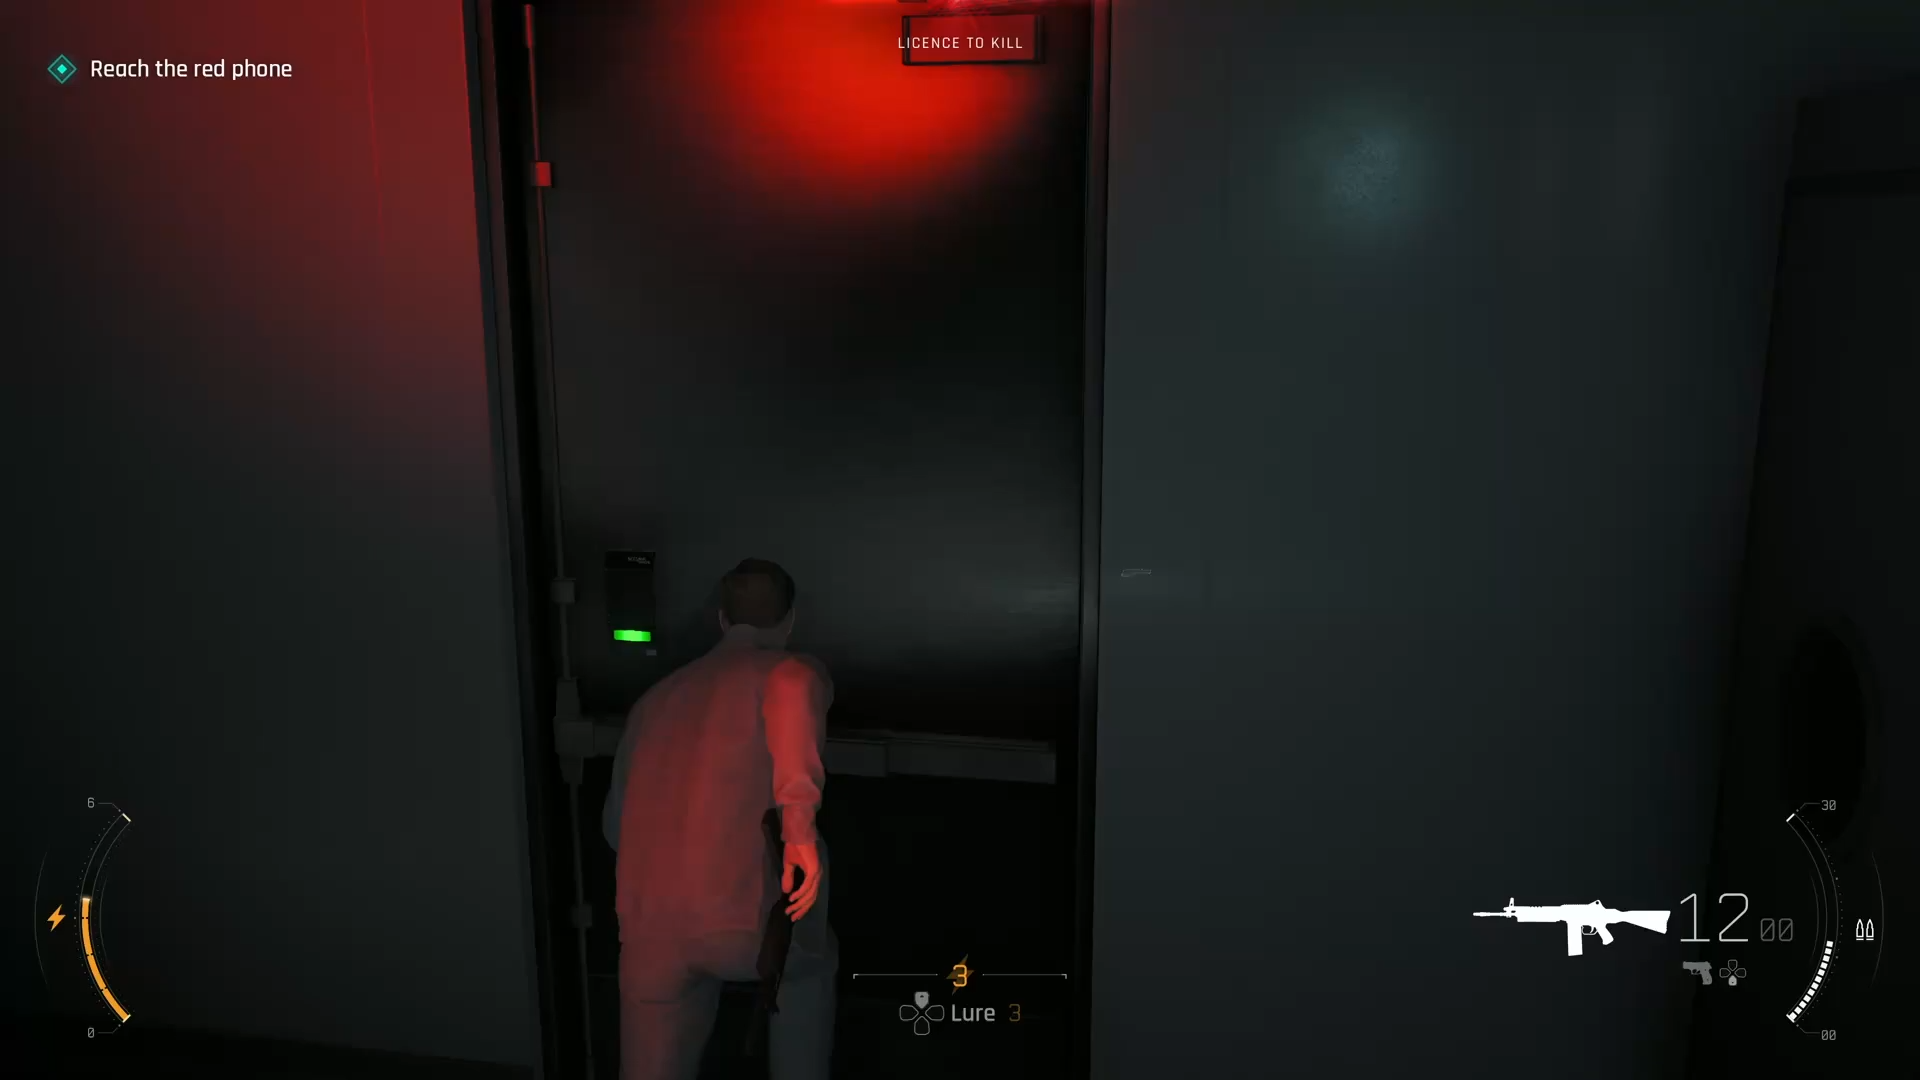
Step 5: Enter the Security Room and Pick Up the Red Phone
In the security room, immediately take out the lone enemy guarding the area using a quick takedown or shot. Once the room is clear, approach the desk and pick up the red phone to initiate a critical conversation with M.

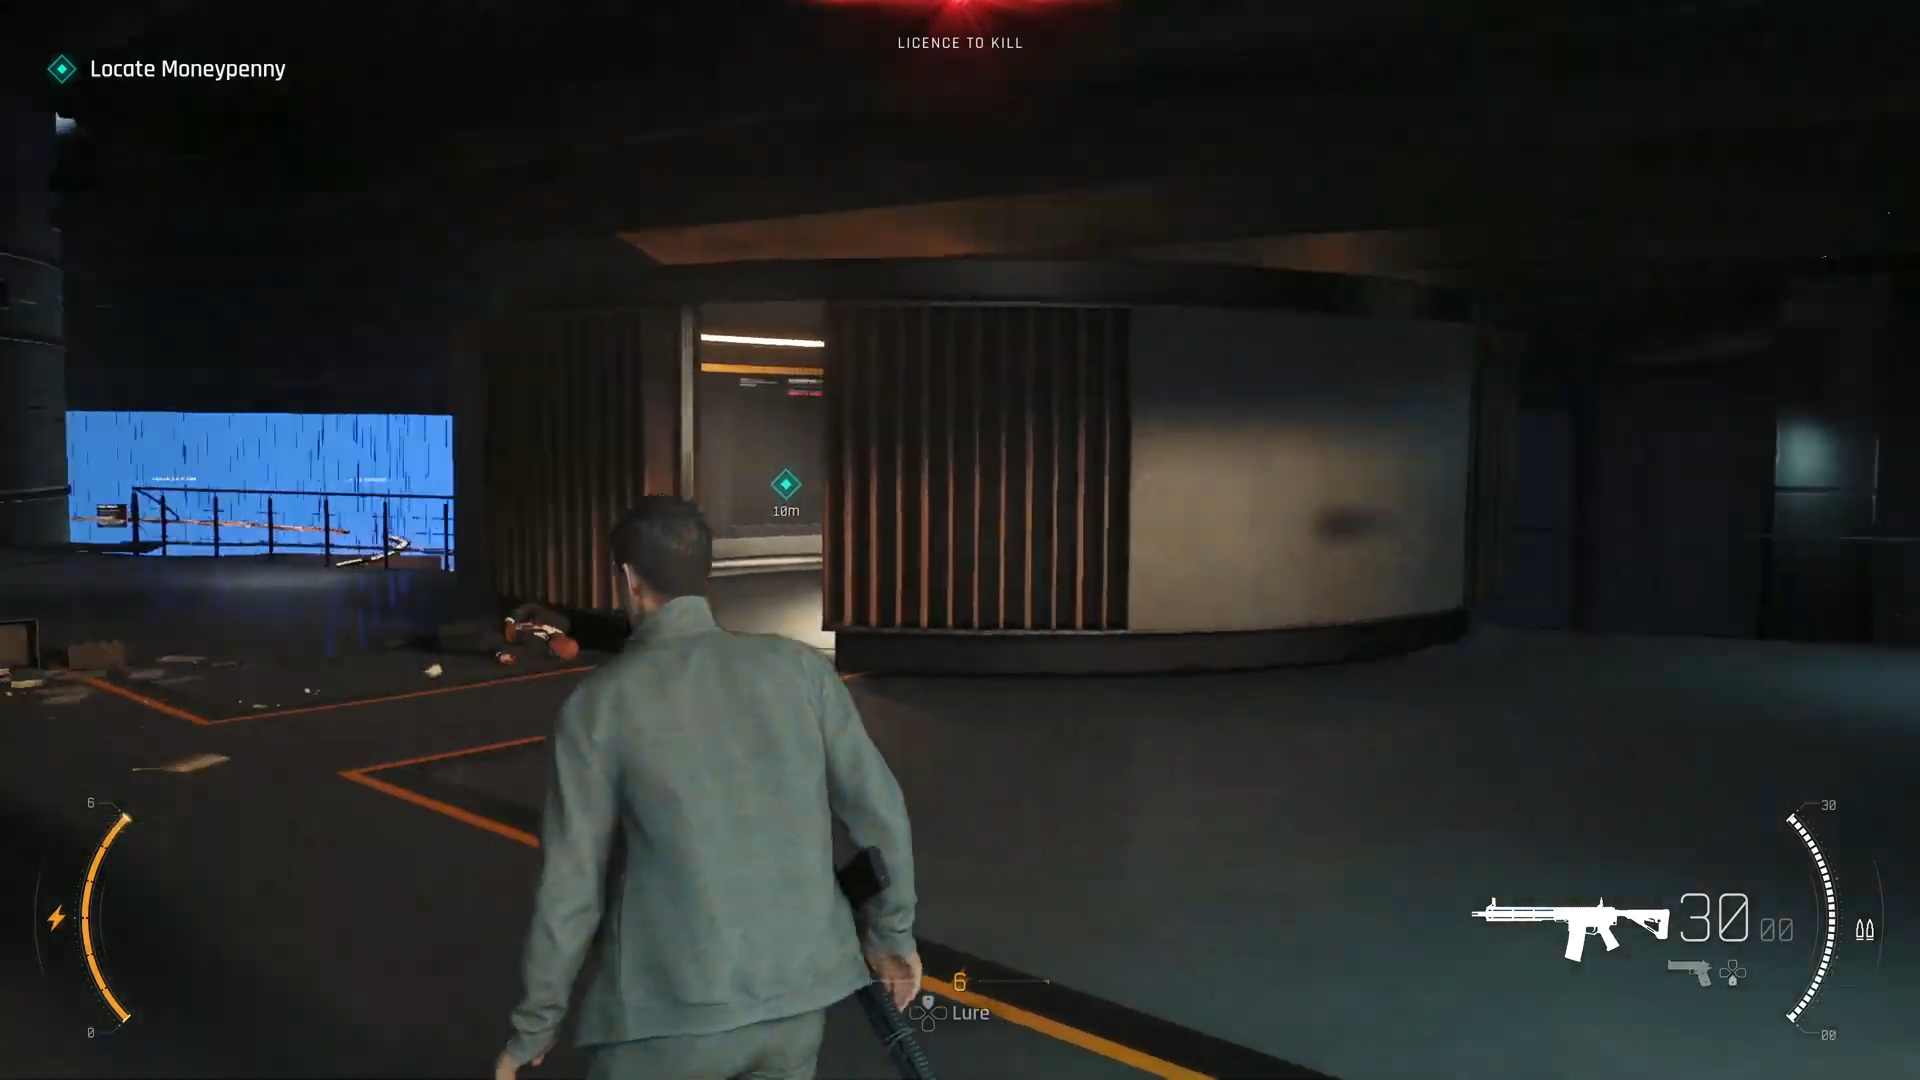
Before leaving this room, grab the earpiece off the fallen soldier on the floor, as this is required for the next objective where you need to locate Moneypenny.
Critical Mistakes to Avoid
-
Don’t skip the wounded staffer conversation — The objective won’t trigger properly if you don’t talk to the dying MI6 agent who tells you about the red phone
-
Don’t rush the smoke mechanics — Turning all valves before dropping lights maximizes enemy disorientation and makes the room much easier to clear
-
Don’t miss the earpiece — The earpiece off the fallen soldier is mandatory for progressing to find Moneypenny after the red phone call
-
Don’t go loud prematurely — If you want a stealth run, clear the canopy section first before engaging enemies below, as alarms can complicate the escape
-
Watch for the King of Bells card — This collectible appears near the red phone objective at Checkpoint 03, so don’t rush past it if you’re 100%ing the game