In 007 First Light, Chapter 17 contains 6 collectibles. These are – 3 Playing Cards, 1 Postcard, 1 Intel, and 1 Memento. Here’s how to get them all.
How to Get All Chapter 17 Collectibles
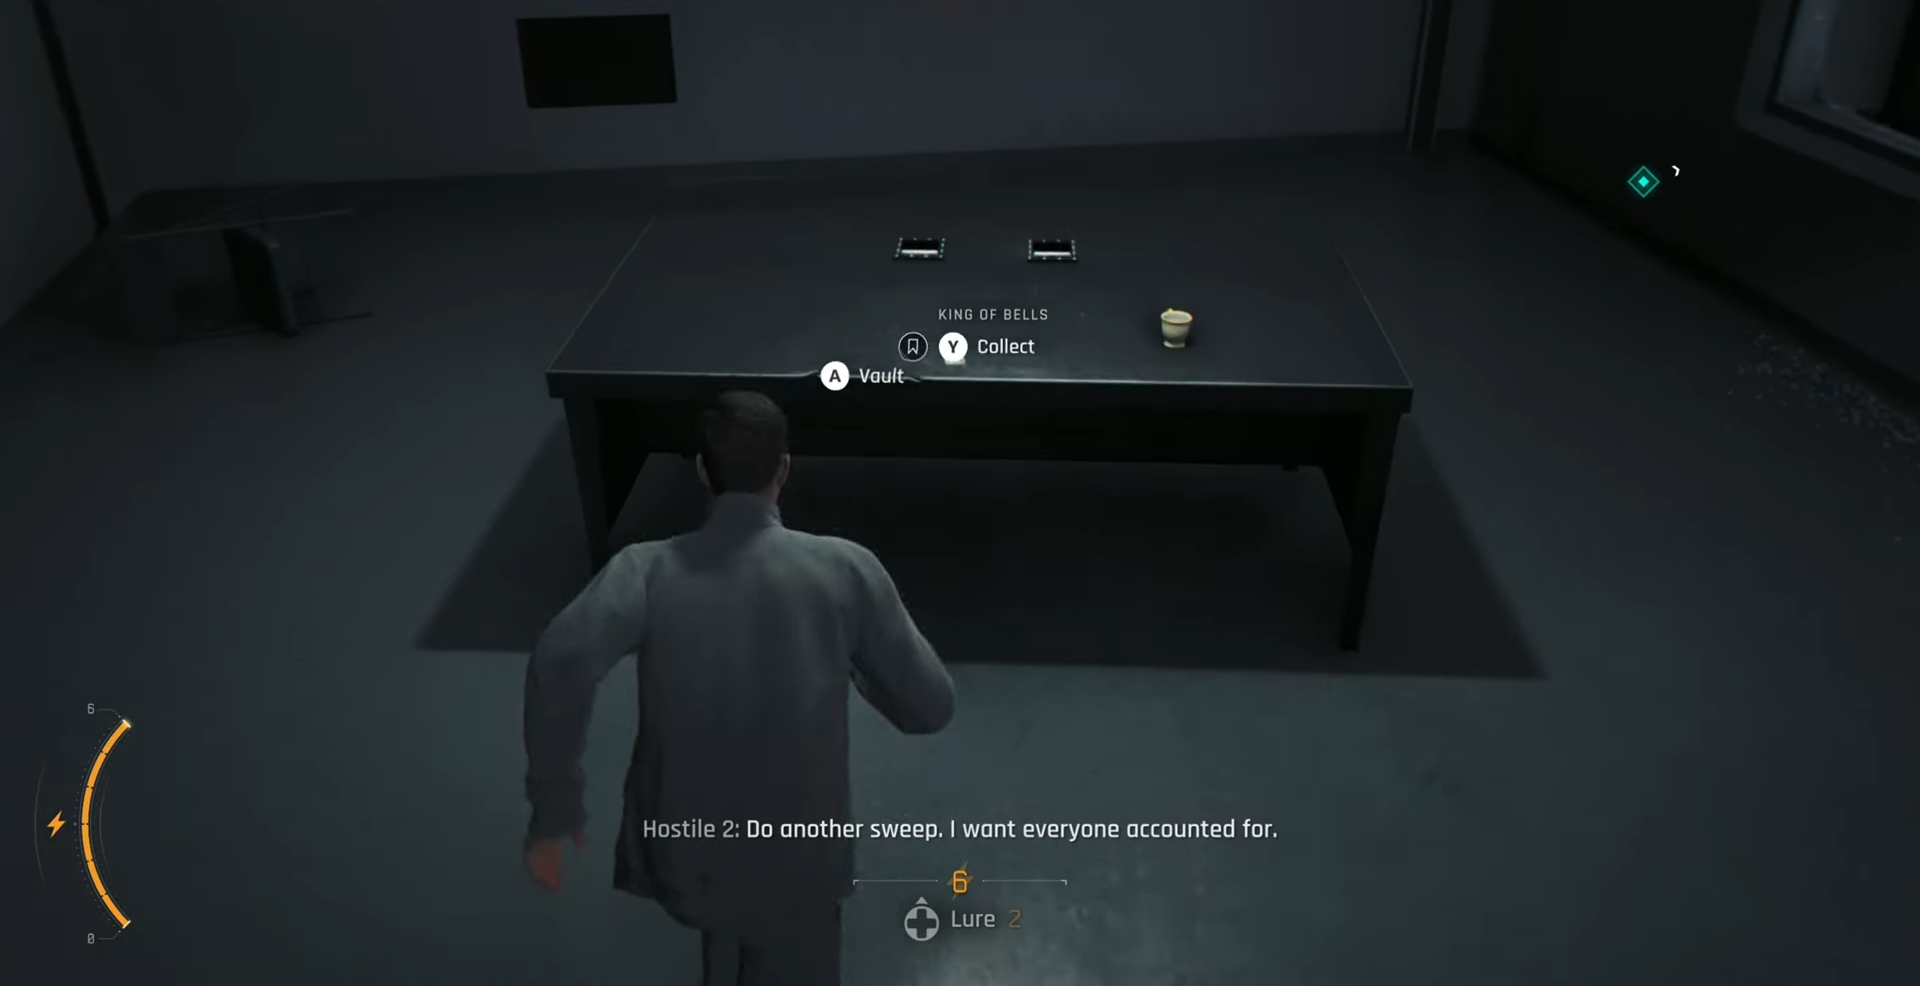
King of Bells Card
After speaking with the wounded lady, go through the door to the next area.
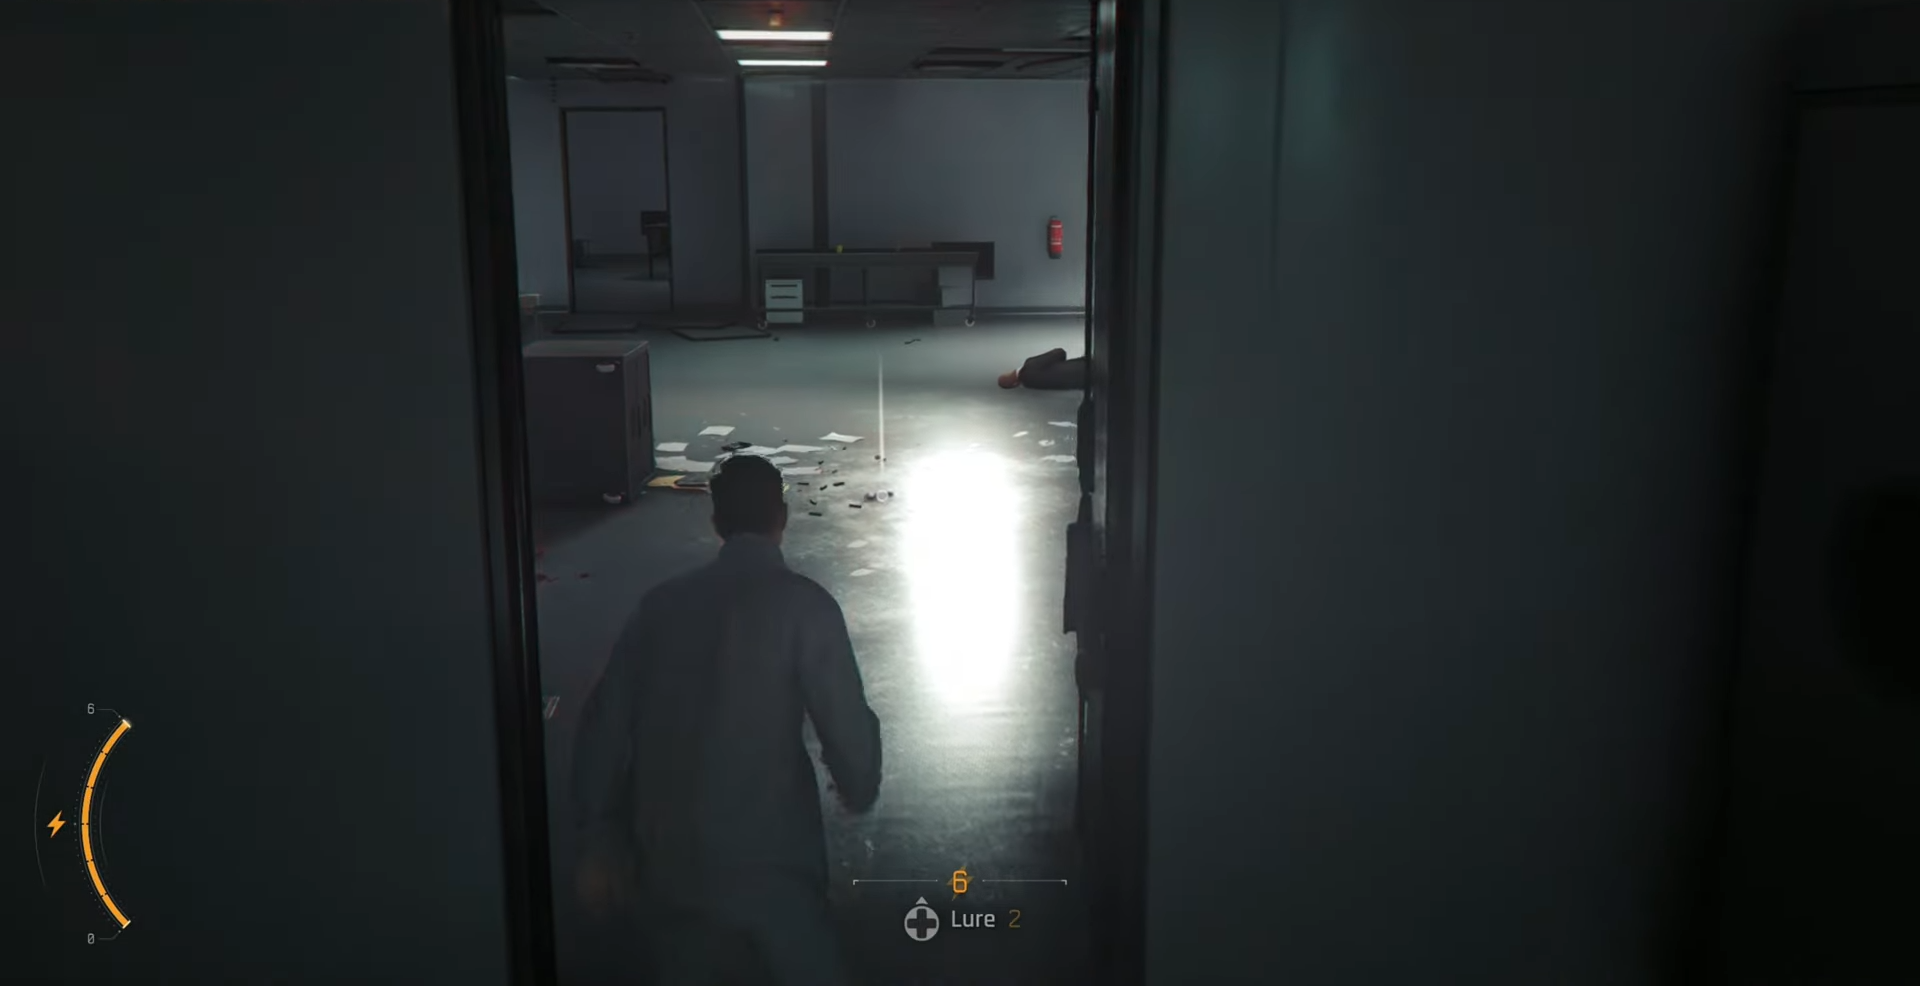
Enter the room straight ahead.
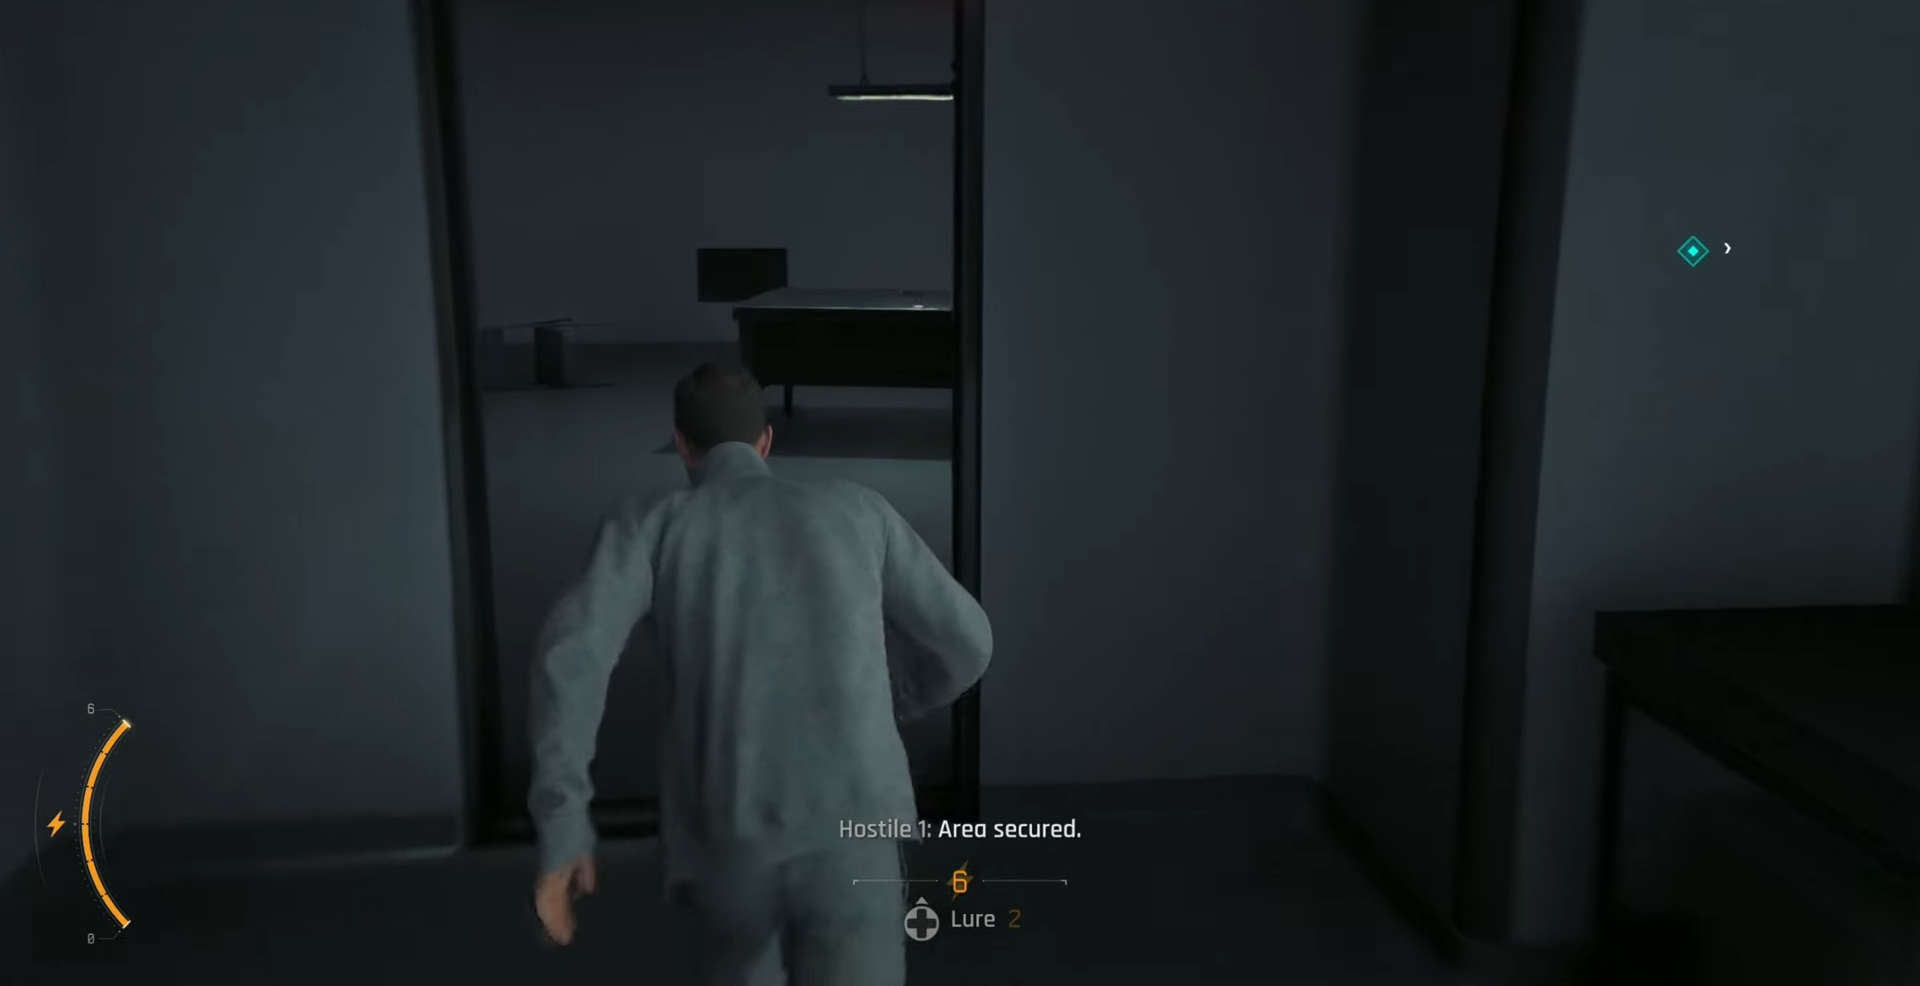
And find the card on the table.
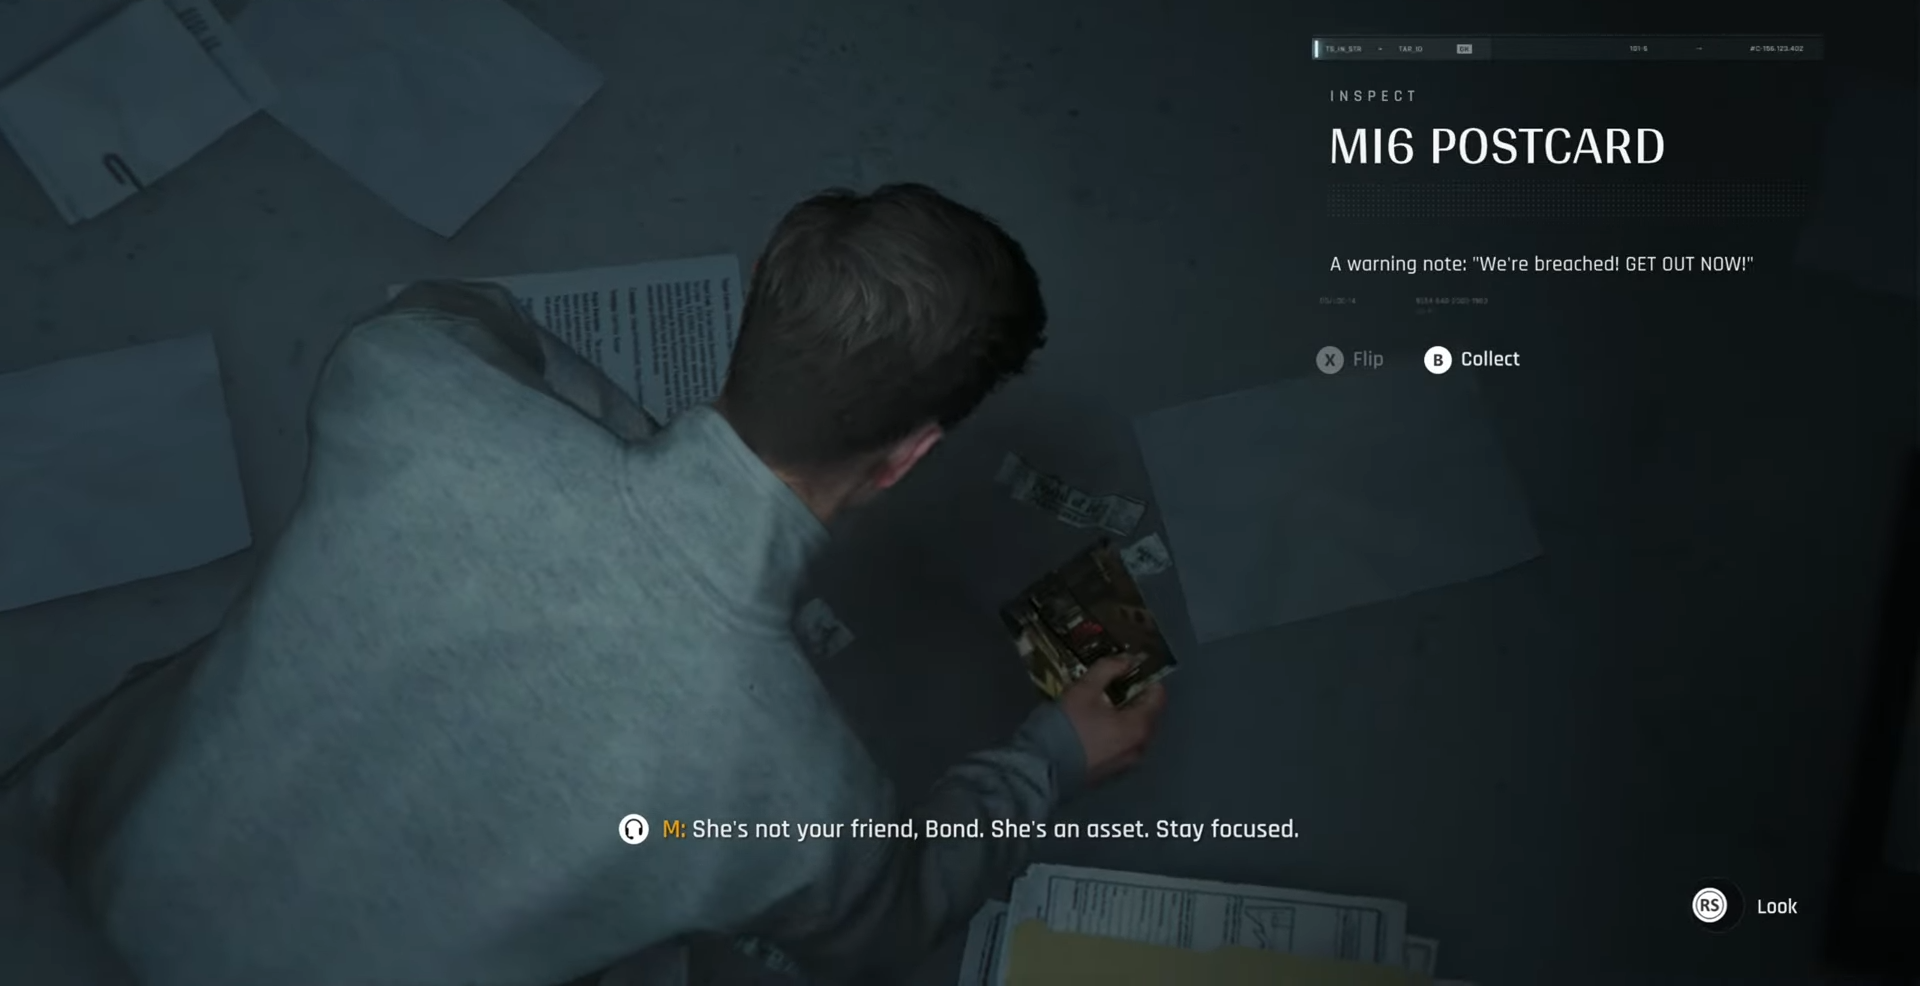
MI6 Postcard
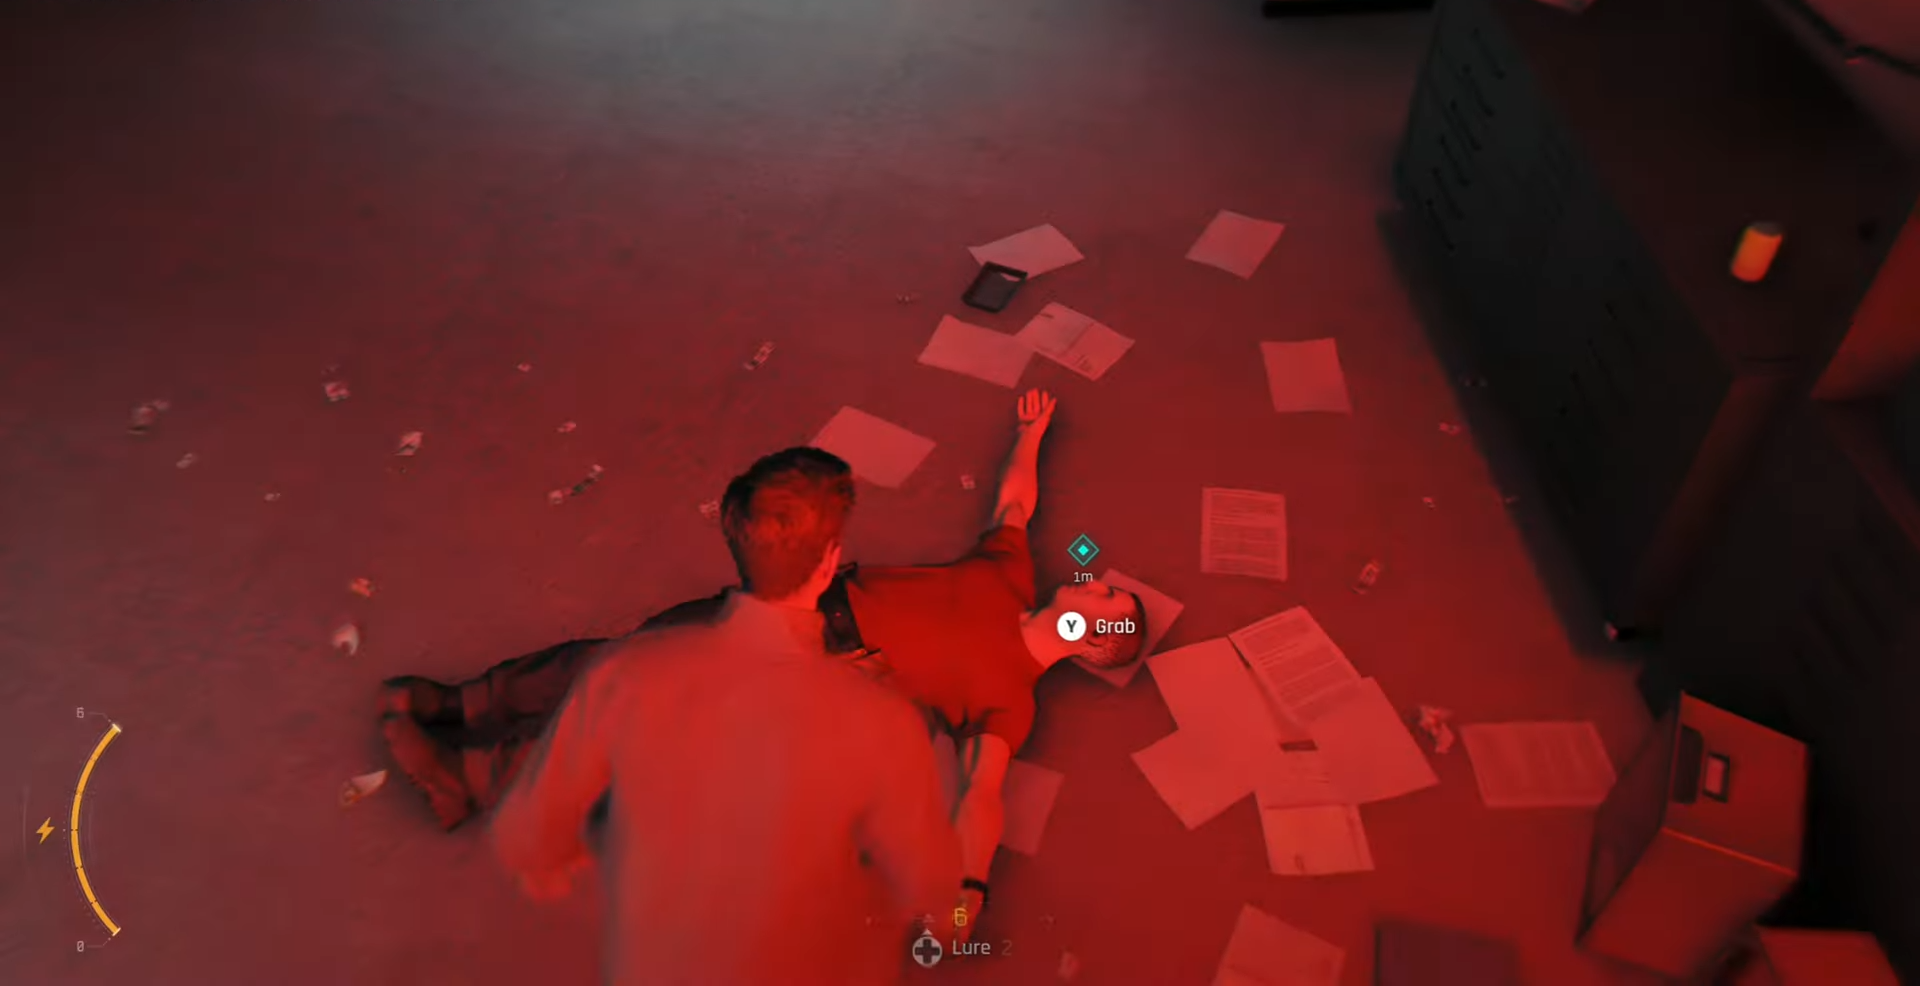
After answering the red phone, pick up the earpiece from the defeated enemy.
Go through the next door.
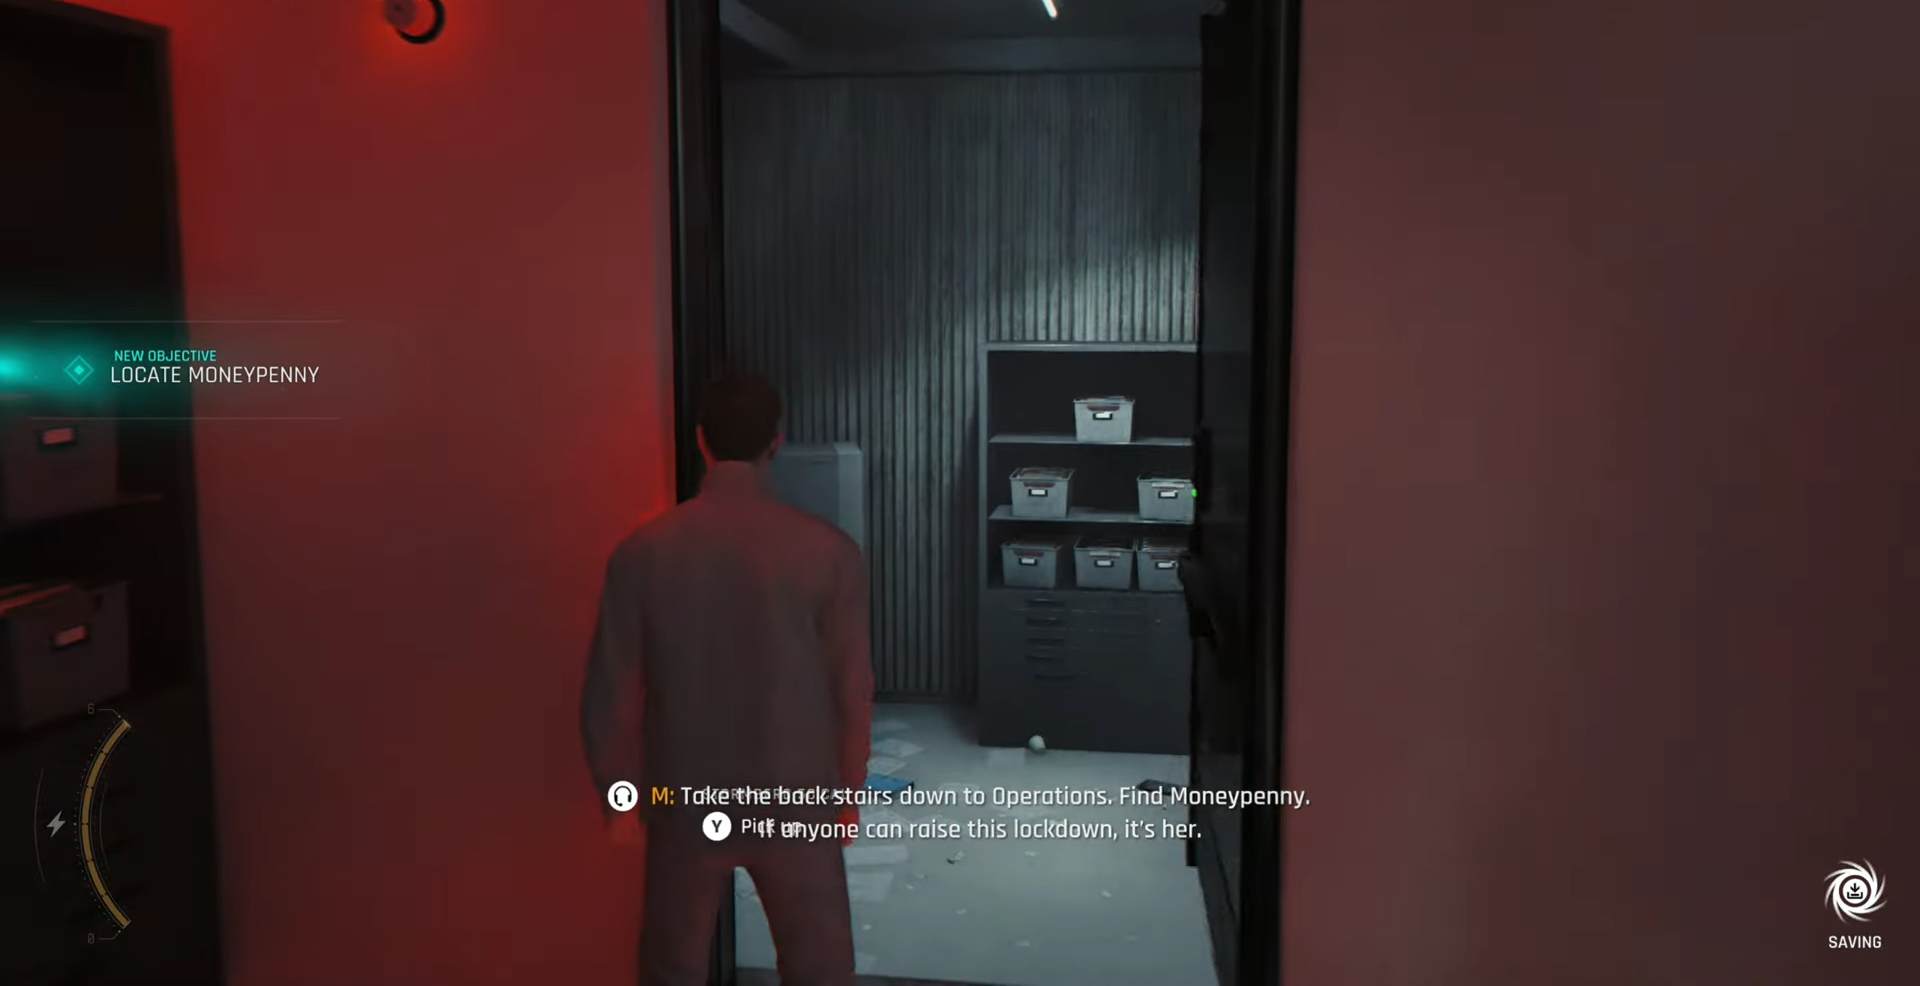
Squeeze past the shelves.
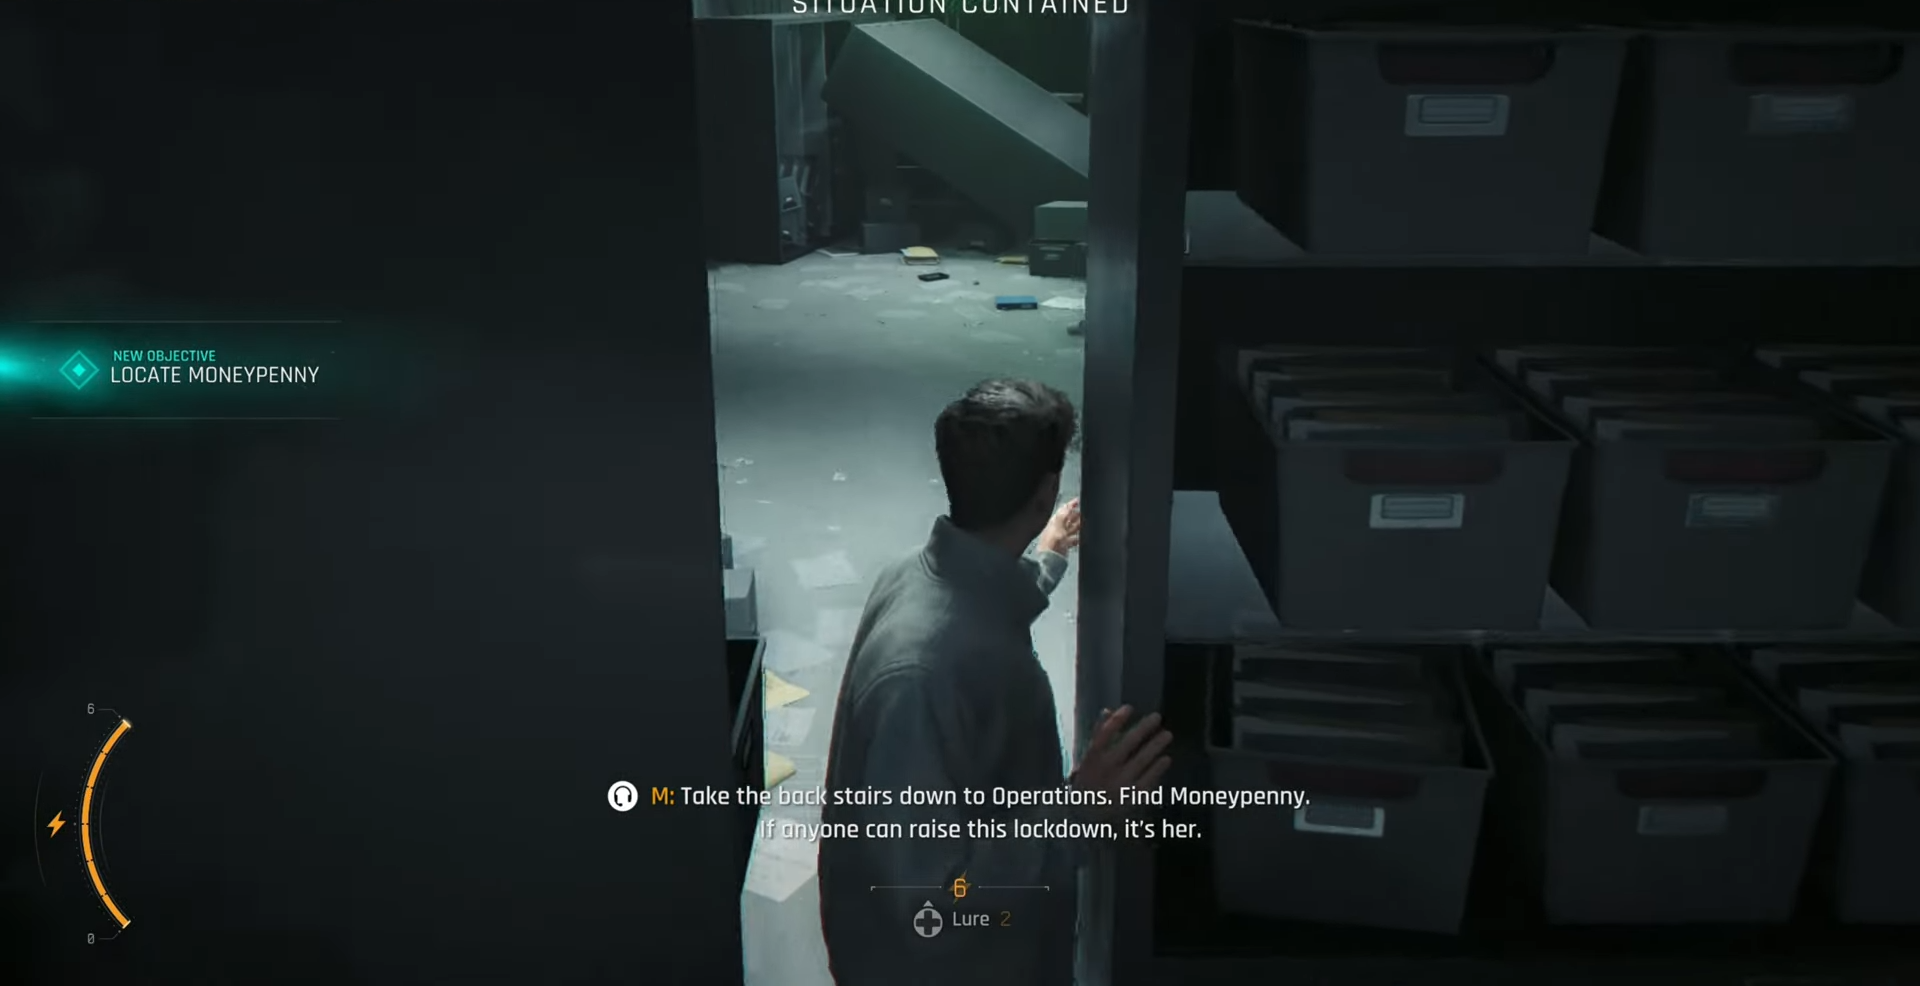
As soon as you squeeze through, look down — the postcard is on the ground.
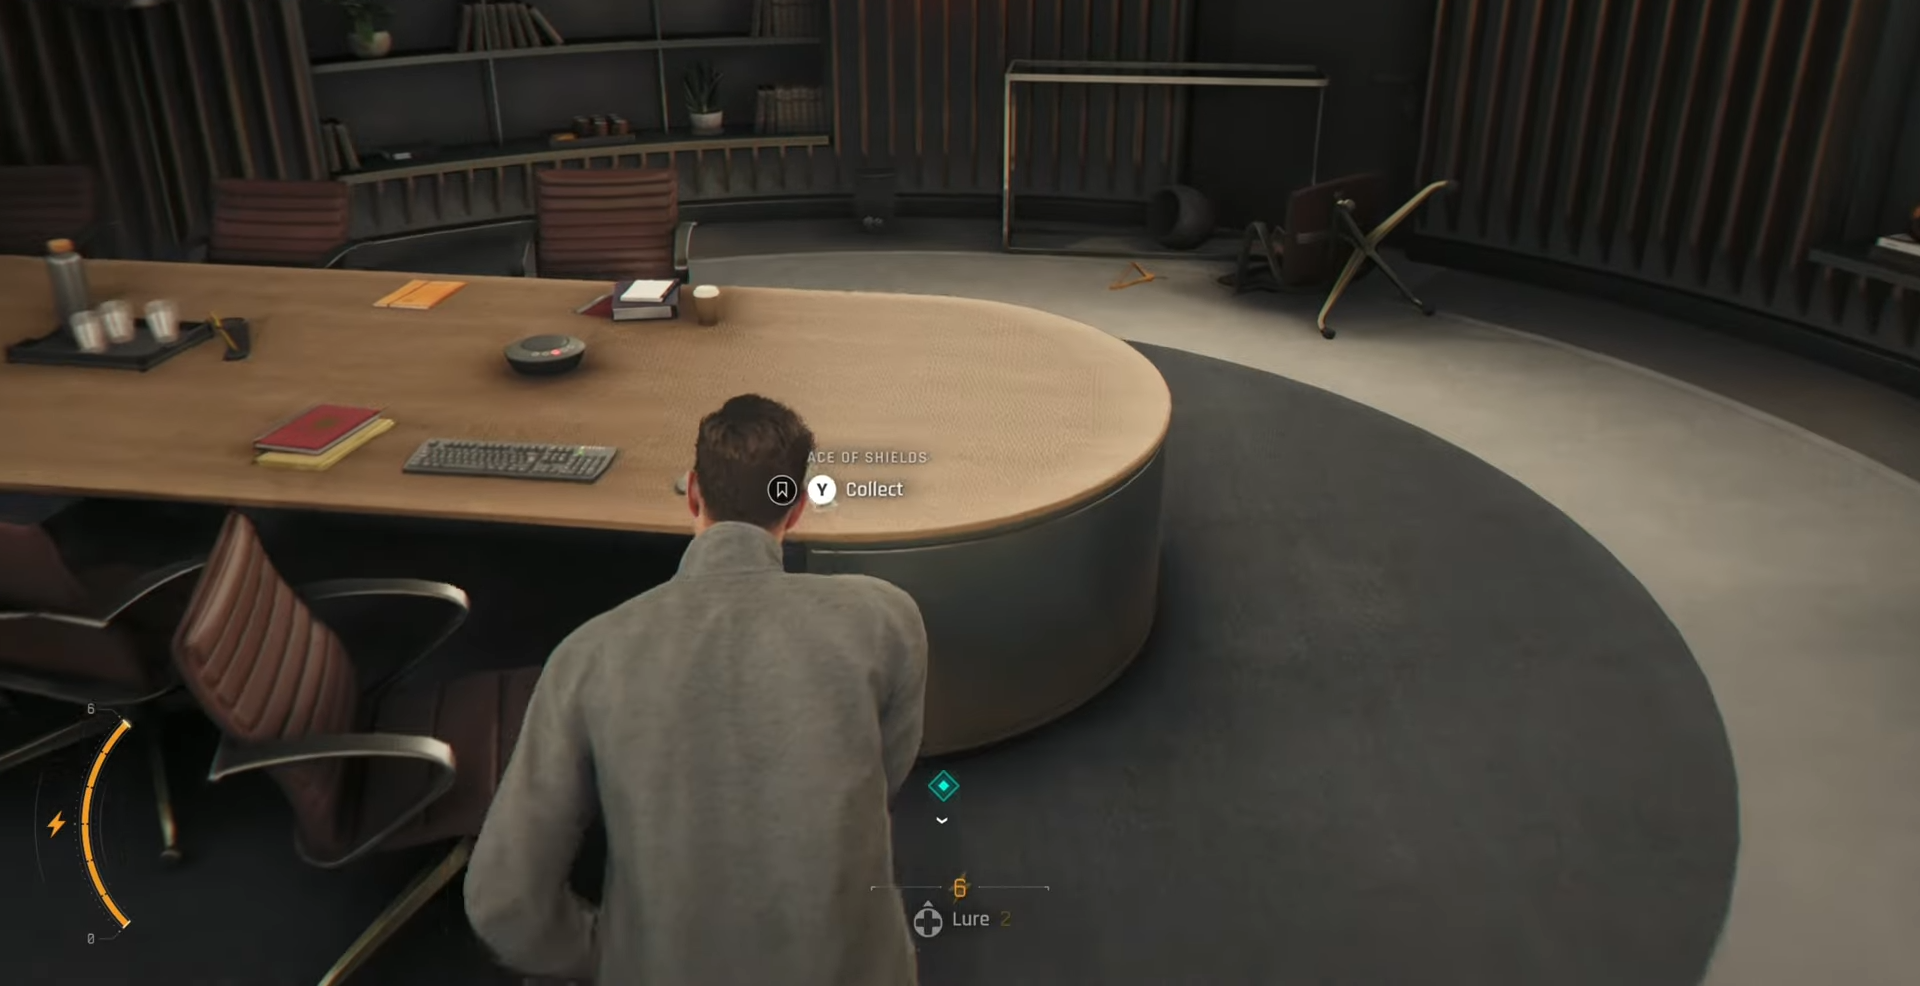
Ace of Shields Card
Once you reach Moneypenny’s office area, kick down the door to the office on the left.
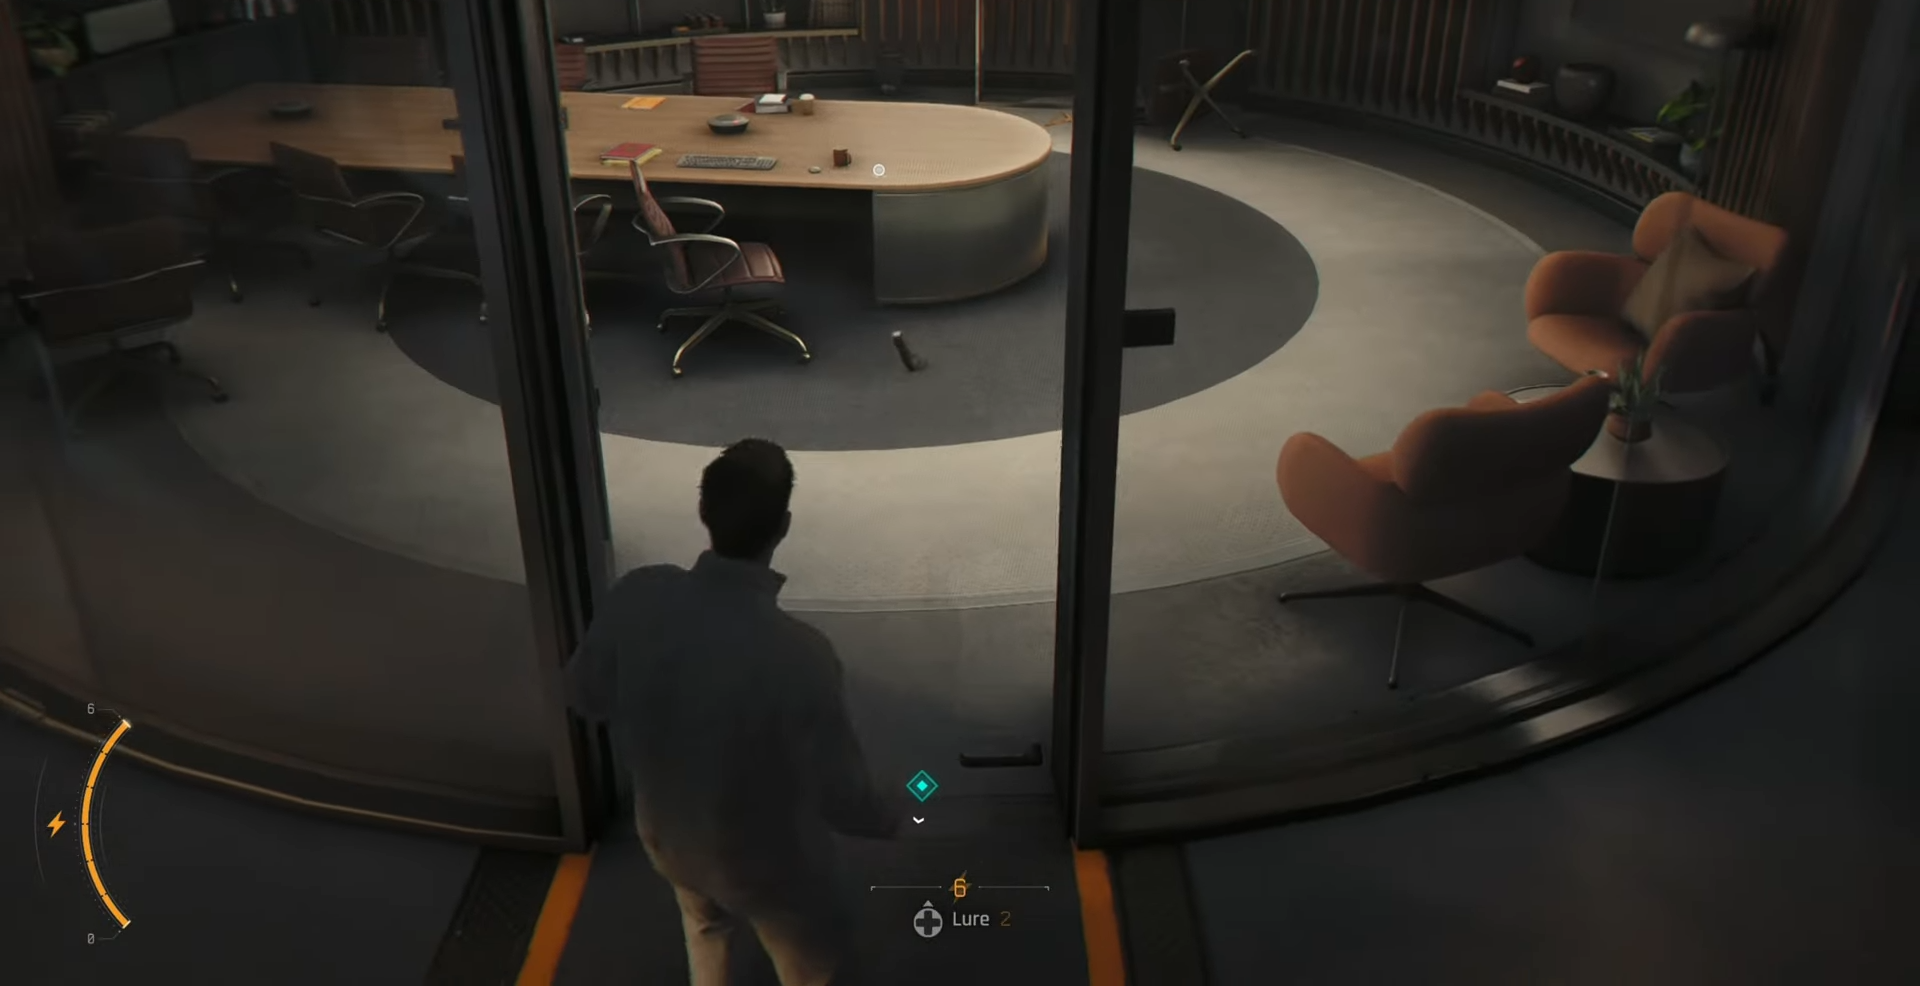
The card is on the table inside.
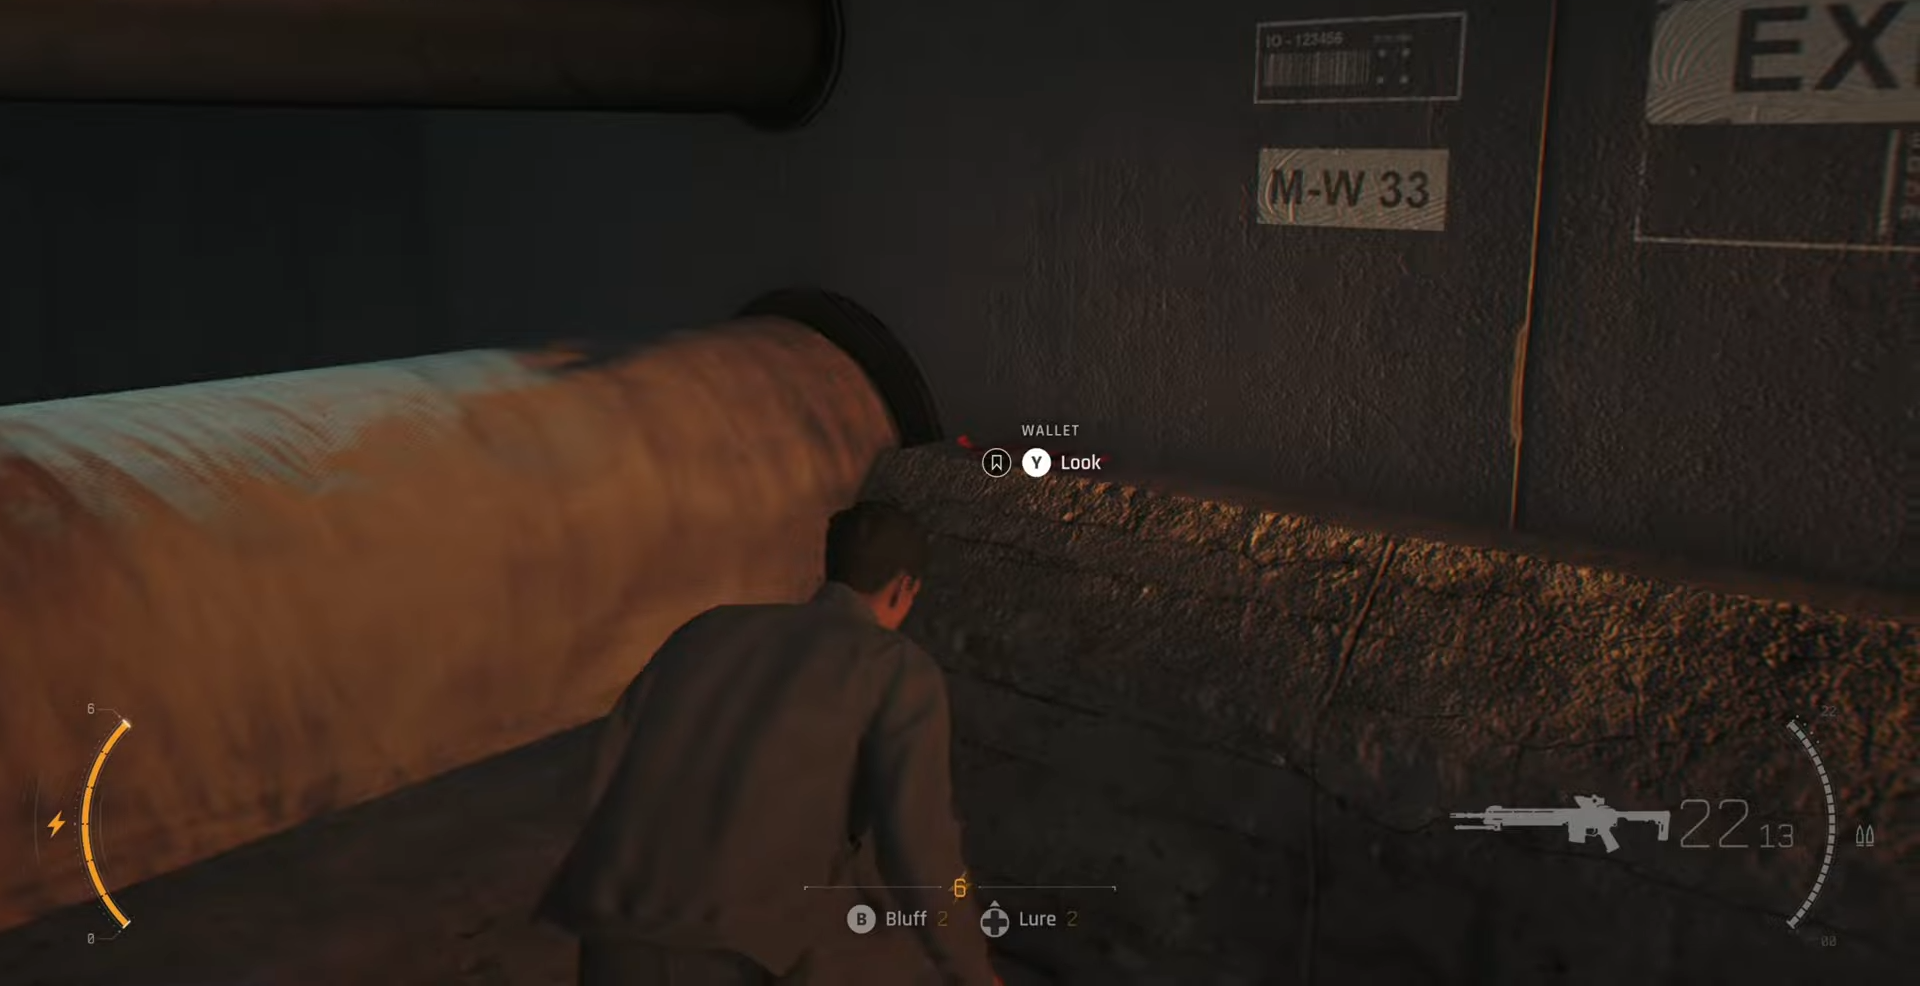
Wallet Intel (Eve Moneypenny)
A little while after defeating the two snipers, you enter a service tunnel.
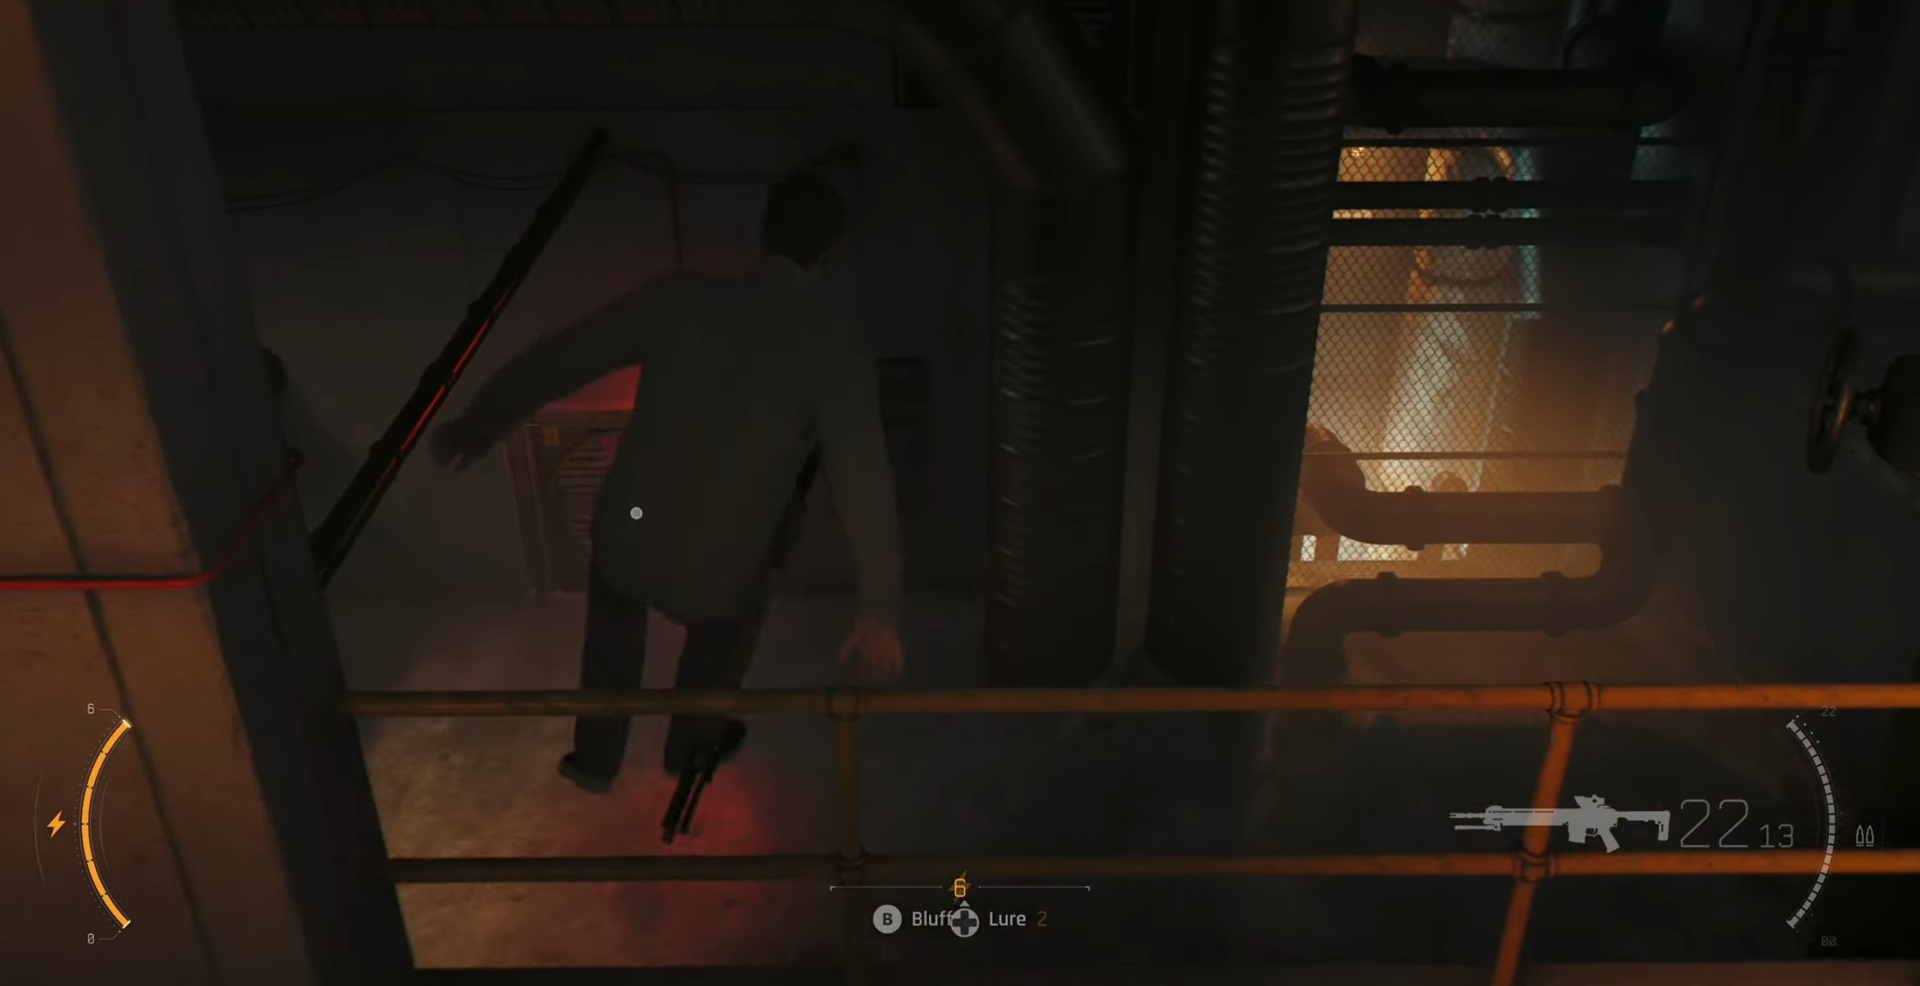
Use the wall panel to turn off the fan, then go through.
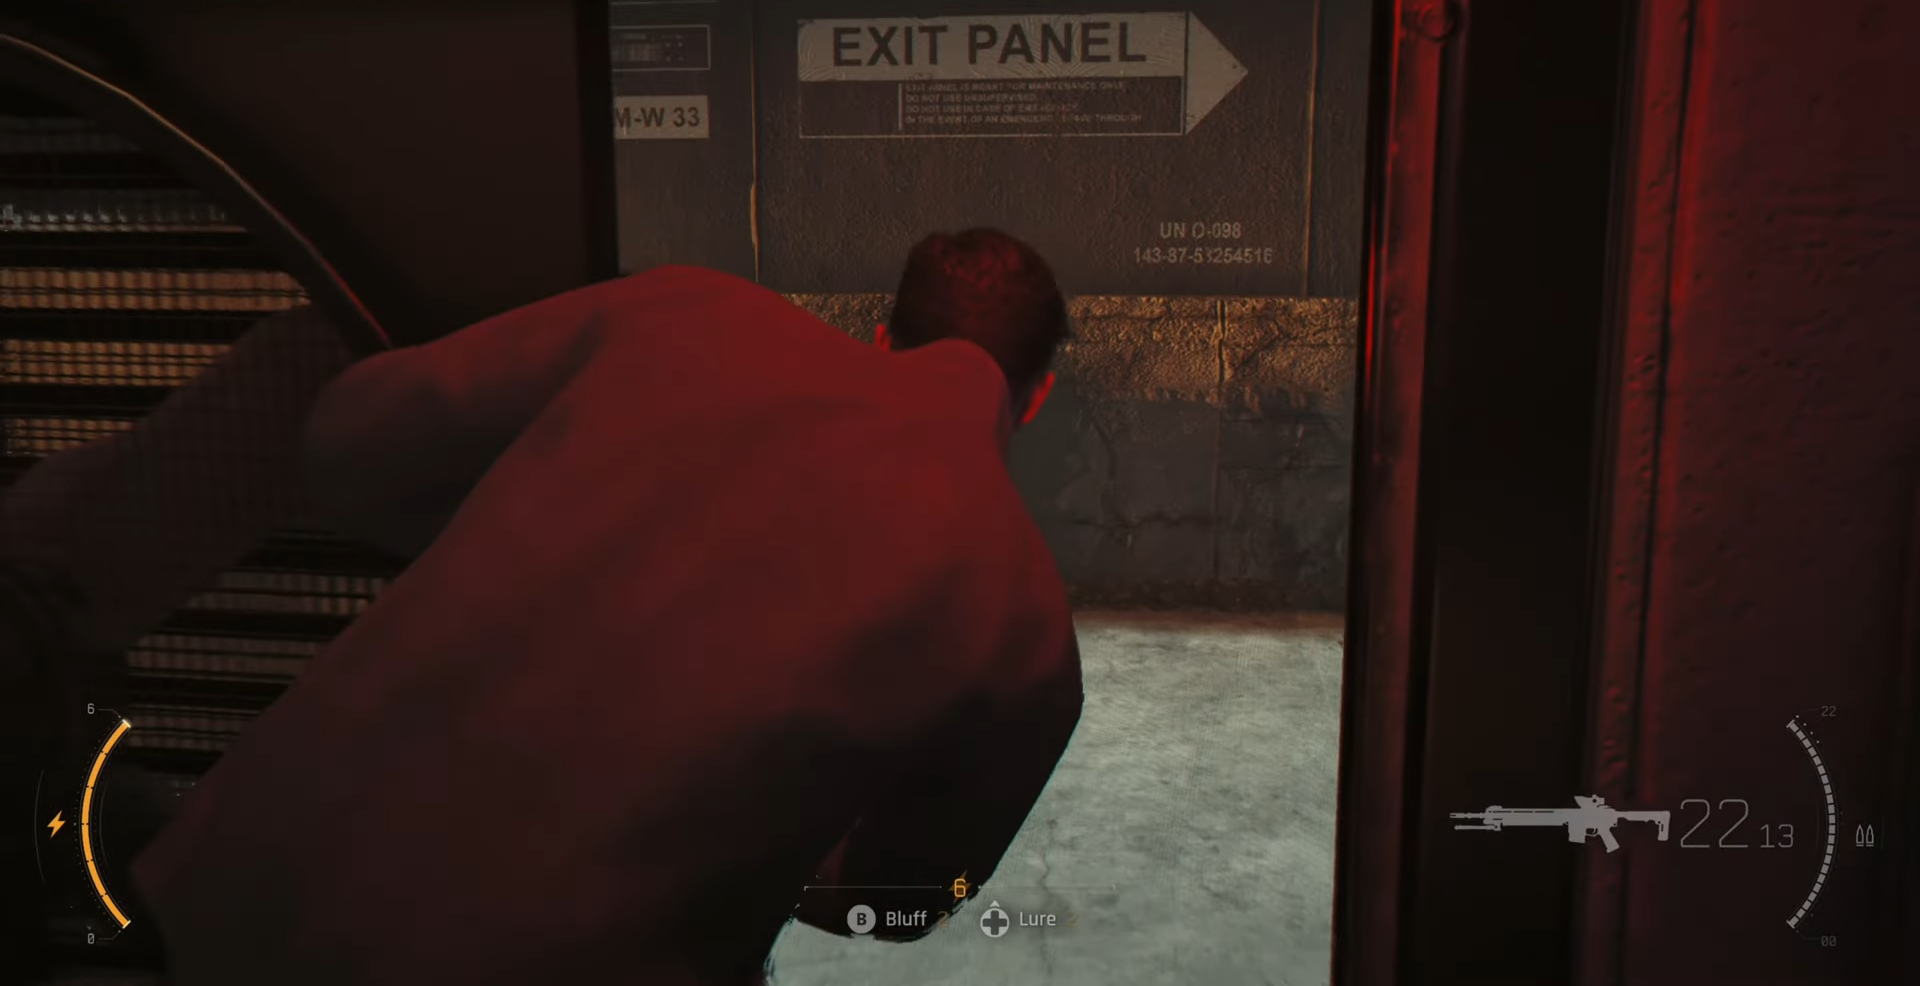
The Wallet is straight in front on the ledge, before climbing down the ladder.
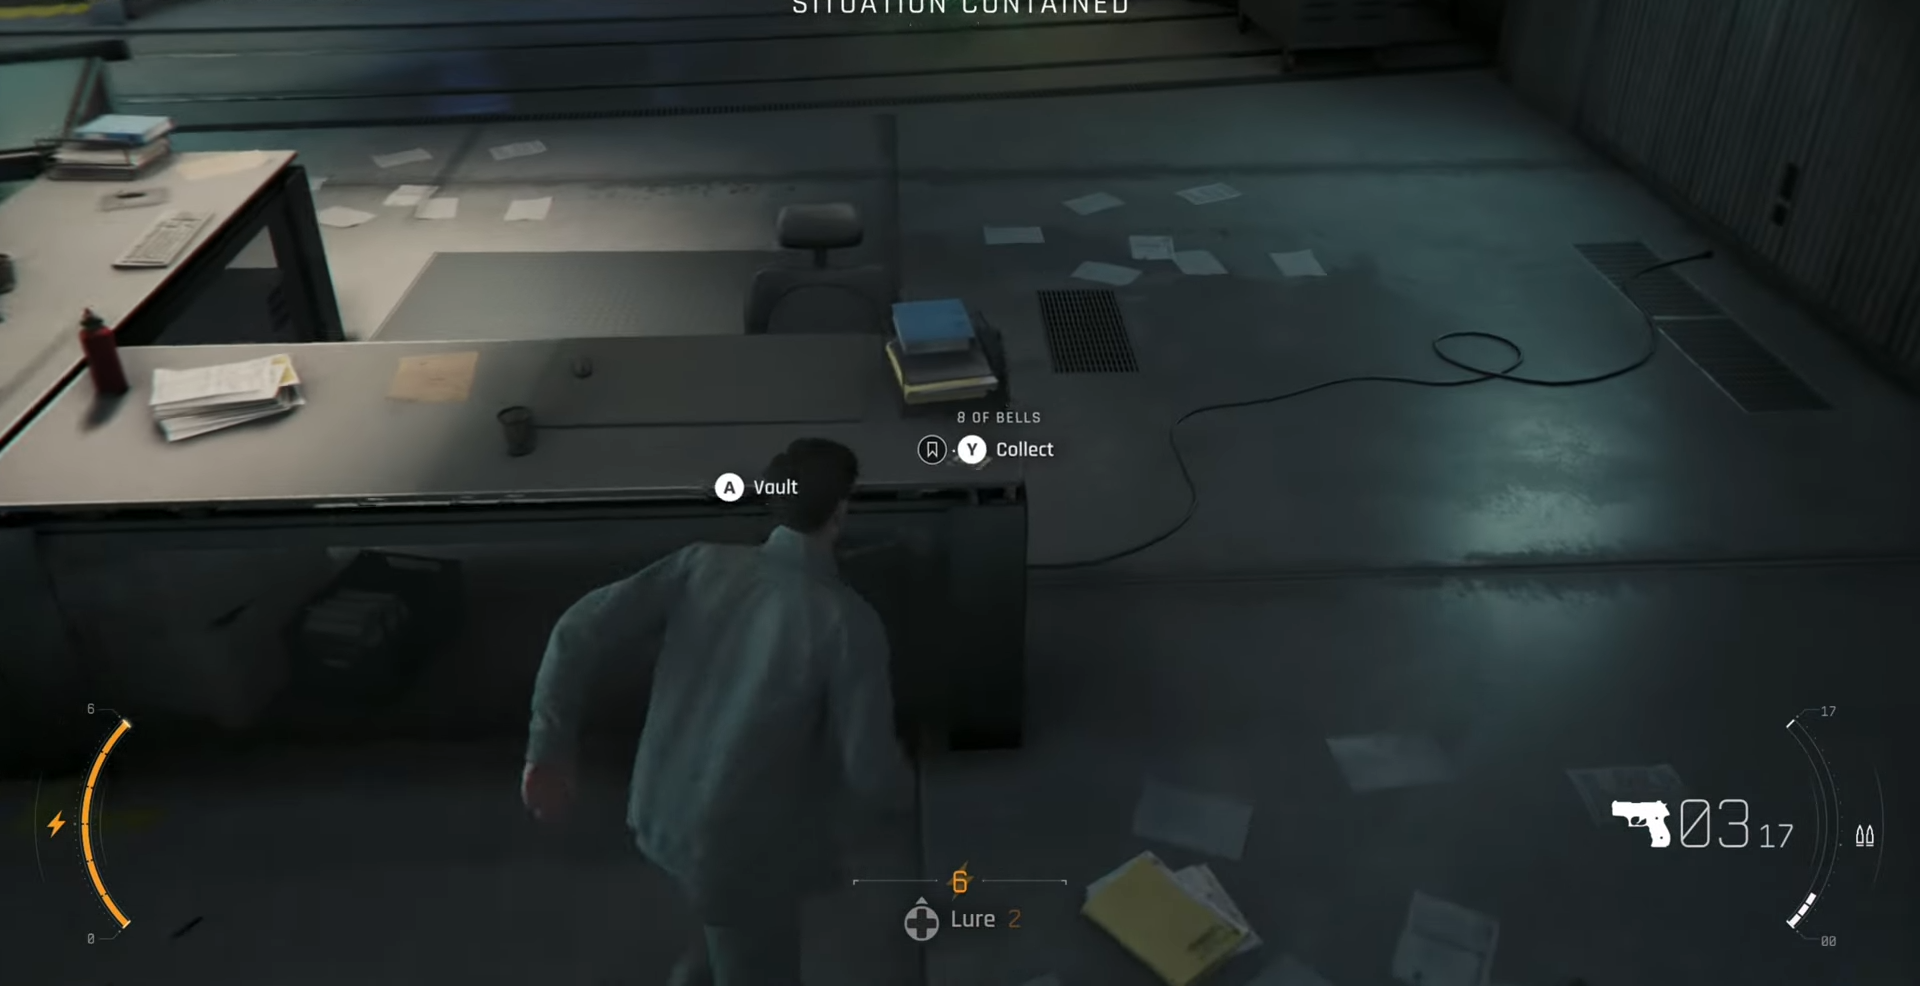
8 of Bells Card
After dropping through the elevator, defeating the 3 enemies.
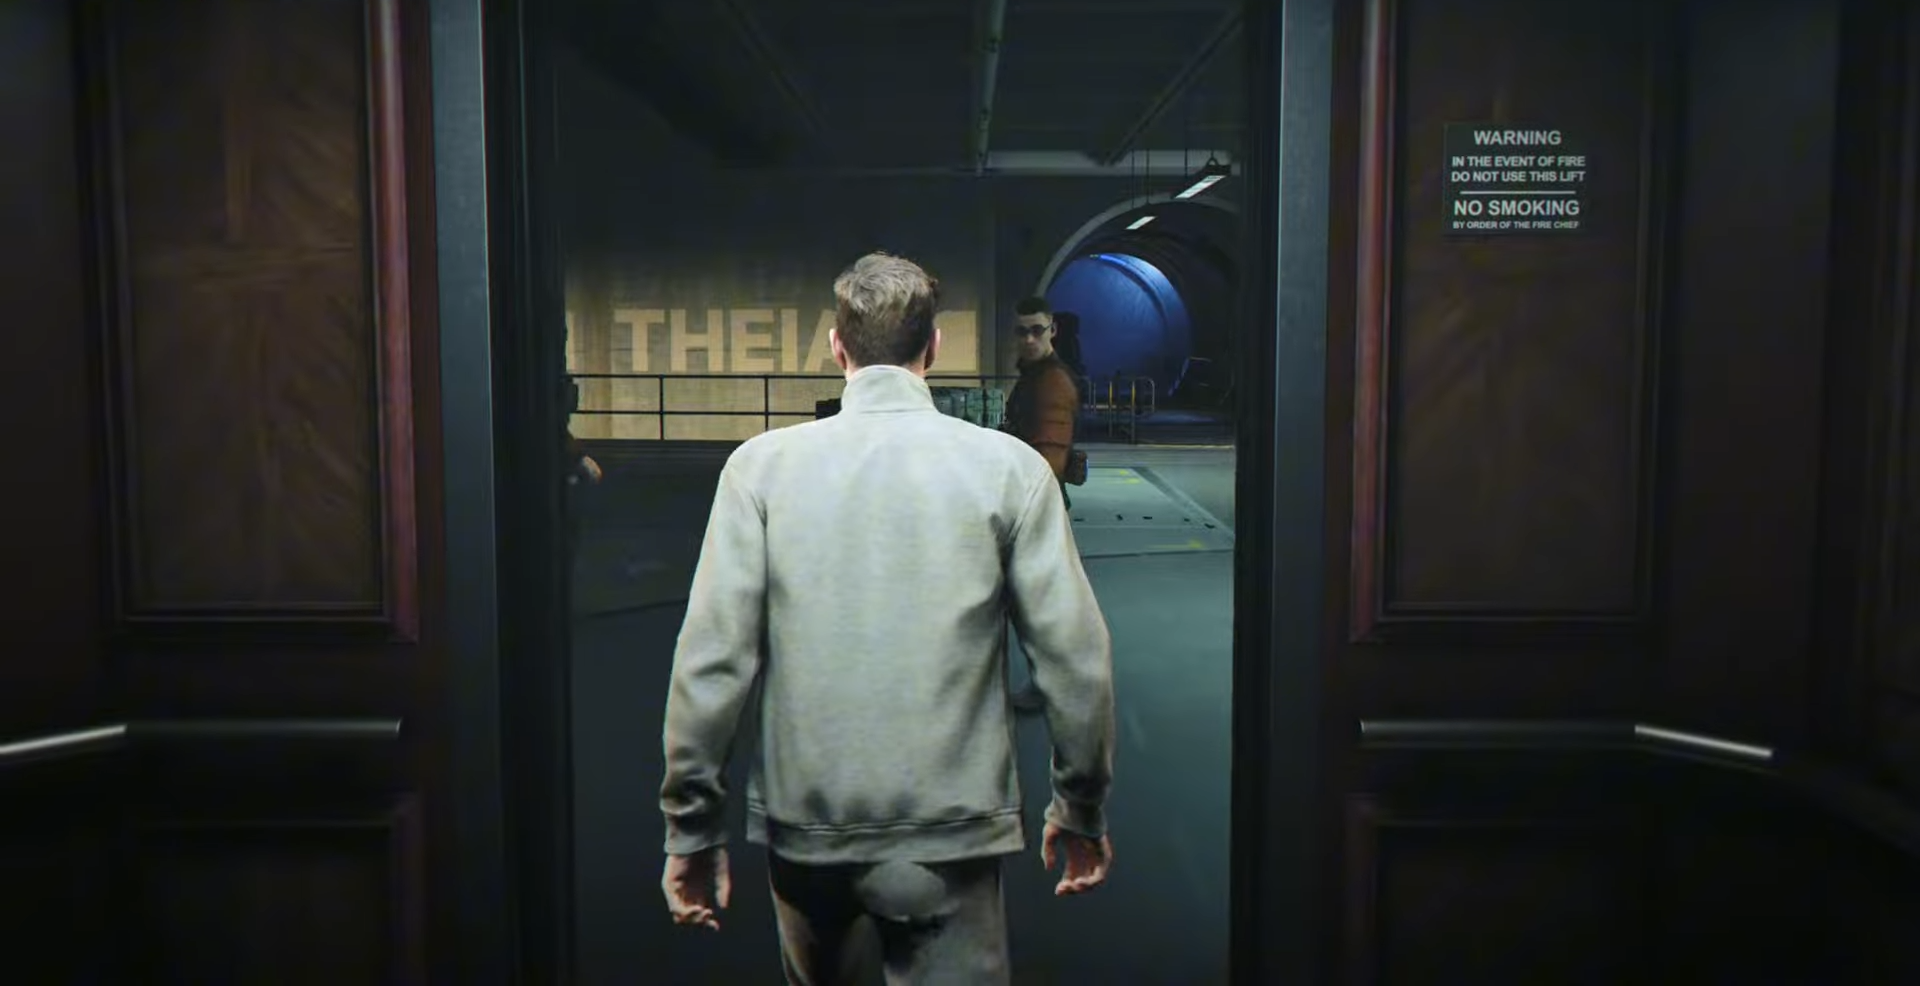
Then find the card on the desk to the right.
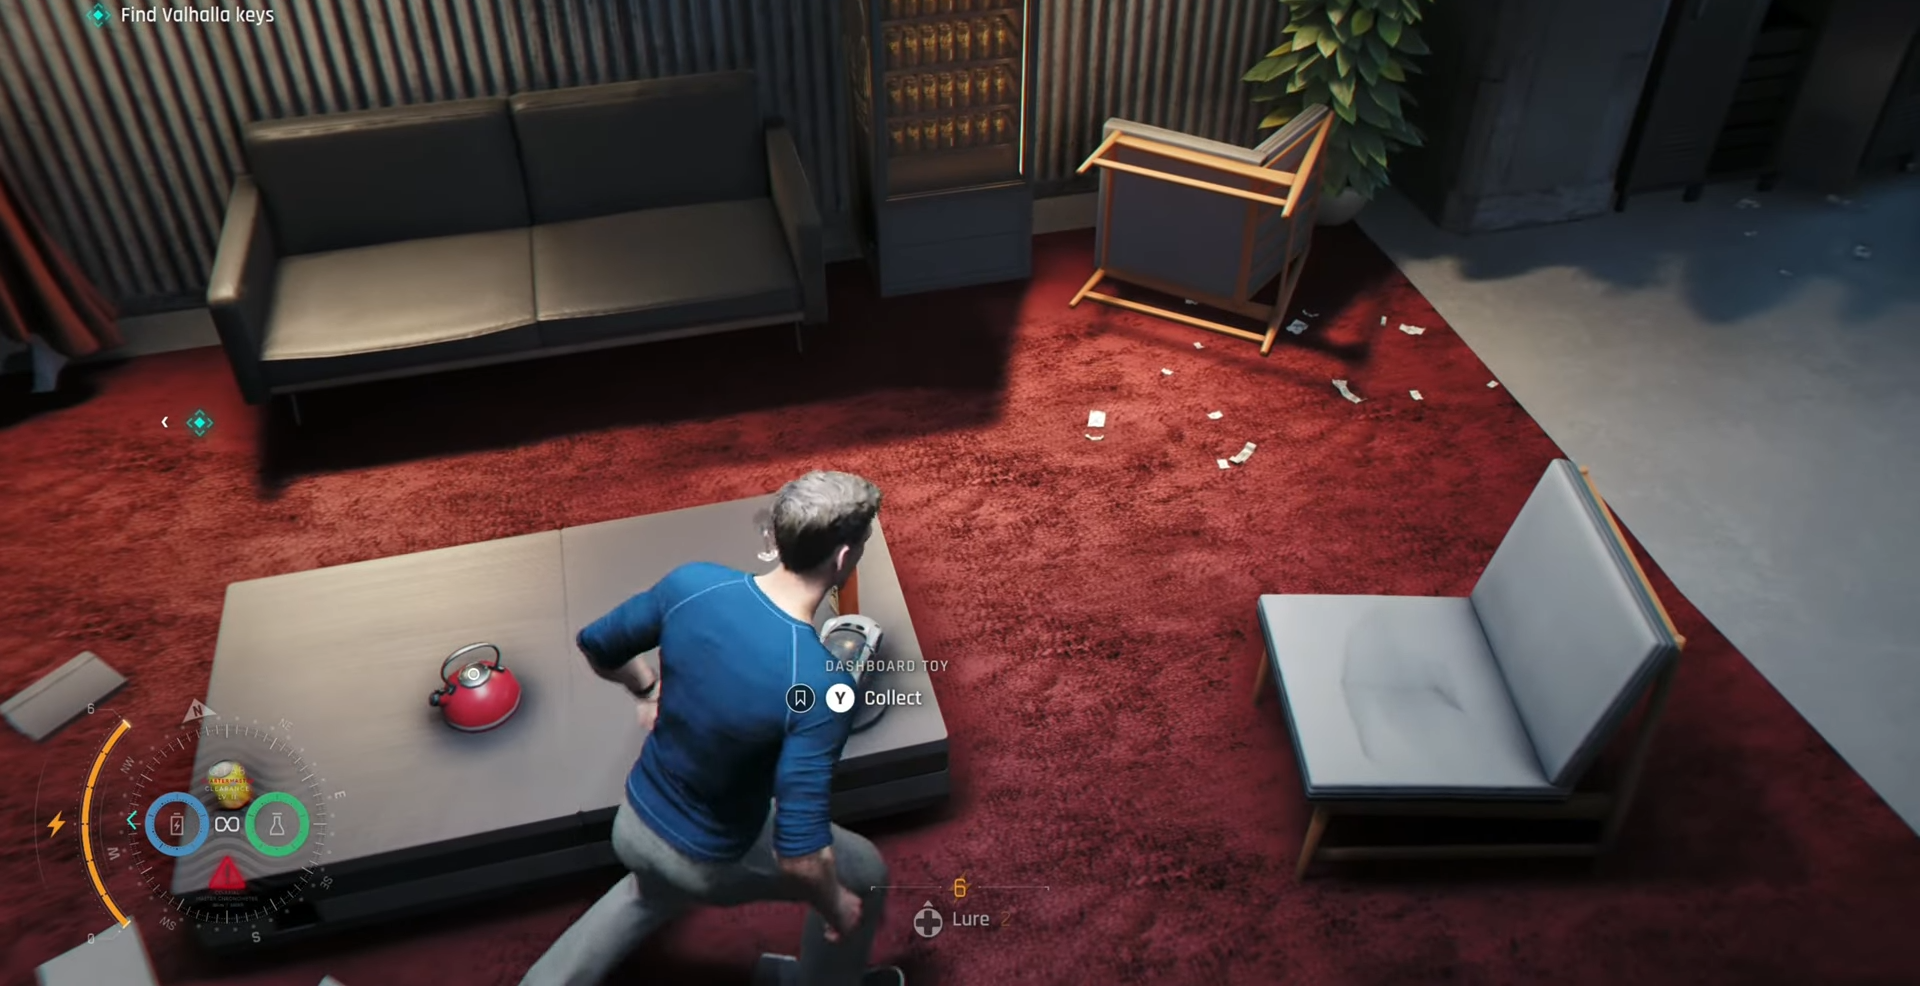
Dashboard Toy Memento
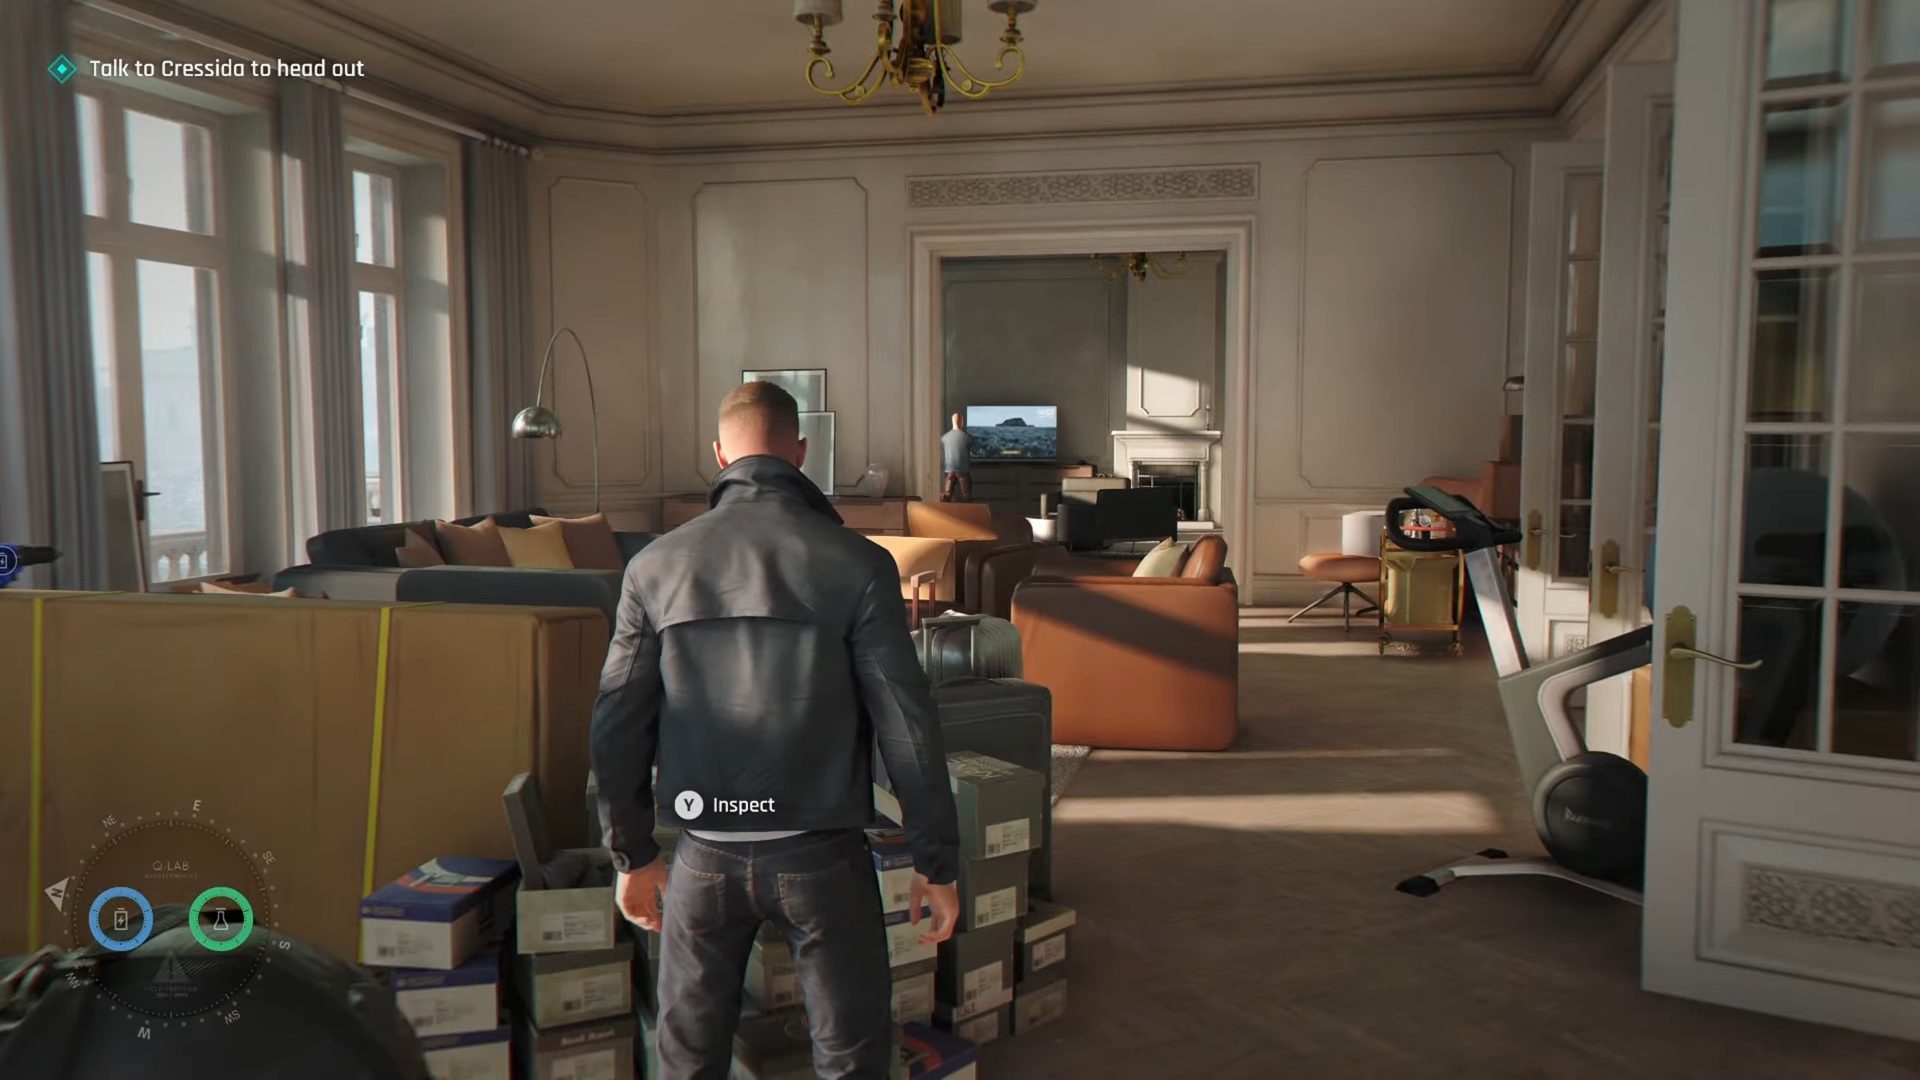
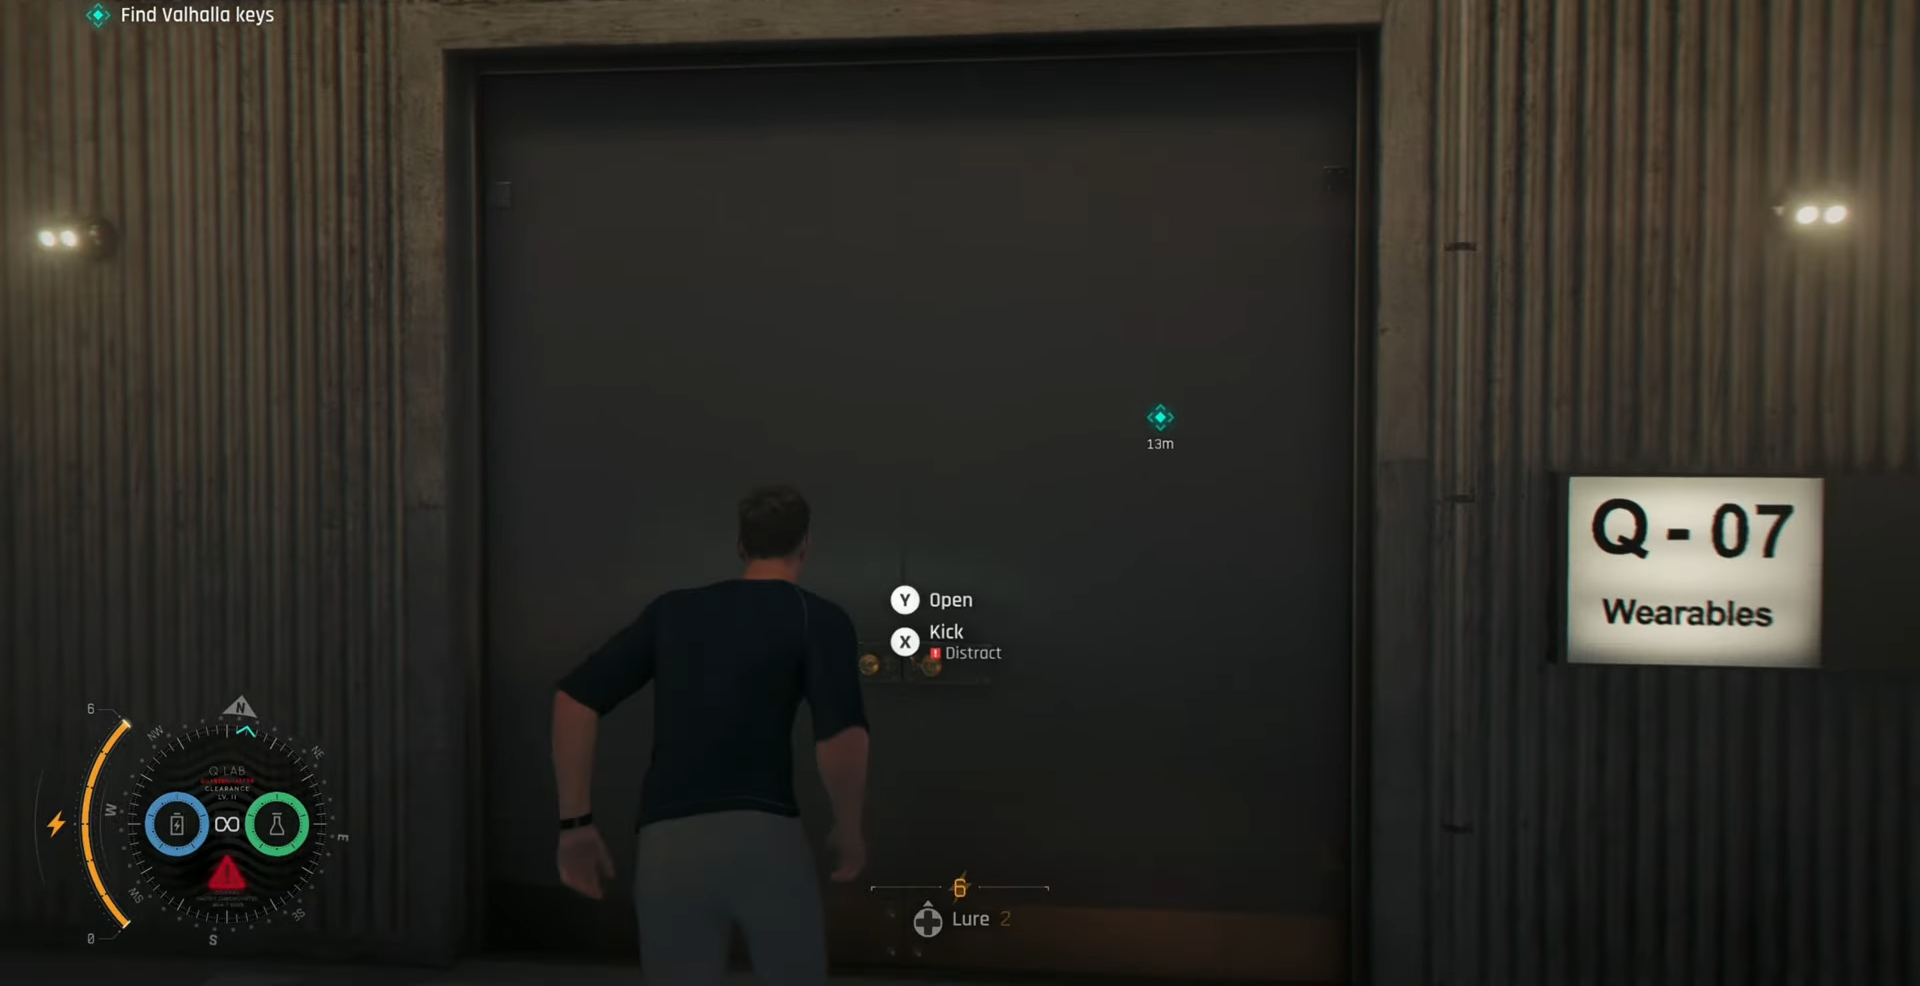
Once you reach the Q-Lab, head into the Q-07 Wearables section (where the main objective is).
The collectible is on the small coffee table.
Critical Tips & Mistakes to Avoid
-
Nothing is missable — you can collect everything via Chapter Select if you miss any
-
Collectibles save instantly when picked up — no need to reach the next checkpoint
-
Equip the Laser Strap (unlocked Chapter 9) — while not needed in Chapter 17, it’s essential for earlier chapters
-
Wait a few seconds after collecting the final item before quitting — this ensures the trophy/achievement triggers properly
-
Press Touchpad to see by-type tracker (game has no by-chapter tracker)
And that’s it! With these, you would have collected everything available in Chapter 17.