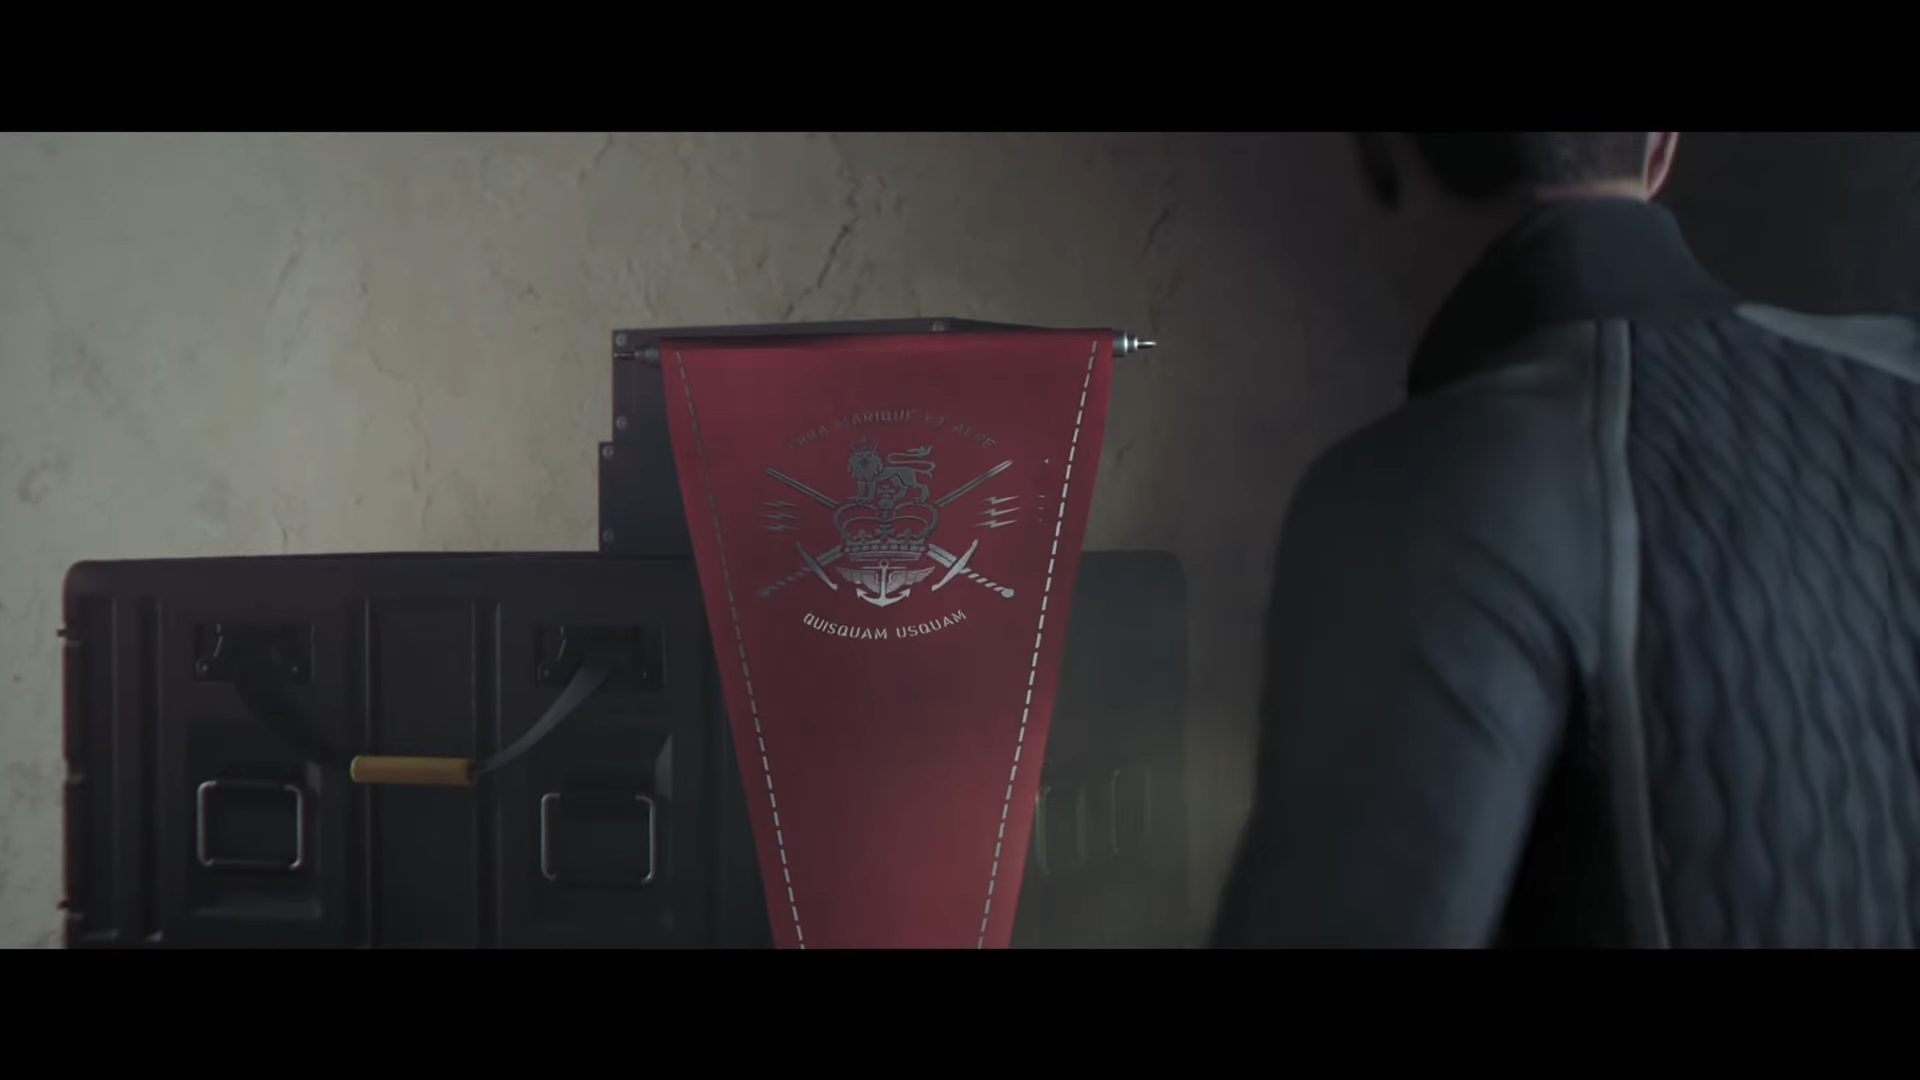
The fastest way to beat the White Flag challenge in 007: First Light is to take the rooftop zipline route to the flag, stay crouched in bushes, and avoid any takedowns or non‑scripted combat until the capture cutscene triggers.
-
How to complete the White Flag challenge in 007 First Light
- Step 1: Load the correct checkpoint and prep your mindset
- Step 2: Commit to a strict no‑takedown rule
- Step 3: Start in crouch and move from bush to bush
- Step 4: Use the side route toward the main building
- Step 5: Transition to stealthy vertical traversal
- Step 6: Reach the rooftop and zipline toward the flag
- Step 7: Drop into the flag room without being spotted
- Step 8: Interact with the flag and let the cutscene trigger
- Critical mistakes to avoid during White Flag
How to complete the White Flag challenge in 007 First Light
Step 1: Load the correct checkpoint and prep your mindset
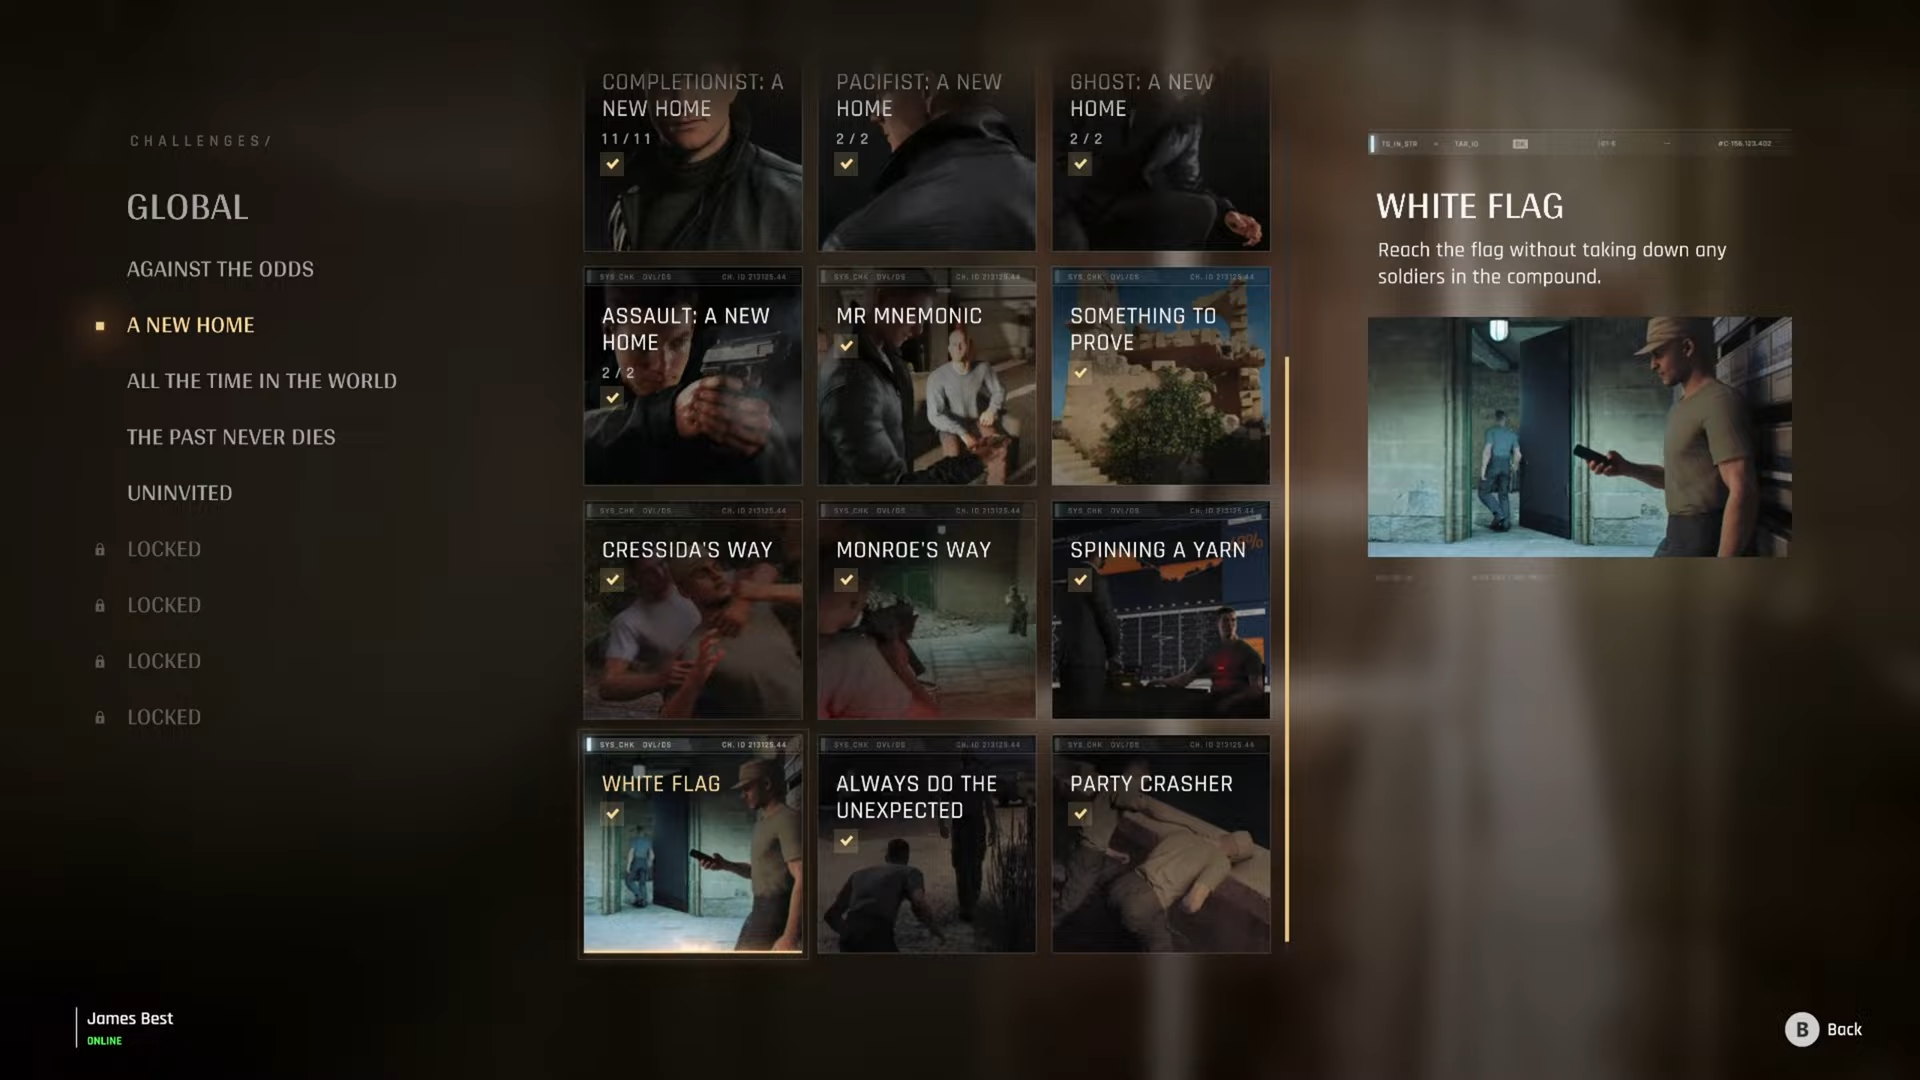
From the mission select, load the A New Home mission and choose the compound/flag segment checkpoint (often “Search the Compound” or equivalent) so you start close to the White Flag attempt without replaying the whole chapter. Focus on a pure stealth, no‑takedown mindset from the moment you gain control.
Step 2: Commit to a strict no‑takedown rule
As soon as Bond appears in the compound section, avoid using melee takedowns, grapples, weapons, or environmental kills entirely until you touch the flag. Scripted tutorial actions from earlier checkpoints do not affect this challenge, but anything you manually trigger in the compound area will. If in doubt, reload immediately.
Step 3: Start in crouch and move from bush to bush
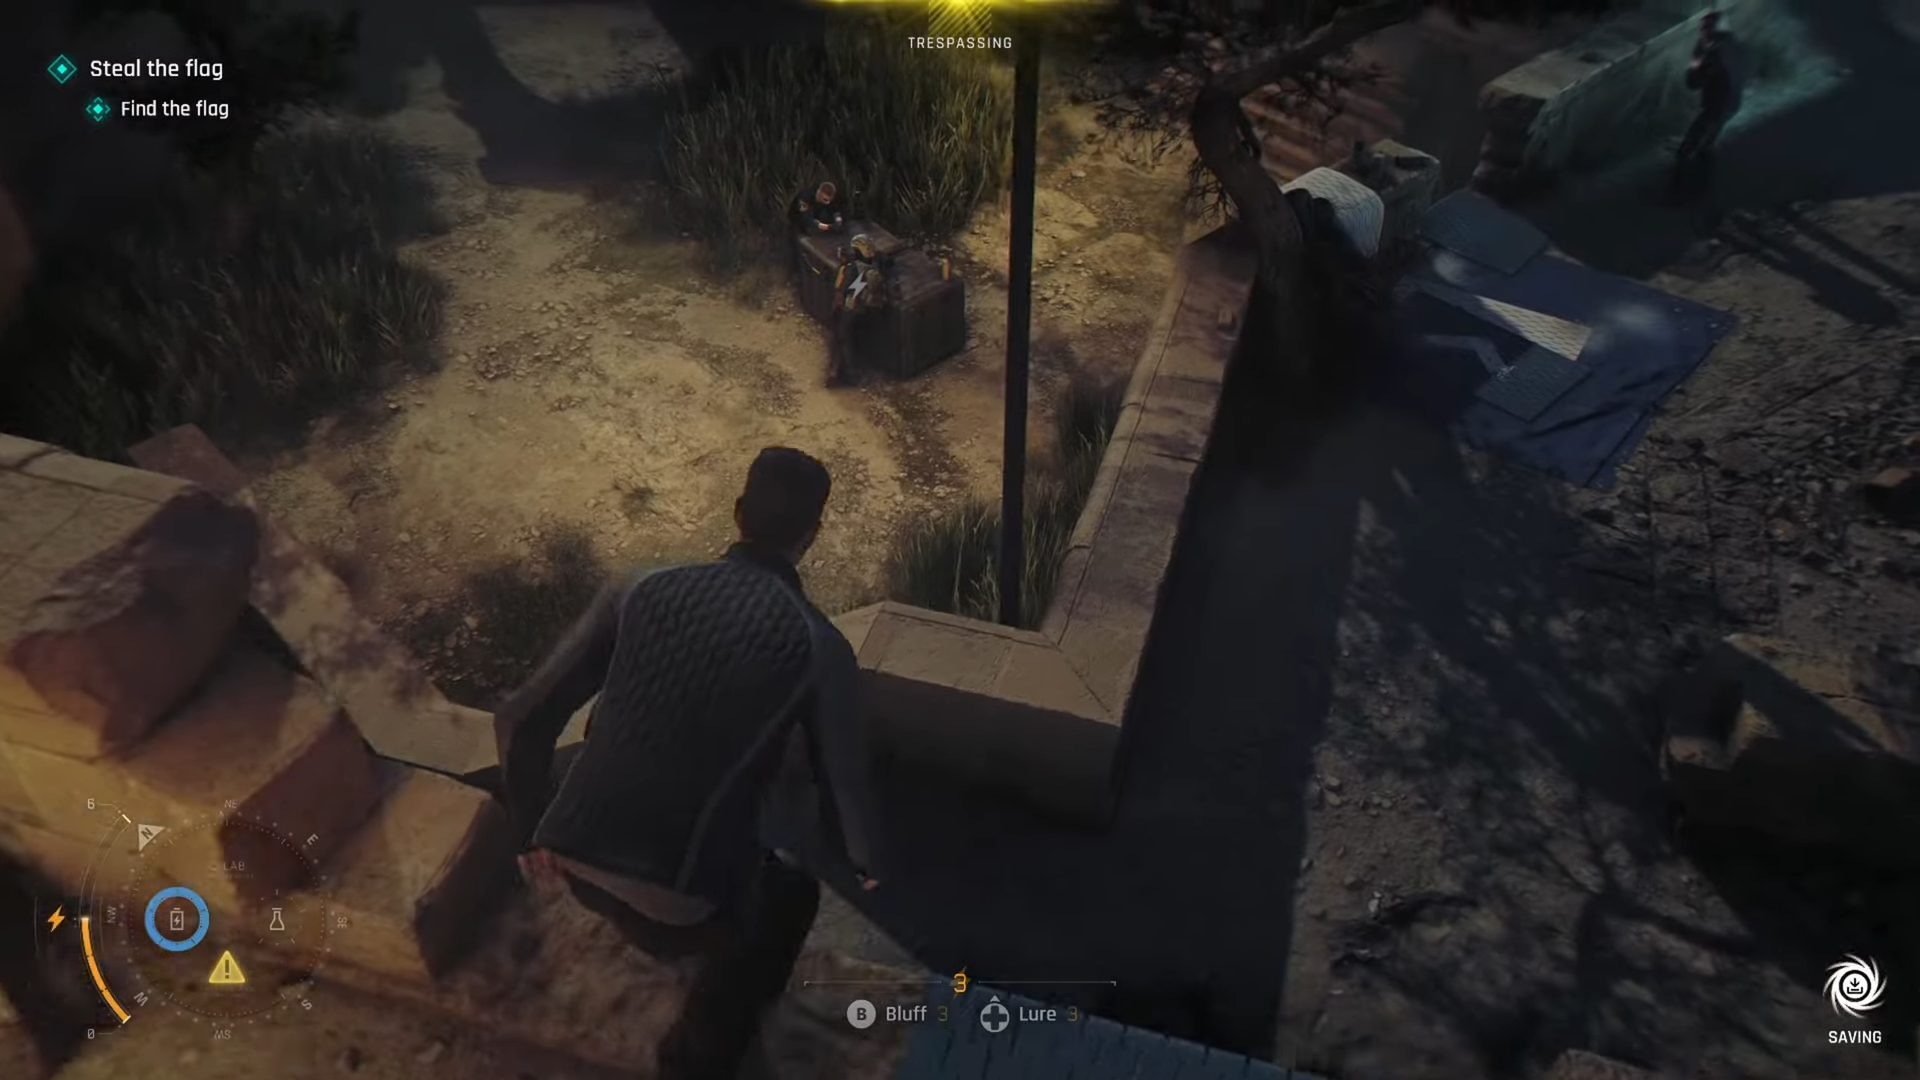
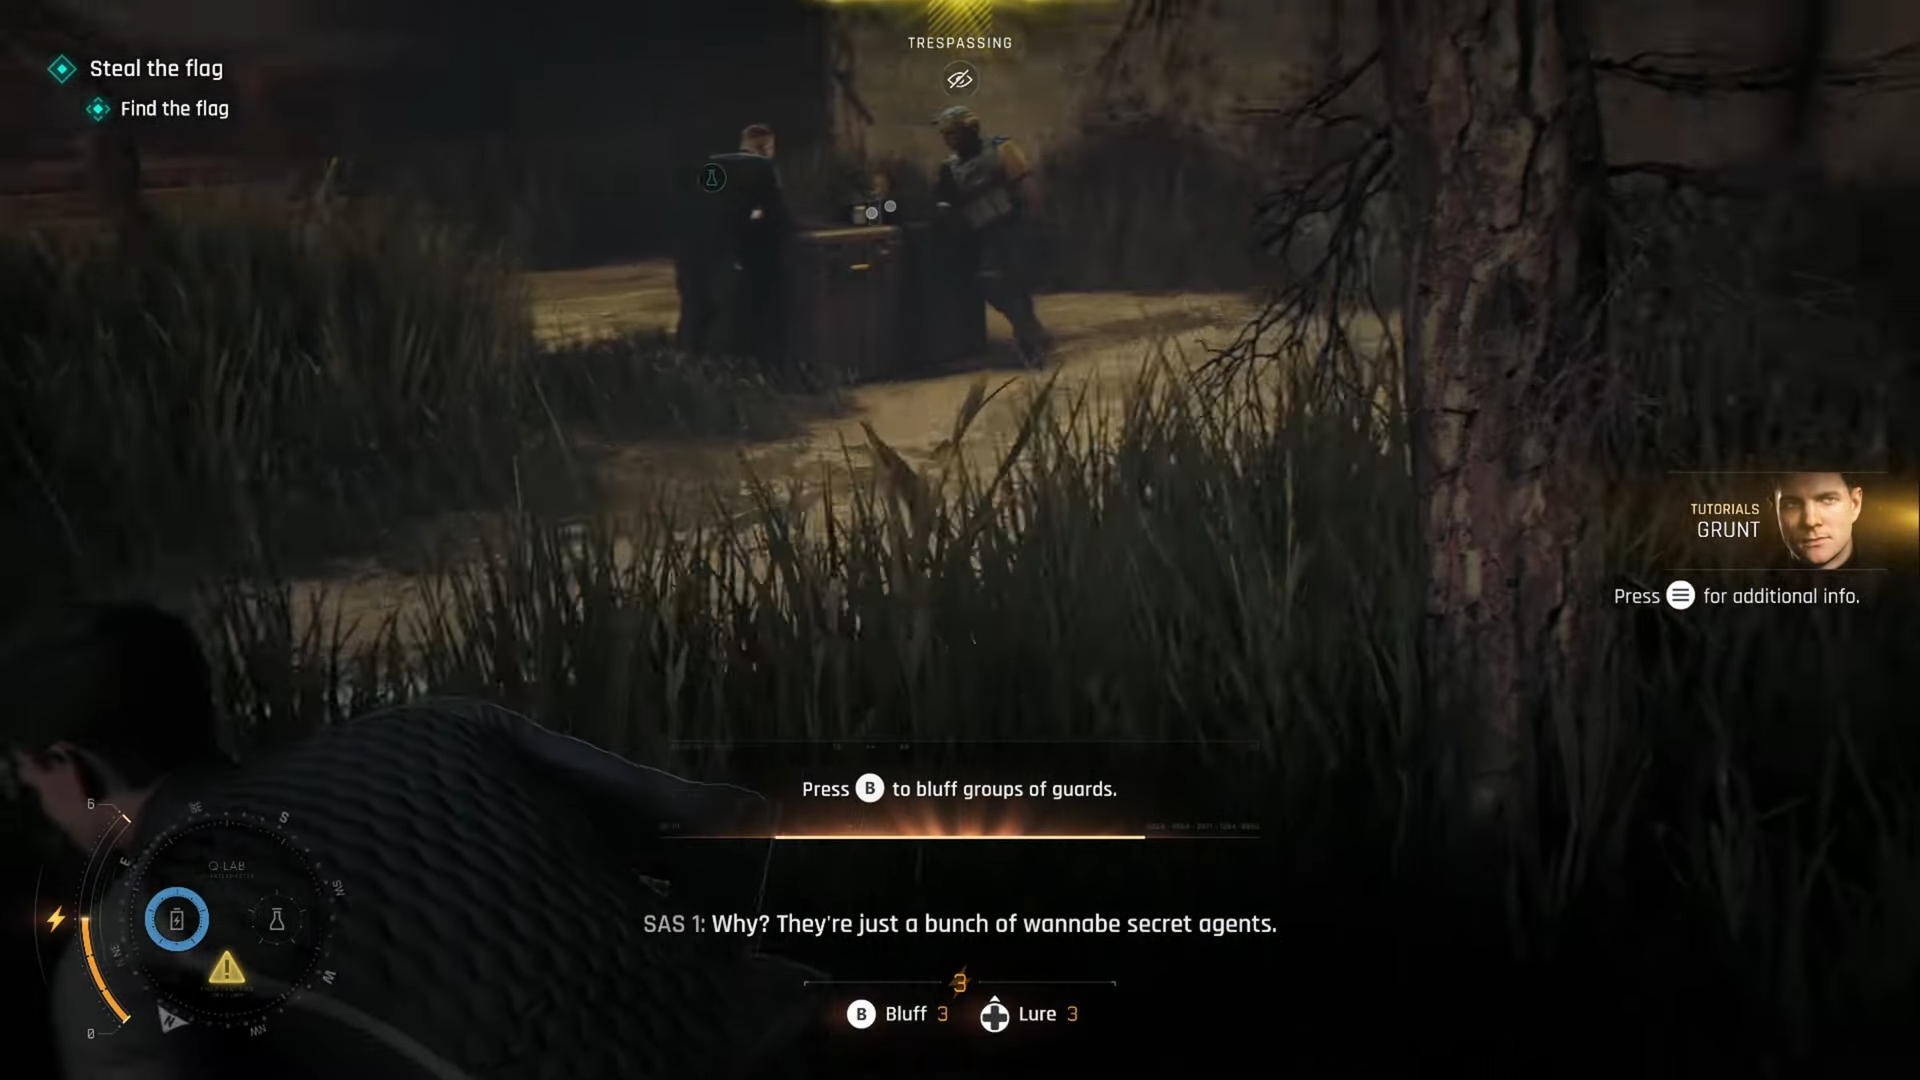
Immediately enter crouch and move from bush to bush, using foliage and low cover to break line of sight as you move deeper into the compound.
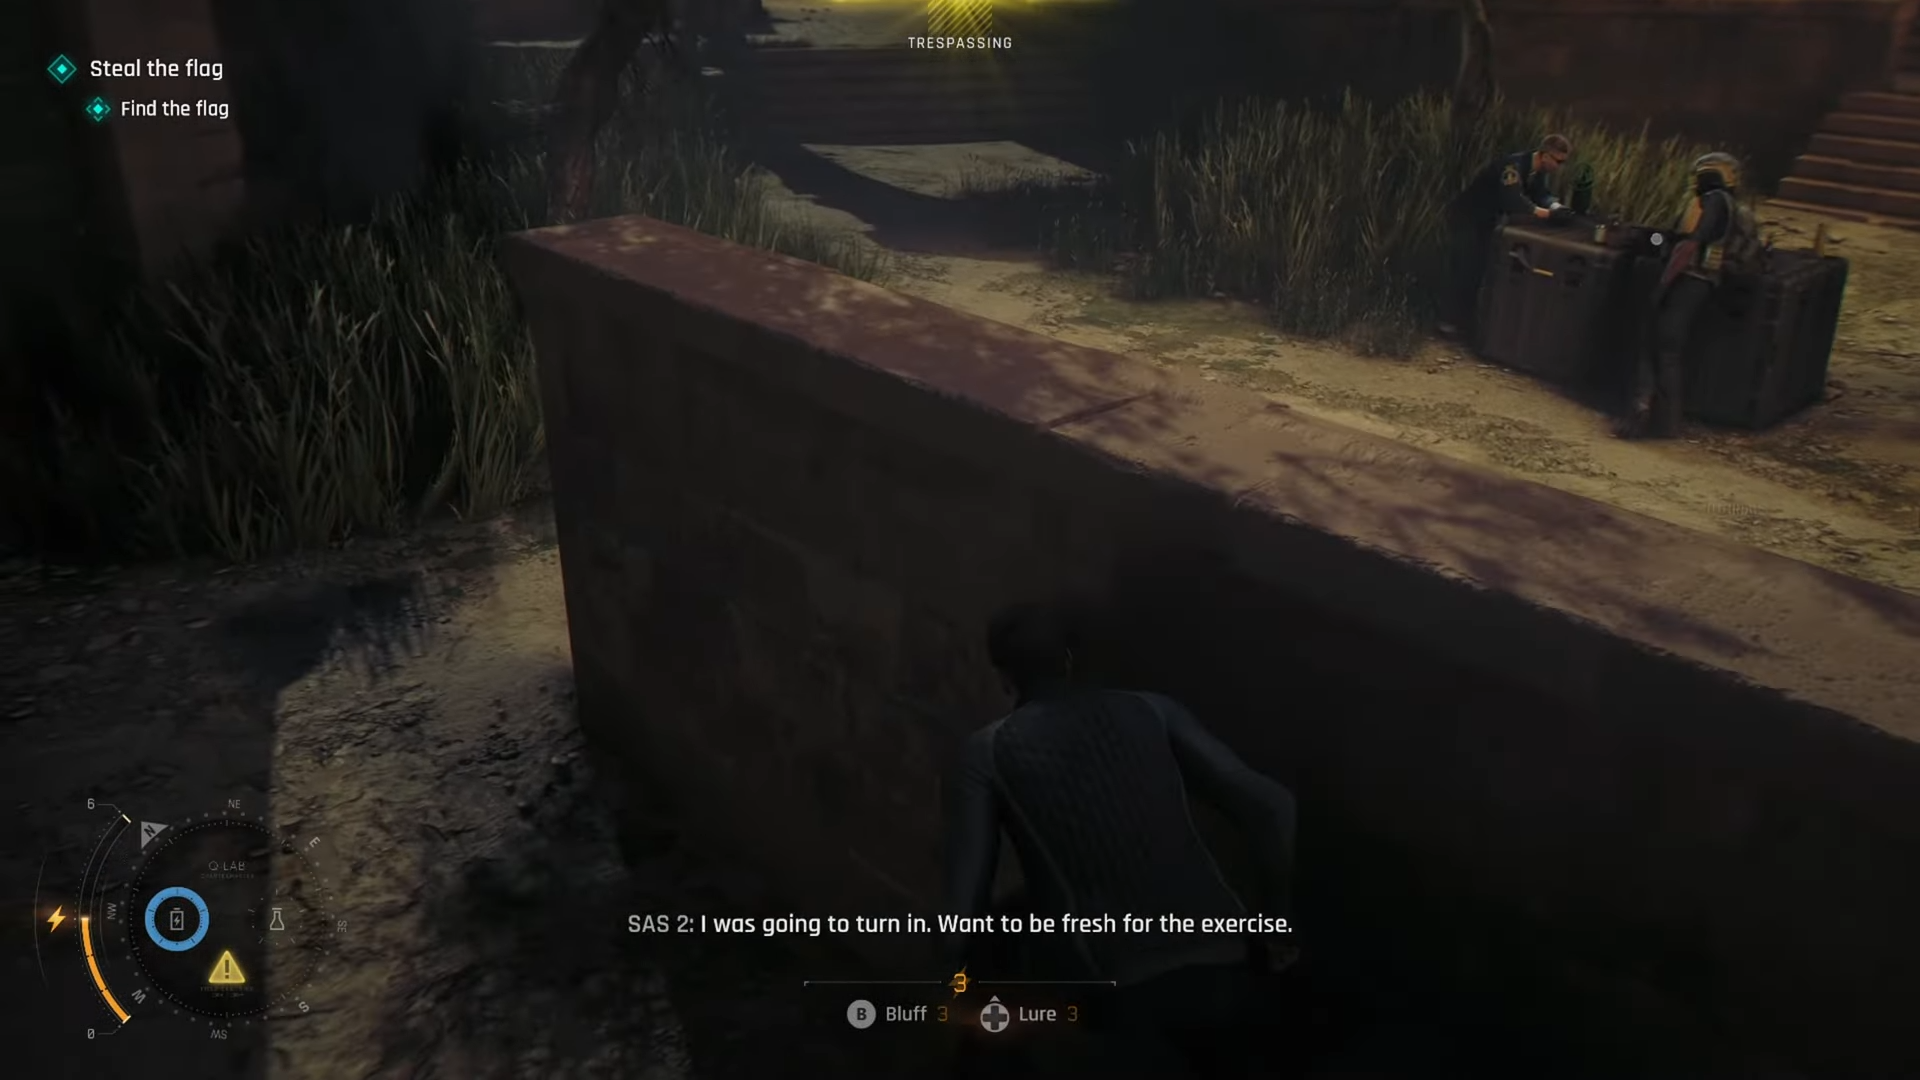
Guards’ cones are fairly narrow, so pausing at each bush, watching patrol patterns, and only moving when backs are turned makes this segment safe and repeatable.
Step 4: Use the side route toward the main building
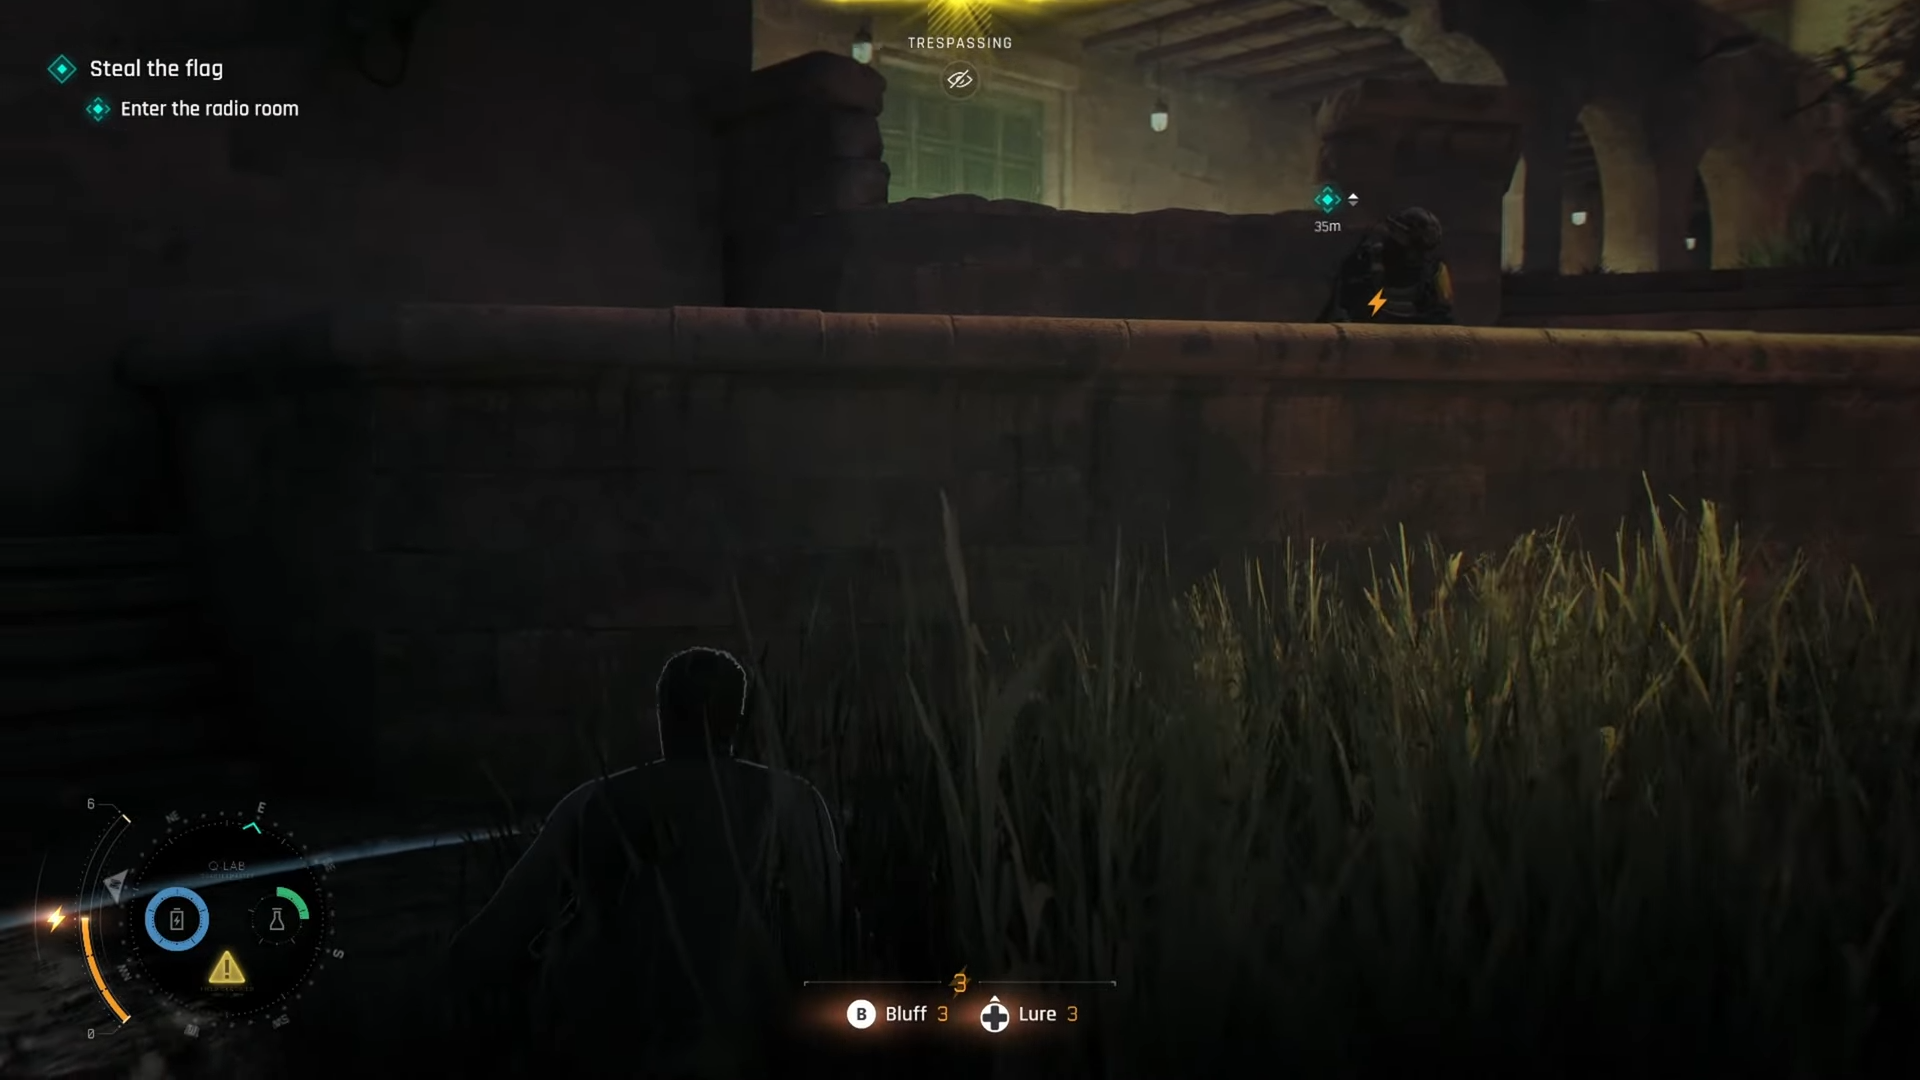
From the starting area, hug the outer edge of the compound, skirting along walls and containers instead of cutting straight through the central yard. This route minimizes crossing sightlines from multiple guards and aligns you with the building where you will transition to the vertical approach toward the flag.
Step 5: Transition to stealthy vertical traversal
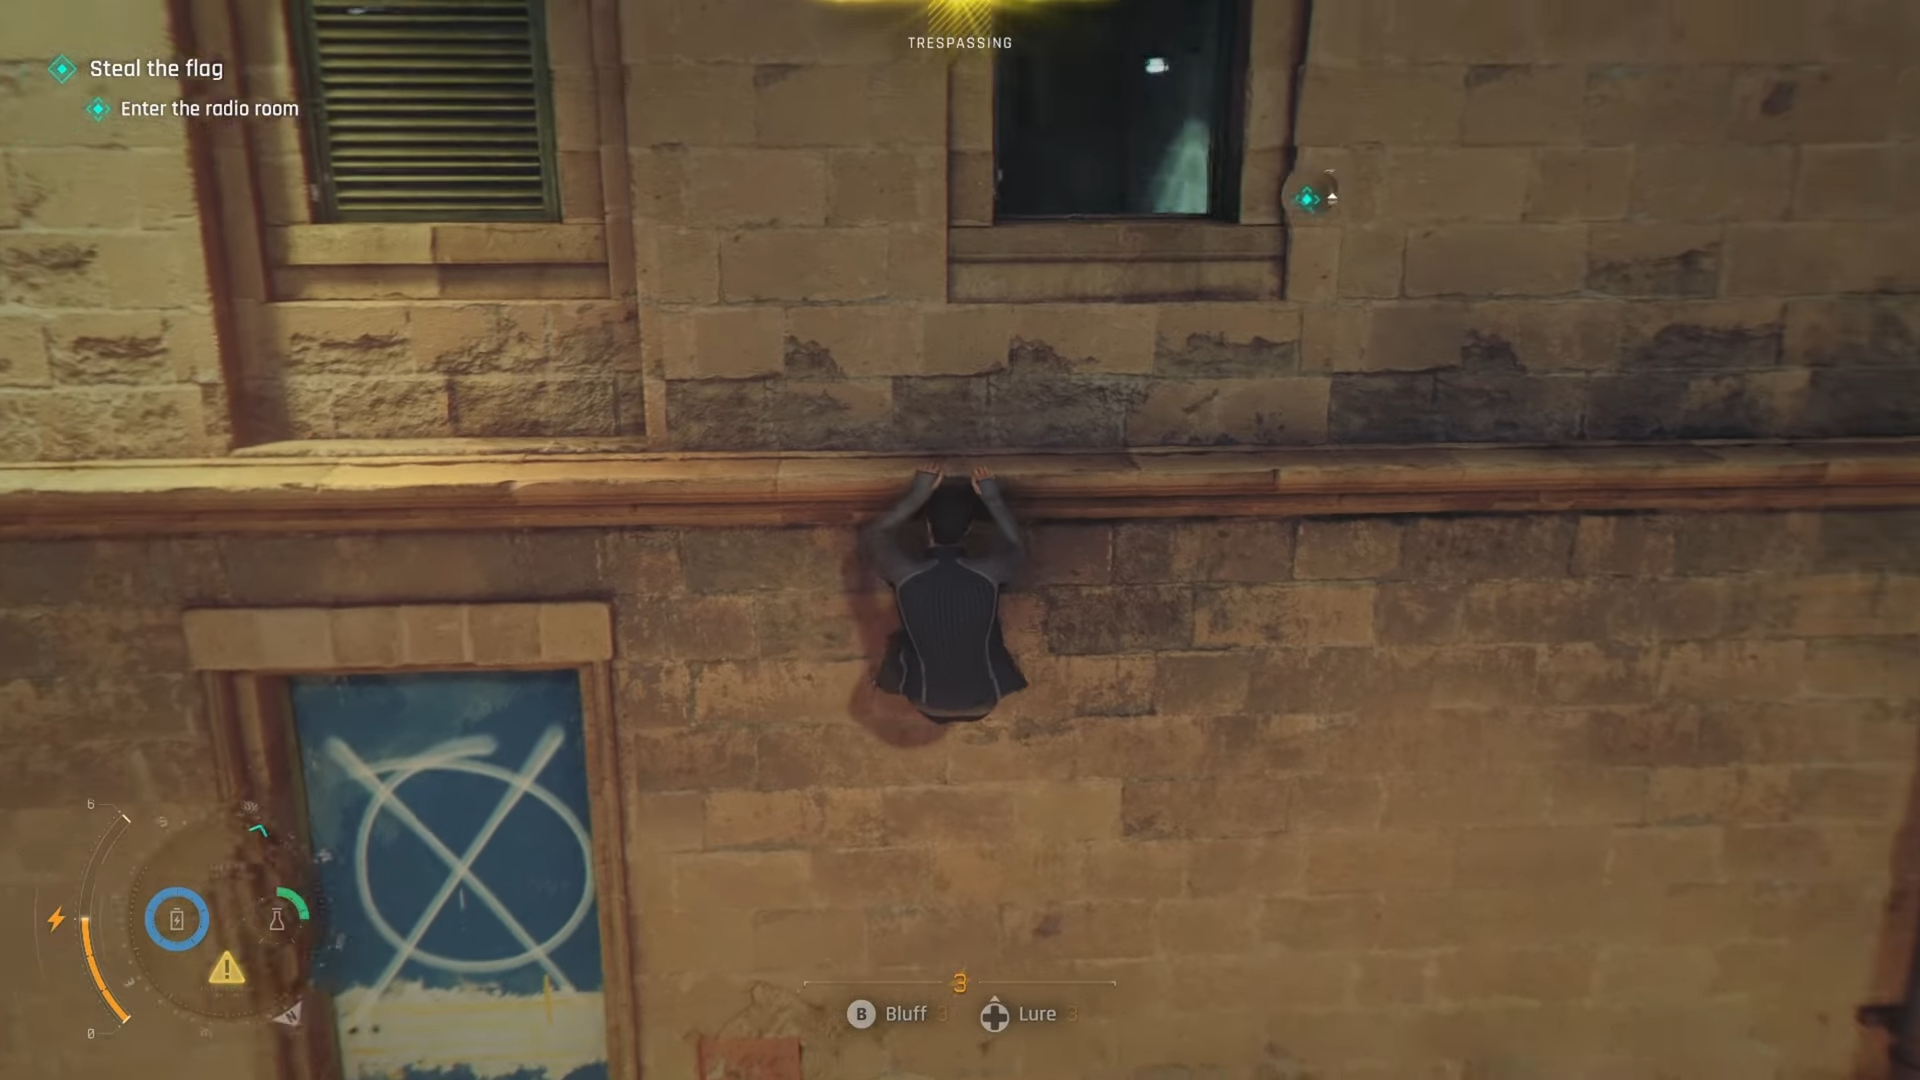
When you reach the building closer to the flag, take the interior/side access, then climb out through the window and use the pipe or ledges to gain height, staying out of the main courtyard.
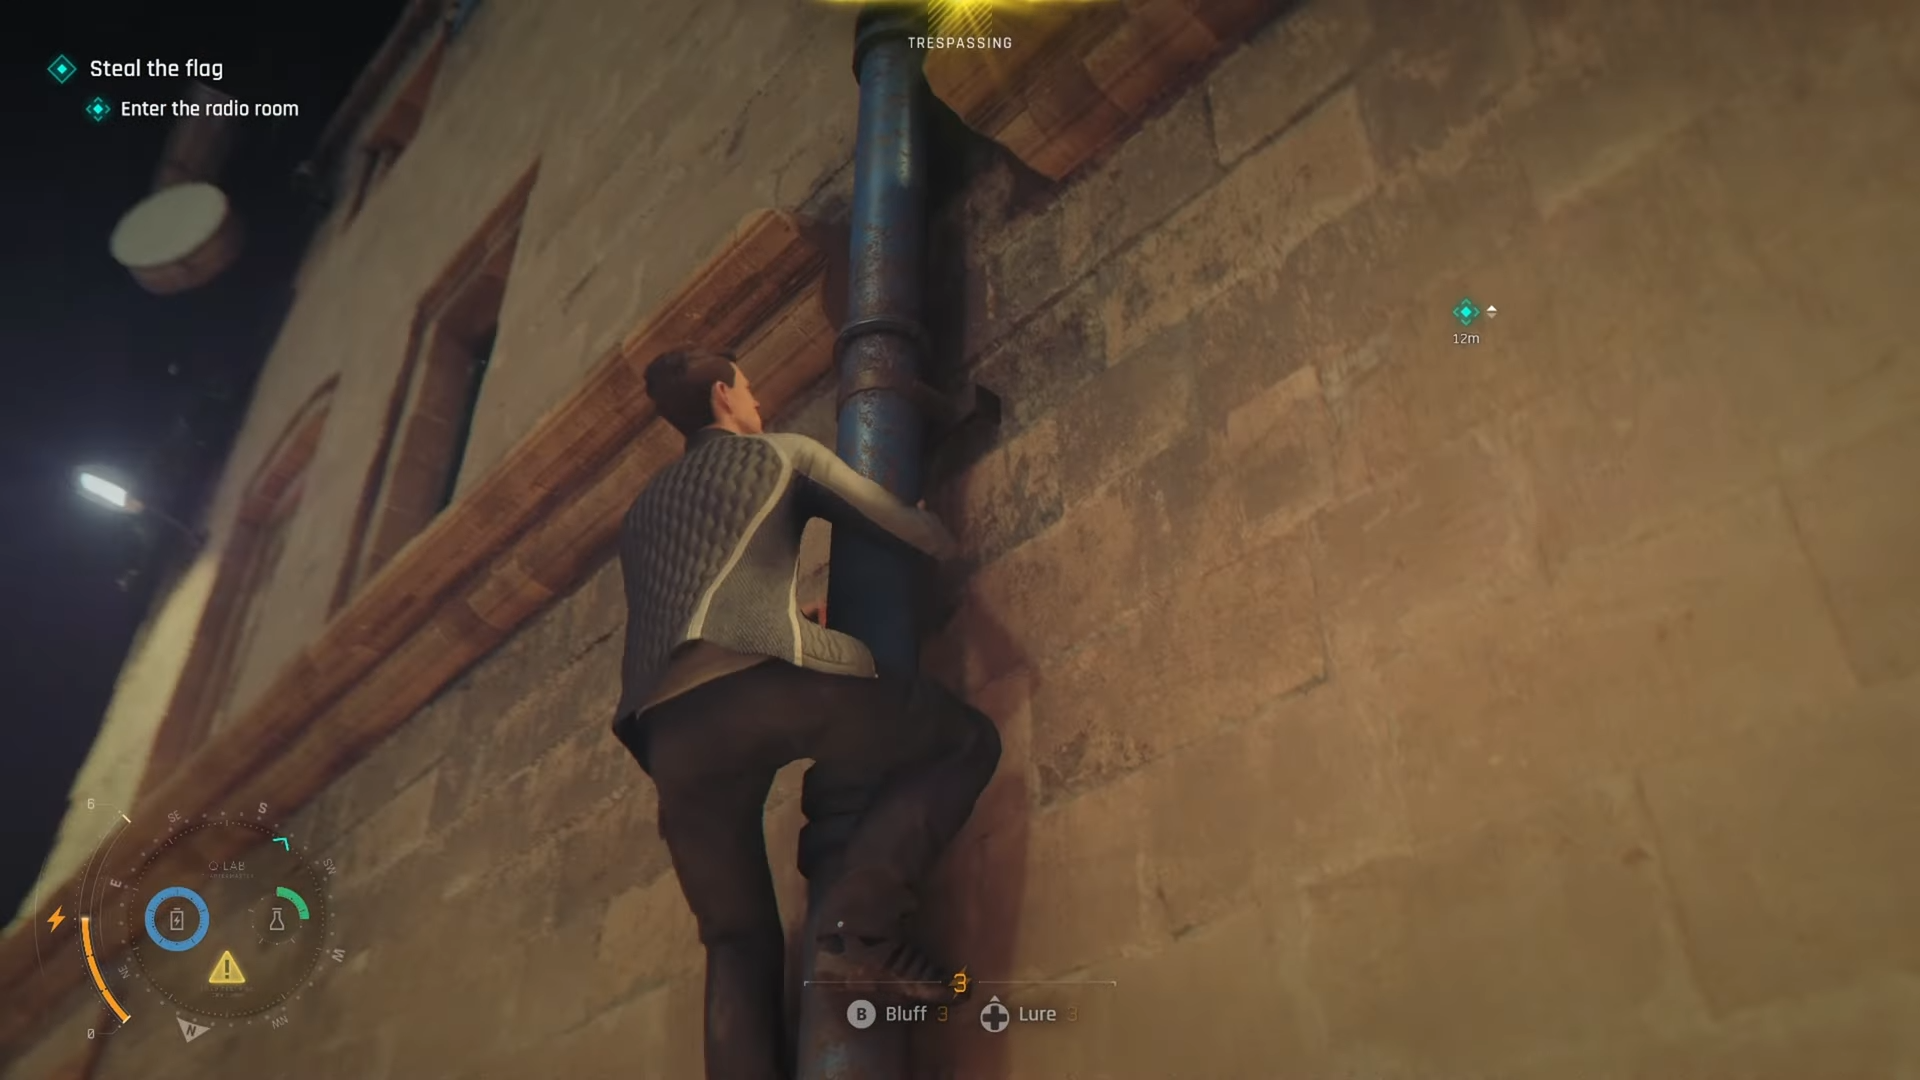
This vertical route keeps you above most patrols, letting you bypass tricky overlapping guard paths altogether.
Step 6: Reach the rooftop and zipline toward the flag
Once you have climbed high enough, cross the rooftop and use the zipline that runs toward the tower/structure overlooking the flag area, staying crouched as you approach the edge.
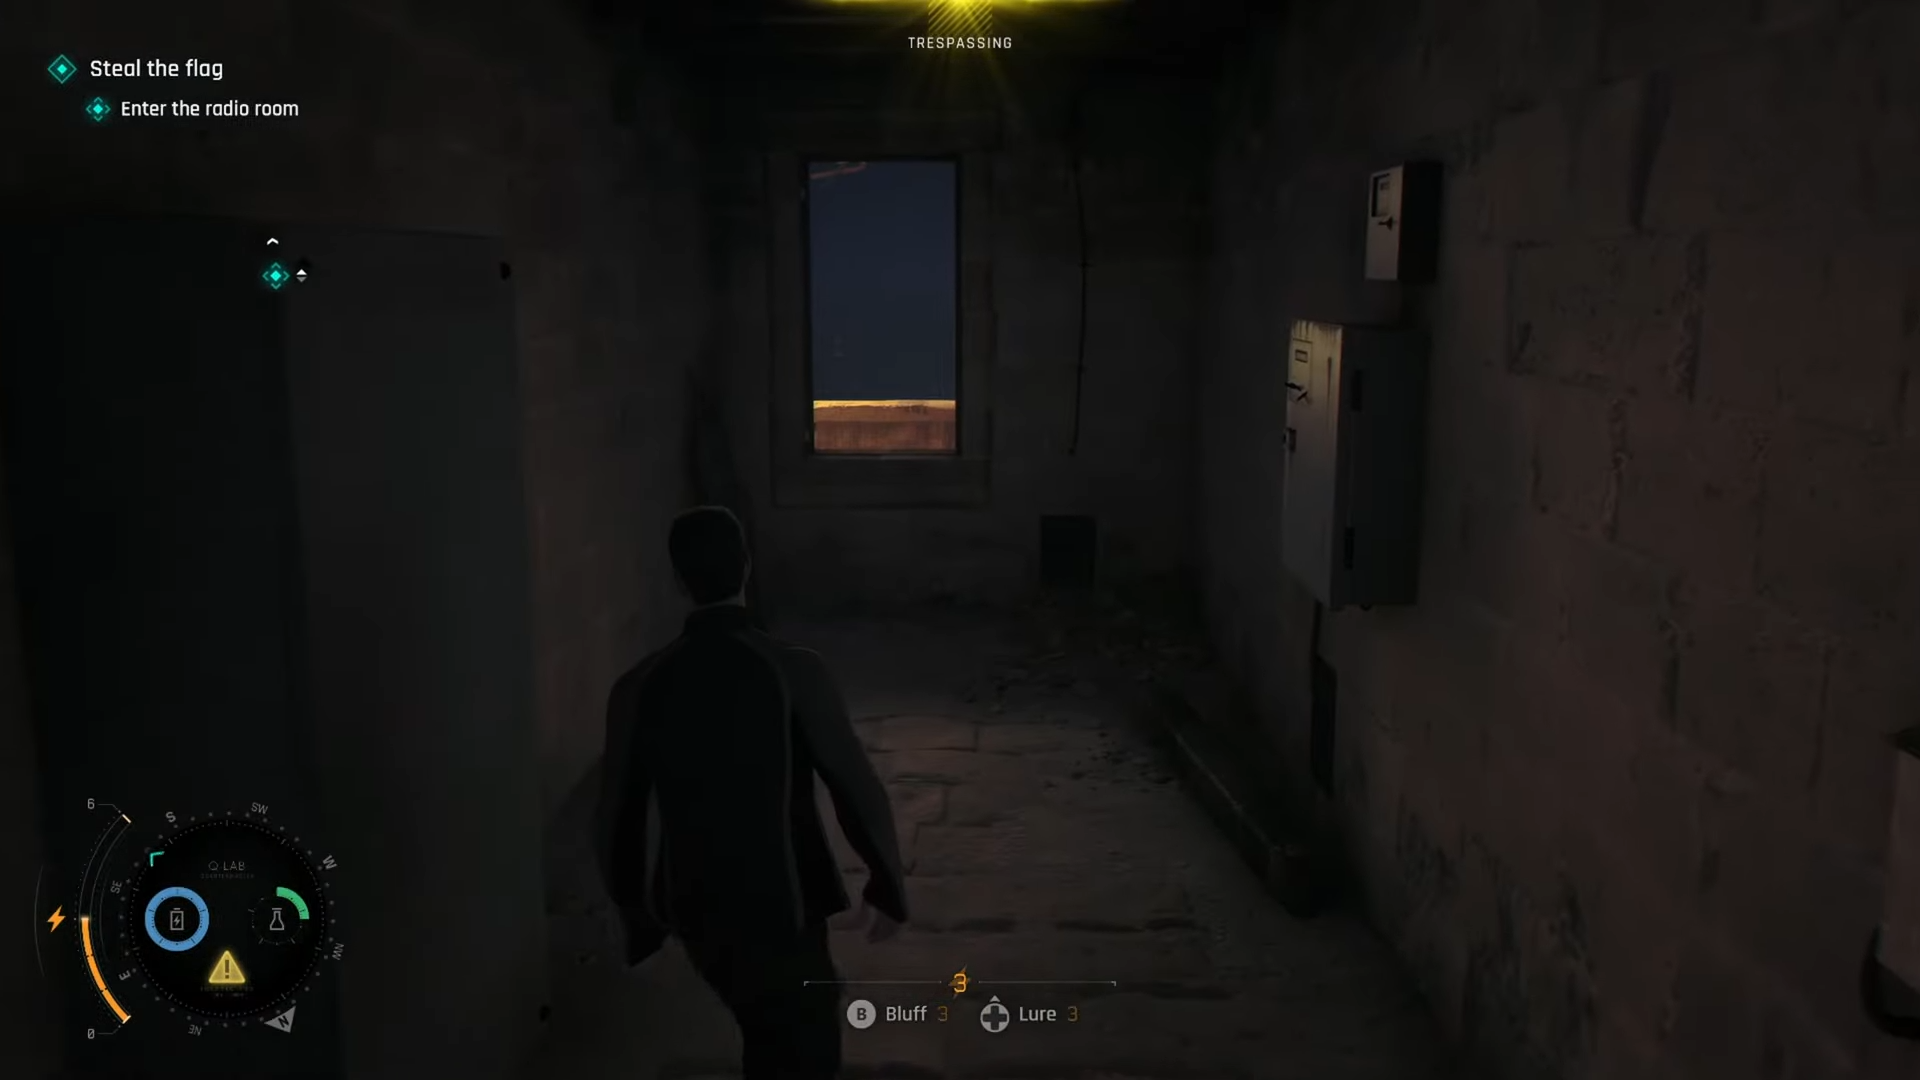
This zipline jump is the key time‑saving move: it skips several ground‑level patrols and drops you near the final approach without any engagements.
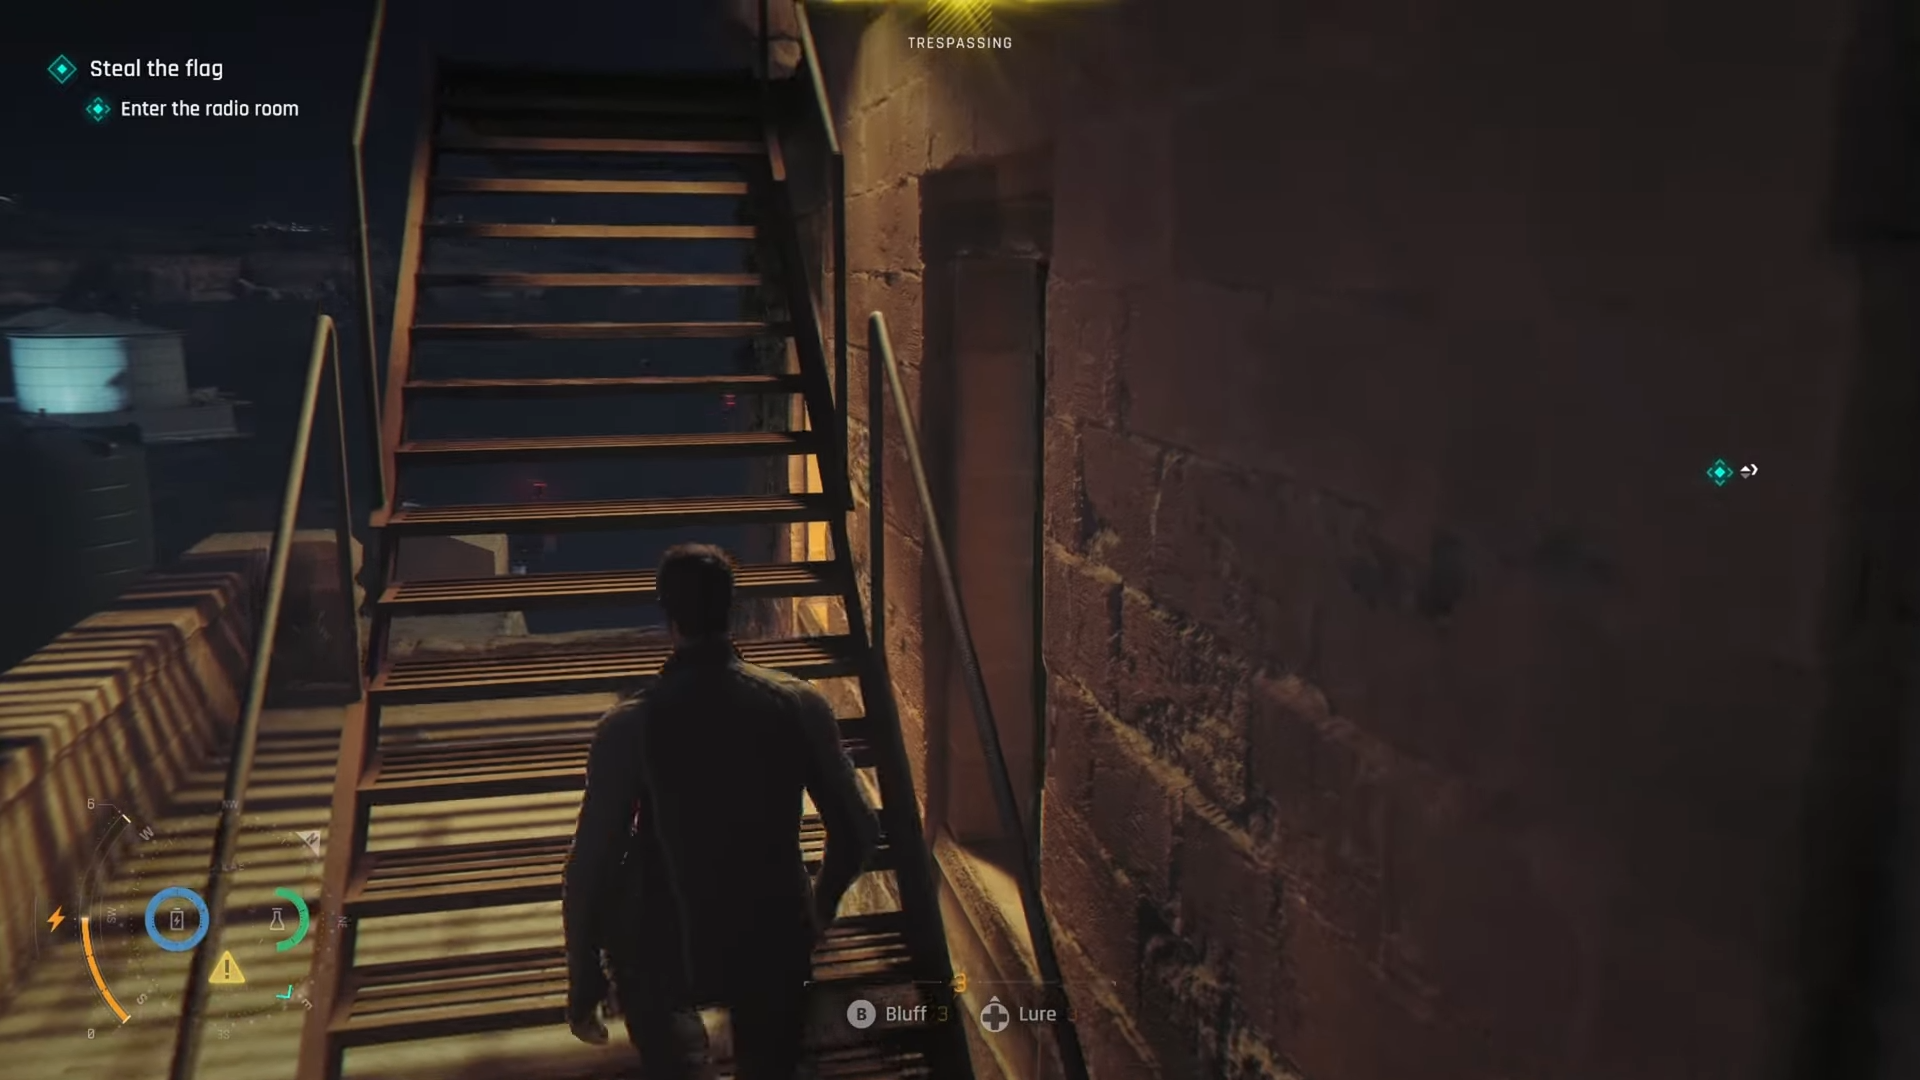
Step 7: Drop into the flag room without being spotted
After the zipline, drop down into the upper opening/room that leads directly to the flag chamber instead of walking out onto exposed walkways.
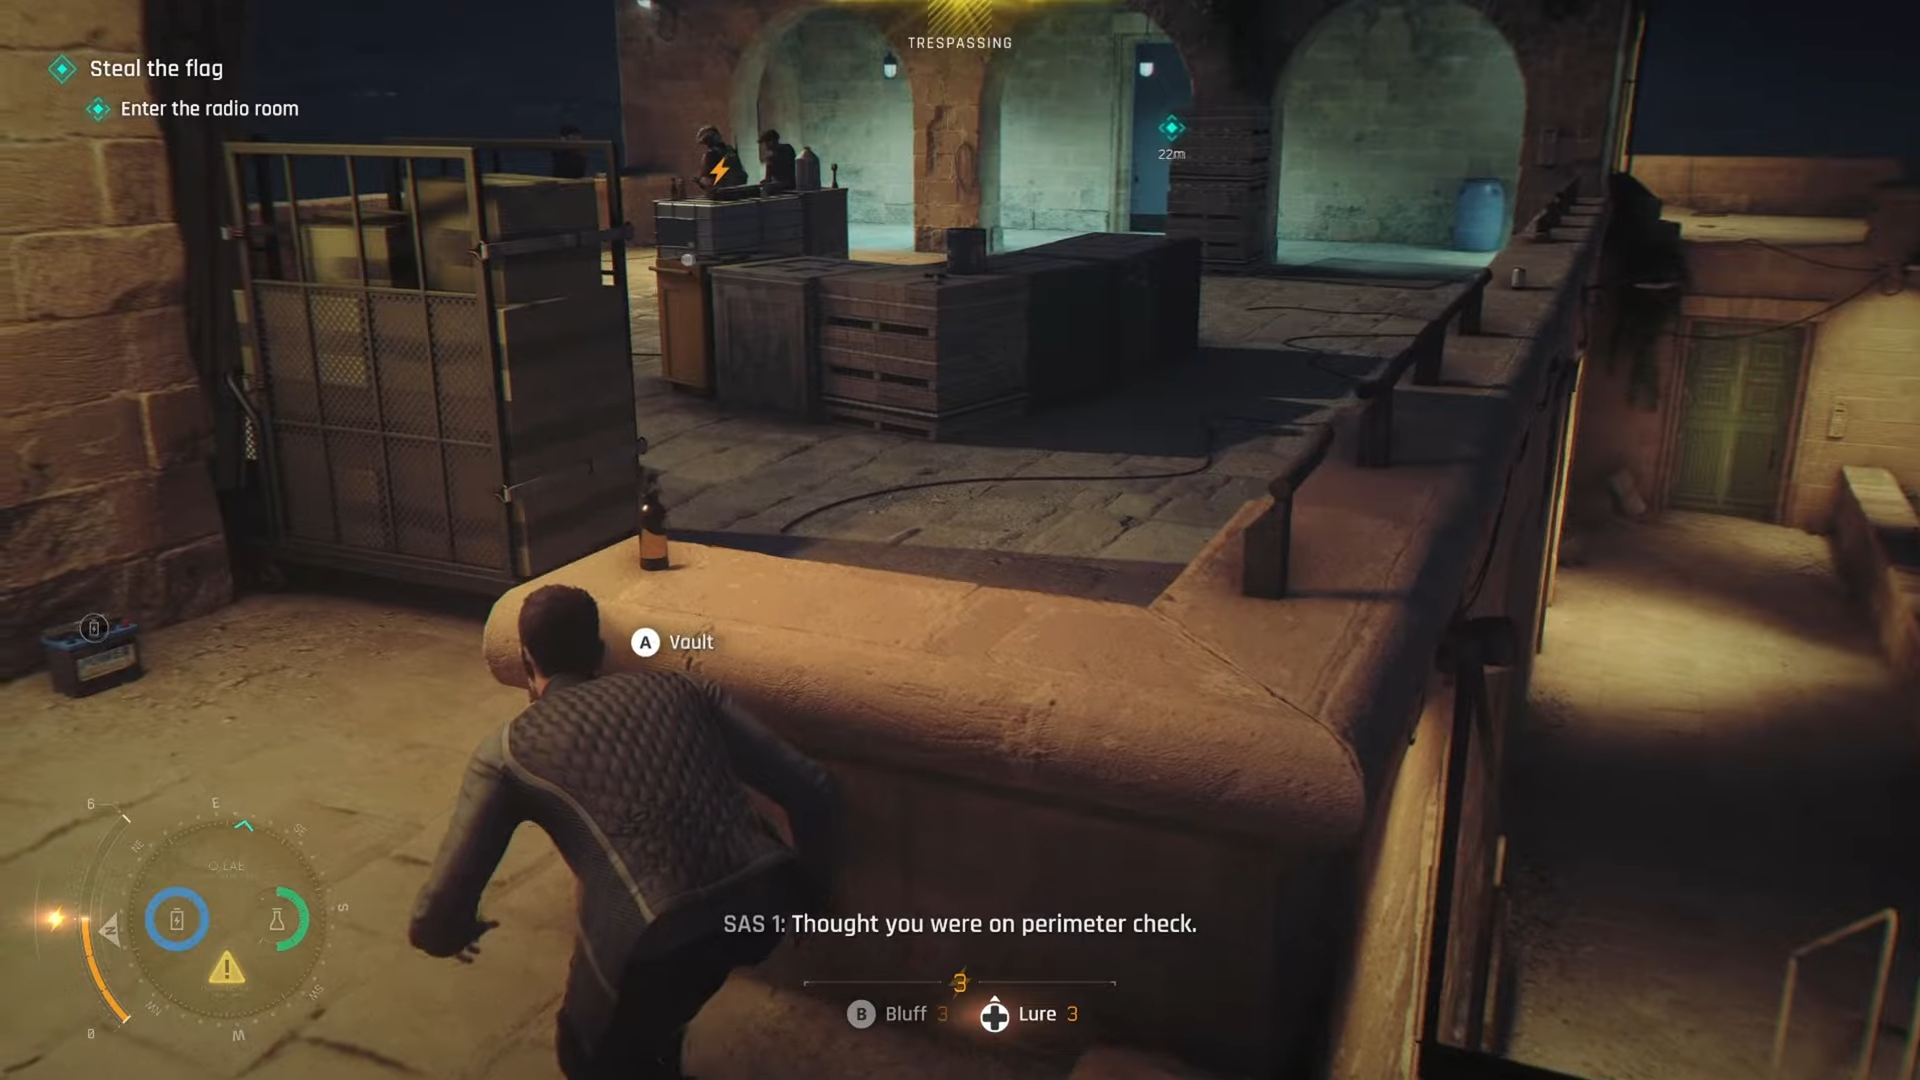
Take a moment to confirm no guards have line of sight on the drop point. Move straight to the flag once inside; your objective is to reach it quickly enough that patrol cycles never catch you crossing open angles.
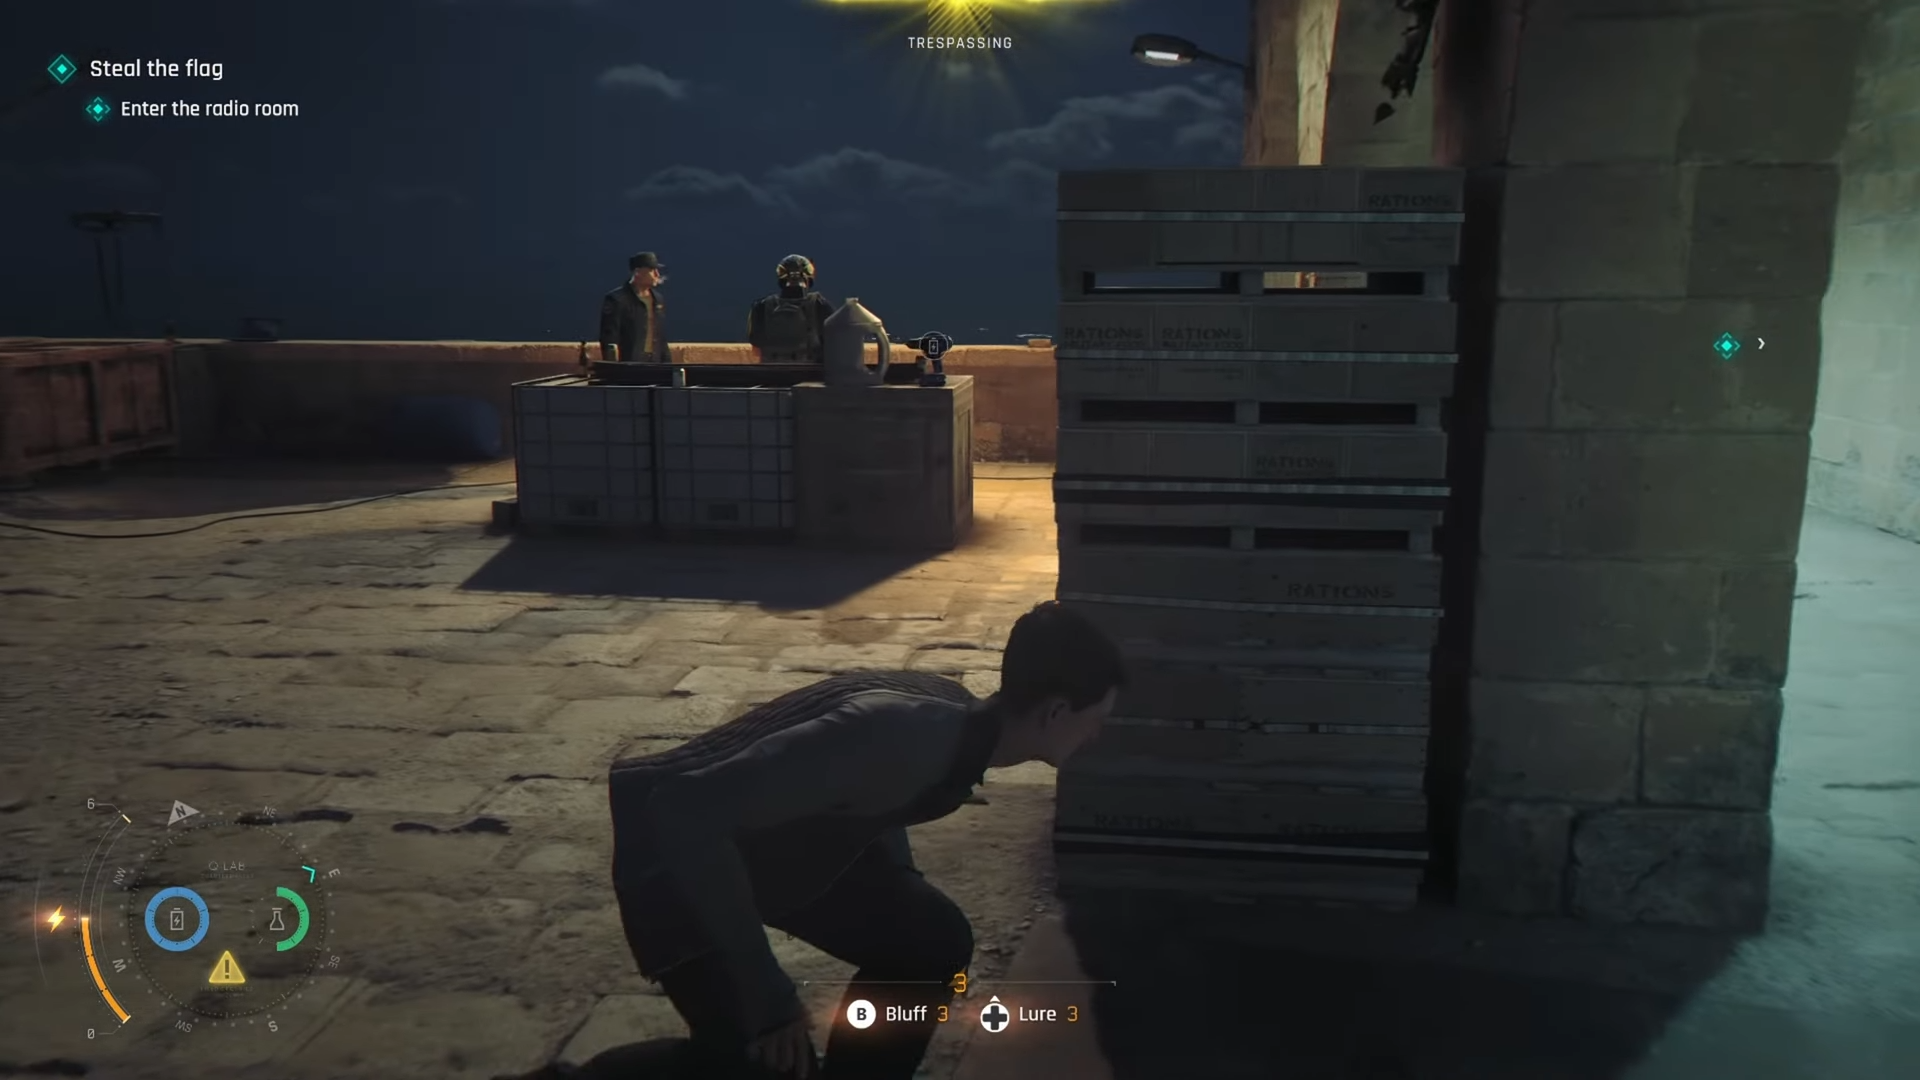
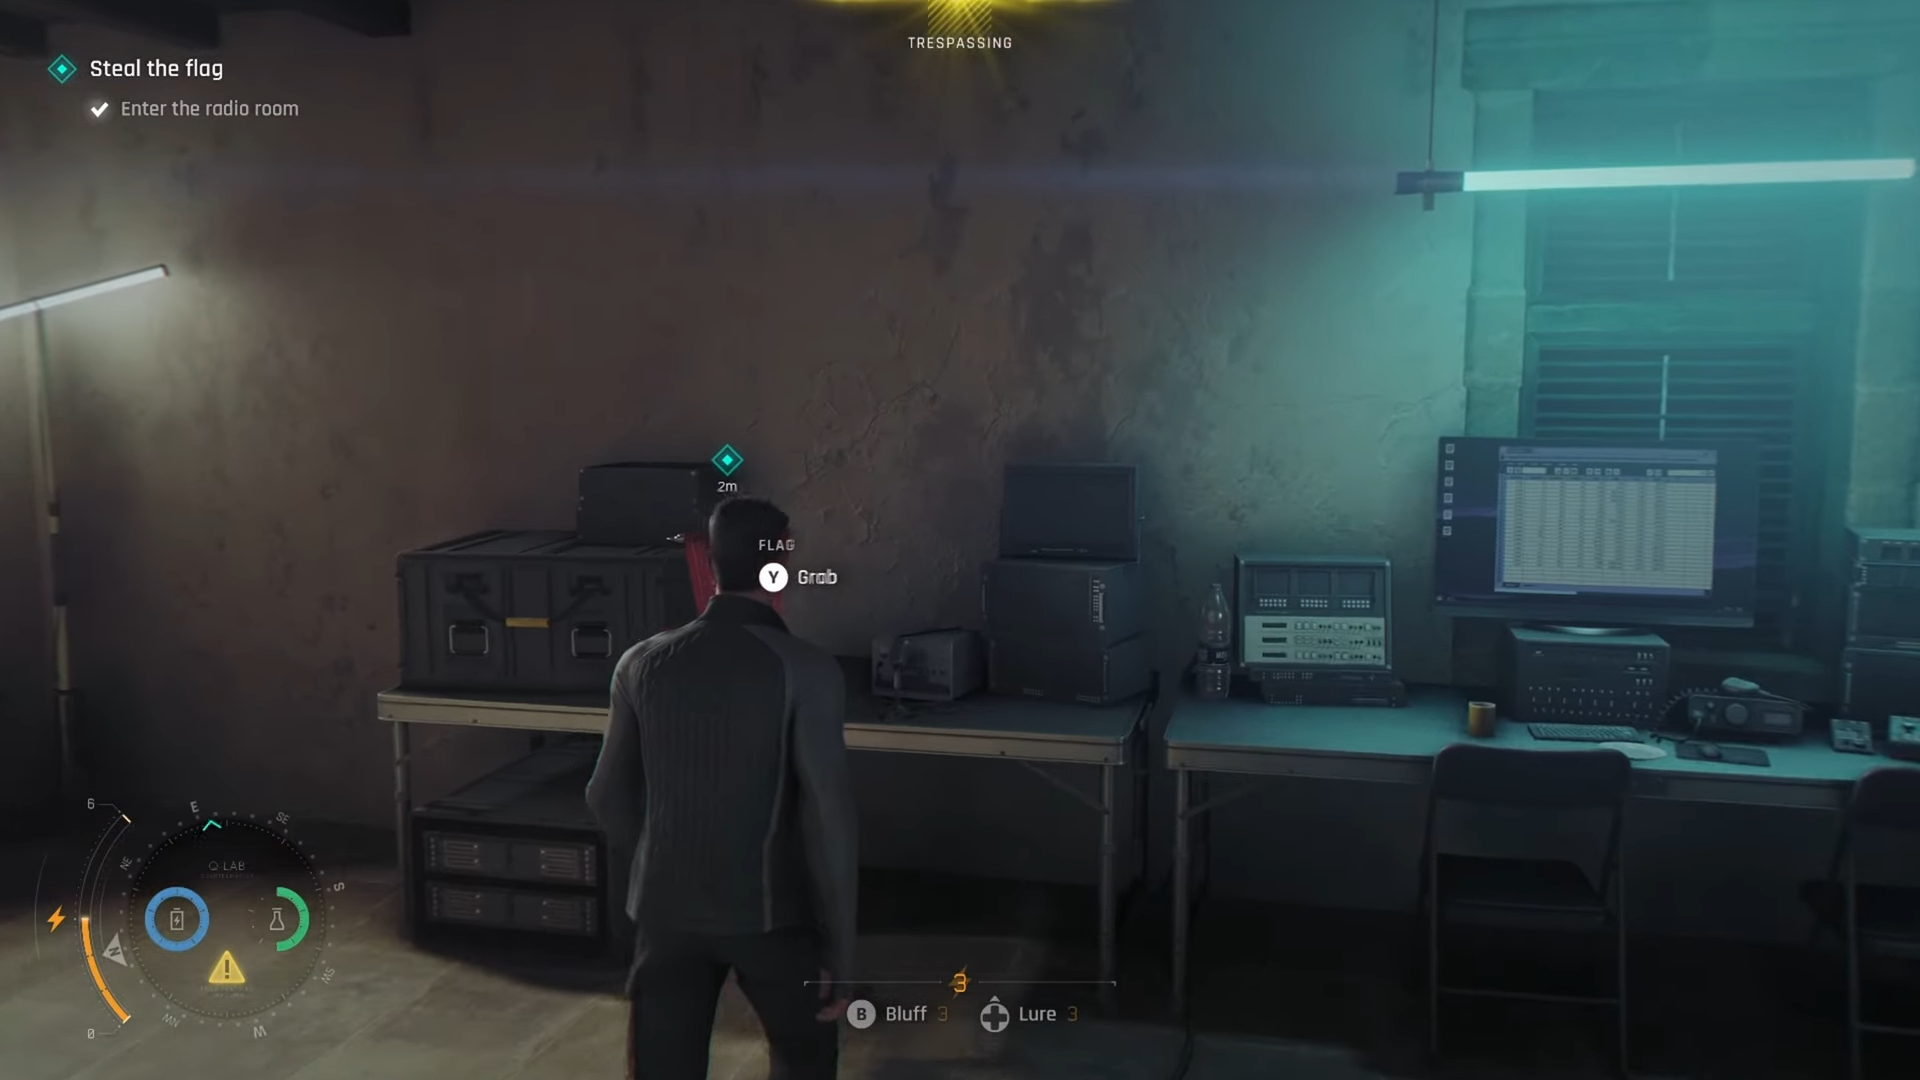
Step 8: Interact with the flag and let the cutscene trigger
Approach the flag and interact with it immediately to start the short capture cutscene. Once the cutscene plays, your White Flag condition is locked in for this segment; any combat or chaos that happens after the scripted reaction does not void the challenge. Wait for the on‑screen challenge completion notification once control returns.
Critical mistakes to avoid during White Flag
-
Moving through the central yard instead of using exterior and vertical routes, which almost always leads to forced takedowns or panic attacks.
-
“Soft” takedowns still count: any melee, choke, grapple, or environmental KO in the compound before the flag will fail White Flag.
-
Failing to reload after an accidental punch or context kill, assuming the challenge might still count; it will not in this mission segment.
-
Over‑using sprint near vision cones; even in stealth, fast movement close to guards can prompt detection, forcing you into unwanted combat.
-
Forgetting that collectible routes sometimes require takedowns; do collectibles and pure challenge runs separately to avoid conflicts with the no‑takedown rule.
Planning two playthroughs is recommended: one ghost/pacifist run for White Flag and its companion challenges, and a second aggressive run where you deliberately clear every soldier for the “kill them all” challenges in the same flag segments.