What to know
- You can attach a Portable Locker directly to the Tadpole’s hardpoint for extra storage space early in the game.
- This method only costs four Titanium, making it much cheaper than upgrading the Tadpole chassis.
- The locker is attached externally, so it can fall off if your vehicle takes damage or collides with terrain.
- Using a Moonpool or safe area during installation helps prevent accidental detachment while attaching the locker.
If you are running out of inventory space during your early exploration in Subnautica 2, attaching a Portable Locker to your Tadpole is one of the easiest and cheapest upgrades you can make. Instead of waiting until you unlock advanced chassis upgrades, you can create a temporary external storage compartment almost immediately after gathering a small amount of Titanium.
This method works particularly well during the early survival phase when you are constantly collecting minerals, crafting materials, and biological samples but do not yet have access to higher-tier vehicle upgrades.
| Feature | Details |
|---|---|
| Vehicle | Tadpole |
| Storage Method | Portable Locker |
| Crafting Cost | 4 Titanium |
| Required Tool | Habitat Builder |
| Upgrade Type | External Hardpoint Attachment |
| Best Use | Early-game storage expansion |
| Main Risk | Locker can detach after collisions or attacks |
How to prepare your Tadpole before attaching storage
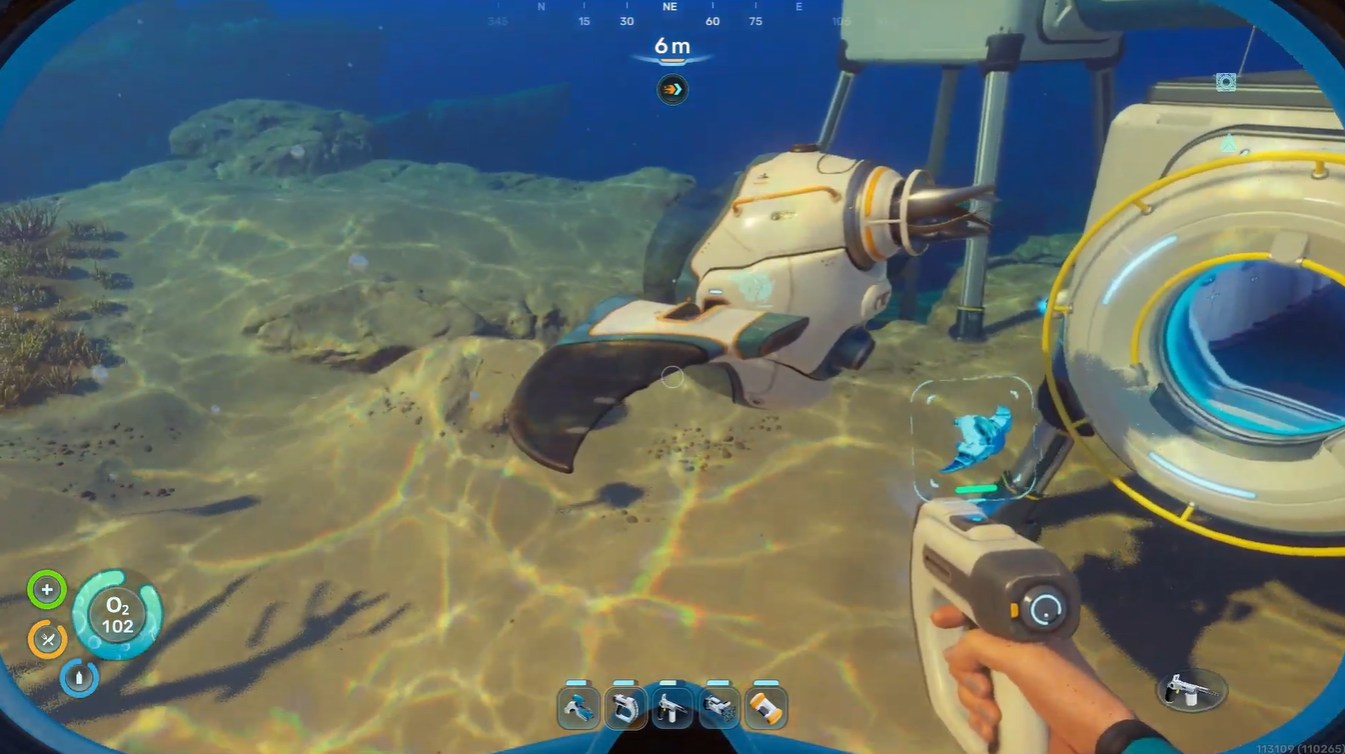
Before you begin attaching the locker, you should move your Tadpole somewhere secure. A safe area reduces the chances of interruption from aggressive creatures or environmental hazards.
The best location is usually inside your Moonpool because the vehicle remains stable while you work. If you do not yet have a Moonpool, simply park the Tadpole in a calm and open section of water away from predators and tight cave systems.
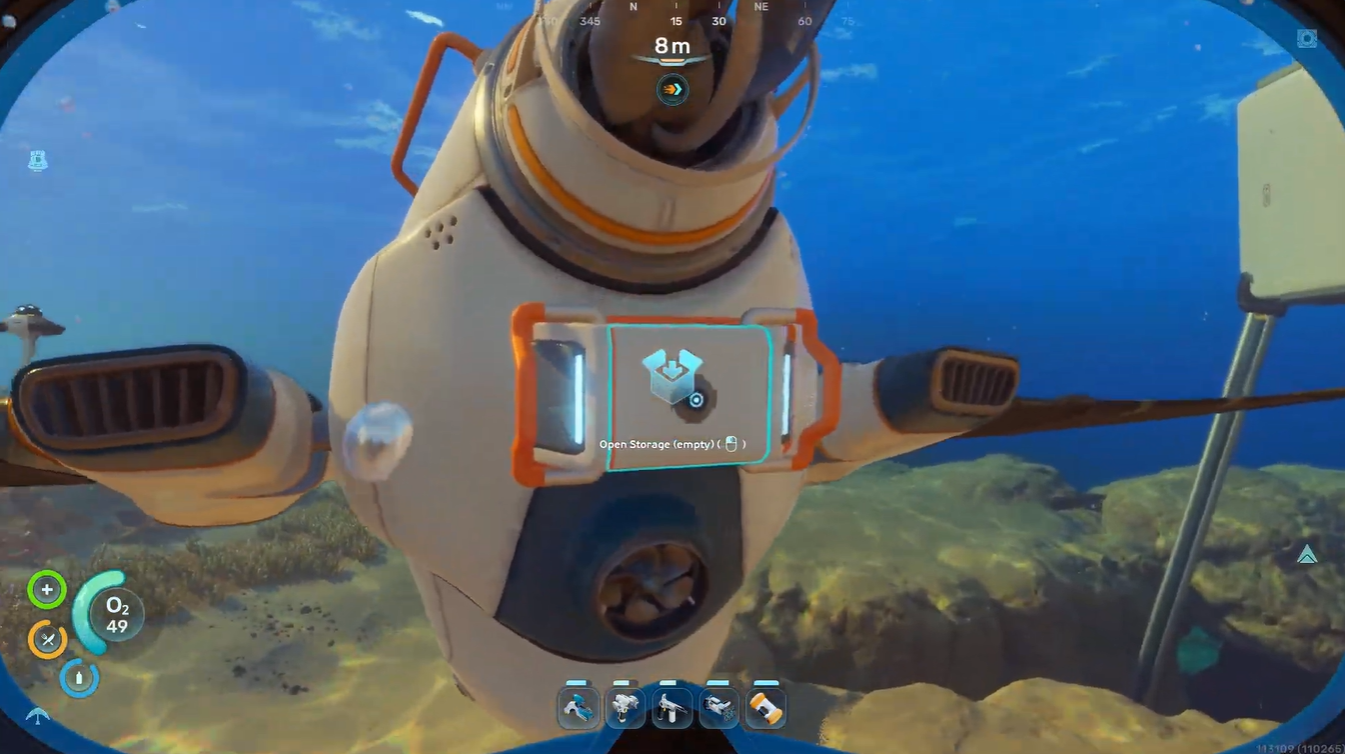
Keeping the rear section of the vehicle accessible is important because the hardpoint attachment prompt appears near the back of the Tadpole.
How to attach inventory to your Tadpole
Step 1
Park your Tadpole in a safe location. A Moonpool is ideal, but any calm area with enough space around the vehicle will work.
Step 2
Equip your Habitat Builder and open the construction menu. Navigate to the Utility section inside the building menu.
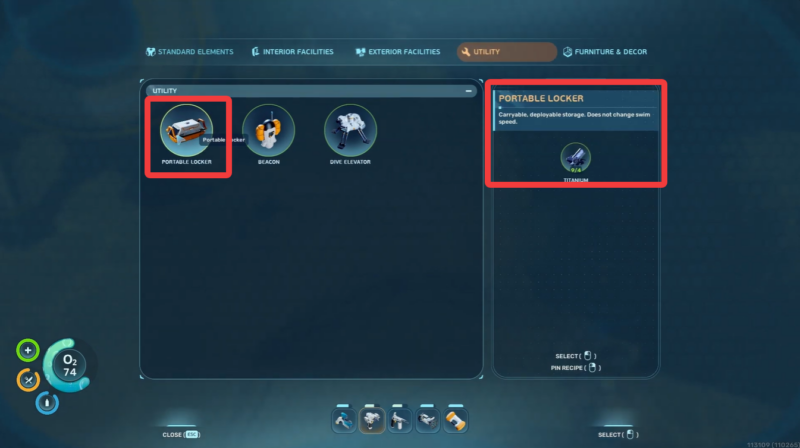
Step 3
Select the Portable Locker blueprint and craft it. The Portable Locker requires:
| Material | Amount |
|---|---|
| Titanium | 4 |
Step 4
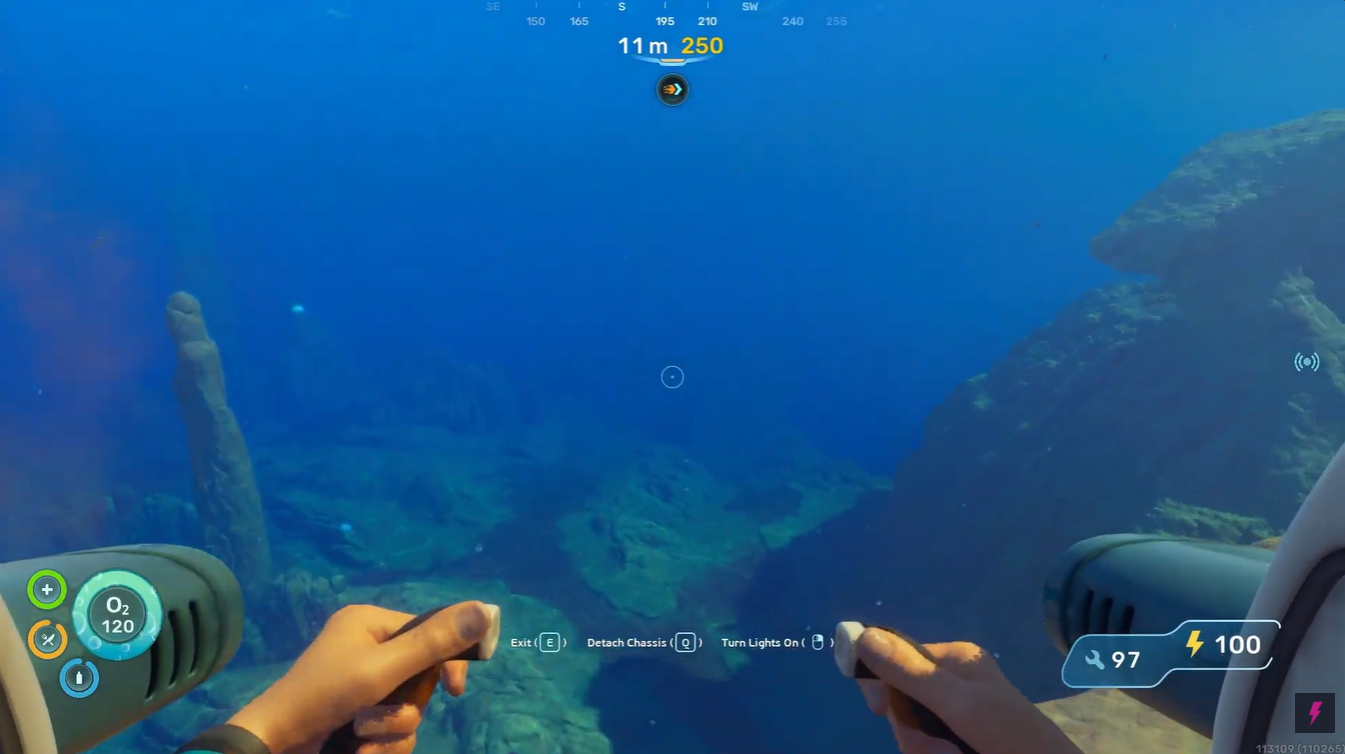
After building the locker, pick it up and move toward the rear section of the Tadpole.
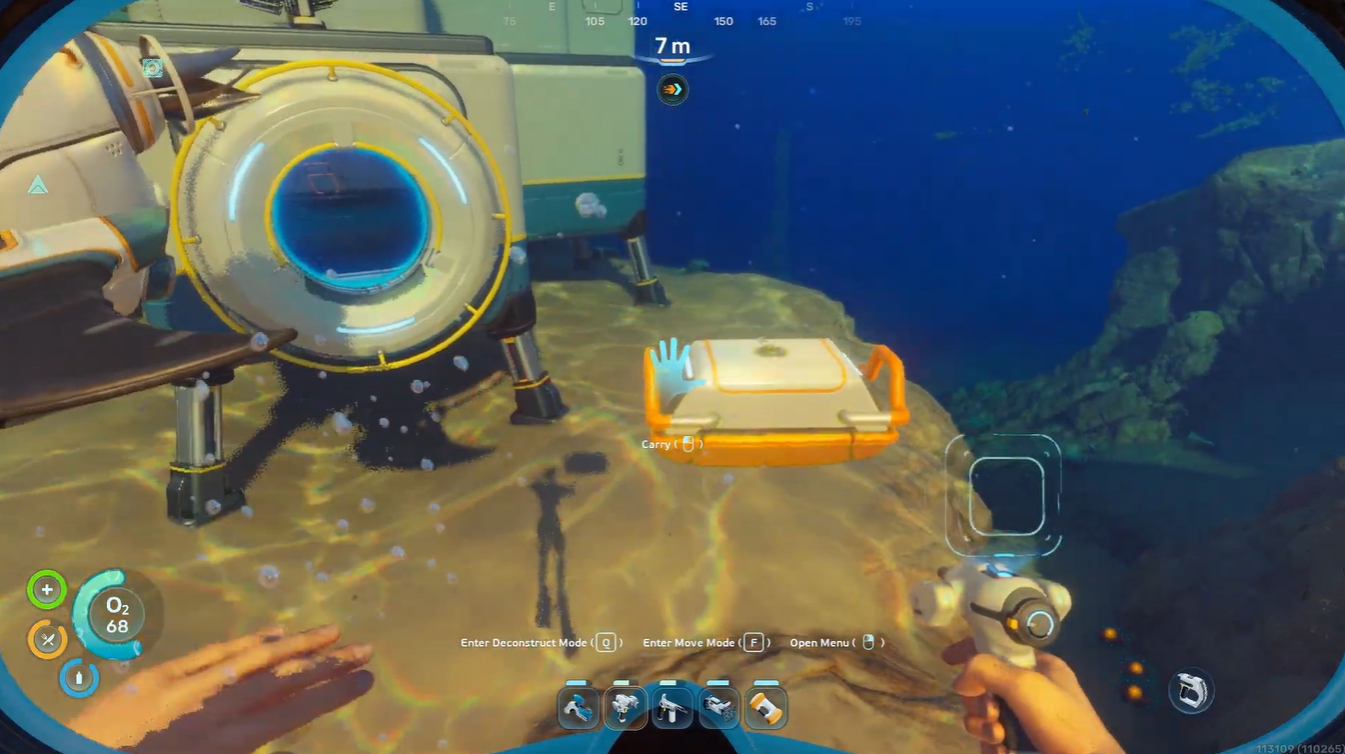
Step 5
When the interaction prompt appears, select Attach to hardpoint.
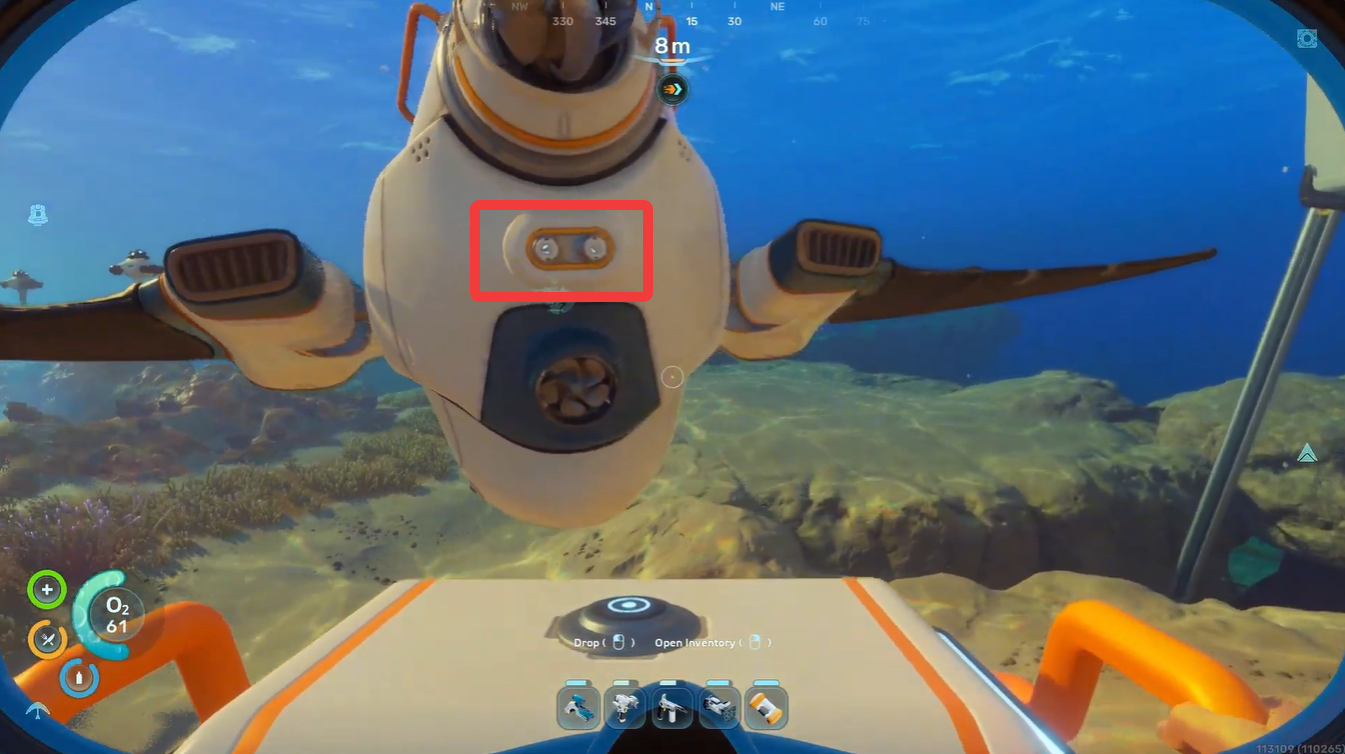
Step 6
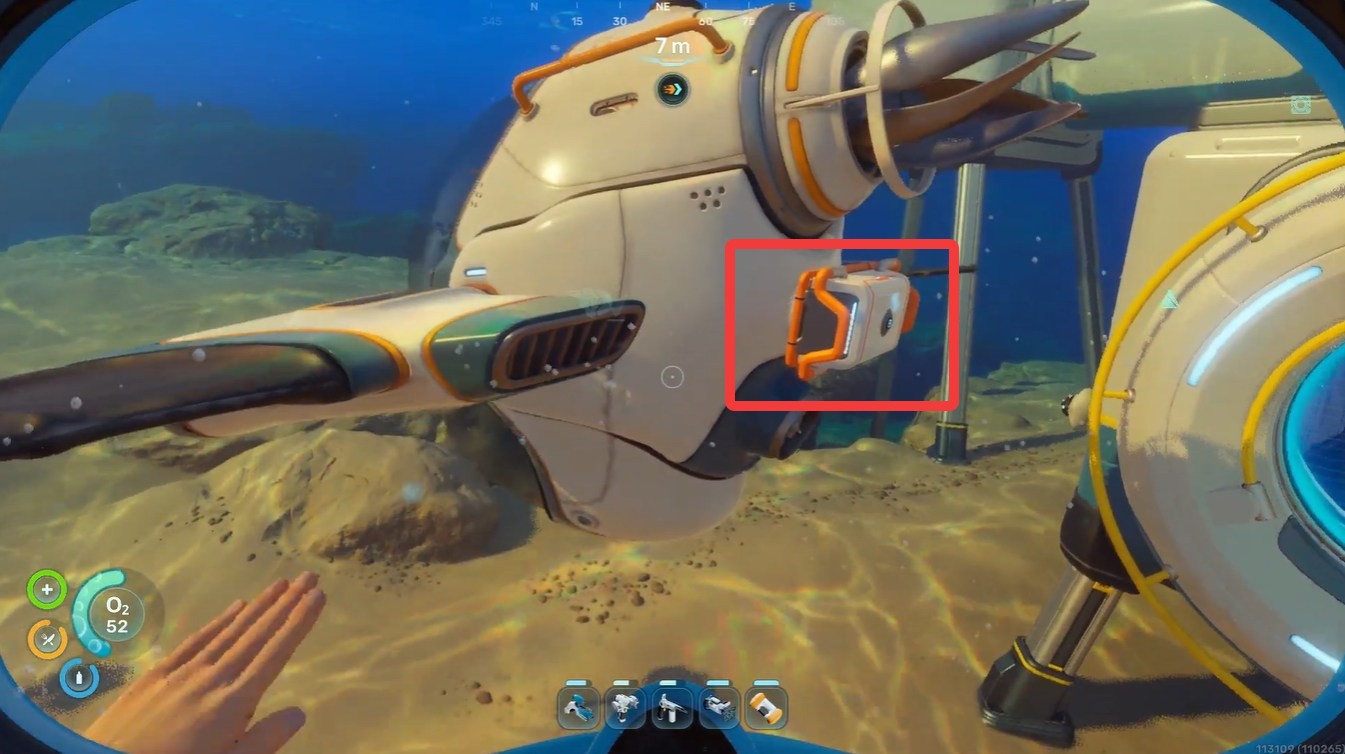
The locker will now connect directly to the outside of the vehicle, giving you additional inventory storage while traveling.
What happens after attaching the locker
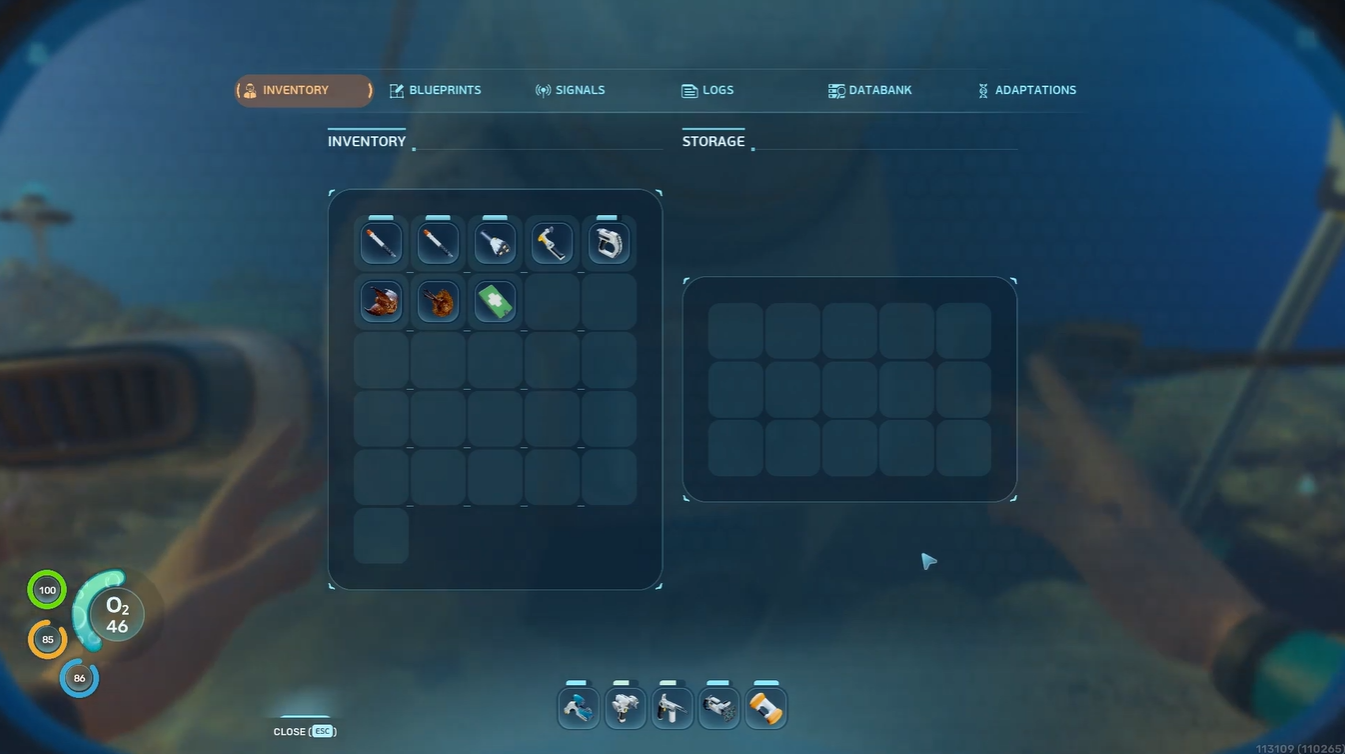
Once attached, the Portable Locker behaves like an external cargo module. You can access it while exploring and use it to store excess materials, crafted items, or salvage.
This is especially useful during long mining runs because you can separate valuable resources from your personal inventory and avoid becoming overloaded too quickly.
Many players use the external locker setup for:
| Common Uses | Benefits |
|---|---|
| Resource Farming | Carry more ore and minerals |
| Deep Exploration | Reduce trips back to base |
| Salvage Collection | Store large crafting components |
| Creature Research | Keep biological samples separate |
Important warning about locker durability
The Portable Locker attachment is not fully secure like a dedicated chassis upgrade. Since it sits externally on the Tadpole, impacts can cause it to detach from the vehicle.
This can happen if:
- You back into walls or cave structures
- Aggressive creatures attack the Tadpole
- You collide with terrain at high speed
- The rear section of the vehicle takes repeated damage
Because of this, you should avoid aggressive driving in narrow caves while using the locker attachment.
If the locker falls off, it may drift nearby or sink depending on the surrounding environment, so keeping track of it immediately after detachment is important.
Tips to avoid losing your attached storage
Although the system is temporary, you can reduce the chances of losing your storage module with careful movement and planning.
| Tip | Why It Helps |
|---|---|
| Drive slowly in caves | Prevents rear-end collisions |
| Avoid hostile creatures | Reduces detachment risk |
| Use the Moonpool frequently | Safely unload resources |
| Keep spare Titanium | Quickly replace lost lockers |
| Monitor vehicle positioning | Protects the rear hardpoint |
The safest strategy is treating the attached locker as a temporary expedition container rather than permanent storage.
Comparing the Portable Locker to chassis upgrades
Later in the game, you will eventually unlock dedicated Tadpole storage upgrades that integrate directly into the vehicle. These upgrades are far more reliable and durable.
However, the Portable Locker method still remains valuable because:
- It is available much earlier
- It costs almost nothing
- It requires very few crafting materials
- It can be deployed immediately after unlocking the Habitat Builder
For early survival progression, this makes it one of the most efficient inventory expansion methods currently available.
Attaching a Portable Locker to your Tadpole is one of the smartest early-game quality-of-life upgrades in Subnautica 2. The process is quick, cheap, and extremely effective for extended exploration sessions before advanced vehicle upgrades become available.
As long as you drive carefully and avoid unnecessary collisions, the extra storage space can dramatically improve your resource gathering efficiency and reduce constant trips back to base.