What to know
- Resource nodes can be difficult to relocate, especially large deposits hidden in caves or biome edges.
- Habitat beacons work as an early-game workaround before you unlock dedicated beacon tools.
- Craftable beacons become the best long-term tracking solution once you have titanium and copper available.
- Labeling locations properly saves huge amounts of exploration time during crafting and base expansion.
Exploration in Subnautica 2 becomes much easier once you start organizing your resource routes. Early in the game, it is common to discover a rich quartz cave, silver vein cluster, or acid plant field, only to completely lose track of it later. Since inventory space is limited and many resources require repeat farming, learning how to mark locations properly becomes one of the most useful habits you can develop.
Why marking resources matters so much in Subnautica 2
| Method | Game Stage | Materials Needed | Best Use |
|---|---|---|---|
| Habitat Beacon Setup | Early Game | Basic base parts + transmitter | Temporary resource markers |
| Standard Beacon | Mid/Late Game | 1 Titanium + 1 Copper | Permanent navigation markers |
| Custom Labels | Any Stage | None | Organizing multiple resource spots |
| Temporary Outposts | Exploration Phase | Small habitat modules | Deep biome expeditions |
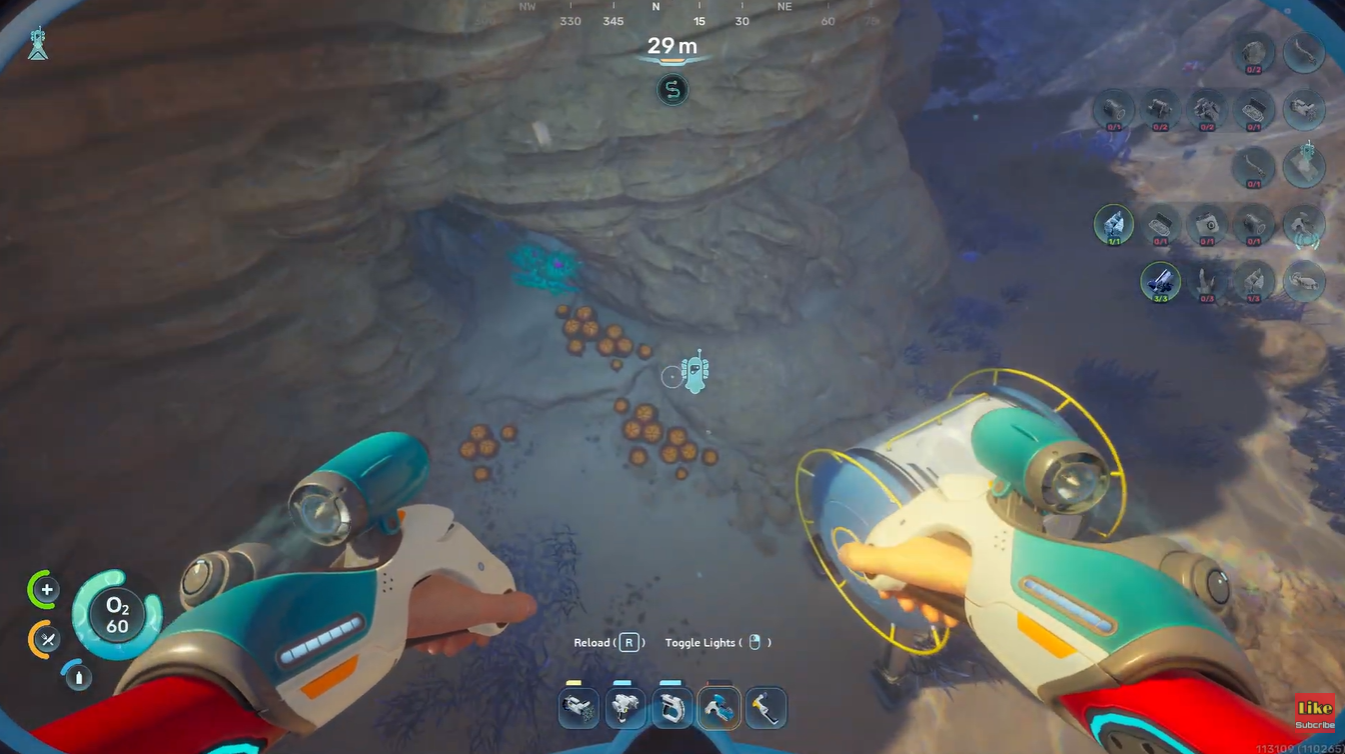
Unlike some survival games where resources constantly respawn in obvious places, Subnautica 2 encourages exploration and memory-based navigation. Many important materials are hidden inside caves, underwater trenches, cliff walls, or biome transition zones. Once you leave the area, it can become surprisingly difficult to find the same location again.
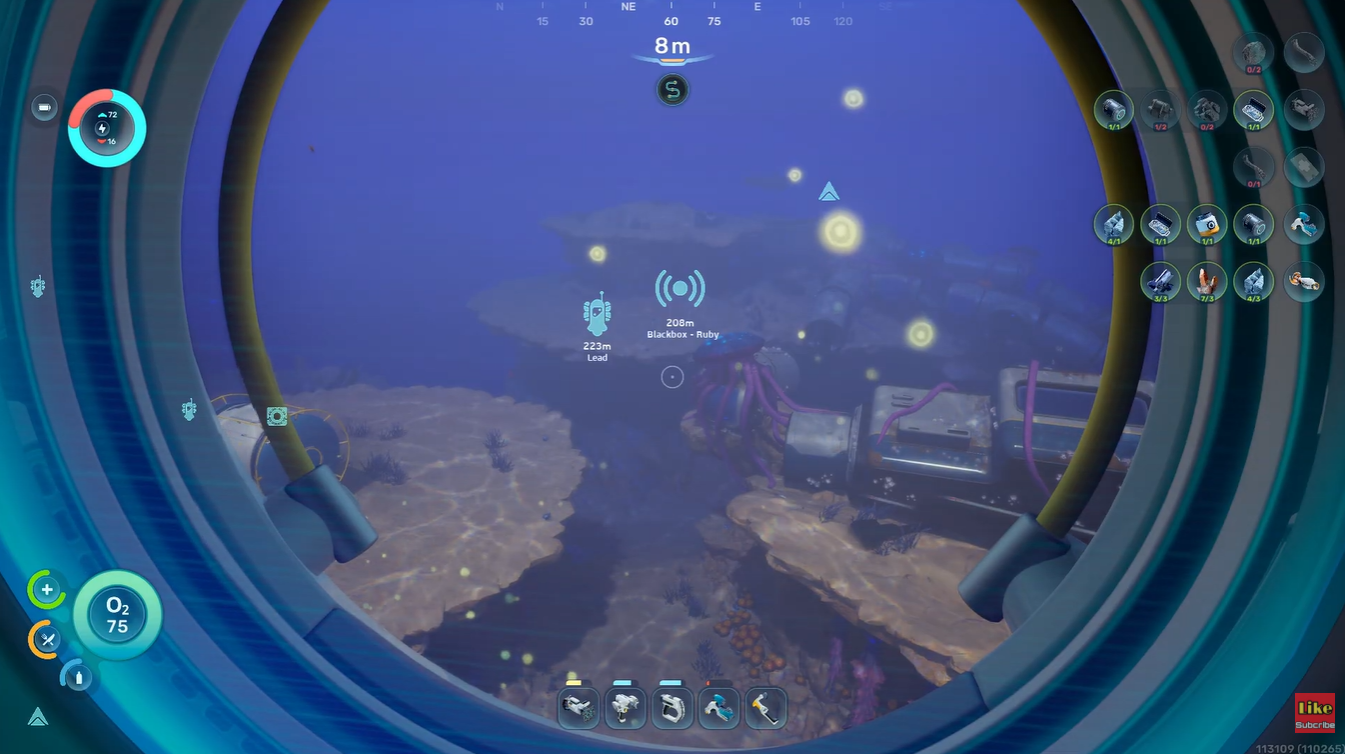
This becomes especially important when you start collecting materials like:
| Important Resource | Why You Need It |
|---|---|
| Quartz | Glass, electronics, base construction |
| Silver | Advanced crafting components |
| Acid Plants | Battery and chemical crafting |
| Titanium Deposits | Base structures and upgrades |
| Copper | Electronics and beacons |
| Rare Metal Veins | Late-game fabrication |
Because your inventory fills quickly, you often cannot harvest everything during a single trip. Marking the location allows you to return later without wasting time searching the biome again.
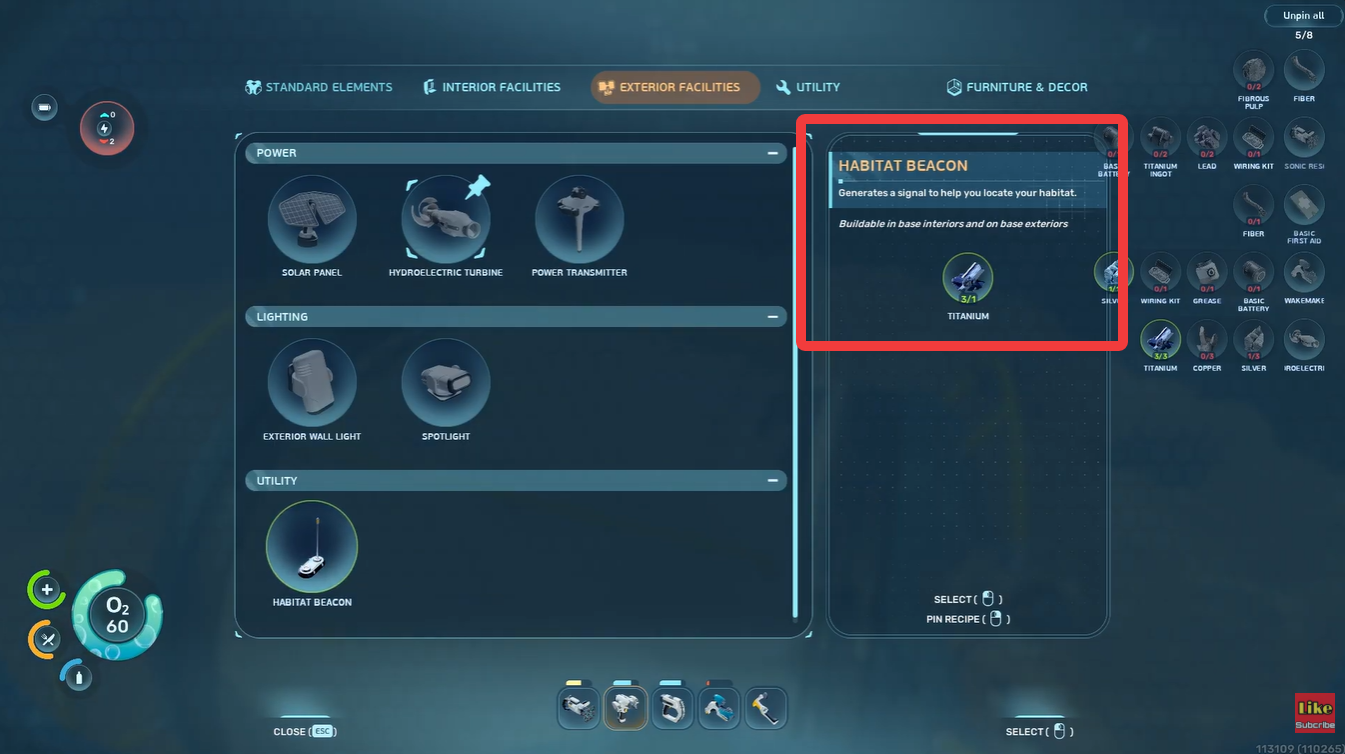
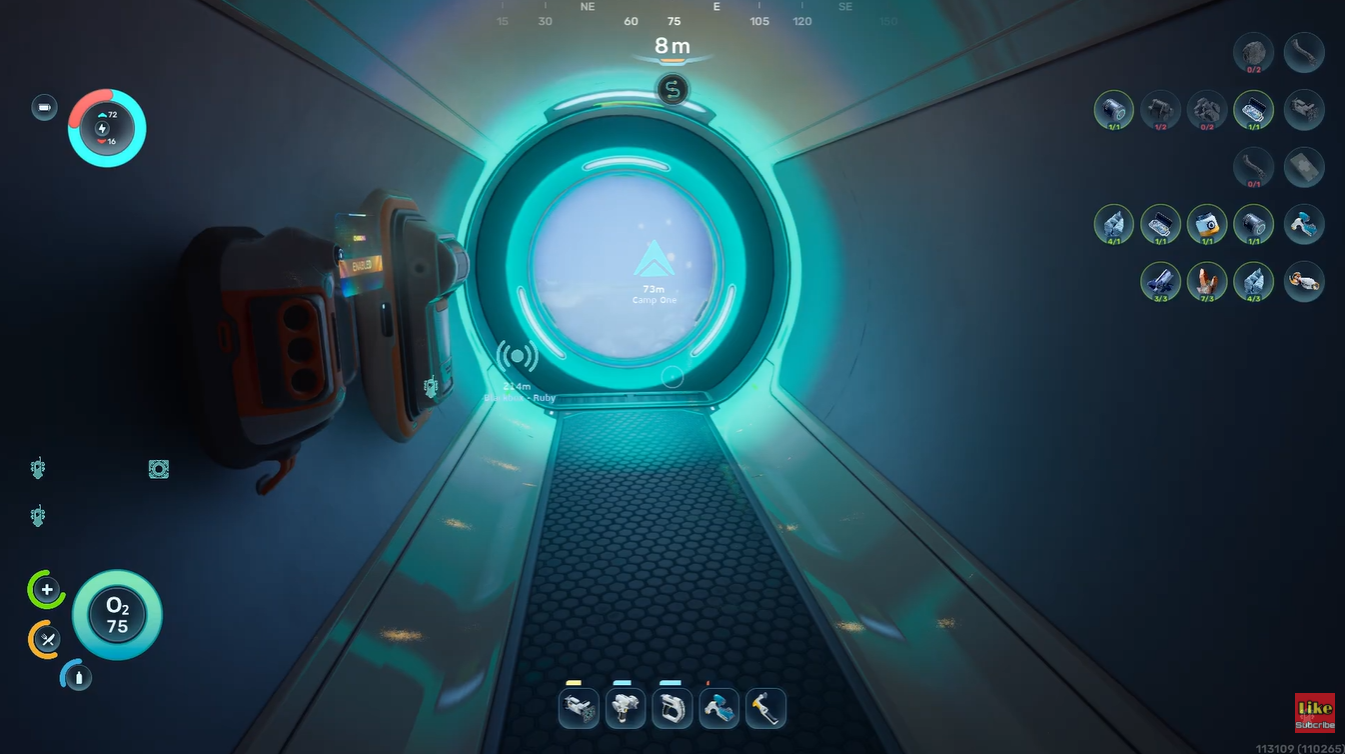
How to use habitat beacons
During the early stages of the game, you may not yet have access to dedicated beacons. In that situation, the best workaround is creating a small temporary habitat marker.
This method is surprisingly effective because it gives you a visible navigation point while also letting you organize resource routes efficiently.
How the temporary habitat marker works
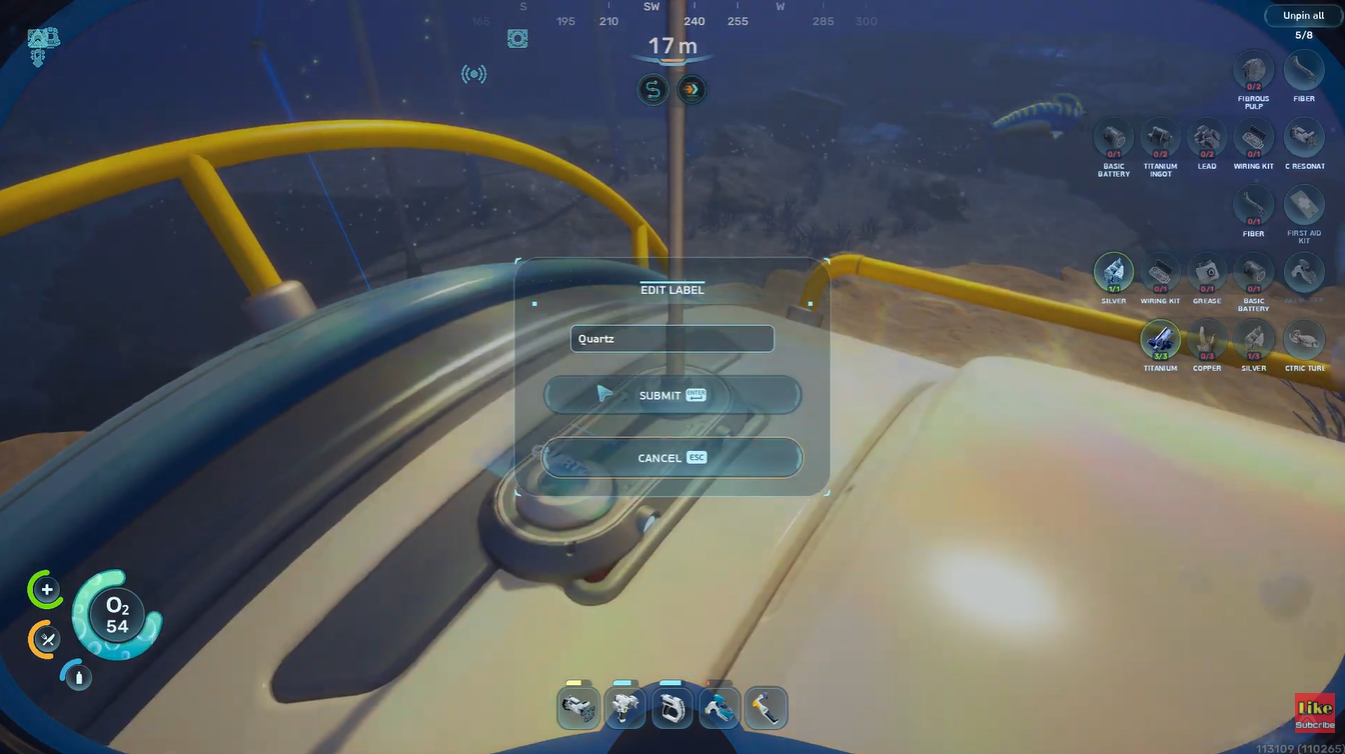
You simply place a small base segment near the resource location and attach a transmitter or habitat beacon to it. After that, you rename the beacon based on the nearby materials.
For example:
| Beacon Name | Purpose |
|---|---|
| Quartz Cave | Large quartz cluster |
| Silver Ridge | Silver ore area |
| Acid Plants | Farming route marker |
| Titanium Vein | Metal farming location |
Once the resource area has been fully harvested, you can dismantle the temporary structure and recover most of your materials.
How to use standard beacons
Once you unlock proper beacon crafting, the entire process becomes much easier and more efficient.
Standard beacons are portable, cheap to craft, and designed specifically for navigation tracking.
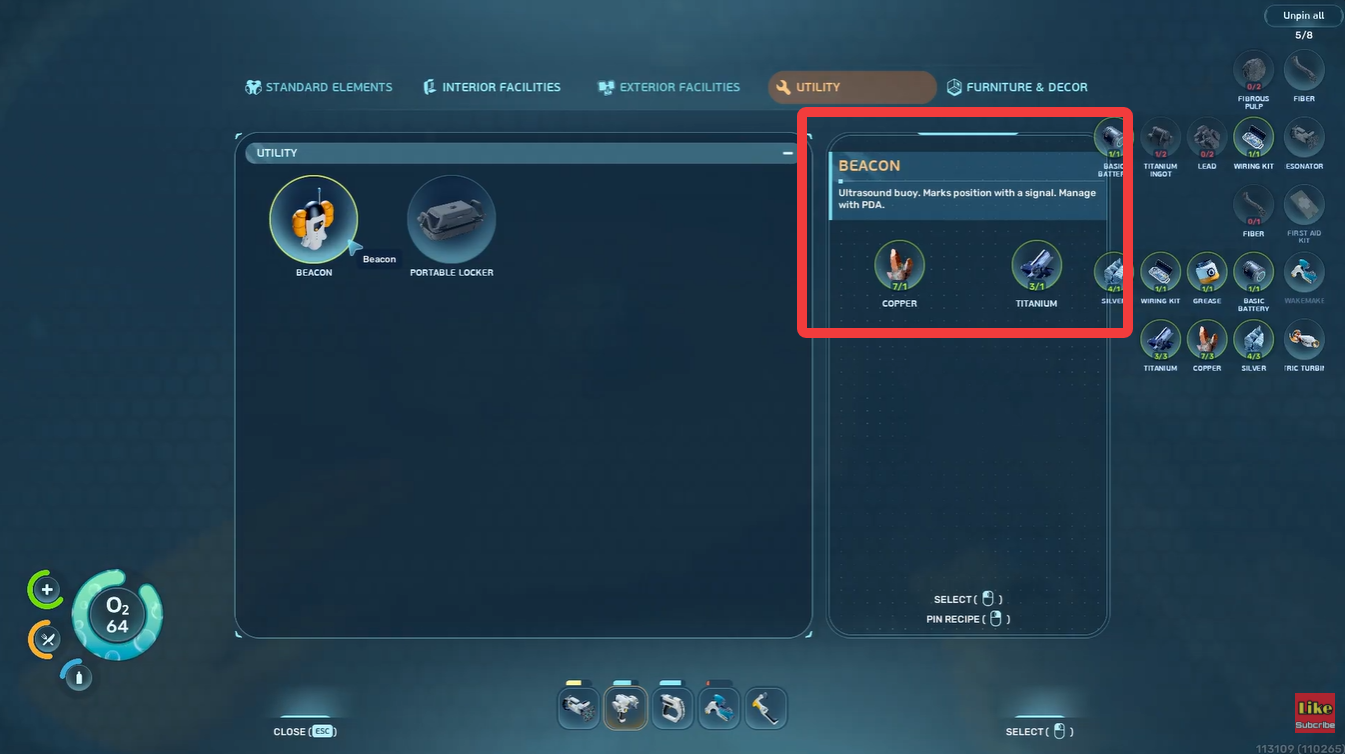
Beacon crafting requirements
| Item | Quantity |
|---|---|
| Titanium | 1 |
| Copper | 1 |
These materials are relatively easy to obtain, making beacons one of the most cost-effective tools in the game.
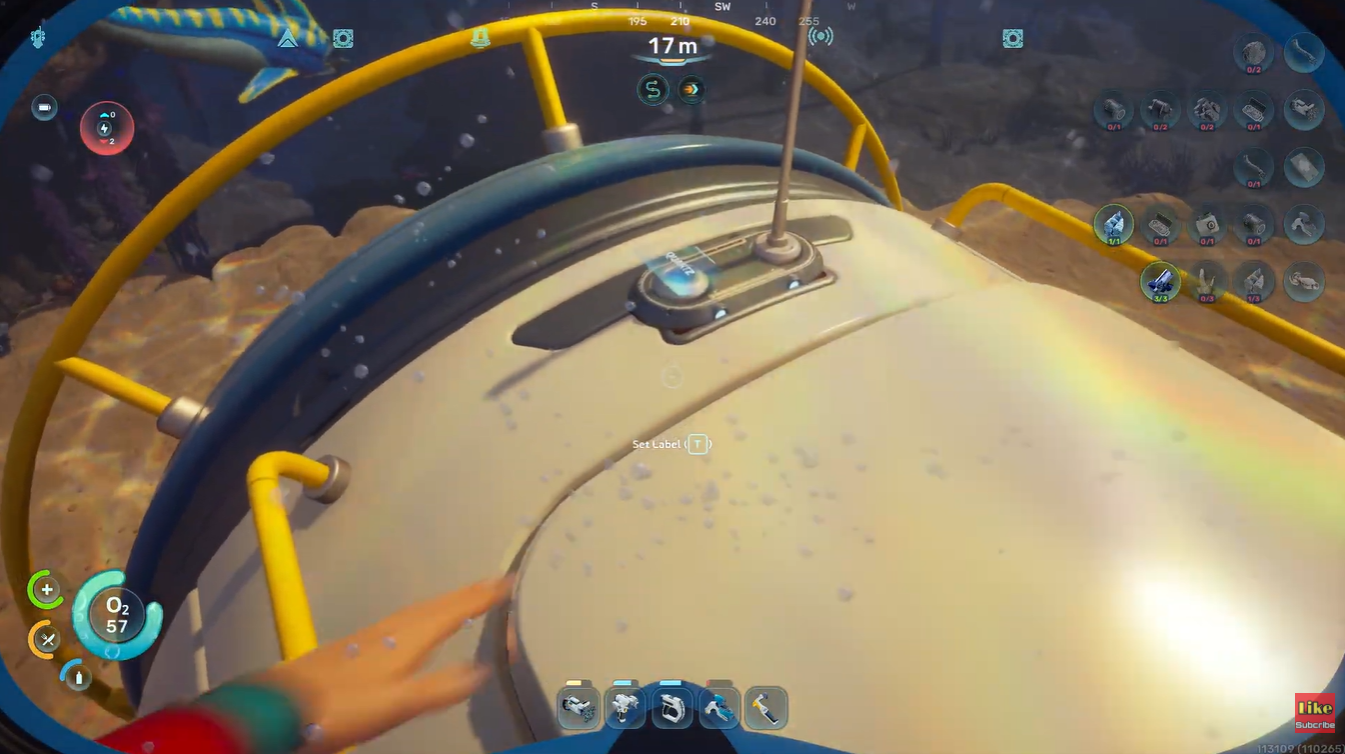
How to place and rename a beacon
Step 1
Craft a standard beacon using the fabricator once the blueprint becomes available.
Step 2
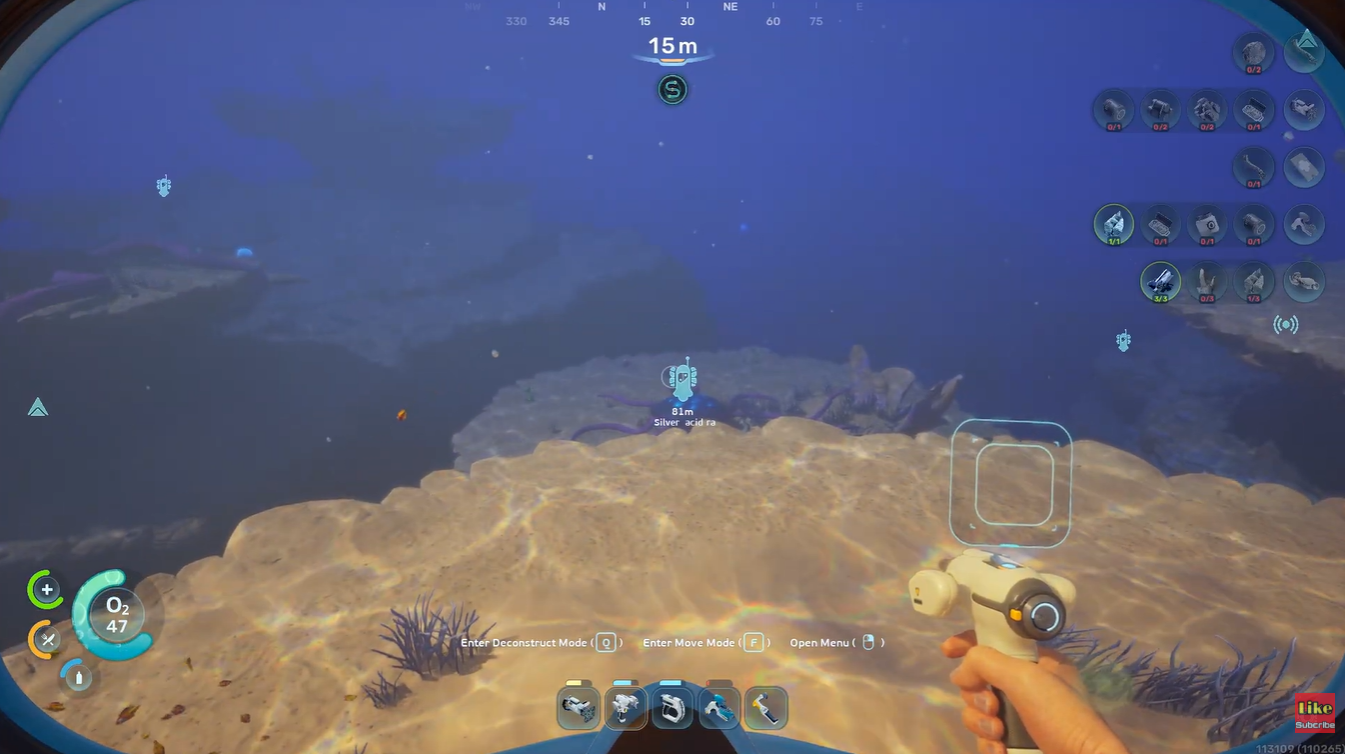
Travel to the resource location you want to preserve.
Step 3
Deploy the beacon directly near the resource cluster, cave entrance, or mining path.
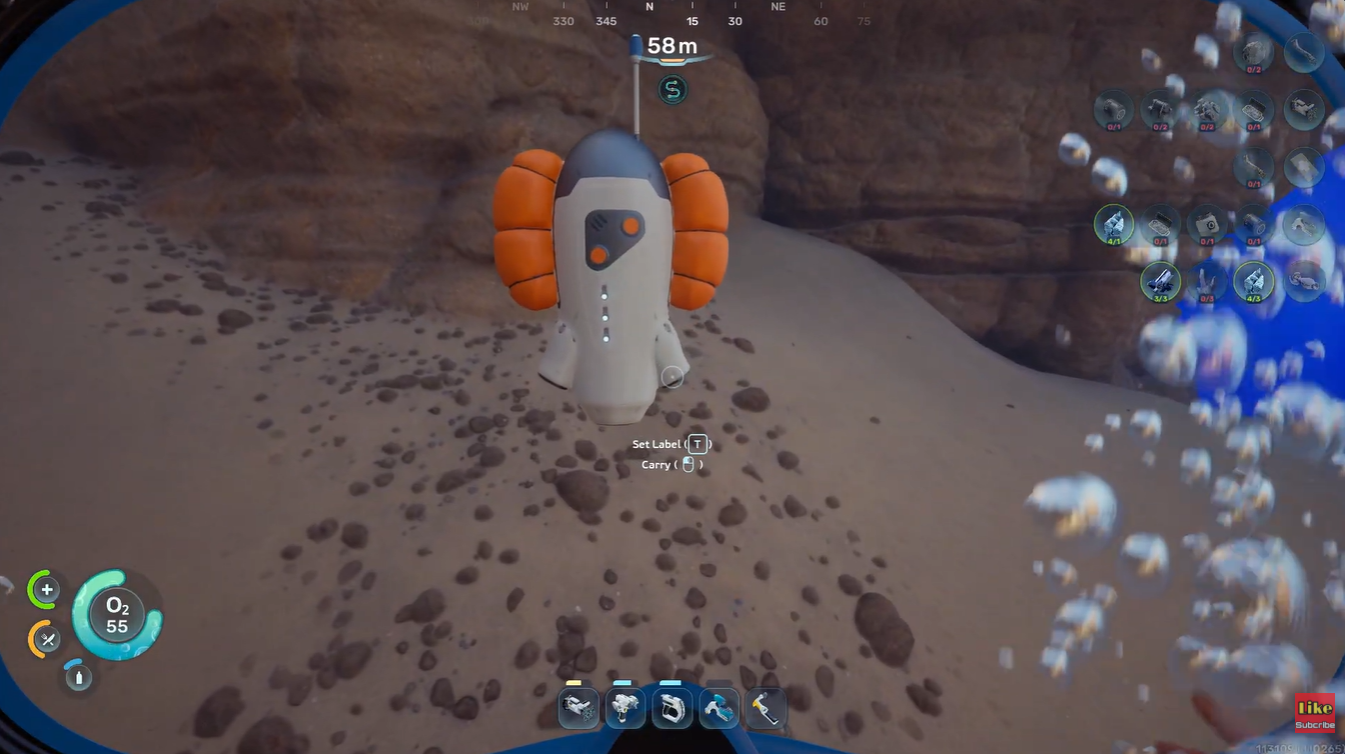
Step 4
Open the beacon settings and rename it with a clear label. Avoid generic names like “Marker 1” because they quickly become confusing later.
Step 5
Use consistent naming conventions so your map remains organized as exploration expands.
A good system might look like this:
| Prefix | Example |
|---|---|
| RES | RES Quartz Cave |
| FARM | FARM Acid Plants |
| SAFE | SAFE Deep Trench |
| BASE | BASE Expansion Site |
Which resources are worth marking first
Not every resource location needs a permanent beacon. Some materials are common enough that revisiting them is unnecessary. The best beacon placements usually focus on rare, dense, or hard-to-find resource zones.
High-priority resource locations
| Resource Type | Priority Reason |
|---|---|
| Quartz Clusters | Frequently needed for glass |
| Silver Veins | Required for advanced crafting |
| Acid Regions | Useful for battery production |
| Deep Cave Resources | Difficult to relocate |
| Rare Metal Deposits | Valuable late-game crafting |
| Thermal Zones | Useful for energy planning |
How temporary outposts improve long-distance farming
For dangerous or distant regions, a small outpost can be more useful than a simple beacon. These mini-bases allow you to recharge batteries, store excess resources, and establish a safe checkpoint during exploration.

Even a single compartment with power support can transform difficult farming runs into manageable resource loops.
This becomes especially valuable in biomes containing multiple rare materials grouped together.
Why good beacon management improves progression
Players often underestimate how much time is lost repeatedly searching for the same resources. A properly organized beacon system dramatically reduces downtime and makes crafting progression smoother throughout the game.
Instead of wandering aimlessly looking for quartz or silver, you immediately know where to go, which improves efficiency for vehicles, base construction, and technology upgrades.
In longer survival sessions, this organization becomes one of the biggest quality-of-life improvements available.
Marking resource locations in Subnautica 2 is one of the smartest long-term habits you can build. Early-game habitat beacons provide a temporary solution, while standard beacons eventually become the backbone of efficient exploration and farming.
Whether you are collecting quartz for glass, silver for electronics, or rare deposits hidden deep underwater, maintaining a clean beacon network saves time, reduces frustration, and keeps your progression moving smoothly.