What to know
-
The blueprint is unlocked by scanning two Battery Terminals, not by crafting or buying.
-
Both terminals are inside the Old Habitat, a large underwater building north of the life pod.
-
You can rely on obvious landmarks such as purple octopuses and air‑bubble vents to navigate in and around the habitat.
-
Once both terminals are scanned, the battery charger will appear in your build menu and can be placed in bases or vehicles.
In Subnautica 2 the battery charger is an early‑game interior item that lets you recharge batteries without needing higher‑tier power builds. To unlock it you must locate the Old Habitat and scan two Battery Terminal fragments inside. The structure sits in relatively shallow, open water and is visible from a fair distance once you’re close enough.
Battery Charger Blueprint details
How to reach the Old Habitat
To begin, stand at the life pod and orient your map so that north is straight ahead of you.

From here, travel directly north along the seabed for a few hundred meters; the game keeps this area relatively open and easy to navigate without deep descents.

As you move north you will start to see purple octopuses perched on rocks. The first purple octopus will appear overhead; continue past it, then move toward a second purple octopus off to one side. When you see that second octopus, look down to the seabed.

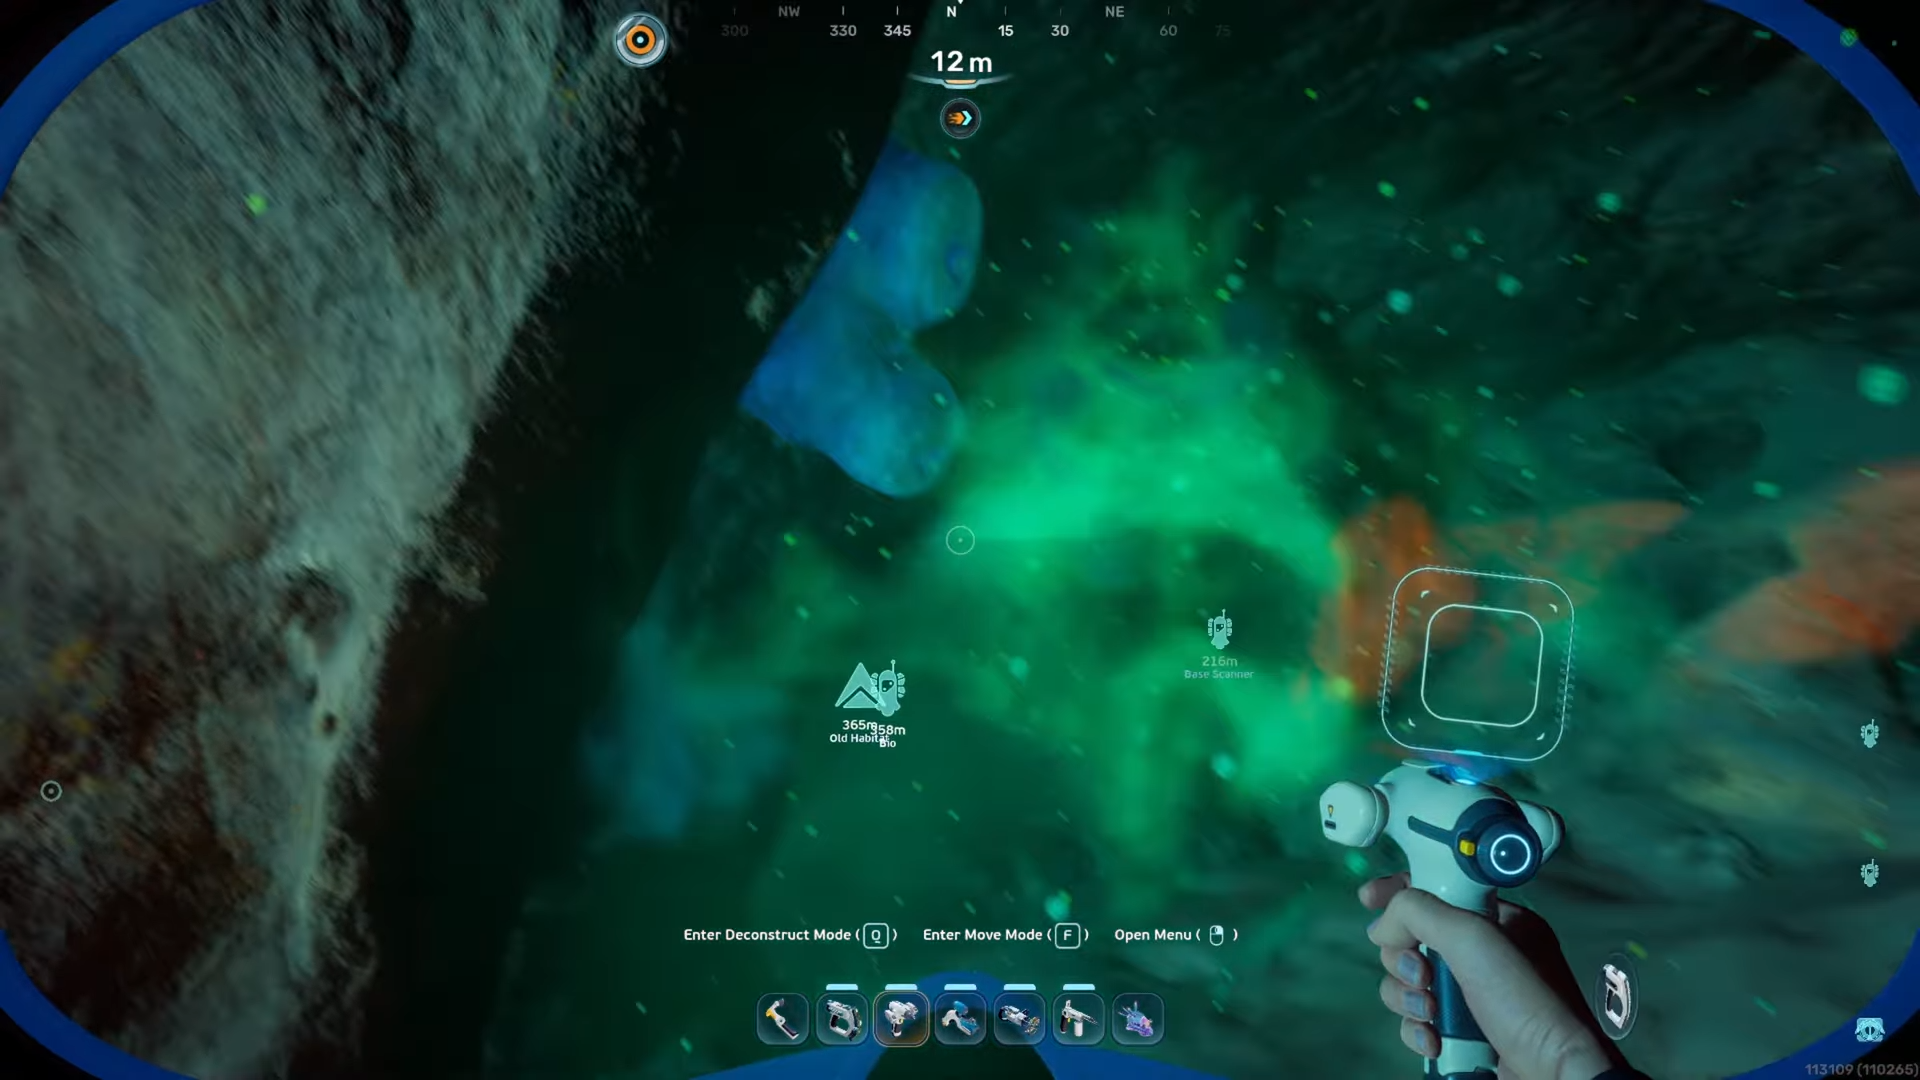
A large sunken building will come into view directly below you: this is the Old Habitat.
How to get inside the Old Habitat
Swim above the habitat and descend slowly so you can observe its shape.

The building is long and rectangular with a flat roof and several open sections along its sides.

One of the easiest entry points is on the side where part of the structure is cracked or partially collapsed, allowing you to swim underneath one edge.

Once you are under that section, angle upward and enter through the lower opening.

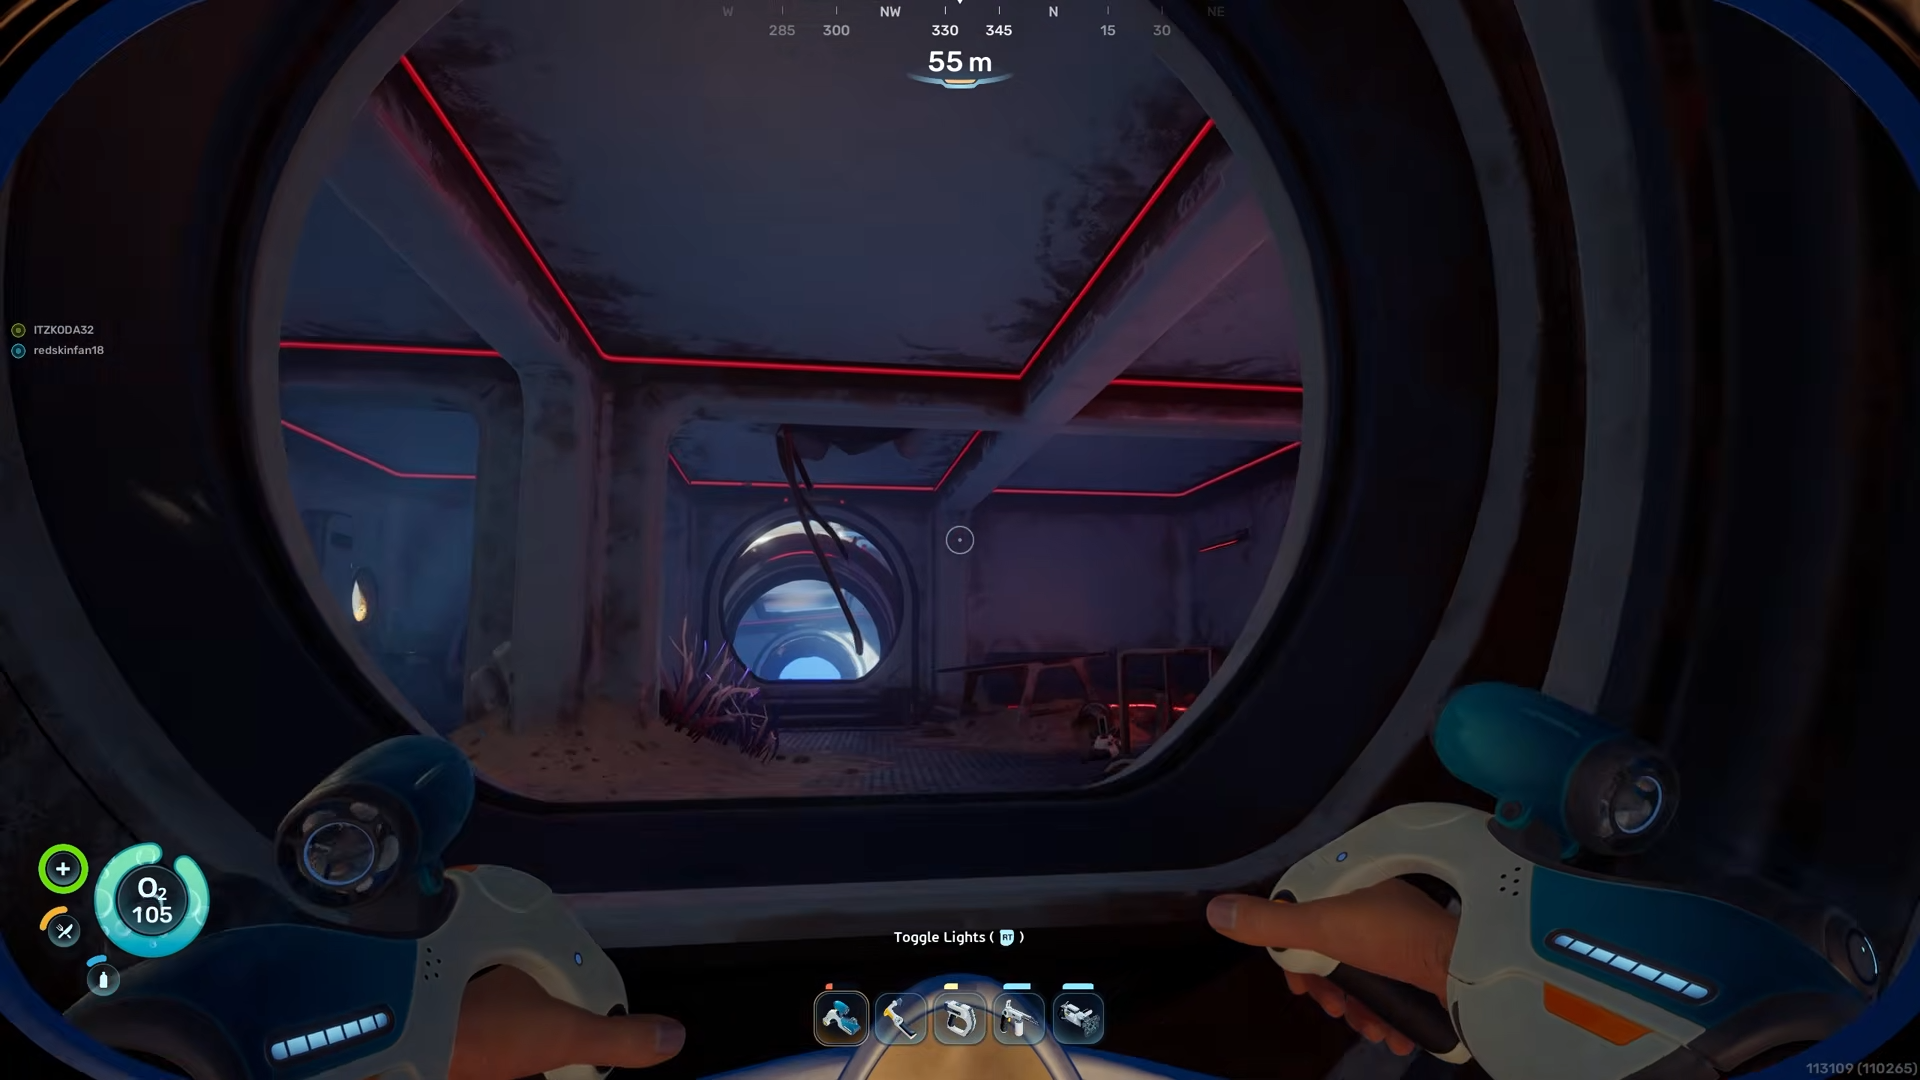
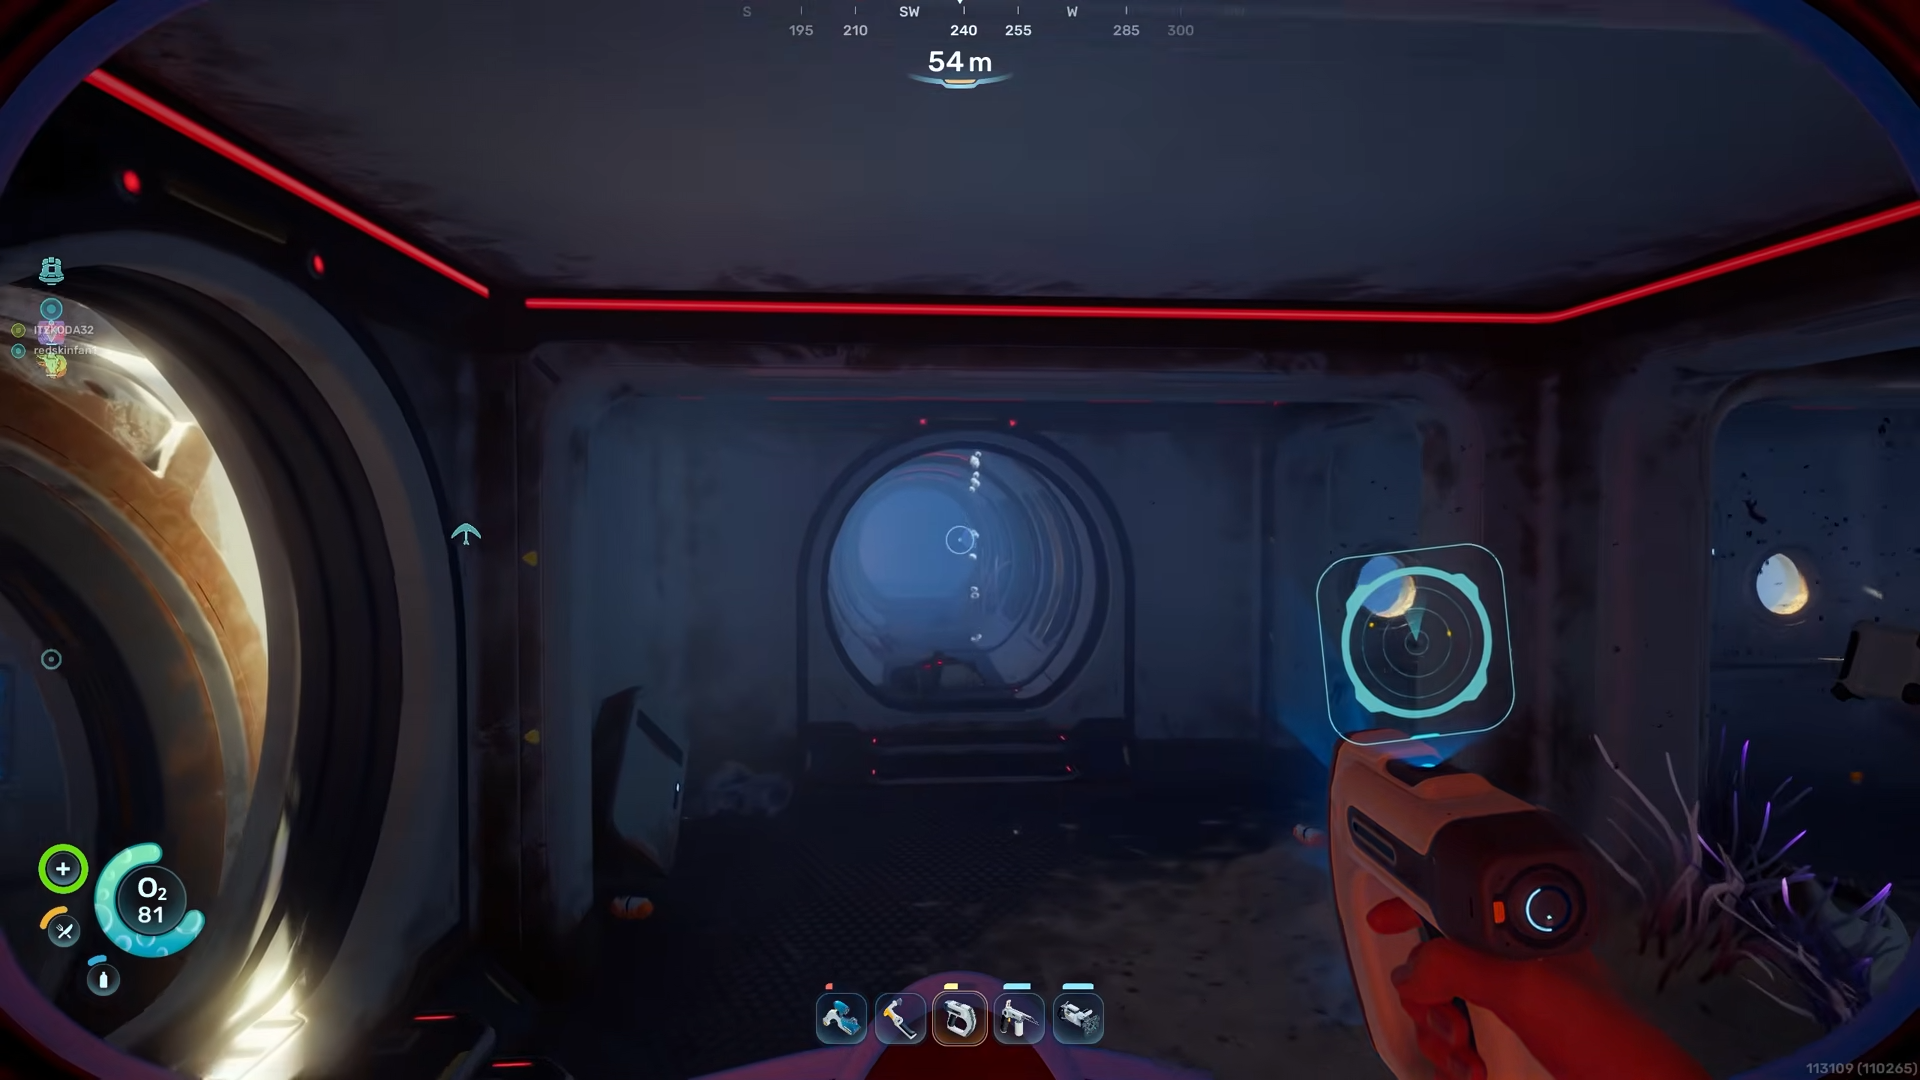
You will find yourself inside a dim interior that has several rooms and corridors. If you need to, surface briefly inside an air‑pocket area with visible bubbles before exploring deeper; these pockets let you refill your oxygen without swimming all the way back up.
Route to the Battery Terminals
Step 1 – Head to the upstairs room
After entering the habitat, move toward the central ladder or stair‑like structure leading upward.
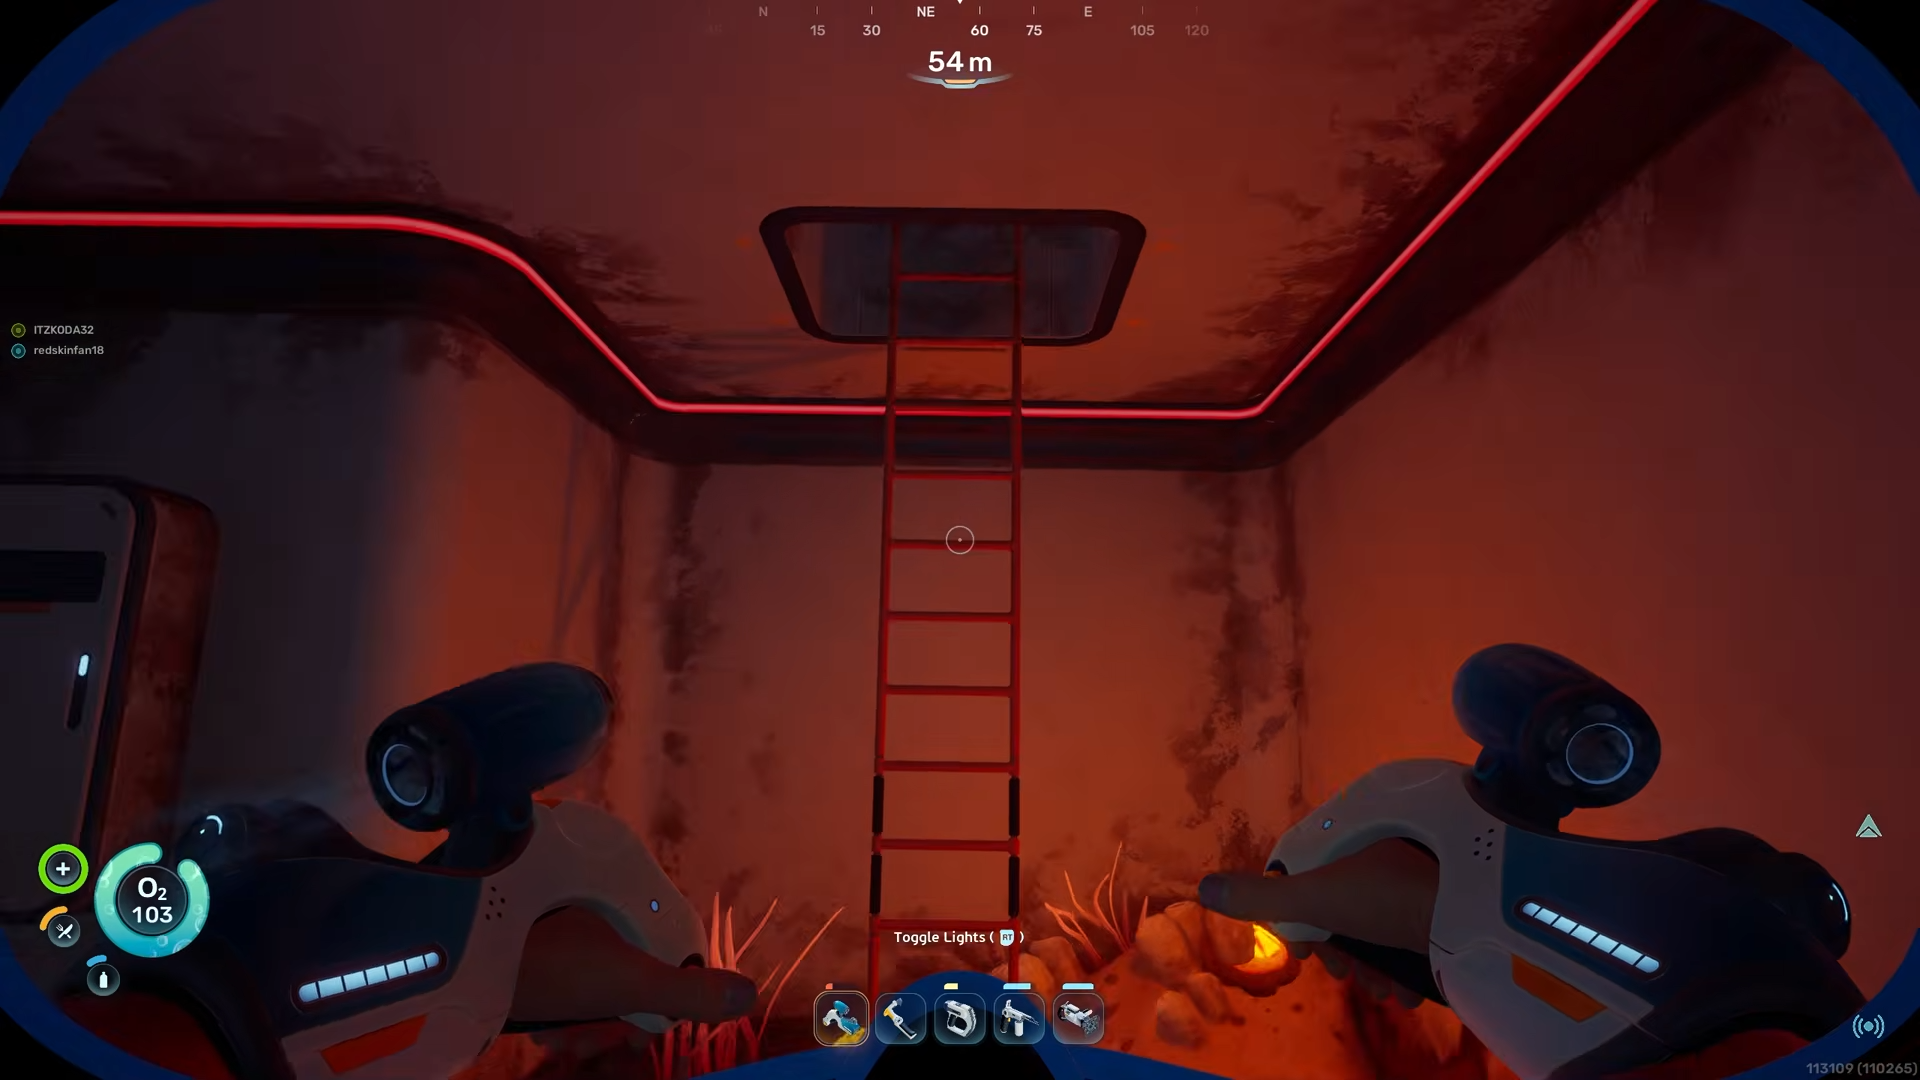
Follow that ladder to the upper level, which runs along one side of the building. You will pass several panels and broken equipment as you climb.

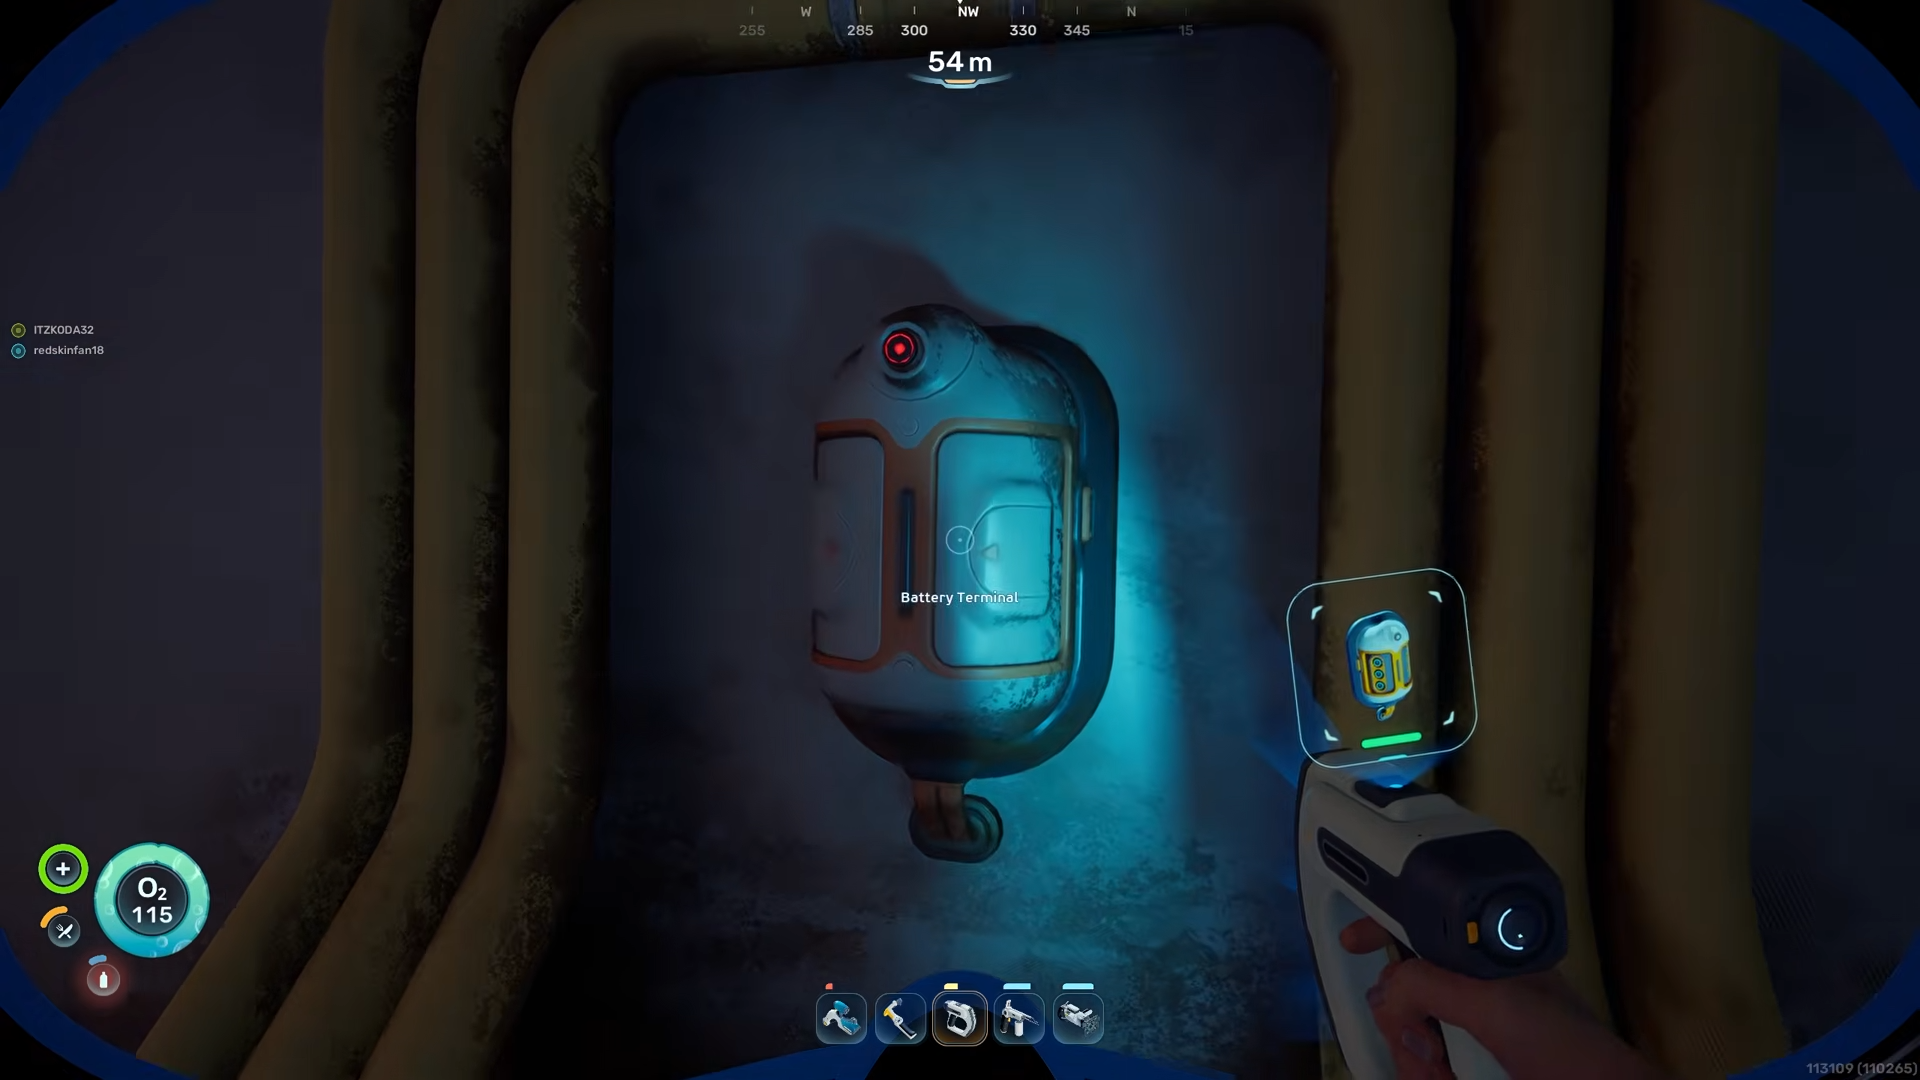
Once you reach the top, hug the wall toward the rear of the interior and proceed along the corridor. The first Battery Terminal is embedded in the wall at the far end of this upstairs section.
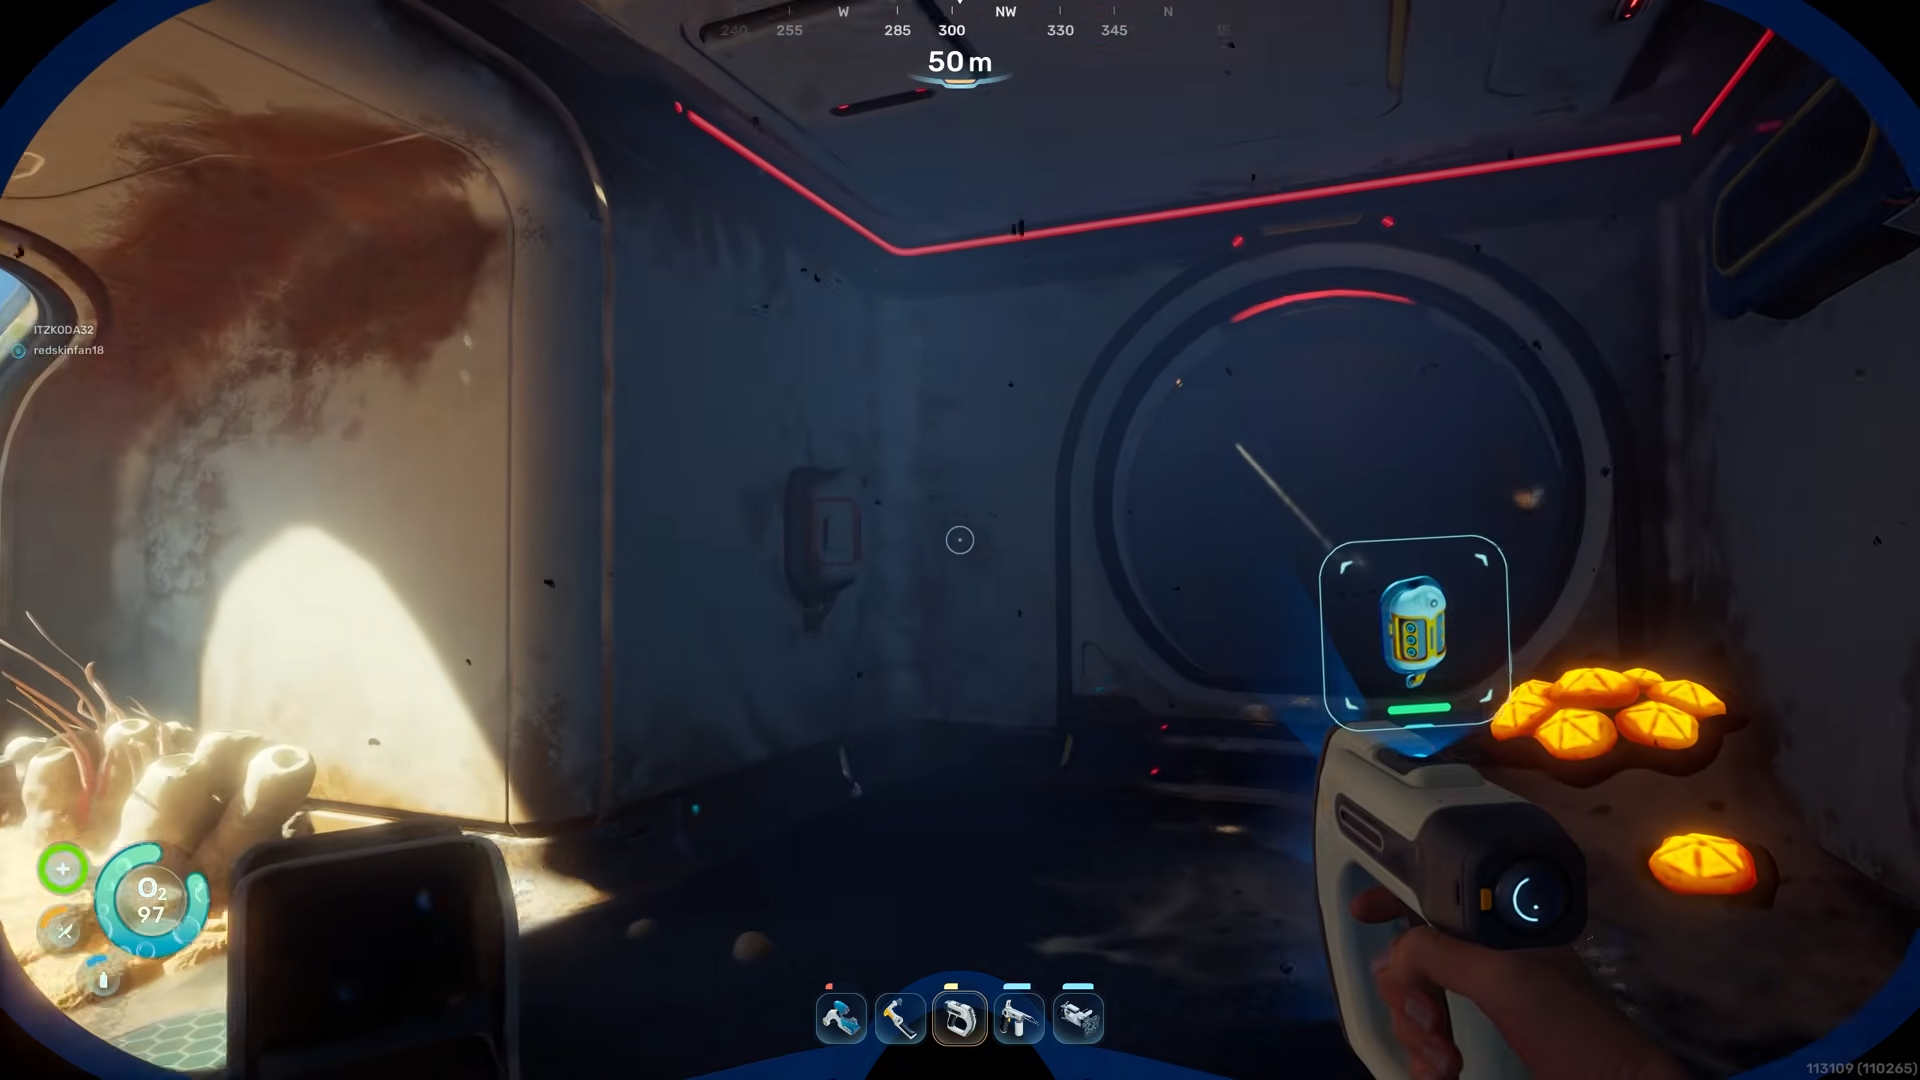
Aim your scanner and scan the terminal until the scan completes. This will unlock the first half of the charger blueprint.
Step 2 – Return to the ground floor
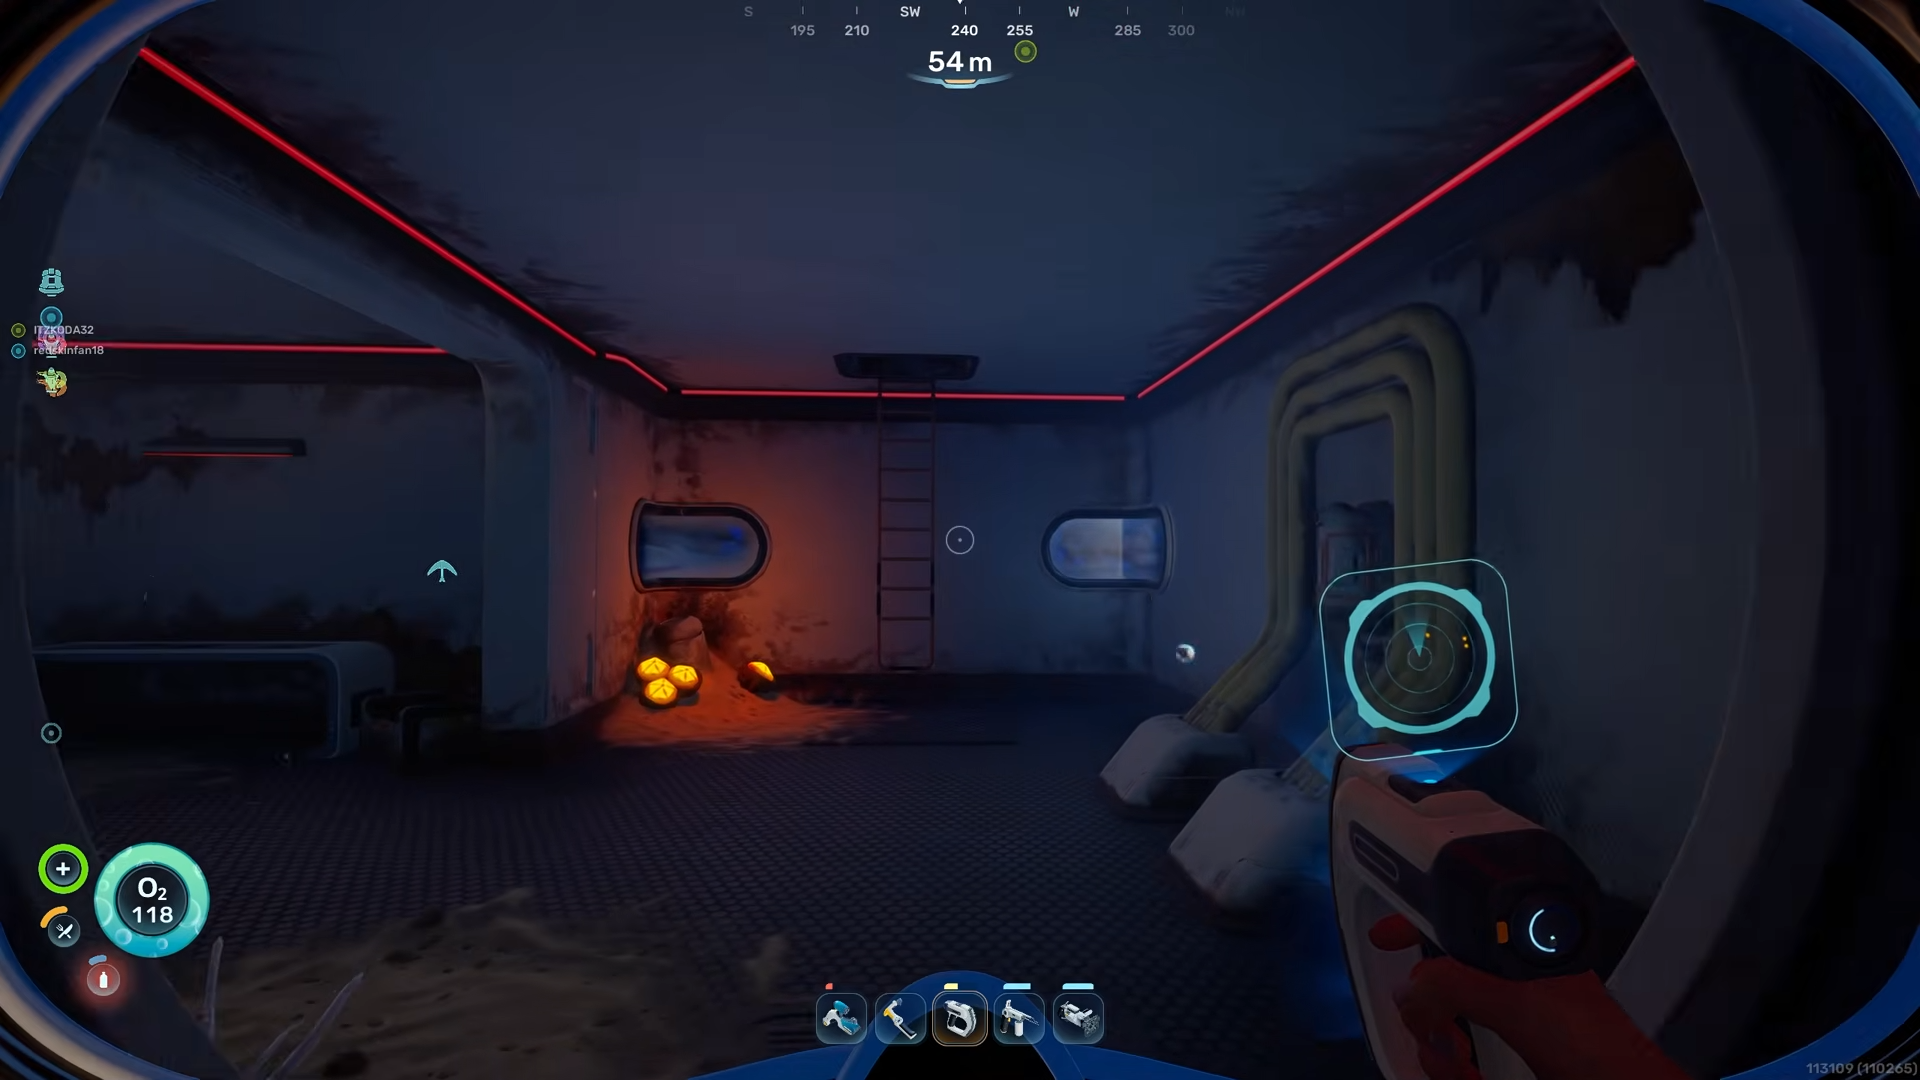
After scanning the first terminal, turn around and head back along the upper corridor toward the ladder.
Climb back down to the main level of the habitat. This lower floor connects both sides of the building with a long central passage that runs nearly the full length of the structure.

Use markers or air‑bubble vents as reference points if you start to feel disoriented. The air‑bubbles appear along certain walls and columns and can be used to pause and refill oxygen while you keep track of where you are.
Step 3 – Cross the habitat and find the second terminal
From the ladder on the ground floor, move straight across the habitat through the long interior tunnel. As you walk you will see the air‑bubble vents on one side; you can stand just above them to replenish oxygen if your dive is tight.
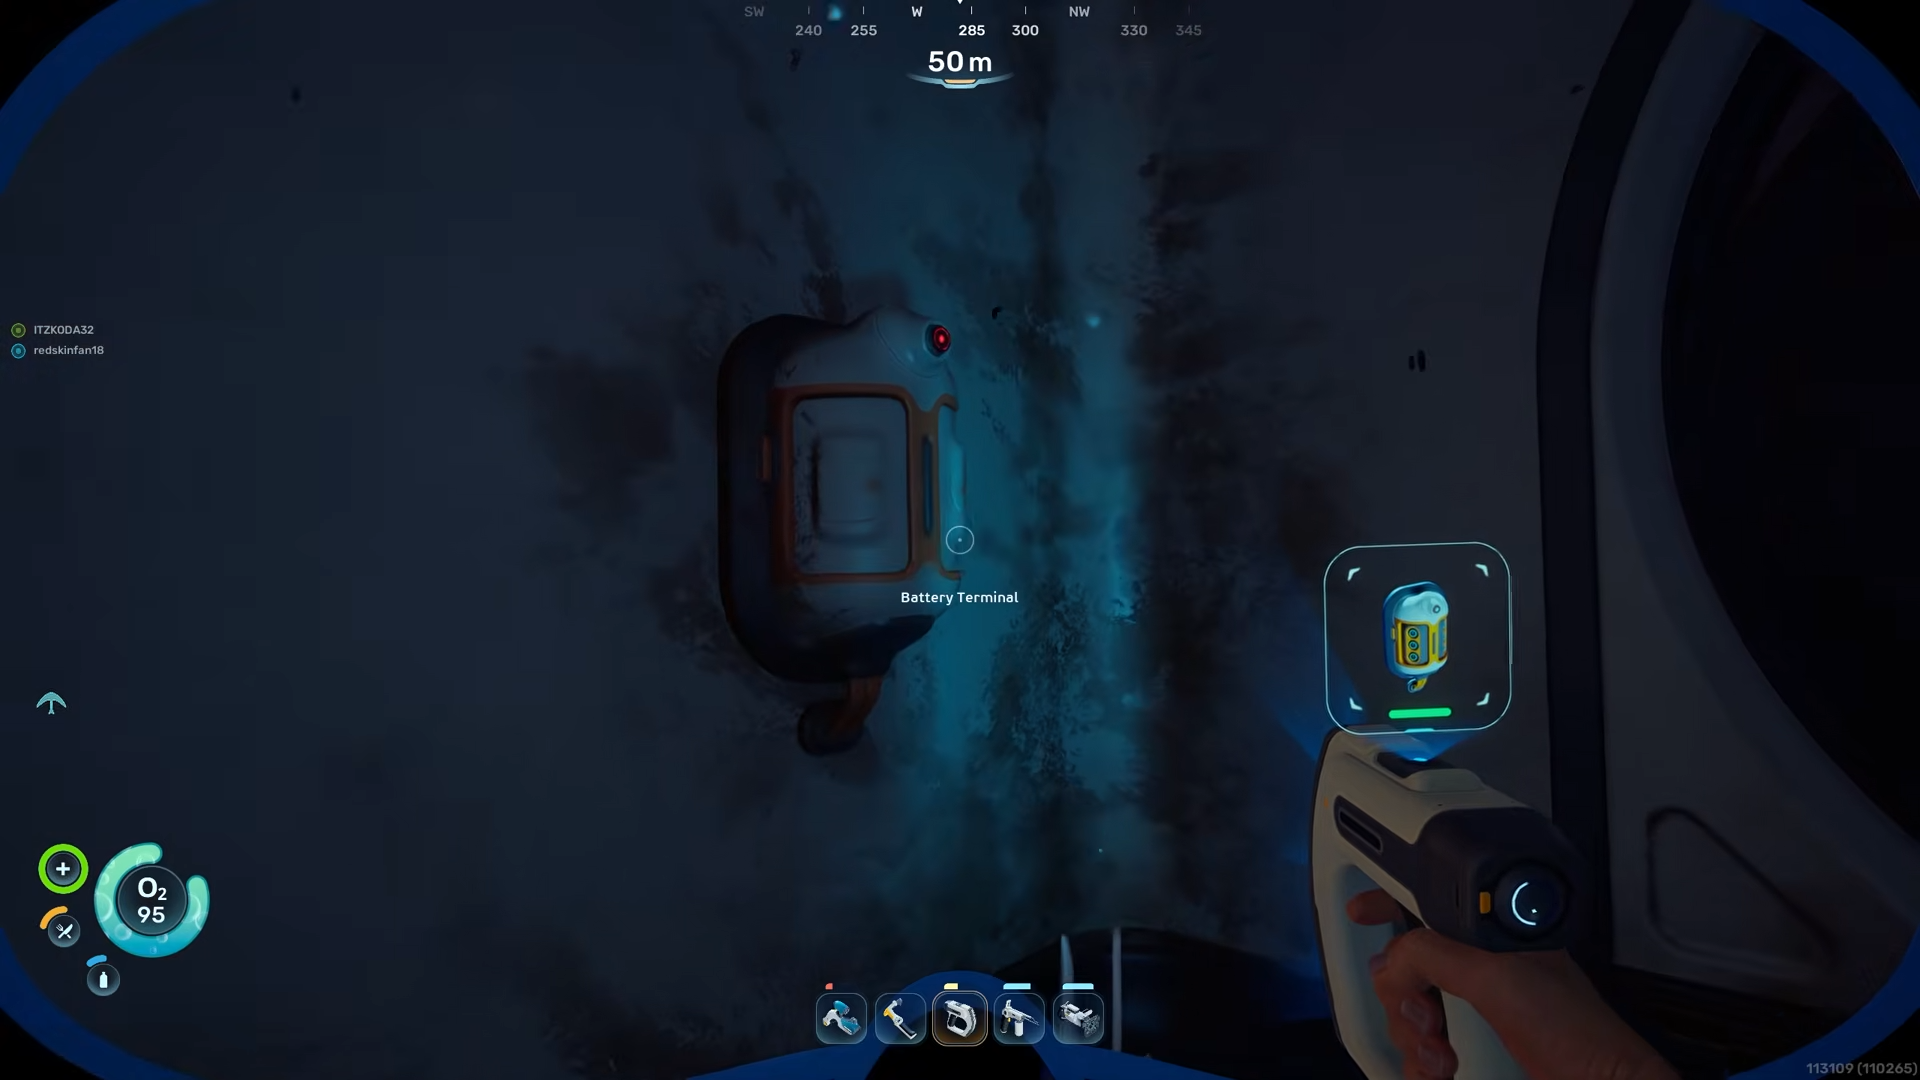
When you reach the opposite side of the habitat you will enter a small room on the right. The second Battery Terminal is mounted on the wall at the far end of this room. Pull out your scanner and complete the scan of this terminal.
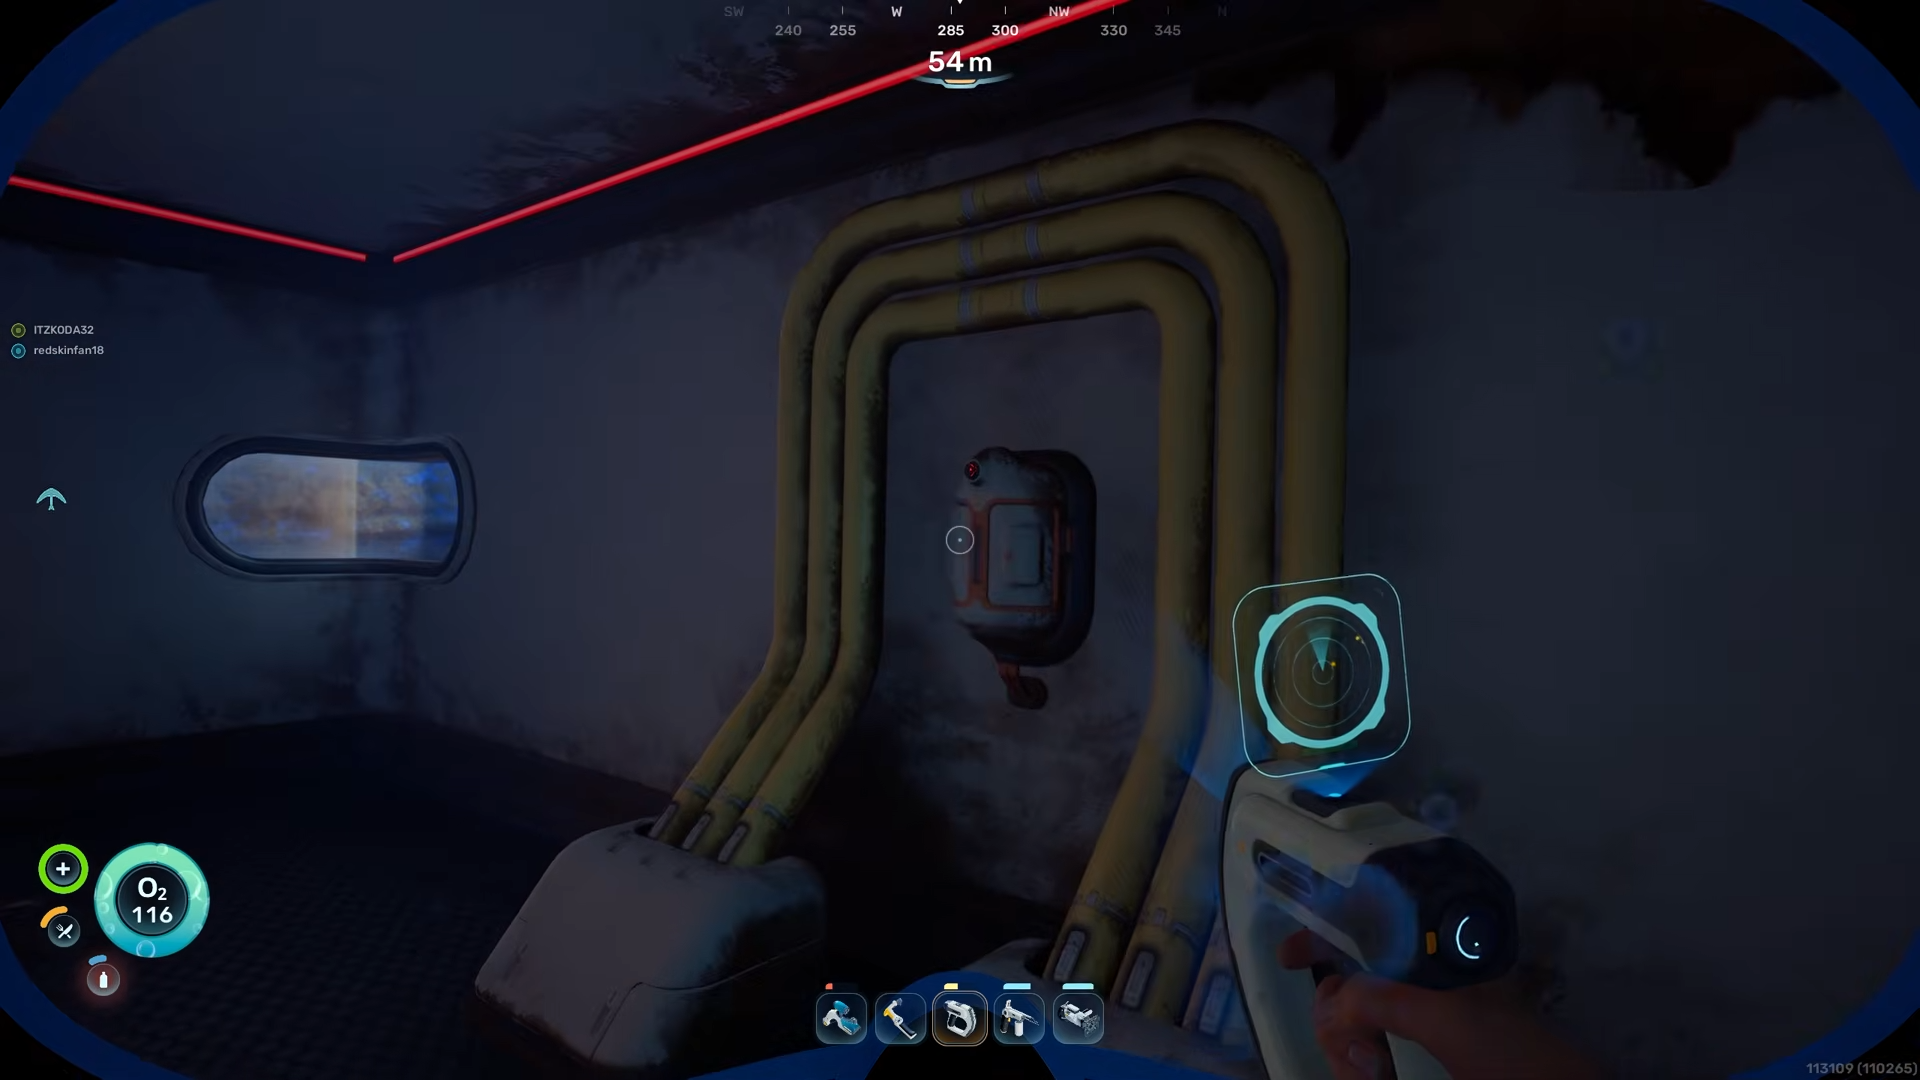
Once both Battery Terminals are fully scanned, the full battery charger blueprint will unlock in your build menu.