What to know
-
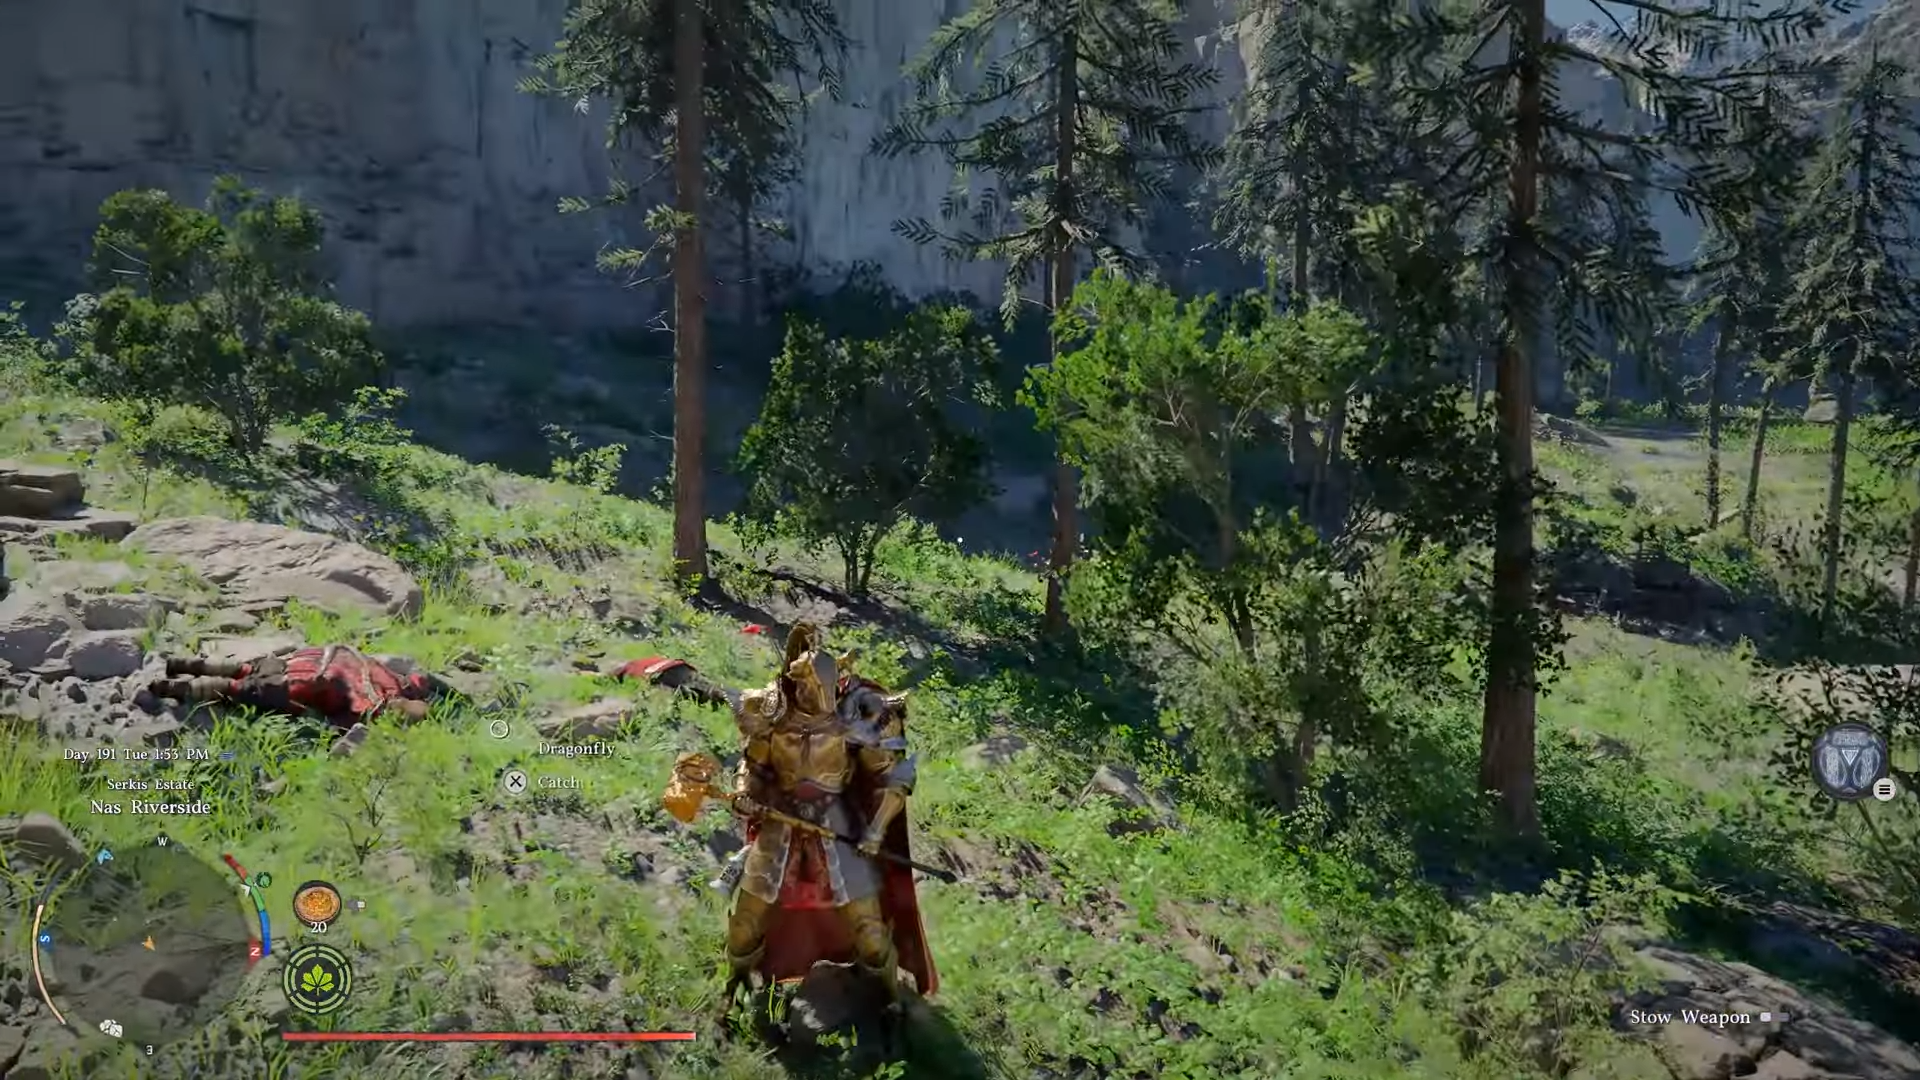
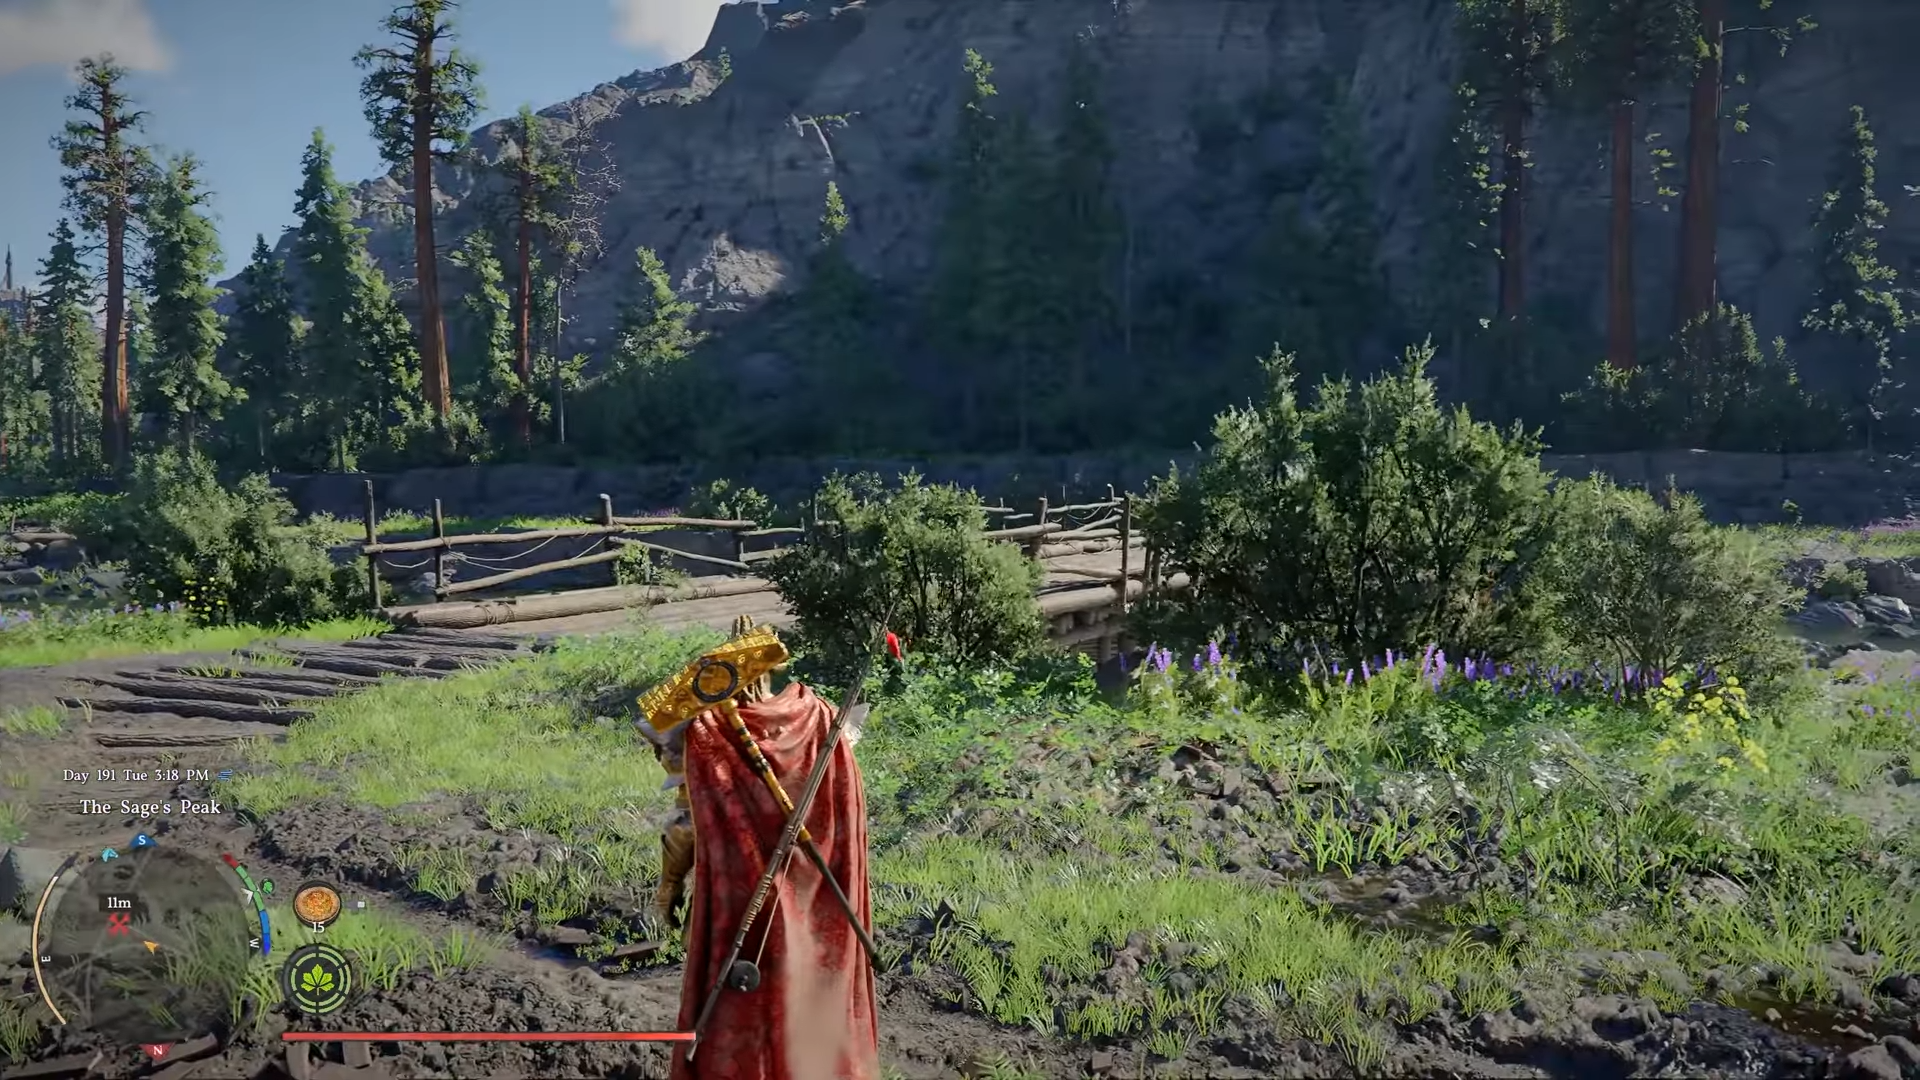
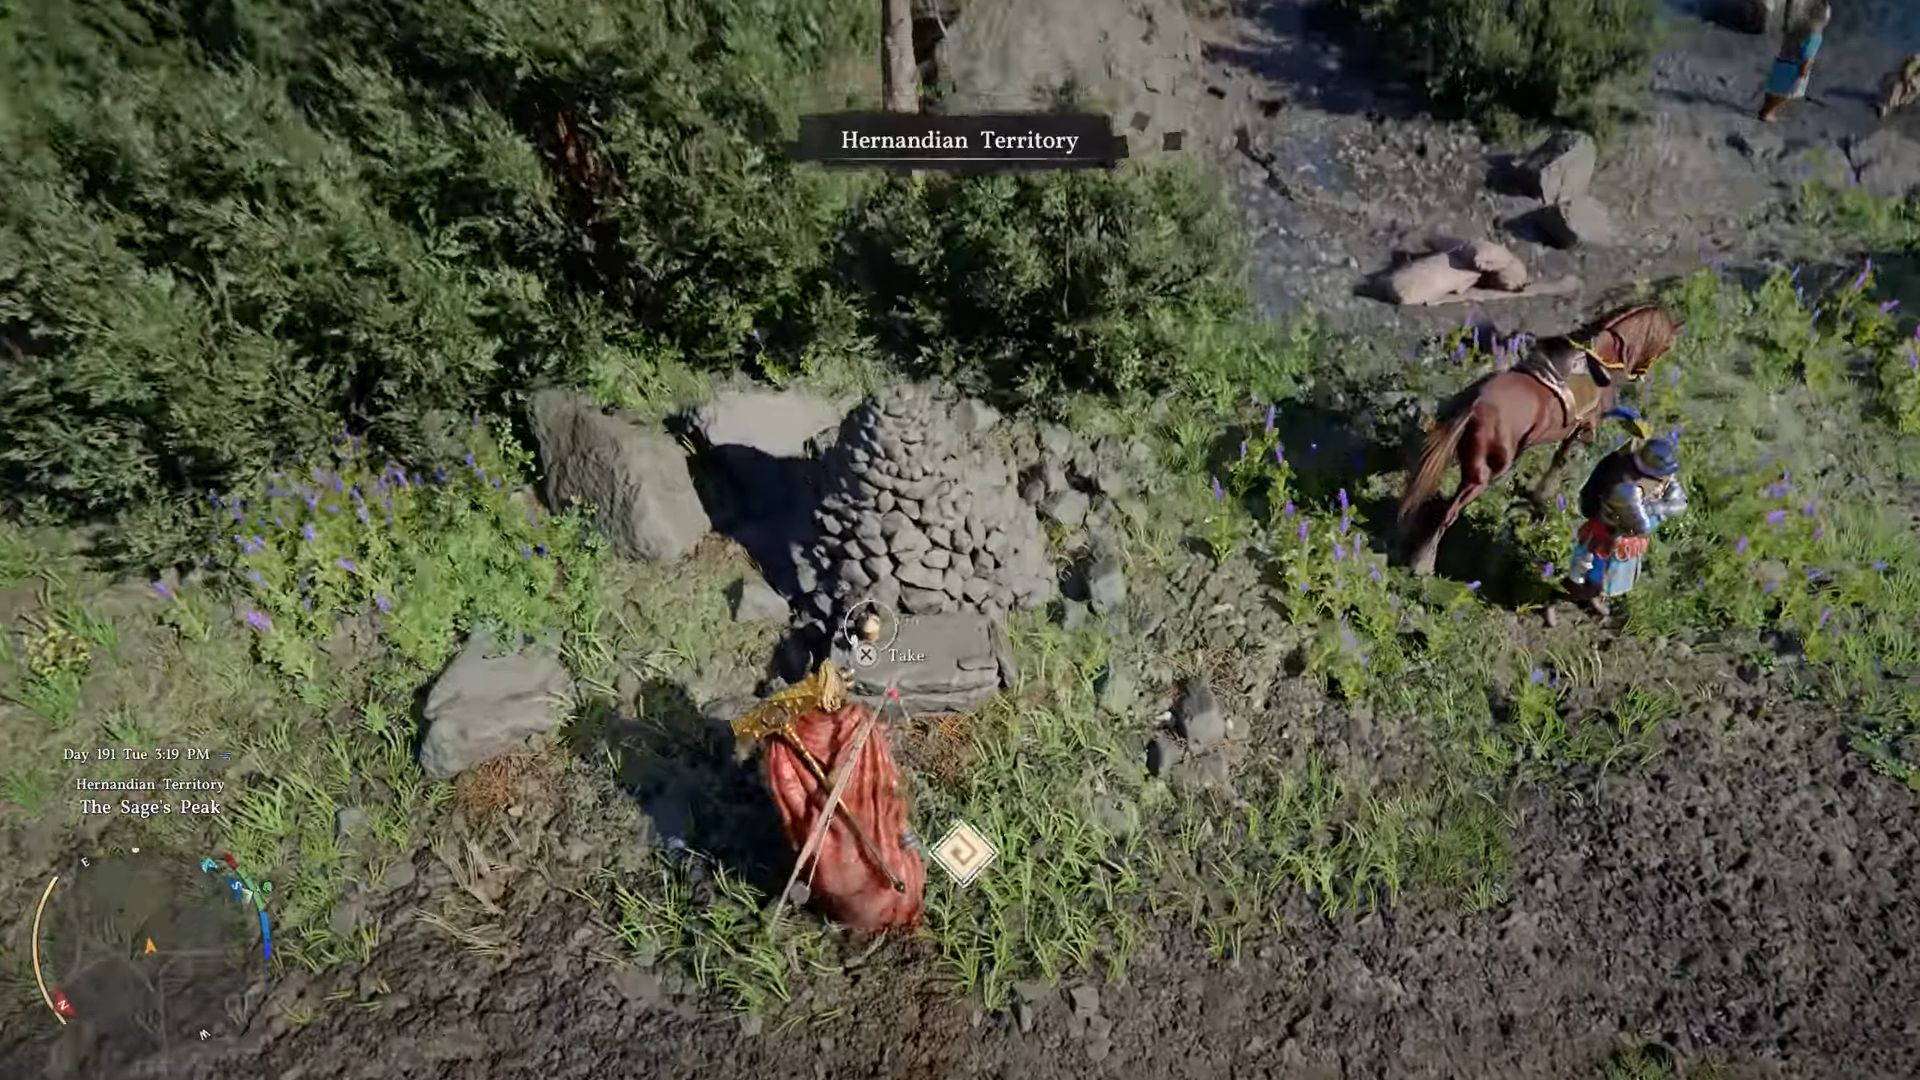
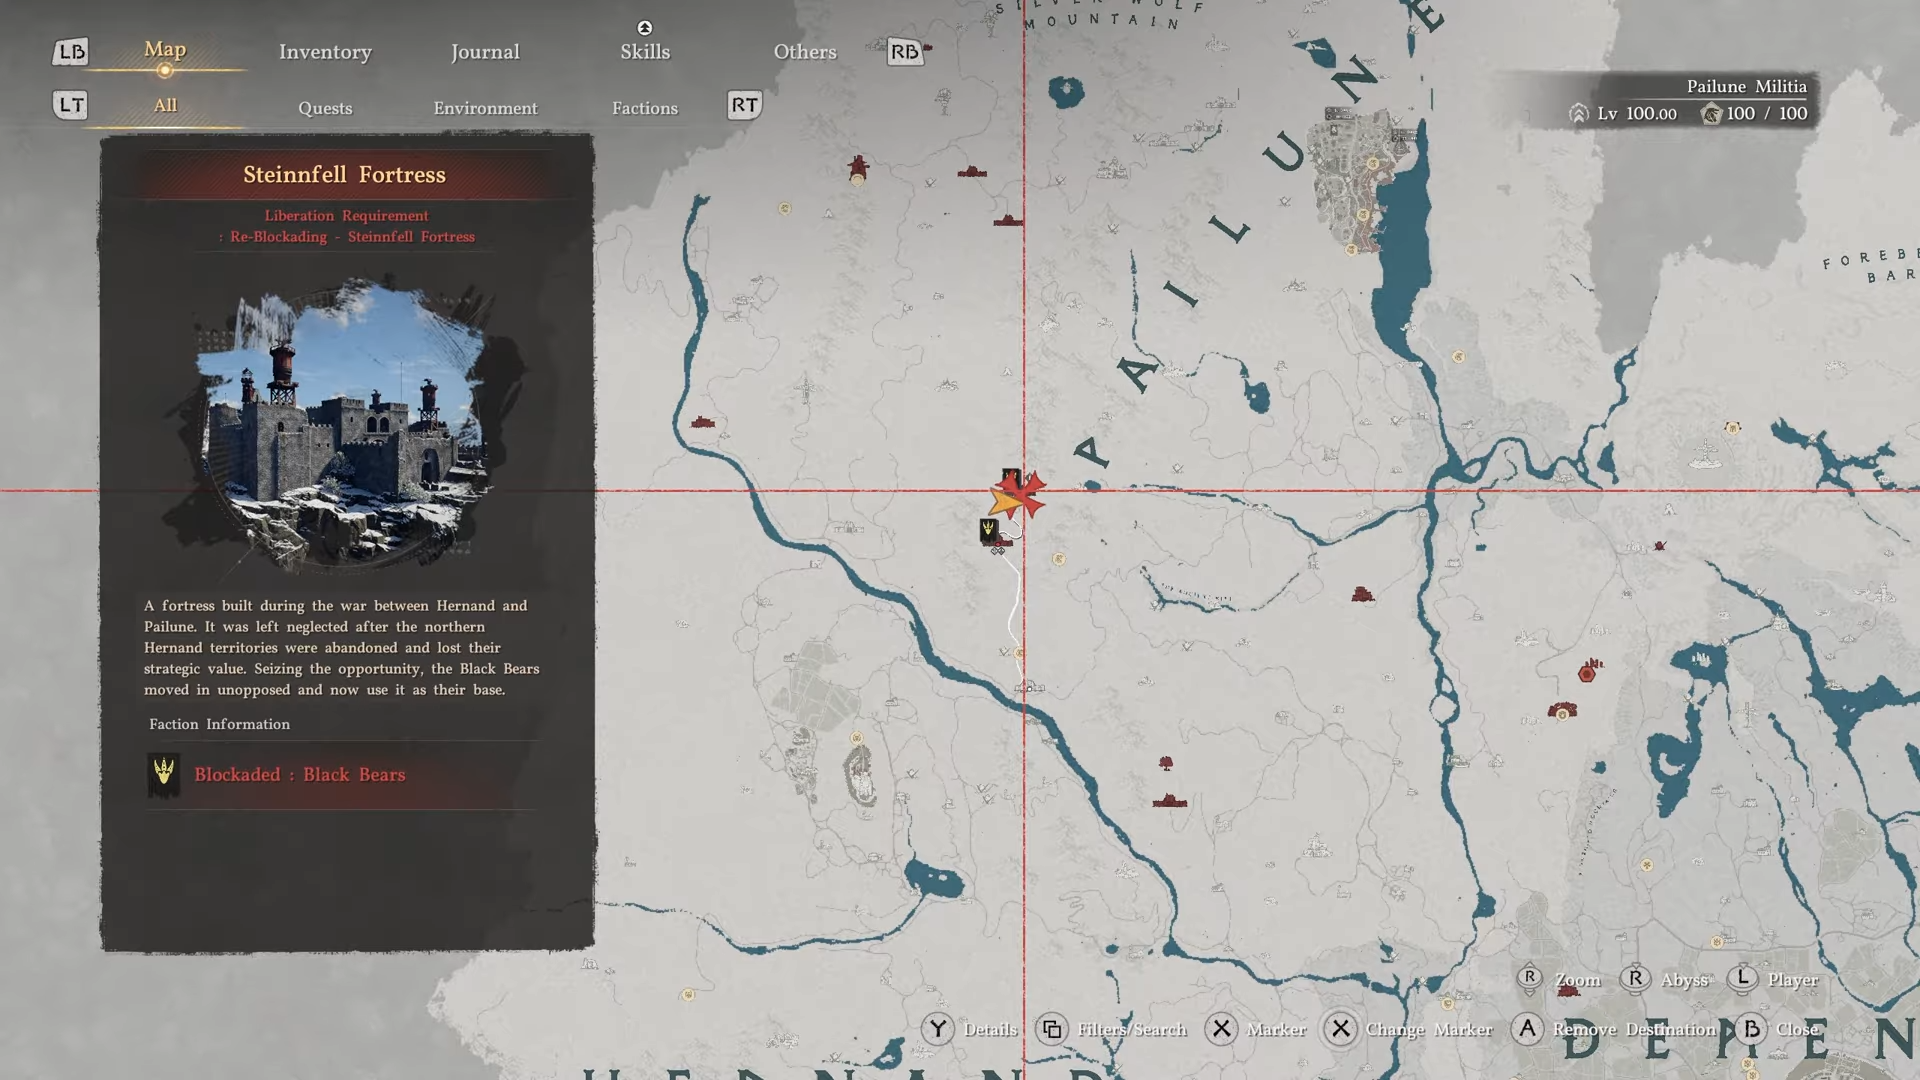
Pick up the challenge artifact at the rock stack by the bridge near Trovak Camp, between Pailune and Hernand.
-
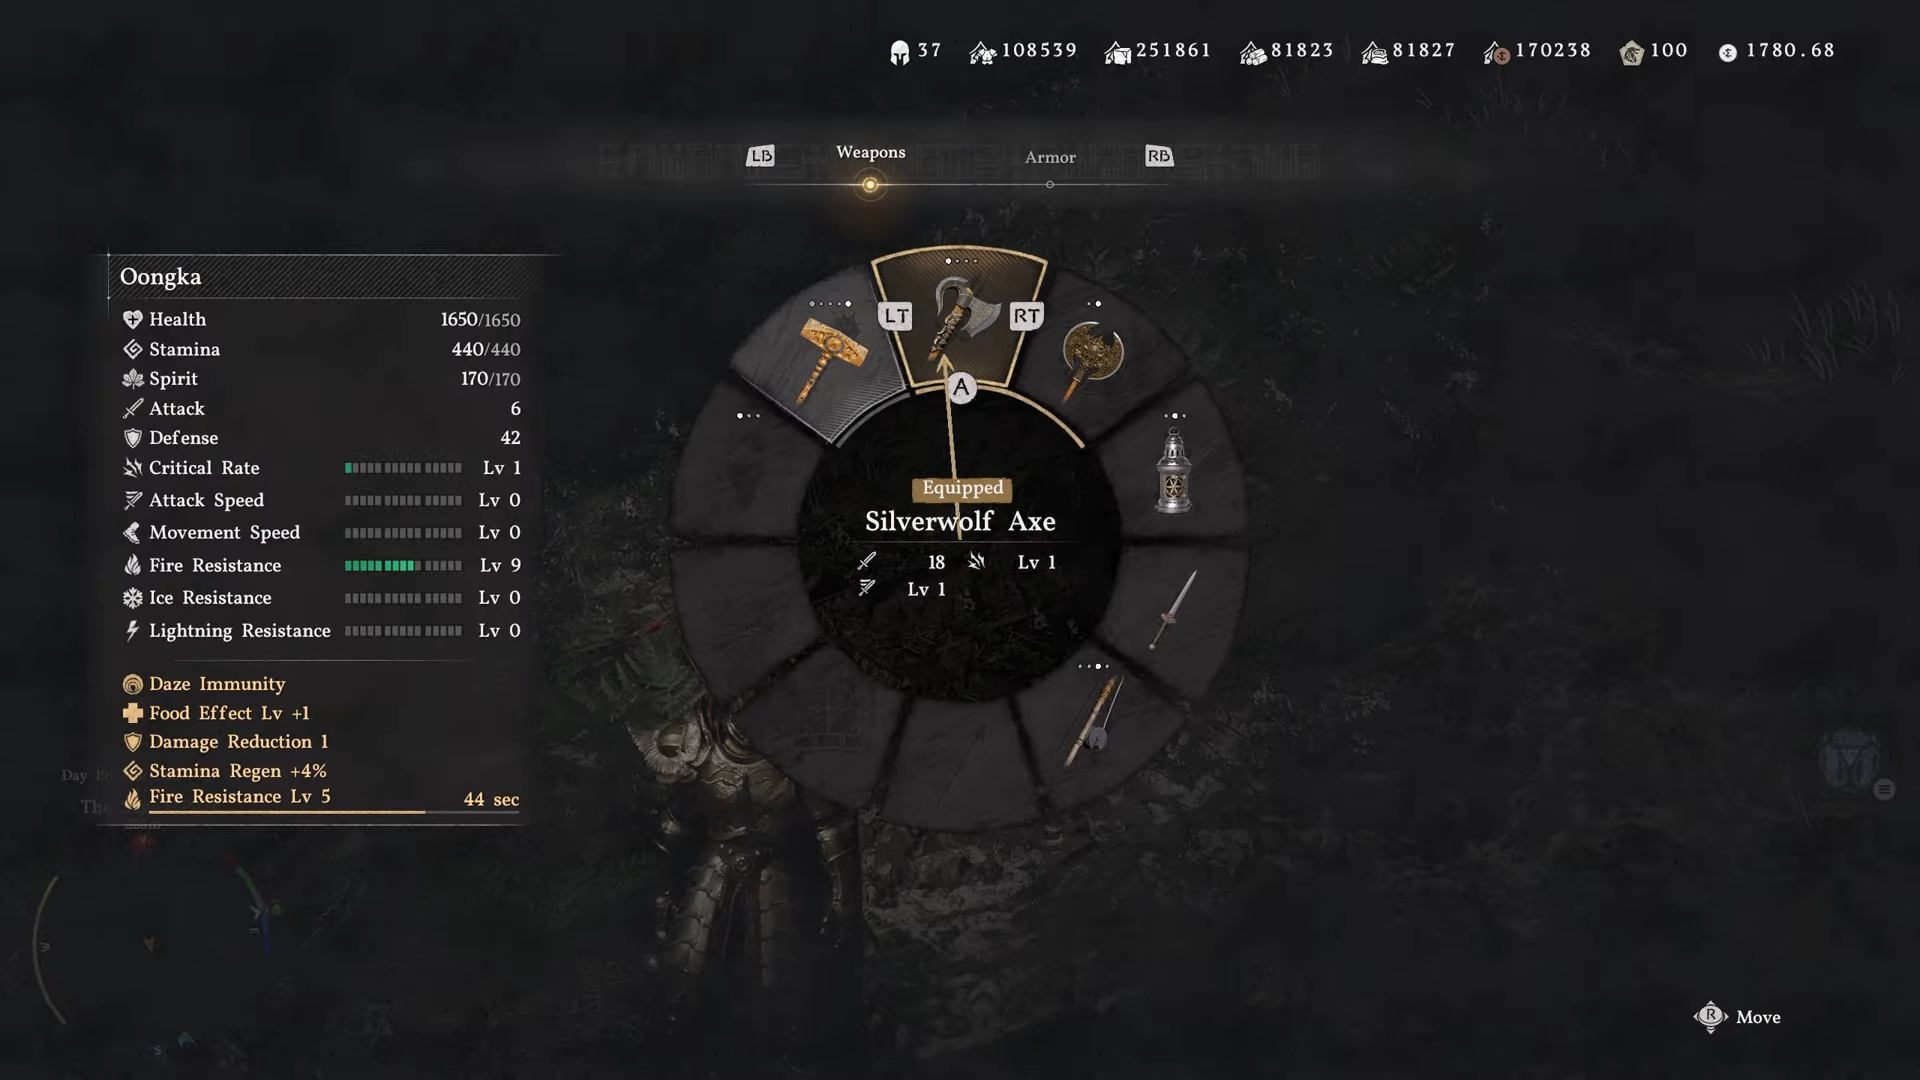
Equip a two-handed axe and great hammer; start with axe equipped for the correct swing.
-
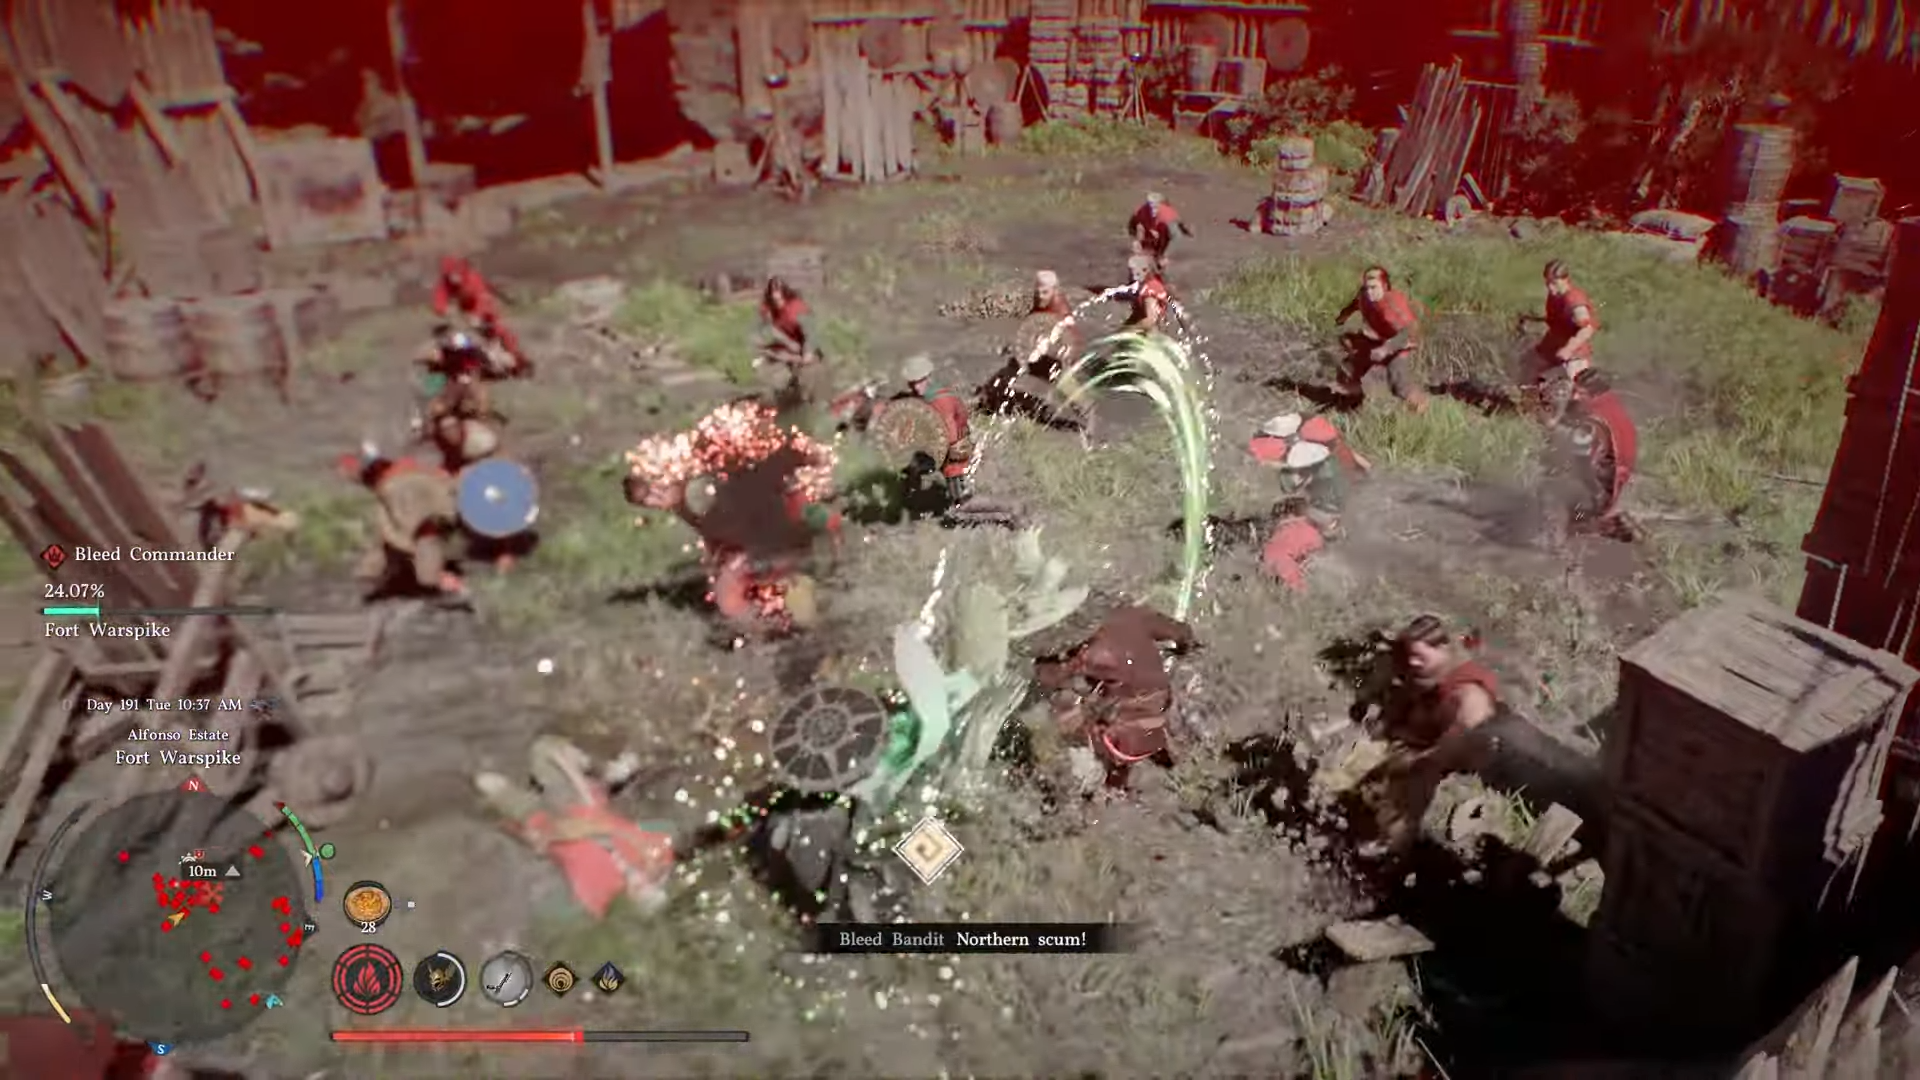
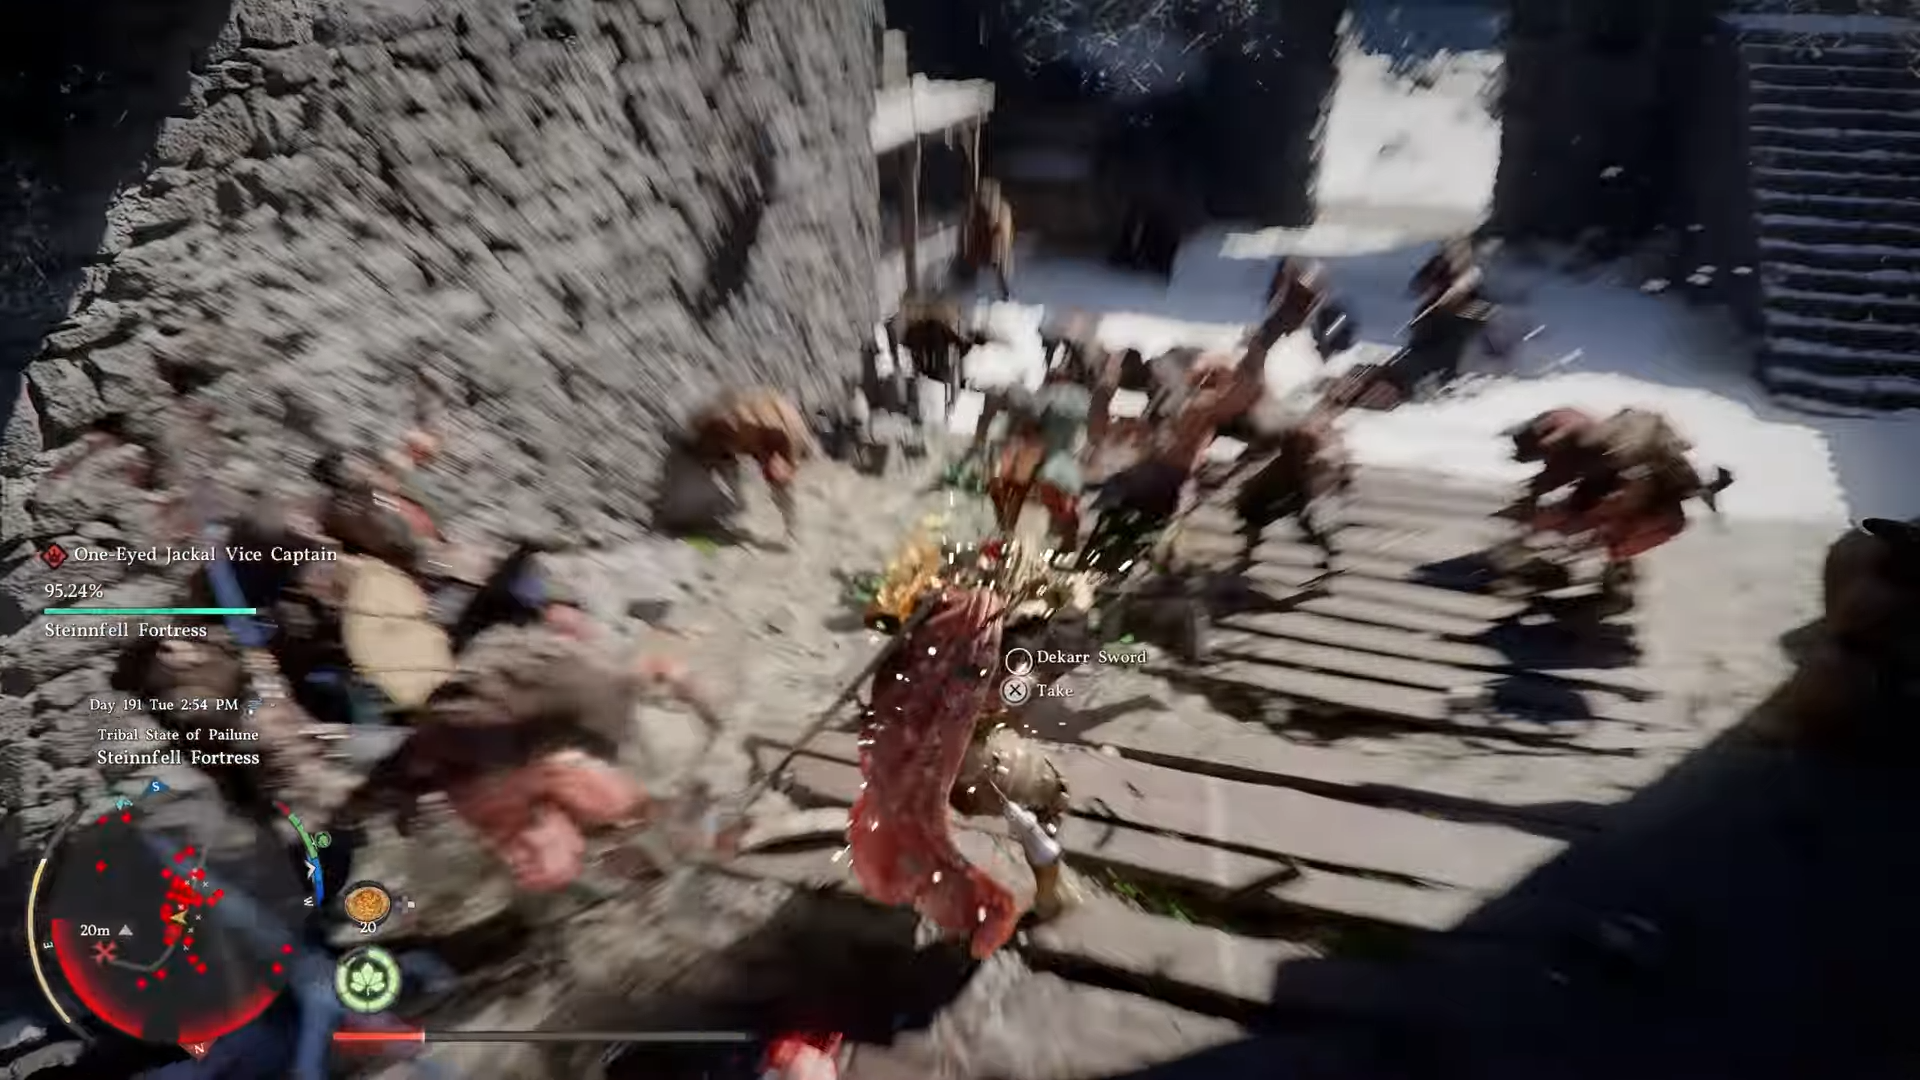
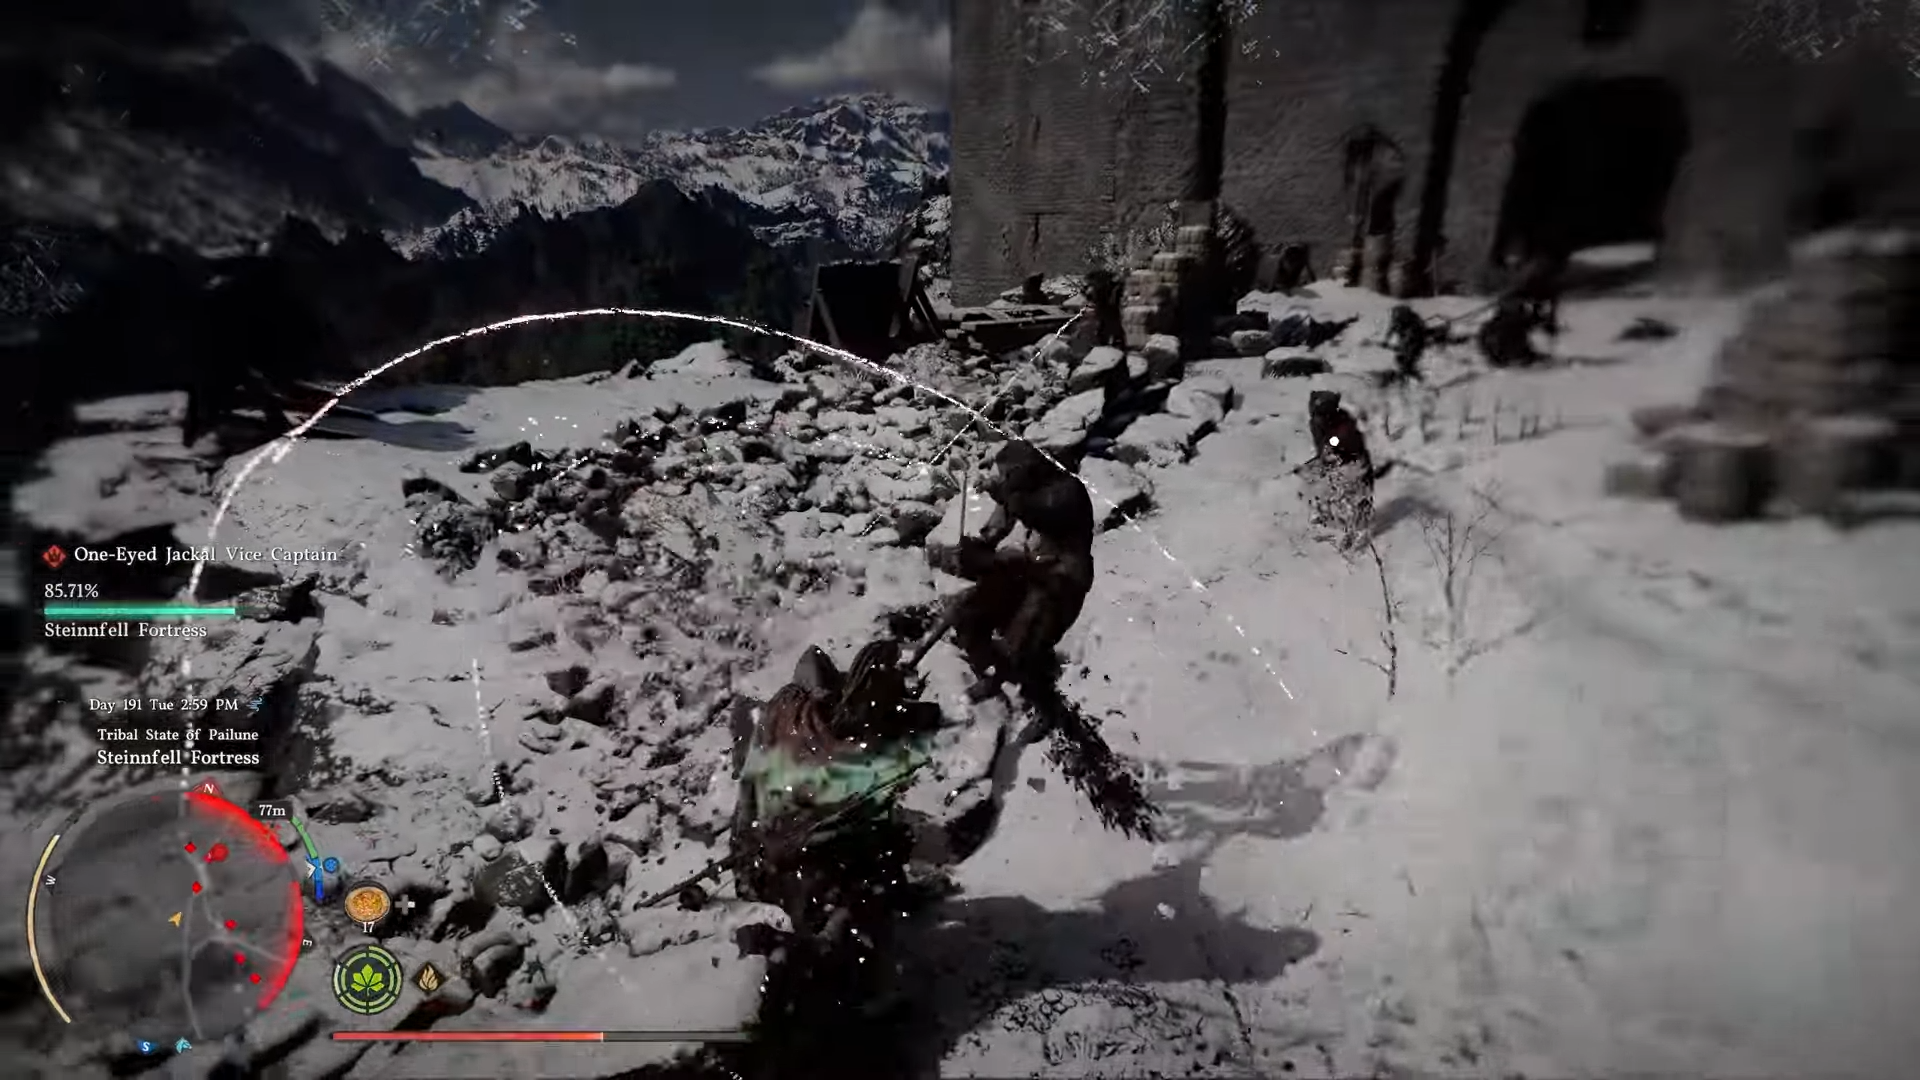
Head to a crowded enemy spot like Steinnfell Fortress to group five foes.
-
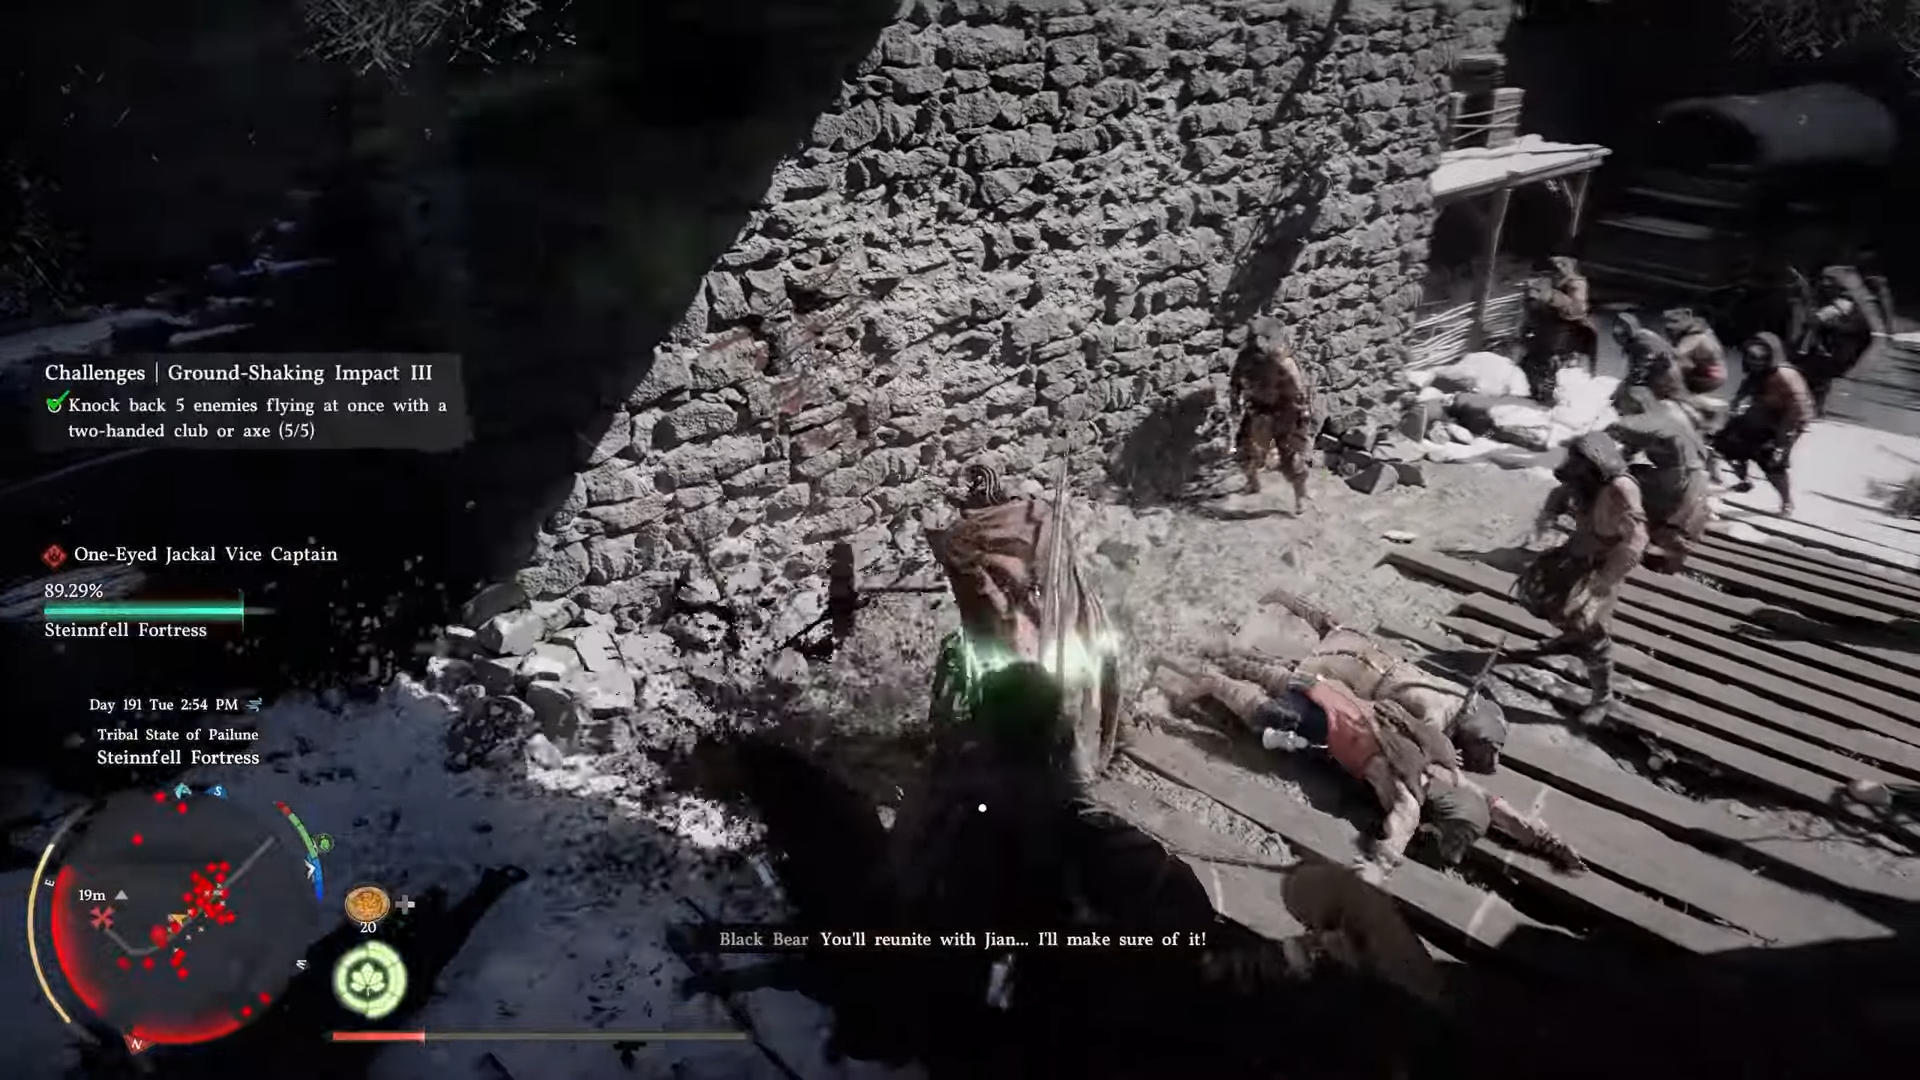
Press left bumper and left trigger simultaneously for a wide hammer swing that launches them.
Tackle this Ground-Shaking Impact 3 challenge in Crimson Desert by mastering the quick-swap technique with two-handed weapons. It demands grouping enemies and executing the right input sequence to send five airborne simultaneously.
Ground Shaking Impact III locations
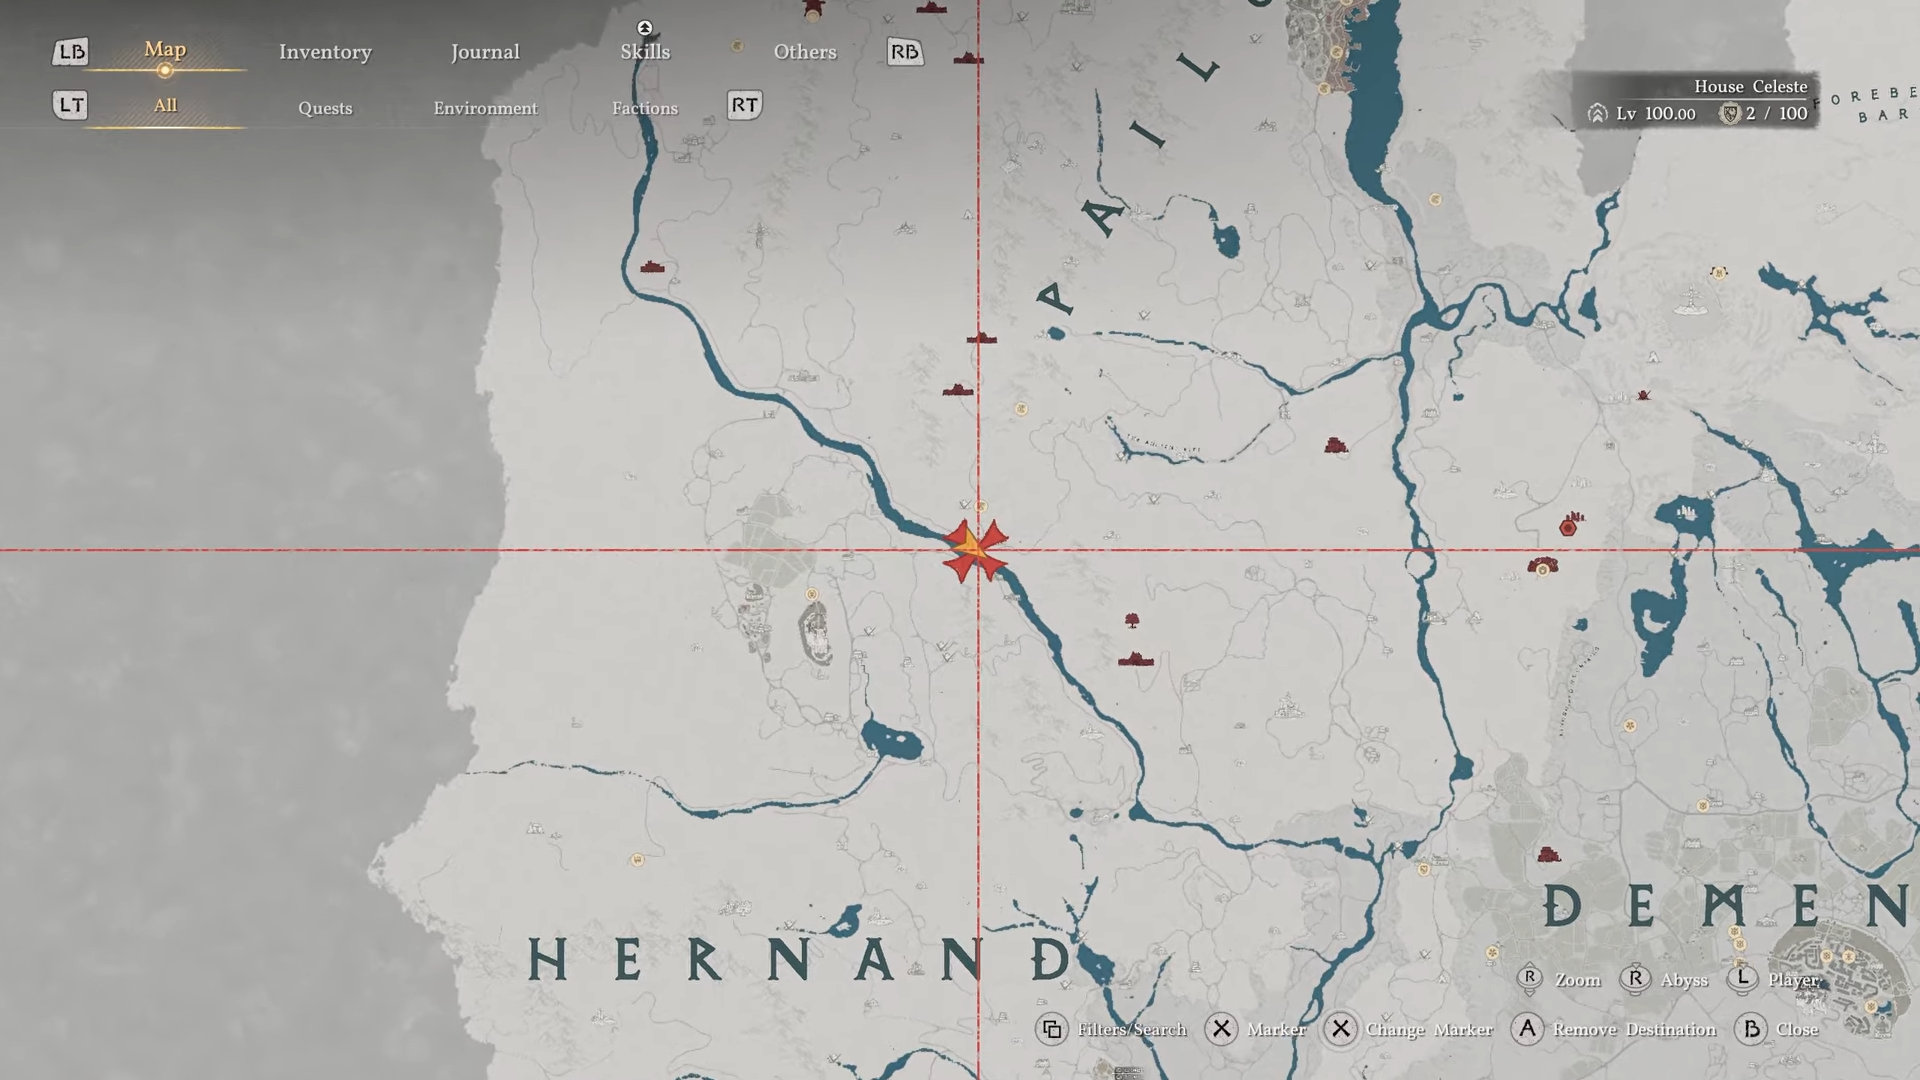
Travel along the river between Pailune and Hernand regions to the intersection right next to Trovak Camp.
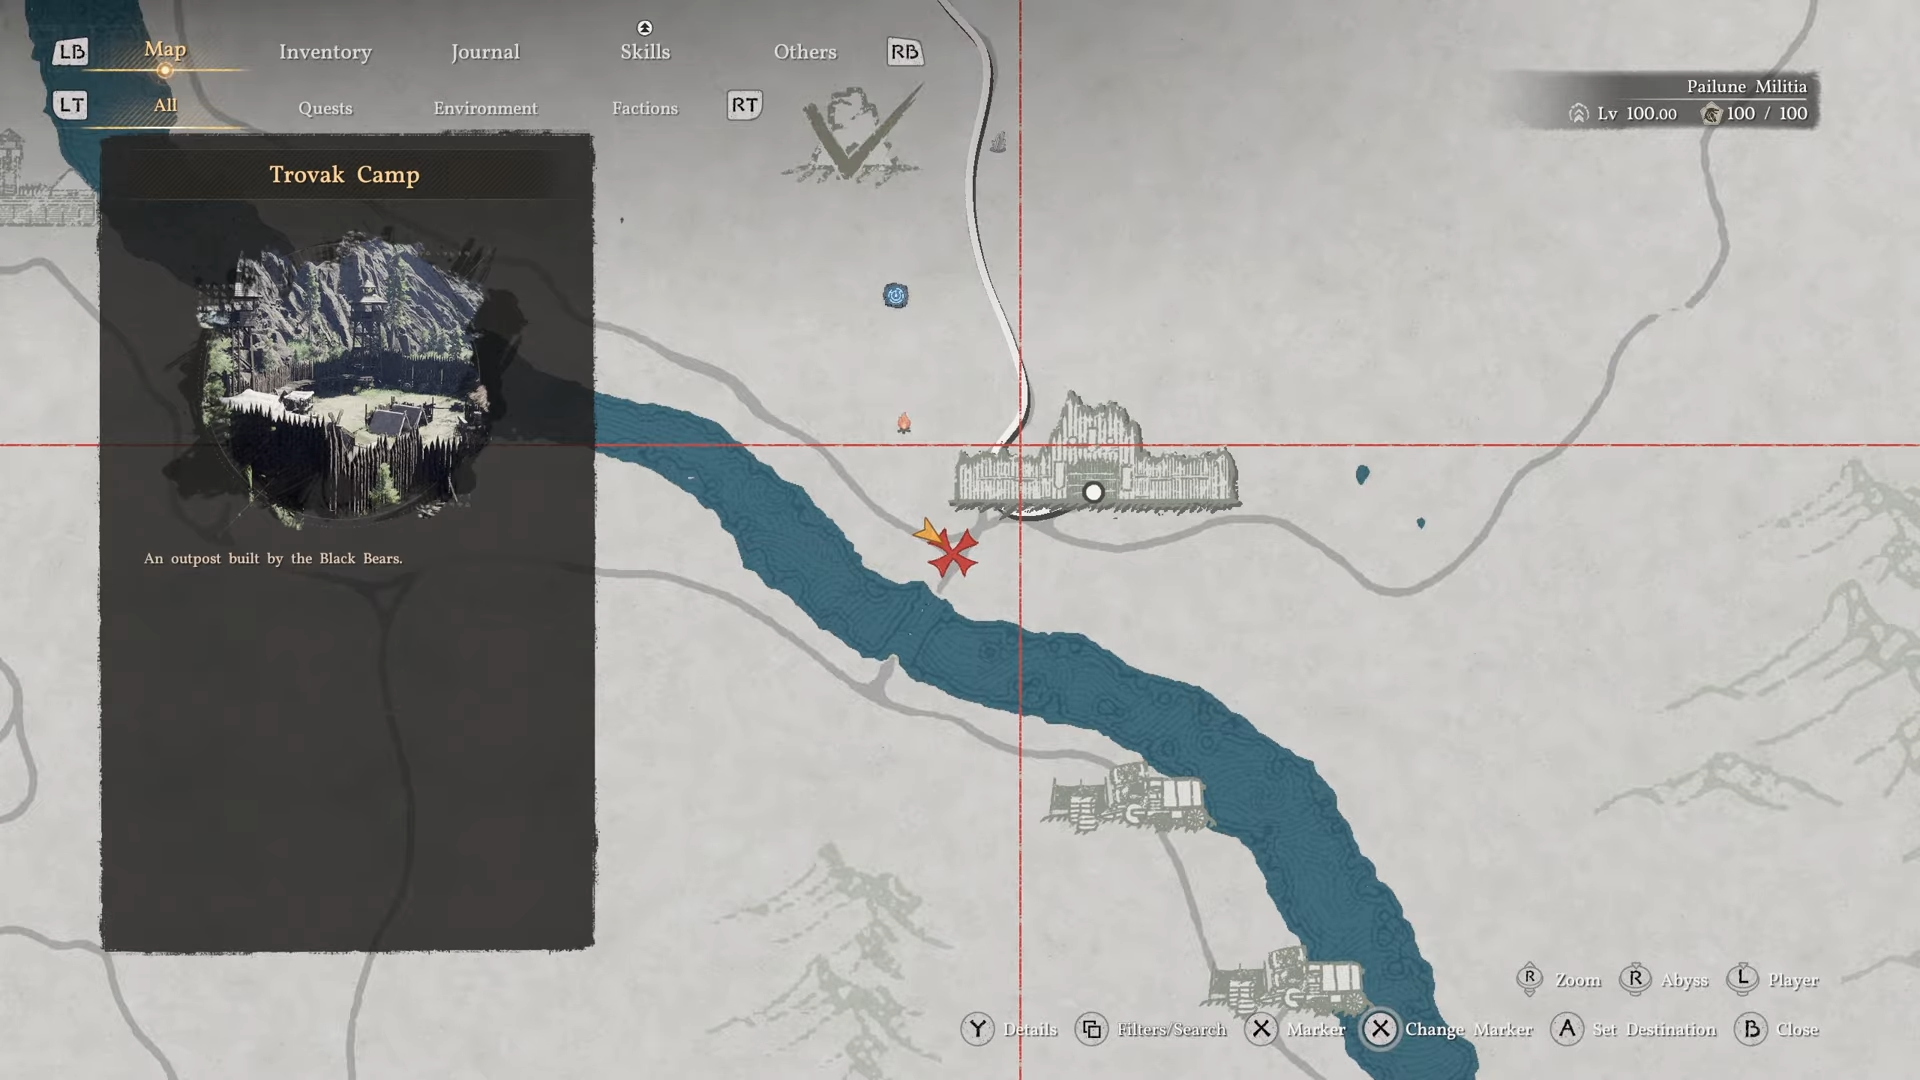
Spot the bridge nearby, then look for a small stack of rocks holding the Sealed Abyss Artifact that activates the challenge.
For completion, Steinnfell Fortress packs plenty of enemies to cluster five against a wall, though any dense camp works if you can bunch foes tightly without them scattering.
How to equip weapons properly
Select your loadout with a two-handed axe in the primary slot and a great hammer (club) in the secondary slot.
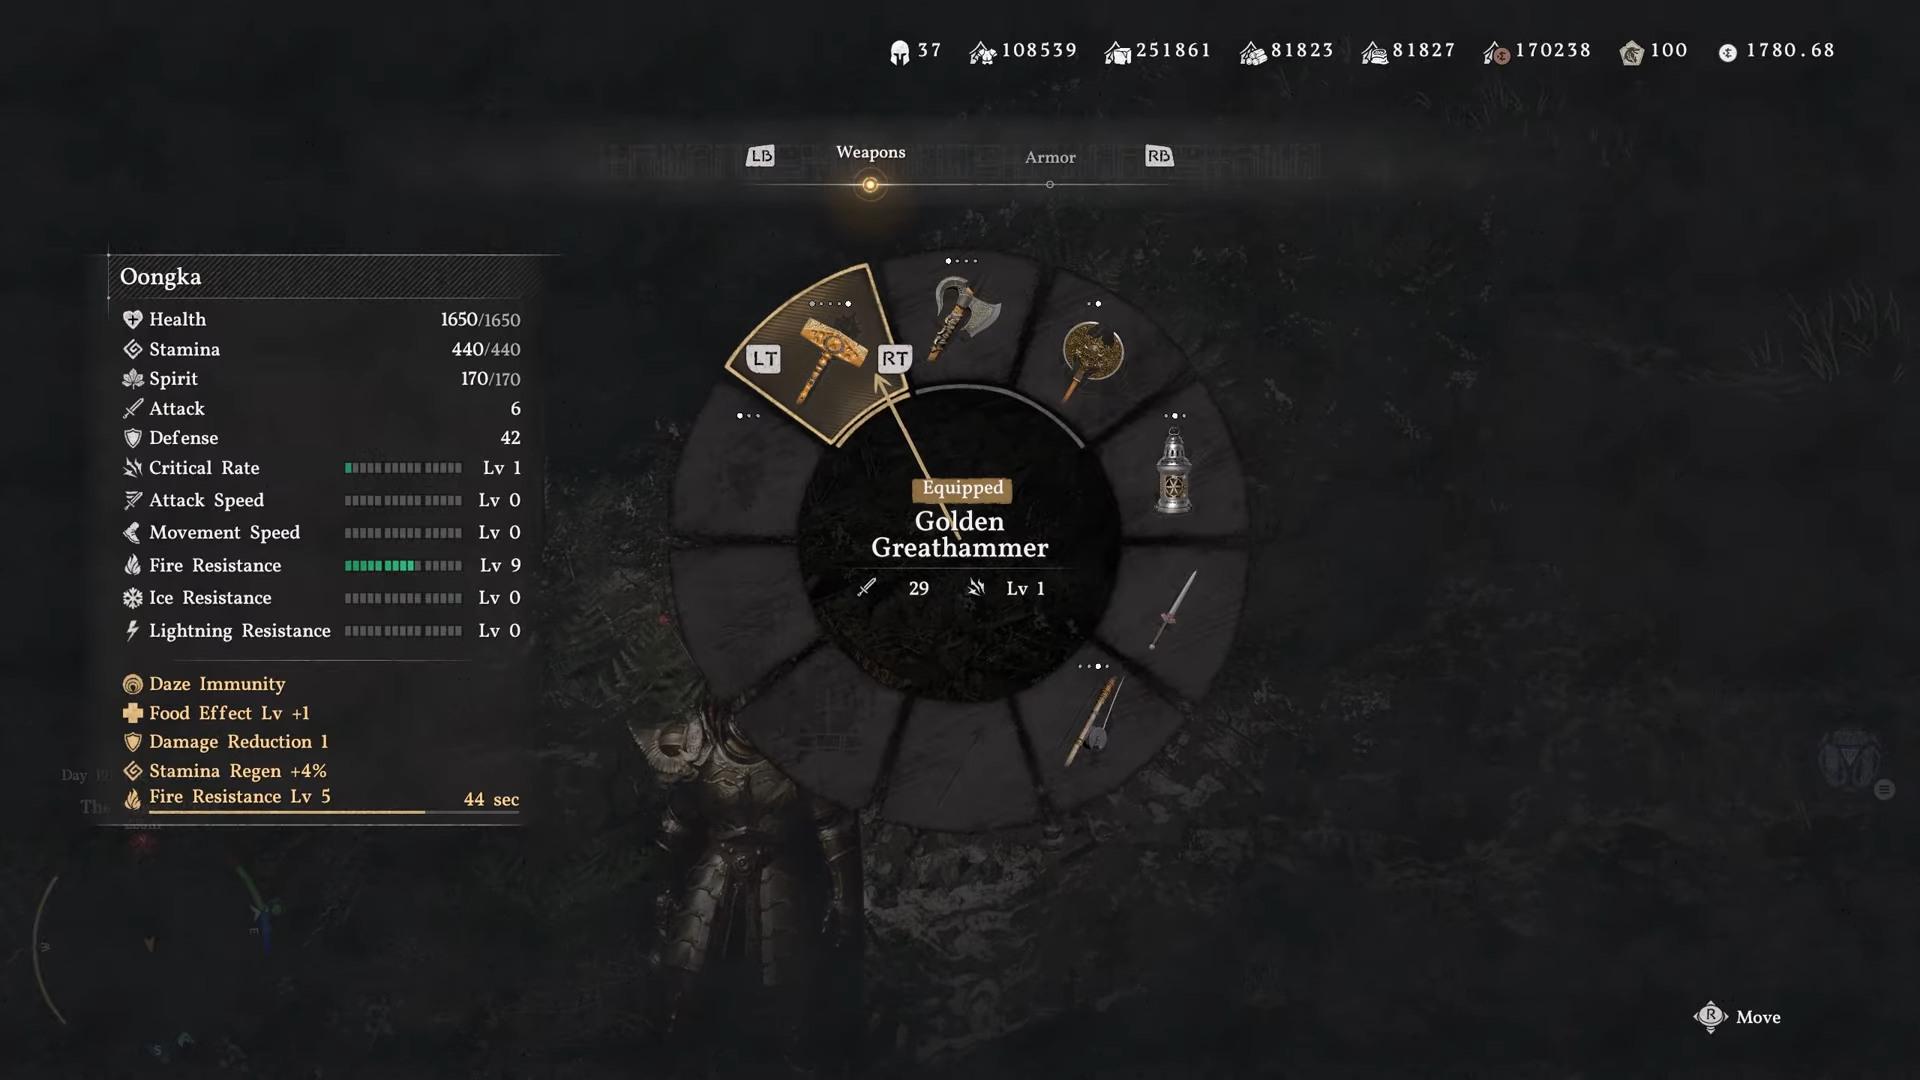
Any variants work—upgraded ones like Silver Wolf Axe or Golden Great Hammer perform identically for this.
Ensure both are two-handed types, as standard gear suffices without needing rares.
How to complete the challenge step by step
Approach a busy enemy area and aggro a group without thinning them out too much.
Step 1
Draw your two-handed axe as your active weapon. Do not equip the great hammer first—this sets up the correct swap direction.
Step 2
Maneuver into position amid at least five enemies. Back them into a corner or against a wall at Steinnfell Fortress to prevent dodging or spreading out; tight clustering maximizes the swing’s reach.
Step 3
Hold your position close to the group. Time your action when all five are in a compact arc directly ahead—ideally touching the wall for rebound effect.
Step 4
Press and hold left bumper (LB) while pressing left trigger (LT) simultaneously. This quick-swaps to the great hammer mid-animation, unleashing a massive wide horizontal swing that launches clustered enemies airborne.
Step 5
Watch the five foes fly back at once to trigger completion. If they don’t all launch, reposition and retry—the input consistency is key.
Common pitfalls and fixes
Starting with the hammer equipped triggers a ground-pound swap to axe instead, which slams downward without knockback—always lead with axe. Sparse enemies fail the count, so skip low-density spots; revisit Steinnfell if needed for reliable packs. Practice the LB + LT timing solo to feel the wide arc before live attempts.
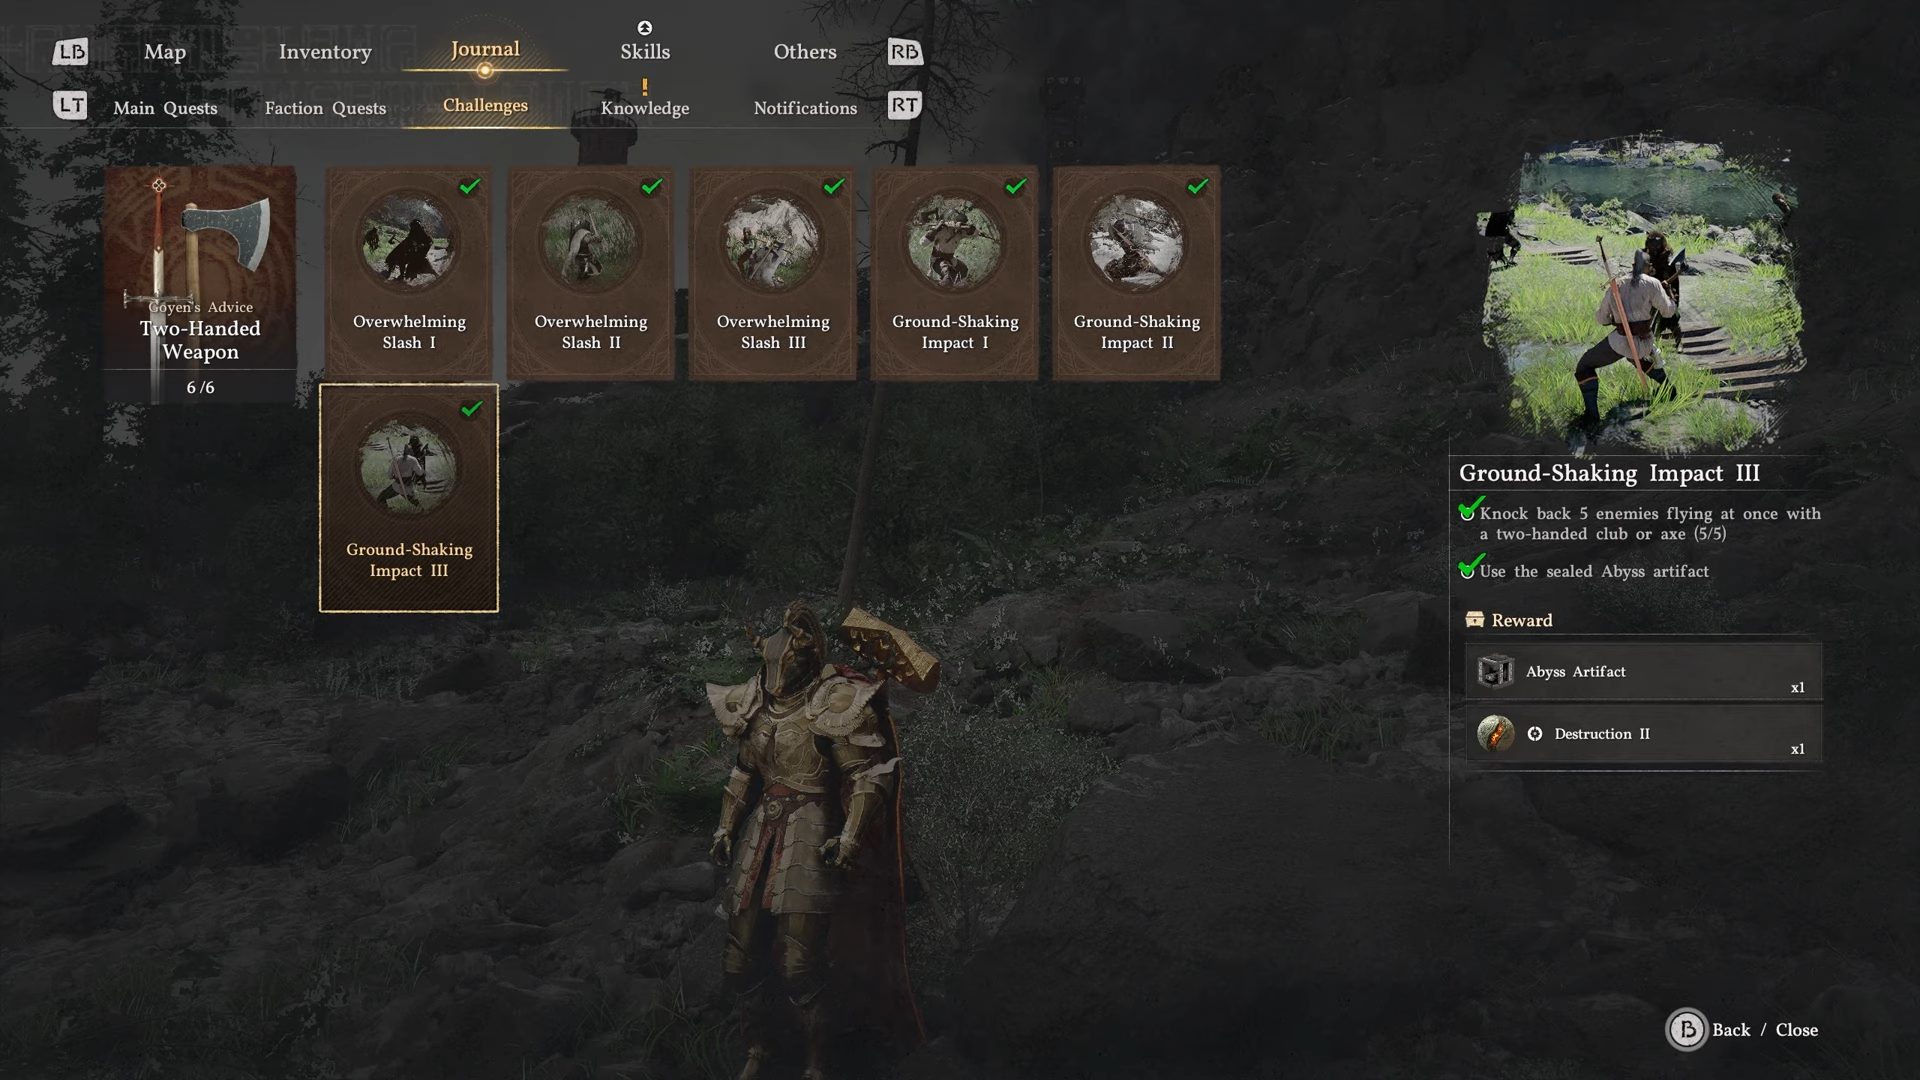
Ground-Shaking Impact III rewards
Completing Ground-Shaking Impact 3 yields progress toward two-handed weapon mastery, unlocking related perks, artifacts, or trophies like Master of Two-Handed Weapons upon series completion. Expect Abyss Artifact usage for advancement and combat bonuses tied to heavy weapon proficiency.
Refine by repeating at Steinnfell Fortress: aggro minimally, herd with axe pokes if needed, then swap-swing repeatedly until muscle memory locks in. Experiment with enemy types—bandits cluster easiest—but scale to tougher foes later for practice without challenge pressure.