What to know
-
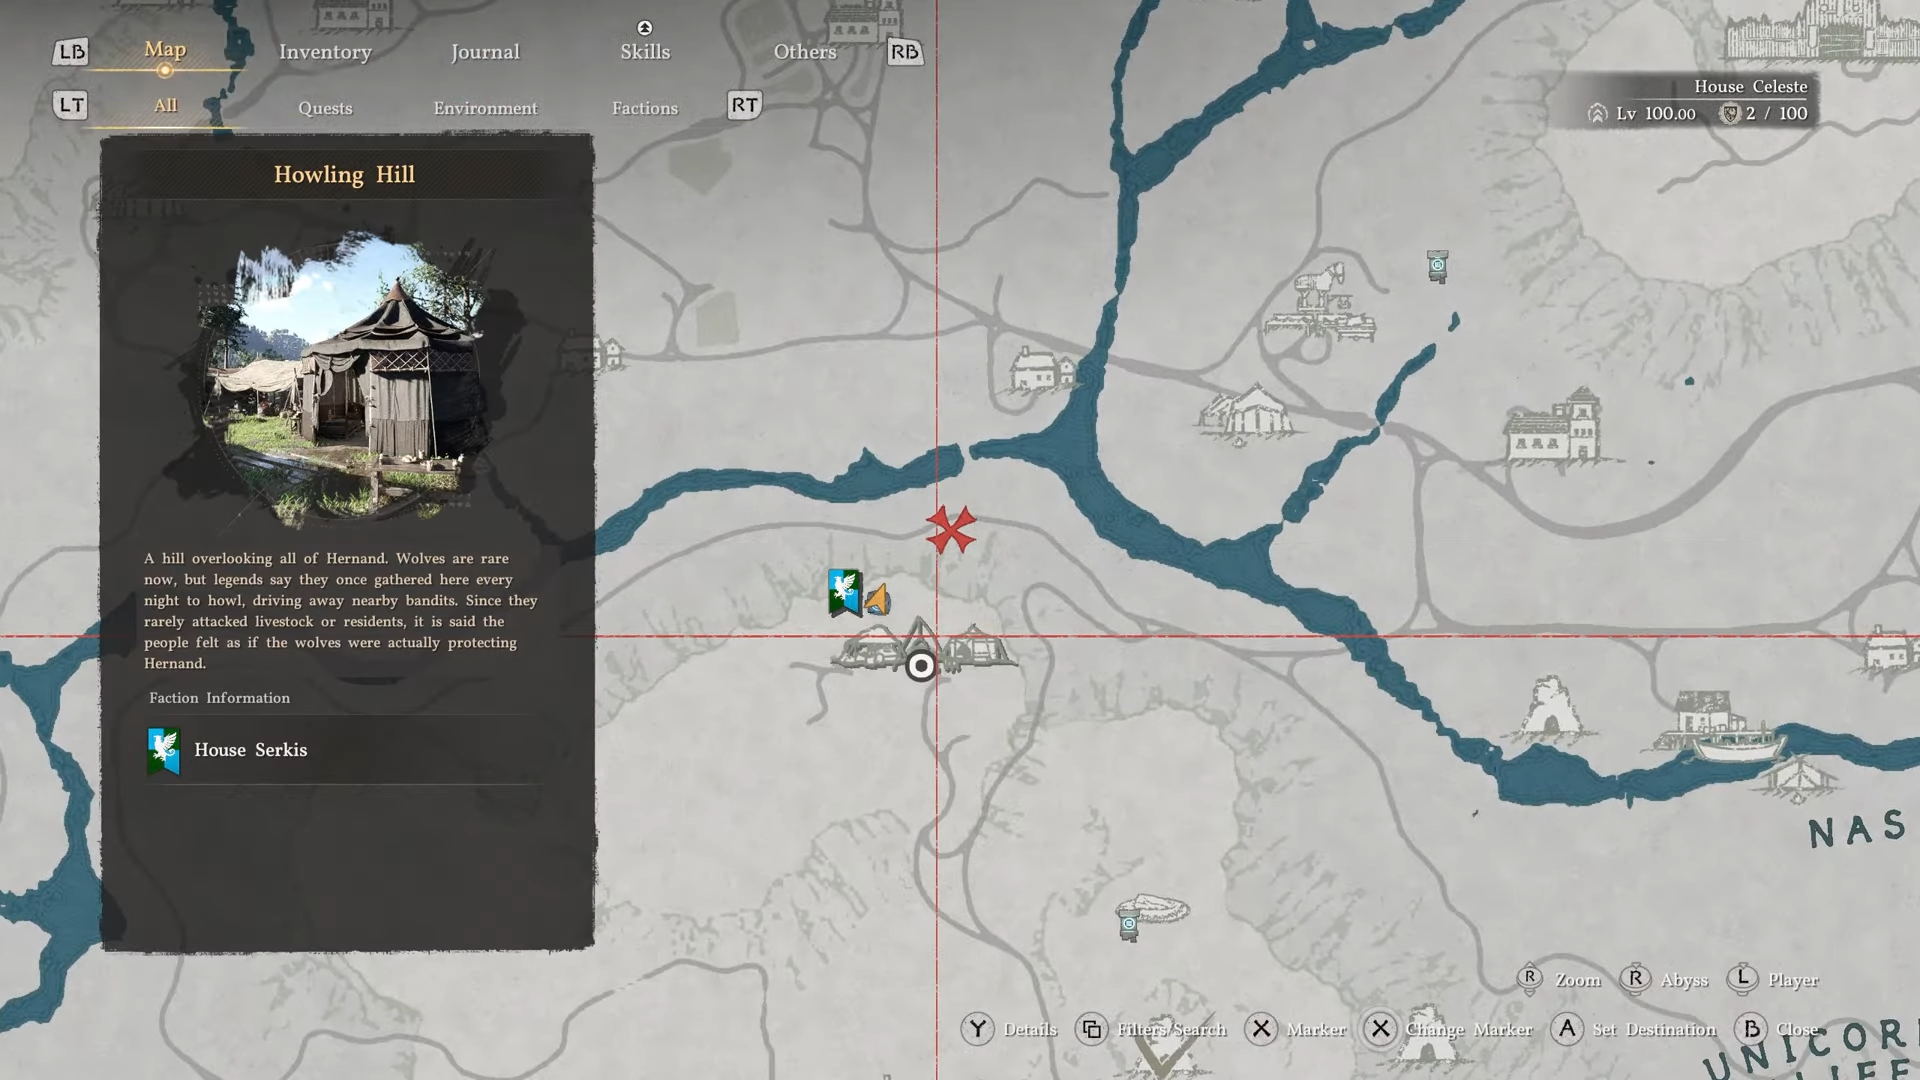
Unlock the challenge in Pailune region near Skoghorn.
-
Switch to Oongka character at end of Chapter 7 for exclusive access.
-
Target weak bandits in Hernand for easiest kills.
-
No time limit allows careful, one-by-one defeats.
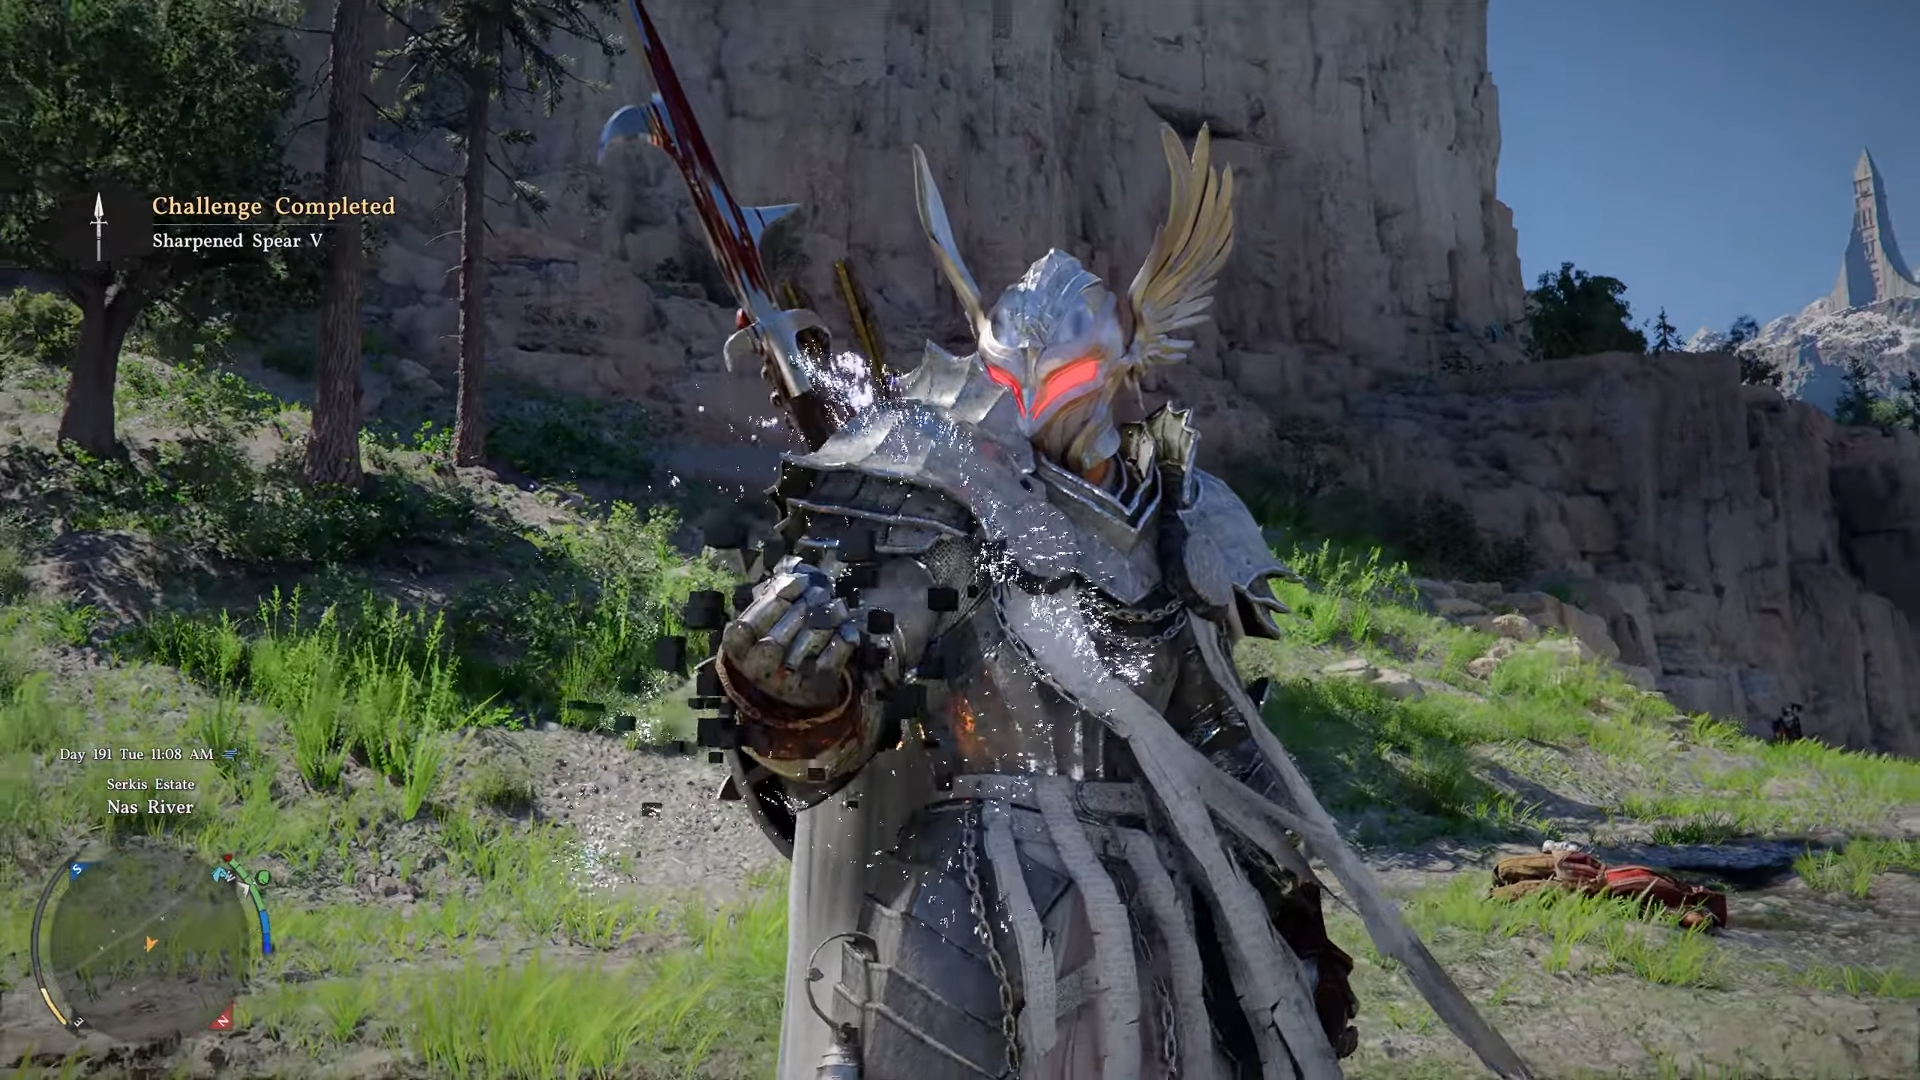
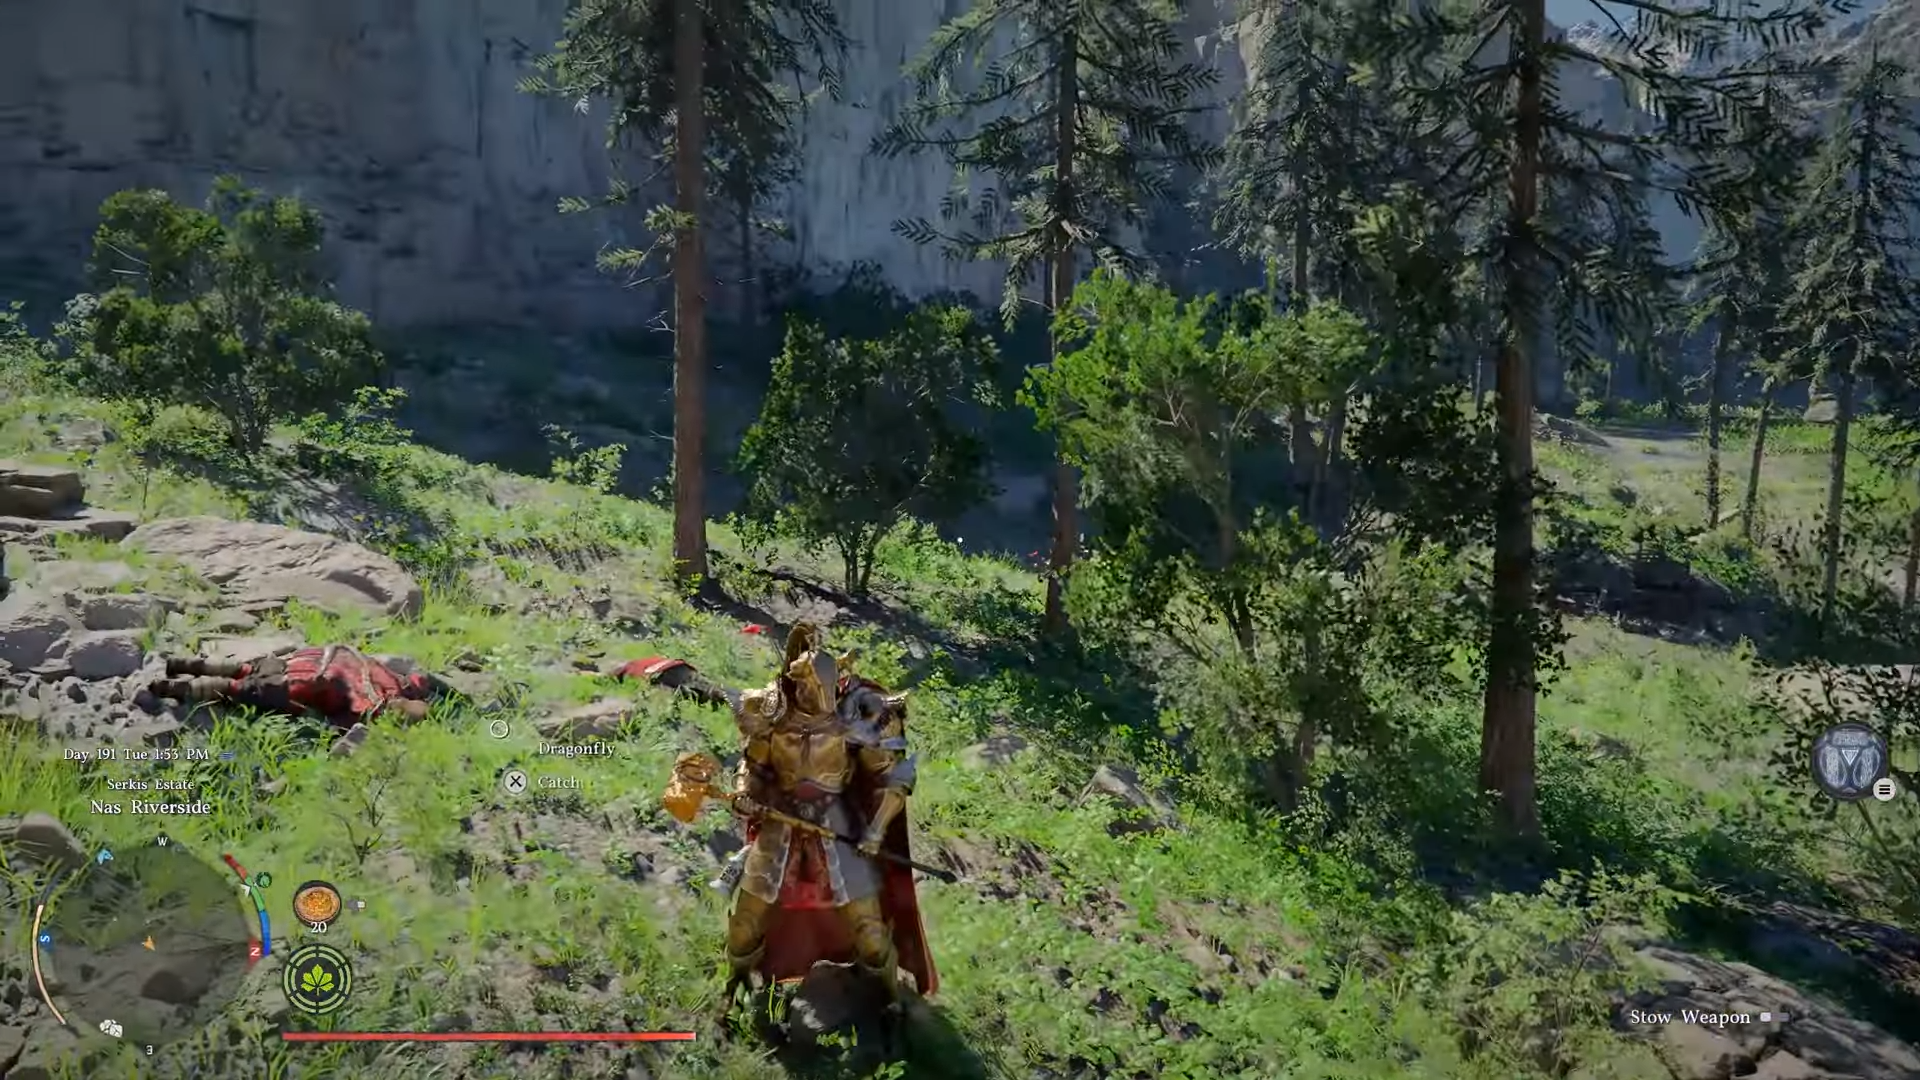
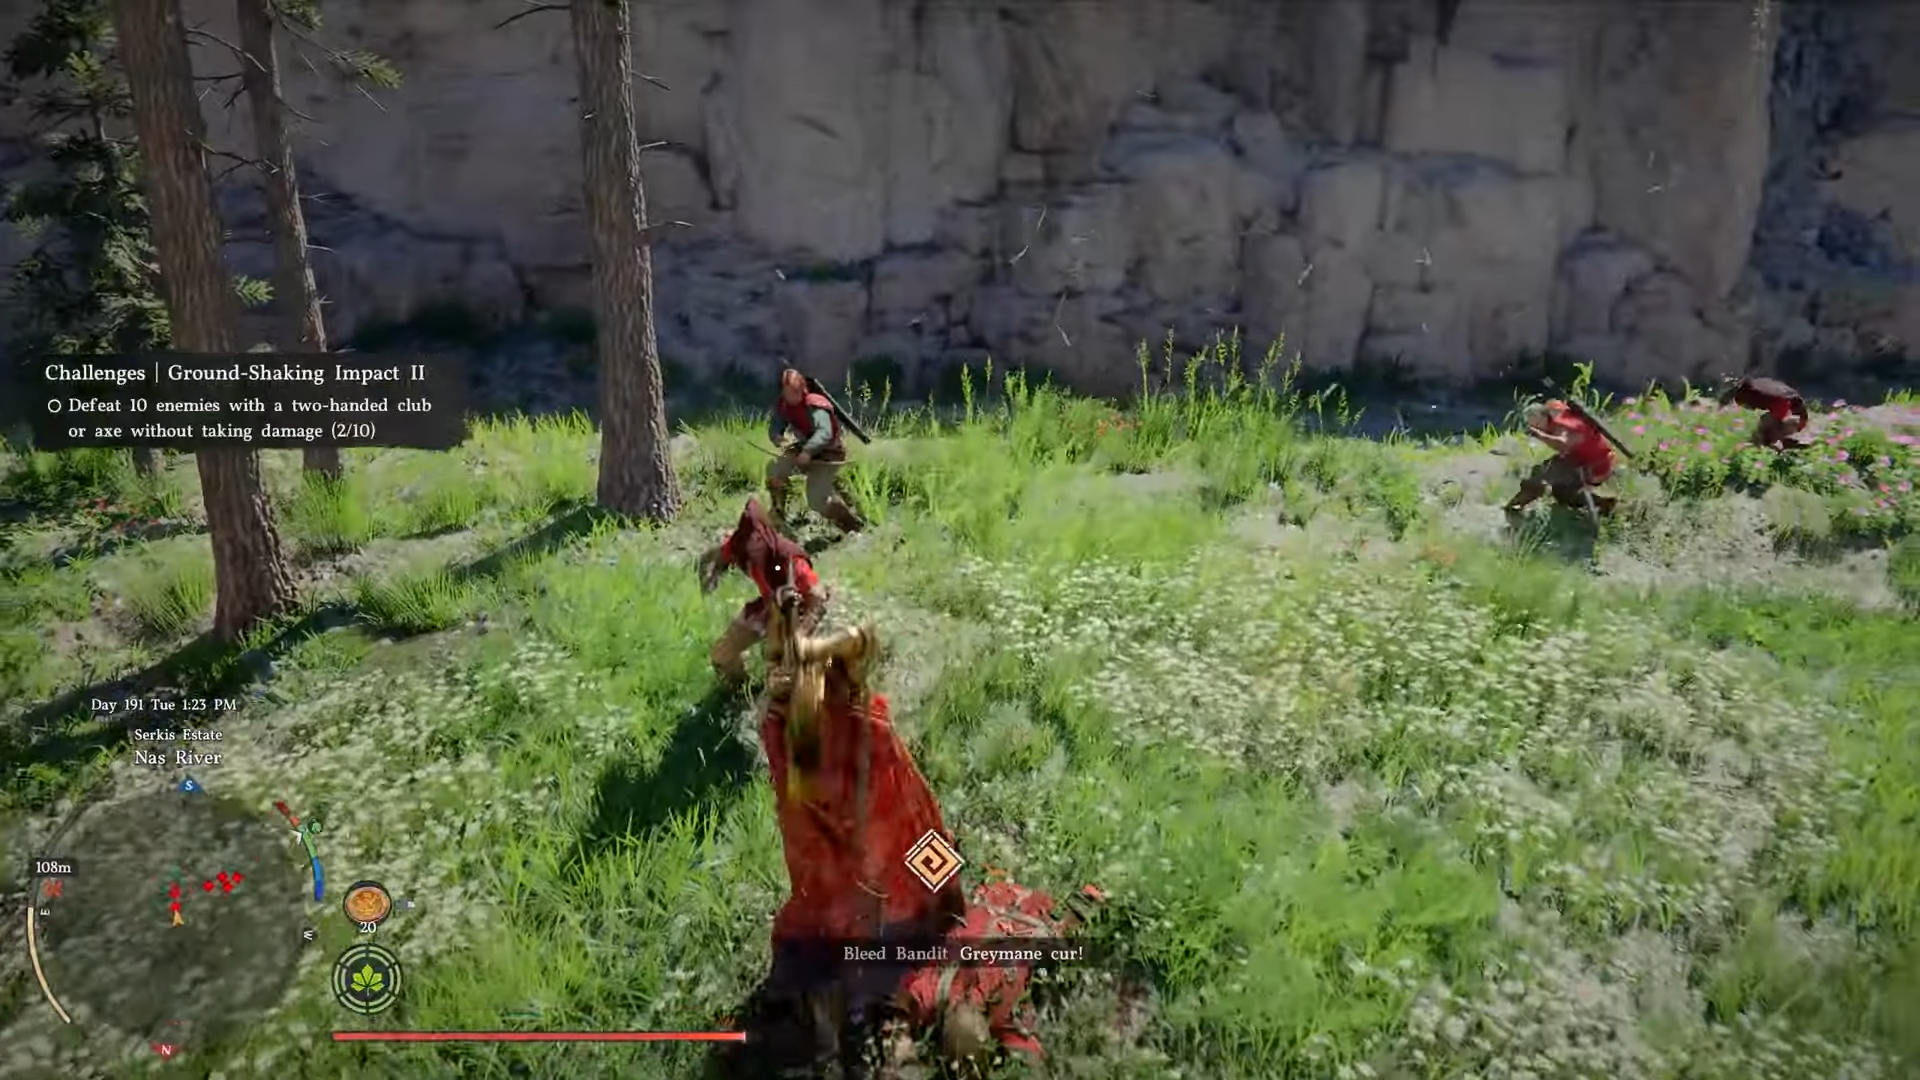
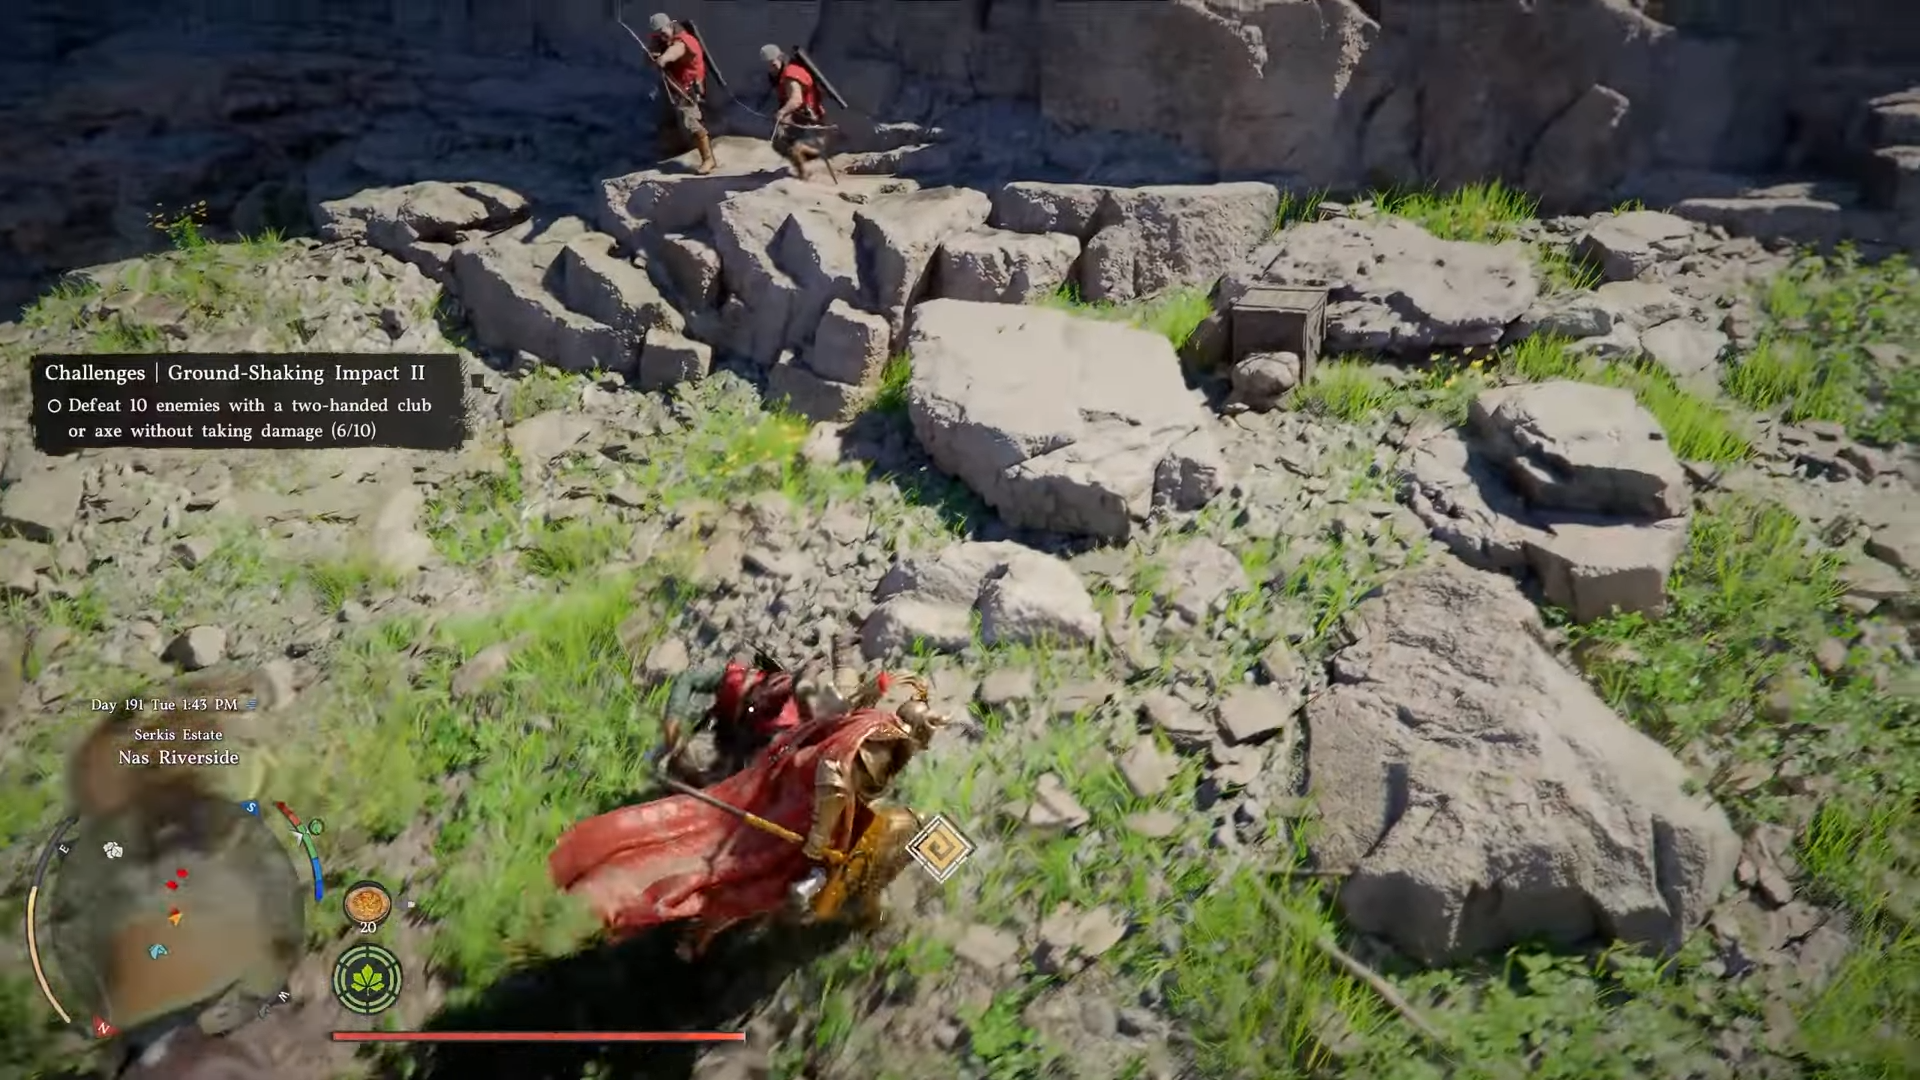
The Ground Shaking Impact 2 challenge tests your precision with heavy two-handed weapons in Crimson Desert‘s open world. You’ll need to defeat 10 enemies with two-handed club or axe without taking damage. Here’s how to go about it
Ground Shaking Impact 2 locations
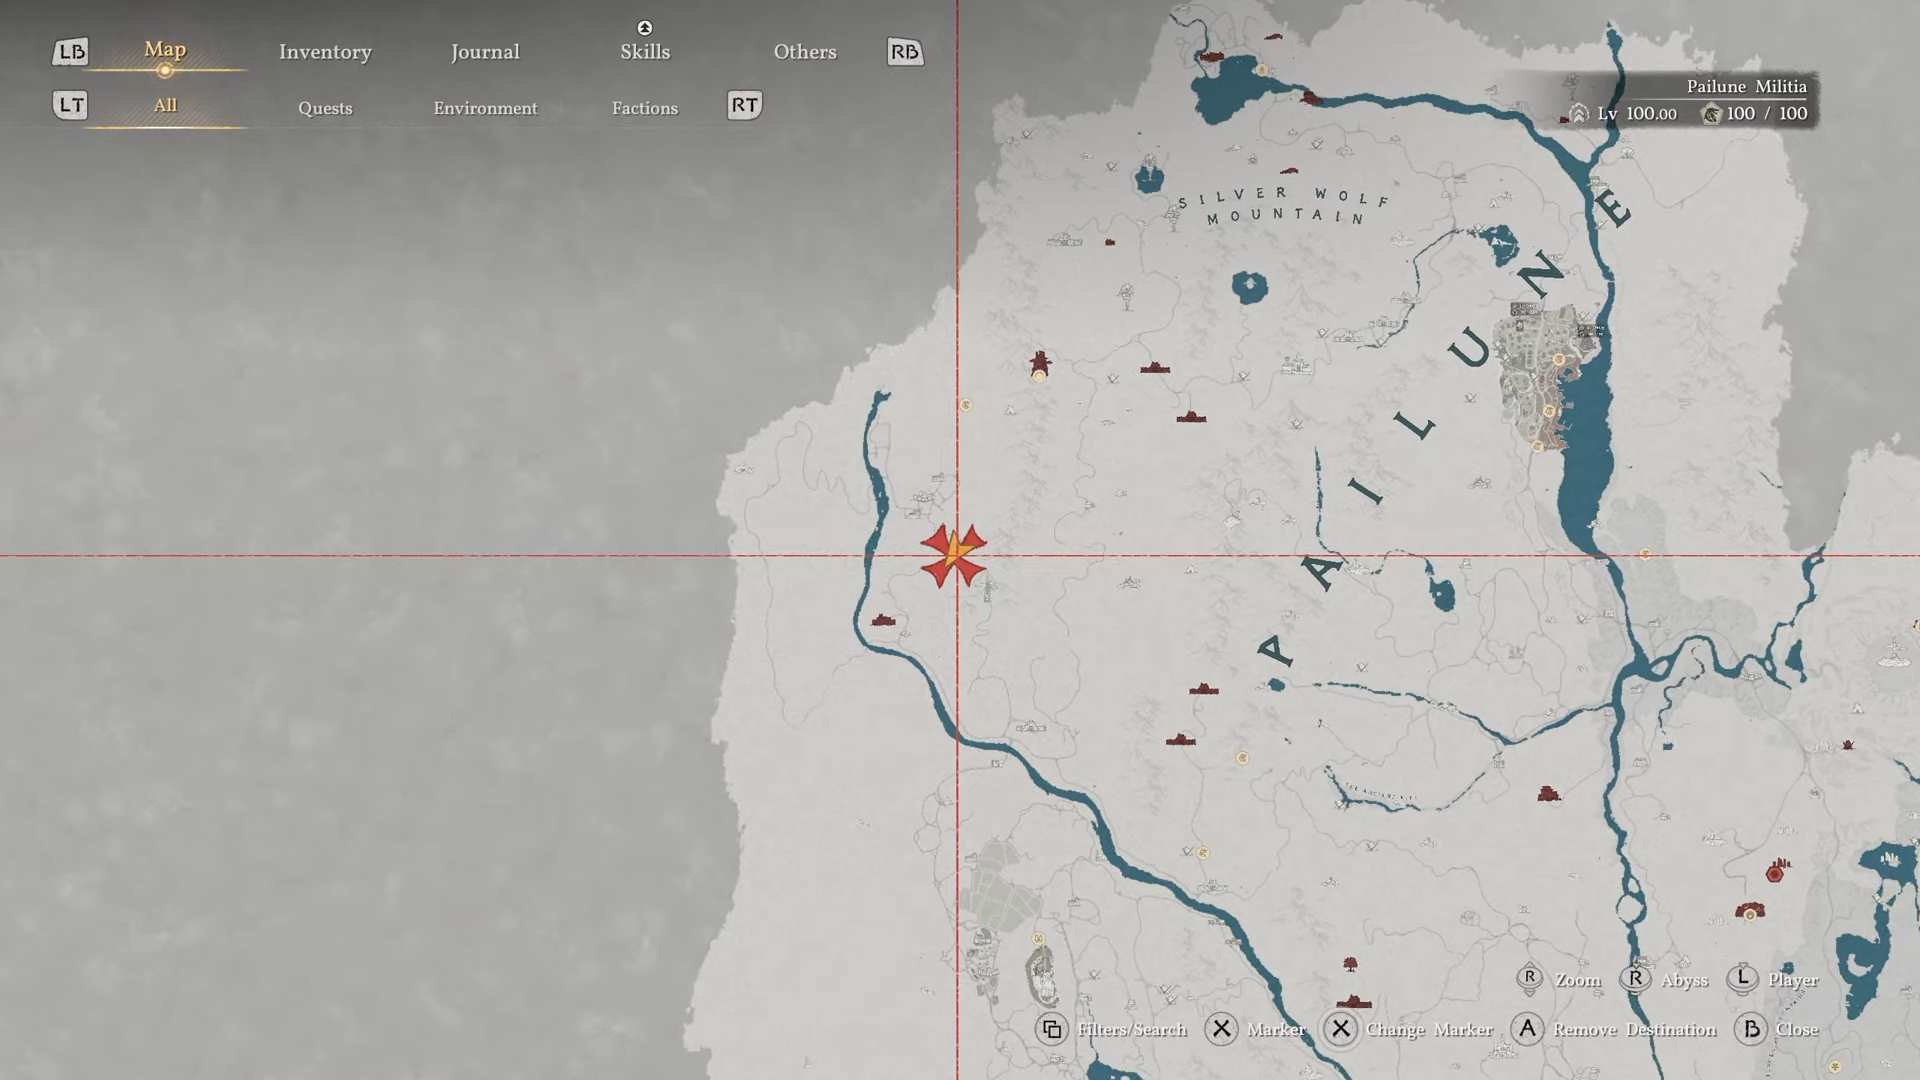
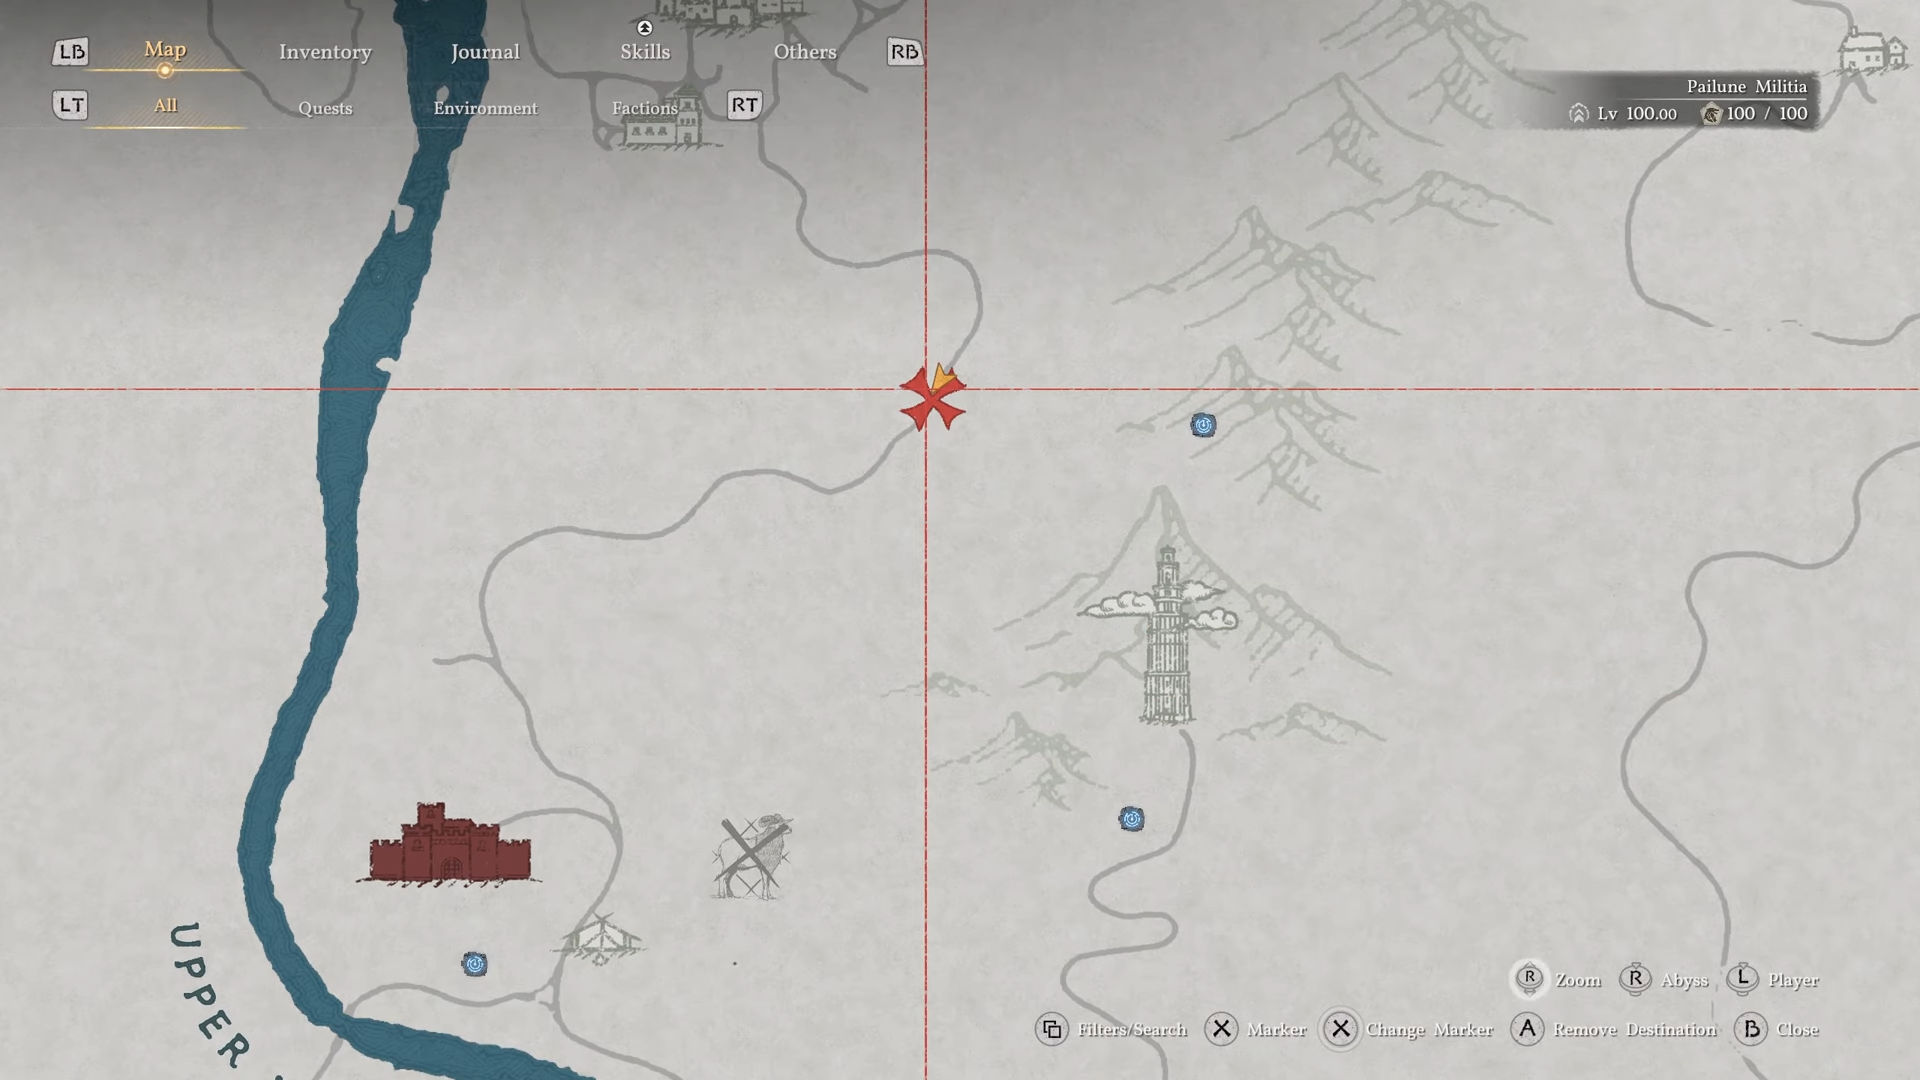
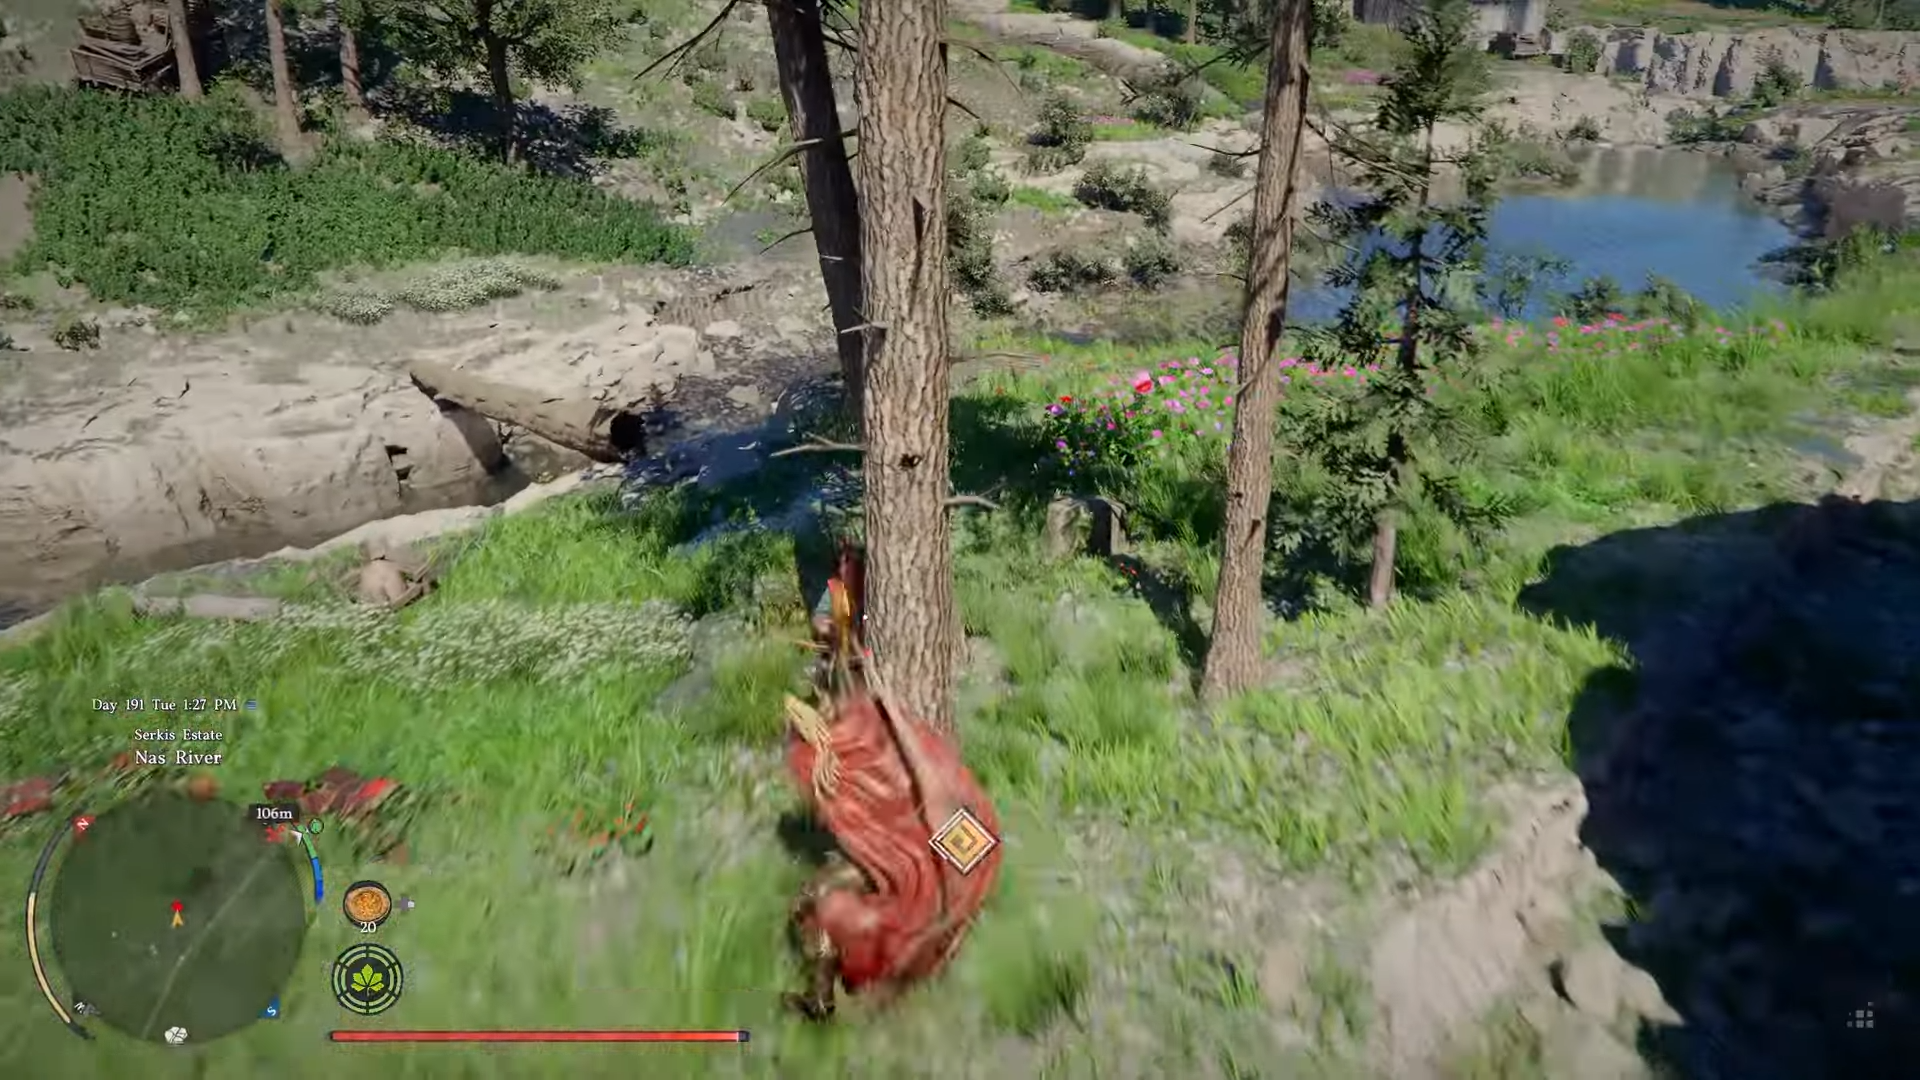
Access this challenge in the Pailune region on the roadside south from Skoghorn, where the Sealed Abyss Artifact spawns.
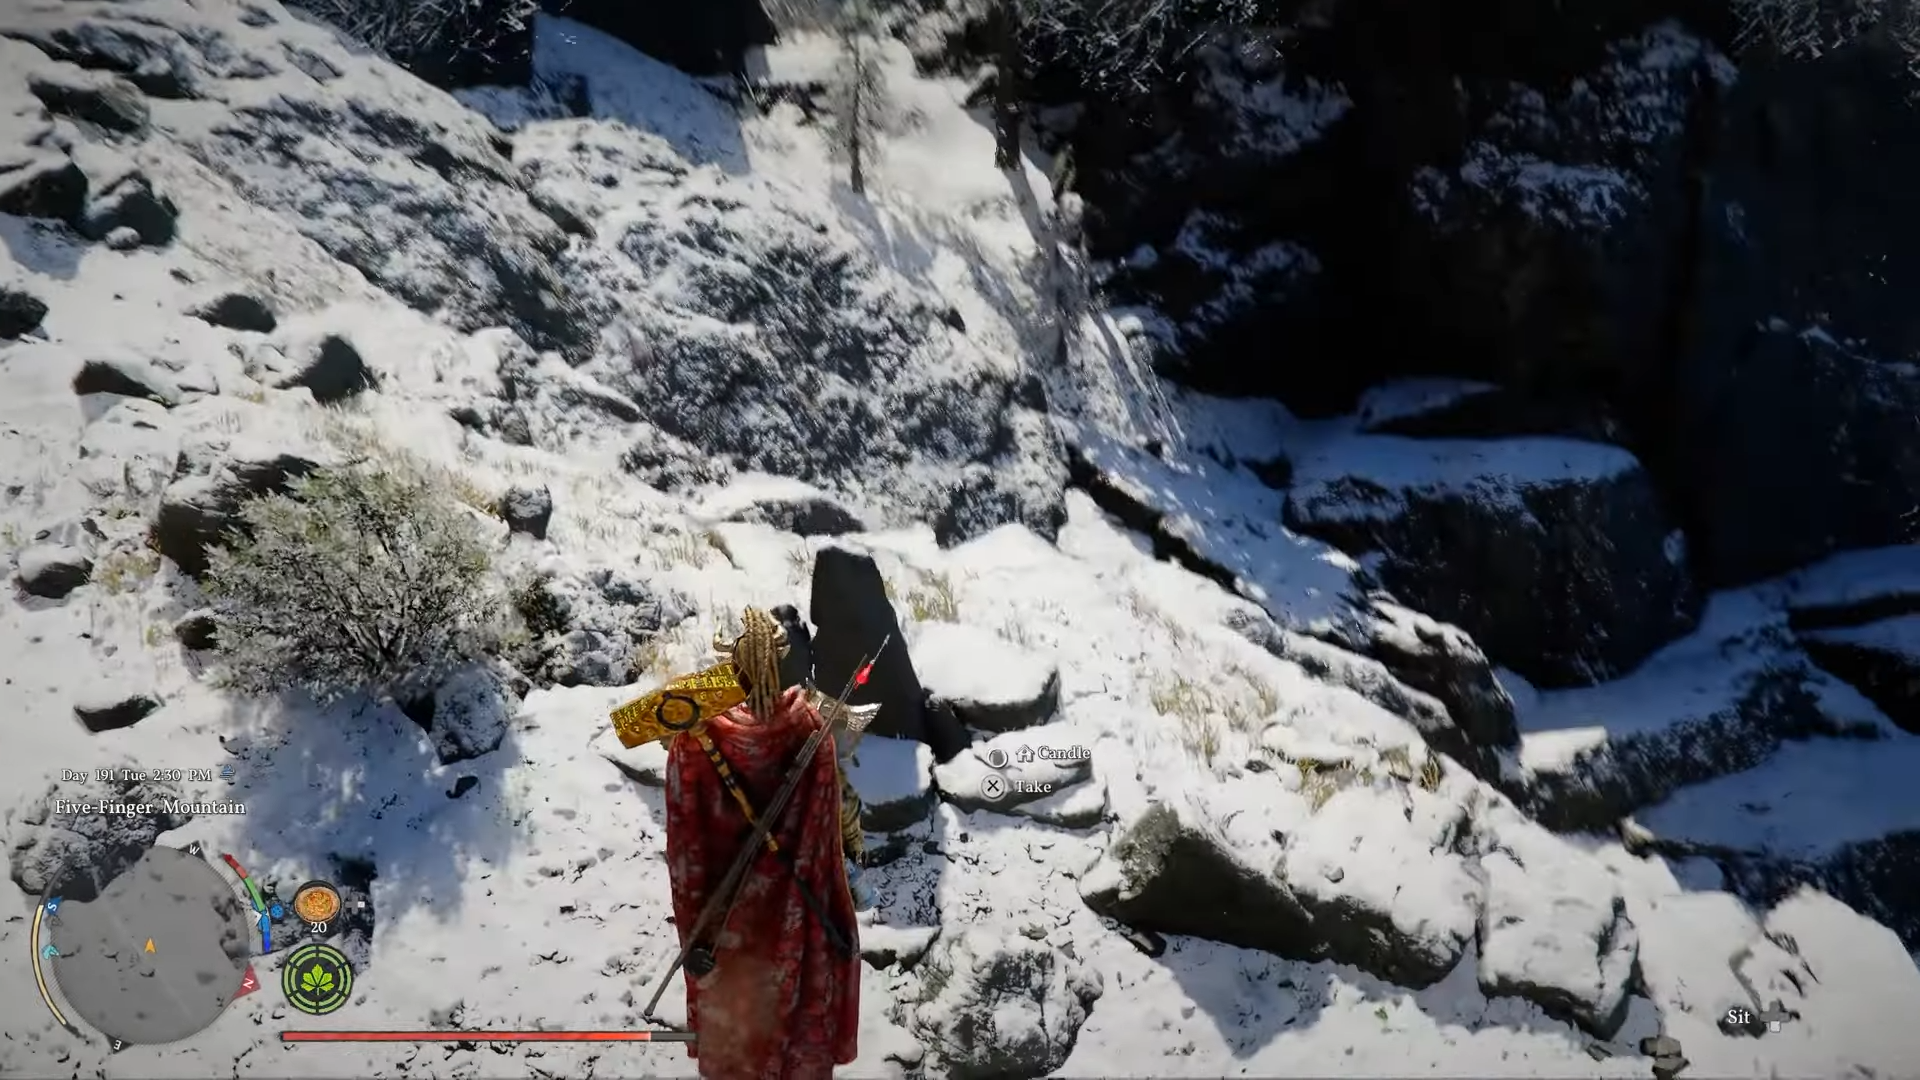
Find the artifact near some rocks.
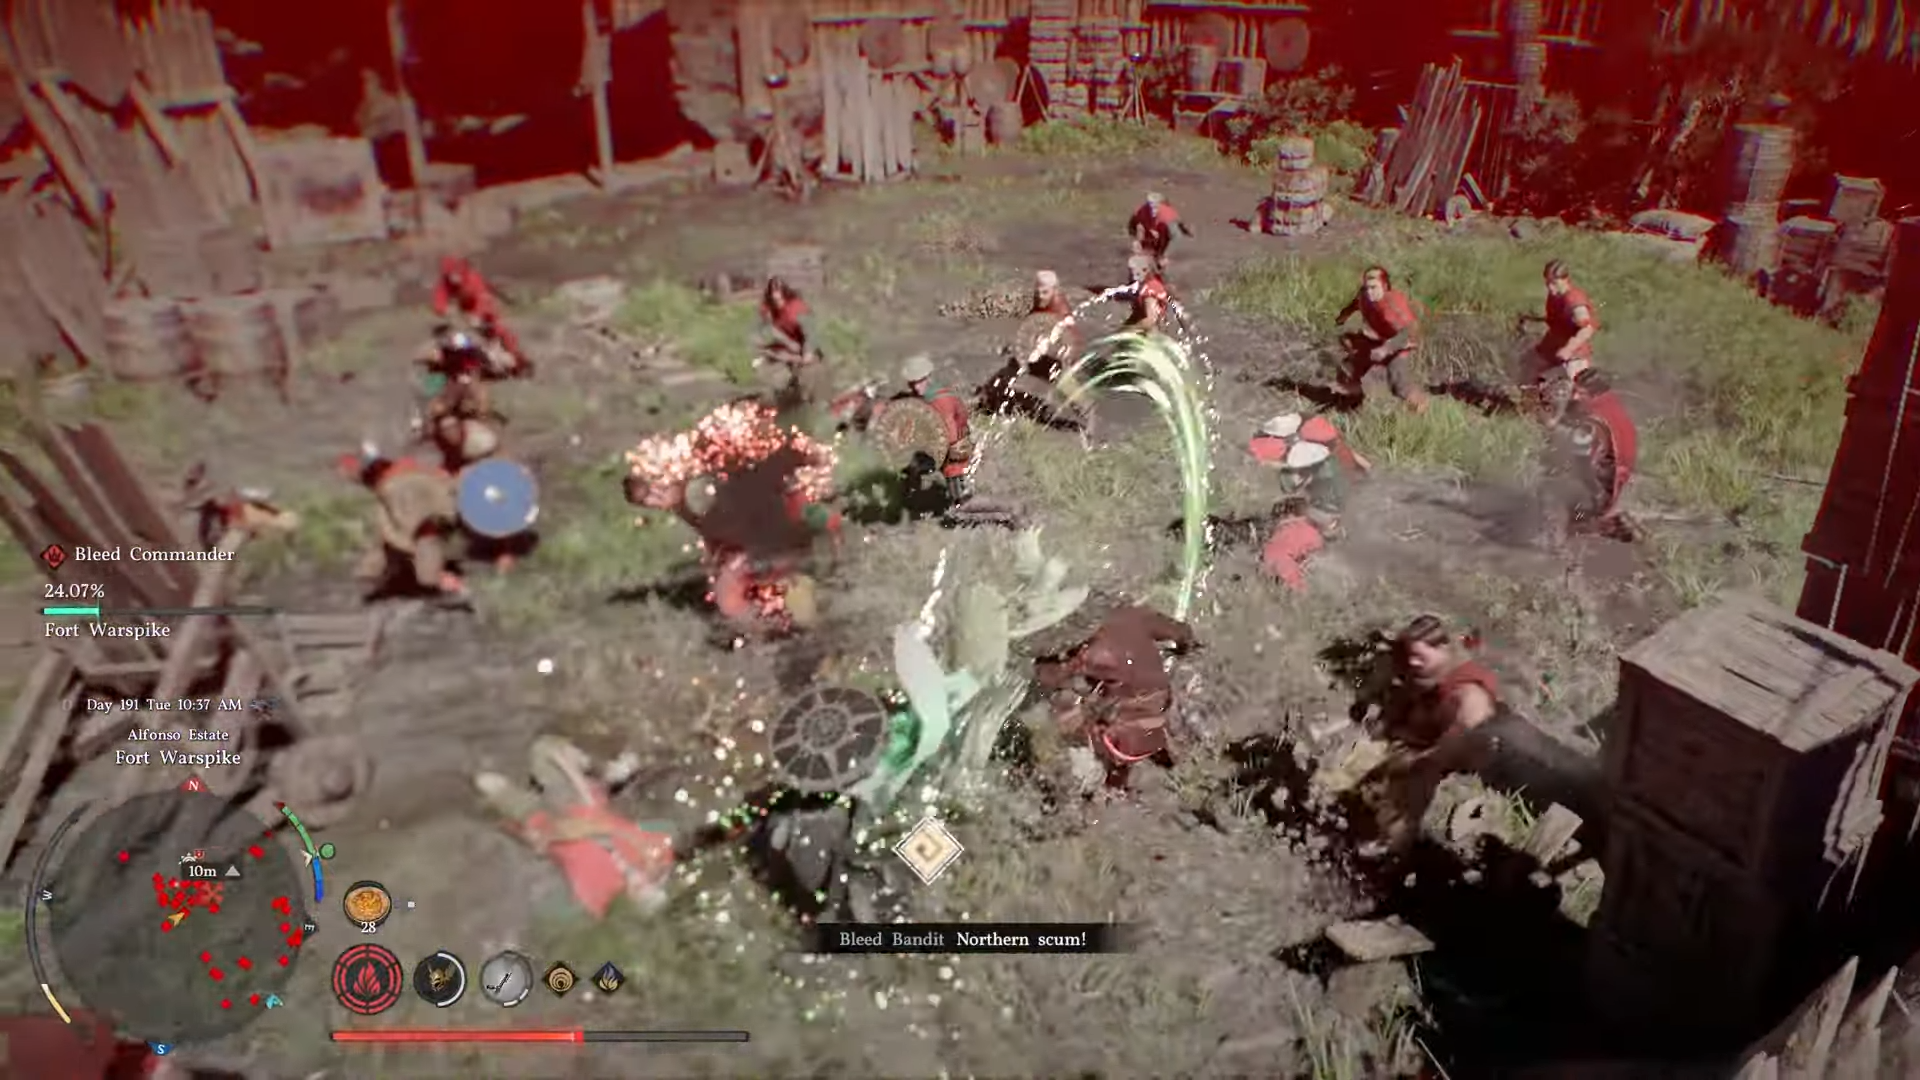
Head to Hernand camps packed with weak bandits for combat—avoid dense archer groups or tougher foes near forts like Perwin to maintain perfect defense.
Oongka becomes playable late in Chapter 7, right after major story progression unlocks his heavy-hitting arsenal.
How to unlock Oongka
Progress through the main storyline until completing Chapter 7. Oongka joins as a playable comrade automatically upon his introduction. Equip his default two-handed axe, which equips instantly—no scavenging needed.
How to complete the challenge step by step
Approach methodically to ensure no hits land while smashing through 10 foes.
Step 1
Confirm the challenge activates by picking up the Sealed Abyss Artifact south of Skoghorn in Pailune. Switch to Oongka via the party menu and verify the two-handed axe in your primary slot.
Step 2
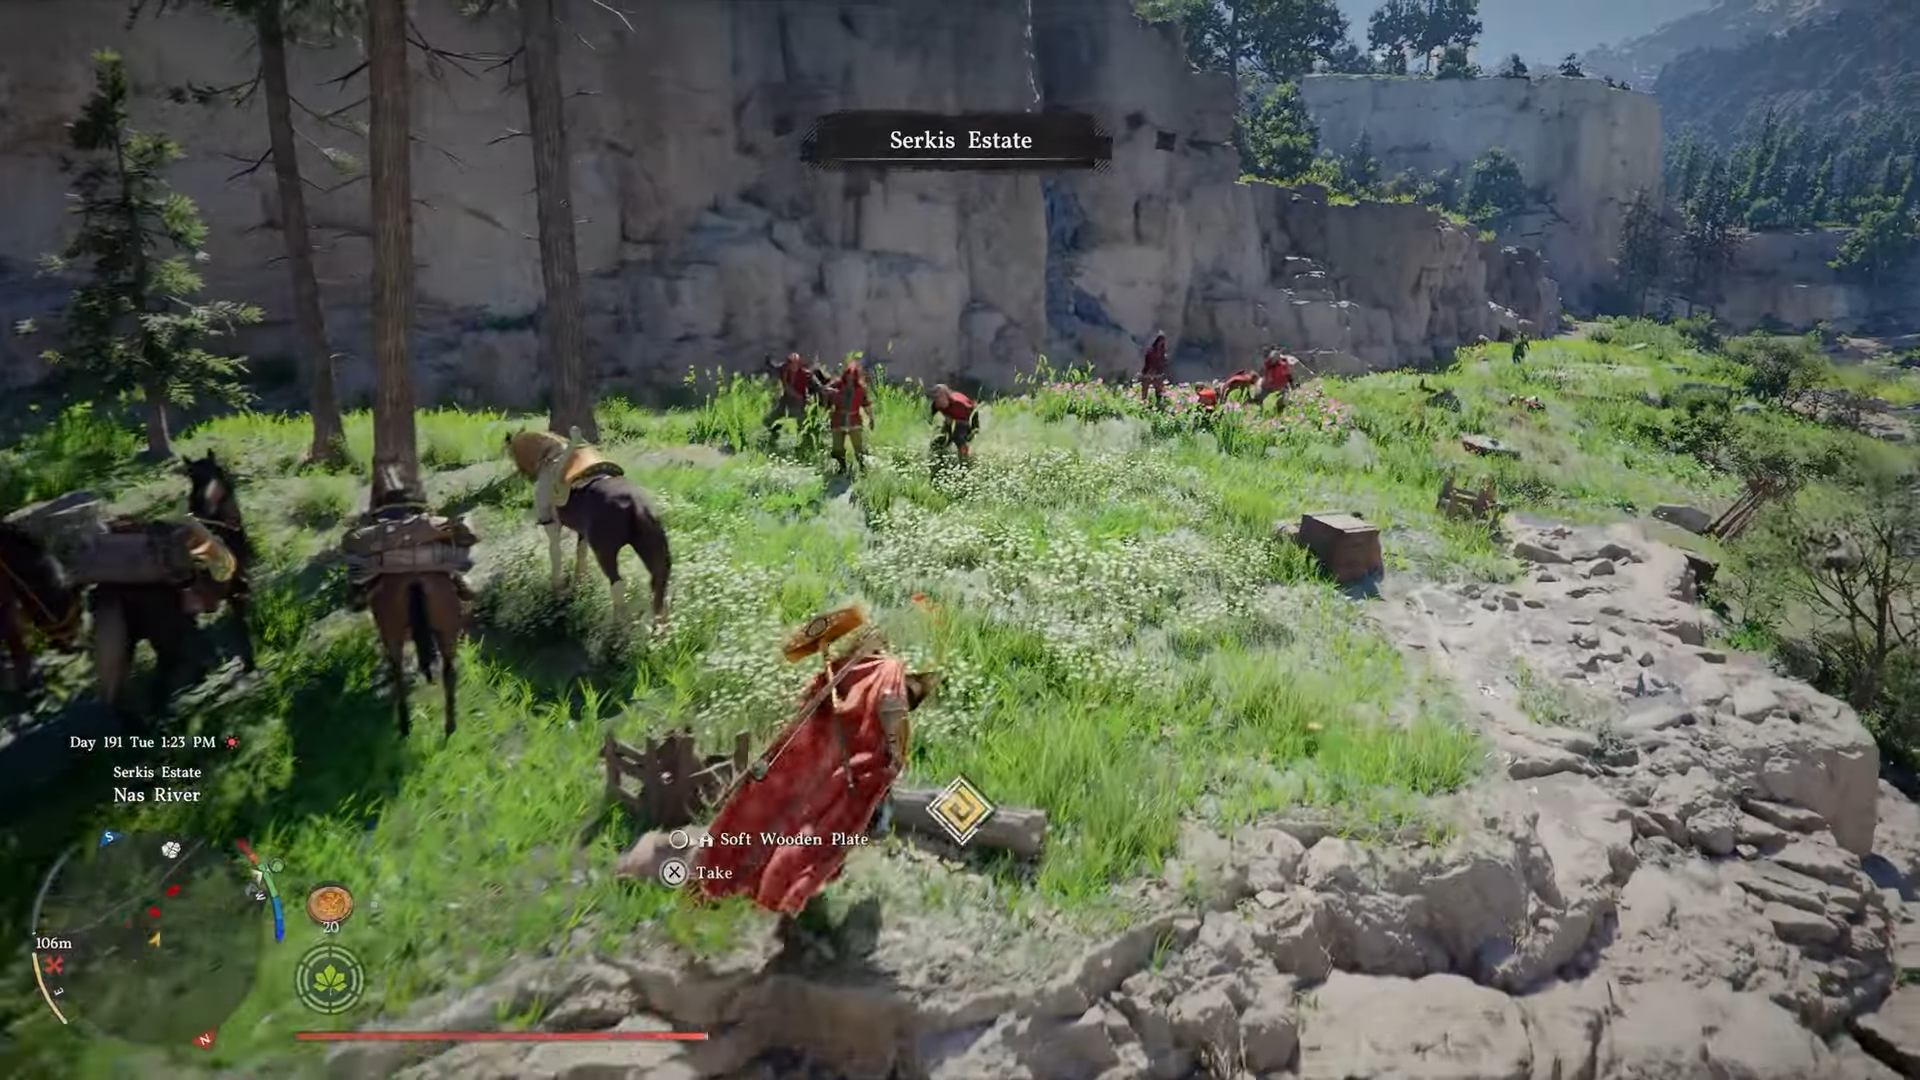
Travel to Hernand region bandit camps, like those near basic outposts away from elite guards. Scout for groups of 5-10 low-level bandits without bows—prioritize melee-only packs for safety.
Step 3
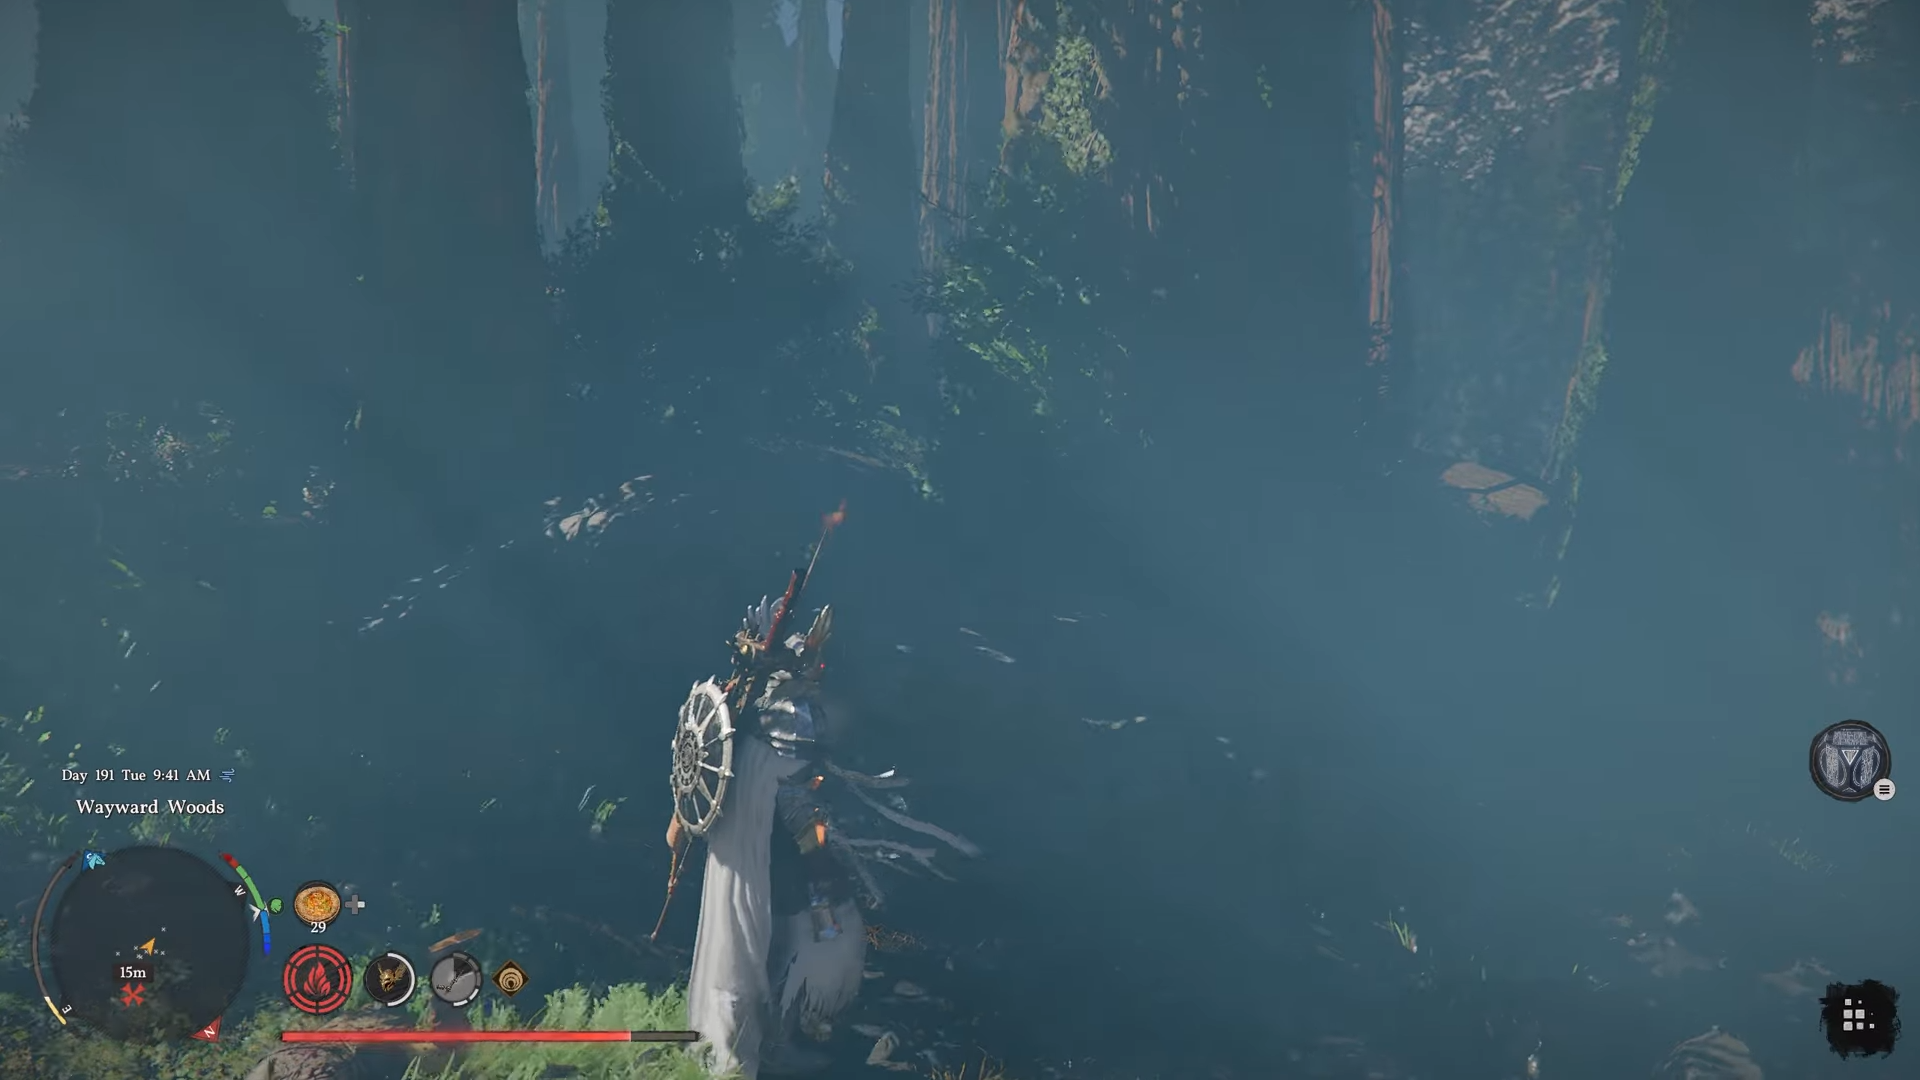
Position at camp edge. Dodge-roll into position if needed, but bait enemies to chase you into open space. Use terrain like rocks for back protection.
Step 4
Engage first enemy solo. Block incoming swings with perfect timing (Oongka’s high poise helps).
Counter with heavy swings or charged attacks to down them quickly—aim for headshots or stagger combos.
Step 5
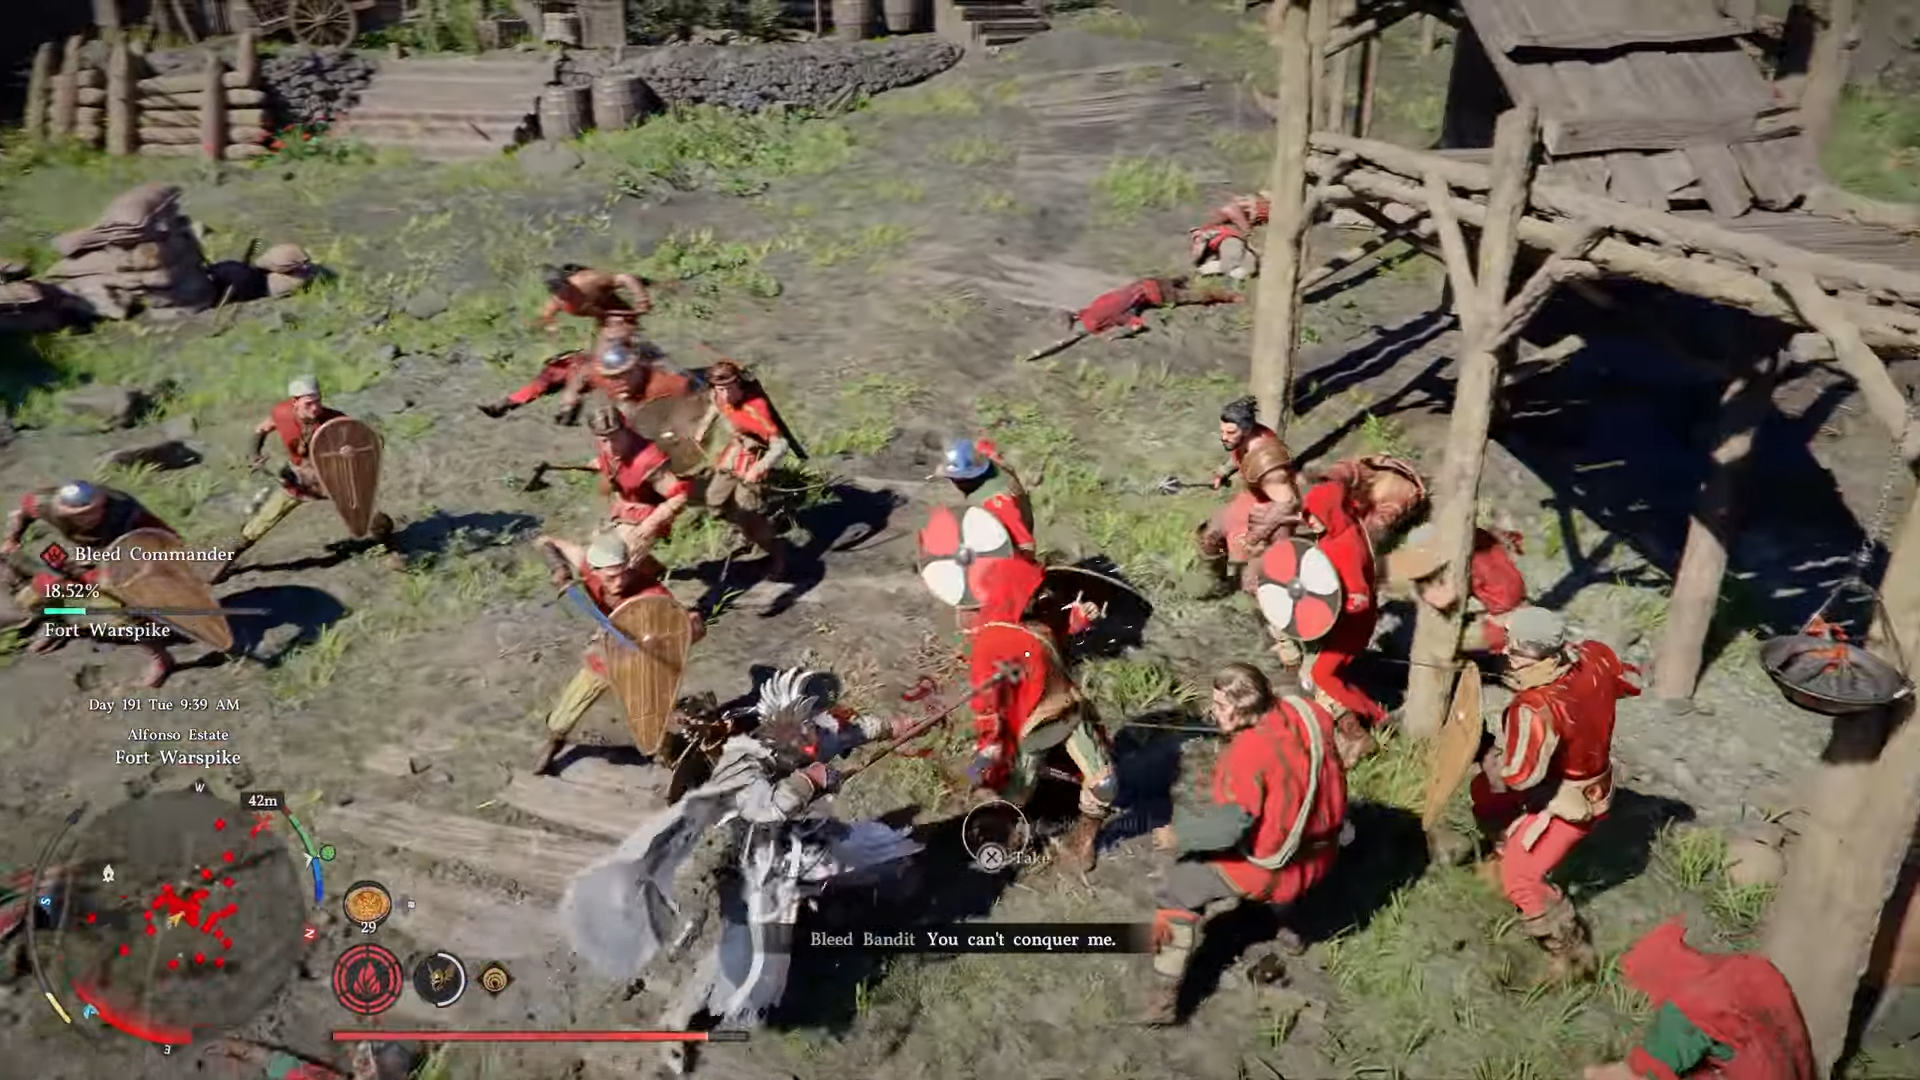
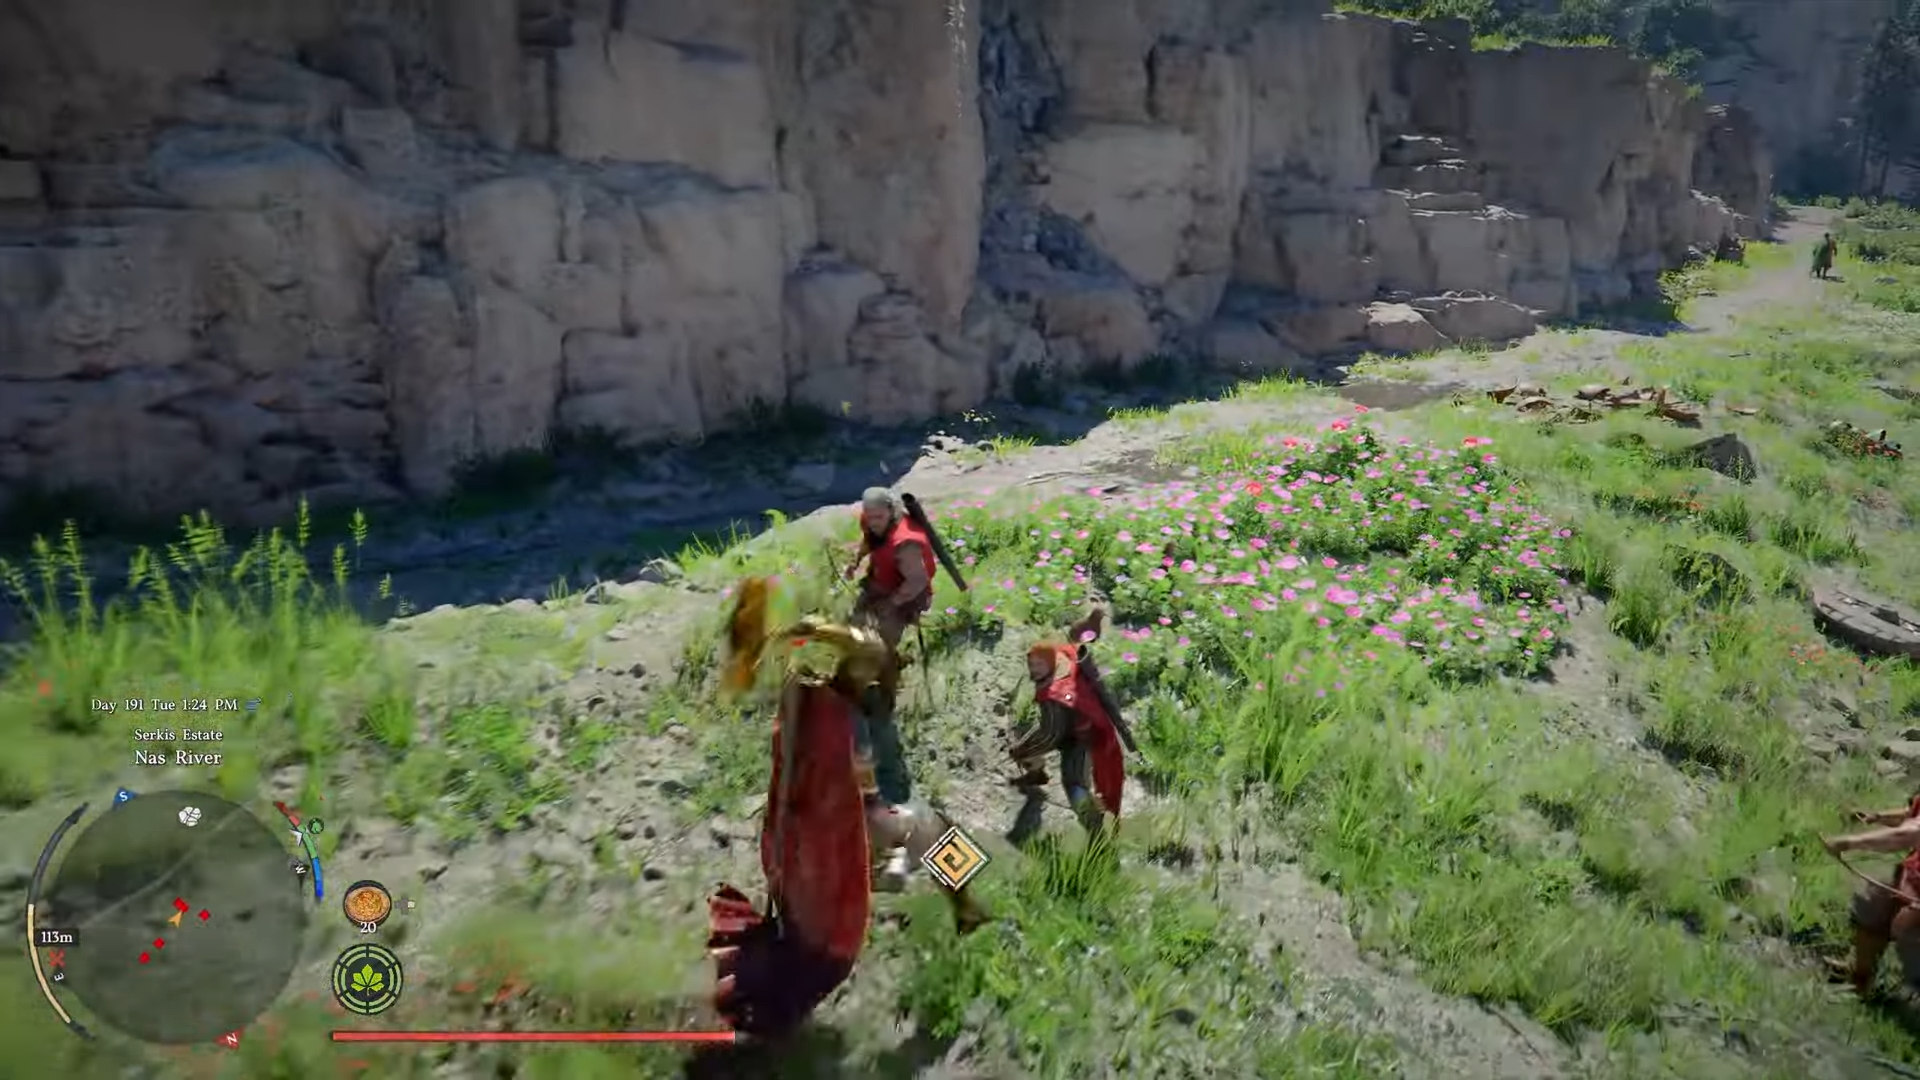
Repeat for next foes one at a time. After each kill, backpedal to reset aggro. Consume health-regen food pre-fight if health dips accidentally, but avoid damage entirely.
Step 6
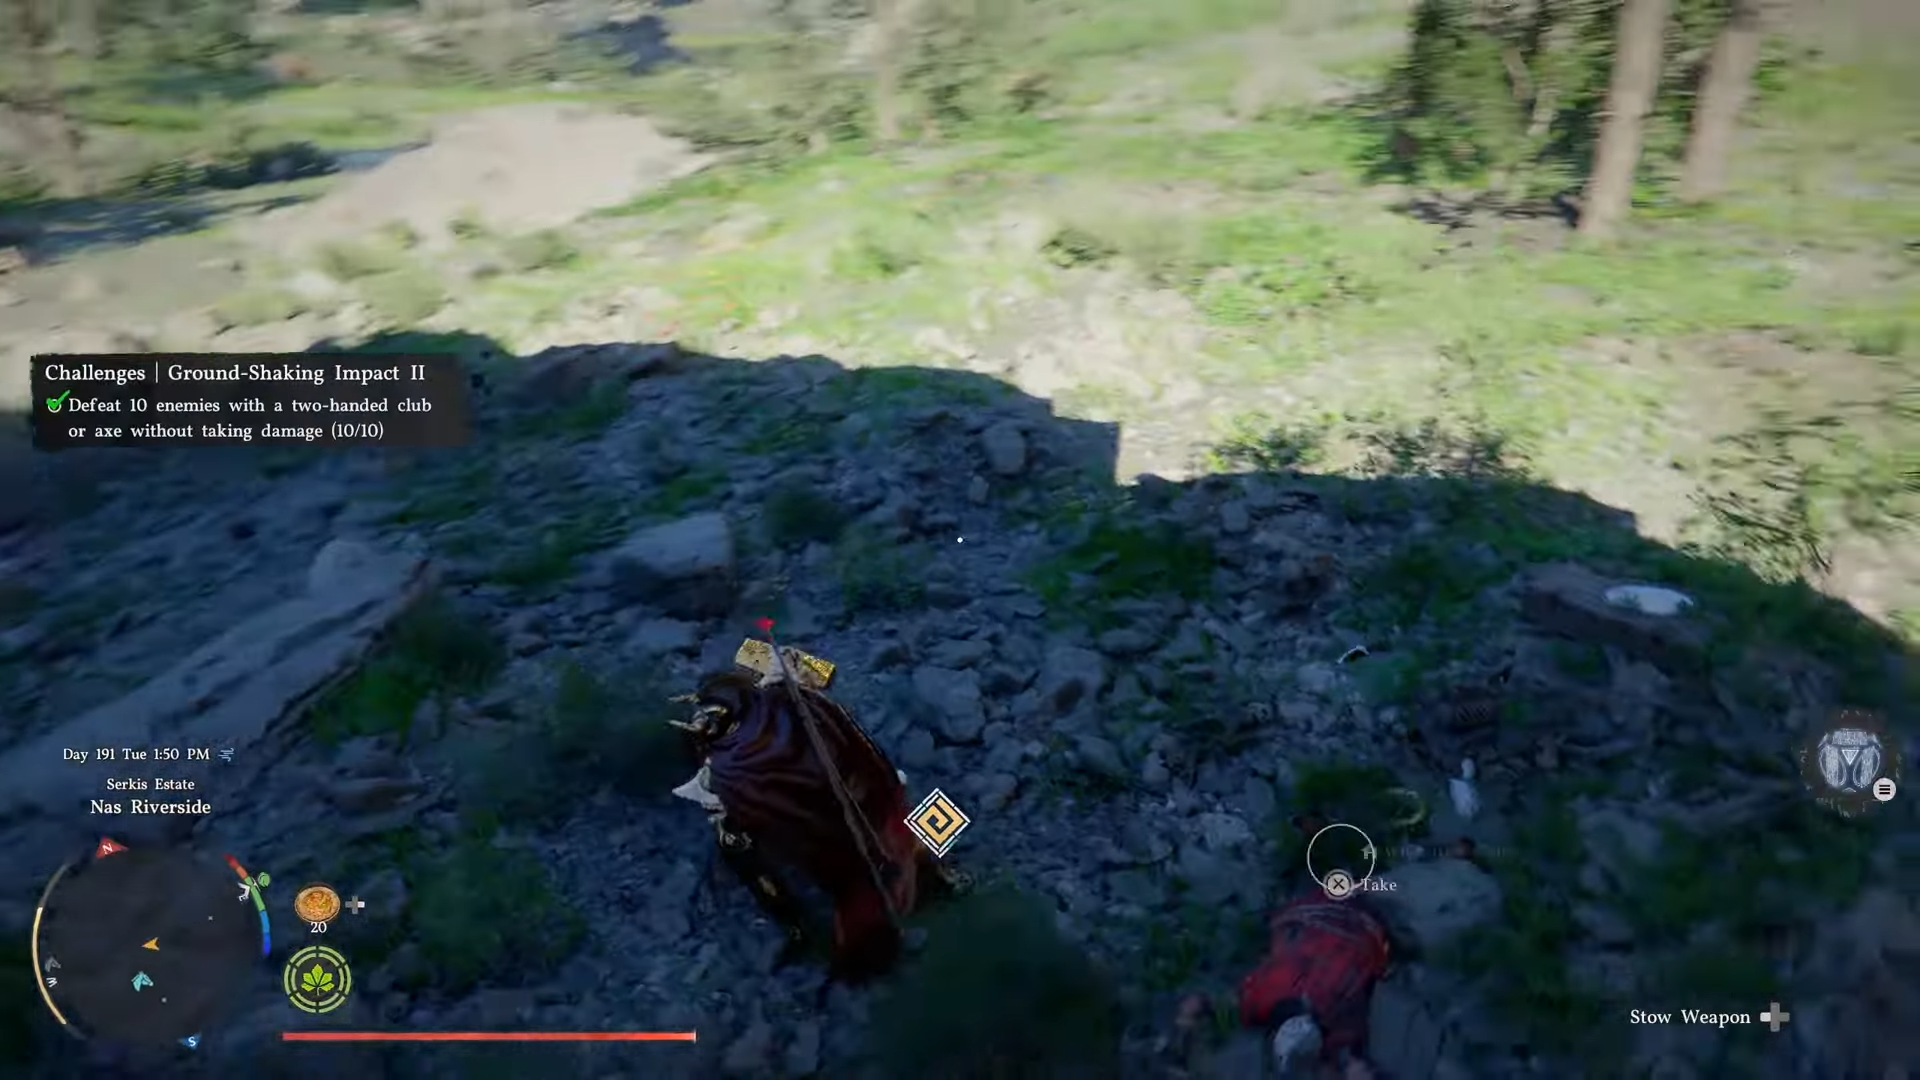
Cycle through 10 kills patiently. Track progress in challenge menu. If a bandit lands a hit, abandon and restart from camp respawn.
Step 7
Claim reward upon 10th defeat—Abyss Artifact drops into inventory for crafting.
Advanced tactics for flawless execution
Oongka’s animations shine here: sprint into foes for collision hits that count toward progress without risking counters. Equip basic armor upgrades for stagger resistance, but skip heavy sets that slow dodges. Imbue axe with neutral elements early—avoid fire or wind if they glitch kill credits on weak mobs. Practice combos like light-heavy chains to stunlock singles, preserving distance.
Ground Shaking Impact 2 Rewards
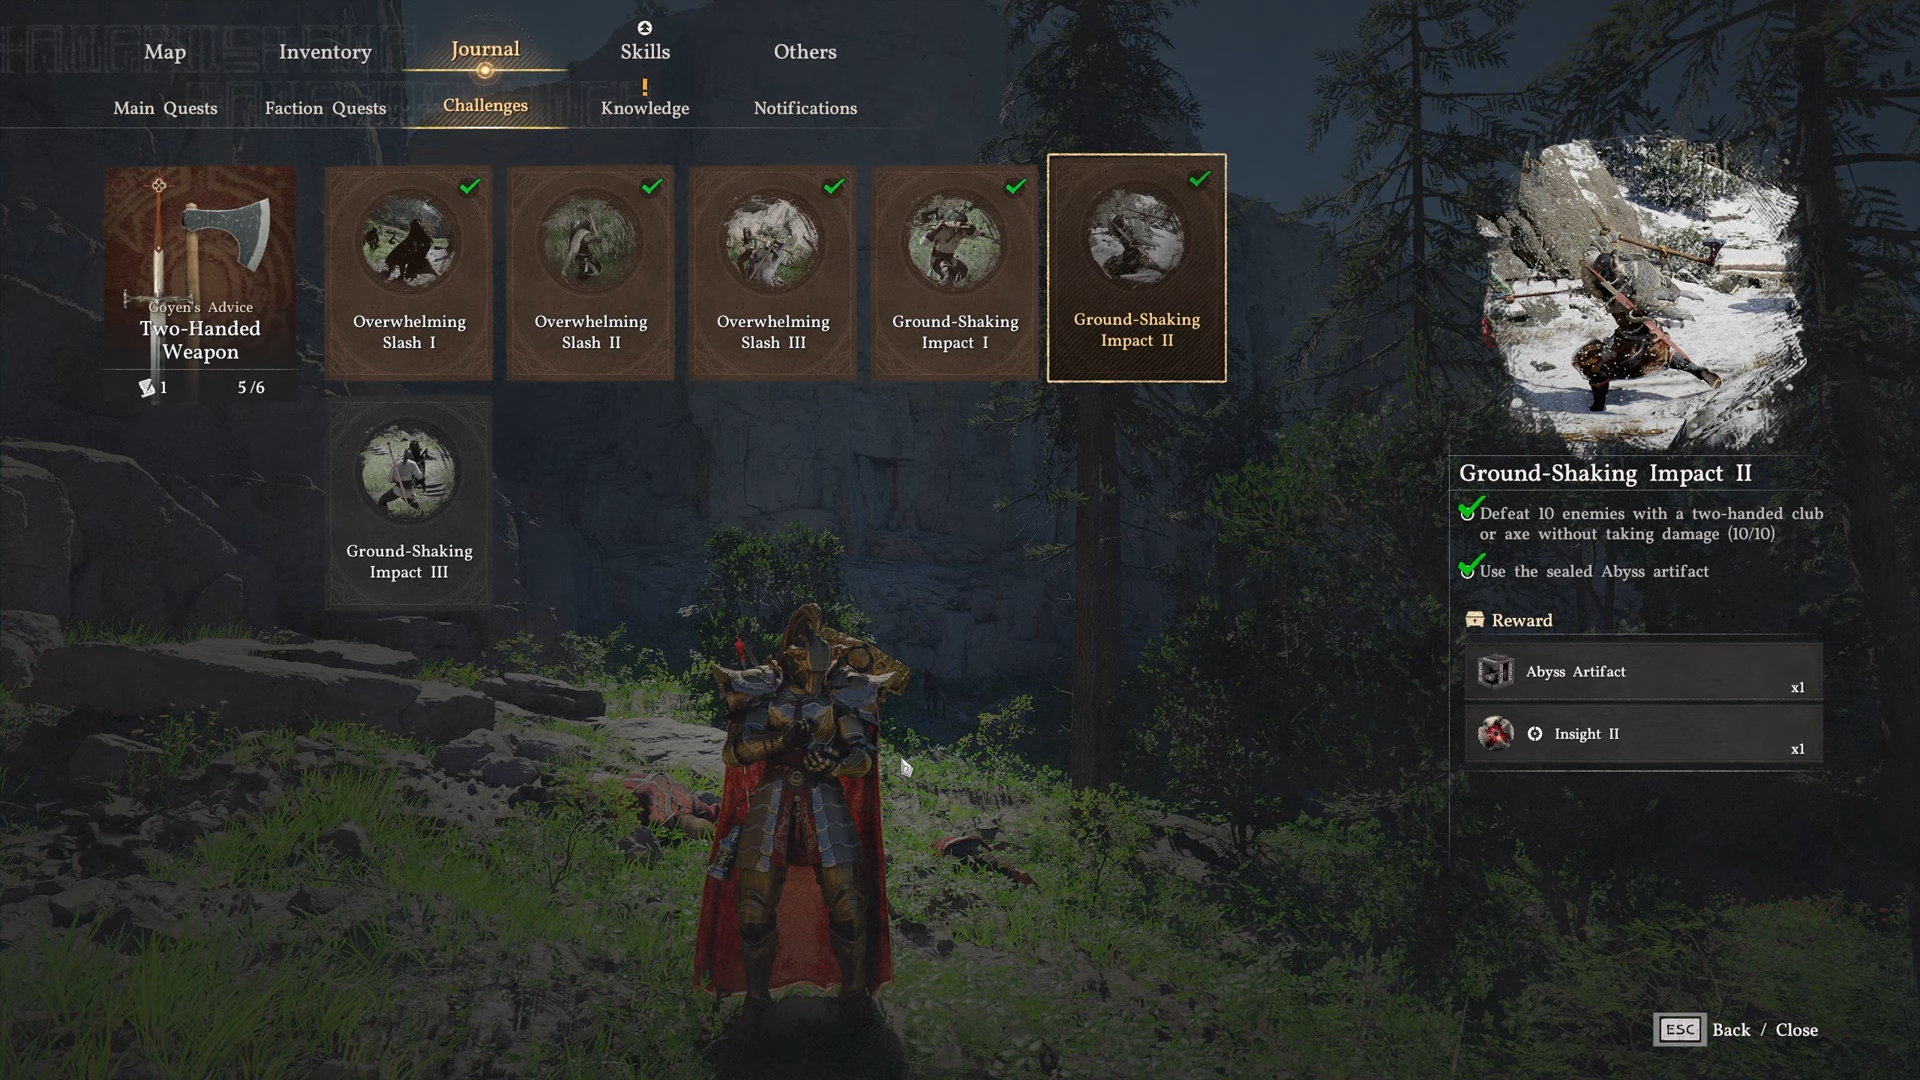
Completing this yields 1x Abyss Artifact immediately, fueling gear synthesis. It advances the full Two-Handed Weapons mastery tree toward the Master of Two-Handed Weapons achievement. Stack with sibling challenges like Ground Shaking Impact 1 (30 hits in 30s) for bonus Insights and Destruction upgrades.
Tackle this mid-game hurdle to dominate heavy combat—pair with Oongka’s Quaking Fury for crowd clears next.