What to know
- The puzzle is part of the Crossroads quest in Crimson Desert
- You must reveal and interact with a hidden clock mechanism
- Holding both clock hands simultaneously is the key mechanic
- Solving it unlocks a memory sequence and a new path forward
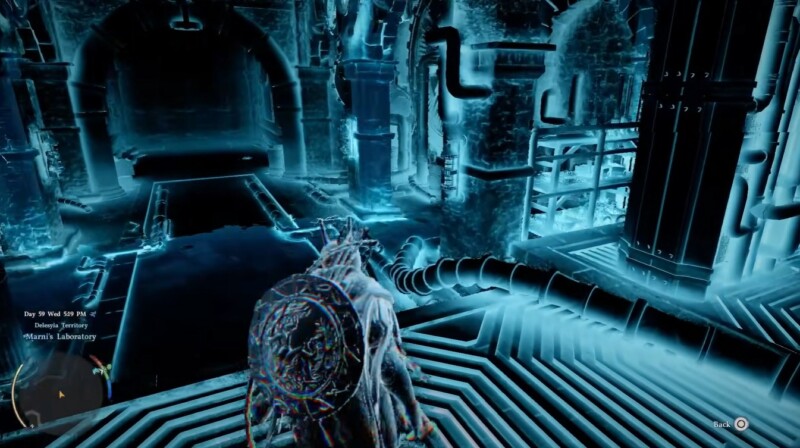
If you find yourself stuck beneath Deleysia Castle of Crimson Desert, you are not alone—this section of the Crossroads quest introduces a puzzle that can feel unintuitive at first. The underground chamber hides a memory sequence tied to a clock mechanism, and progressing requires careful interaction rather than brute-force exploration. Once you understand the logic behind the puzzle, the sequence becomes straightforward and rewarding.
Crimson Desert Deleysia Castle clock puzzle
| Element | Details |
|---|---|
| Quest | Crossroads |
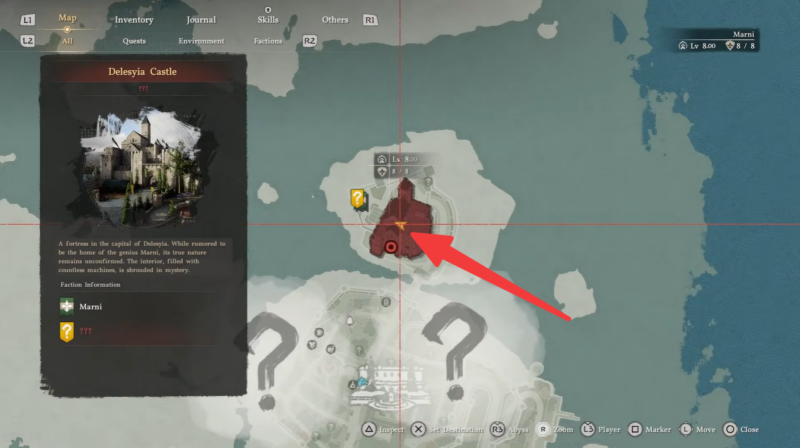
| Location | Underground chamber beneath Deleysia Castle |
| Puzzle Type | Clock mechanism interaction |
| Key Action | Hold both hour and minute hands |
| Outcome | Unlock memory sequence + new path |
| Difficulty | Moderate (timing-based interaction) |
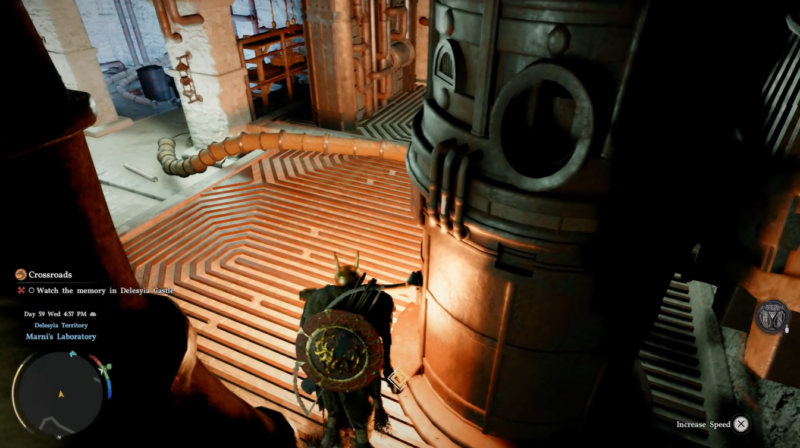
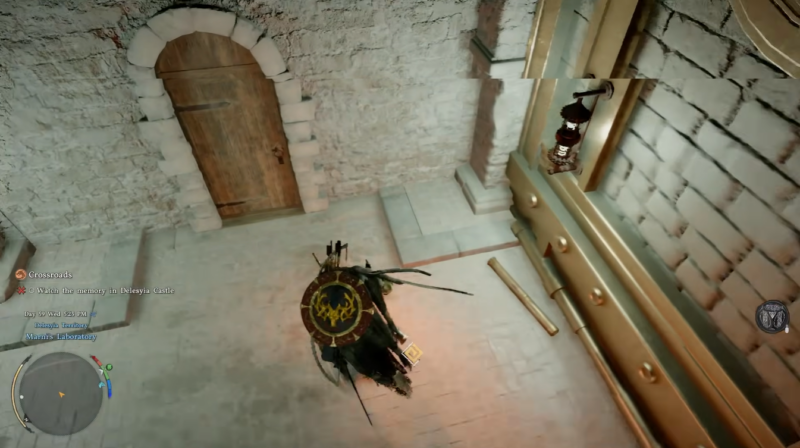
As you explore the underground chamber, your first objective is not solving the puzzle—but revealing it. The room initially appears limited, with no obvious exits. This is intentional. You need to locate a lever positioned within the chamber.
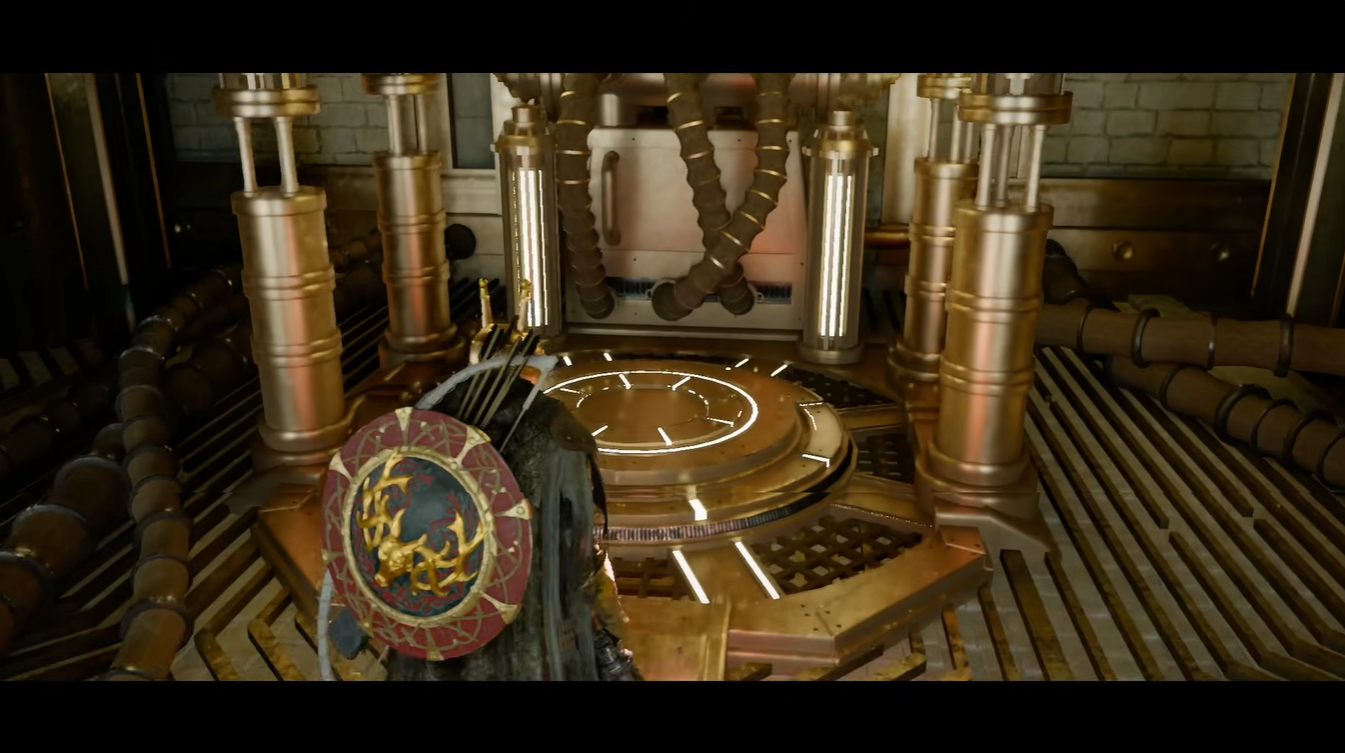
Once you find it, interacting with the lever shifts part of the environment and reveals a hidden clock embedded nearby. This is the core of the puzzle and the only way forward. Without activating this mechanism, progression is completely blocked.
The moment the clock appears, the game transitions from exploration to interaction-based puzzle solving.
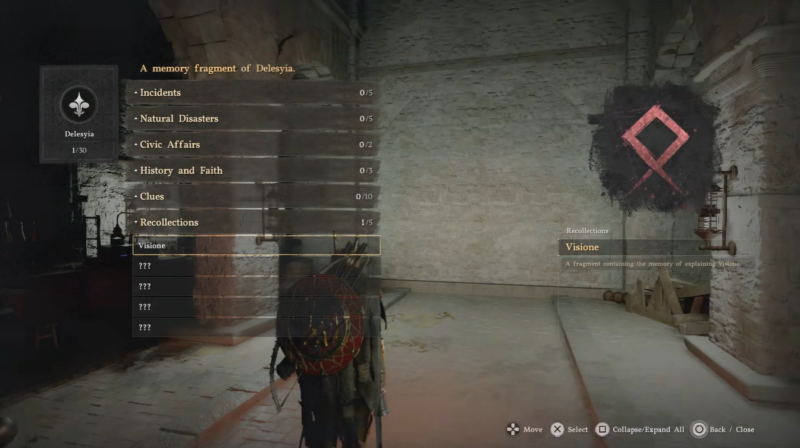
How to read the memory beneath Delesyia Castle
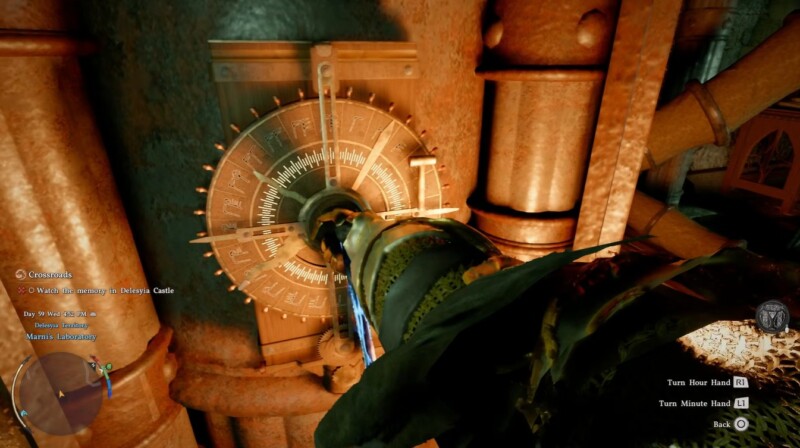
At first glance, the clock interface may look like a typical timing puzzle—but it’s more about sustained input than precision tapping. The mechanism involves two inputs: the hour hand and the minute hand.
Unlike traditional puzzles where you align hands to a specific time, here you must press and hold both controls simultaneously. This is where many players get confused, as releasing too early resets the process.
The key is patience. When you hold both inputs, the clock begins to move. Eventually, the movement stops—but this does not mean you should release. You must continue holding until the device emits a blue glow, which confirms successful activation.
This glowing effect signals that the puzzle is complete and triggers the next phase.
Triggering the memory sequence and unlocking the path
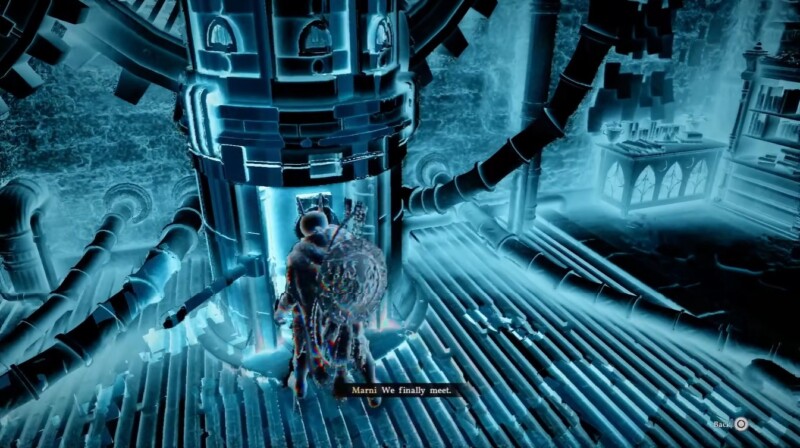
Once the clock glows blue, the game transitions into a vision or memory mode. This is a scripted sequence, so you don’t need to interact during the cutscene. Instead, focus on what changes in the environment.
After the sequence ends, you’ll notice that a previously blocked path is now open. This is the game’s way of integrating narrative progression with puzzle-solving.

Move forward through this newly revealed area. The design subtly guides you toward the exit, so there’s little risk of getting lost at this stage.
Here is a complete step by step guide to read the memory in Deleysia Castle:
Step 1
Search the chamber carefully to locate the lever. It is required to reveal the hidden clock mechanism.
Step 2
Interact with the lever to shift the environment and expose the clock. Without this step, the puzzle cannot begin. Approach the clock and initiate interaction to access the puzzle interface. Press and hold both the hour hand and minute hand controls simultaneously. Do not release prematurely.
Step 3
Continue holding even after the movement stops until the clock glows blue. This confirms puzzle completion.
Step 4
Watch the memory sequence and observe environmental changes.
Step 5
Move through the newly opened path where the wall previously blocked progress.
Step 6
Proceed into the next room and interact with the teleporter to complete the section.
Why this puzzle stands out in the Crossroads quest
This puzzle emphasizes interaction mechanics over logic-based deduction, making it unique compared to traditional RPG puzzles. Instead of figuring out a correct configuration, you are required to understand the game’s input behavior and commit to it.
It also serves as a narrative bridge, tying gameplay directly into the memory system. The moment the clock activates and the environment shifts reinforces the idea that you are uncovering hidden fragments of the past.
This design choice makes the puzzle memorable, even if it initially feels unclear.
Completing the clock puzzle beneath Deleysia Castle is less about complexity and more about understanding the mechanic. Once you realize that holding both inputs continuously is the solution, the rest flows naturally.
This section of the Crossroads quest acts as a turning point, blending exploration, puzzle-solving, and storytelling into a single sequence. By following the steps carefully, you can clear the area quickly and continue your journey without frustration.