- What to know
- Cloudcarts details
- How to get the first Cloudcart
- How to get the upgraded Cloudcart (Efficiency Enhancement variant)
- How to get the alternate Cloudcart (Altitude Enhancement variant)
- How the three Cloudcarts differ in practice
- How to use all three Cloudcarts effectively
- Rewards and practical benefits of owning all three
- When to prioritize which Cloudcart
What to know
-
Crimson Desert has exactly three Cloudcart variants, each available via specific quests and dispatch lines.
-
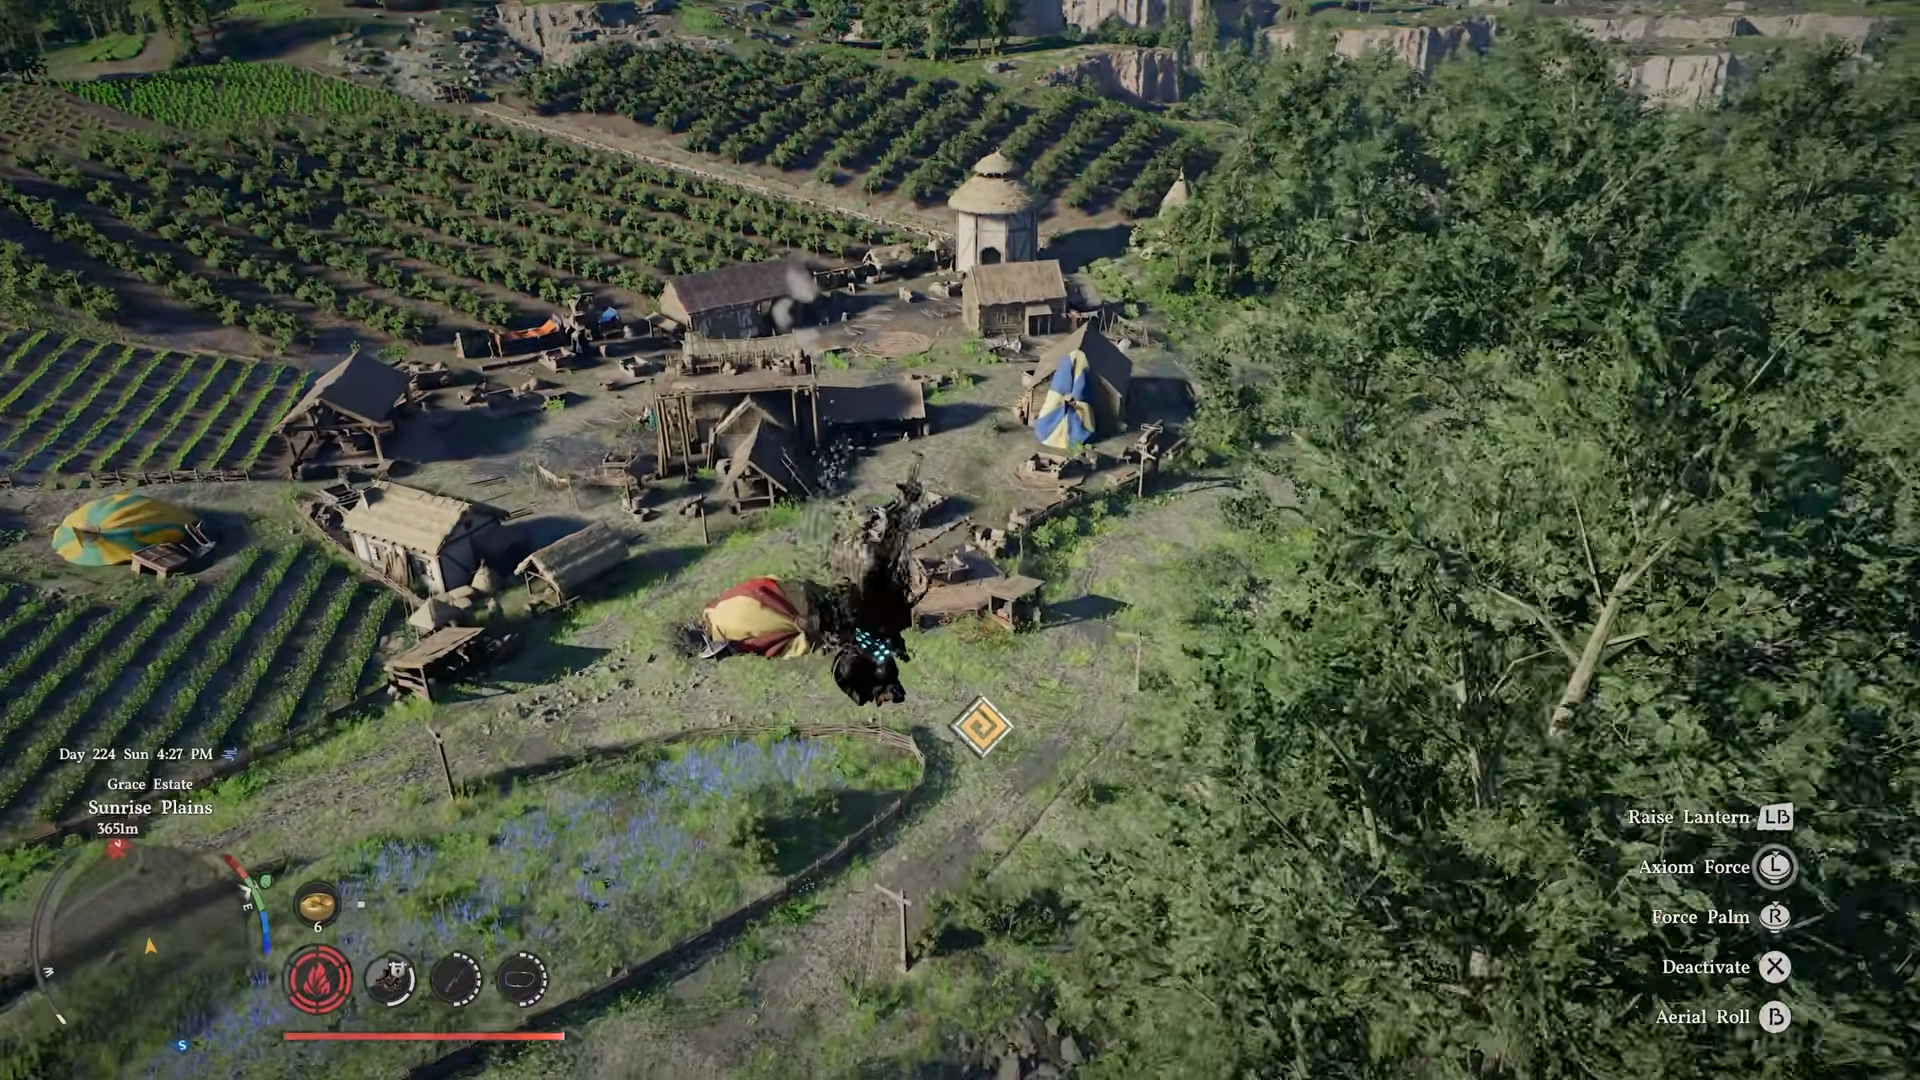
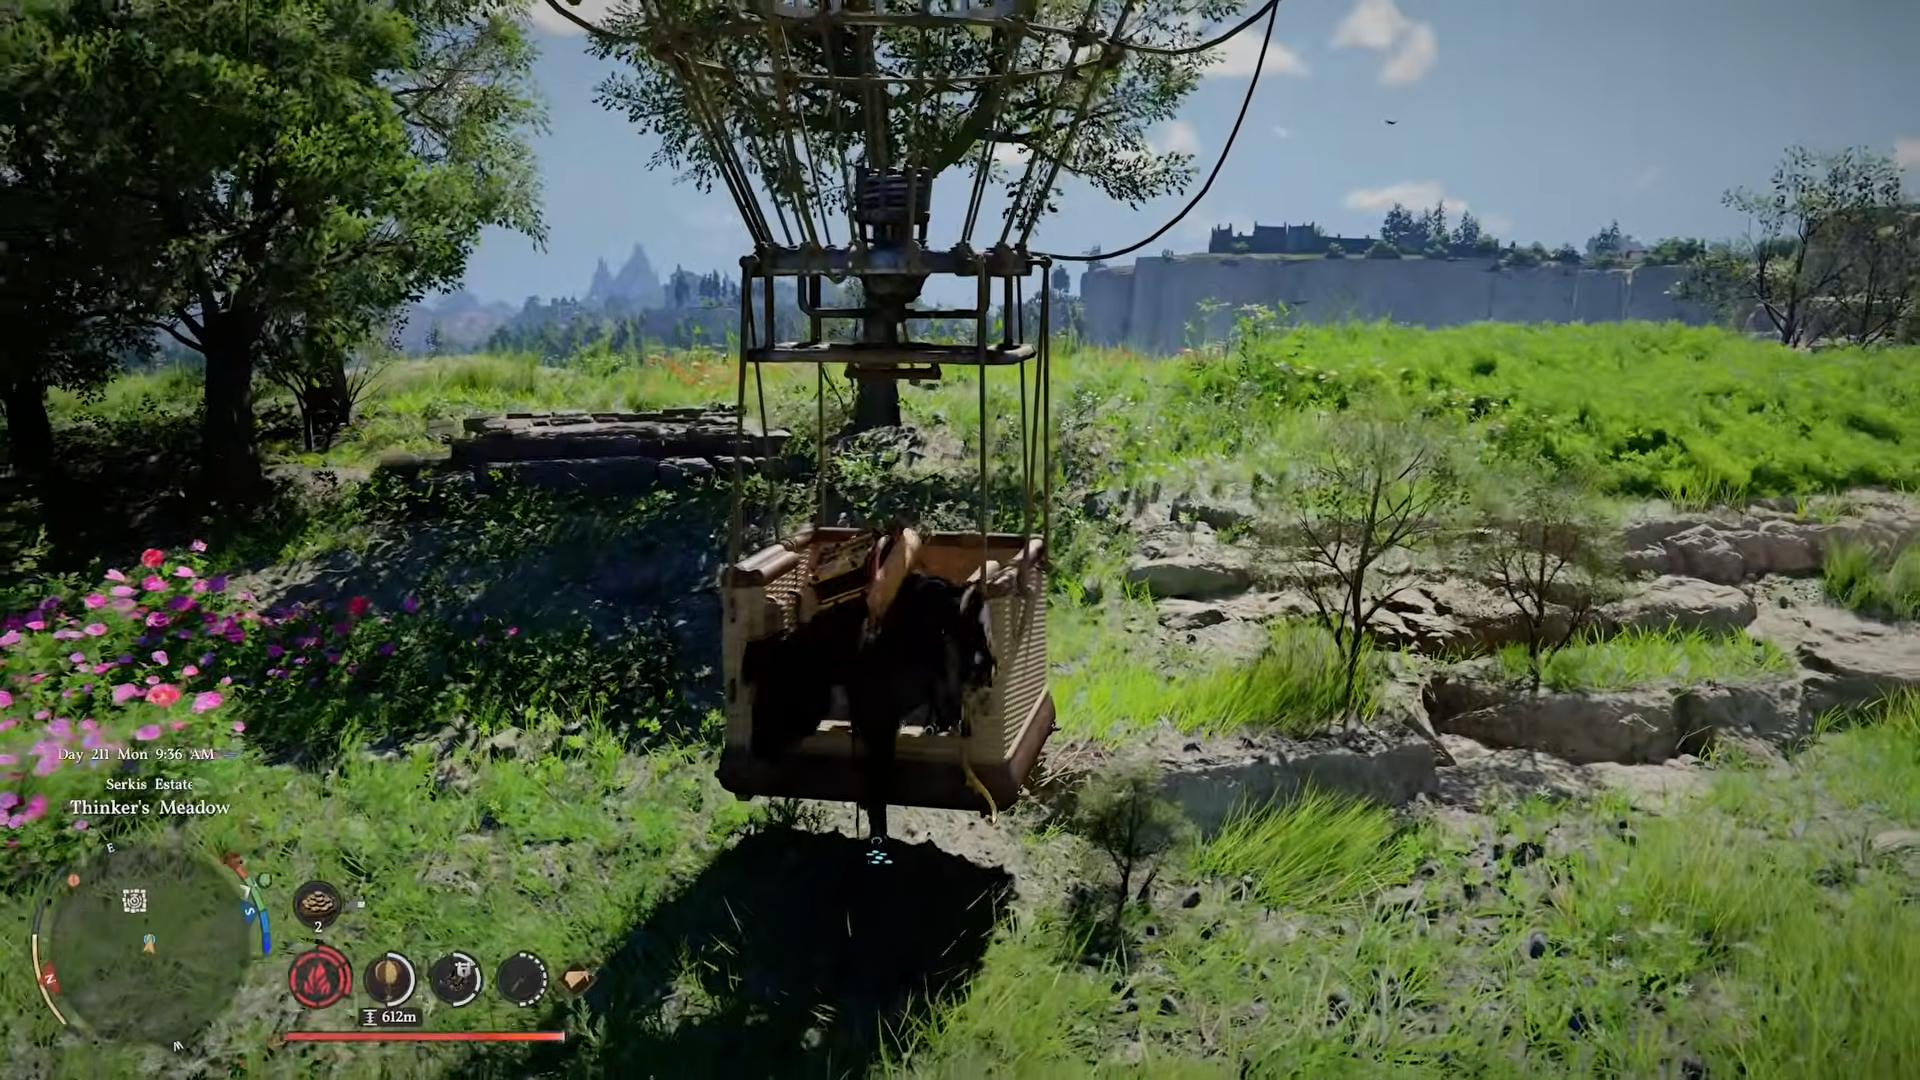
All three are balloon‑based flying mounts accessed from the standard mount radial, but they differ in speed, altitude behavior, and how long they take to craft.
-
Unlocking the first Cloudcart requires finishing a main‑story section in Chapter 3, solving a puzzle at Glenbright Manor, then running a dispatch mission at Emberwind Workshop.
-
The other two Cloudcarts are unlocked later through camp research and side‑content, often with slightly better performance or reduced crafting time.
Crimson Desert’s Cloudcarts are a trio of flying balloon mounts that let you float above Pywel’s highest peaks and hidden cliffs, but each has its own unlock path and handling quirks. Below is a clean, step‑by‑step breakdown of how to get all three Cloudcarts and what sets them apart in practice.
Cloudcarts details
How to get the first Cloudcart
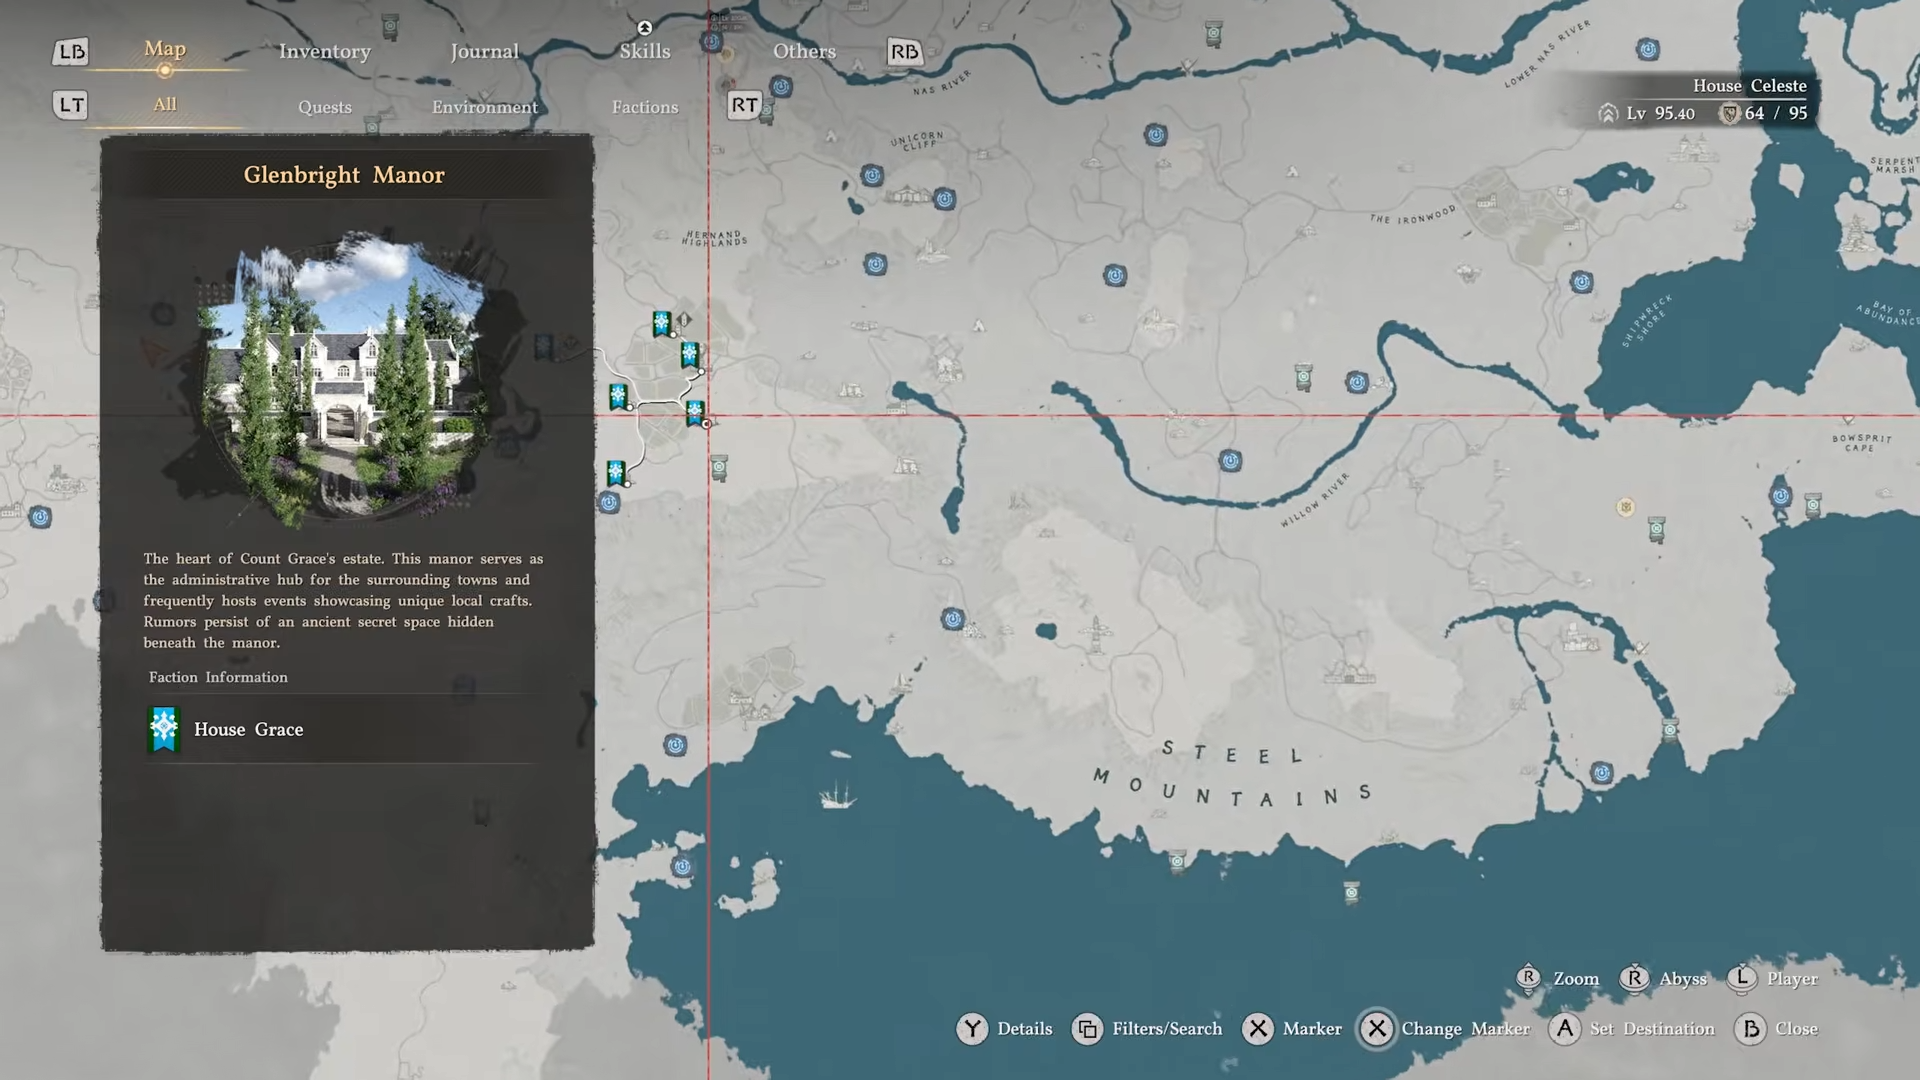
Step 1: Reach Chapter 3 and Glenbright Manor
-
Advance normally through the Reed Devil‑related quests in Chapter 3, which will carry you to Glenbright Manor, located south of Hernand.
-
This is an on‑path story stop, so you do not need to deviate from the main questline to reach the house.
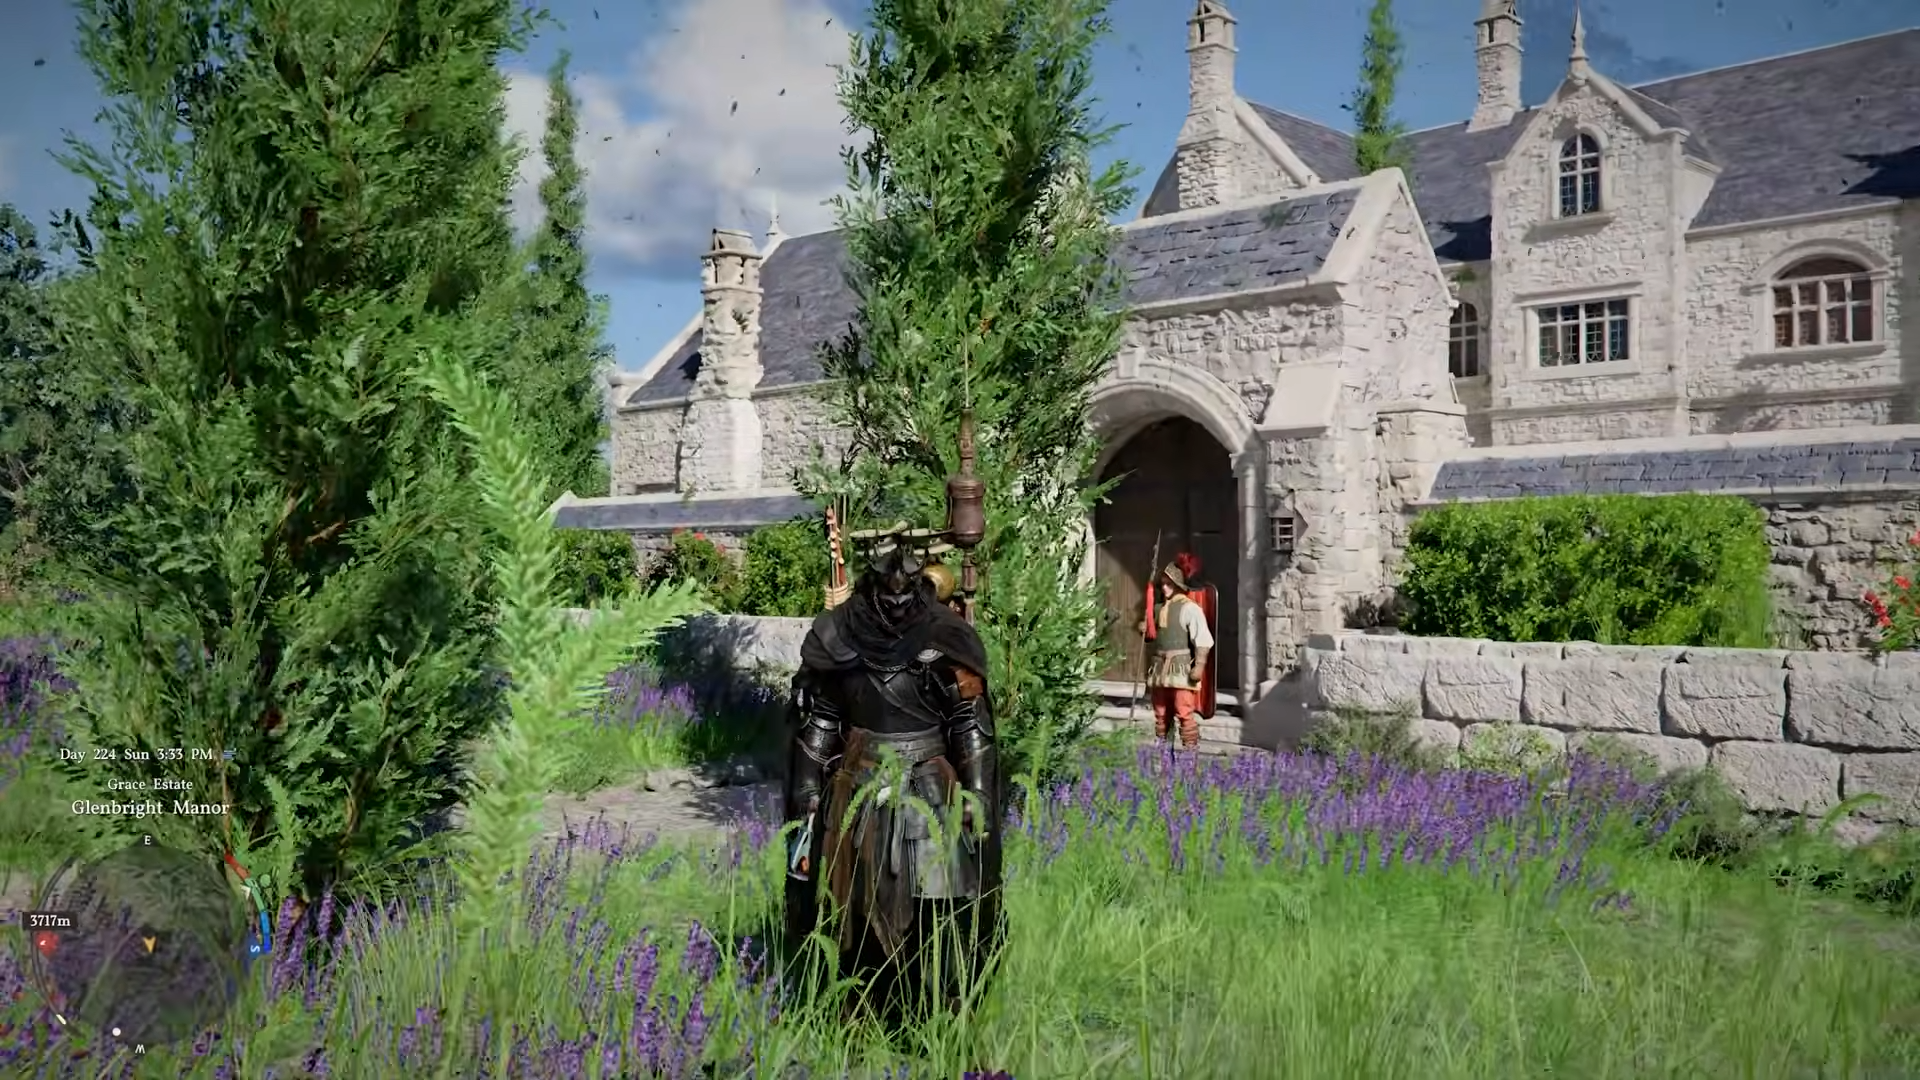
Step 2: Solve the Glenbright Manor puzzle
-
Inside the manor, search for two golden daggers placed in display cases or wall mounts.
-
Move both daggers to their correct slots; when placed correctly the mechanism will shift, and you can then interact with the horse painting to reveal a hidden key.

-
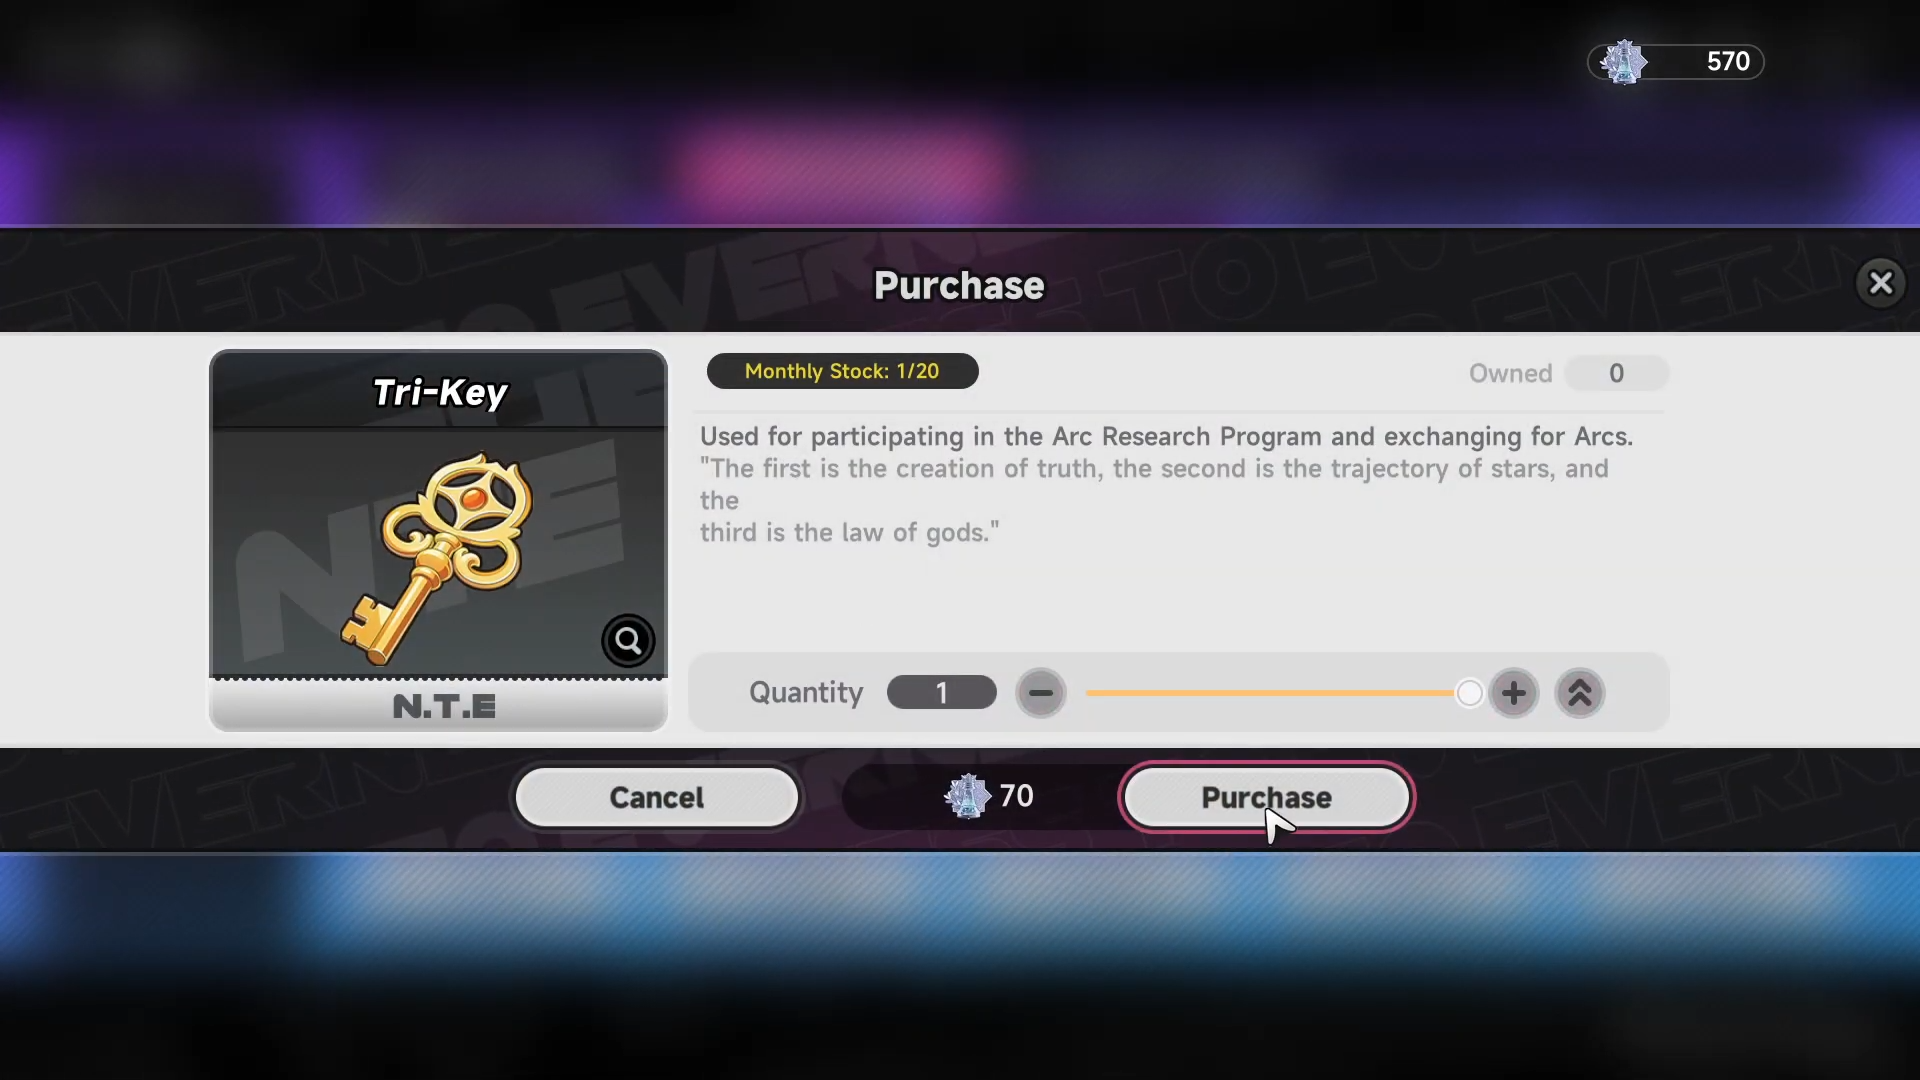
Use the key to open a passage to the basement, where a secret room holds the Cloudcart Blueprint on the floor.

Step 3: Unlock comrade dispatch at Greymane Camp
-
Continue the main story until you finish Bustling Hill, a Pioneering‑style quest in Chapter 3.
-
This unlocks the comrade dispatch system at Greymane Camp, letting you assign Greymanes to workshop and crafting missions.
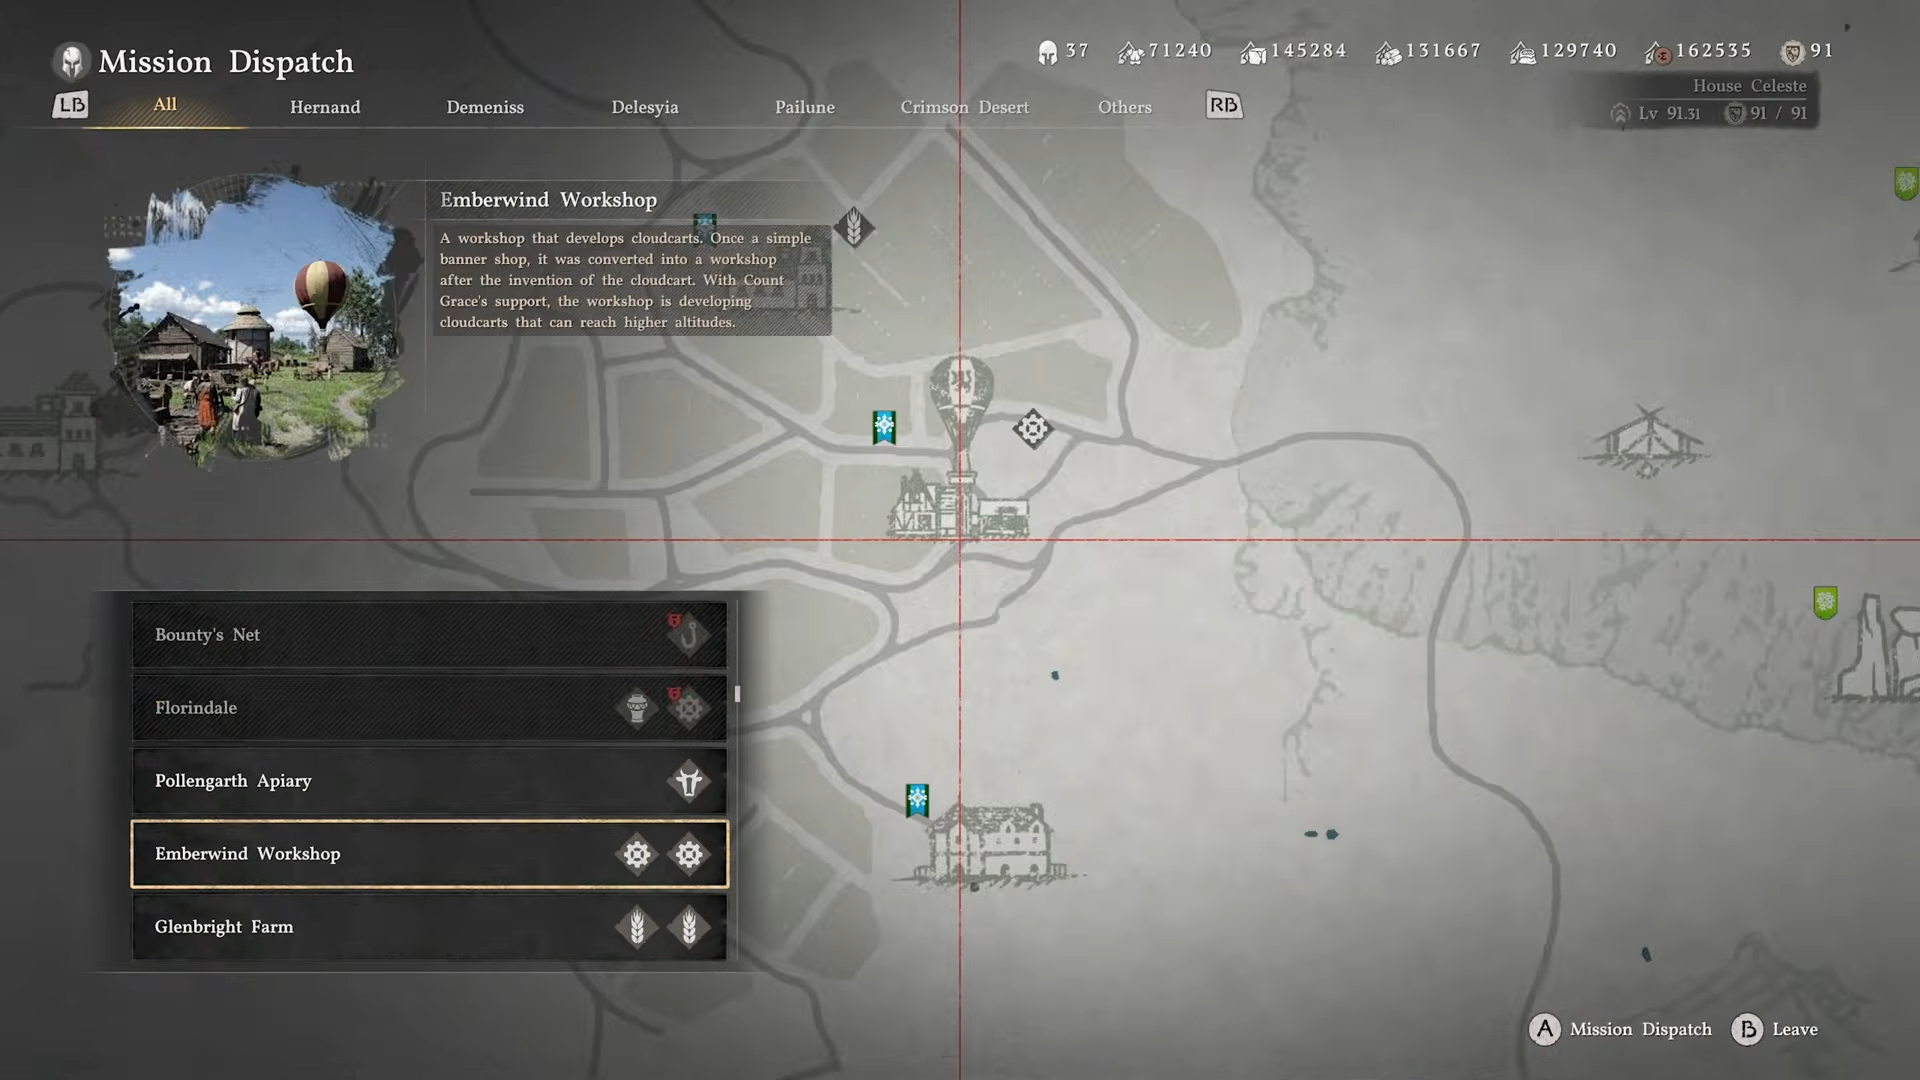
Step 4: Start the Cloudcart craft at Emberwind Workshop
-
Travel to Emberwind Workshop, situated just north of Glenbright Manor.
-
Speak with the dispatch coordinator NPC and select the Cloudcart production mission for the workshop.

-
The mission requires at least five Greymane comrades, with one having the Engineer skill, plus materials such as stone, timber, food, and coin.
-
Once the mission time passes, the first Cloudcart appears in your mount menu, ready to be summoned from the radial like any other mount.

How to get the upgraded Cloudcart (Efficiency Enhancement variant)
Step 1: Unlock Cloudcart‑related research
-
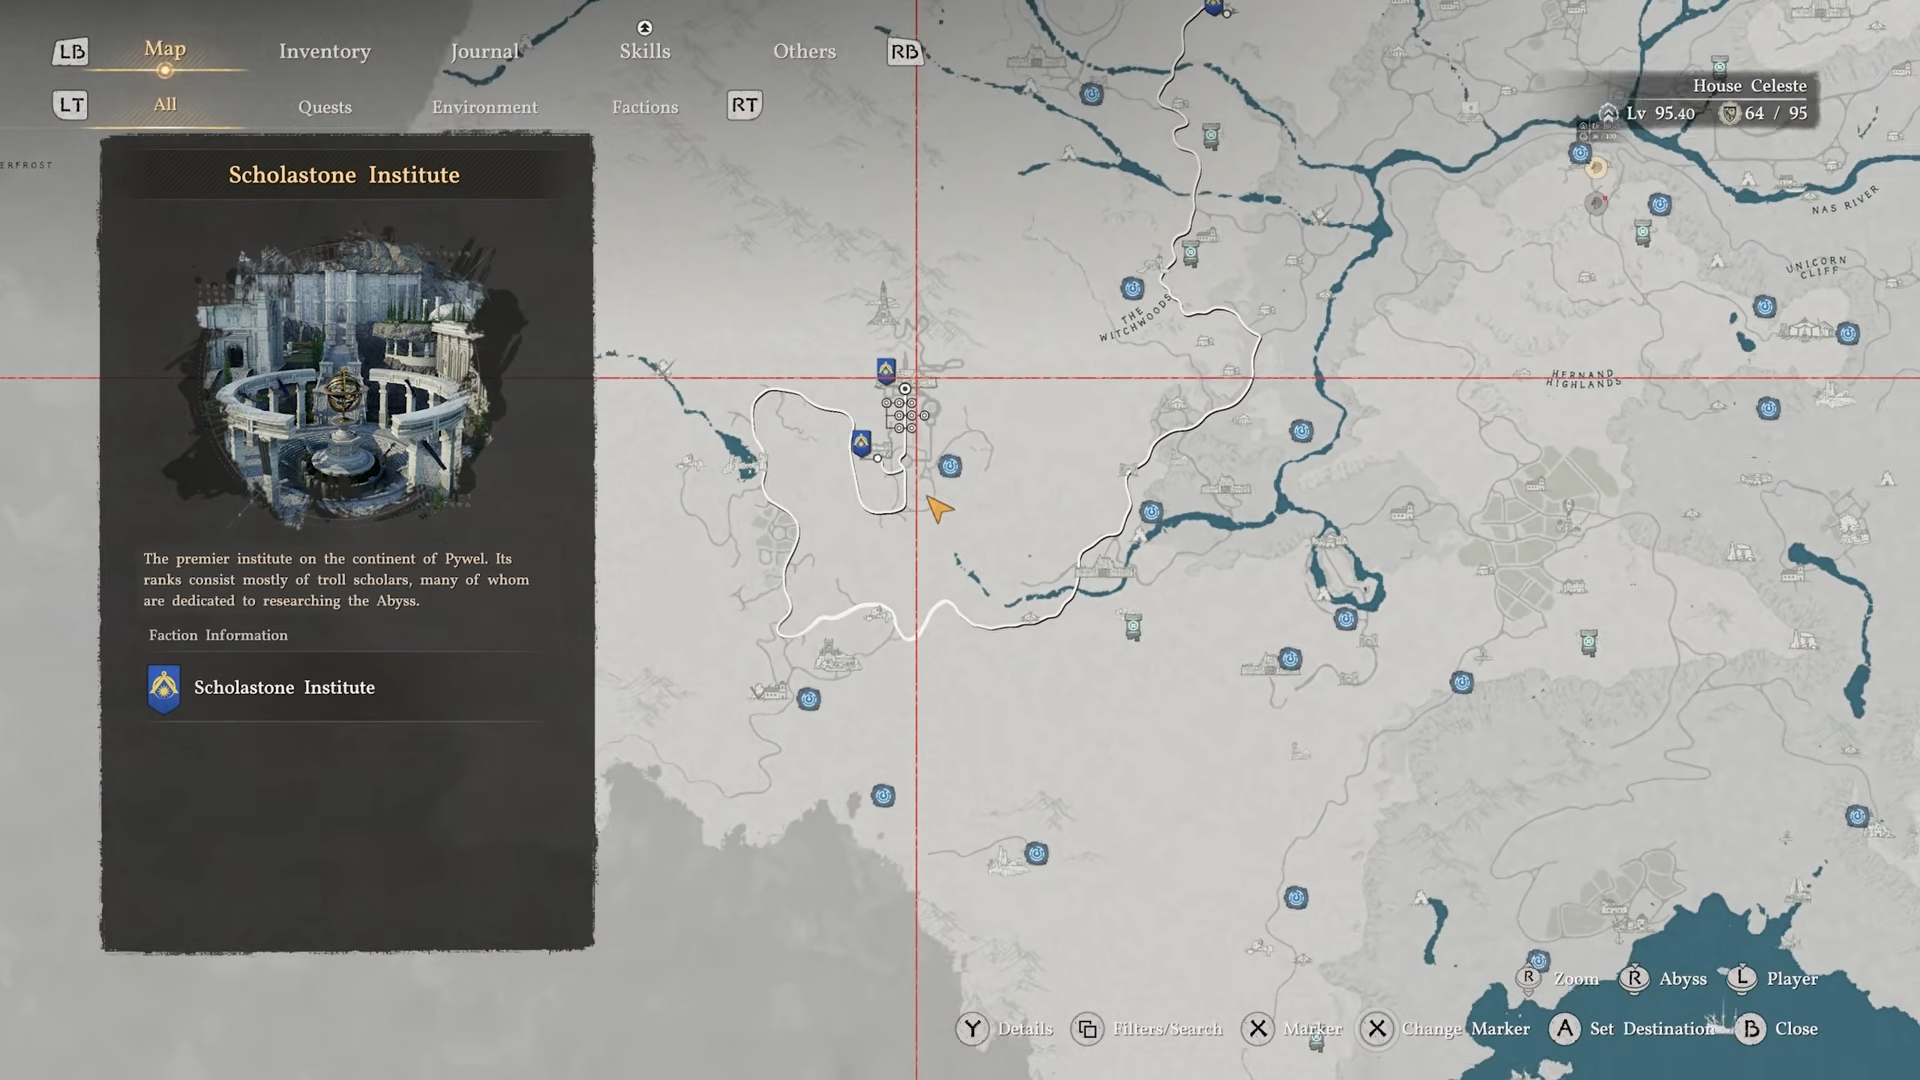
Progress into Chapter 5, where the Scholastone Institute (or equivalent research hub) unlocks new lines of research tied to the camp.
-
Among these is a Cloudcart Efficiency Enhancement research project that improves crafting speed and performance of the Cloudcart line.

Step 2: Queue the upgraded Cloudcart mission
-
With the Cloudcart Efficiency research active, return to the Emberwind Workshop or a related dispatch node for balloon‑type mounts.
-
Select the upgraded Cloudcart mission instead of the base version; its crafting time is shorter and the resulting balloon usually has better thrust and altitude control.
-
Again, you must commit five Greymanes (one Engineer) and a fresh batch of materials; once the mission finishes, the upgraded Cloudcart becomes available in your mount list.
How to get the alternate Cloudcart (Altitude Enhancement variant)
Step 1: Check patch‑era side content
-
After mid‑game updates, an alternate Cloudcart Altitude Enhacement variant appears via specific side quests or events tied to the camp’s new workshop options.
-
These are usually flagged as new dispatch missions or limited‑time projects connected to the broader flying‑mount content refresh.

Step 2: Fulfill the mission requirements
-
The variant Cloudcart mission often sits under the same workshop UI but may require slightly different comrade combinations or specialized resources (such as rare components or event tokens).
-
Queue the mission, let it process, and once completed the third Cloudcart appears in the radial alongside the others, marked by a distinct appearance or color scheme.
How the three Cloudcarts differ in practice
Handling and speed
-
Standard Cloudcart: Slightly slower in horizontal flight and more sensitive to wind; lift and descent are gradual, which can feel floaty but forgiving for beginners.

-
Upgraded Efficiency Cloudcart: Accelerates faster, responds more sharply to altitude inputs, and usually holds a steadier hover, making it better for tight vertical climbs or precision landings.

-
Alternate Altitude Cloudcart: Feels closer to the standard one in base speed, but may sacrifice a bit of lift responsiveness for extended burn time or resource efficiency, depending on how the mission is tuned.

Crafting time and resource load
How to use all three Cloudcarts effectively
Step 1: Summoning and basic controls
-
In the mount radial, select the desired Cloudcart; each variant appears as a separate icon even though they share the same core slot.

-
Once summoned, board the cart, then ignite the burner to start lifting; repeated burner inputs keep you climbing, while easing off lets you descend.
Step 2: Vertical vs horizontal travel
-
Use the standard Cloudcart for leisurely sightseeing or when you want a forgiving, floaty feel while climbing cliffs or spires.
-
Reach for the upgraded Cloudcart when you need to quickly scale tall towers, ruin‑top puzzles, or reach high‑level fast‑travel points with minimal drift.
-
Reserve the alternate variant for long‑distance passes across wide regions or time‑sensitive event areas where efficiency matters more than tight control.
Step 3: Fuel and stamina awareness
-
Each Cloudcart has a burn‑time limit before you start losing altitude; you can manage this by pulsing the burner instead of holding it constantly.
-
If you find one variant burning out faster than the others, switch to the Cloudcart Efficiency‑linked version, which tends to stretch usable flight time.
Rewards and practical benefits of owning all three
When to prioritize which Cloudcart
If you want to see everything quickly, focus first on the standard Cloudcart during Chapter 3, even if you must accept a bit of clunkiness in handling. As soon as you hit Chapter 5 and unlock research, budget materials for the upgraded efficiency Cloudcart to make most vertical climbs and camp‑related ascents feel much snappier. Only invest in the alternate altitude enhancement Cloudcart if you regularly engage in event‑driven or long‑range content, or if the specific mission rewards are better aligned with your current progression goals.