- What to know
- How island expansions work
- Island expansion details
- How to reach the first island expansion
- How to reach the second island expansion
- How to reach the final island expansion
- How to use the Island Builder after expansions
- Quick checklist to unlock all island expansions
- Plan your ultimate island layout
What to know
-
Island size scales with Mii count. Each major expansion unlocks after you reach a set number of residents, not through a separate “upgrade” menu.
-
You must unlock Quik Build first. After your sixth Mii, the Island Builder becomes available, letting you reshape land and expand outward.
-
Major expansions happen at 8, 20, and 35 Miis. These are the three core thresholds where your playable area visibly grows.
-
Busy islands grow faster. Interacting with Miis, raising happiness, and solving their problems keeps the island “active,” which supports smooth expansion triggers.
Unlocking all island expansions in Tomodachi Life: Living the Dream is entirely tied to how many Miis live on your island and how well you keep them active and happy. The game automatically grows your island in stages as you clear specific population milestones, so your main job is to keep adding residents and building friendships.
How island expansions work
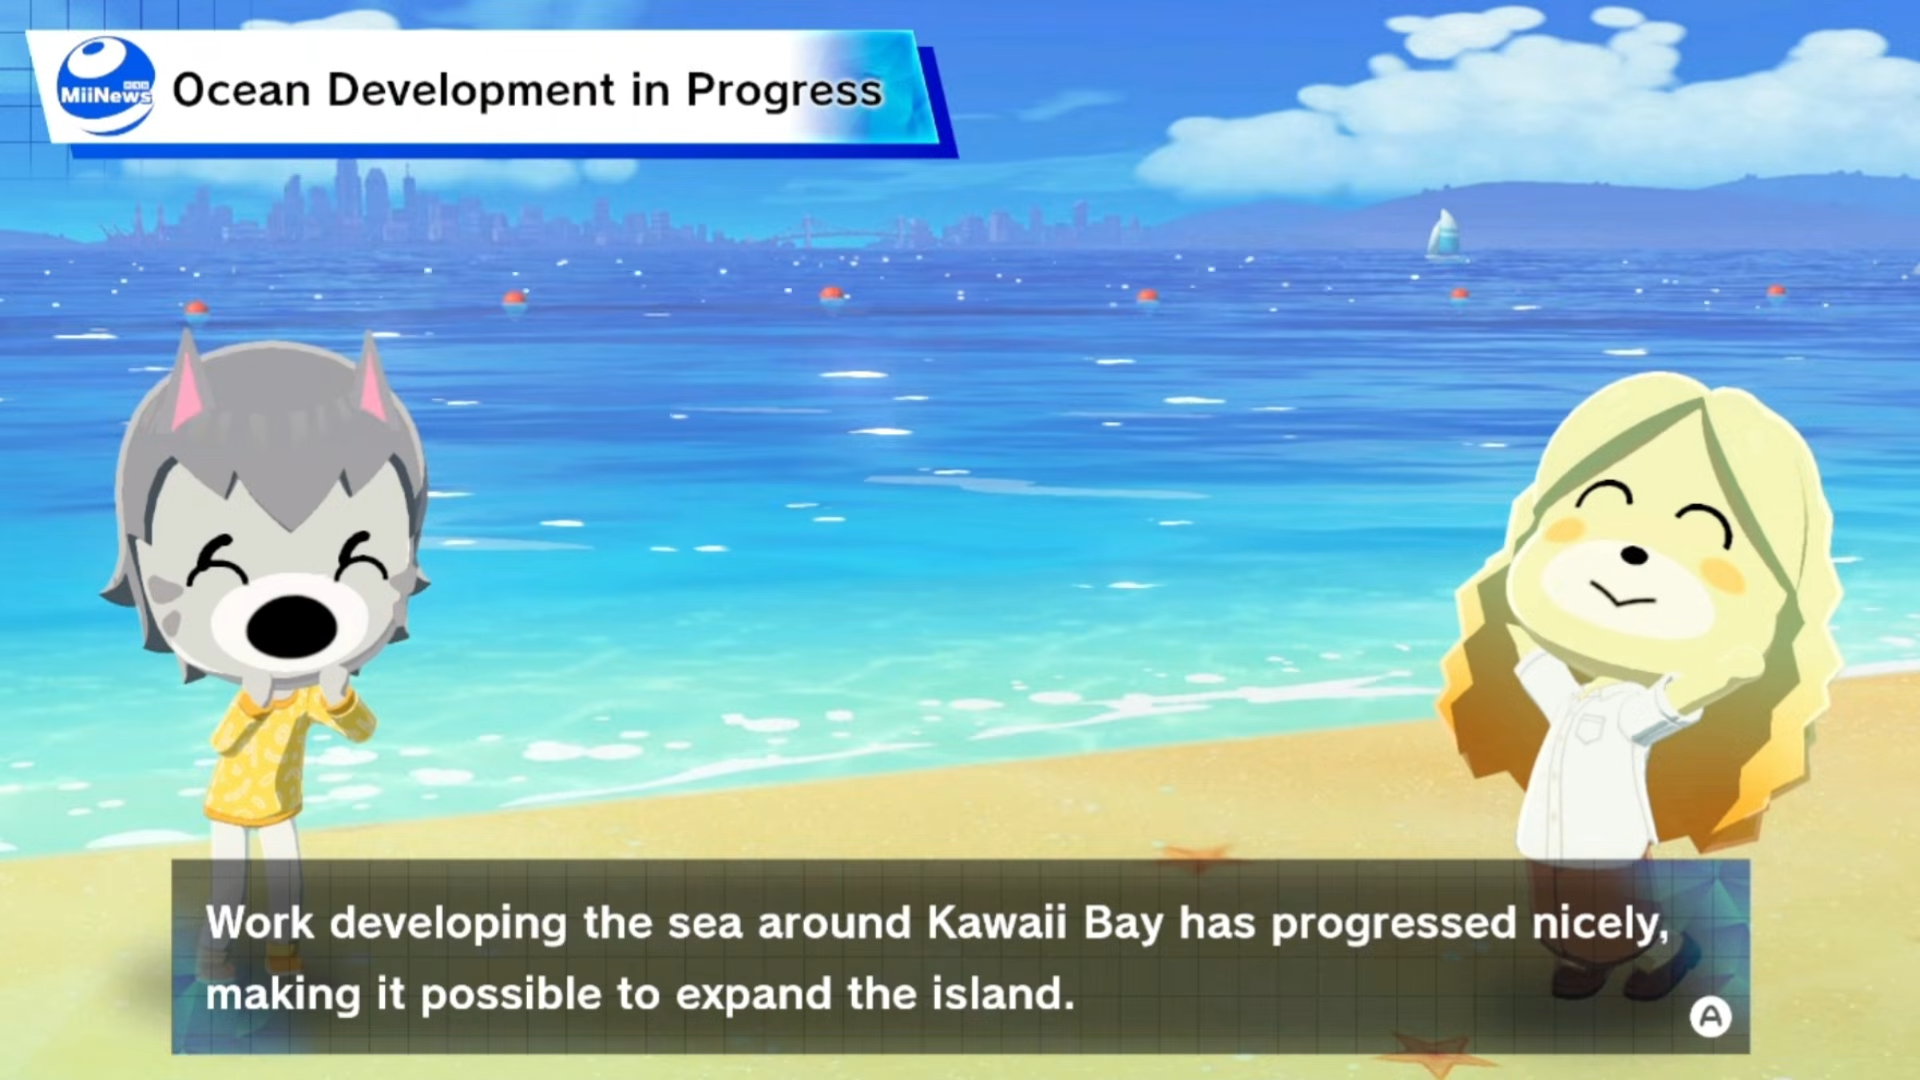
Your island starts small, defined by rocks and shallow water around the main village. The outer edges are initially blocked by red‑like rocks or barriers that cannot be passed until the game unlocks more land. Once you reach the population thresholds, the news system will announce that the island is expanding, and the border will pull outward in all directions. This extra space appears as clean, flat tiles you can then fill with new buildings, landscaping, and events.
Below is a quick‑glance table of the expansion stages and what you need to hit each one.
Island expansion details
These thresholds are the same whether you focus on story‑mode interactions, friendships, or random island events. The game treats the requirements purely as population and activity, not as special quests.
How to reach the first island expansion
The first expansion is the easiest because it happens early in the game. Until then you are limited to the starter grid, but your island’s layout tools are already available.
How to prepare Quik Build
Before you can “grow” the island into the sea, you must unlock the Island Builder feature (Quik Build). That requires:
-
Create your sixth Mii resident.
-
Open the Mii menu (lower‑left icon) and keep selecting “Add Resident” whenever the option is available.
-
Make sure each new Mii has a name, age, and basic personality so the game registers them as proper residents.
-
-
Wait for the notification.
-
After the sixth Mii is added, the system will outline Quik Build as a new menu option.
-
This building is your main tool for editing terrain, so you must interact with it once to properly initialize it.
-
After this, even if you haven’t hit 8 Miis yet, you can start reshaping the core village. However, the first true expansion only triggers when the resident count reaches 8.
How to trigger the 8‑Mii expansion
Once you have 6 Miis:
-
Create two more residents.
-
Use the Mii menu to add two additional Miis.
-
There is no strict requirement for their levels or relationships; just having them on the island counts.
-
-
Wait for a news update.
-
When the eighth Mii is confirmed, the island news or a side notification will highlight that the ocean is being developed.
-
The rocks or barriers around the edge will disappear, and more tiles will appear beyond the old border.
-
-
Quickly secure the new land.
-
Open the Island Builder (Quik Build) and select the “Landscape” tab.
-
Place flat tiles or gentle slopes outward in the newly opened area so you prevent Miis or events from wandering into the water.
-
How to reach the second island expansion
The jump from first to second expansion is the largest in terms of usable space. By this point your island will already feel crowded, so making room for more buildings and events is important.
How to push toward 20 Miis
The second expansion does not require any special building upgrades or friendship levels; it is purely a population milestone.
-
Keep using the Add Resident option.
-
Return to the Mii menu every time it unlocks more spots.
-
The game gradually reveals extra slots as you complete early tasks and events, so you do not need to rush; just keep filling available slots.
-
-
Encourage friendly interactions.
-
Arrange hang‑outs, photo sessions, and simple Minigames.
-
Positive relationships keep Miis active and happy, which in turn keeps the island “busy” and helps the game recognize that you are ready for more space.
-
-
Watch for the ocean expansion notice.
-
When your Mii count reaches 20, the news will announce that the island’s sea development has progressed.
-
The outer edge will open again, exposing a ring of new tiles that are often wider than the previous expansion.
-
-
Use the new area strategically.
-
In the extra space, consider placing:
-
A second cluster of shops and restaurants.
-
A dedicated event district (for games, quizzes, and festivals).
-
Extra housing or social spots away from the main village to reduce crowding.
-
-
How to reach the final island expansion
The largest island size is locked behind the 35‑Mii requirement. Reaching this total is time‑sensitive but not complicated mechanically, as long as you keep the island active and your Mii roster growing.
How to fill the last Mii slots
Going from 20 to 35 Miis may take several in‑game days, especially if you are not rushing the clock.
-
Track how many Miis you have.
-
Use the Mii menu regularly to see how many residents are currently on the island.
-
If you are close to 35, check every morning of real‑time to see if new slots opened.
-
-
Bring in Miis via events and gifts.
-
Some events and special gifts can add new Miis directly to your island.
-
If you have shared Miis from other islands or imported characters, bring them over when you are near the 35 cap.
-
-
Wait for the final expansion trigger.
-
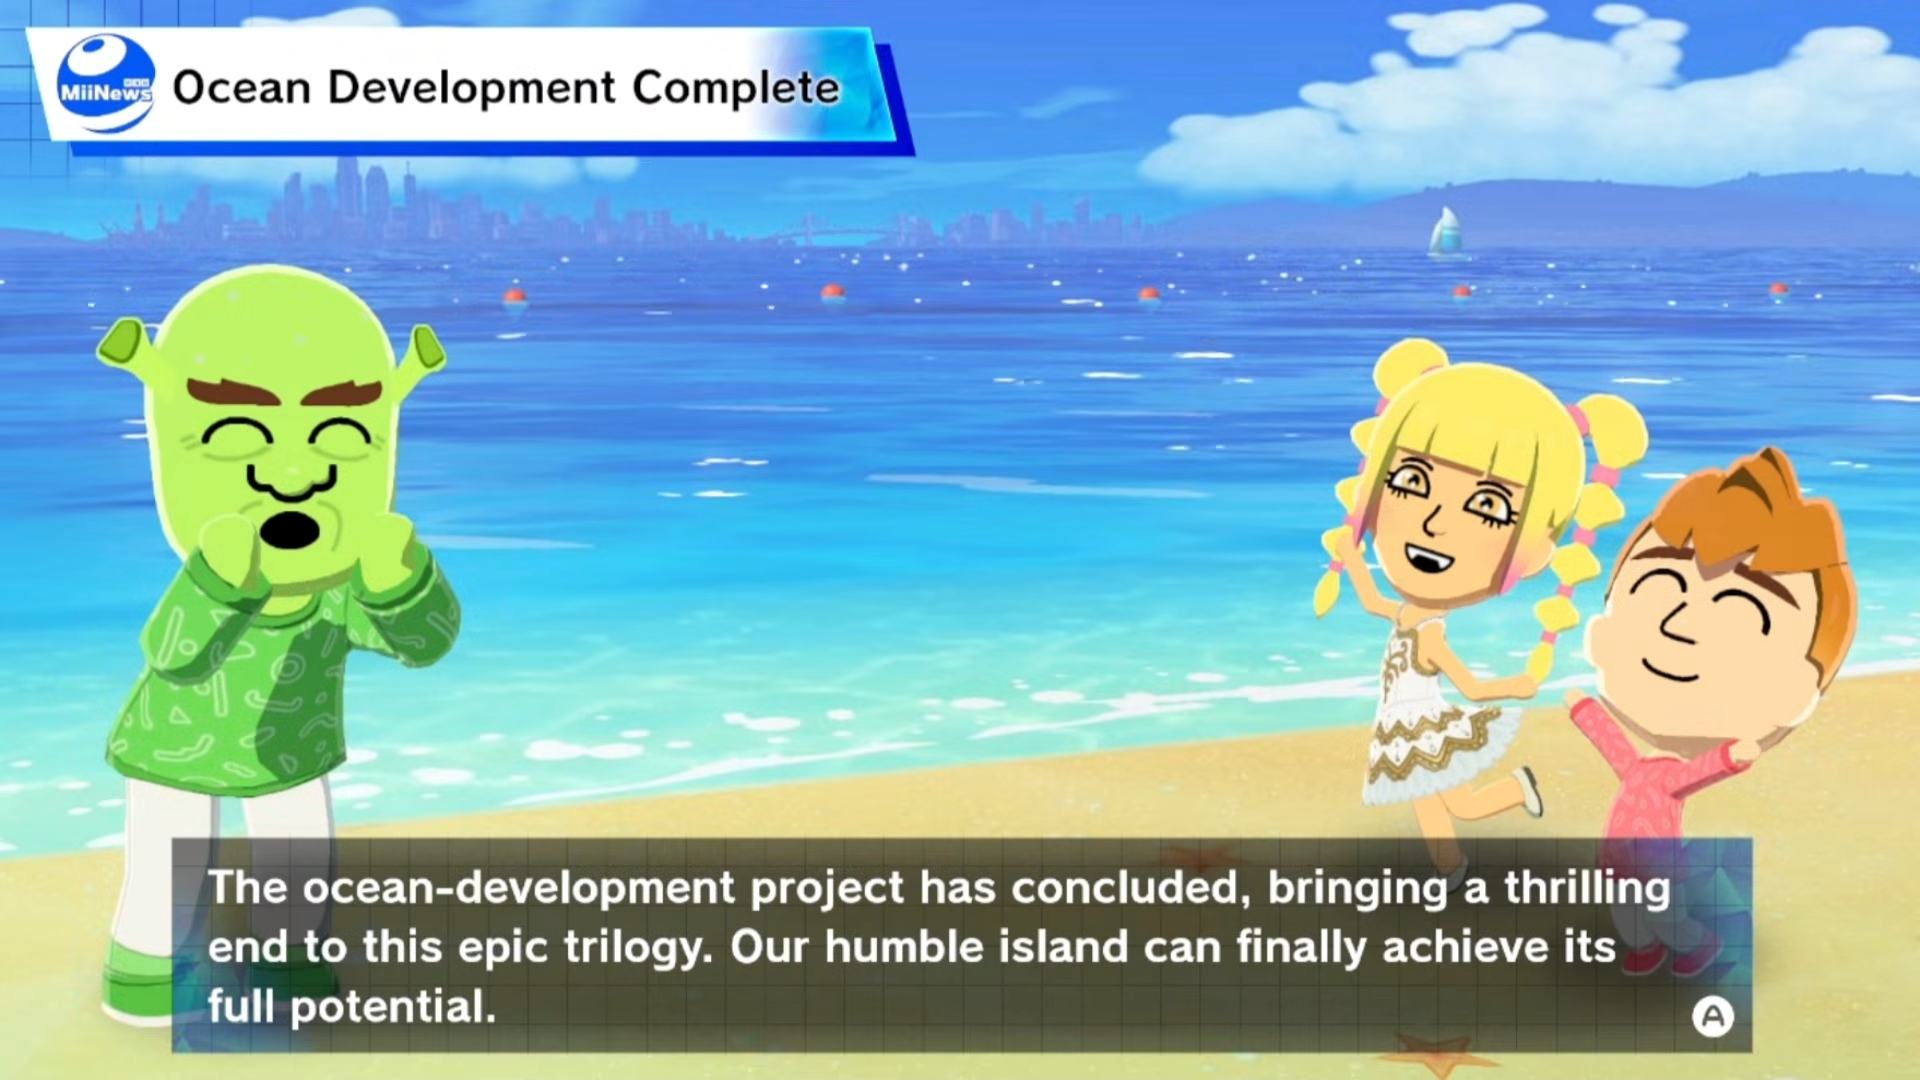
When the counter reaches 35, the game will announce that the island’s sea development has reached the next stage.
-
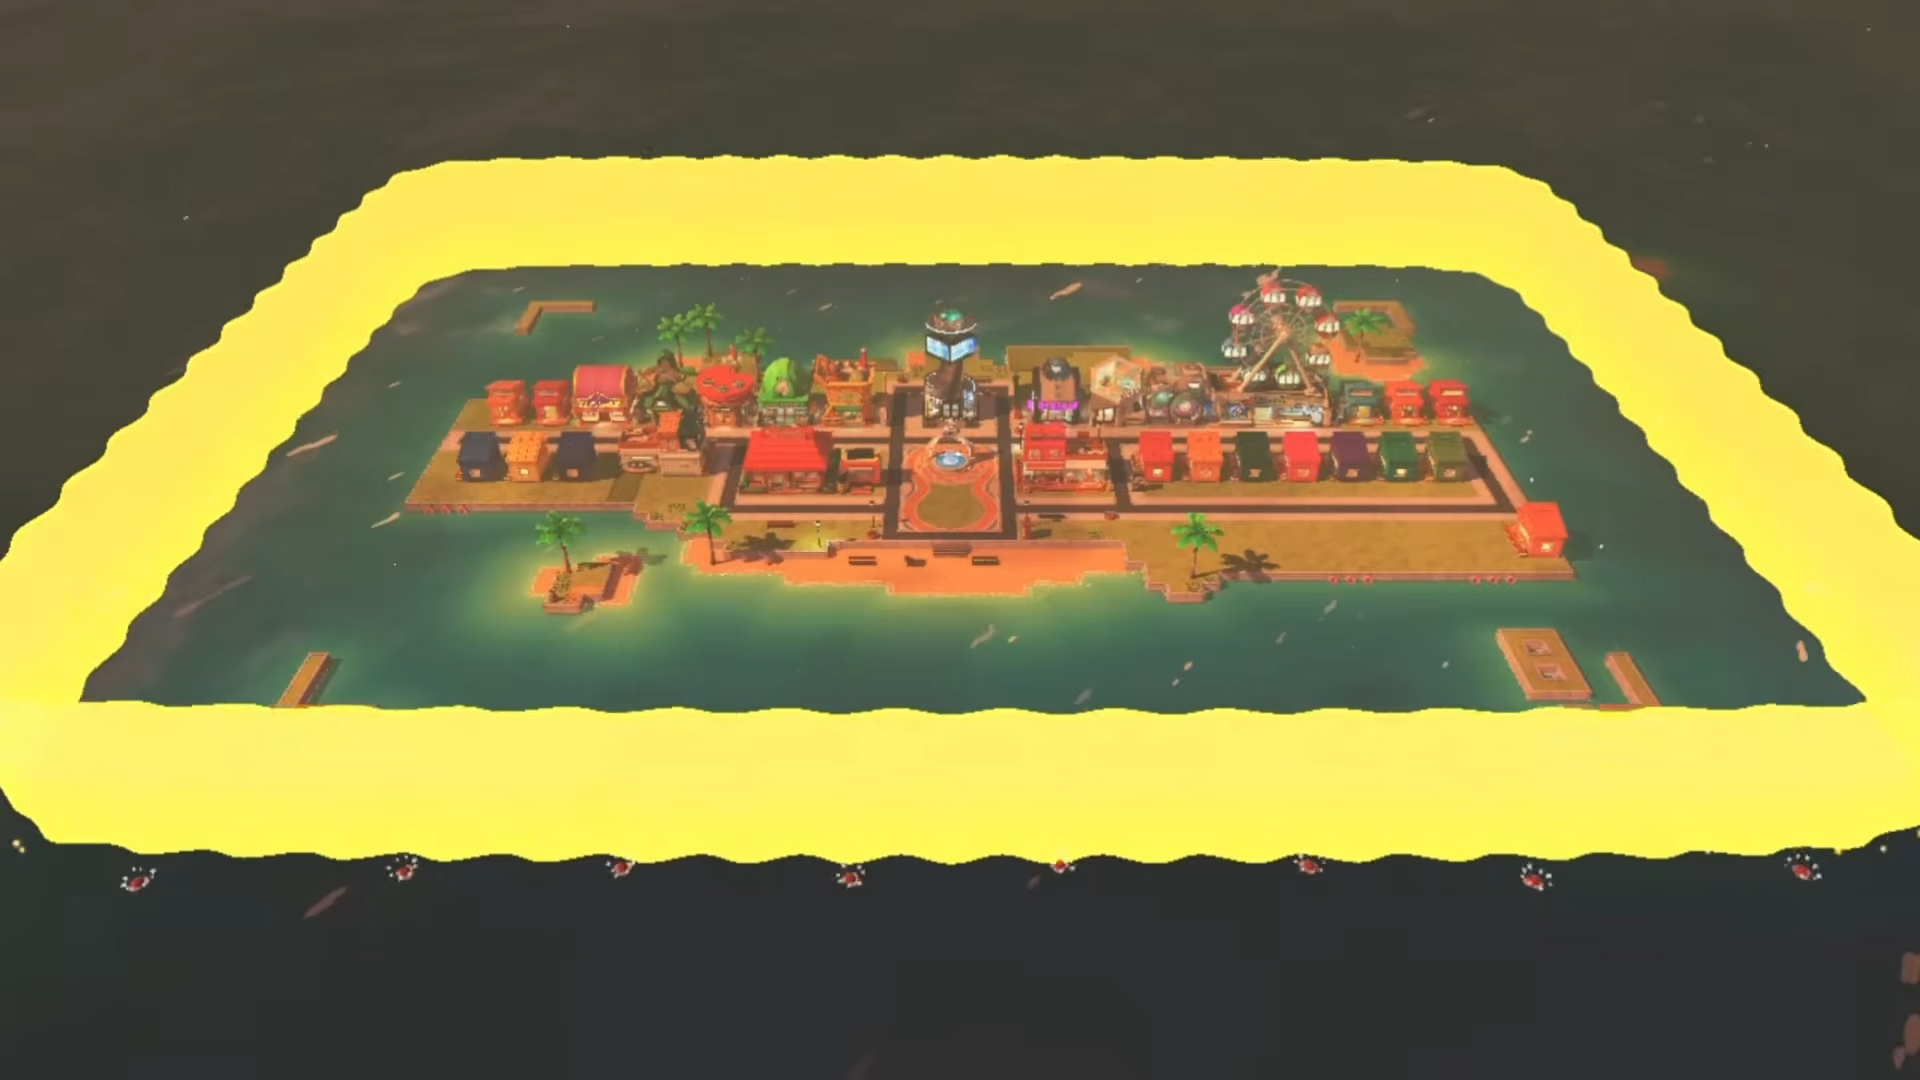
The outer rocks will pull back fully, revealing the maximum playable area in both width and depth.
-
-
Plan your ultimate layout.
-
With the full island unlocked, you can:
-
Create a ring‑shaped outer road or pathway.
-
Build a circular park or event plaza in the center.
-
Place taller buildings or landmarks against the edges for a cinematic skyline.
-
-
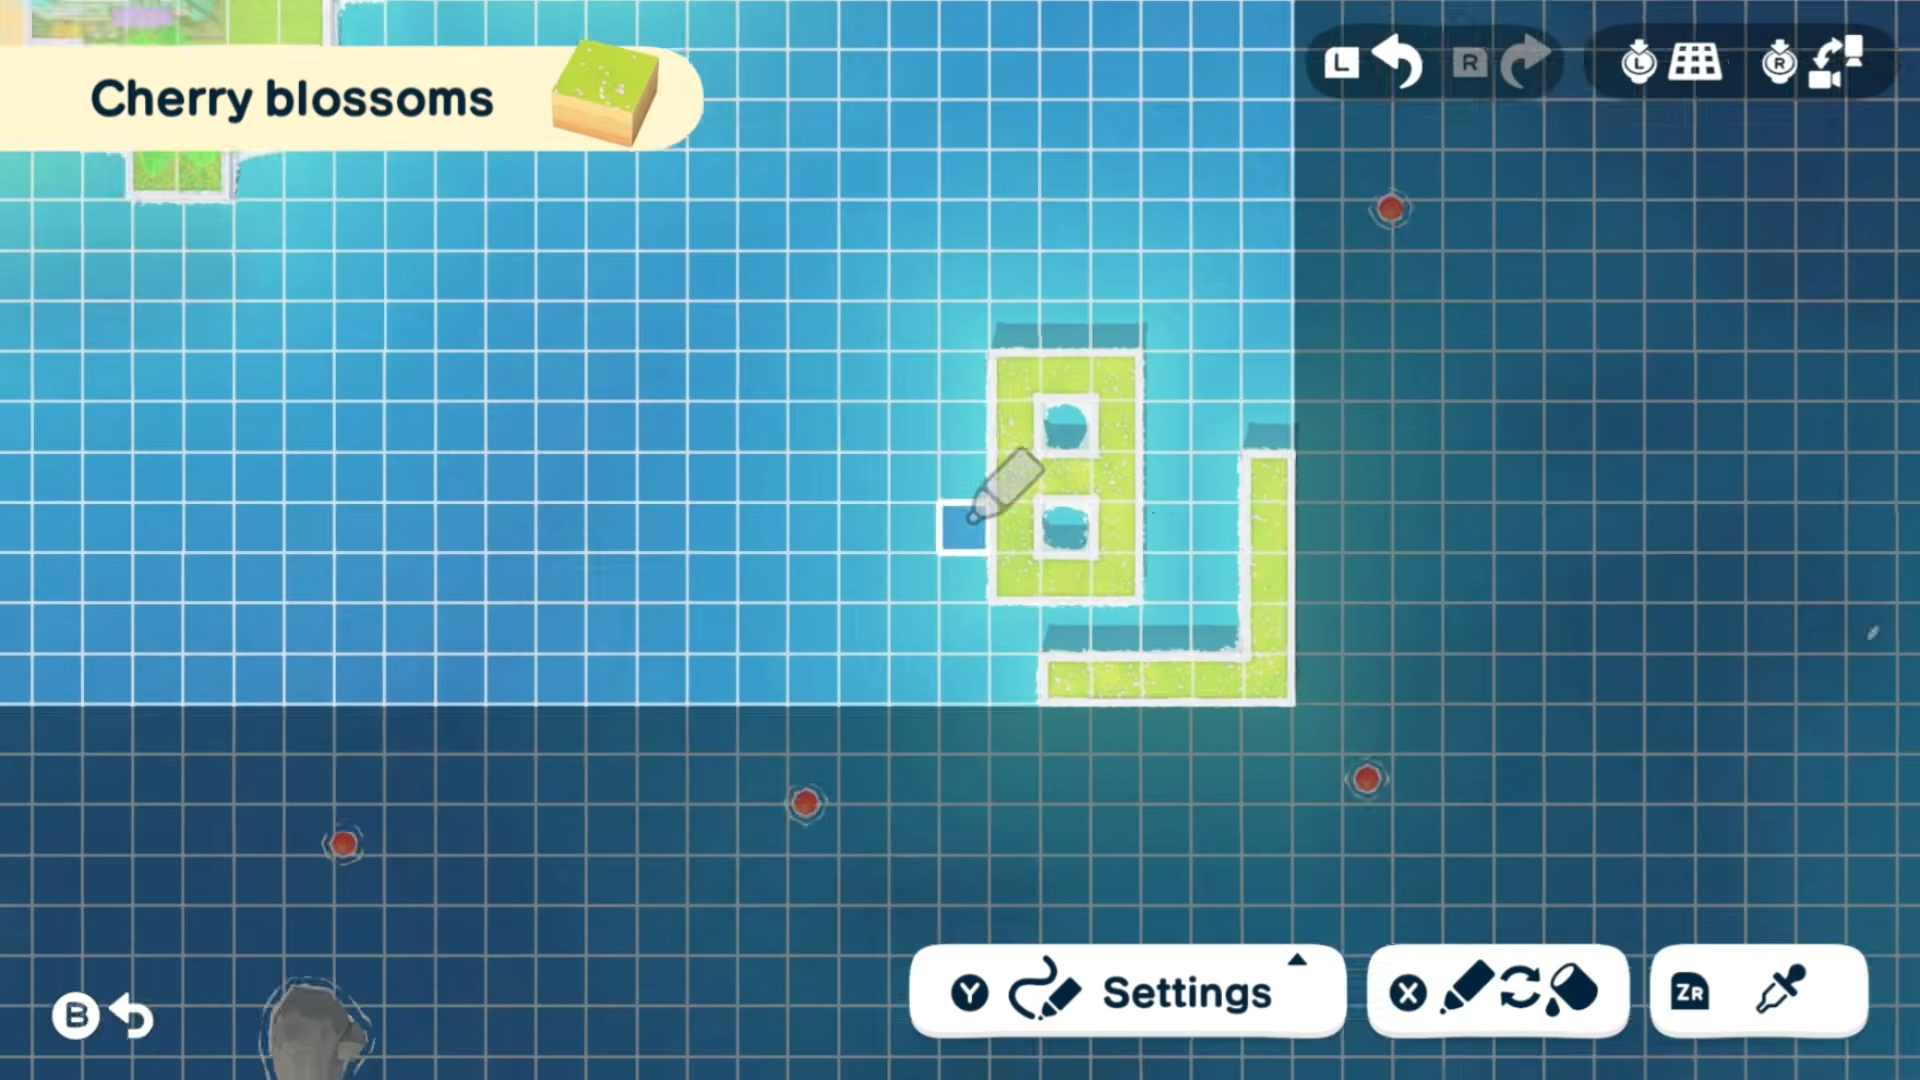
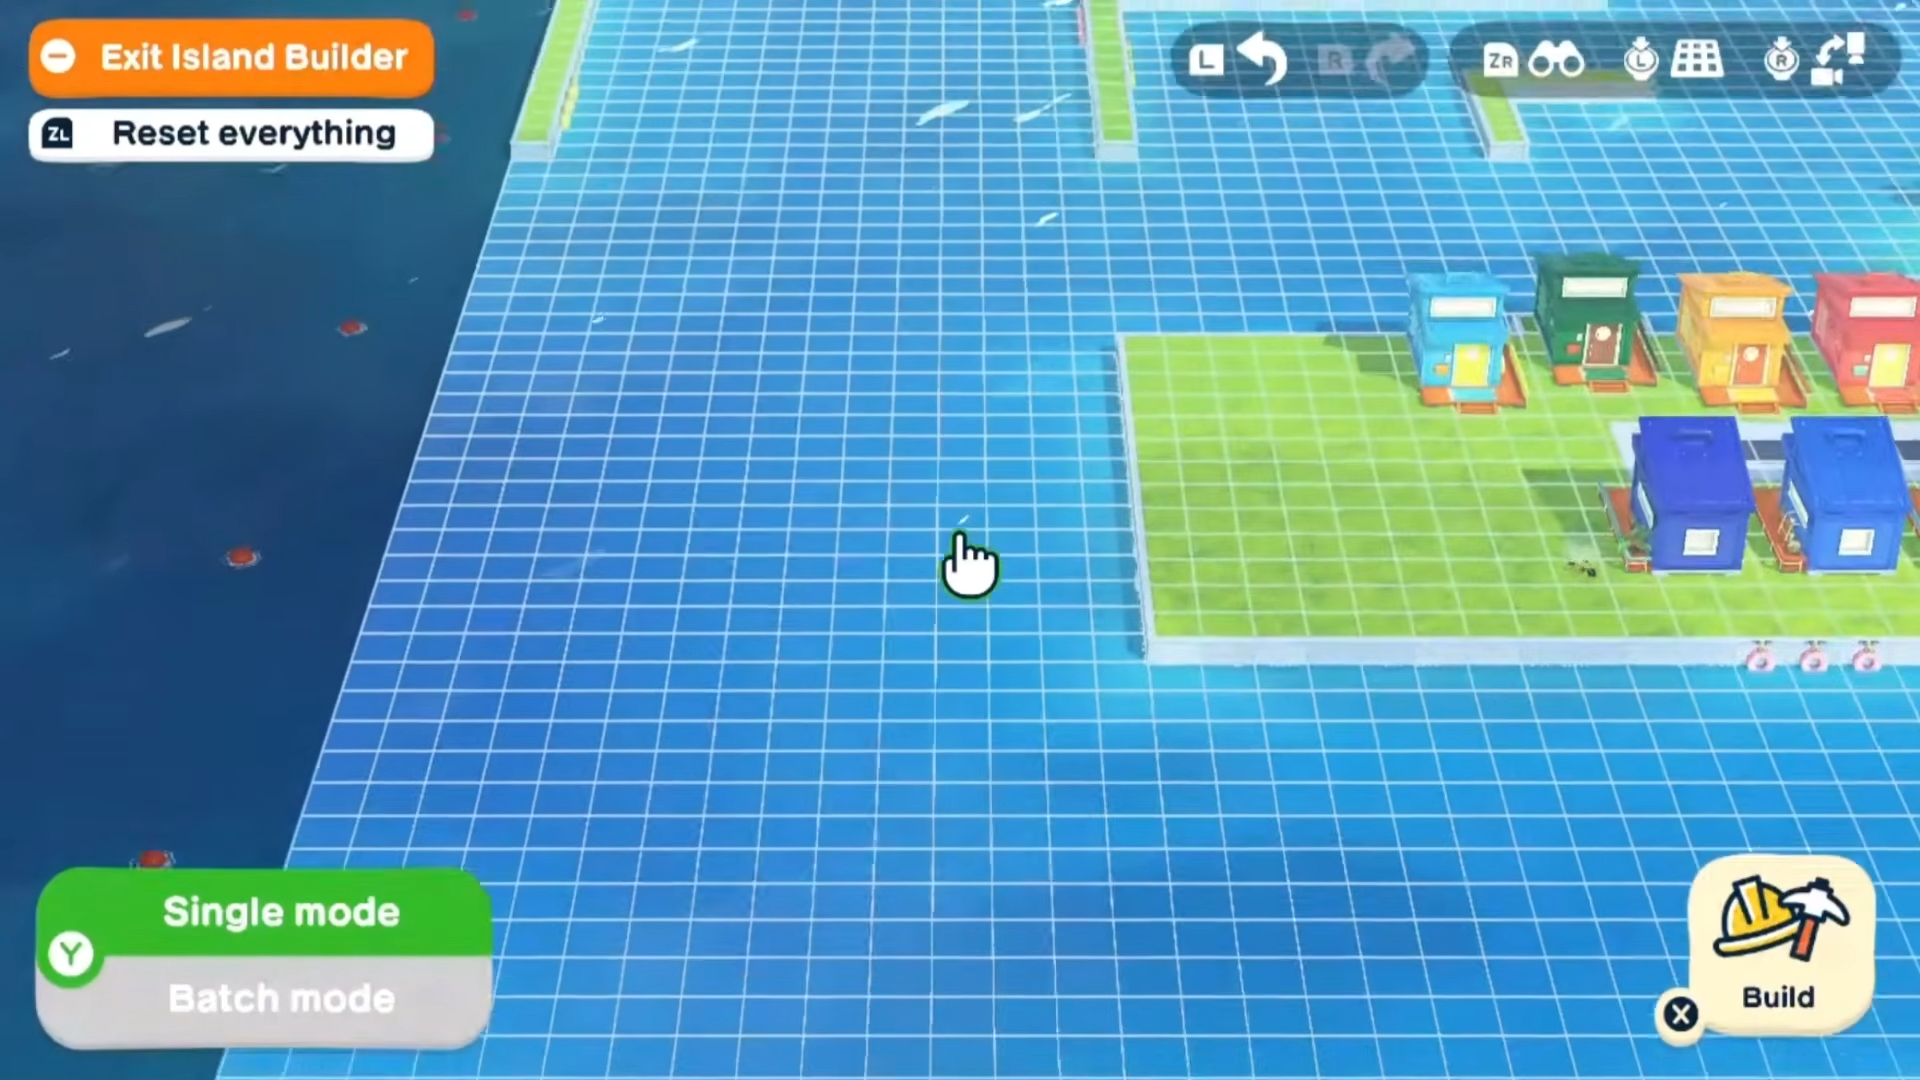
How to use the Island Builder after expansions
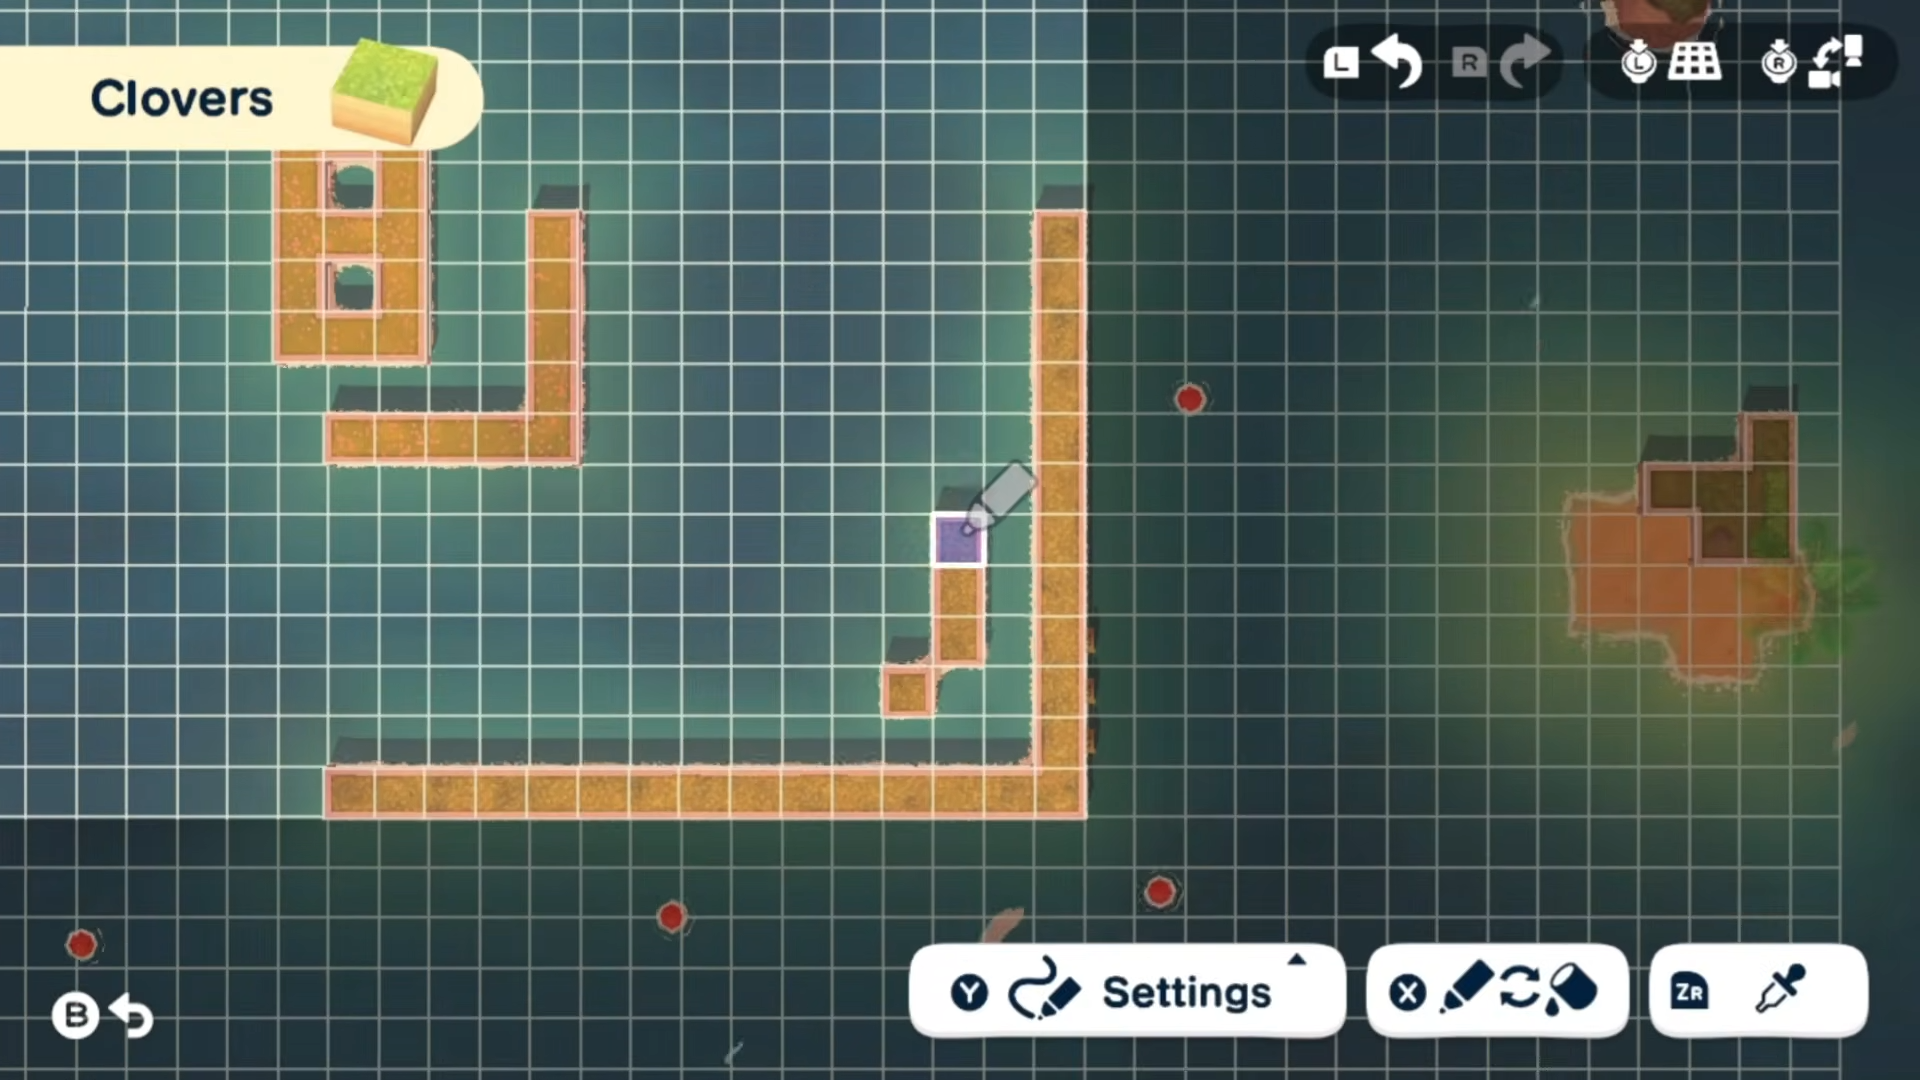
Once an expansion unlocks, you still need to manually place land and features in the new tiles. The Island Builder acts like a terrain editor that lets you control how the island looks at each stage.
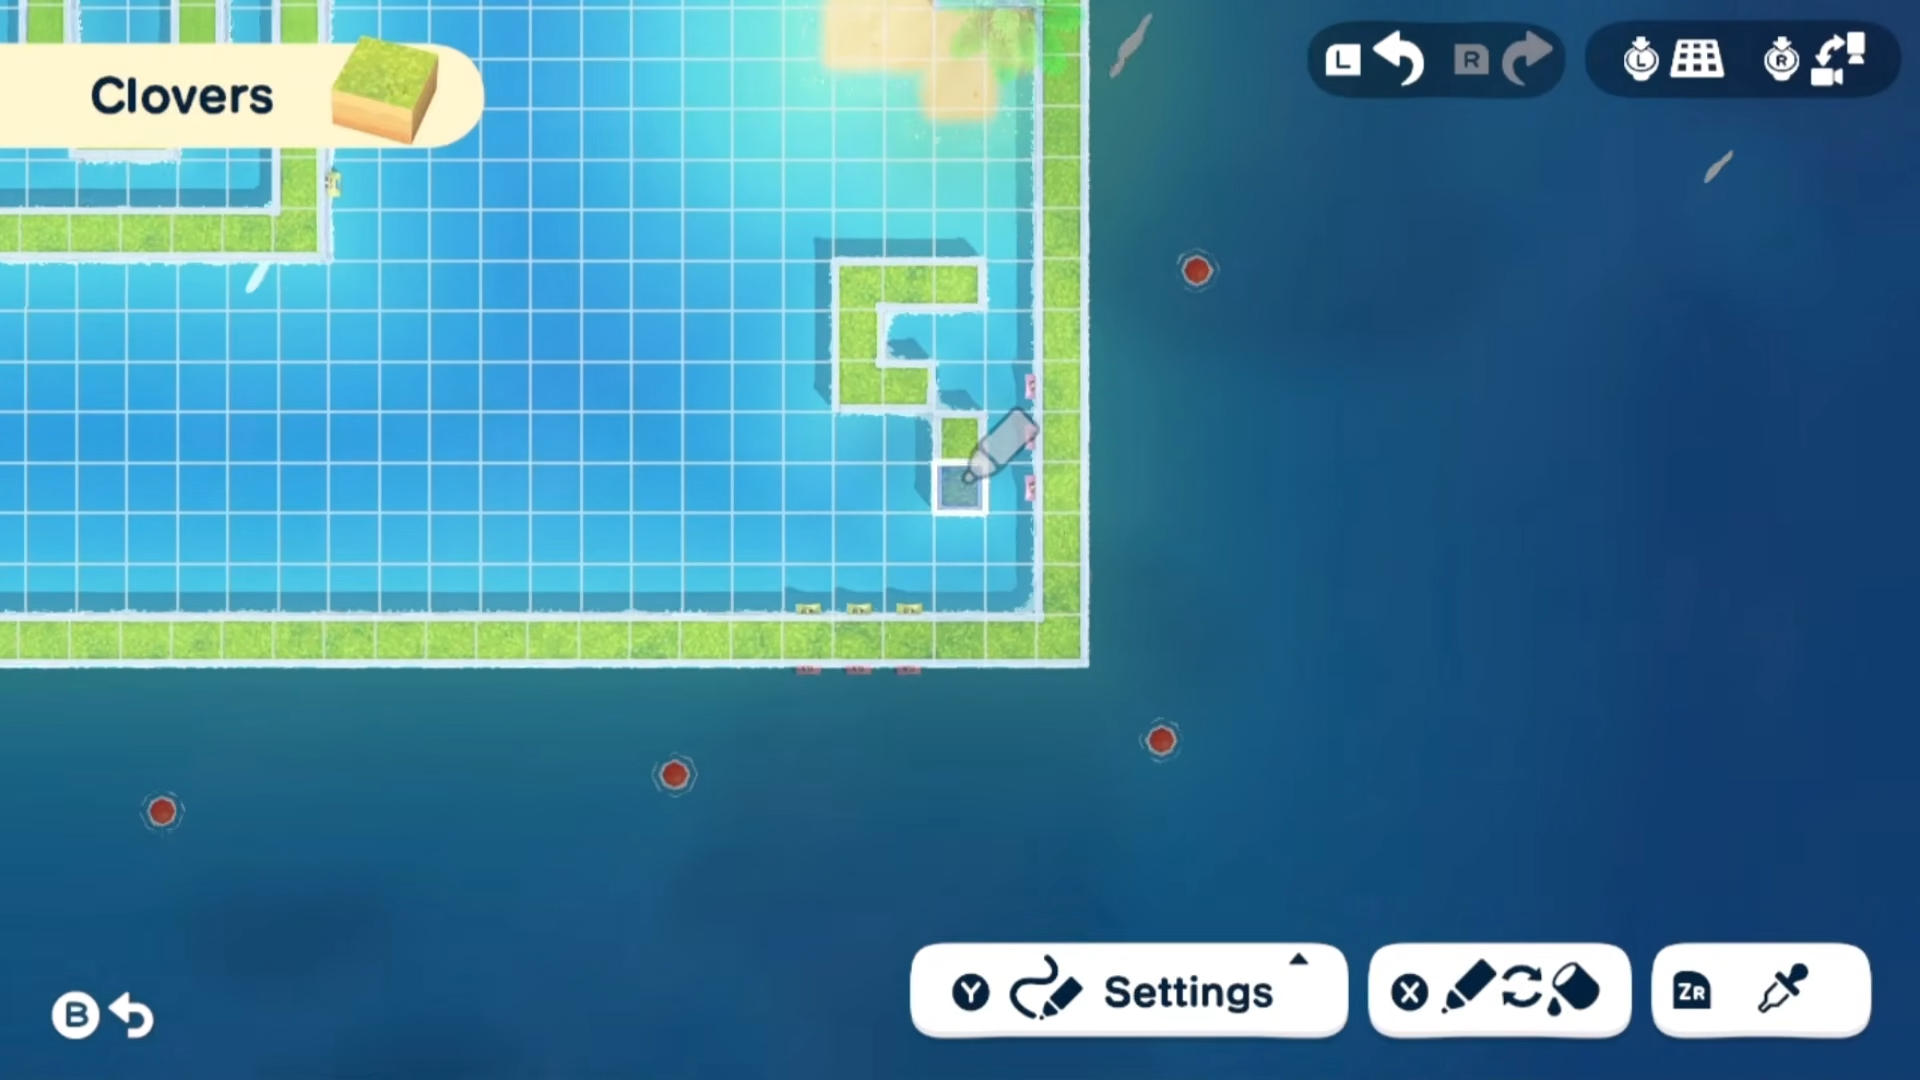
How to reshape land after size increases
-
Open the Island Builder.
-
Press the designated button (typically X) and select Quik Build from the menu.
-
Make sure you are on the “Landscape” tab so you can work with tiles and terrain.
-
-
Select the land type.
-
Choose flat tiles for building space or gentle slopes for decorative borders.
-
Avoid using too many cliffs or water edges unless you want natural barriers.
-
-
Fill the outer ring.
-
Move the cursor to the newly opened tiles around the island’s edge.
-
Hold the place button to lay down land continuously, or mark a rectangular area with a secondary button and then stamp it with landscape.
-
-
Add small features.
-
After laying down basic tiles, add:
-
Pathways leading to the new areas.
-
Trees, rocks, or flower beds to make the expansion feel intentional.
-
-
You can repeat this step for each expansion (8, 20, and 35 Miis) to keep your island neat and functional at every size.

Quick checklist to unlock all island expansions
To systematically reach every expansion without surprises, follow this checklist:
-
Add 6 Miis to unlock Quik Build and the Island Builder.
-
Add 2 more Miis for a total of 8 and trigger the first expansion.
-
Keep growing to 20 Miis and wait for the second ocean‑development announcement.
-
Push to 35 Miis and let the final expansion open the full island.
-
Reshape each new ring with the Island Builder to lock in your layout.
As long as you keep Miis arriving and interacting normally, the game will recognize your progress and unlock each stage automatically. The only “hard” requirement is the resident count; everything else is just good‑old‑fashioned island management and socializing.
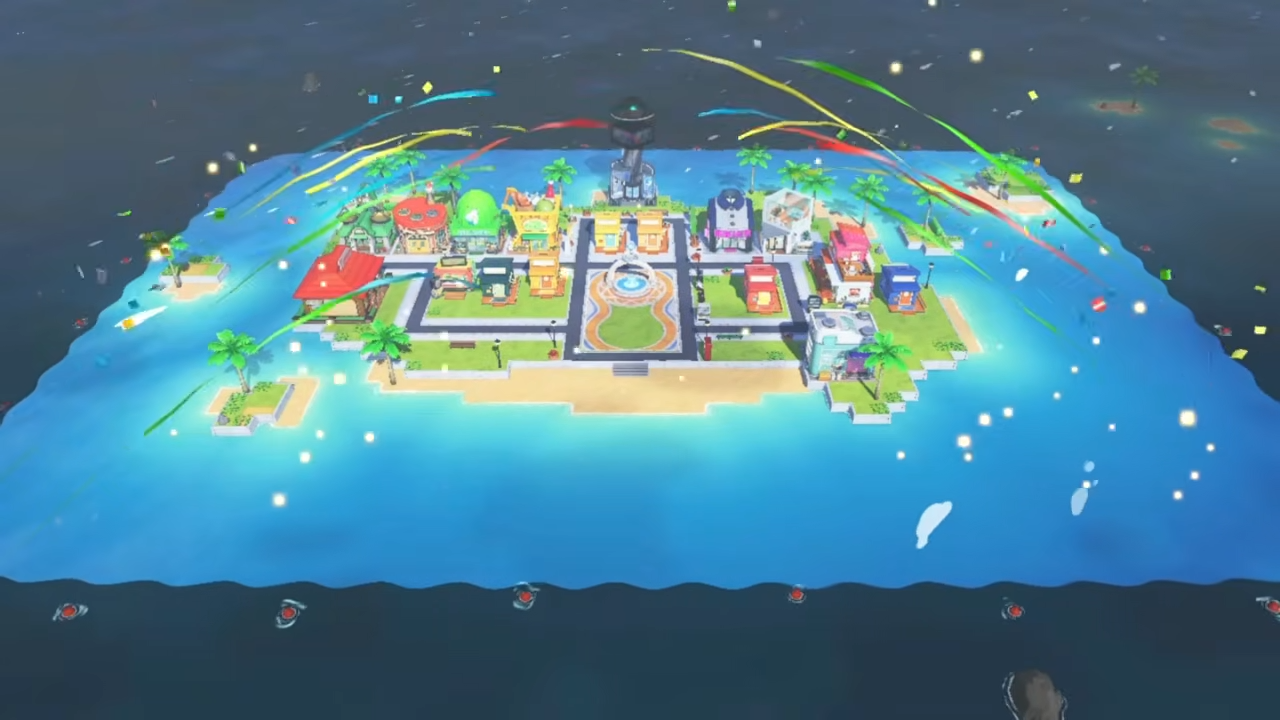
Plan your ultimate island layout
Once every expansion is unlocked and your island is fully revealed, you can treat it like a finished canvas. Instead of thinking of the expansions as mere milestones, use them as a way to separate districts and themes.
-
Inner ring: Keep the original village core with shops, restaurant, and the Wishing Fountain.
-
Middle ring: Use the second expansion for housing complexes, parks, and event venues.
-
Outer ring: Turn the final expansion into scenic borders, coastlines, or quiet nature spots.
This tiered setup lets you navigate the island easily while still giving each area a distinct personality. With all expansions unlocked, you essentially control every tile between the village and the open sea, so your final layout becomes the true signature of your Tomodachi island.