What to know
- The Abiosis Dead Filament true final boss is a cinematic turret sequence with strict timing on cannon shots and simple movement checks.
- You must charge a massive cannon multiple times, fire when prompted, and survive Dead Filament’s last lunges on the way to the shuttle.
- Success ends the threat of Dead Filament following Hugh and Diana to Earth and leads directly into the cargo shuttle escape.
- The fight is more about reading prompts, staying calm, and aiming cleanly than about complex loadouts or advanced combat tech.
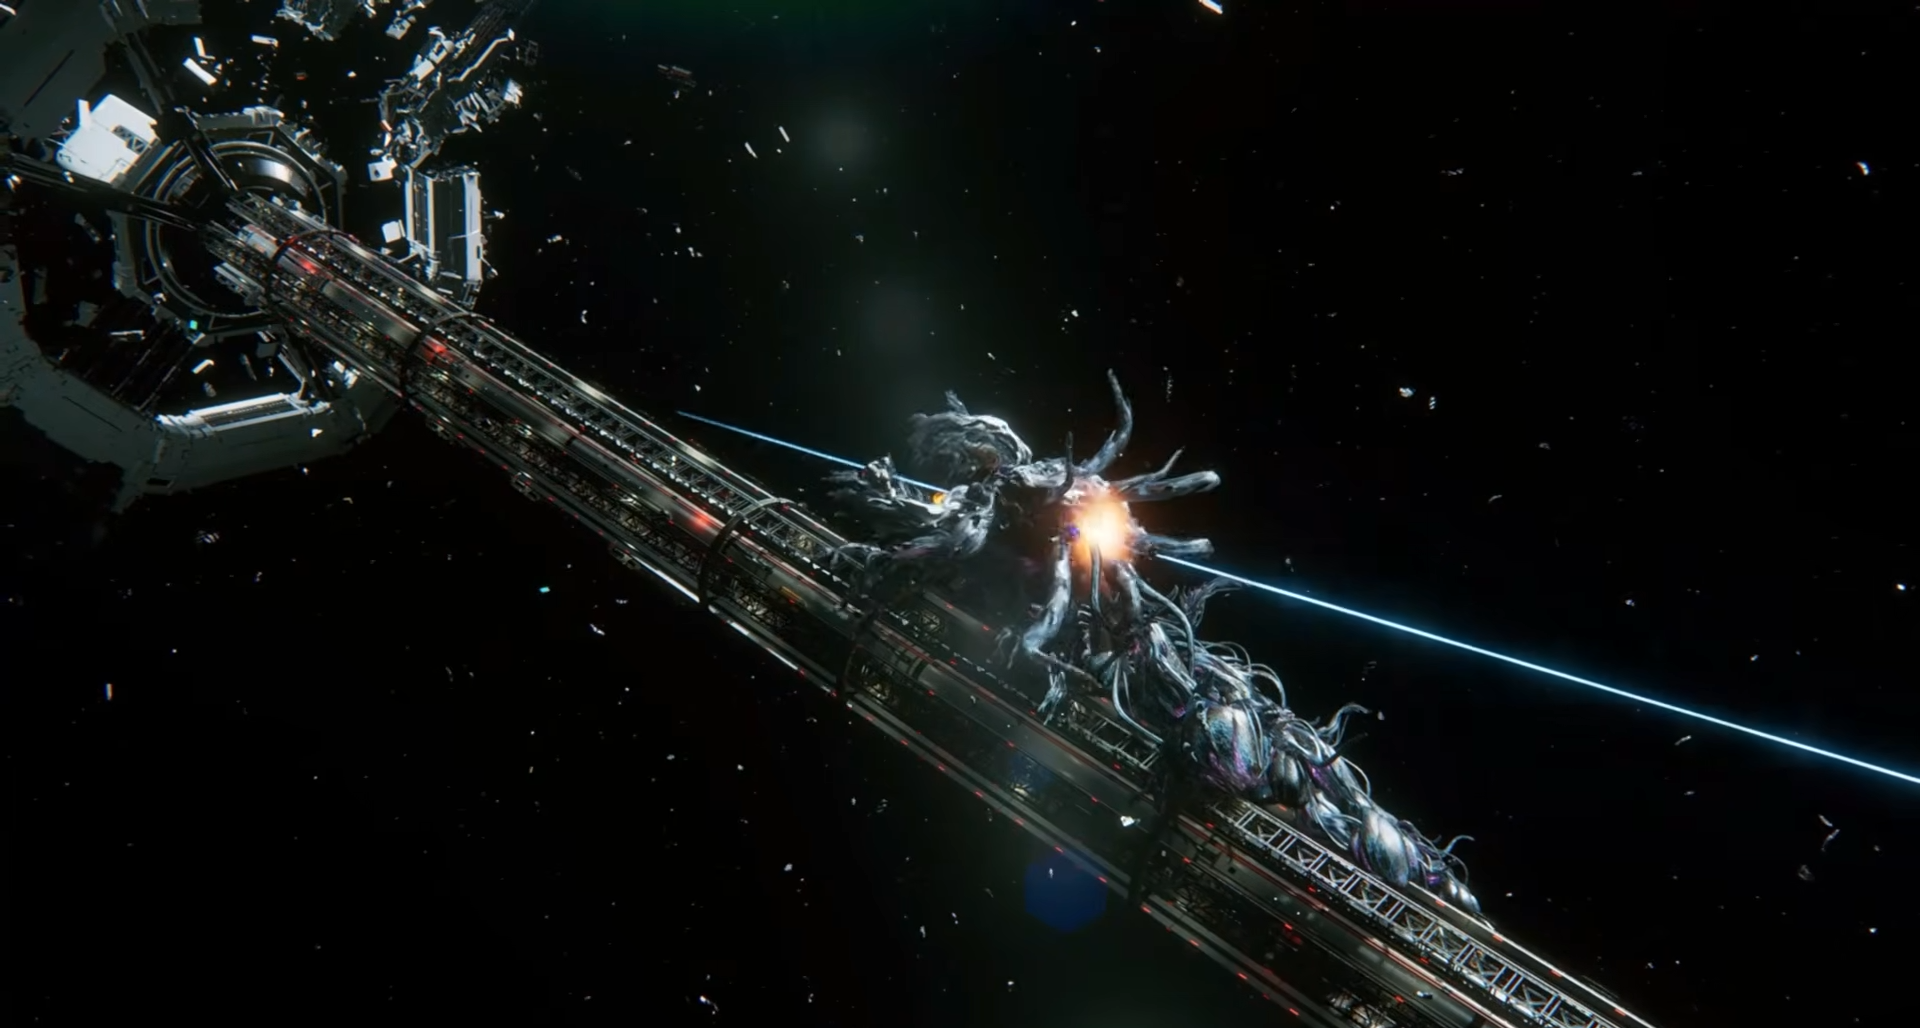
In Pragmata, just before you board a path to Earth, Dead Filament re-forms and chases Hugh and Diana, forcing one last rail-mounted cannon sequence to erase it once and for all. This guide breaks down that closing stretch – from the moment the mass returns to the final shot – so you can clear it consistently without guesswork.
Dead Filament encounter details
| Aspect | Details |
|---|---|
| Story point | Post-final boss, during the push to escape the lunar base and reach Earth. |
| Location | Exterior rail platform and approach route to the shuttle, with Dead Filament pursuing. |
| Encounter type | On-rails turret/cannon sequence plus light movement and timing. |
| Core objective | Fully charge the cannon multiple times and fire clean shots to disperse Dead Filament. |
| Main failure risks | Missing cannon shots, hesitating on “Shoot!” prompts, or taking too much damage during lunges. |
| Difficulty levers | Your familiarity with aiming while under pressure and reading visual/audio cues from Dead Filament. |
| Rewards | Story completion, associated endgame trophy, and resolution of the Dead Filament threat. |
Location of the Dead Filament true final battle
This encounter unfolds on the exposed rail platform leading toward the tower-top transports, right after Hugh and Diana realize Dead Filament is surging back toward them.
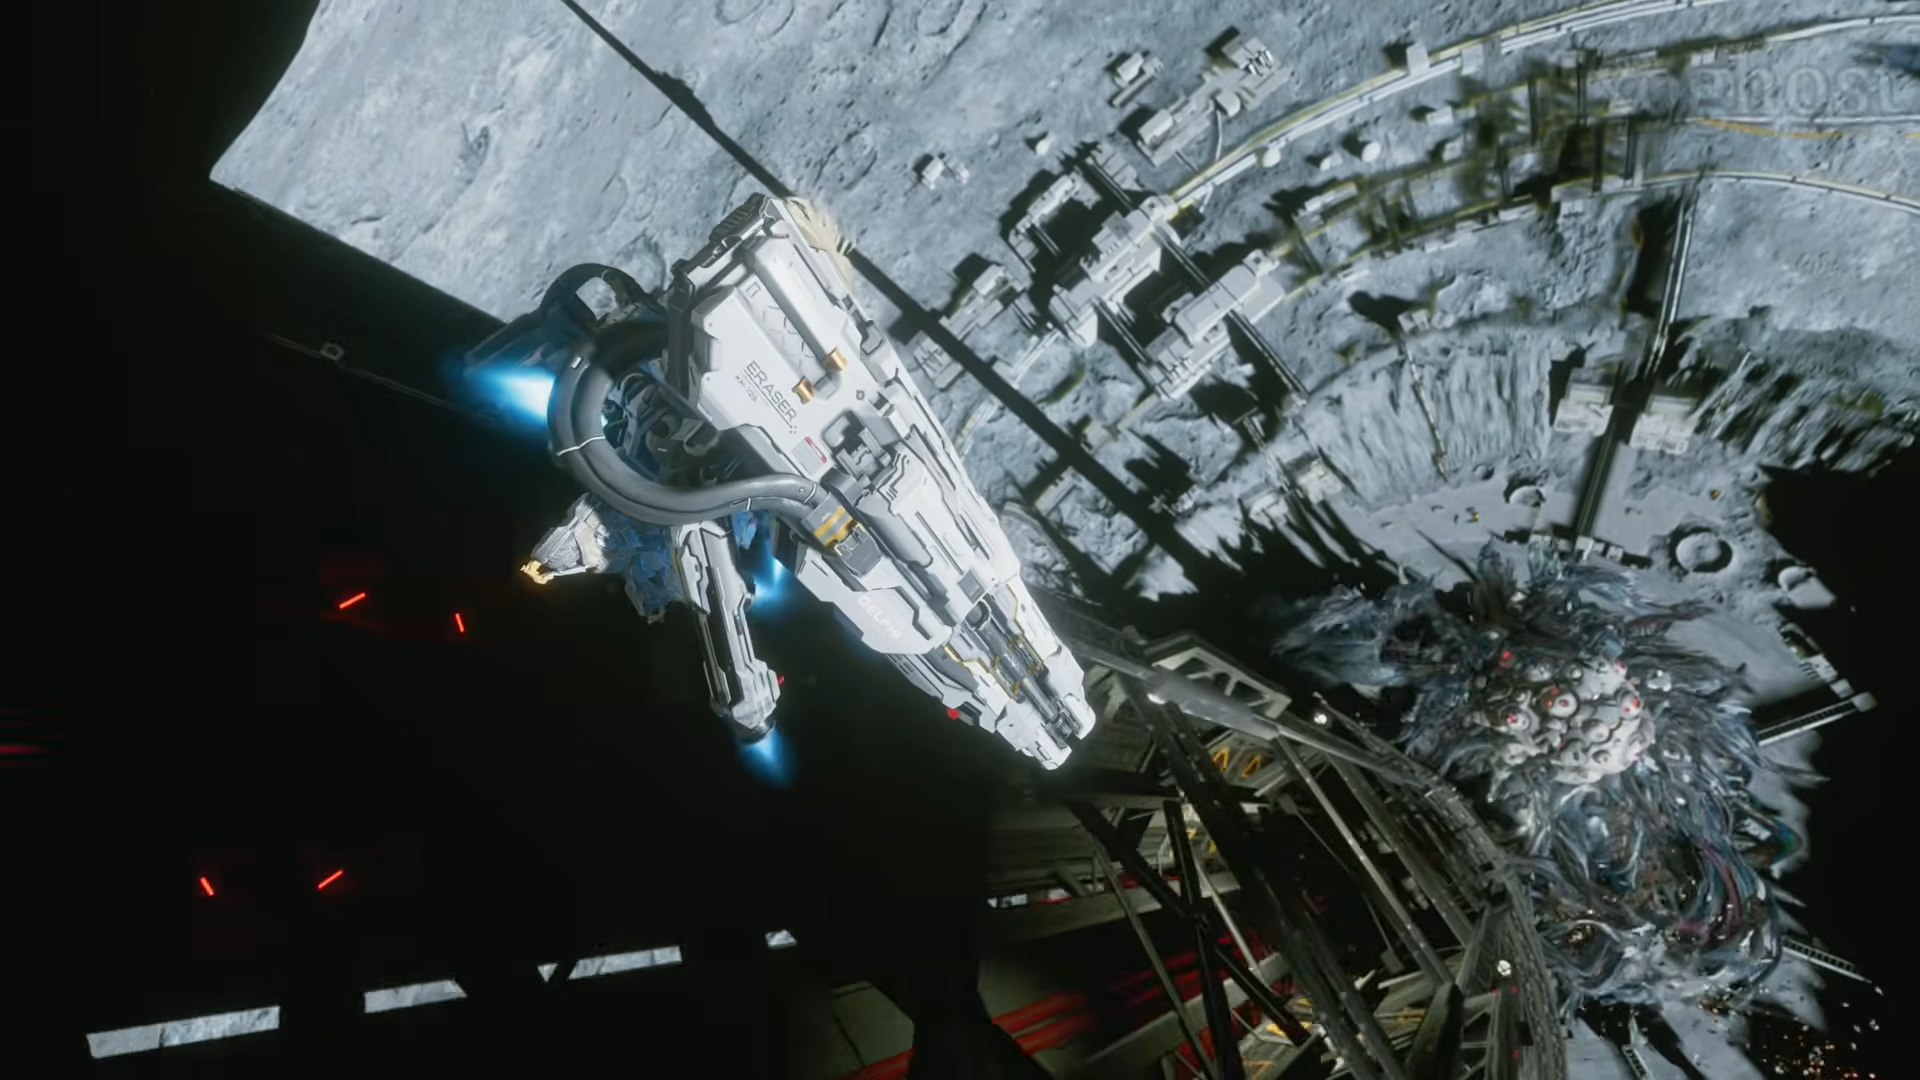
You are effectively locked into a linear escape path – cannon emplacement, rail ride, and final approach to the shuttle – with the Dead Filament mass filling most of the background as it chases and attacks.
How to prepare for the Abiosis Dead Filament encounter
By the time you reach this sequence, you have already cleared the core bosses and seen what Dead Filament can do across the base, from red crystal growths to large-scale corruption. Gear choices and hacking builds matter far less here than in earlier fights; this is essentially a turret and timing trial wrapped in a story climax.
Still, your earlier preparation helps in subtle ways:
- Being comfortable with Pragmata’s aiming and reticle behavior makes the cannon phases far more forgiving.
- Familiarity with reading enemy tells – when an opening is coming, when a big attack is charging – makes it easier to anticipate Dead Filament’s lunges during this chase.
- General survivability upgrades you picked up for previous sectors reduce the chance of being overwhelmed by any residual damage in this last stretch.
Mentally, treat this as a focused sequence: you are not juggling multiple weapons and hacks simultaneously; you are mostly aiming the cannon, waiting for charge calls, and responding quickly when the game tells you to fire or to brace.
How to complete the Dead Filament cannon sequence
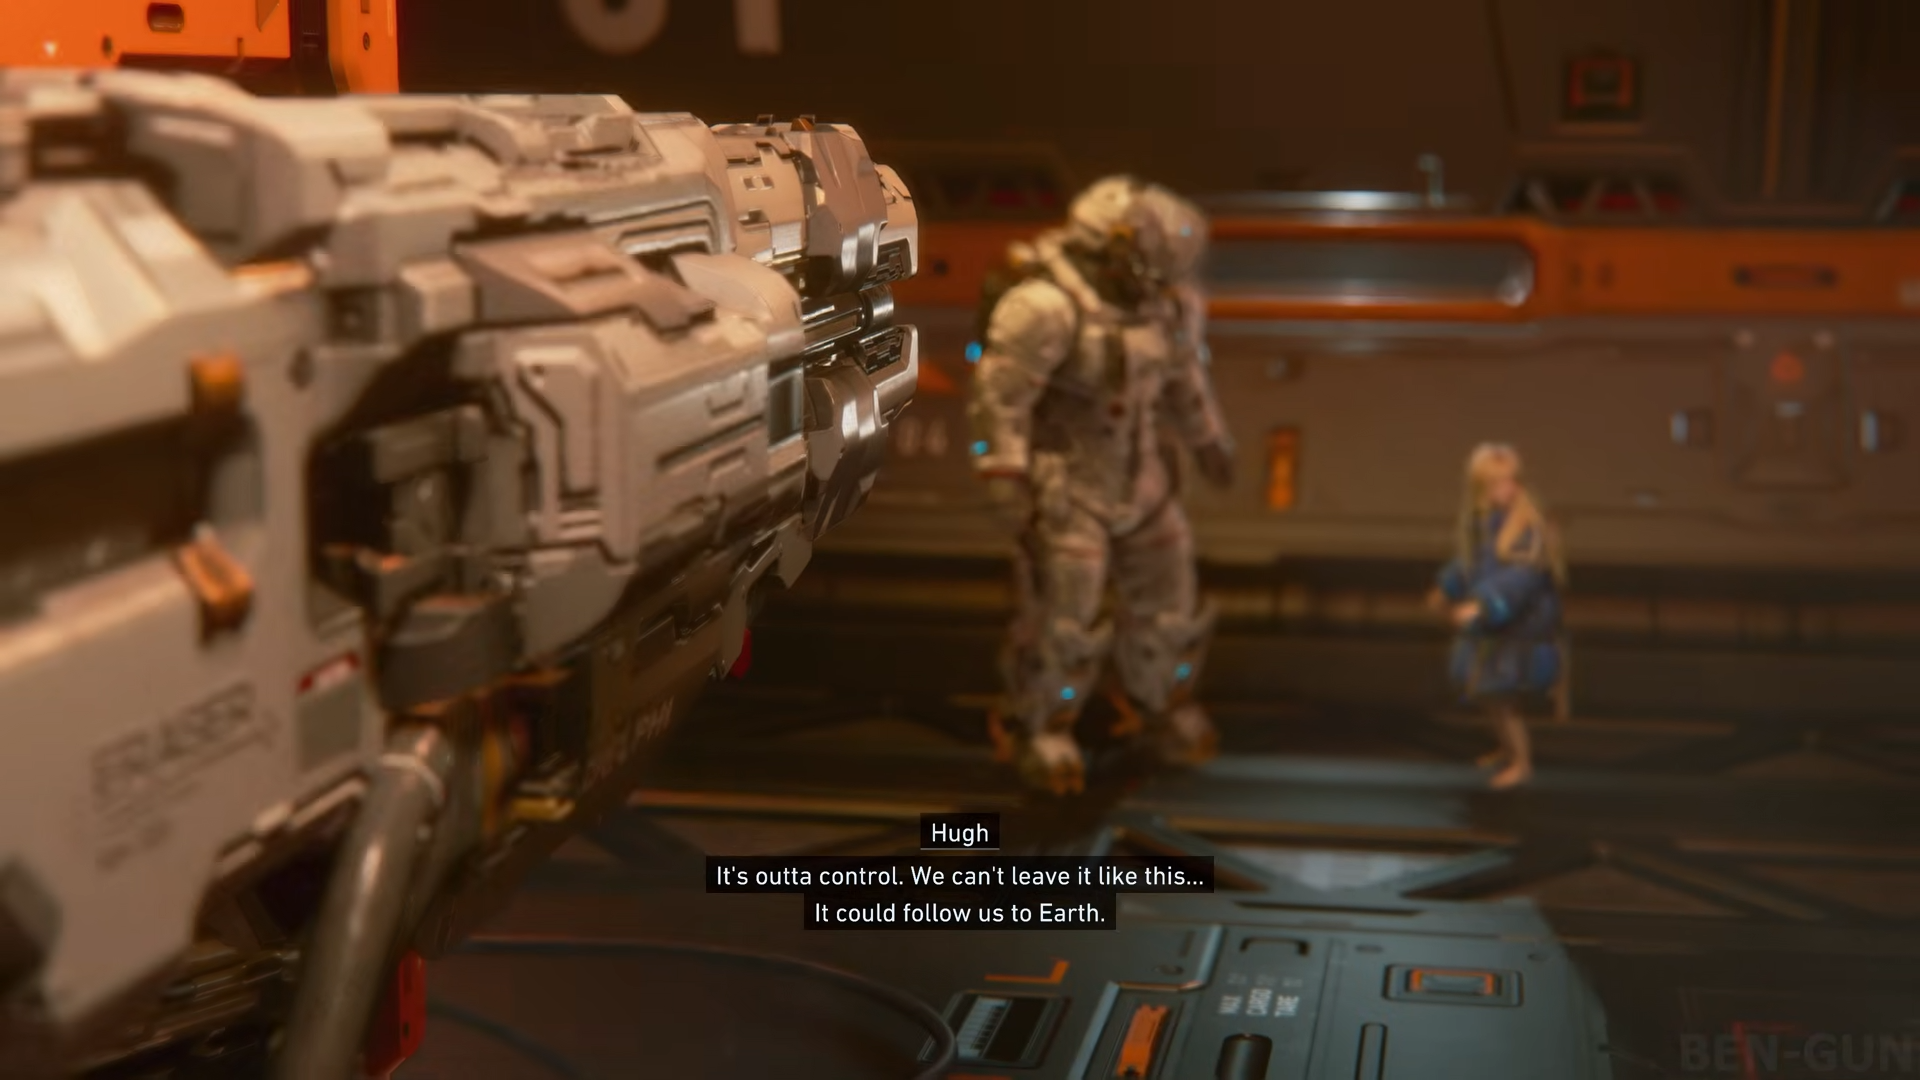
Once Hugh and Diana spot Dead Filament returning, they quickly agree that they cannot leave it unchecked because it might follow them to Earth. A heavy cannon is brought online as their last resort, and the encounter shifts into a turret-style sequence anchored on charging and firing this weapon.
Step 1: Recognize the opening phase
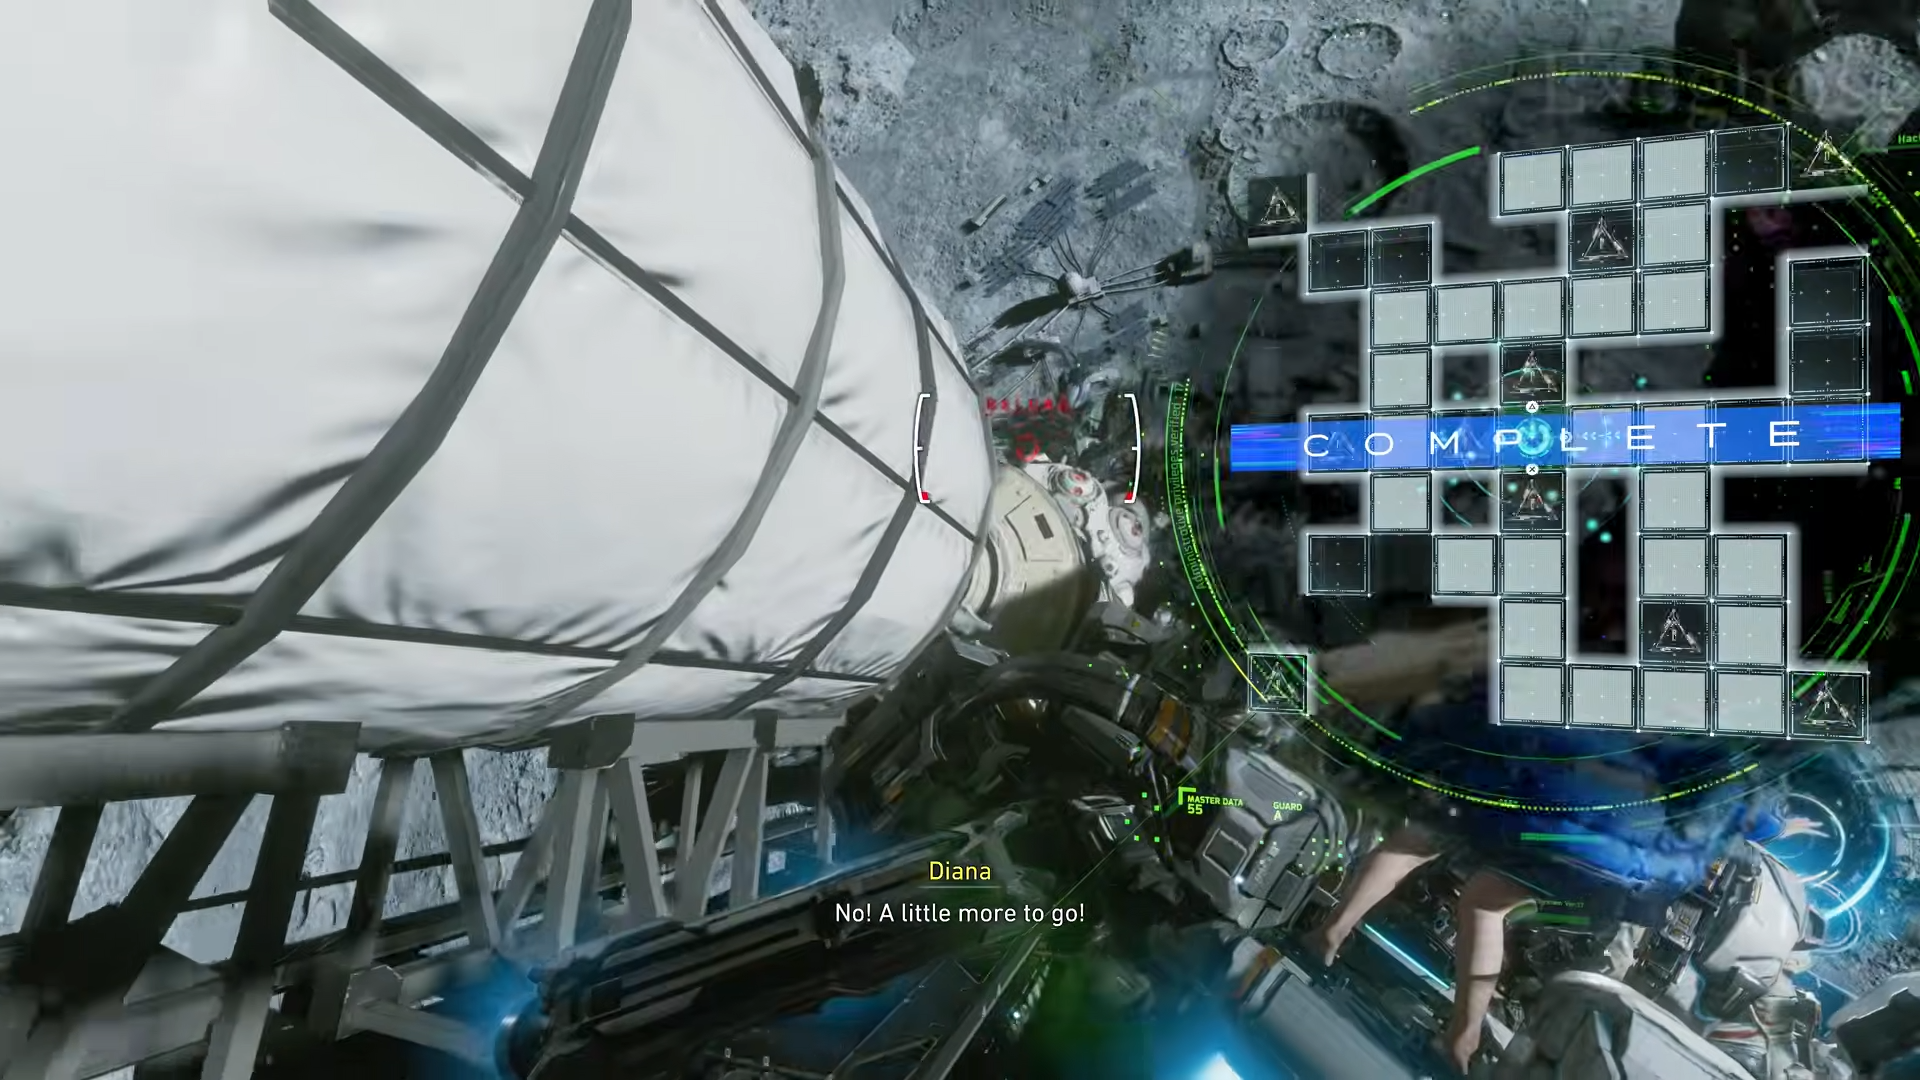
The sequence begins with Hugh deciding “Maybe this cannon will do the trick,” while Diana commits to charging it up. At this stage, Dead Filament hangs at mid-range, visually imposing but not yet performing its most aggressive moves, giving you time to understand the rhythm: Diana charges, you aim, and you wait for the “Ready” call.
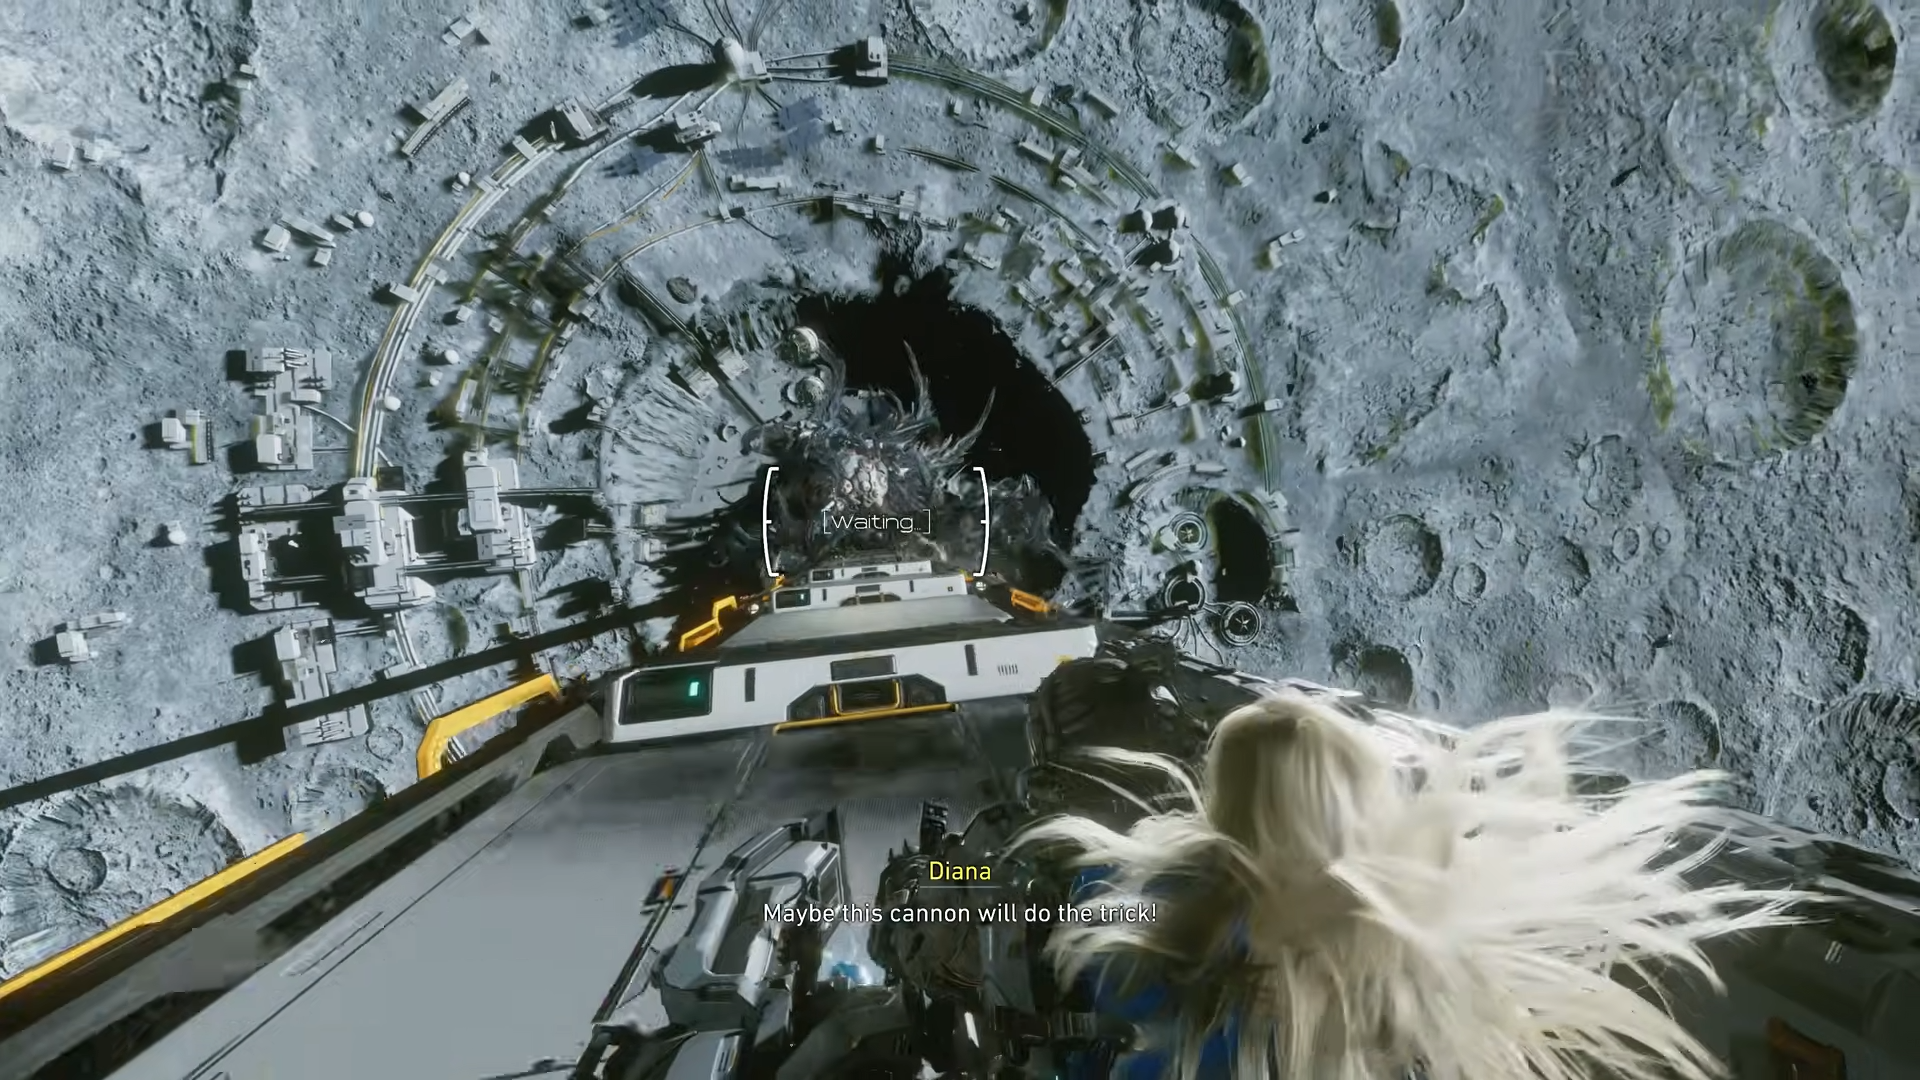
The key here is patience. The cannon is not instant-fire; you are waiting for explicit go-ahead dialog and the moment when its charge completes. Resist the urge to spam firing or overcorrect your aim – Dead Filament is large enough that clean, centered shots are easier than they look.
Step 2: Hold your nerve while the cannon charges
As Diana charges, she repeatedly updates you that it is “not yet” ready and needs “a little more to go,” which telegraphs that you should stay focused but not expect an immediate shot.

During this time Dead Filament pushes closer and the sequence feels like it is tightening, yet the actual mechanic remains simple: keep the reticle near the center of its mass and be ready to fire as soon as you get the order.
Because this is a scripted climax, the encounter is tuned so that most failures come from panicking or firing late rather than from subtle mechanical tricks. Listen for Diana’s confirmation that the cannon is ready, and prepare to respond instantly.
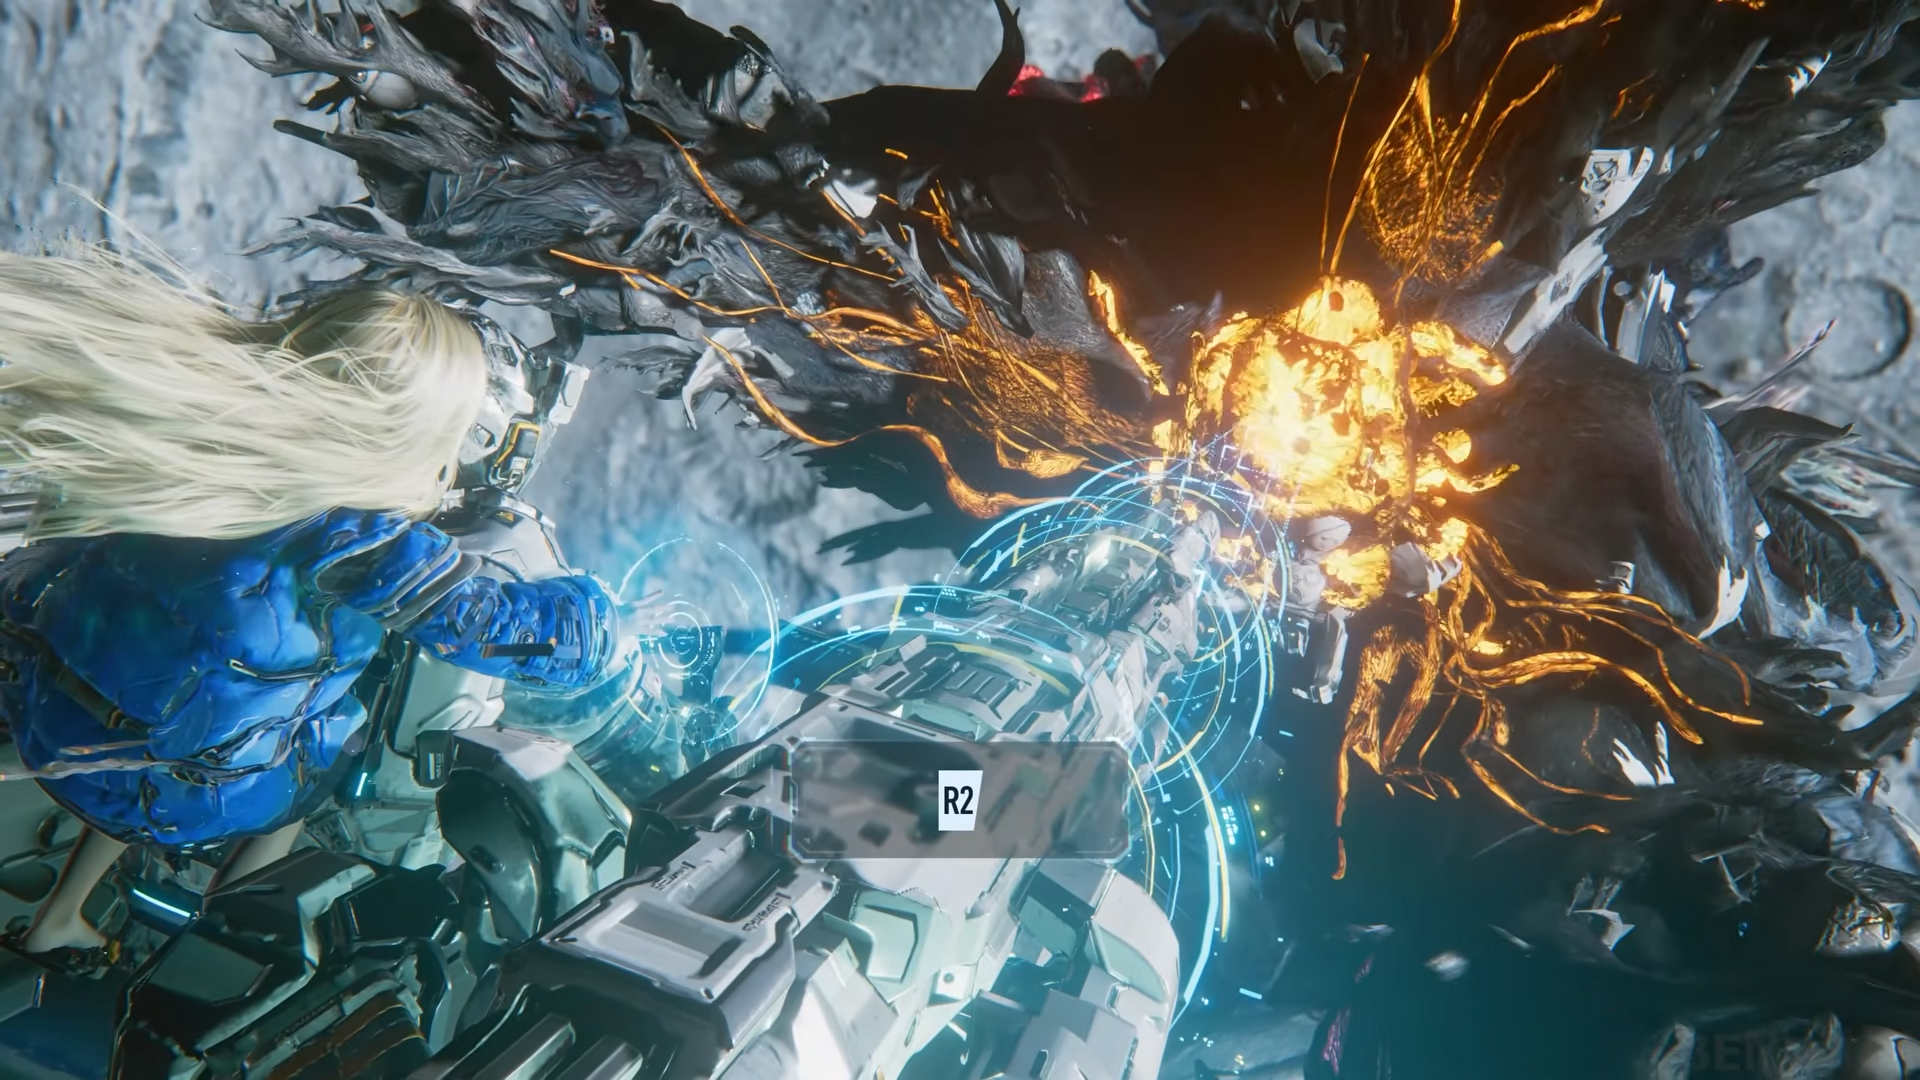
Step 3: Fire decisively on the “Shoot!” prompts
When Diana finally calls “Ready, shoot,” you have a brief window to pull the trigger and land the shot. A solid hit leads Hugh to exclaim “Got you! This is insane,” reinforcing that you scored correctly and that you are progressing the phase.
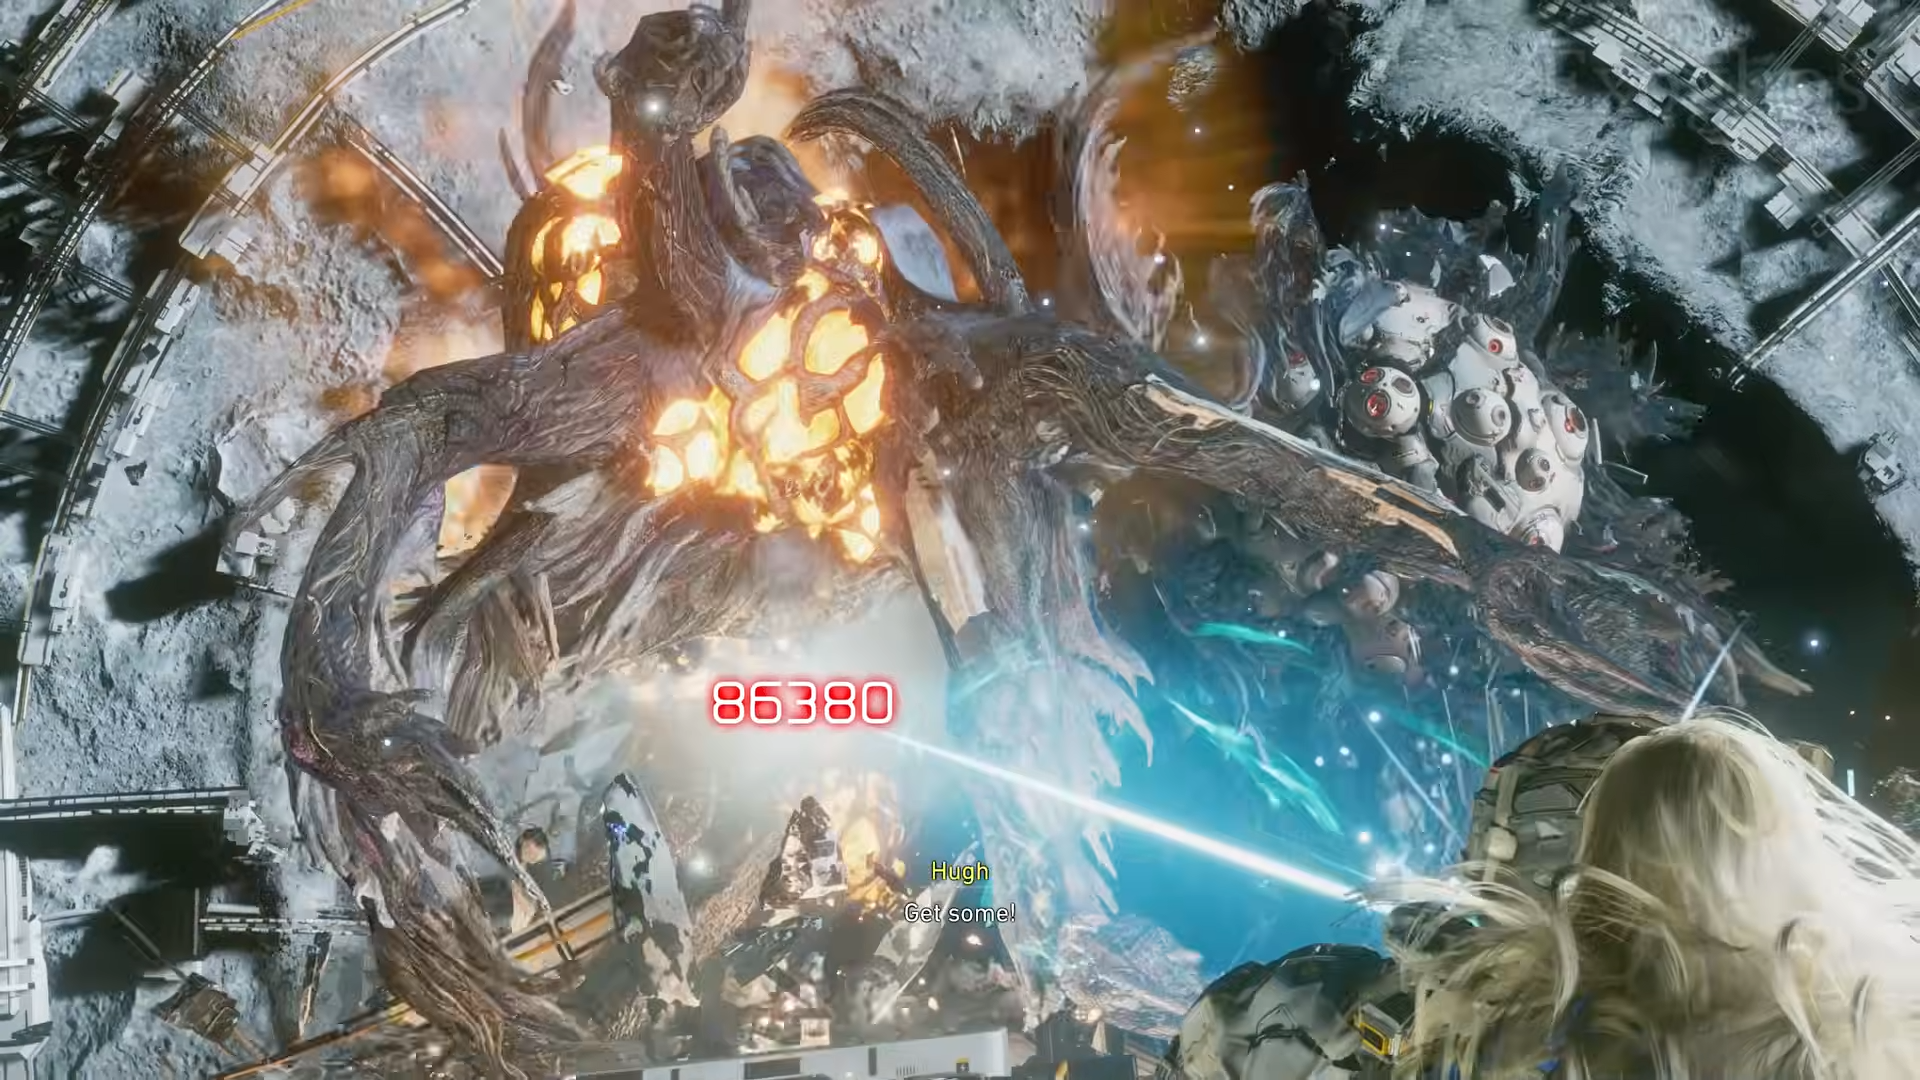
Missing at this point risks Dead Filament closing the gap or forcing a restart of the sequence, depending on your difficulty and how forgiving your run is. To avoid this, keep your crosshairs roughly centered during the entire charge so that when the prompt appears you only need a small correction before firing. The boss’s size and position help you – you are not sniping a tiny weak point here.
Step 4: Repeat the charge-and-fire cycle under more pressure
After your first successful shot, the encounter escalates rather than ending immediately, with the game explicitly stating “This isn’t over yet” and Dead Filament “doing something” new. This signals that you are entering a second, tighter loop of the same core mechanic: charging, aiming, and firing, but with greater visual chaos and a stronger sense that a single mistake could cost you the run.
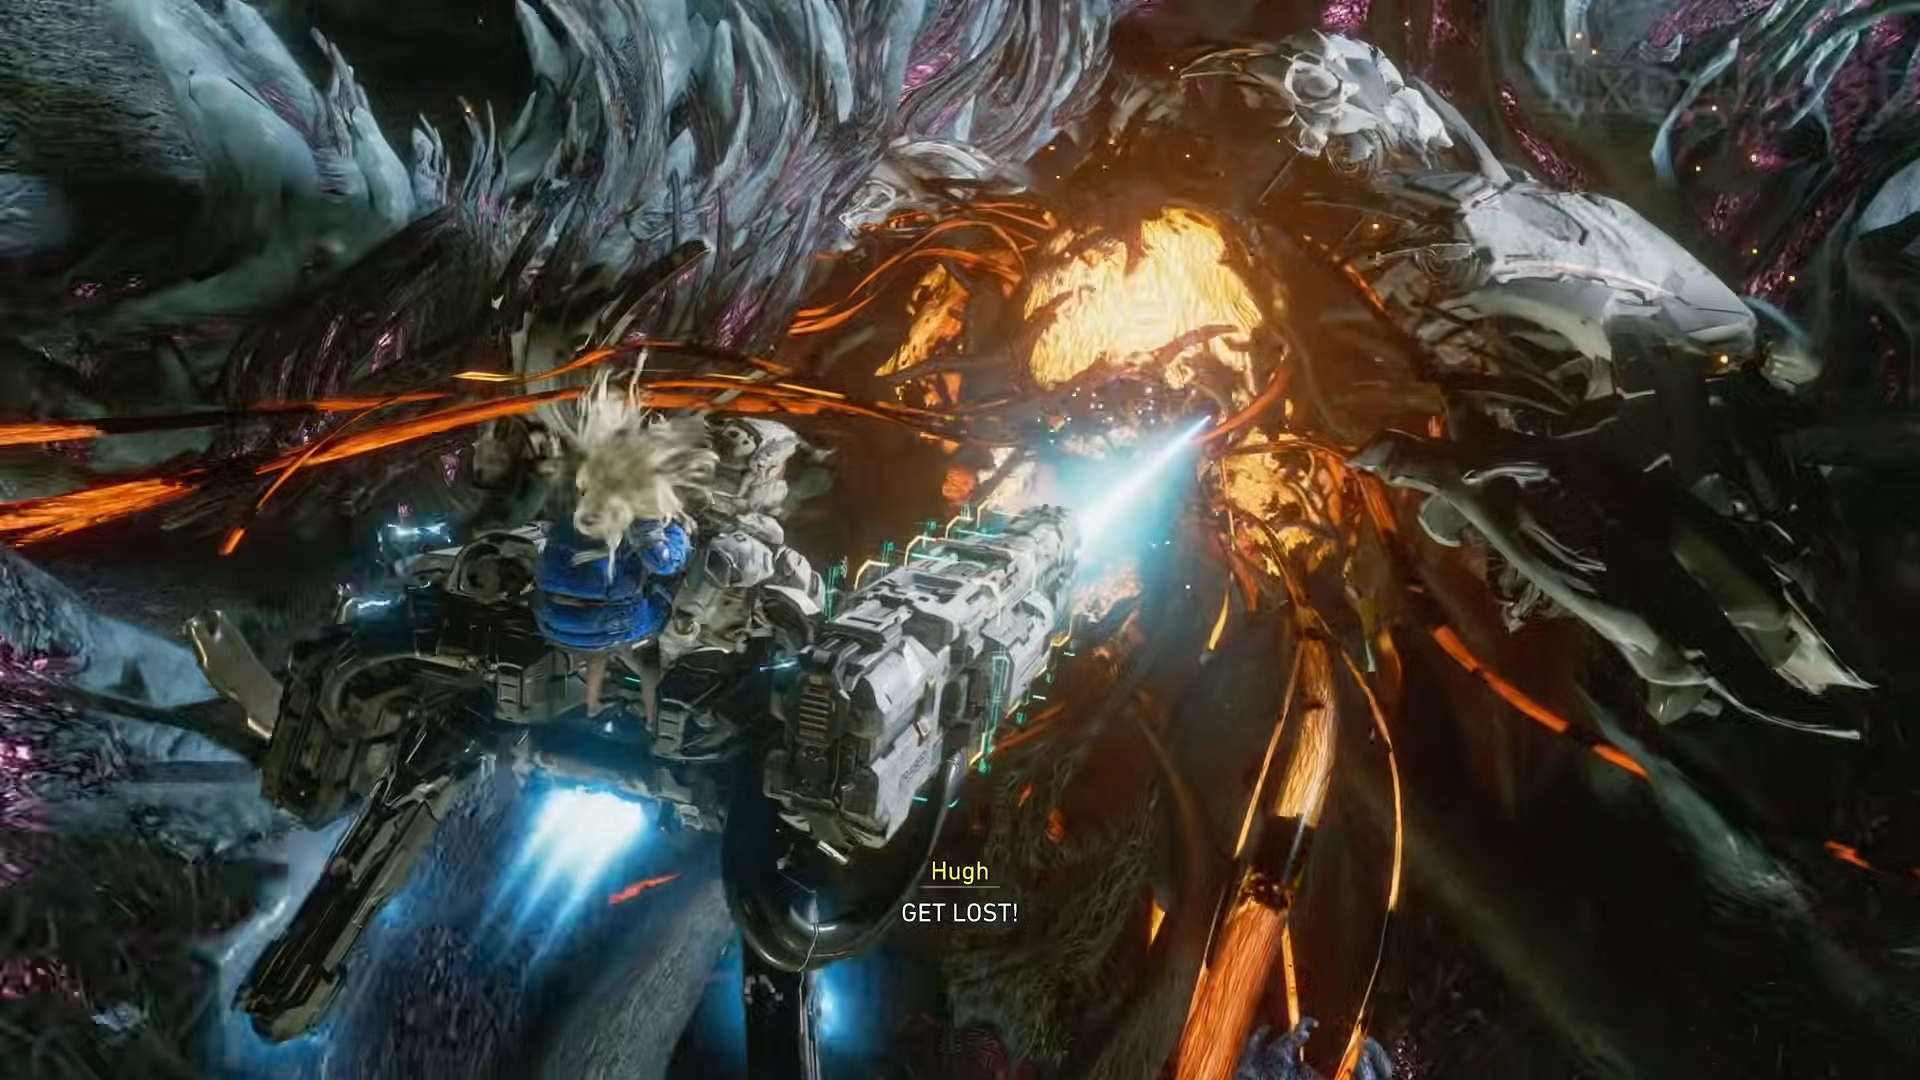
The best approach is to treat this as the same pattern with higher stakes, not as a brand-new mechanic. Maintain your aim discipline, ignore the visual noise, and nail the follow-up shots when prompted. The sequence culminates in another emphatic hit that pushes Dead Filament toward its breaking point, setting up the last part of the chase.
How to finish the final chase and hacking sequence
Once the cannon has significantly weakened Dead Filament, the encounter shifts into a closing chase and control struggle as Hugh and Diana push for the shuttle. The focus moves away from pure turret fire and toward keeping the transport route viable while Diana supports through hacking.
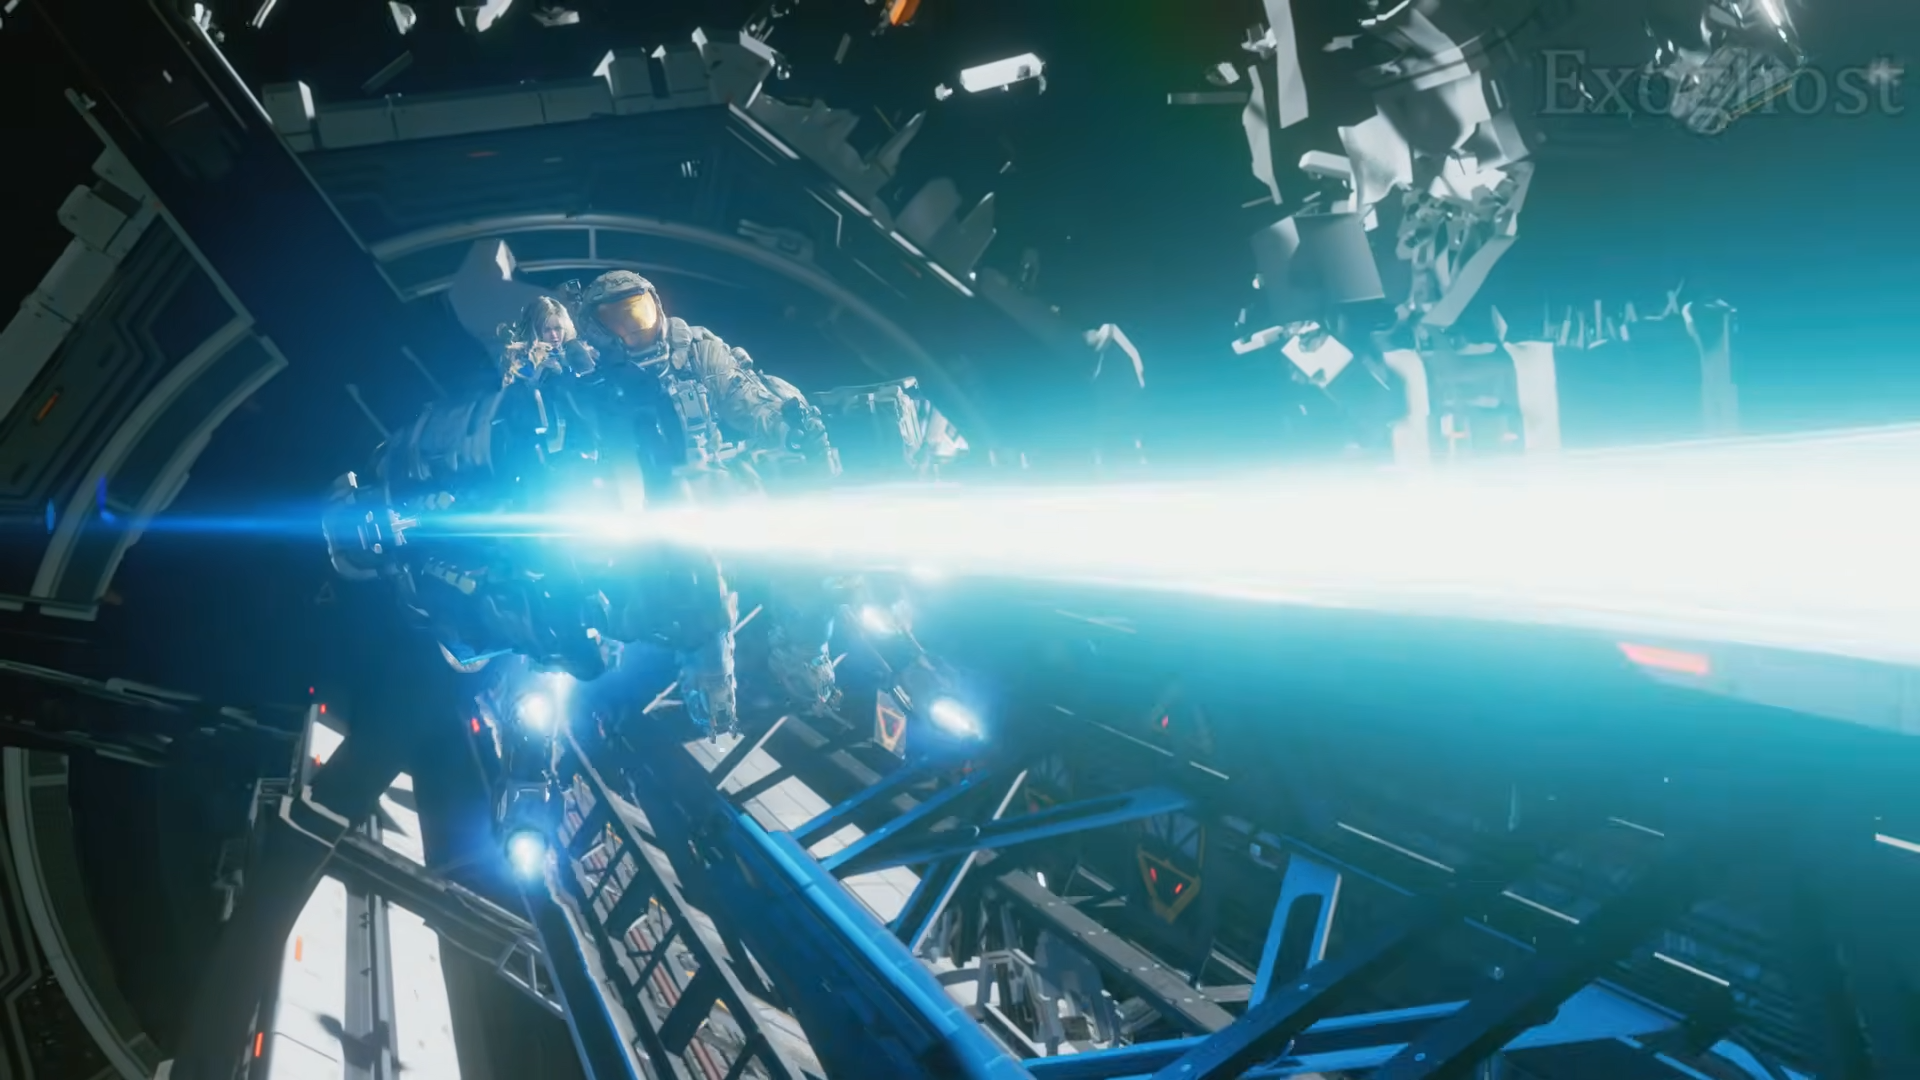
Step 1: Survive the last lunges toward the shuttle
Even after taking heavy cannon fire, Dead Filament is not done as Hugh and Diana get “close to the shuttle,” making it clear the threat remains active until the very end. At this point the game emphasizes not individual shots but staying alive long enough to execute Diana’s solution, with Hugh urging her to “try something.”
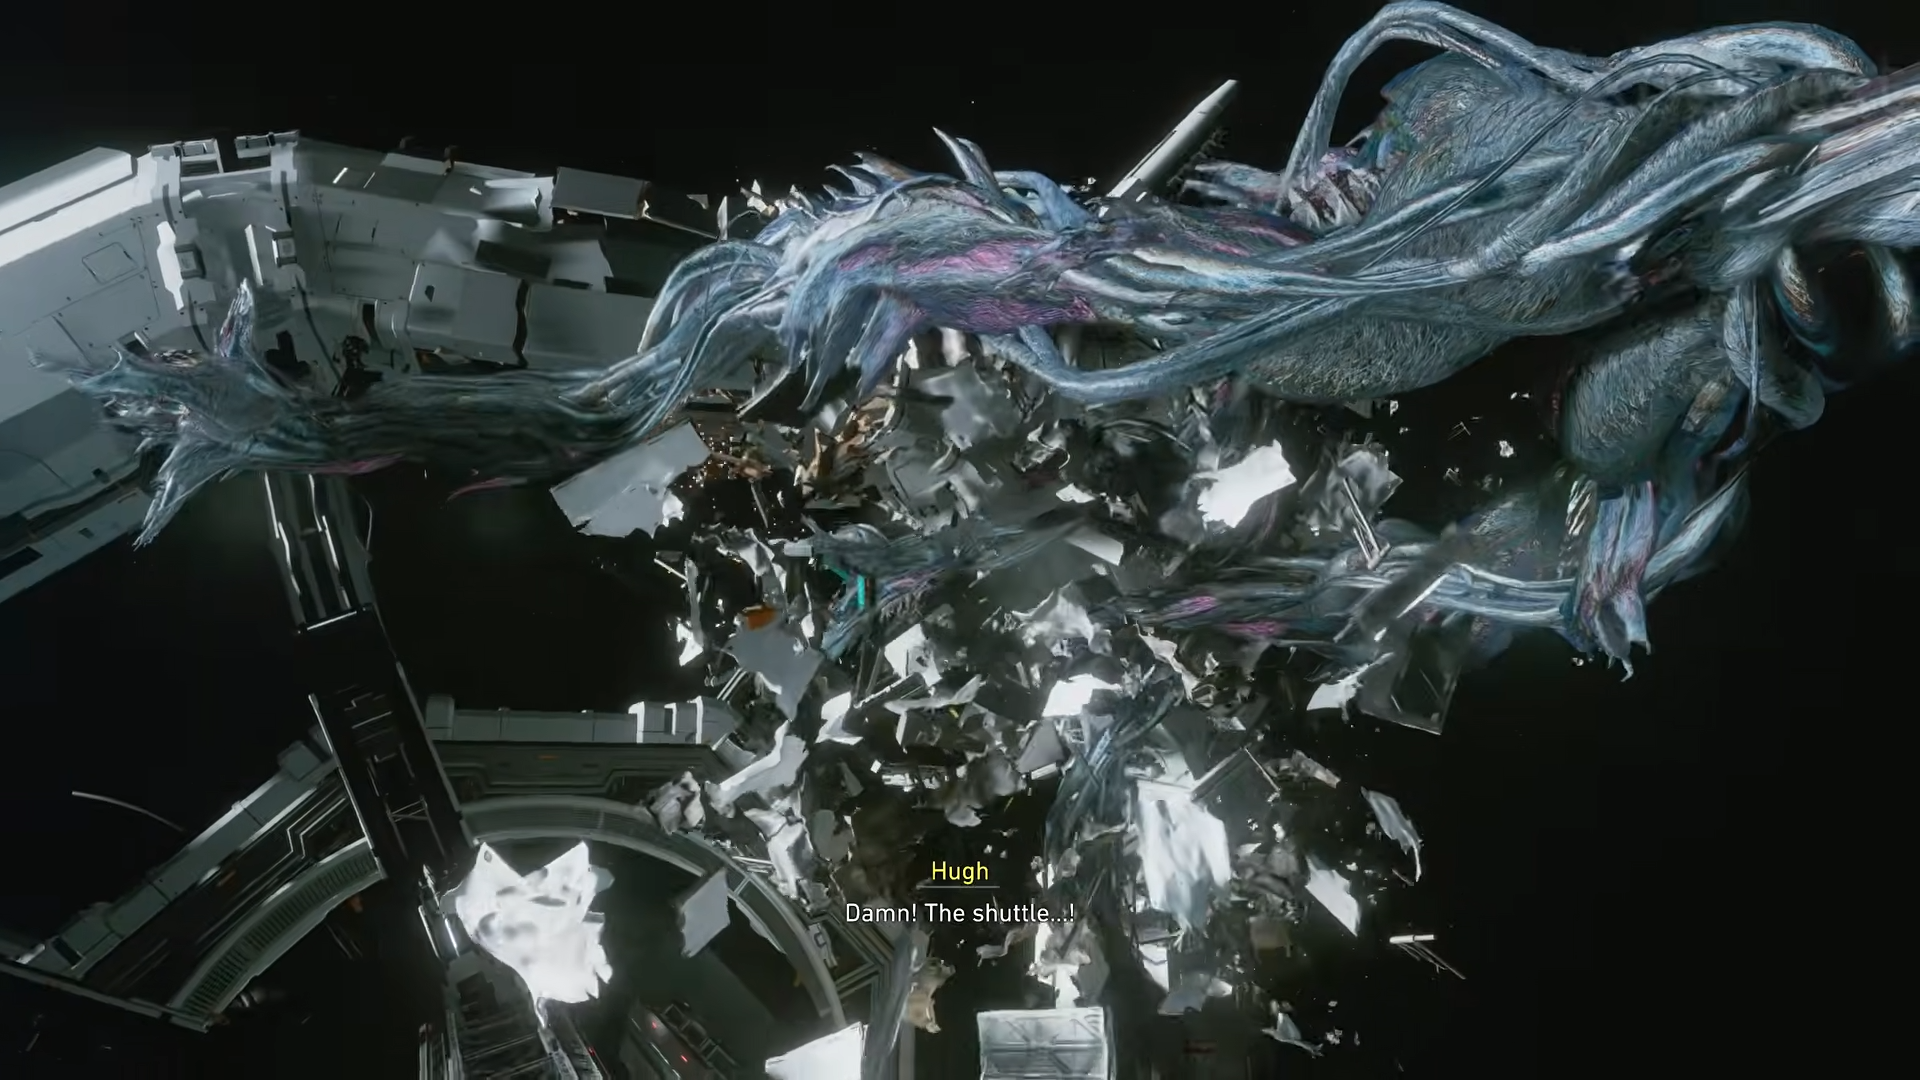
Mechanically, this plays like a final gauntlet: you weather the remaining attacks while the duo approaches the shuttle, avoiding catastrophic hits and staying focused on the goal of reaching that final stretch. Positioning and timely reactions matter more than damage output now.
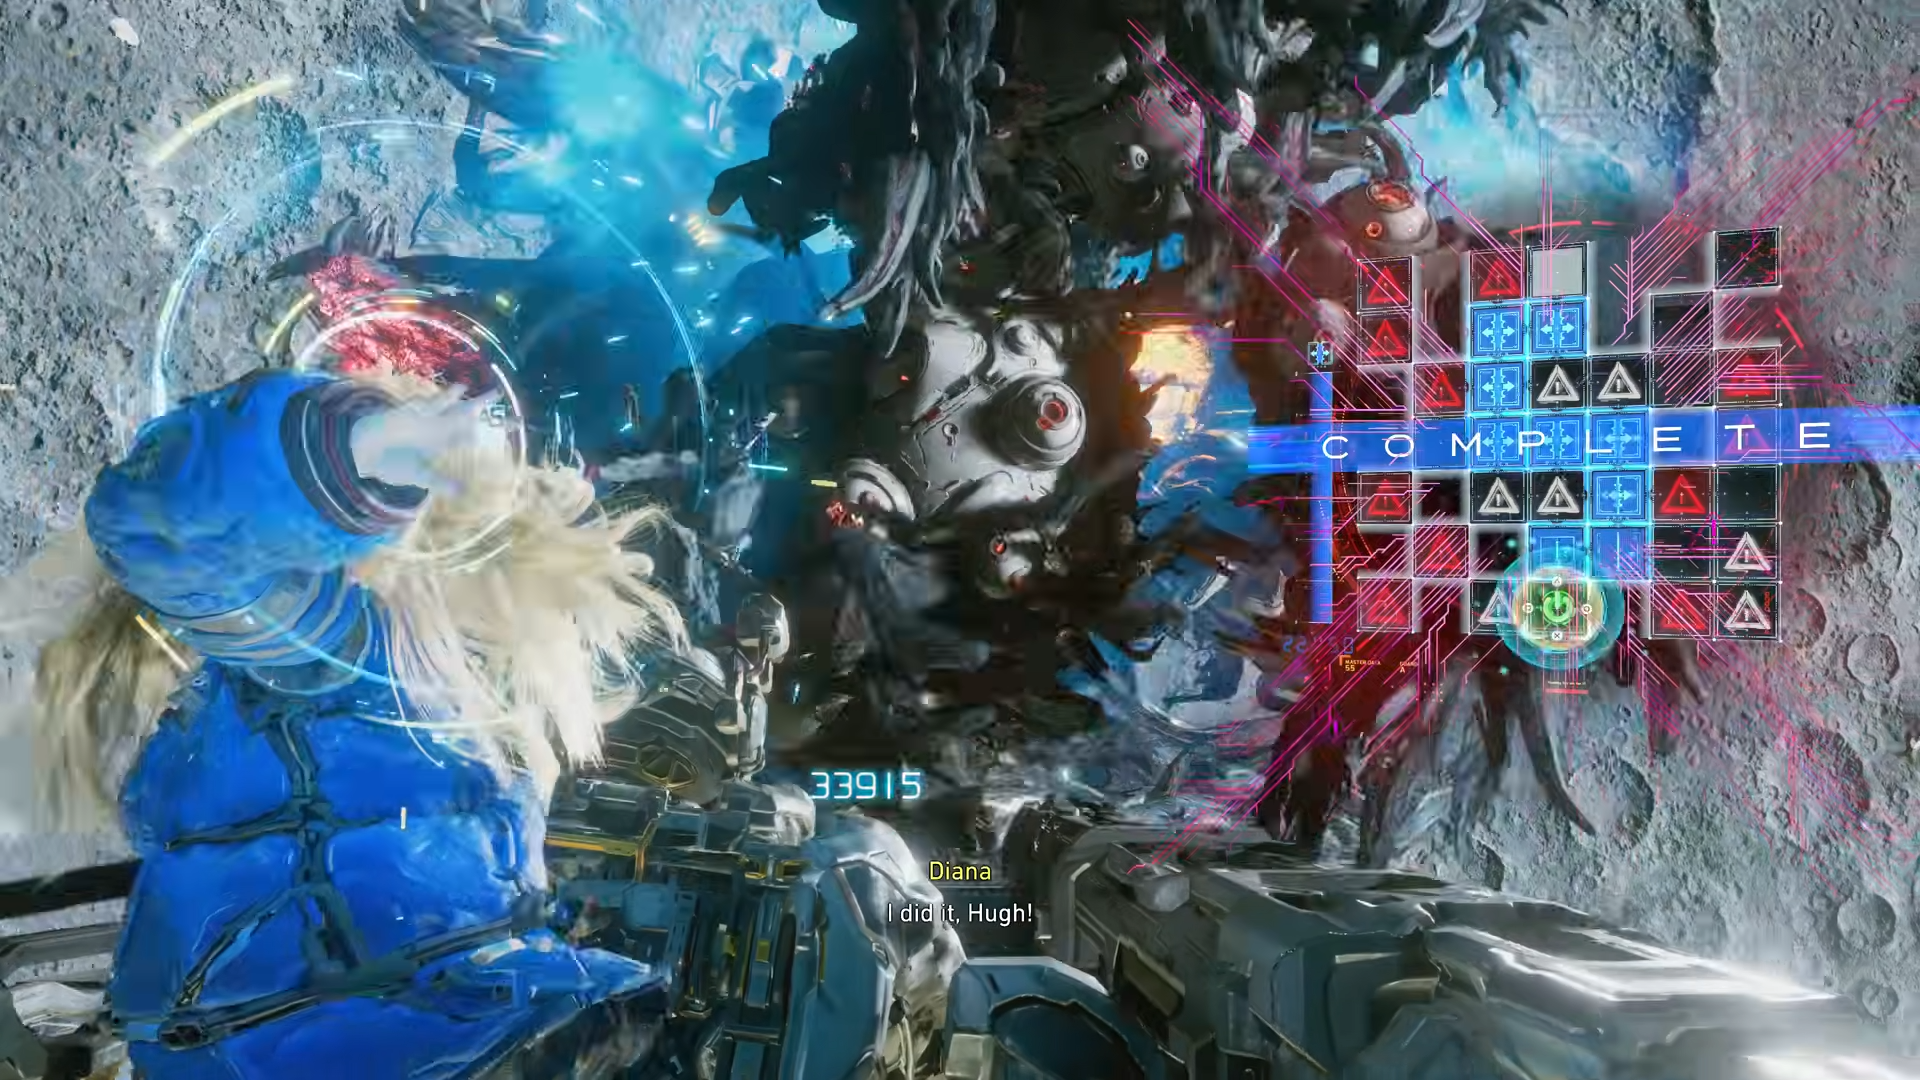
Step 2: Let Diana’s hacking open the final window
Diana responds by “optimizing hacking matrix” and successfully announcing “I did it,” confirming that her hack meaningfully disrupts Dead Filament. This is the narrative payoff for the hacking-and-shooting partnership the game has built up – your previous experience with OPEN states and enemy shutdowns is essentially compressed into this all-or-nothing moment.
You, as Hugh, continue to hold position and react to whatever residual movement or prompts appear, trusting that Diana’s hacking is buying the final opening you need. The sequence briefly raises the stakes again – “We ain’t done yet. Hang on.” – before presenting the last decisive action.
Step 3: Execute the final intervention to end Dead Filament
After a failed attempt (“No, not like this”), Hugh and Diana try once more, with a clear sense that the next maneuver must work. Their resolve culminates in a final successful action – “Here we go… That should do it” – which signals that Dead Filament has finally been neutralized.
From a gameplay perspective, this closing beat often maps to a short interactive prompt or final confirmation input: not mechanically complex, but easy to fumble if you are distracted by the spectacle or assume the game has fully taken control. Stay attentive for any last on-screen indicator, complete it cleanly, and you will transition into the post-battle escape and the journey toward Earth.
Rewards for defeating Dead Filament
Defeating the Abiosis Dead Filament true final boss does not shower you with conventional loot, but it carries important narrative and progression rewards. Clearing this encounter ends the immediate Dead Filament threat, resolves Hugh and Diana’s arc on the moon, and moves you into the final escape and epilogue.
On top of that, the game’s trophy and achievement structure ties major late-story beats – including the finale and its aftermath – to specific endgame achievements, such as story-completion trophies that trigger when you close out the campaign.
| Reward type | Reward | Notes |
|---|---|---|
| Story resolution | Dead Filament permanently destroyed, preventing it from following Hugh and Diana to Earth. | Confirms that leaving the moon will not unleash the corruption on the planet. |
| Character arc | Reinforces Hugh and Diana’s partnership and Diana’s growth through using her hacking and resolve to finish the fight. | Pays off the dual-character combat and emotional throughline established across the game. |
| Progression | Unlocks the concluding escape sequence, cargo shuttle segment, and ending scenes. | You cannot see the full ending without successfully completing this encounter. |
| Trophies / achievements | Story-related late-game trophies tied to clearing the final chapter and honoring your promise with Diana. | These unlock automatically upon finishing the endgame, so victory here is required for 100% completion. |
| Thematic payoff | Full closure on Dead Filament as both a gameplay mechanic (red crystals, corruption) and a narrative threat. | Connects early-game encounters with Dead Filament to the final battle and its outcome. |