- What to know
- All Secret walls in Pragmata
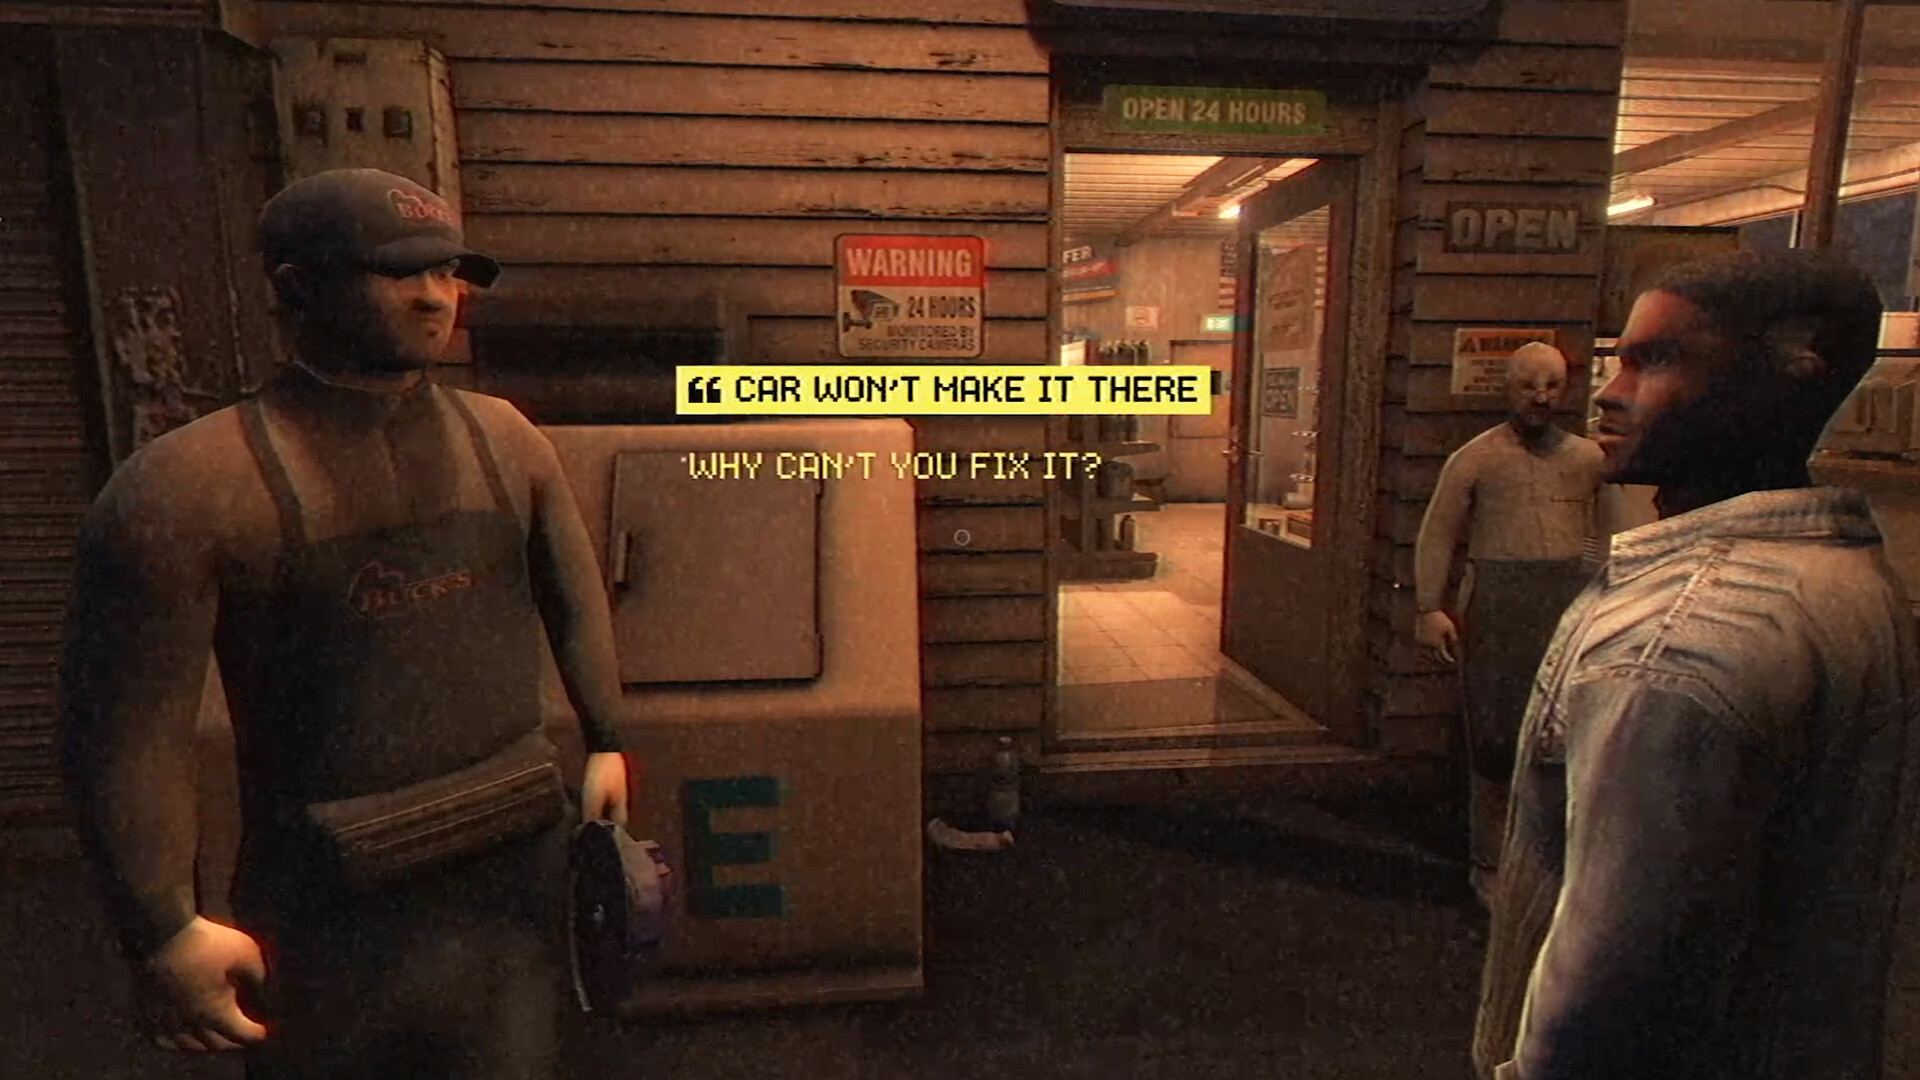
- How secret walls actually work in Pragmata
- Blue crystal walls and when you can break them
- How to unlock the Lim Eraser ability
- Red crystal walls and their late-game unlock
- How to unlock the Cleanse ability
- Hidden holo-walls and subtle secret paths
- Rewards hidden behind secret walls
What to know
- Secret walls in Pragmata are mainly crystal barriers and hidden holo-walls
- Most cannot be opened immediately and require story-based abilities
- Backtracking is essential to access rewards and collectibles
- Different wall types require completely different tools to break
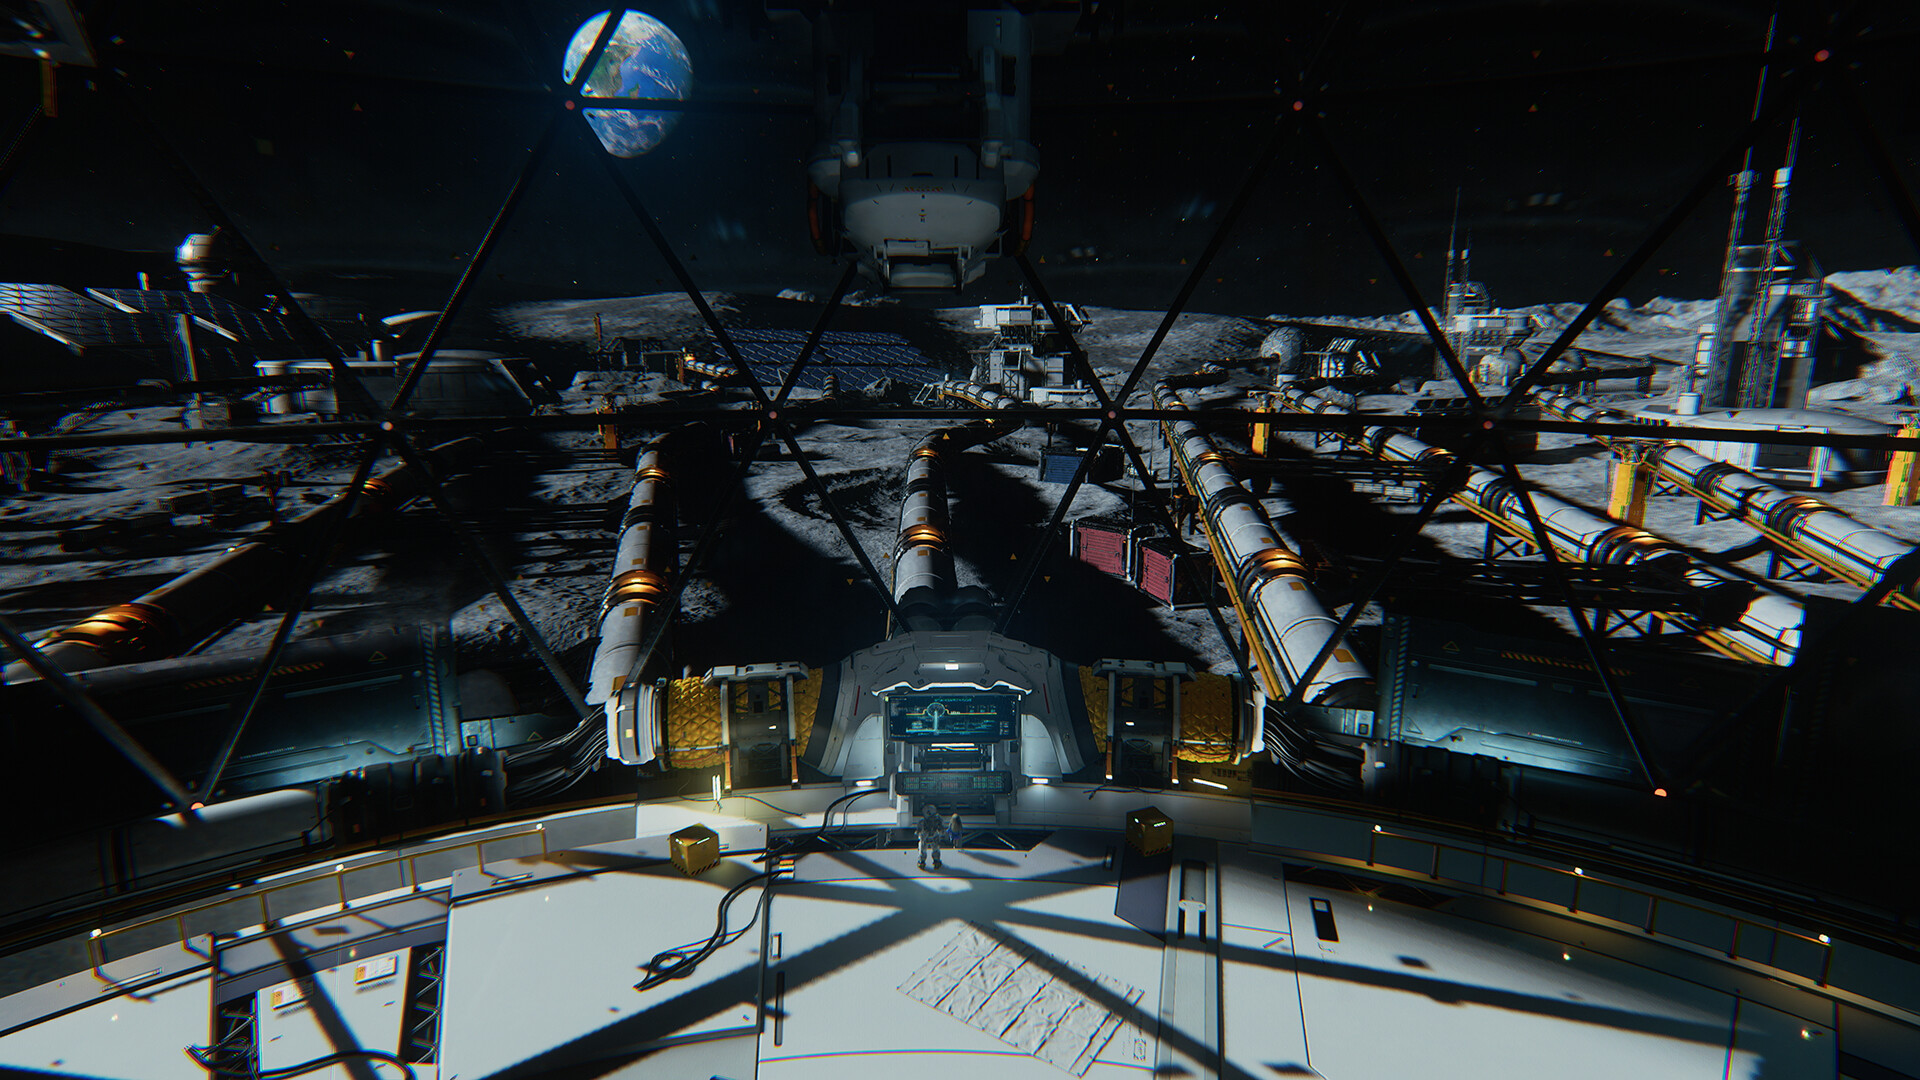
In Pragmata, exploration is tightly connected to progression, and secret walls are one of the biggest systems that gate hidden content. You’ll encounter them early, but you won’t fully understand how they work until later sectors. Knowing how these walls function—and when to revisit them—can dramatically improve your completion rate.
All Secret walls in Pragmata
| Wall Type | Name (In-Game) | Unlock Requirement | First Seen | Purpose |
|---|---|---|---|---|
| Blue Crystal | Filament Mass | Lim Eraser ability | Sector 1 | Blocks loot rooms, upgrades |
| Red Crystal | Dead Filament | Cleanse ability | Sector 3+ | Guards late-game rewards |
| Holo-Walls | Hidden barriers | Visual detection | Multiple sectors | Conceals collectibles |
| Breakable Walls | Standard destructibles | Weapons/abilities | Early game | Minor secrets & paths |
How secret walls actually work in Pragmata
Secret walls are not just hidden—they are intentionally placed progression locks. When you first encounter them, the game expects you to remember their locations rather than solve them immediately. This design ties directly into Pragmata’s loop of exploration → ability unlock → backtracking.

You’ll notice early on that certain areas feel incomplete or inaccessible. That’s because many secrets are deliberately unreachable during your first visit. Instead of forcing you to solve everything instantly, the game encourages revisiting sectors later with new tools.
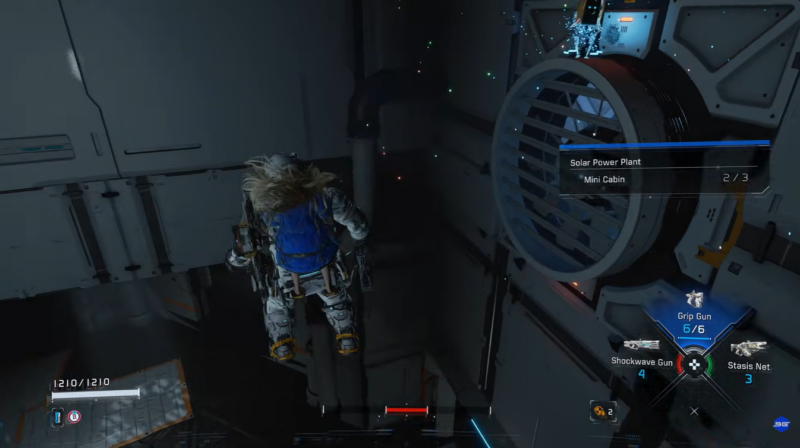
Interestingly, collectibles like REMs and Mini Cabins are often placed behind or near these walls, making them critical for completionists.
Blue crystal walls and when you can break them
Blue crystal walls, known as Filament Masses, are the first major type of secret barrier you encounter. They appear as glowing blue rock formations blocking doors, corridors, or side rooms.
You’ll see them as early as Sector 1, but you cannot break them at that point—no matter what you try.
How to unlock the Lim Eraser ability
The ability required to destroy these walls is the Lim Eraser, which you unlock in Sector 2 during the Mass Production Array section.
- Progress through Sector 1 and defeat the Sector Guard boss to unlock Sector 2 access.
- Advance through the Mass Production Array and activate beacon objectives in the Business District.
- Enter the Lim Recycling Facility and push deeper until you reach a lab terminal.
- Interact with the terminal to obtain the Lim Eraser ability via Diana.
- Return to previously blocked blue crystal locations and destroy them to access hidden rewards.
Once unlocked, this ability permanently changes how you explore earlier zones, opening up shortcuts, combat arenas, and upgrade caches.
Red crystal walls and their late-game unlock
Red crystal walls, or Dead Filament, are a more advanced version of secret barriers. They appear later in the game and signal that you’re approaching endgame-level exploration.
Unlike blue crystals, these cannot be broken with the same tool.
How to unlock the Cleanse ability
The required skill here is the Cleanse ability, unlocked in Sector 5 after defeating a major boss.
- Progress through Terra Dome and Lunum Mines while noting red crystal locations.
- Defeat the Luna Digger boss to trigger progression into Experimental Pragmatics.
- Unlock the Cleanse ability during this short story segment.
- Charge and release the Cleanse blast to destroy red crystal walls.
This mechanic reinforces a key idea: not all secrets are meant for mid-game—you must return even later to fully clear areas.
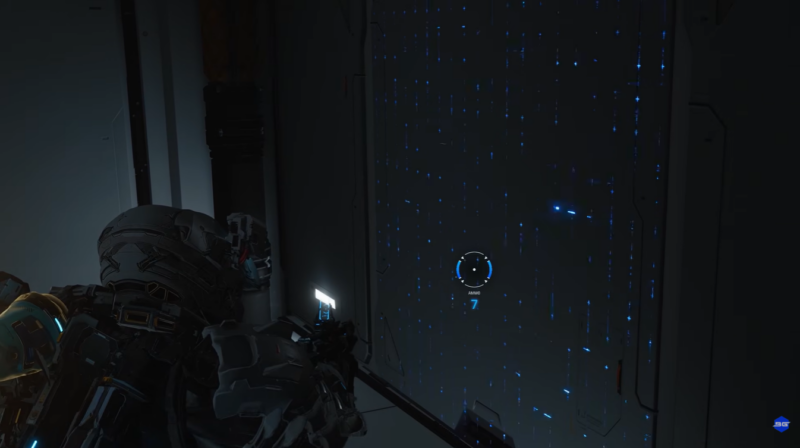
Beyond crystal barriers, some of the trickiest secrets are holo-walls—completely invisible at first glance.
These are not tied to a specific ability. Instead, they rely on your awareness and curiosity. You’ll often find them in combat arenas or near dead ends, subtly indicated by lighting differences or unusual textures.
REMs, one of the key collectible types, are frequently hidden behind these walls, encouraging careful scanning of environments rather than rushing objectives.
As you continue playing, you’ll start recognizing patterns. Blue crystals mean “come back soon,” while red crystals mean “come back much later.” Meanwhile, holo-walls test your observation skills rather than your abilities.
| Reward Type | Description | Where Found |
|---|---|---|
| Upgrade Materials | Improve Diana’s hacking gauge or combat efficiency | Behind blue crystals |
| REM Collectibles | Story/lore items tied to exploration | Holo-walls, hidden rooms |
| Combat Arenas | Optional fights with high rewards | Crystal-blocked areas |
| Safe Boxes | Contain rare resources | Red crystal zones |
| Shortcuts | Faster traversal routes | Across all sectors |
If you approach the game with this mindset, you’ll naturally uncover more secrets without unnecessary frustration.