What to know
- Bernor’s Pickaxe is currently the most efficient mining tool for both efficiency and bonus resources.
- You must liberate three camps before unlocking the hidden vendor.
- Blueprint is purchased once max trust is reached with the secret vendor.
- Crafting requires rare materials, including Diamonds and Fine Timber.
If you are aiming to maximize your mining efficiency in Crimson Desert, Bernor’s Pickaxe is one of the most valuable tools you can obtain. It is not just a standard upgrade—it fundamentally improves how quickly you gather resources and increases your overall yield, making it essential for crafting and progression.
Here is a quick overview of Bernor’s pickaxe in Crimson Desert:
| Feature | Details |
|---|---|
| Item Type | Pickaxe |
| Rarity | Legendary-tier tool |
| Attack Power | 12 → 35 |
| Special Effect | 20% chance to mine additional ore |
| Passive Skill | Expert Mining |
| Craft Location | Smithy (Hernand) |
| Unlock Method | Secret Vendor + Blueprint |
| Best Use | High-efficiency ore farming |
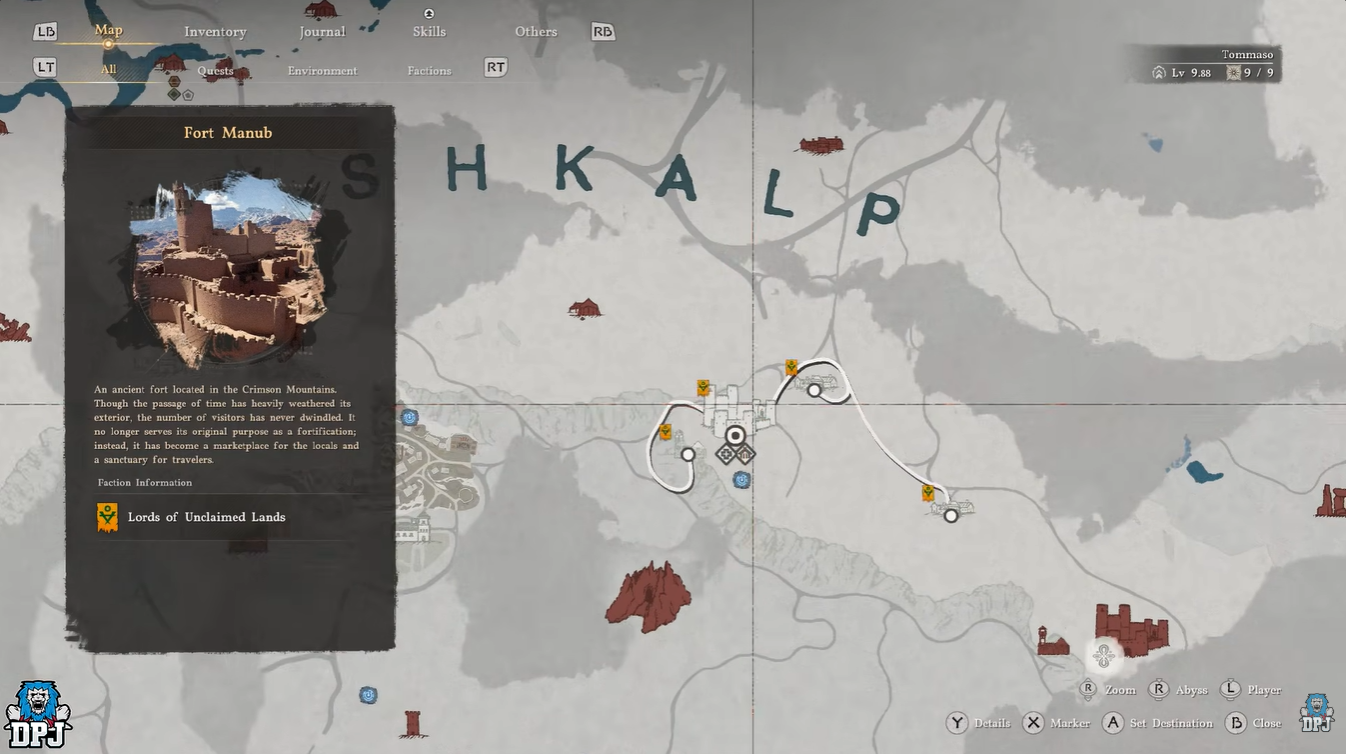
Bernor’s location in Crimson Desert
Before you can even think about crafting this pickaxe, you must unlock access to its blueprint. This process revolves around liberating key enemy-controlled camps, which directly impacts world progression and vendor availability.
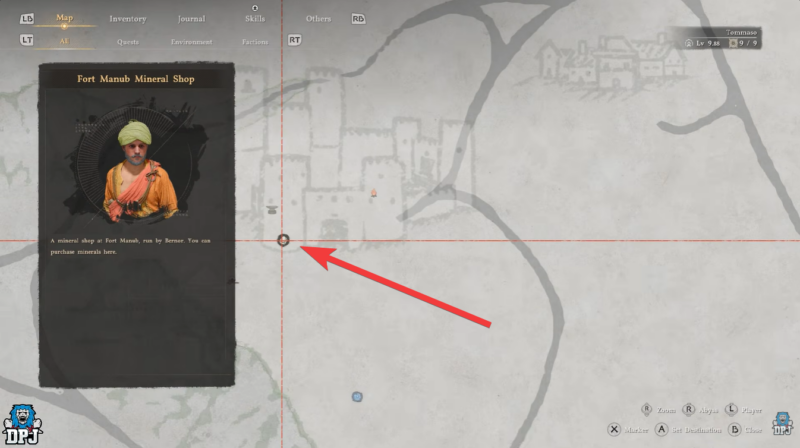
All three camps are tied to unlocking Bernor’s vendor at Fort Manub, and skipping any of them will prevent you from accessing the blueprint.
The required locations include Fort Manub, Nahab, and Duzhar, each with its own combat and destruction objectives. Once completed, these actions trigger the appearance of a secret mineral shop vendor tied to Bernor.
How to get Bernor’s pickaxe in Crimson Desert
Step 1
Travel to Fort Manub, Nahab, and Duzhar and prepare for combat-heavy encounters. These areas are enemy-controlled and require full clearance.

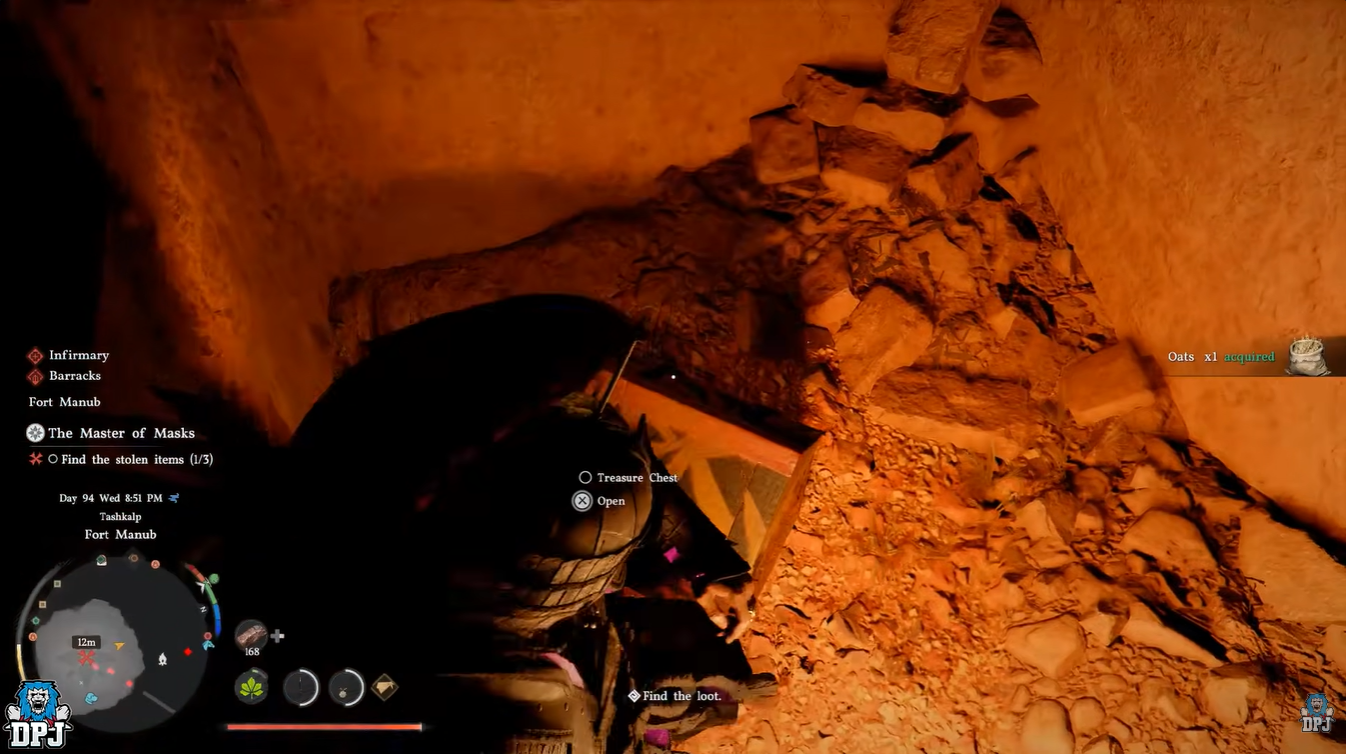
Step 2
Clear the first camp by defeating enemies, looting three chests, and eliminating the Masked Liberator boss. This step ensures the fort is fully liberated.
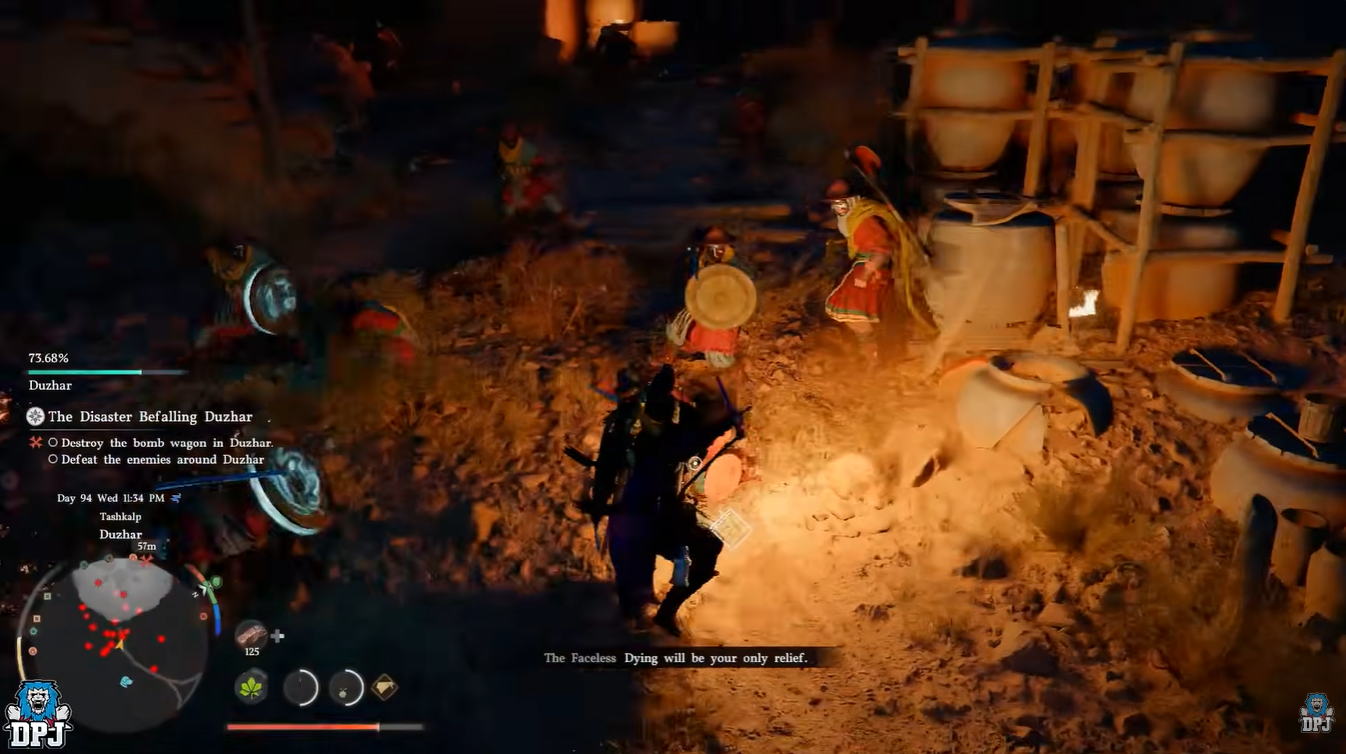
Step 3
Move to the second camp and defeat all enemies, then destroy the bomb wagon located nearby. This prevents reinforcements and completes the objective.
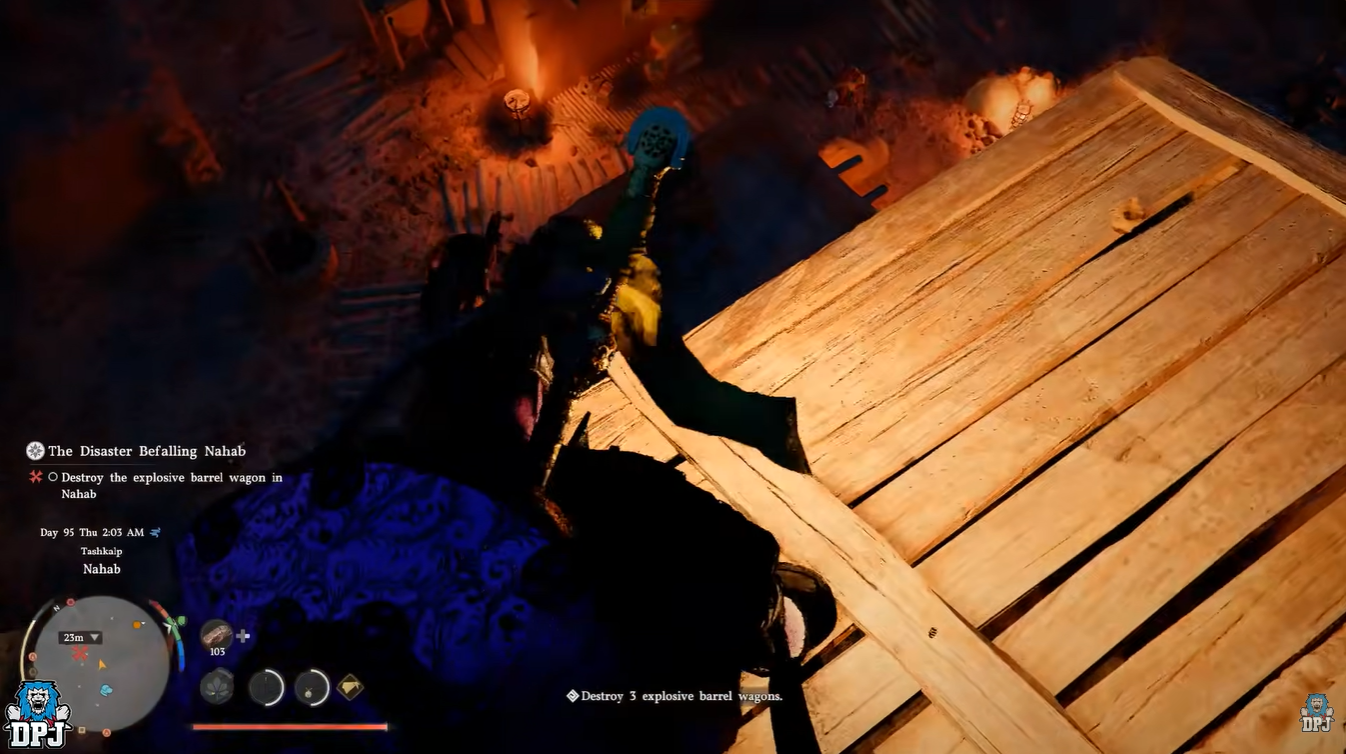
Step 4
Proceed to the third camp, eliminate all enemies, and destroy three explosive barrel wagons. This final step completes the liberation requirement.
Step 5
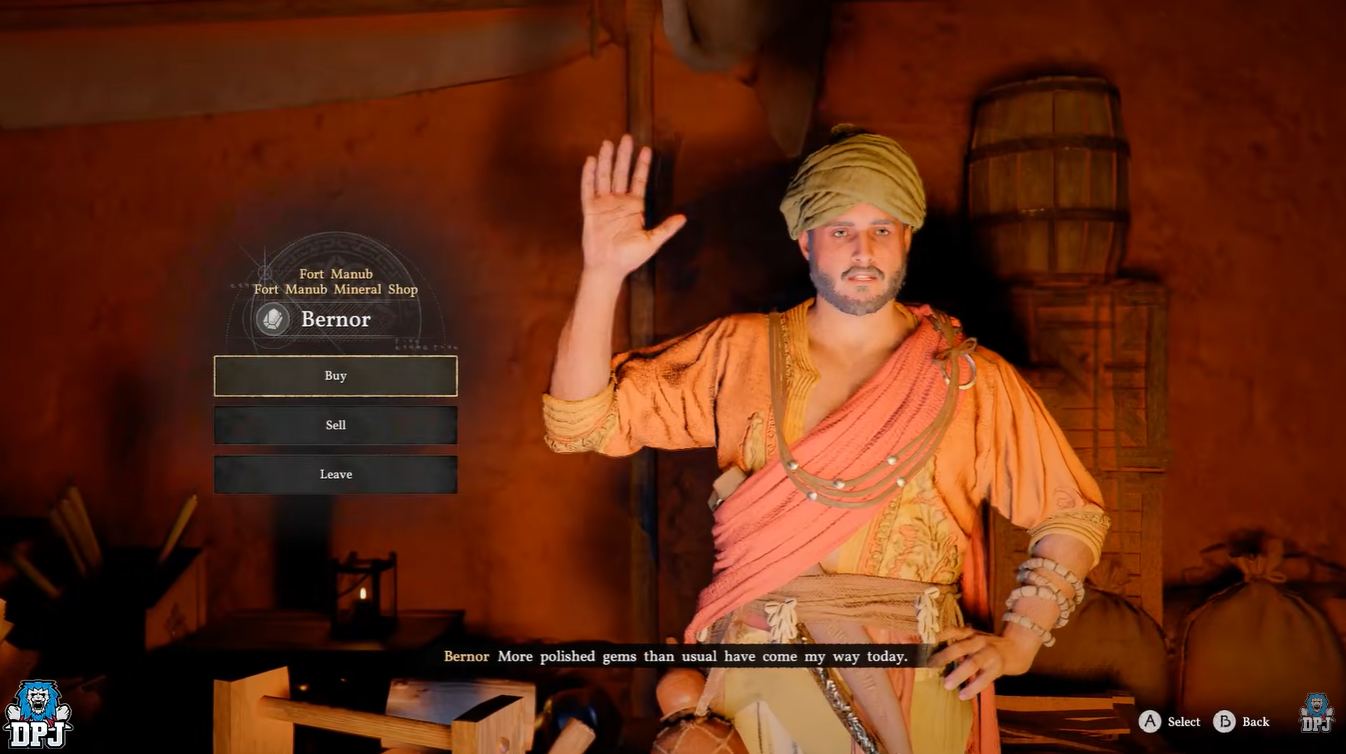
Return to Fort Manub and locate Bernor’s mineral shop vendor. This NPC becomes available only after all camps are cleared.

Step 6
Increase your trust level with the vendor to 100 by gifting valuable items like copper and silver pouches. This is essential to unlock the blueprint.
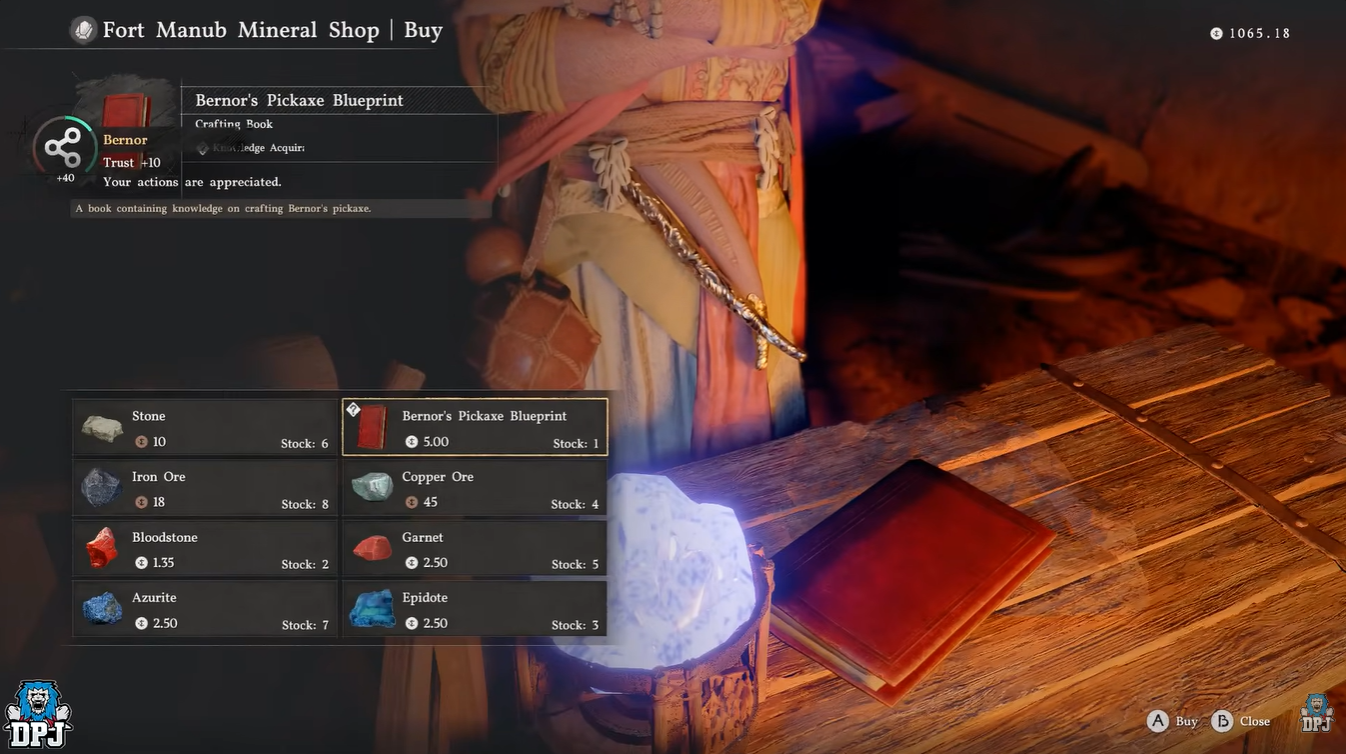
Step 7
Purchase the Bernor’s Pickaxe blueprint once trust is maxed. You now have permanent access to crafting it.
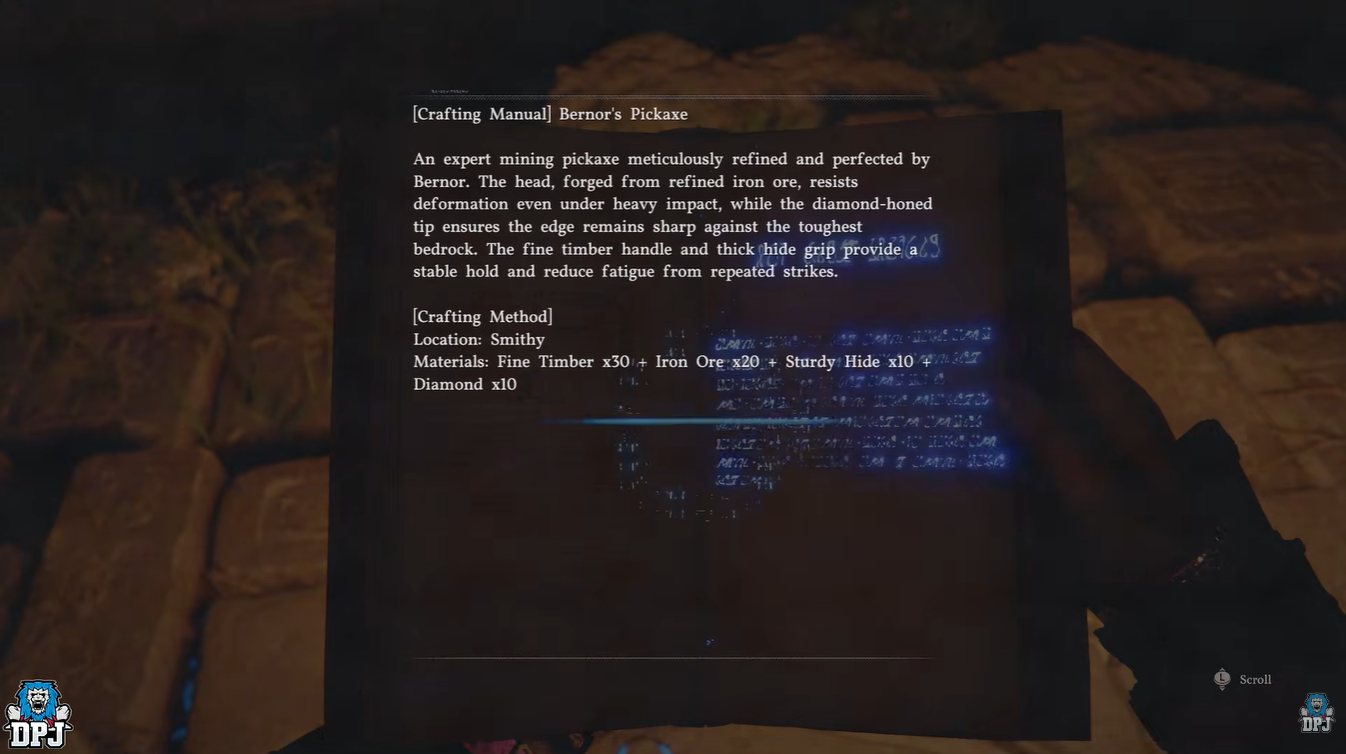
Crafting requirements and materials explained
Once you have the blueprint, crafting is straightforward but resource-intensive. You will need to visit a Smithy in Hernand, where high-tier tools are forged.
| Material | Quantity | Notes |
|---|---|---|
| Fine Timber | 30 | Gathered from advanced logging zones |
| Iron Ore | 20 | Common but requires efficient mining |
| Sturdy Hide | 10 | Dropped from mid-to-high tier animals |
| Diamonds | 10 | Rare resource, often found in deep mining areas |
Diamonds are the biggest bottleneck, so you should prioritize farming routes that maximize rare ore spawn rates. Using temporary mining buffs before crafting can significantly reduce grind time.
Why this pickaxe changes your farming efficiency
What sets Bernor’s Pickaxe apart is its combination of raw efficiency and bonus yield mechanics. While many tools simply increase mining speed, this one goes further by giving you a 20% chance to mine additional ore, effectively boosting your resource gain without extra effort.
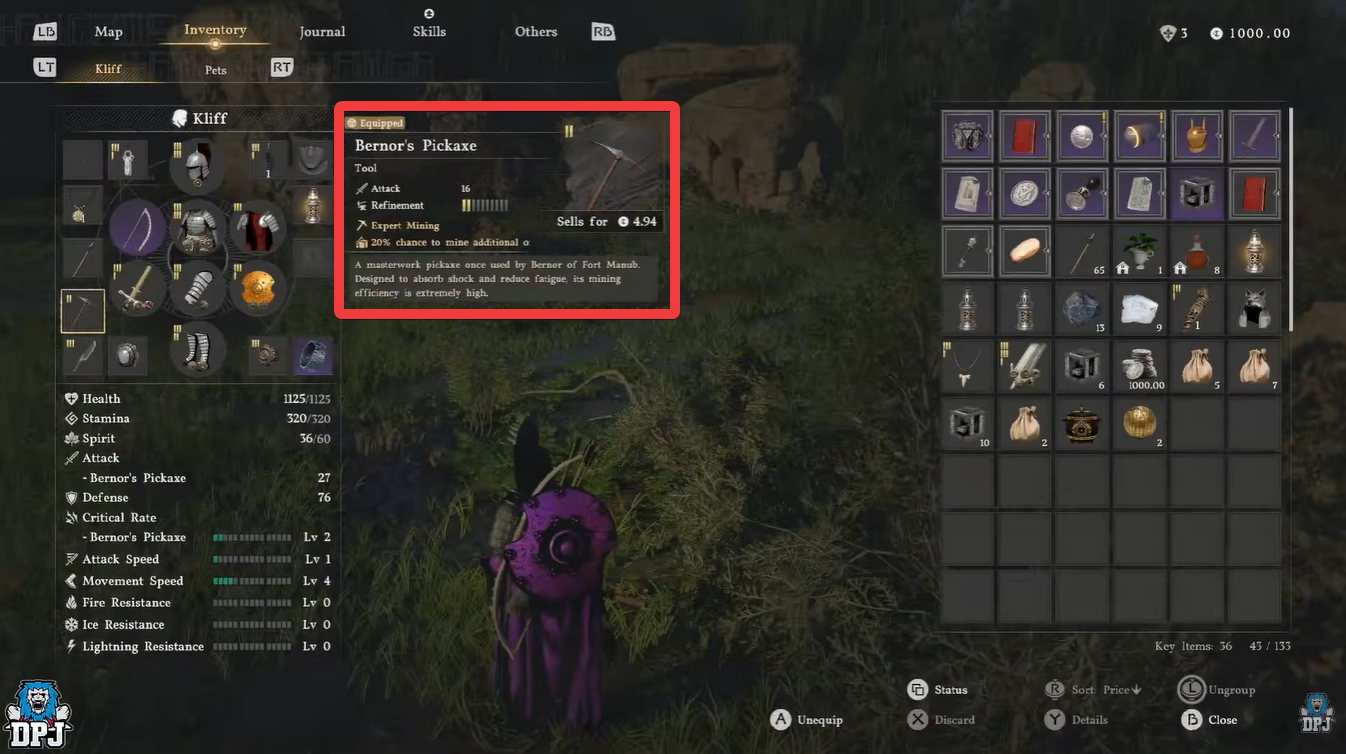
Once equipped, Bernor’s Pickaxe dramatically reduces the time spent gathering materials. You will notice that ore nodes break faster, and the bonus drop mechanic adds up quickly over long farming sessions.
The Expert Mining passive ensures smoother and faster extraction, which means fewer hits per node and less stamina drain. You will notice the difference immediately, especially when farming high-density ore zones.
Another major advantage is its high attack scaling (12 → 35), which allows it to double as a reliable utility weapon when needed. While not designed for combat, it performs better than most tools in emergency situations.
Bernor’s Pickaxe glitches and stats explained
The game does not clearly explain that Bernor’s inventory is tied to world liberation progress. Many players visit Fort Manub before clearing Nahab or Duzhar and assume the vendor simply does not exist.
| Stat | Value |
|---|---|
| Attack Power | 12 → 35 |
| Passive Skill | Expert Mining |
| Special Effect | 20% additional ore chance |
| Tool Tier | Legendary |
| Primary Use | Advanced mining |
Because of this hidden requirement chain, Bernor’s Pickaxe has become one of the most commonly missed legendary tools in Crimson Desert despite being extremely useful for progression.
If your goal is efficient crafting progression, rare ore farming, or maximizing resource income, Bernor’s Pickaxe is easily one of the strongest utility tools currently available in Crimson Desert. While the unlock process takes some time, the improved mining speed, bonus yield effects, and Expert Mining passive make the investment completely worthwhile for long-term progression players.