What to know
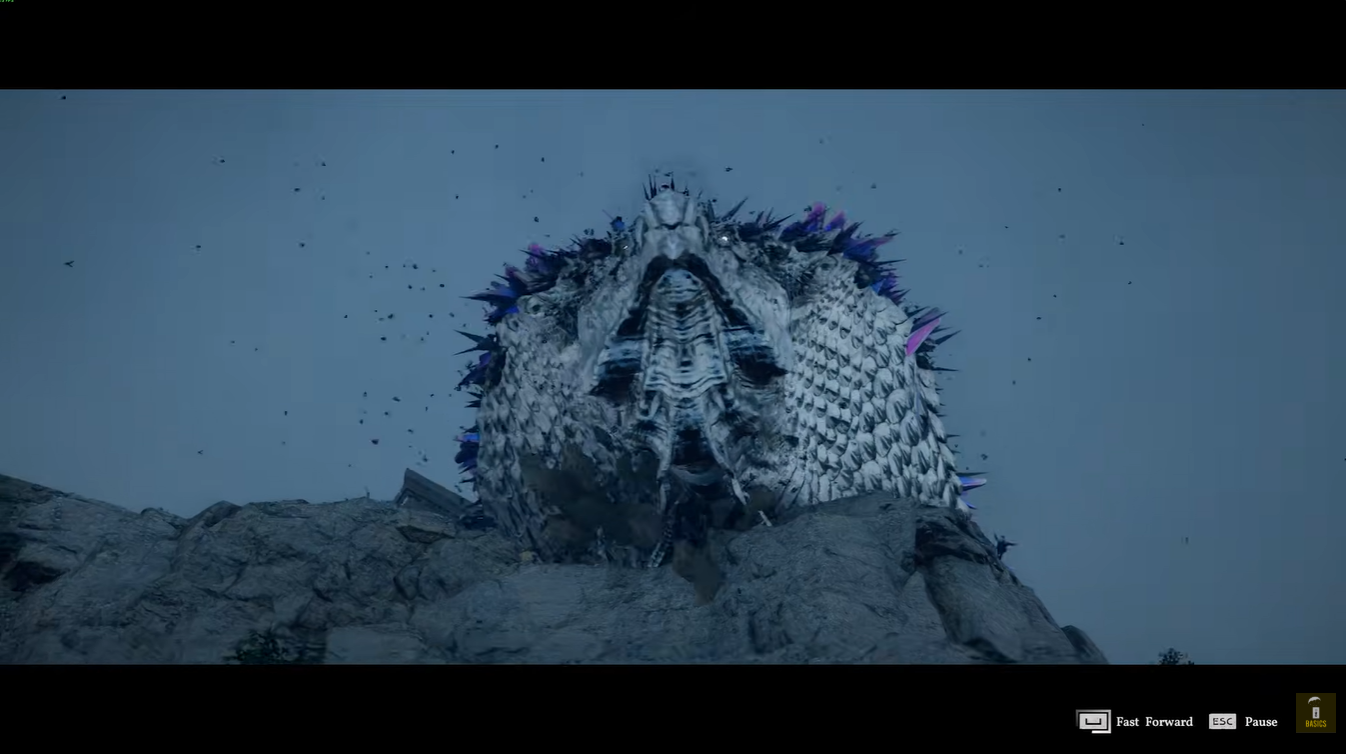
- The Shackled God quest revolves around freeing Aeserion, the Great Serpent.
- You must defeat three Ancient bosses to collect the required artifacts.
- The final phase involves climbing and cleansing the serpent itself.
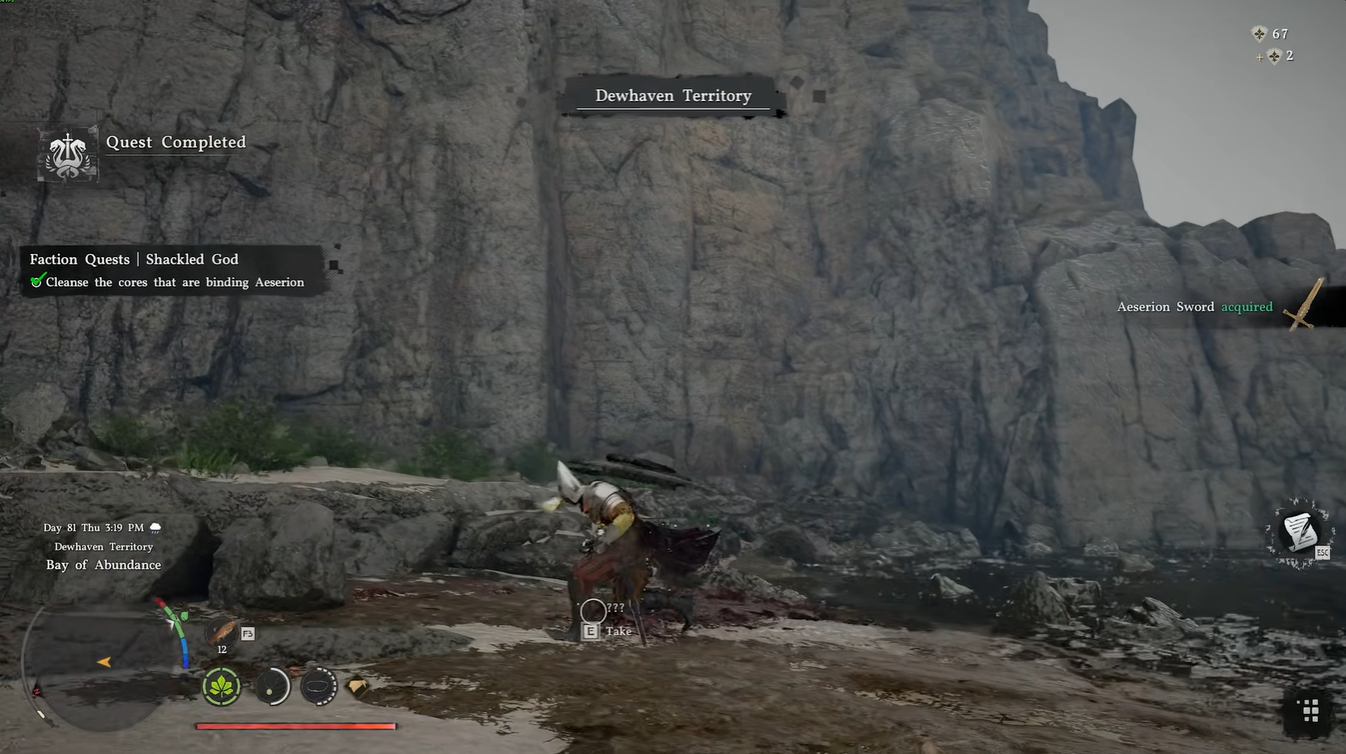
- Completing the quest rewards you with the powerful Aeserion Sword.
The Shackled God faction quest in Crimson Desert is one of the most cinematic and mechanically varied missions you’ll encounter. It combines exploration, boss fights, and a large-scale interactive encounter that feels closer to a raid than a traditional quest. If you approach it unprepared, it can be overwhelming, but once you understand the structure, it becomes a rewarding challenge.
Here is a quick overview of the Shackled God quest:
| Aspect | Details |
|---|---|
| Quest Name | Shackled God |
| Main Objective | Free Aeserion, the Great Serpent |
| Location | Serpent Shrine, south-middle region, below Delesyia |
| Key Bosses | Priscus, Praevus, Primus |
| Final Encounter | Cleansing Aeserion |
| Main Reward | Aeserion Sword |
| Quest Type | Faction Quest |
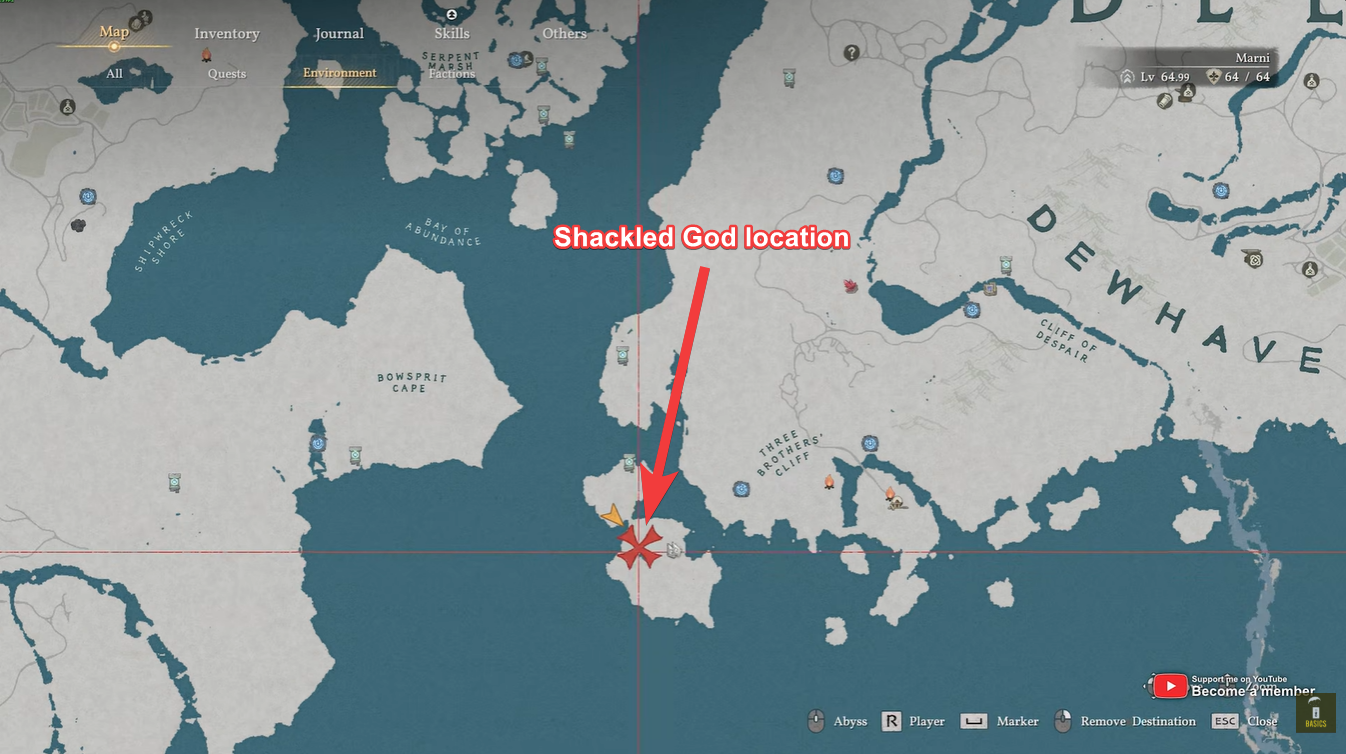
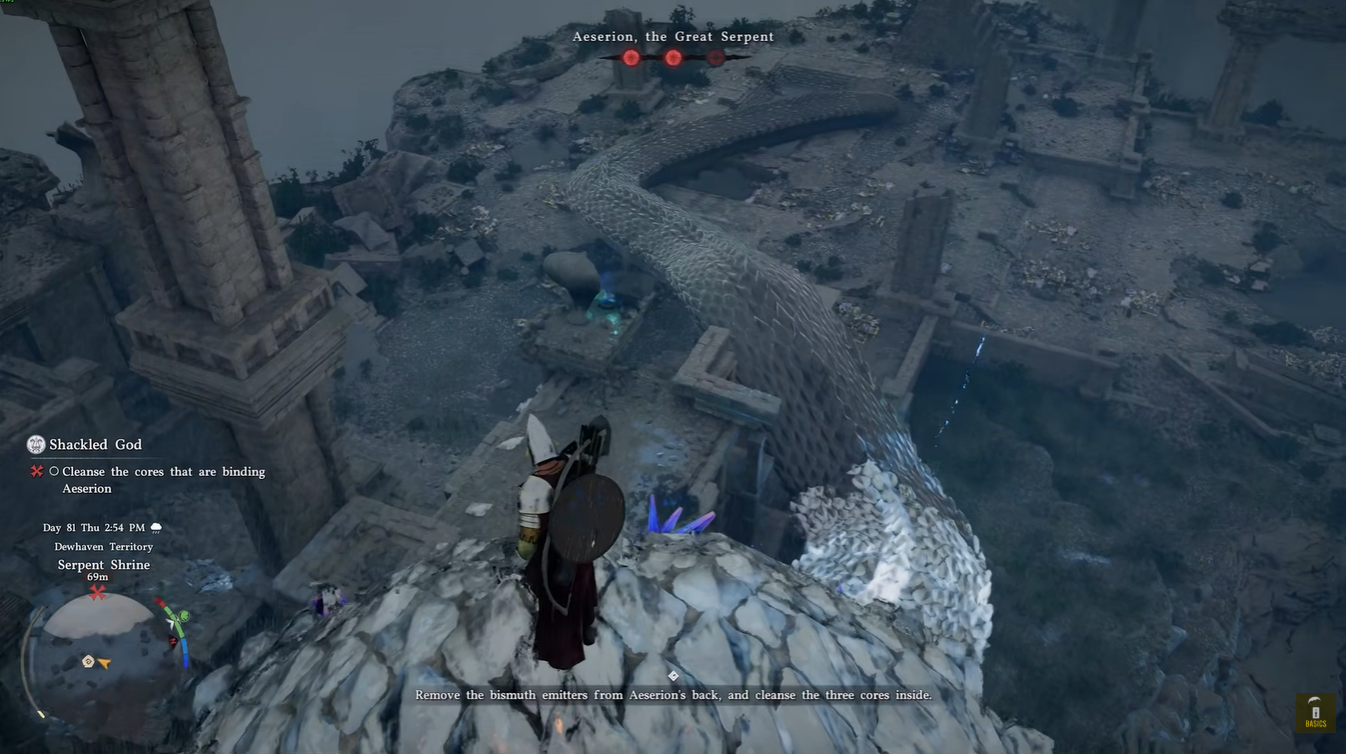
Crimson Desert Shackled God location
You’ll begin this quest in the far south-middle section of the map, directly below Delesyia. The area is elevated and requires a careful approach, making traversal part of the challenge. You need to parachute toward a cliffside structure and then climb a ruined tower to trigger the event. Once you reach the top, Aeserion’s presence becomes apparent through a scripted interaction that sets the tone for the entire questline.
Understanding the three Ancient bosses you must defeat
Before you can interact meaningfully with Aeserion, you must defeat three powerful bosses known as the Ancients. Each one drops a unique artifact required for progressing the quest.
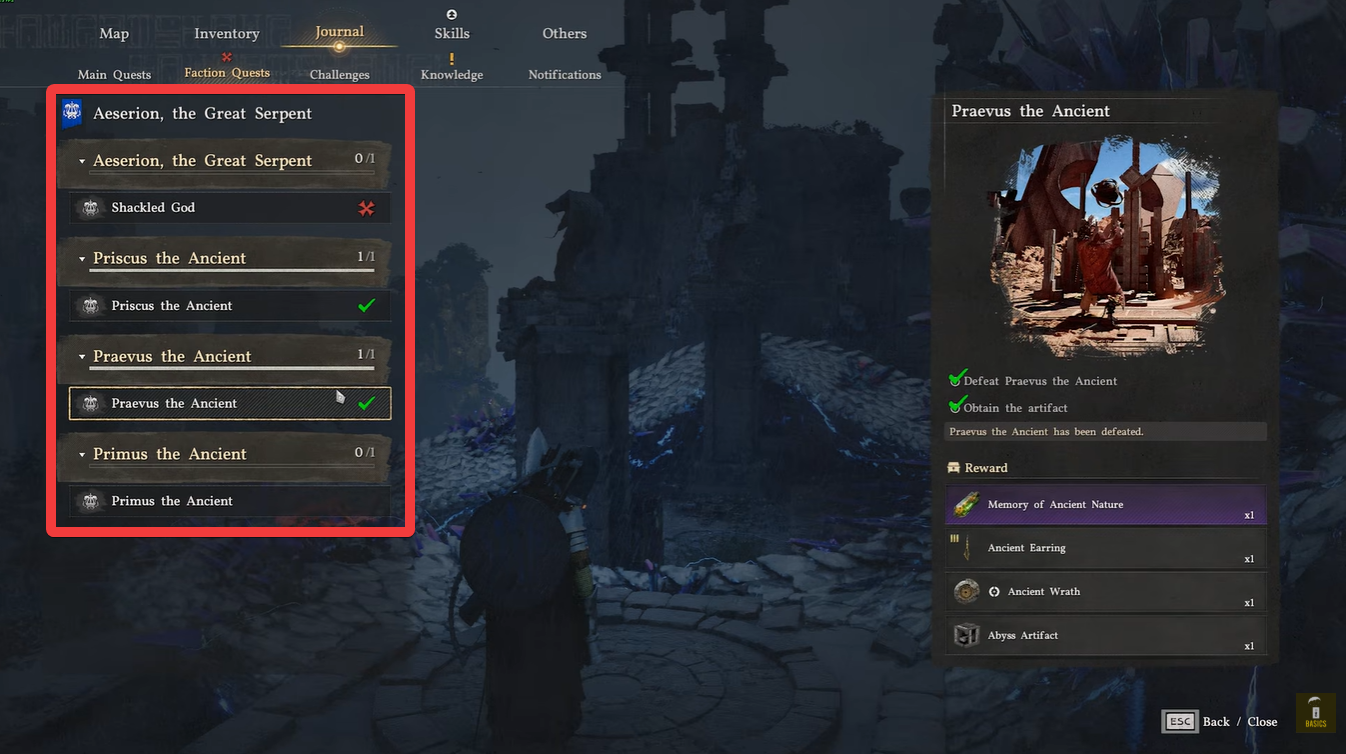
Ancient bosses and their rewards
| Boss Name | Objective | Key Rewards |
|---|---|---|
| Priscus the Ancient | Defeat and obtain artifact | Blessing of the Immortal, Ancient’s Necklace, Ancient Retribution, Abyss Artifact |
| Praevus the Ancient | Defeat and obtain artifact | Memory of Ancient Nature, Ancient Earring, Ancient Wrath, Abyss Artifact |
| Primus the Ancient | Defeat and obtain artifact | Ancient Ring, Ancient Reckoning, Sage’s Eye, Abyss Artifact |
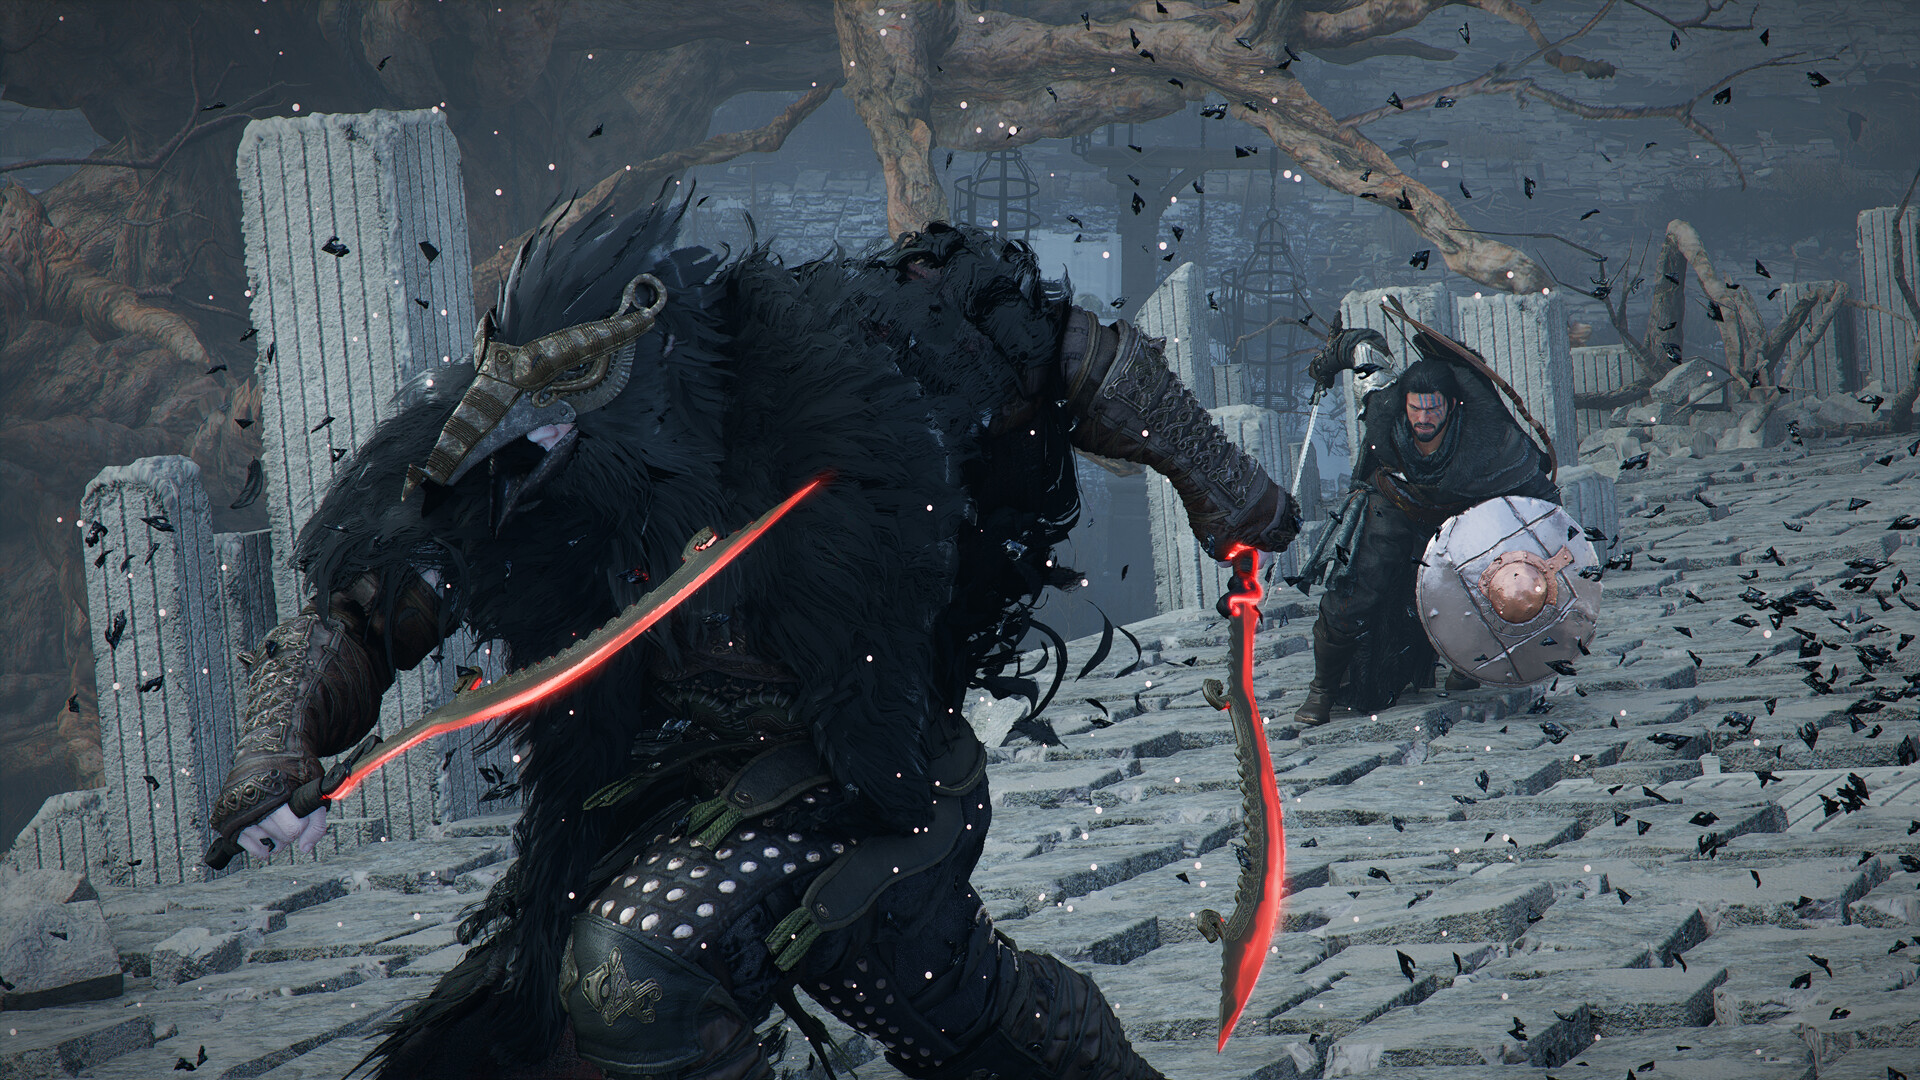
Each boss fight emphasizes different combat mechanics, forcing you to adapt your playstyle rather than relying on a single strategy. Priscus leans toward aggressive melee patterns, Praevus introduces environmental pressure, and Primus tests your timing and defensive reactions.
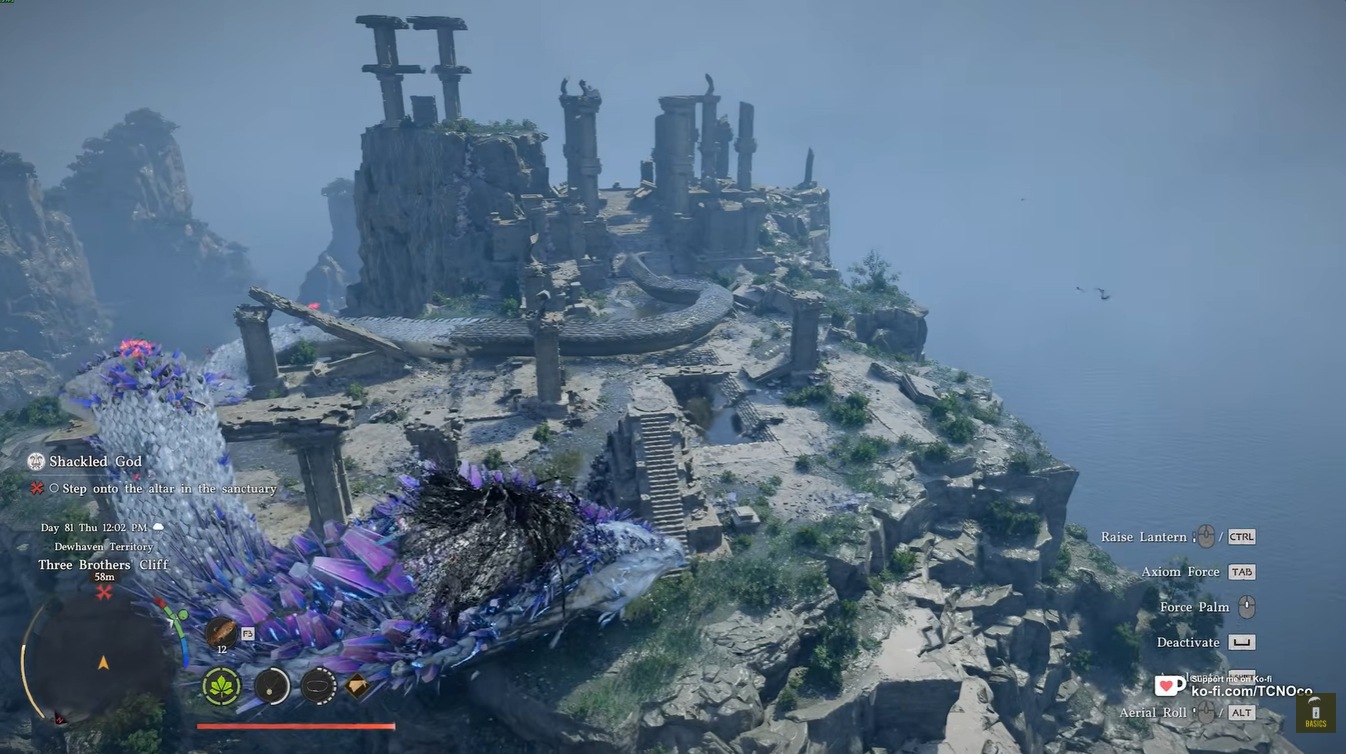
How to defeat the Shackled God boss in Crimson Desert
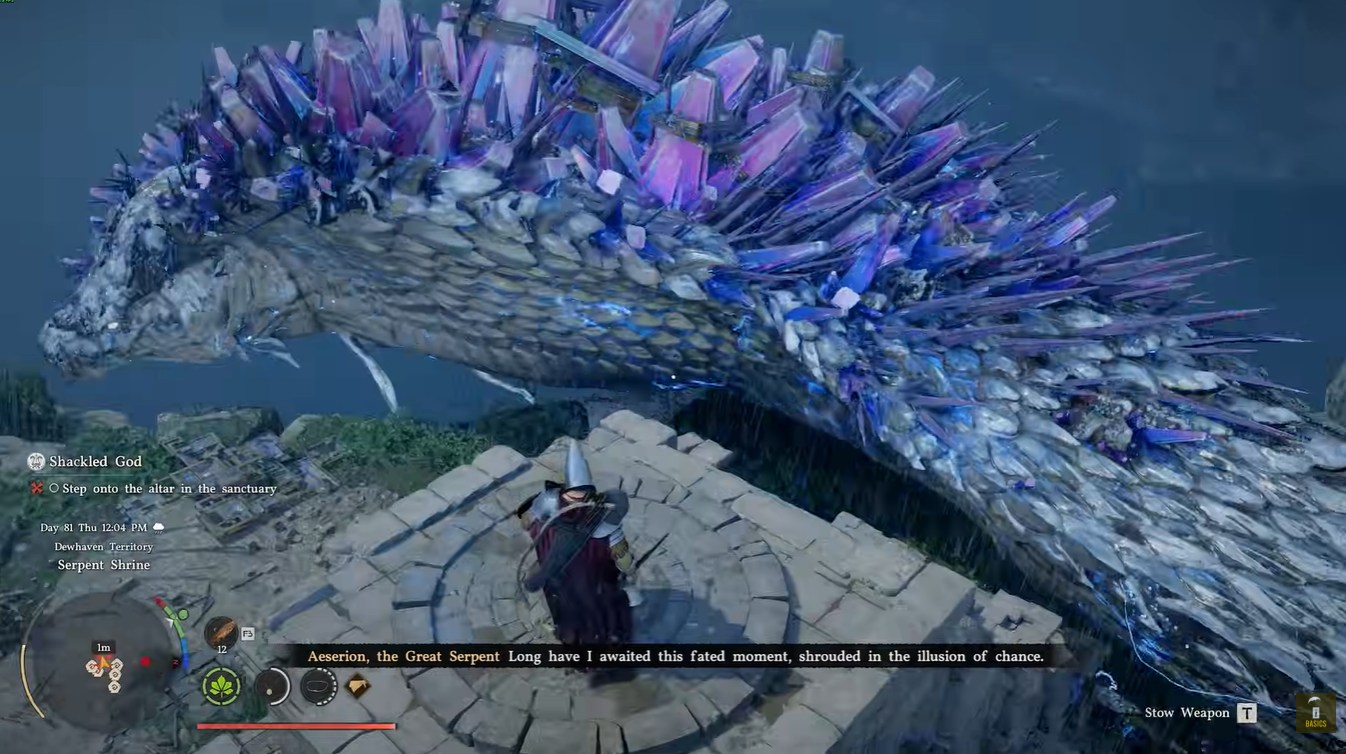
Once all three Ancients are defeated, you’ll return to the main island where Aeserion awaits. This is where the quest shifts dramatically from traditional combat into a large-scale interaction.
Instead of simply attacking a boss, you now need to cleanse Aeserion, which involves both traversal and precision mechanics.
Step 1
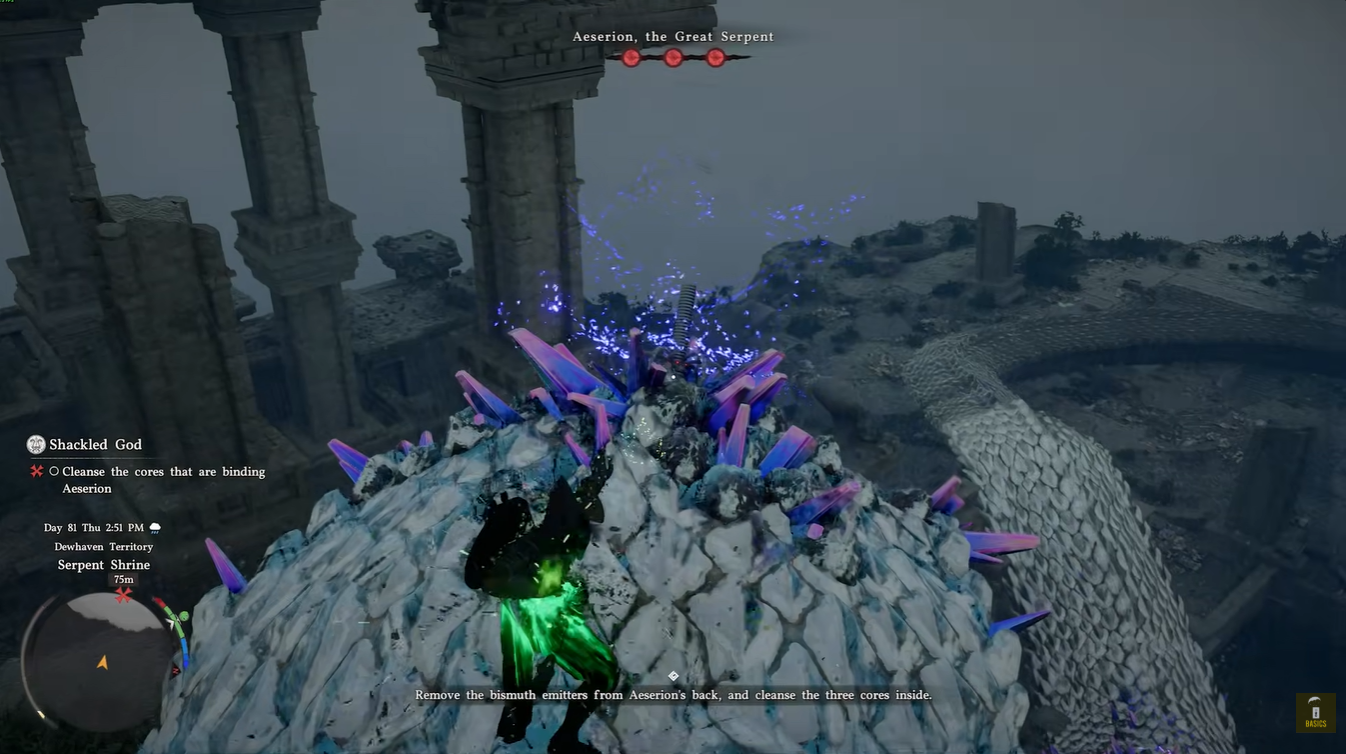
Approach Aeserion and identify the red corruption growths on its body. These glowing weak points are your first priority and are scattered across different sections of the serpent.
Step 2
Choose your approach—climb or ranged attacks. You can physically climb onto Aeserion to destroy the growths up close, or stay at range and use charged attacks if positioning allows.
Step 3
Destroy all visible red growths. Make sure you clear both smaller and larger nodes, as leaving even one behind can prevent progression to the next phase.

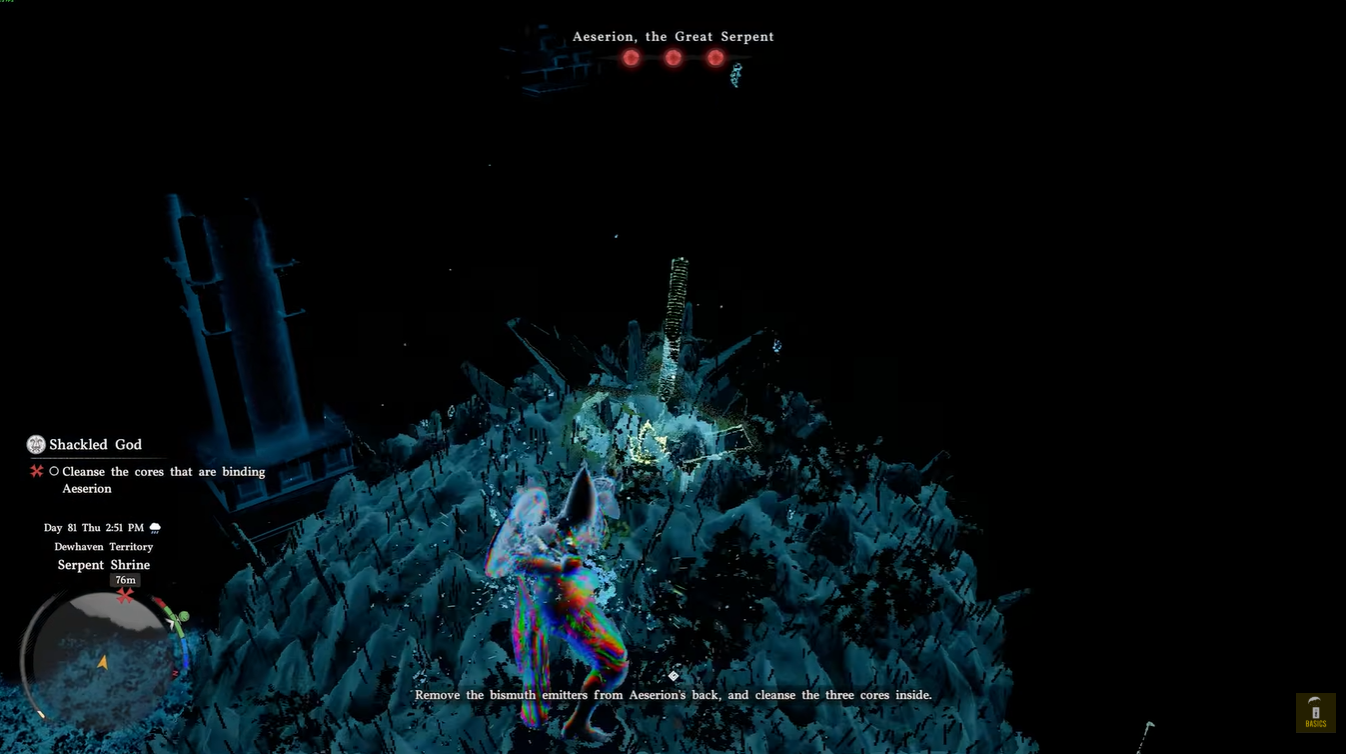
Step 4
Watch for movement and environmental shifts. Aeserion may reposition or cause instability, so maintain balance and avoid falling while climbing.
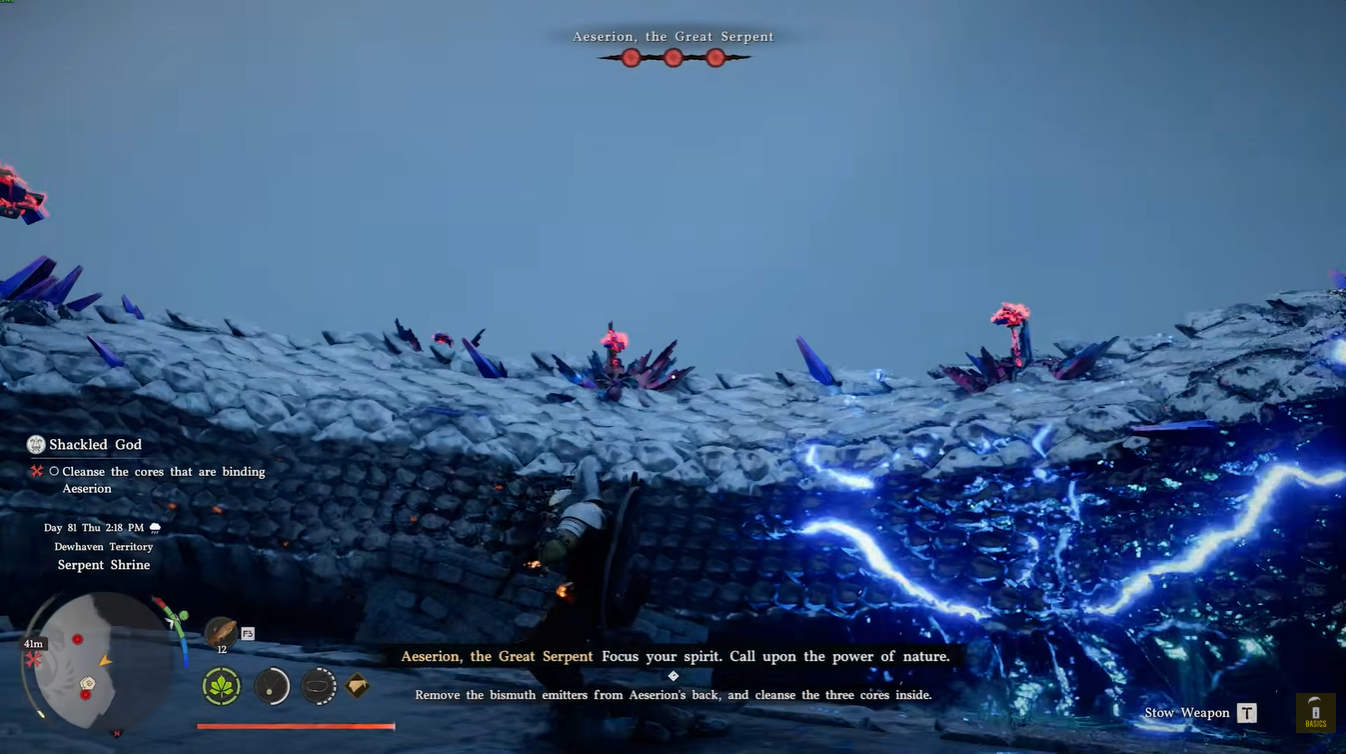
Step 5
Locate the three metal pillars embedded in Aeserion. These are large restraint structures and are the core objective of the fight.
Step 6
Activate your Focus ability to charge a Focused Force Palm. This is the only effective way to break the restraints.
Step 7
Aim carefully at a pillar until your targeting indicator turns yellow. This confirms that your alignment and charge level are correct.
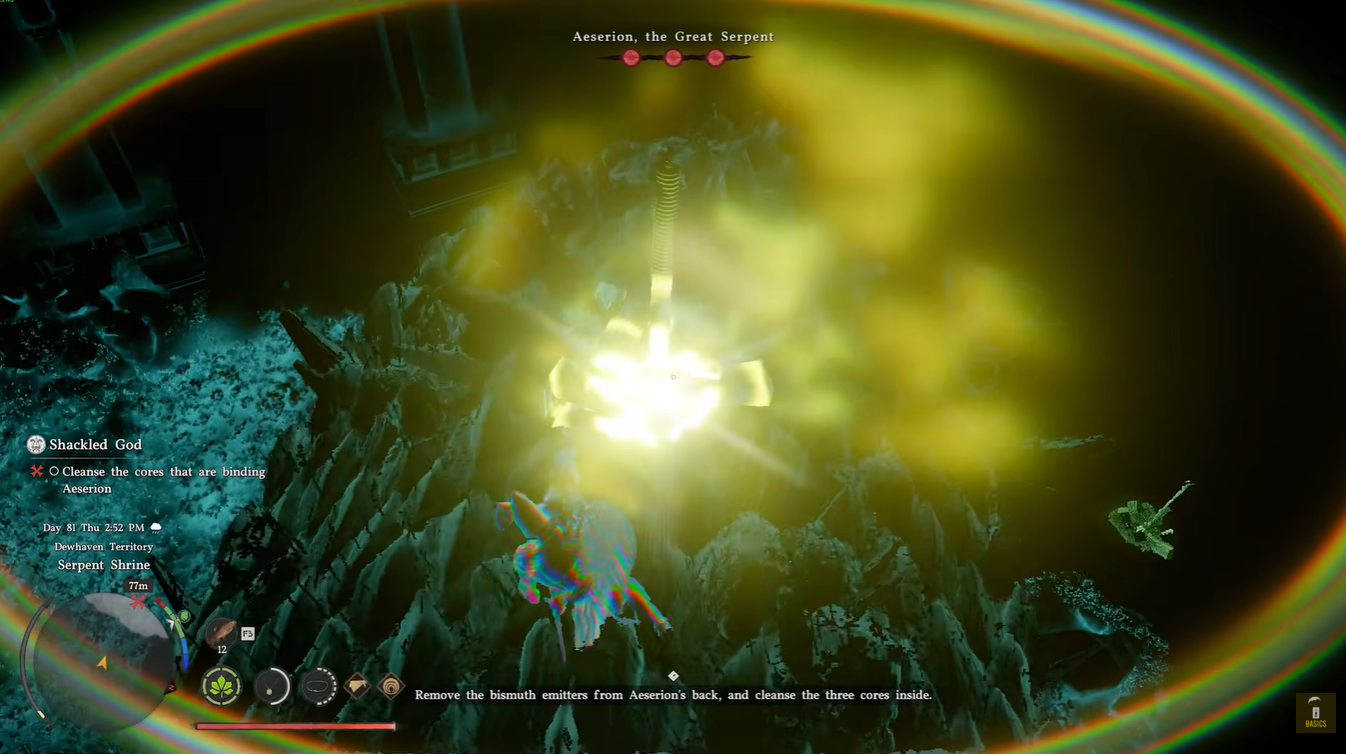
Step 8
Release the Focused Force Palm to break the pillar. Timing is important—release too early or misaligned, and the attack will fail.
Step 9
Repeat the process for all three pillars. Reposition as needed between each attempt, especially if Aeserion shifts or the angle changes.
Step 10
Finish the encounter and free Aeserion. This concludes the boss fight and completes this stage of the Shackled God quest.
Aeserion Sword and why this quest stands out
The Aeserion Sword stands out as the highlight reward, offering both aesthetic appeal and solid performance, making it a desirable addition even if it’s not the absolute strongest weapon in the game.
The Shackled God quest is a perfect example of how Crimson Desert blends storytelling with gameplay mechanics. You’re not just fighting bosses—you’re participating in a multi-stage narrative where each step builds toward a dramatic climax.
The transition from traditional boss fights to the interactive Aeserion encounter keeps the experience fresh and engaging. It also rewards players who pay attention to mechanics rather than relying purely on brute force.