What to know
- Each region has its own stable and saddlery that acts as a checkpoint for your horse.
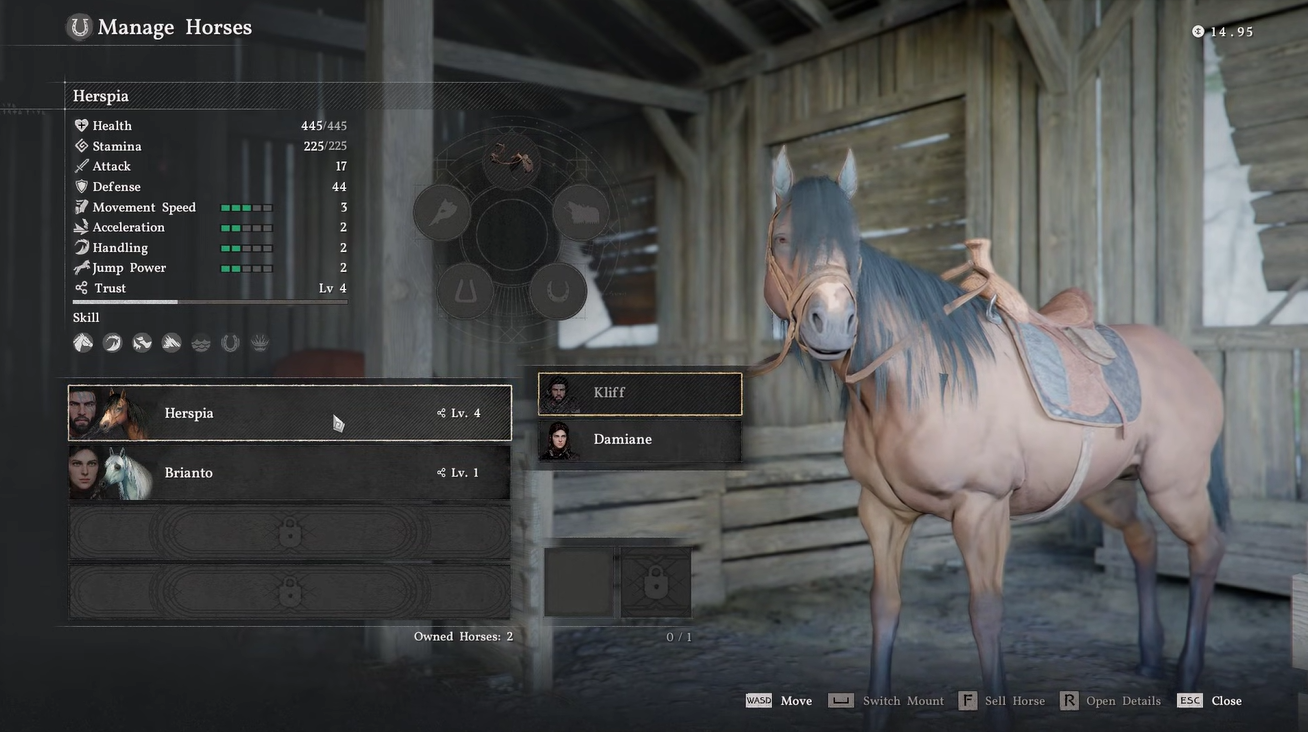
- Stables focus on managing, recovering, and switching horses.
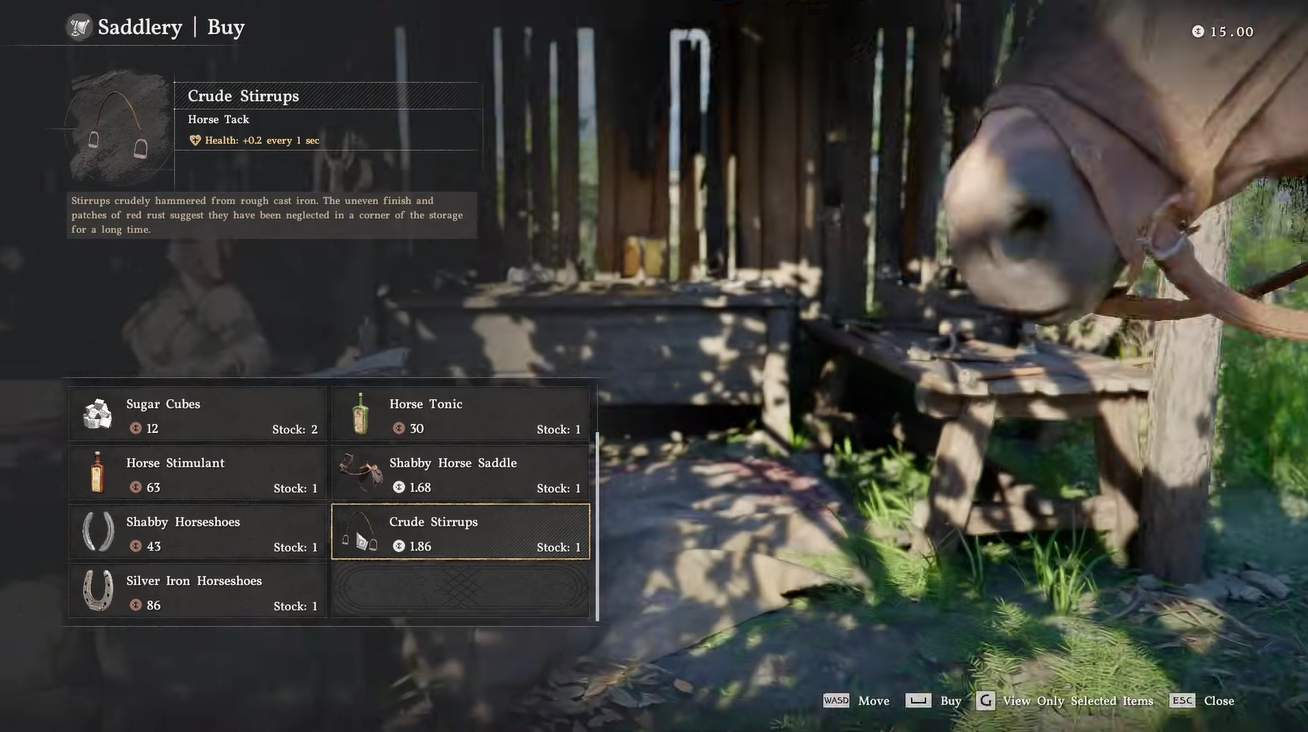
- Saddleries provide gear and consumables to improve mount performance.
- Using these locations regularly keeps your travel efficient and safe.
As you explore Crimson Desert, you’ll quickly depend on your horse for nearly everything—travel, combat positioning, and exploration. Knowing where to find each stable and saddlery, and how to use them effectively, ensures you never fall behind in mobility or survivability.
| Feature | Stable | Saddlery |
|---|---|---|
| Purpose | Horse management | Equipment and items |
| NPC Role | Stable hand | Saddler |
| Key Actions | Manage, recover, buy horses | Buy/sell gear |
| Gameplay Impact | Keeps horses available | Enhances performance |
| Availability | All major regions | Usually beside stables |
What happens inside a Stable or Saddlery
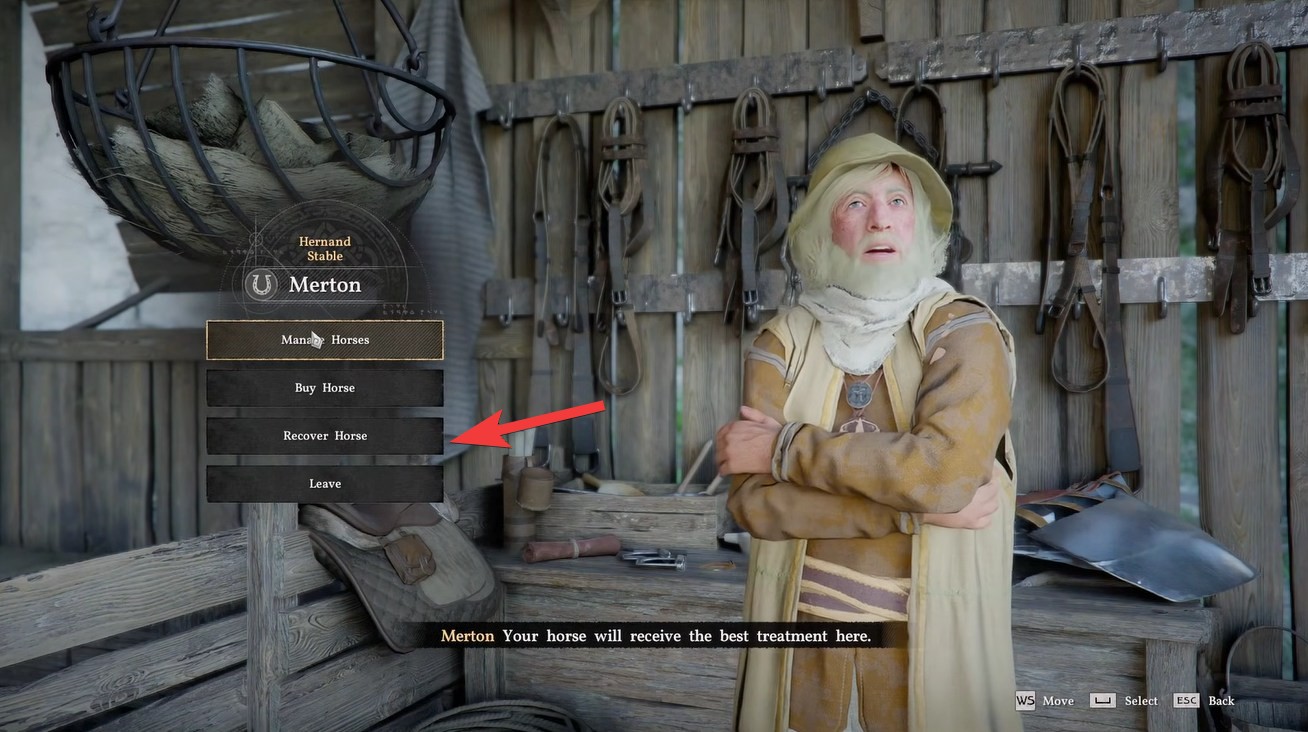
When you enter a stable, you’re essentially accessing your horse management hub. Here, you can view detailed stats like health, stamina, speed, and trust, while also switching between owned mounts. The recovery option ensures that even if your horse gets lost or defeated, you can bring it back without losing progress.
Saddleries complement this system by offering upgrades. You can purchase items like stirrups, saddles, horseshoes, and consumables, all of which directly influence your horse’s performance. Even small upgrades, such as passive health regeneration or stamina boosts, can significantly improve long-distance travel.
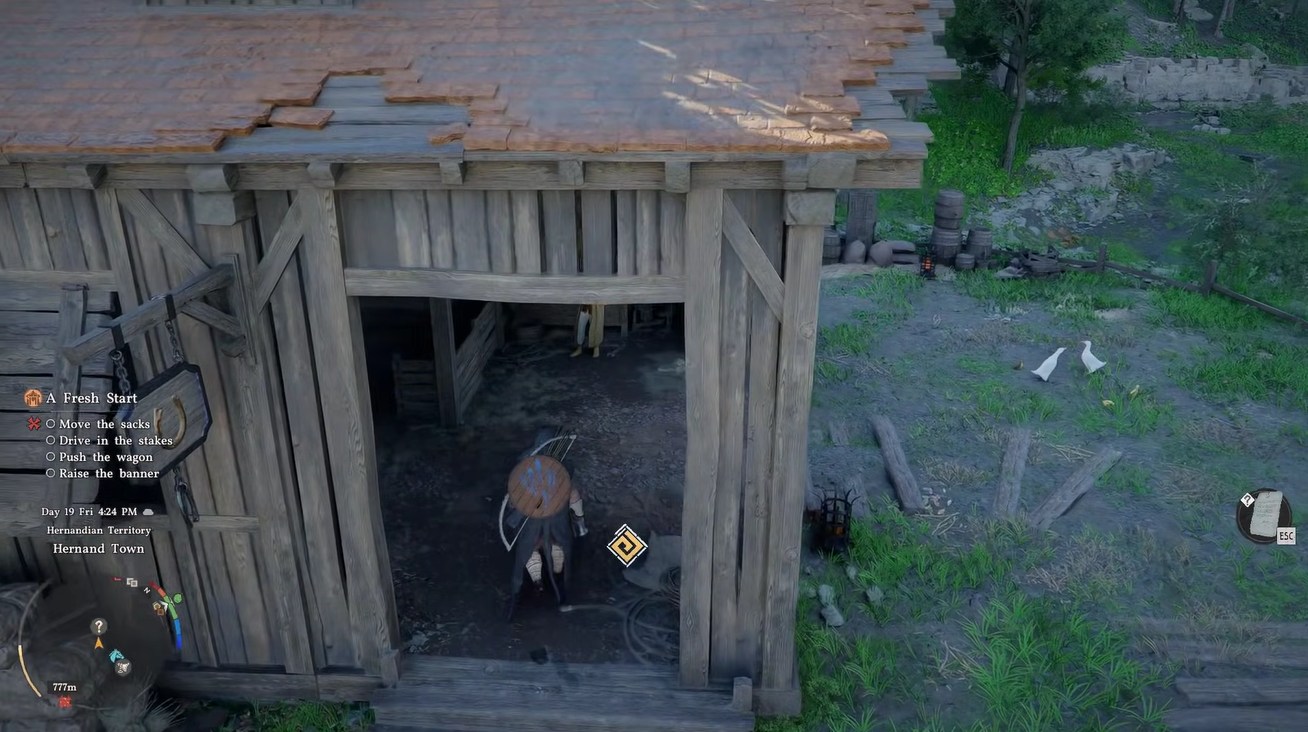
Crimson Desert All Stable locations
1 – Hernand main stable and saddlery near the castle region
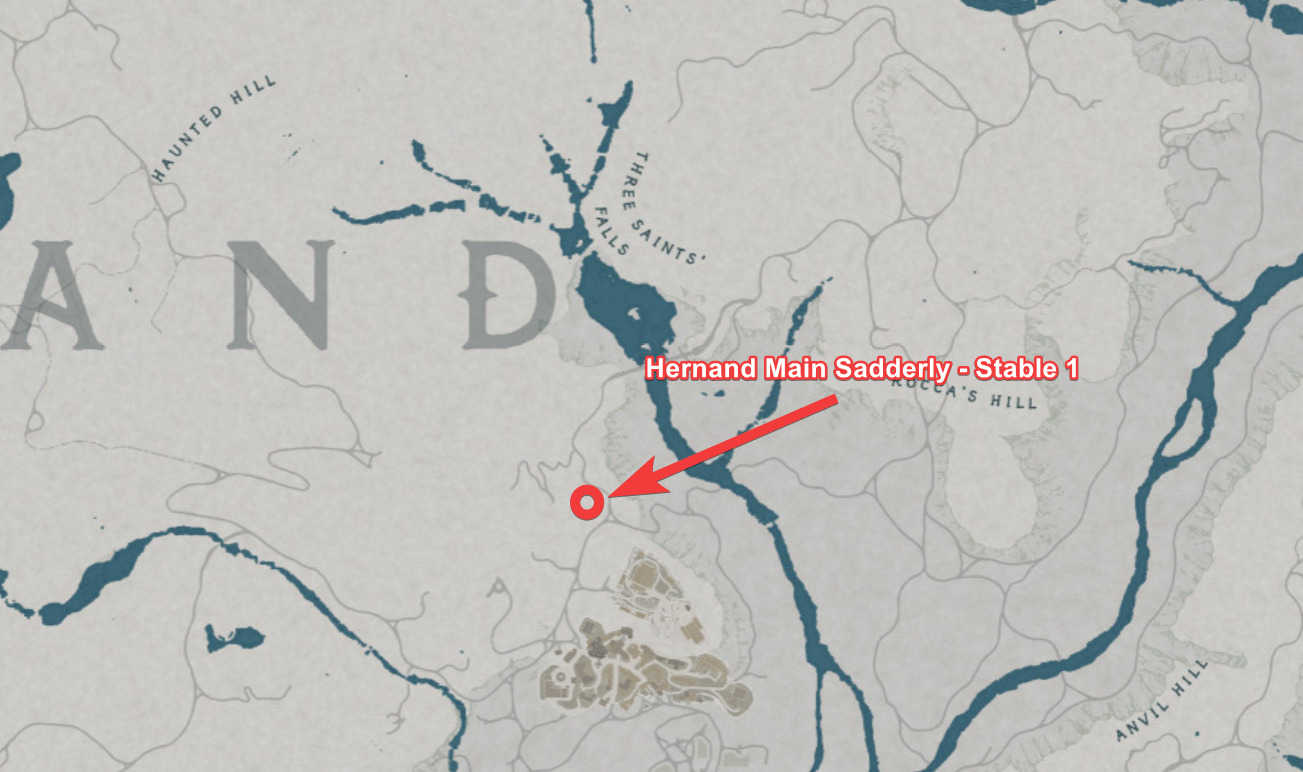
The Hernand Main Stable and Saddlery, located north of Hernand Castle and Lioncrest Manor, is one of the earliest and most important hubs you’ll encounter. This location acts as your introduction to horse management systems, making it a reliable stop during early progression.
Here, you’ll frequently interact with stable NPCs to manage your first horse, recover it when needed, and experiment with gear upgrades. Because of its proximity to major landmarks, this stable becomes a central checkpoint for repeated visits as you complete nearby quests.
2 – Hernand Goldleaf Tradepost stable for trading routes
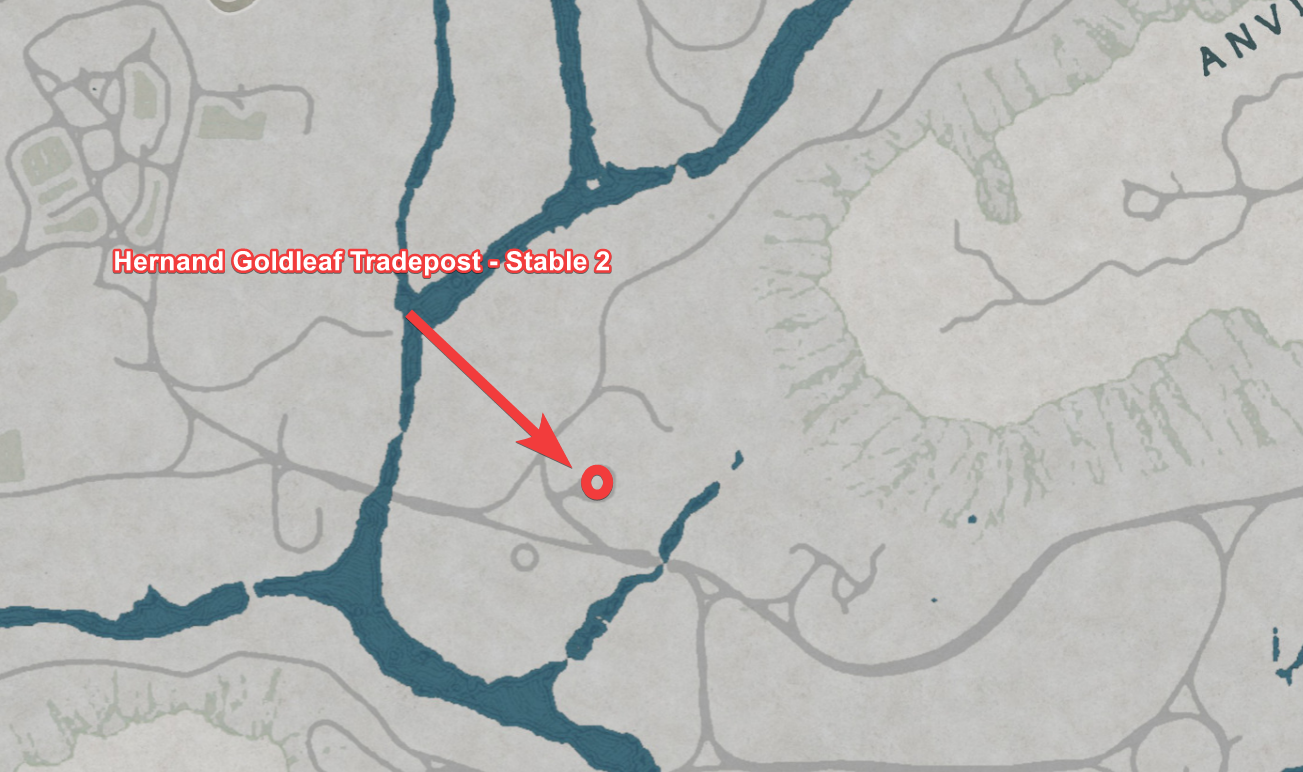
The Hernand Goldleaf Tradepost Stable, situated near the tradepost, is particularly useful if you’re engaging in trading or resource runs. Its positioning along a commercial route makes it ideal for maintaining your horse during long-distance travel.
You’ll likely pass through this area multiple times, and having quick access to recovery and gear upgrades ensures that your mount stays in peak condition. This stable is especially valuable when you’re moving between regions with heavy inventory loads.
3 – Calphade stable and saddlery near training and farmland

Located south of the Calphade Training Field and north of the farmhouse, the Calphade Stable and Saddlery serves as a mid-game support hub. This area is frequently visited due to combat training and farming activities, making the stable an essential stop.
Here, you’ll begin to notice the importance of upgrading your horse more seriously. As enemies become tougher and distances increase, basic mounts start to feel insufficient, pushing you to invest in better gear and possibly new horses.
4 – Delesyian main stable near institute
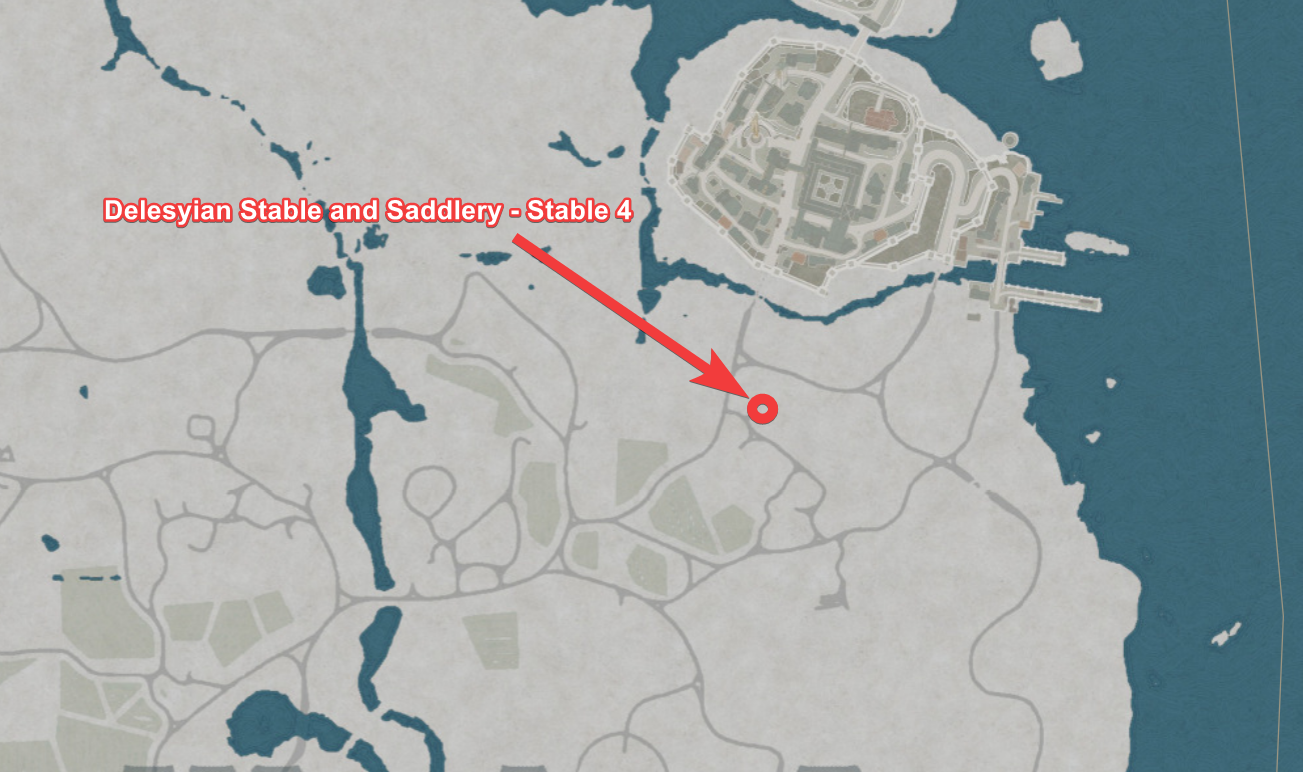
The Delesyian Main Stable and Saddlery, positioned near Finhold Netmakers and south of the Delesyian Institute, supports you during more story-driven segments of the game. This region often involves extended exploration and quest chains, making reliable horse management critical.
Because of its placement near key narrative locations, you’ll find yourself returning here often to recover and optimize your mount before major missions. This is where consistent upgrades begin to pay off noticeably.
5 – Tommaso town stable
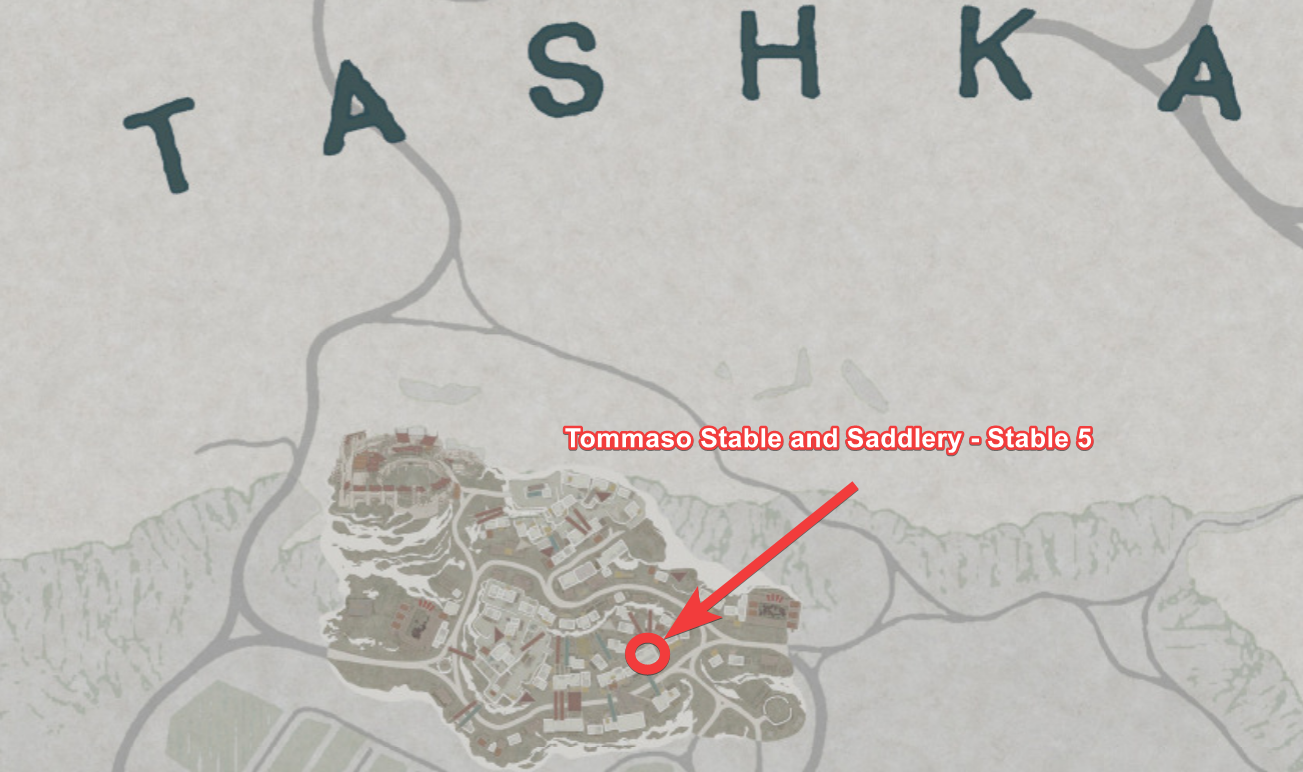
The Tommaso Stable and Saddlery, located in the middle of Tommaso Town, offers unmatched accessibility. Its central position means you can quickly stop by without deviating from your objectives.
This convenience makes it one of the most frequently used stables in the game. Whether you’re preparing for a journey or returning from one, this location ensures minimal downtime between activities.
6 – Varnia stable and saddlery near Alabaster Bridge
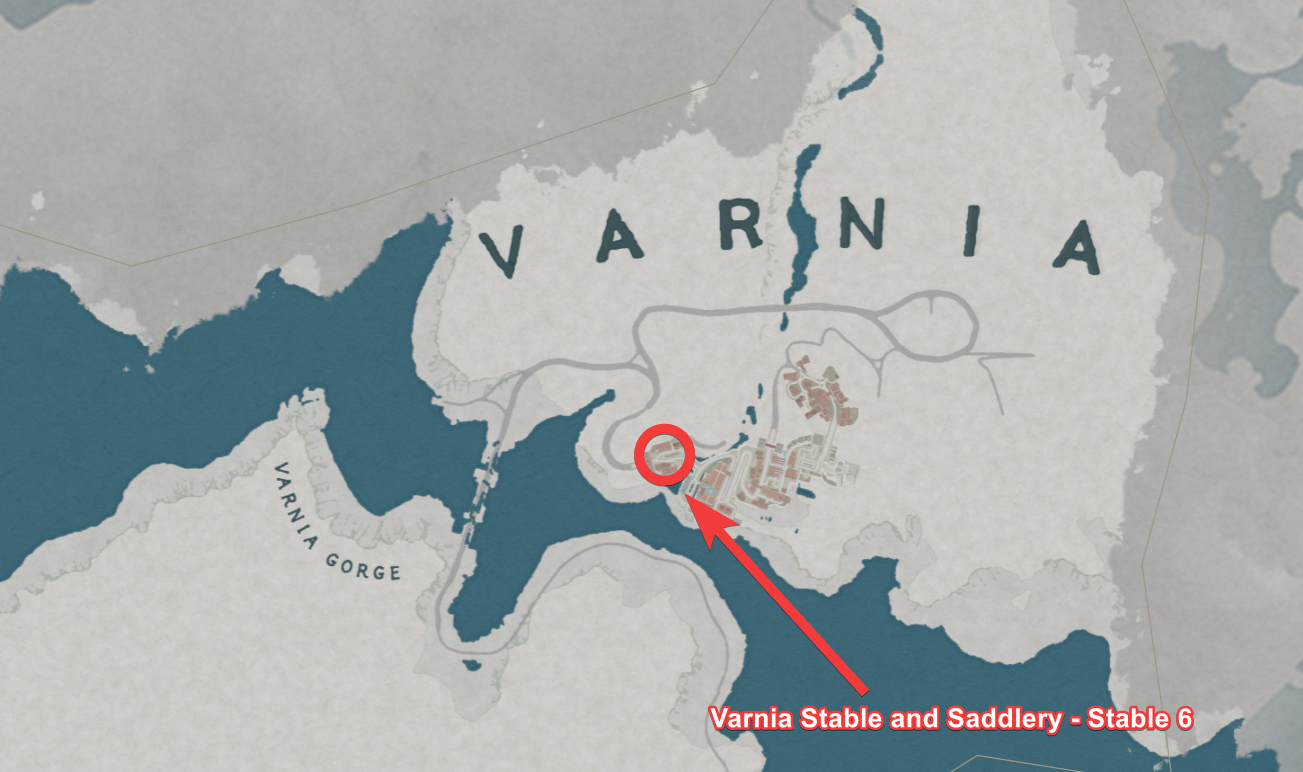
Near the entrance from Alabaster Bridge, the Varnia Stable and Saddlery consists of two closely placed facilities. This setup allows you to manage and upgrade your horse almost instantly without moving far.
This location is particularly useful when transitioning between regions. As you enter or exit Varnia, you can quickly recover your horse, upgrade gear, and continue your journey without interruption.
How to use Stables in Crimson Desert
Step 1
Visit the nearest stable whenever you enter a new region. This establishes a safety point for your horse.
Step 2
Open the manage horses menu and review stats. Keep track of health, stamina, and speed to ensure optimal performance. You can also heal your horse by using focus and food.

Step 3
Recover your horse if necessary. Never continue exploring with a weakened or missing mount.
Step 4
Head to the nearby saddlery and check available upgrades. Even minor improvements can make a noticeable difference.
Step 5
Equip gear immediately and test performance in the field. Adjust based on your travel and combat needs.
Horse stat overview for smarter upgrades
| Stat | Effect | Importance |
|---|---|---|
| Health | Survivability | Prevents frequent recovery |
| Stamina | Sprint duration | Enables long travel |
| Speed | Movement rate | Saves time |
| Acceleration | Speed buildup | Improves responsiveness |
| Handling | Turning | Easier navigation |
| Jump Power | Mobility | Access new areas |
| Defense | Damage reduction | Safer travel |
| Trust | Bond level | Enhances overall efficiency |
Understanding these stats helps you prioritize the right upgrades instead of wasting resources.
Why every horse stable matters in Crimson Desert
Each stable is more than just a service point—it’s part of you and your horse’s progression system. By regularly visiting these locations, you ensure your horse evolves alongside your character.
Ignoring stables can lead to slower travel, weaker survivability, and unnecessary frustration. On the other hand, consistent use of saddleries and stable management creates a smoother, faster, and more enjoyable gameplay experience.