What to know
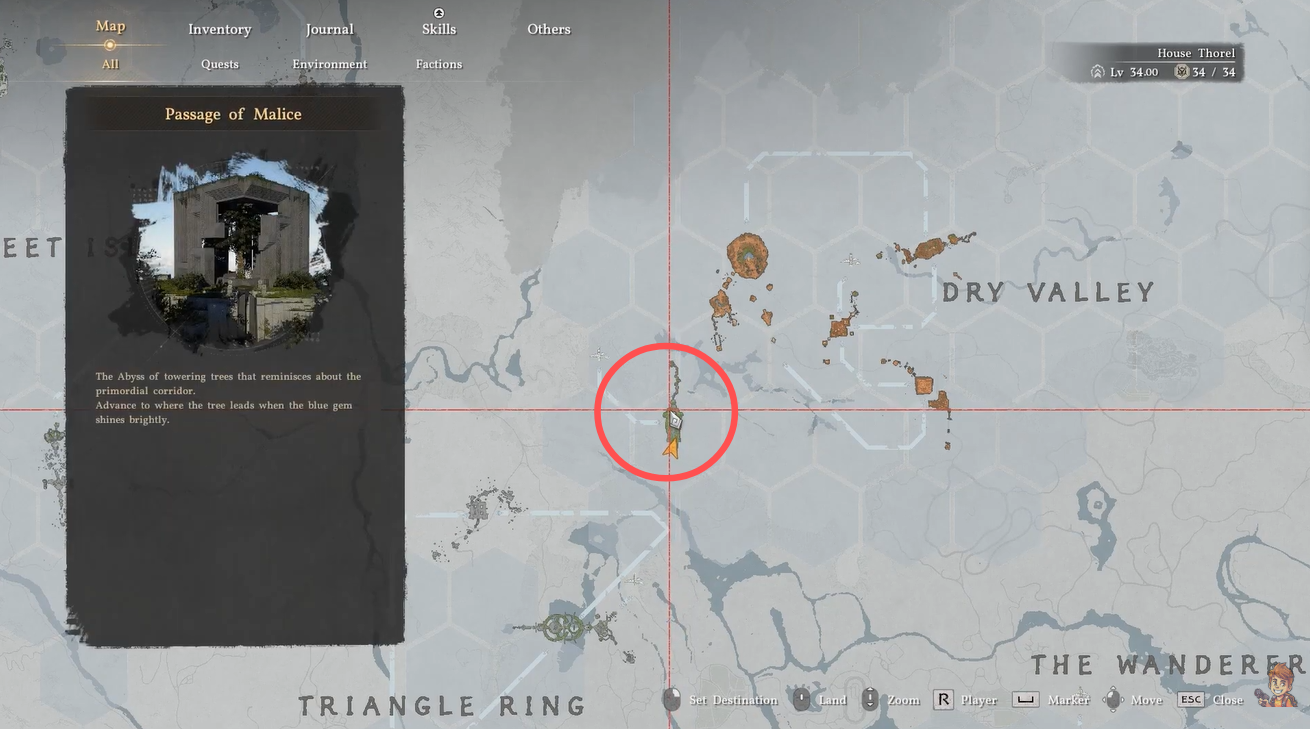
- This puzzle is located in the Dry Valley region within the Abyss.
- You’ll rely heavily on Axiom Force mechanics like charging, rotating, and repositioning objects.
- Laser alignment between block segments is the key to unlocking the central gate.
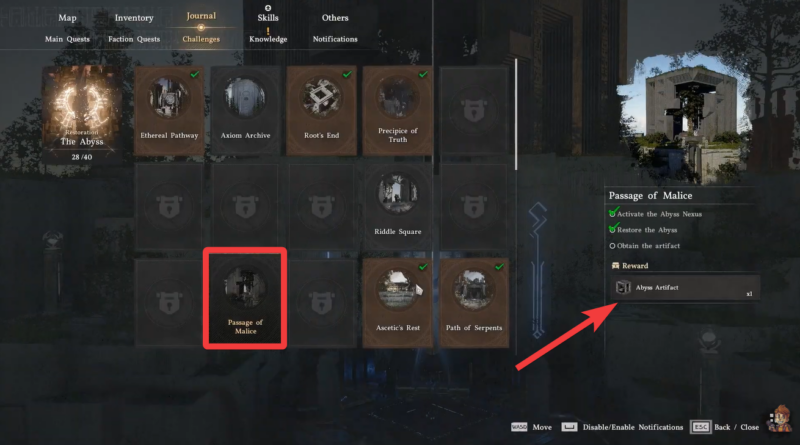
- Final reward includes an Abyss Artifact accessed via the Nexus after activation.
You’ll encounter the Passage of Malice Abyss puzzle in Crimson Desert as one of the more intricate Axiom-based challenges. It combines environmental manipulation, precise positioning, and timing. If you approach it methodically, you can solve it without unnecessary backtracking.
Crimson Desert Passage of Malice puzzle details
| Element | Details |
|---|---|
| Location | Dry Valley, Abyss |
| Puzzle Type | Axiom-based block and laser alignment |
| Core Mechanics | Charging nodes, rotating blocks, laser transfer |
| Key Objective | Open central gate and activate Abyss Core |
| Final Reward | Abyss Artifact |
| Difficulty | Moderate |
Passage of Malice Abyss location in Crimson Desert
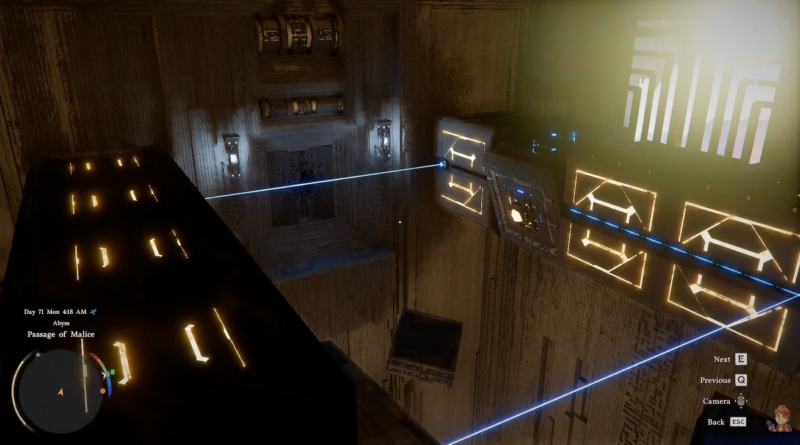
The Passage of Malice area is divided into two mirrored block segments on the left and right, with a central locked gate between them. Each side contains rotatable blocks and suspended laser nodes, which must be aligned symmetrically. Below the entry point lies the main puzzle arena, accessed after activating the first Axiom device.
You’ll notice early on that everything revolves around creating matching configurations across both sides, so always think in pairs rather than isolated actions.
How to solve the Passage of Malice puzzle in Crimson Desert
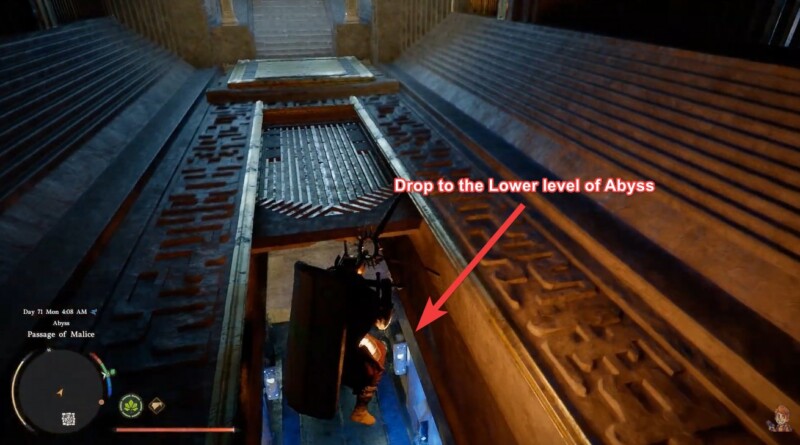
A – Getting to the lower level of Abyss
Step 1
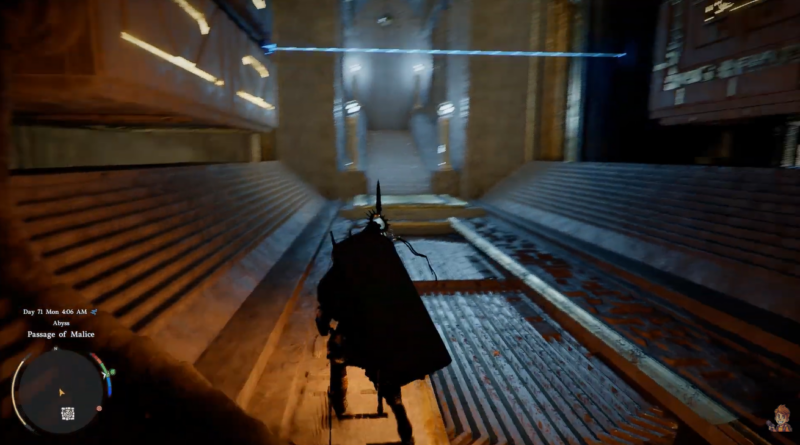
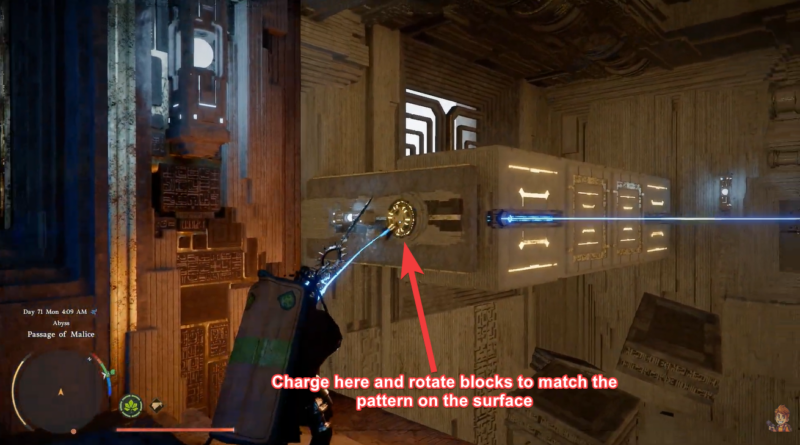
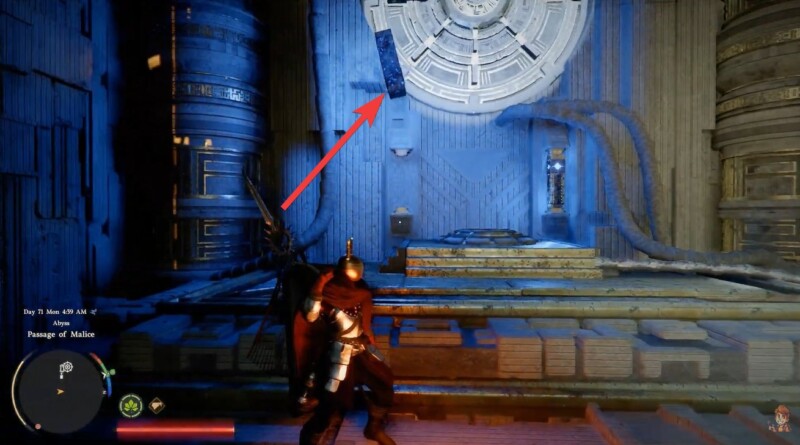
Enter the Passage of Malice and immediately inspect the Axiom device mounted on the right wall. This is your entry trigger.
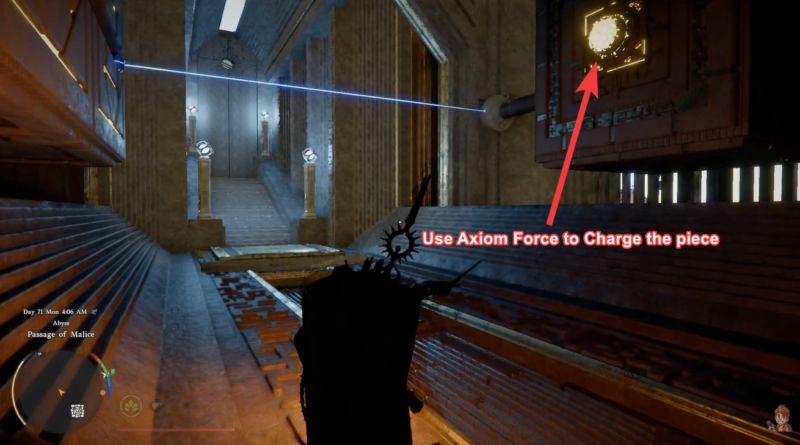
Step 2
Use Axiom Force to charge the wall-mounted piece, which opens a pathway leading down into the lower Abyss level.
B – Solving laser block alignment puzzle
Step 3
Once below, head to the left segment and rotate the blocks using Axiom Force until all four connect properly.
The goal is to form a continuous structure and pattern.

Step 4
Move to the right segment and repeat the same process, ensuring that both sides mirror each other in structure.
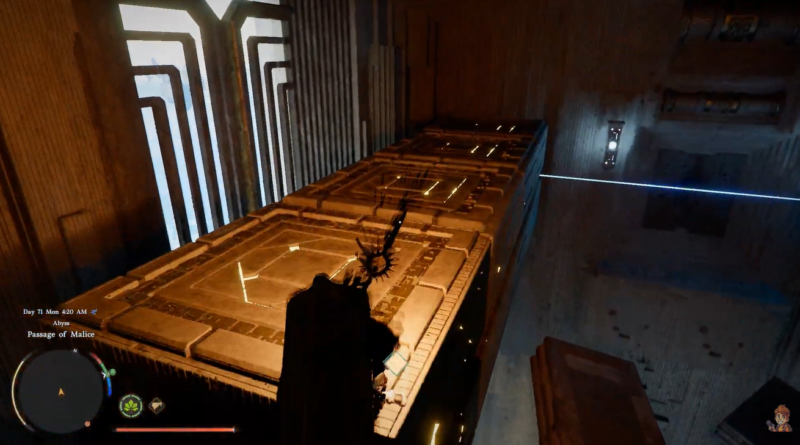
Step 5
Grapple onto the left block segment to gain a better vantage point for laser manipulation.
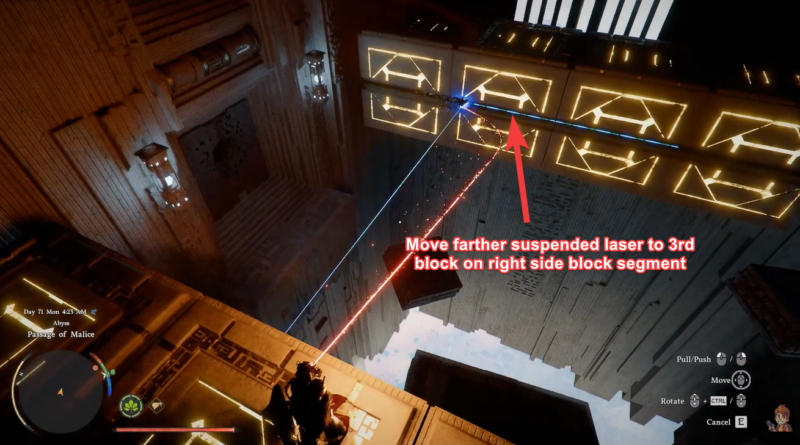
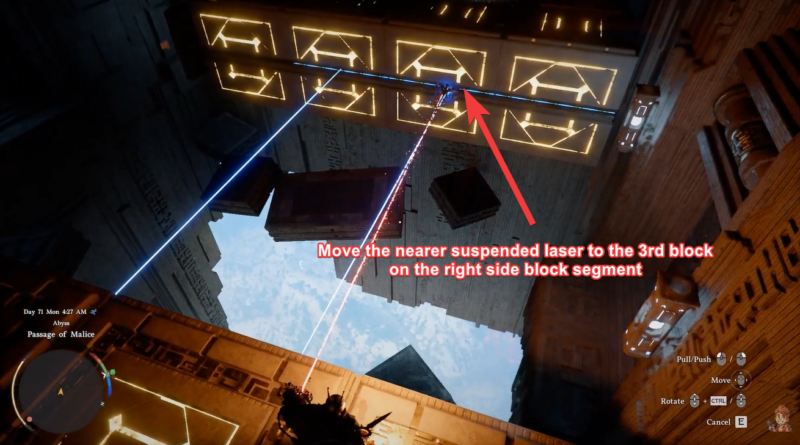
Step 6
From here, move the suspended laser from the 4th block to the 3rd block on the right segment. This begins the synchronization process.
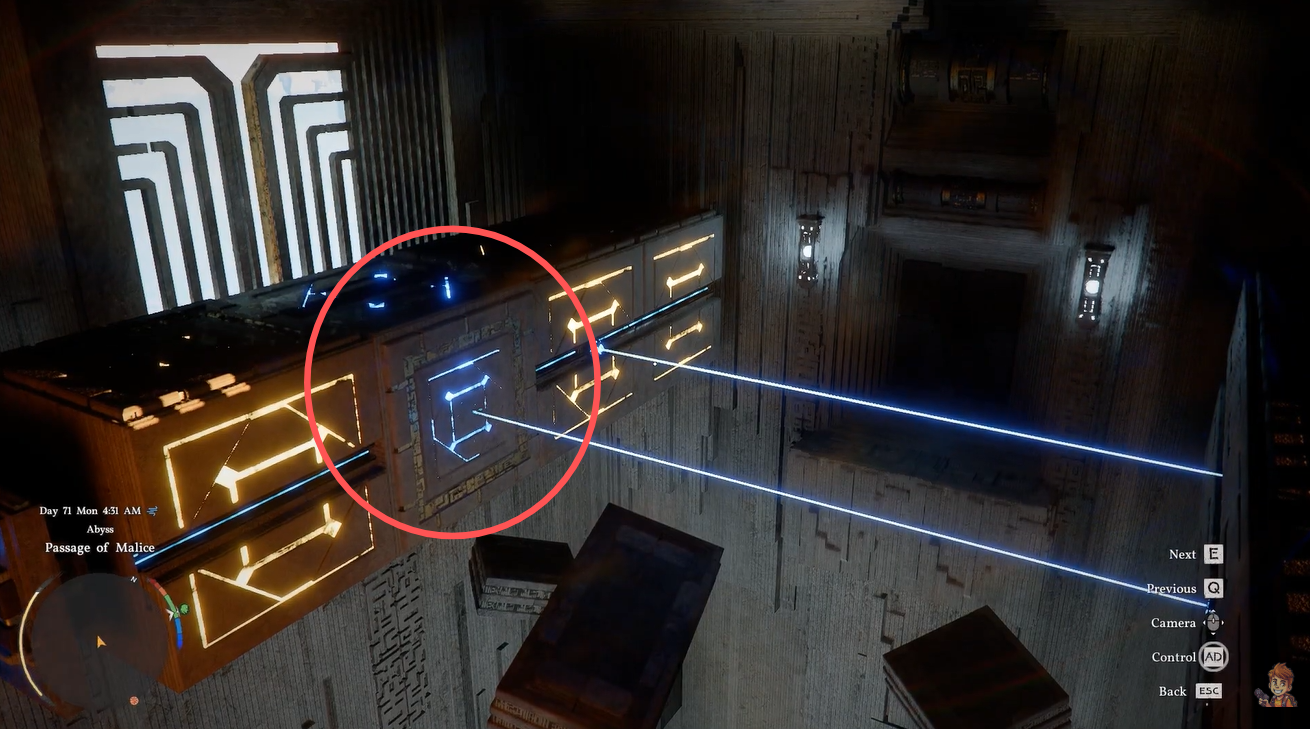
Step 7
Jump across to the right segment and transfer the suspended laser back toward the left segment, placing it onto the 3rd block there.
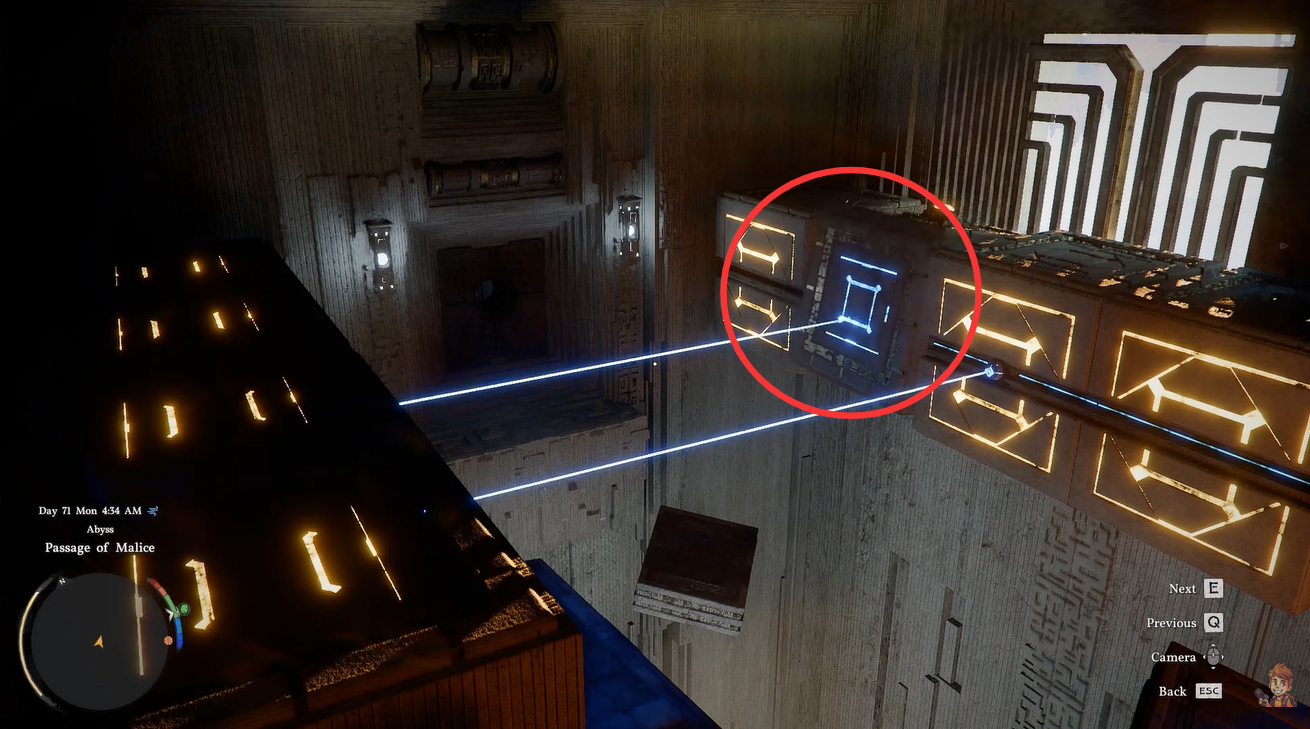
Step 8
Now adjust the 2nd block on the left segment so it aligns perfectly with the 2nd block on the right.
Step 9
Do the same for the 3rd block on the right segment, matching it with the 3rd block on the left. This symmetry is crucial.
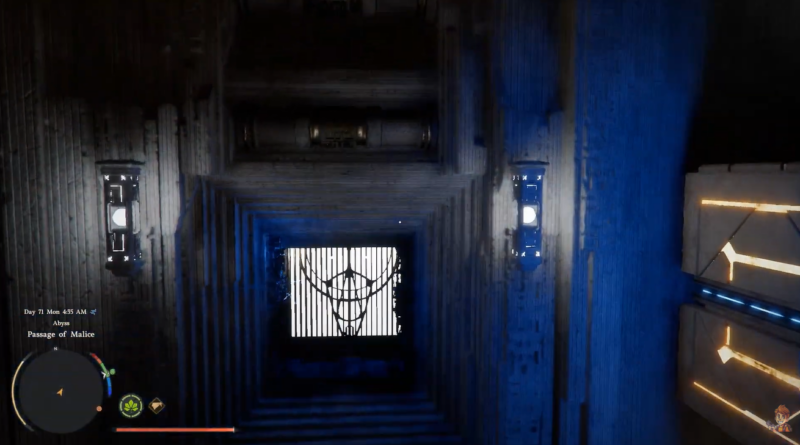
Step 10
Once alignment is correct, the central gate will automatically unlock, granting access to the next chamber.
C – Activating Passage of Malice Abyss Nexus
Step 11
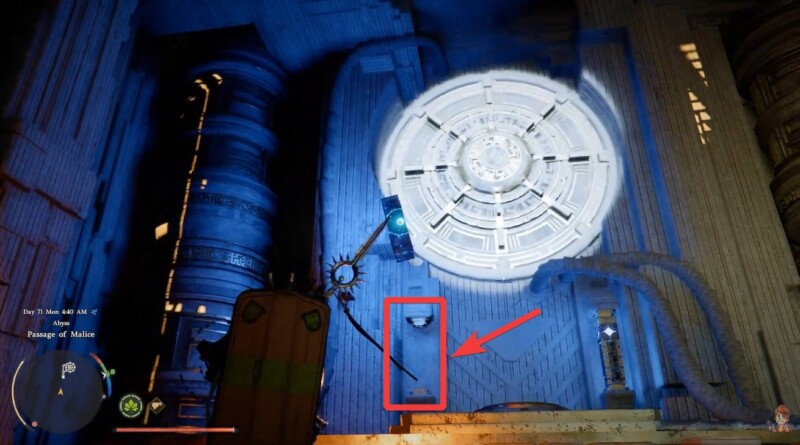
Inside the room, locate the floating Axiom piece and pick it up.
Step 12
Place it on the left pedestal, ensuring it mirrors the already placed piece on the right pedestal. When done correctly, the central core will illuminate.
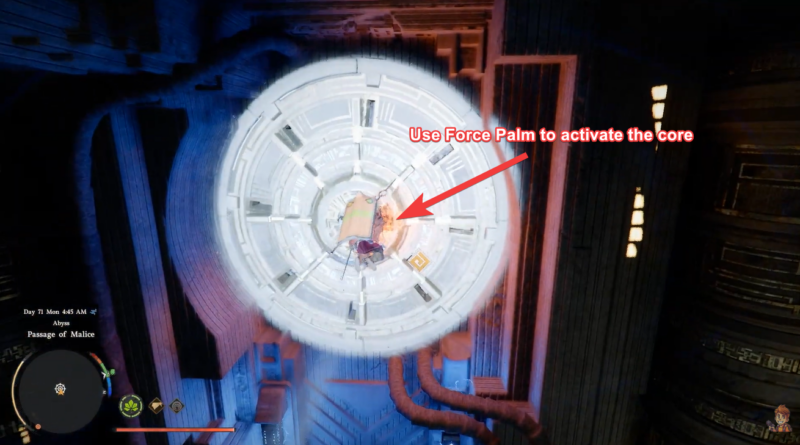
Step 13
Use Force Palm to activate the Abyss Core, completing the puzzle’s primary objective.
Step 14
After activation, the Abyss Artifact becomes available as your reward.
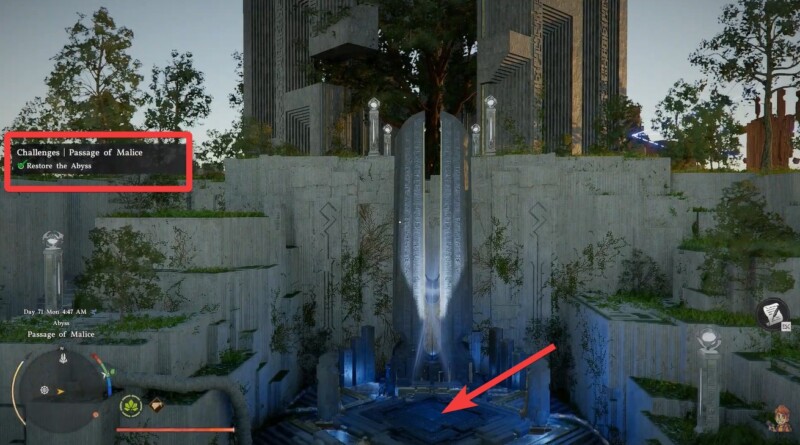
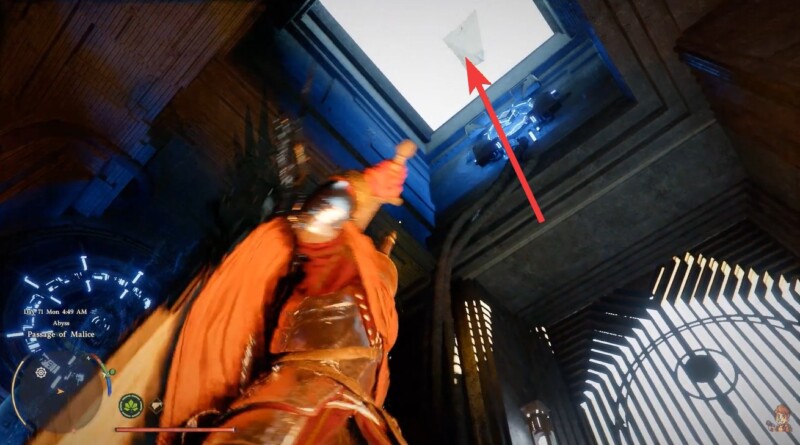
Step 15
To retrieve it, fly through the newly opened path toward the Nexus, where the artifact can be collected.
Rewards for completing Passage of Malice
| Reward | Description |
|---|---|
| Abyss Artifact | Valuable progression item tied to Abyss completion |
| Puzzle Completion | Counts toward Abyss exploration progress |
| Nexus Access | Unlocks continuation path in the Abyss |
Laser alignment is the real challenge here
What makes this puzzle tricky is not the mechanics themselves, but the requirement for precise symmetry between both sides. If even one block or laser is slightly misaligned, the gate won’t open. You’ll need to constantly compare left and right segments to ensure they match.
Another subtle challenge is managing the suspended laser transfers, as moving them too early or placing them incorrectly can disrupt the sequence. Staying patient and following a mirrored approach helps avoid confusion.
The Passage of Malice Abyss puzzle stands out as a clever test of spatial awareness and Axiom mastery. Once you understand that everything depends on symmetry and sequencing, the solution becomes much clearer. By carefully aligning blocks and lasers, activating the core, and navigating to the Nexus, you’ll secure the Abyss Artifact and complete this challenge efficiently.