What to know
- This puzzle requires precise use of the Focused Shots and Flight abilities
- You must activate four cube segments across ground and aerial rings
- Updraft mechanics are essential to reach higher puzzle layers
- Final reward includes powerful Lightning-based abilities and an Abyss Artifact
The Courtyard of Precision puzzle in Crimson Desert is one of the more mechanically demanding Abyss challenges, testing your control over abilities, positioning, and timing. Unlike simpler puzzles, this one requires you to think in layers—both horizontally and vertically—while executing precise actions to activate all segments. If you’re struggling to get everything aligned, this guide walks you through the entire process clearly and efficiently.
Crimson Desert Courtyard of Precision puzzle details
| Aspect | Details |
|---|---|
| Location | Courtyard of Precision, Path of Providence (Abyss) |
| Core Mechanic | Simultaneous cube activation |
| Required Abilities | Focused Shots, Flight, Force Palm |
| Segments | 4 total (2 ground + 2 aerial) |
| Difficulty | Moderate to High |
| Final Rewards | Lightning Strike Ability, Lightning Surge Skill, Abyss Artifact |
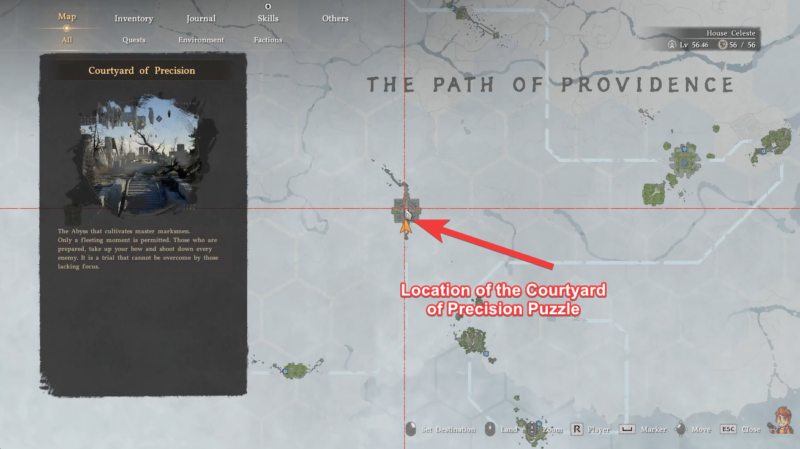
Where to find the Courtyard of Precision and how to reach it
To access the Courtyard of Precision, you must follow a specific Abyss progression path:
Spire of the Stars → Sanctorum of Insight → Secret Garden → Vault of Vengeance → Courtyard of Precision.
Reaching this area means you’ve already progressed deep into the Abyss, so preparation is key before attempting the puzzle.
How to solve the Courtyard of Precision in Crimson Desert
A – Completing on-ground segments of floating cubes
Step 1
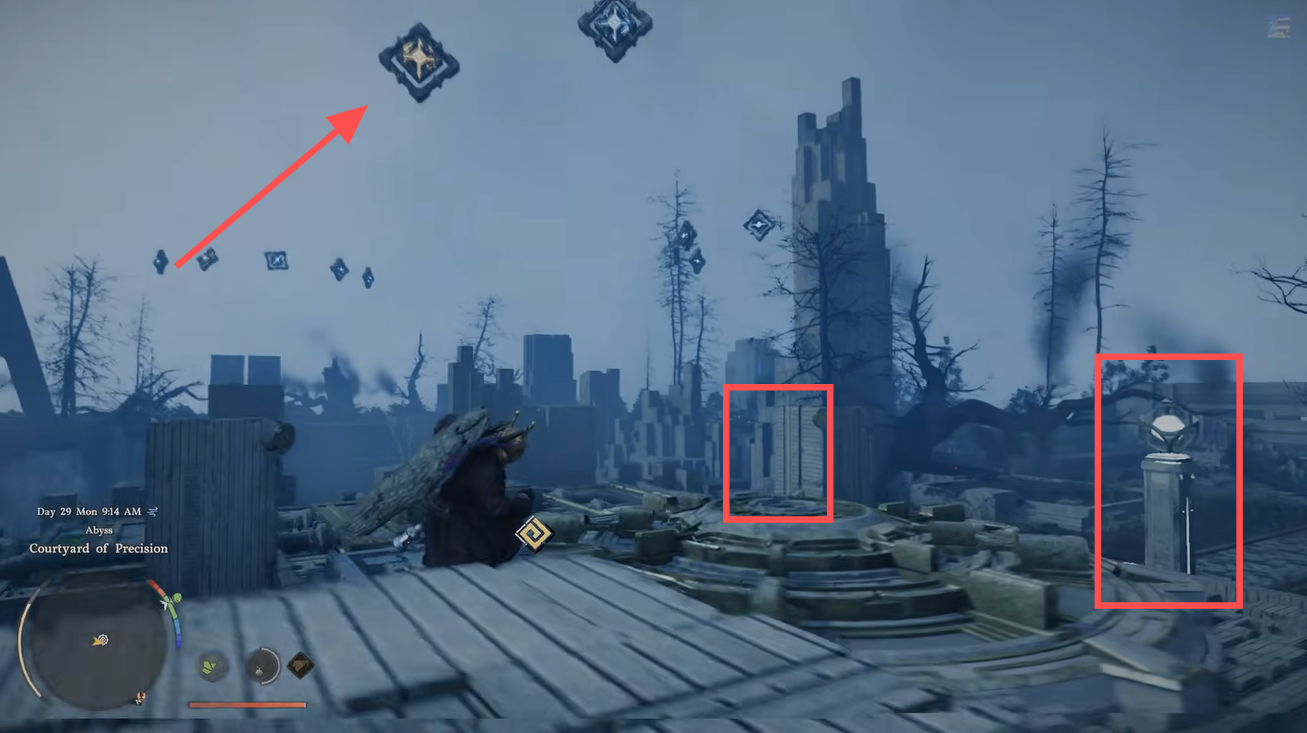
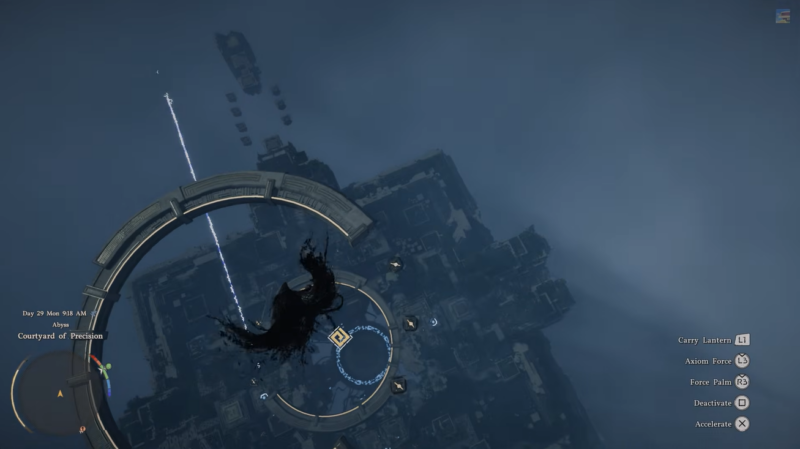
Reach the courtyard and position yourself on the first stair platform where the floating cubes are visible. This is your starting point and introduces the primary mechanic.
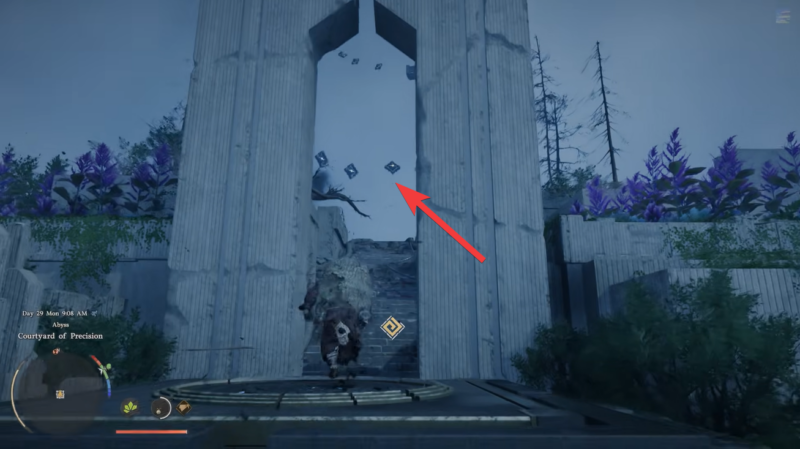
Step 2
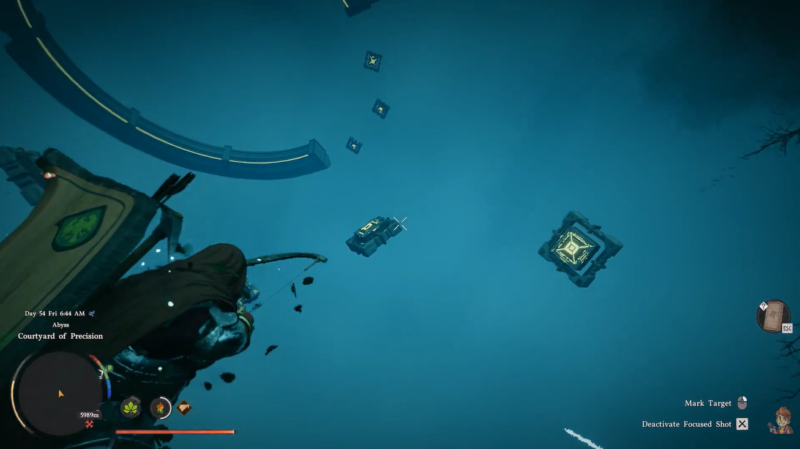
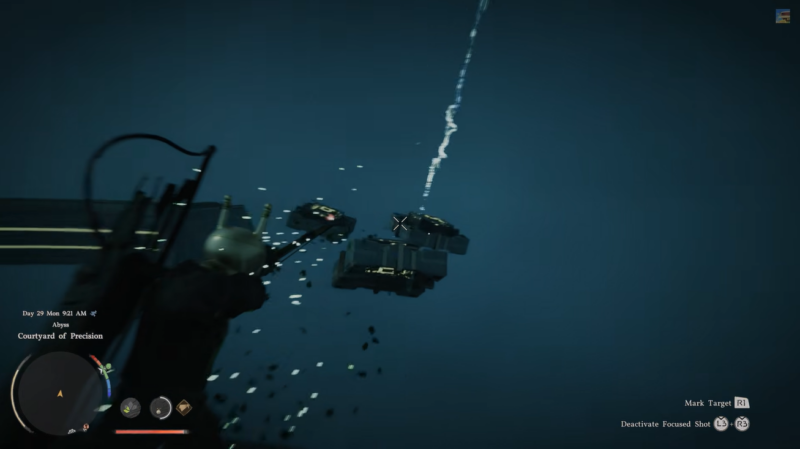
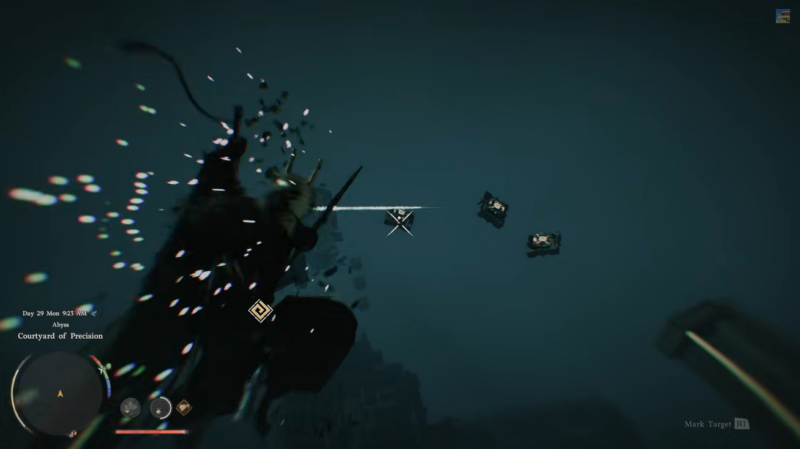
Observe the floating cubes carefully and prepare your Focused Shots ability. This ability is essential because you must hit all cubes simultaneously.
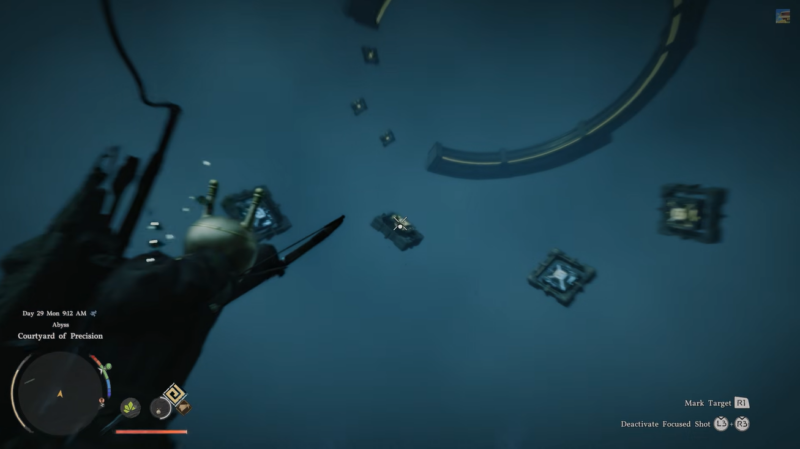
Step 3
Hover over each cube to mark them, then fire using Focused Shots. This activates the first segment of the puzzle, confirming you’re executing correctly.
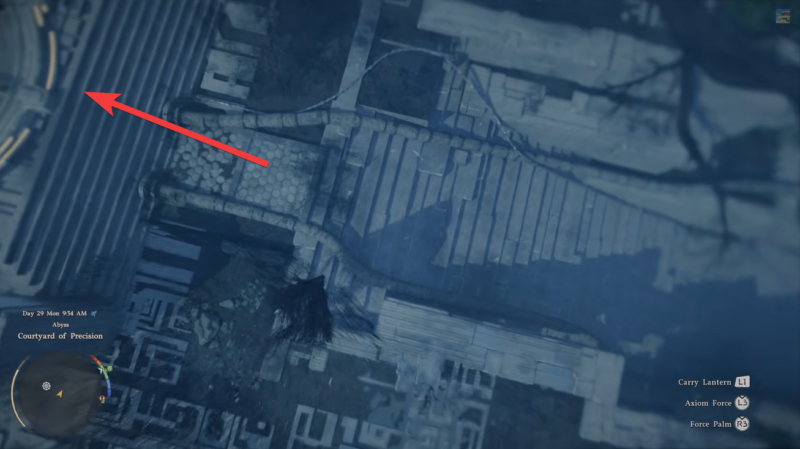
Step 4
Move toward the right side of the courtyard and locate the next pedestal. This begins the second ground-level segment.
Step 5
Stand exactly in the center of the cube formation and repeat the simultaneous activation using Focused Shots. Positioning is critical here—if even one cube is missed, the segment won’t activate.
B – Completing the floating rings’ cube activation segment
Step 6
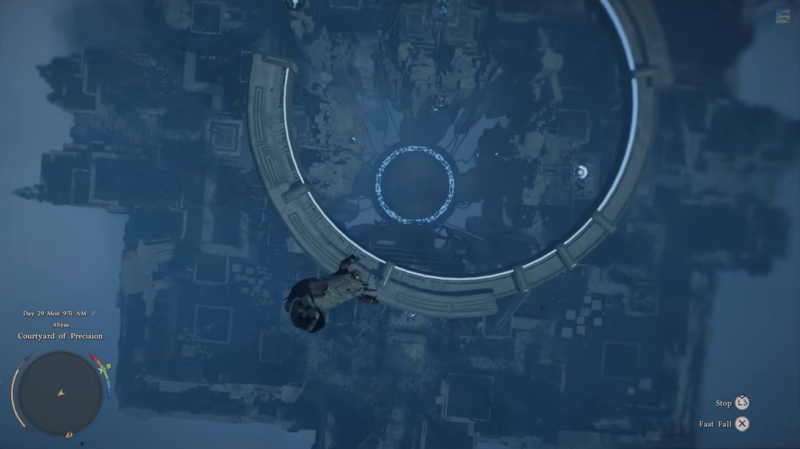
Once both ground segments are complete, head to the hollow center of the courtyard. This is where the puzzle transitions vertically.
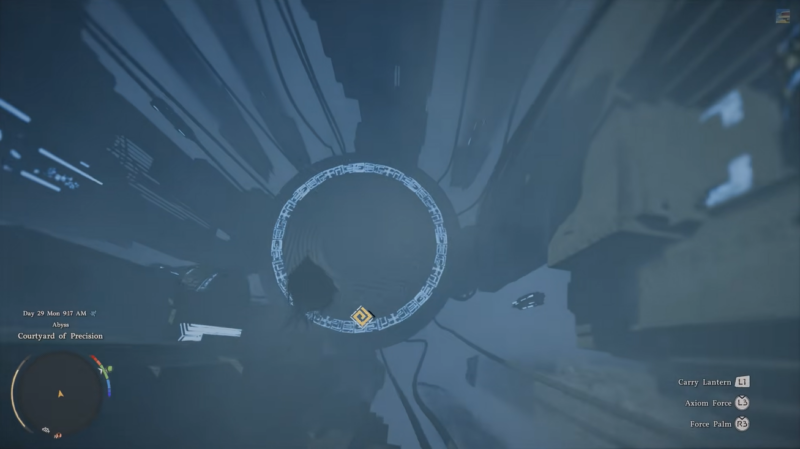
Step 7
Drop into the center and use the updraft to launch upward. Immediately equip your Flight ability mid-air. This lets you control your ascent and reach higher puzzle layers.
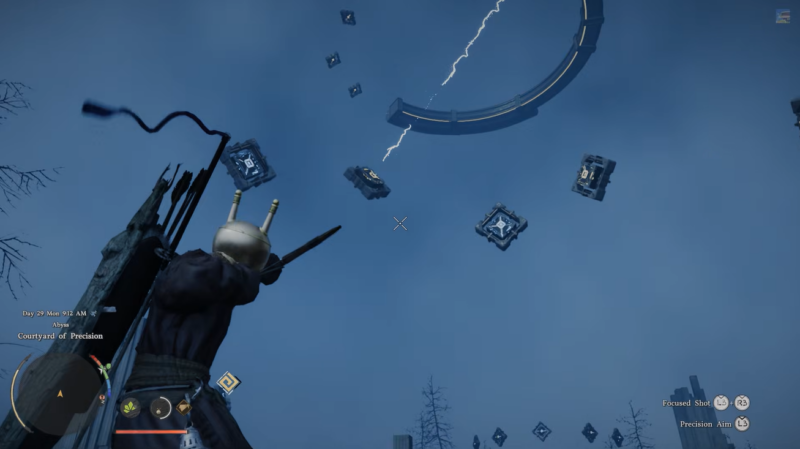
Step 8
While ascending, locate two floating ring structures—these represent the final two segments. Timing your movement between them is important.
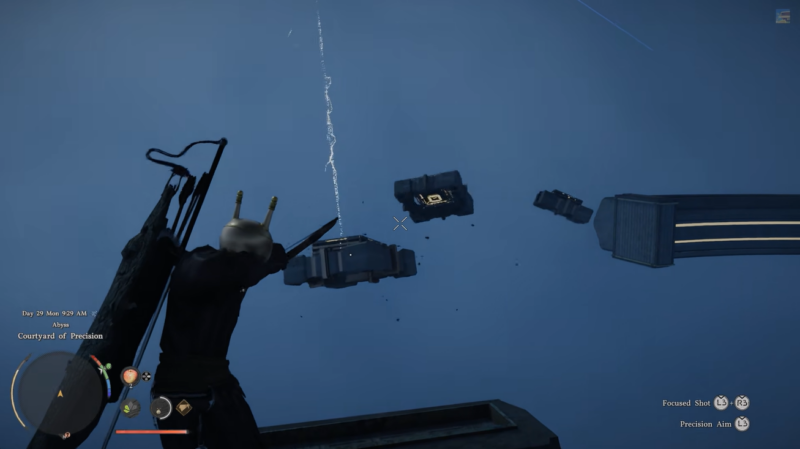
Step 9
Start with the top ring and activate its floating cubes using Focused Shots. Again, ensure all cubes are targeted before firing.
Step 10
Descend carefully to the lower ring using Flight ability. Make sure you have enough stamina and arrows before attempting this step.
Step 11
Activate the lower ring cubes in the same manner. At this point, all four segments should now be completed.
C – Activating the Abyss and collecting rewards
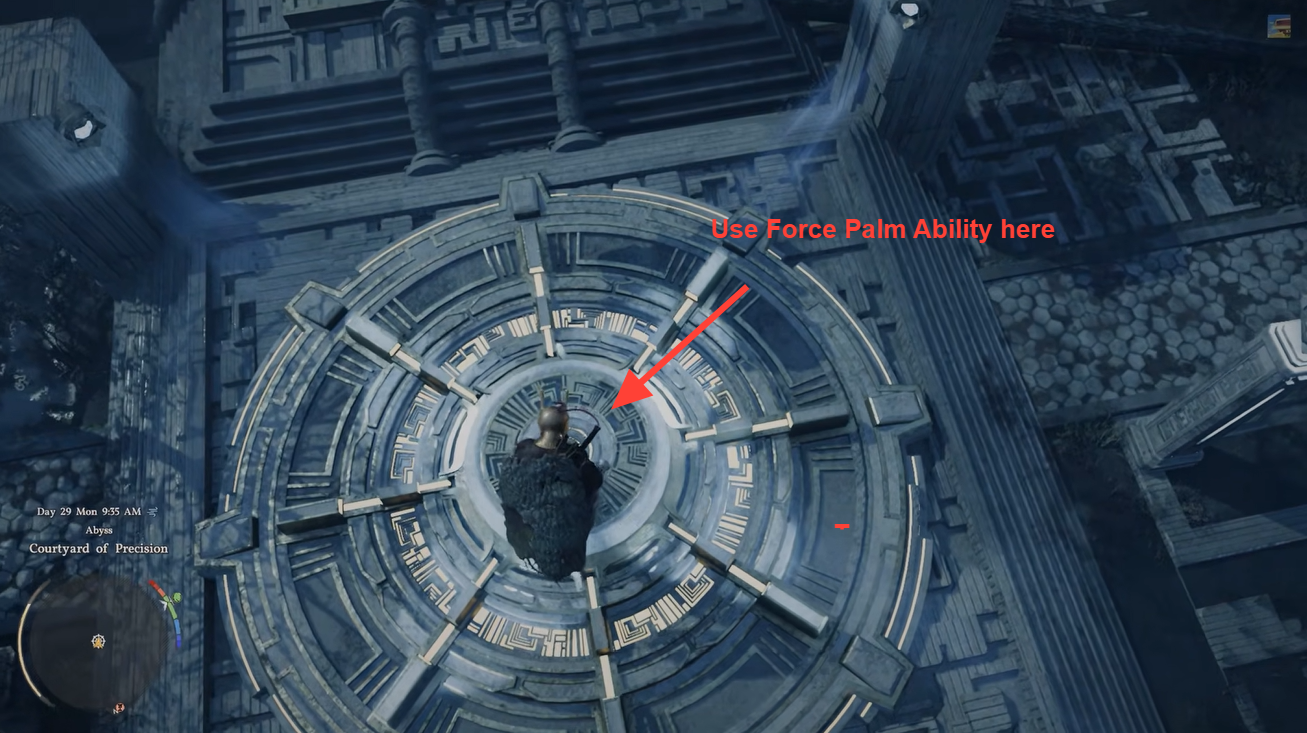
Step 12
Drop back down to the central pedestal where all segments are now visibly active.
Step 13
Use Force Palm to finalize the mechanism and activate the Abyss system. This is the final trigger.
Step 14
Upon completion, you will unlock powerful rewards including the Lightning Strike ability and Lightning Surge skill. These significantly enhance combat capabilities.
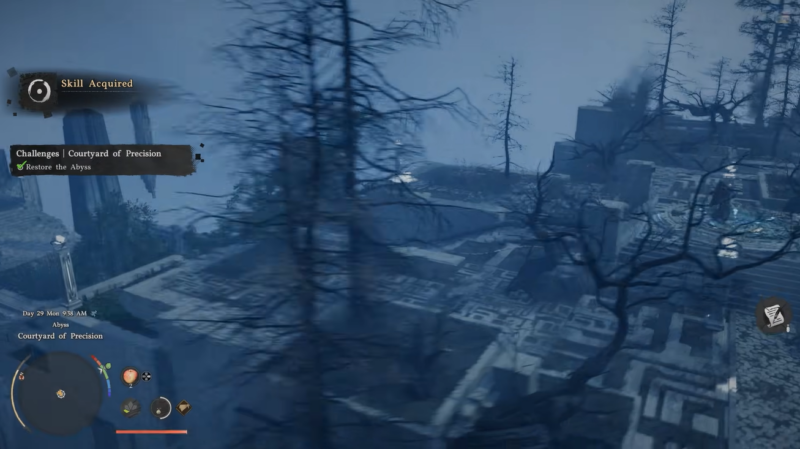
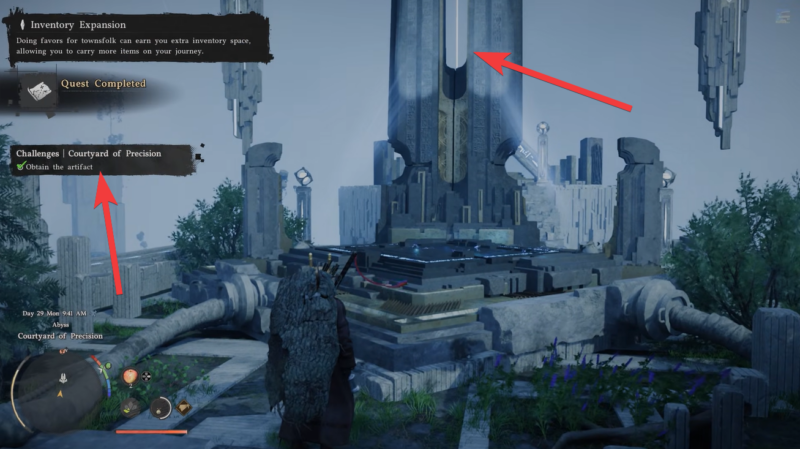
Step 15
Finally, proceed toward the tower ahead with the visible laser beam and collect the Abyss Artifact. This marks the full completion of the puzzle.
Rewards you receive after completion
| Reward Type | Details |
|---|---|
| Ability | Lightning Strike |
| Skill | Lightning Surge |
| Key Item | Abyss Artifact |
| Additional Benefit | Progression deeper into Abyss |
Tips that make the puzzle significantly easier
The most important factor in this puzzle is precision rather than speed. If you rush your shots, you’ll miss cubes and waste time resetting positions. Always ensure all cubes are highlighted before firing Focused Shots. This single habit prevents most failures.
Managing stamina during aerial segments is equally critical. Without enough stamina, you may fail to position yourself correctly between the rings. Bringing stamina-replenishing food helps maintain control during flight transitions.
Another key detail is ability readiness. If Focused Shots or Flight is not properly equipped or upgraded, the puzzle becomes unnecessarily difficult. Preparing beforehand saves multiple retries.
The Courtyard of Precision puzzle stands out as a true skill check in Crimson Desert’s Abyss content. It combines aiming accuracy, spatial awareness, and aerial control into a single cohesive challenge. Once you understand the rhythm—activate, reposition, ascend, repeat—the puzzle becomes far more manageable. Completing it not only rewards you with powerful Lightning abilities but also reinforces core mechanics you’ll need for later Abyss encounters.