- What to know
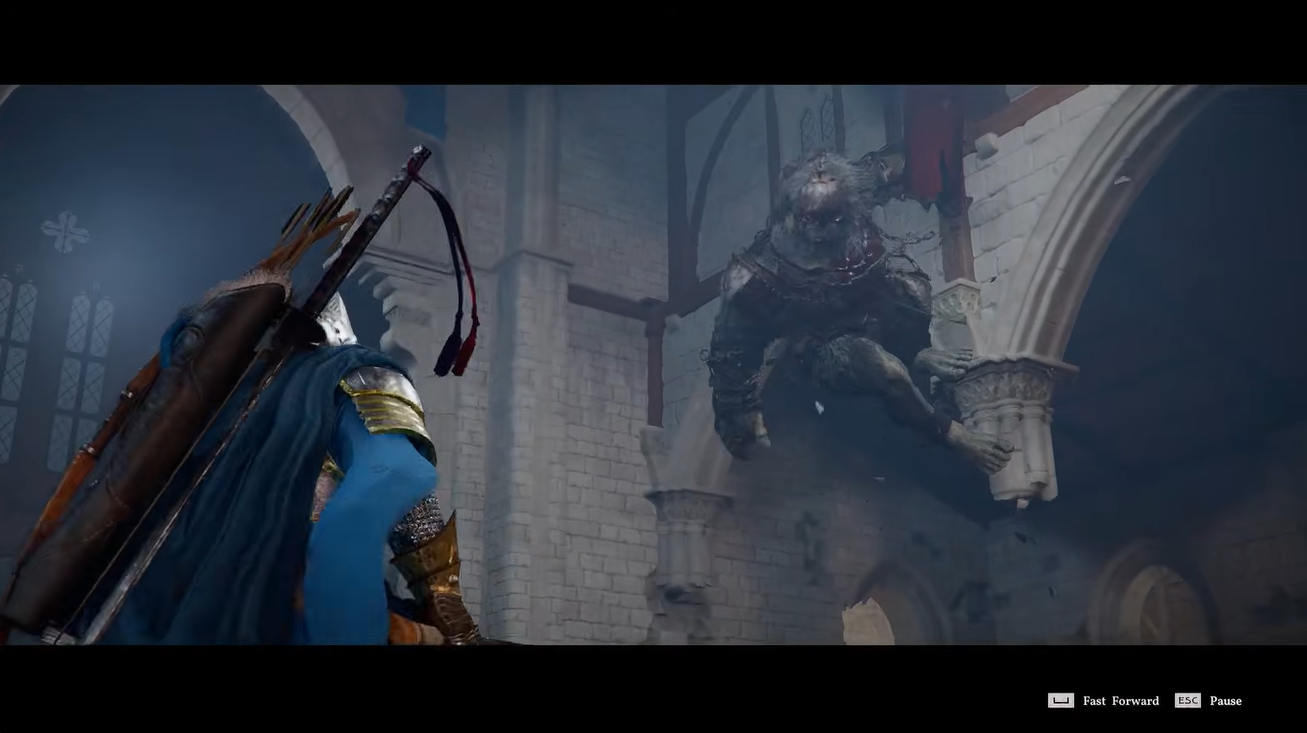
- Crimson Desert Kearush fight details
- Recommended build for Kearush the Slayer
- Kearush the Slayer Crimson Desert – all three phases explained
- How to use the arena walls to control the Kearush fight
- How to defeat Kearush the Slayer in Crimson Desert
- Rewards for defeating Kearush the Slayer
- Common mistakes that make this fight harder
What to know
- Kearush the Slayer is a multi-phase endurance boss with punishing damage output.
- Using arena walls and spacing is the safest way to survive his attacks.
- Your build (675 HP / 240 stamina / reinforced gear) is ideal for consistency.
- This fight’s rewards include Abyss Artifact, XP, and Gold.
Kearush the Slayer is one of the most mechanically punishing boss encounters in Crimson Desert, and success depends far more on control and awareness than raw damage output. If you approach this fight aggressively, you’ll quickly get overwhelmed. Instead, you need to adapt to his pacing, respect his combos, and use the environment to your advantage.
Crimson Desert Kearush fight details
| Aspect | Details |
|---|---|
| Boss Type | Multi-phase melee boss |
| Recommended HP | 650+ (675 ideal) |
| Recommended Stamina | 220+ (240 optimal) |
| Weapon | Hwando |
| Difficulty | High |
| Strategy Style | Defensive, attrition-based |
| Key Advantage | Arena walls for cover |
Recommended build for Kearush the Slayer
Before stepping into the fight, your preparation directly determines how forgiving the encounter feels. With 675 HP, 240 stamina, 50 base attack, and 52 defense, you’re already in a strong position, but optimization is key.
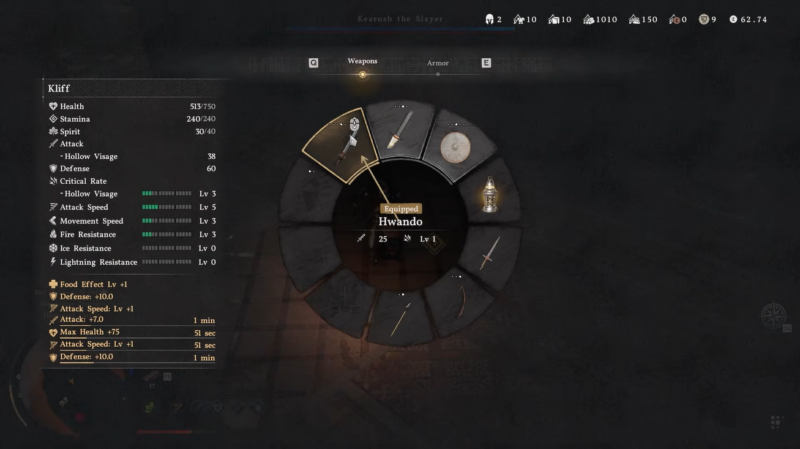
You should upgrade your Hwando at the Anvil Riverside Bandit Camp using the anvil and grindstone, located west of Anvil Hill. This ensures your survivability against Kearush’s heavy combos.
Recommended preparation setup
| Preparation Aspect | Recommendation | Why It Matters |
|---|---|---|
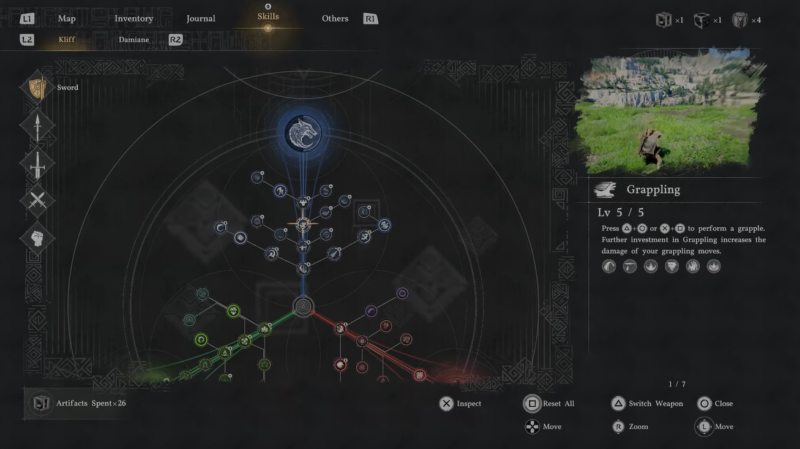
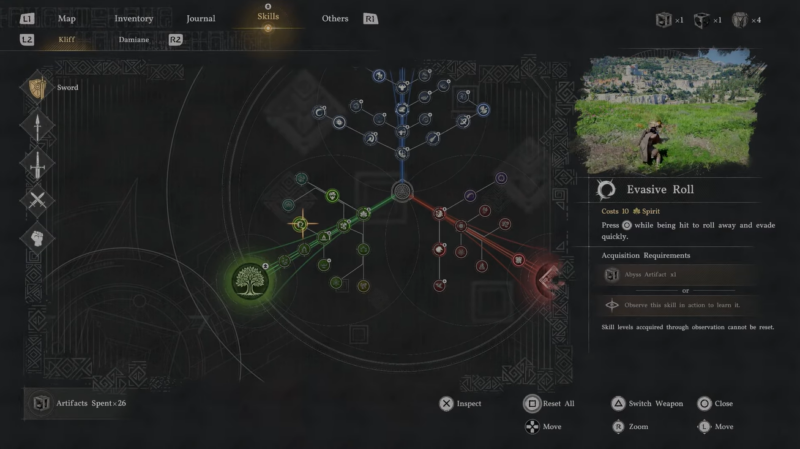
| Skill Points Reset | Respec into grappling-focused build | Enables stronger control mechanics |
| Backhang Ability | Upgrade to 5/5 | Critical for sustained boss control |
| Stamina | Upgrade to at least Level 7 | Allows longer grappling and safer dodging |
| Health | Level 3 is sufficient | Survivability comes more from positioning than HP |
Instead of focusing purely on raw stats, this fight strongly rewards mobility and control mechanics. Investing in grappling—especially the backhang ability—gives you more opportunities to stabilize during intense moments.
Your Hwando remains a strong weapon choice due to its balance between speed and damage. Combined with proper preparation, you’ll have enough offensive output while staying flexible defensively.
Before engaging, consume defense, attack, and attack speed pills. These buffs significantly improve your survivability and damage consistency across all phases.

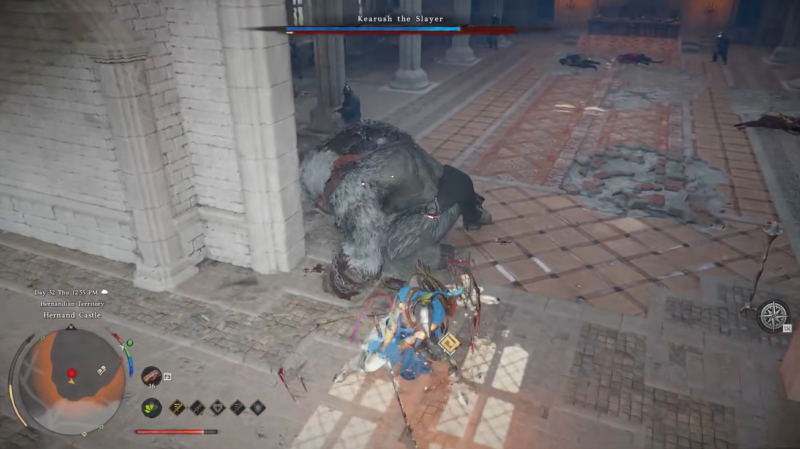
Kearush the Slayer Crimson Desert – all three phases explained
Understanding Kearush’s phases is critical because each phase increases pressure, speed, and punishment for mistakes. The fight follows a structured three-phase escalation where survival becomes progressively harder.
Phase breakdown and mechanics
| Phase | Behavior & Mechanics | Key Threats | Best Strategy |
|---|---|---|---|
| Phase 1 | Slower, readable attack chains with clear wind-ups | Combo damage if caught | Play defensively and learn patterns early |
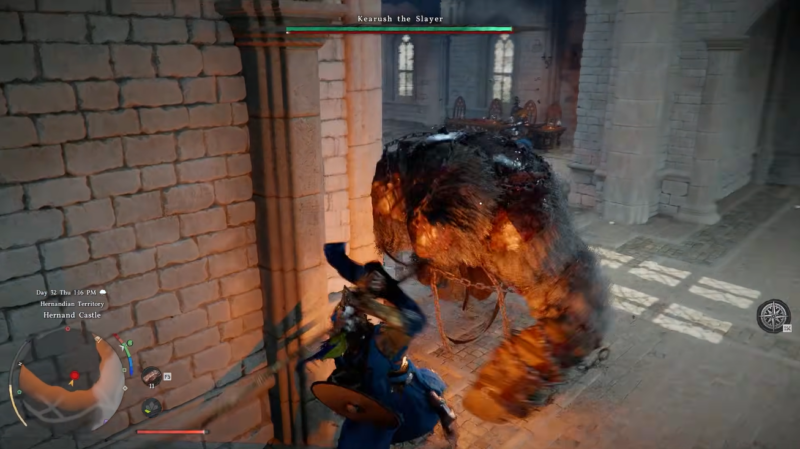
| Phase 2 | Instant transition followed by a powerful burst attack and faster chaining | Transition attack and reduced reaction windows | Create distance before phase shift and reset positioning |
| Phase 3 | Maximum aggression with rapid combos and minimal downtime | Relentless pressure and high damage | Focus on survival, stamina control, and short punish windows |
In Phase 1, you are learning the fight more than progressing it. The boss is still dangerous, but manageable if you stay patient. Phase 2 introduces a deceptive transition attack, which can catch you off guard if you’re healing or attacking. By Phase 3, the fight becomes a pure endurance test where every mistake is heavily punished.
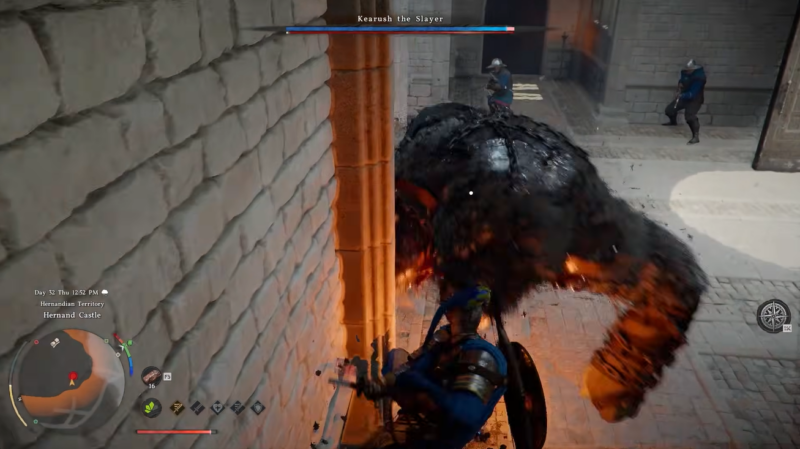
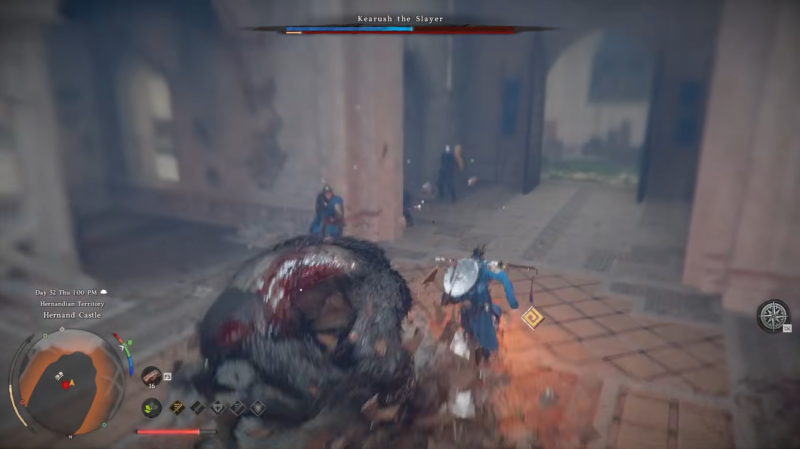
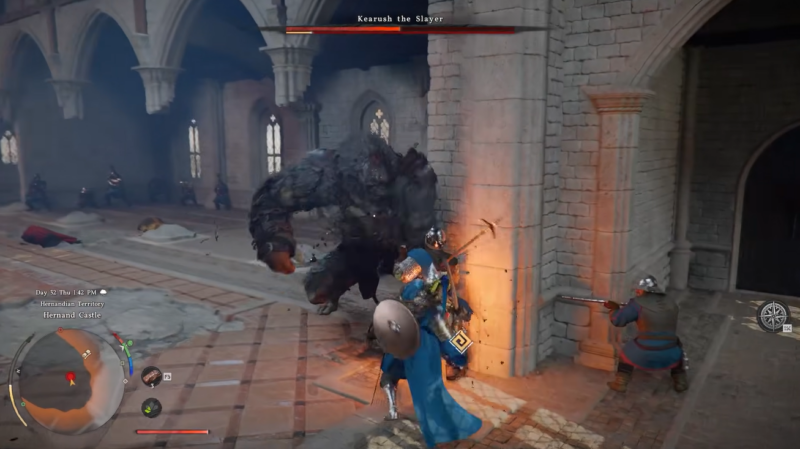
How to use the arena walls to control the Kearush fight
One of the most reliable strategies in this encounter is using the arena walls as natural cover instead of relying only on dodging. By positioning yourself near walls, you can break line-of-sight and force Kearush to reposition, which creates safe openings.
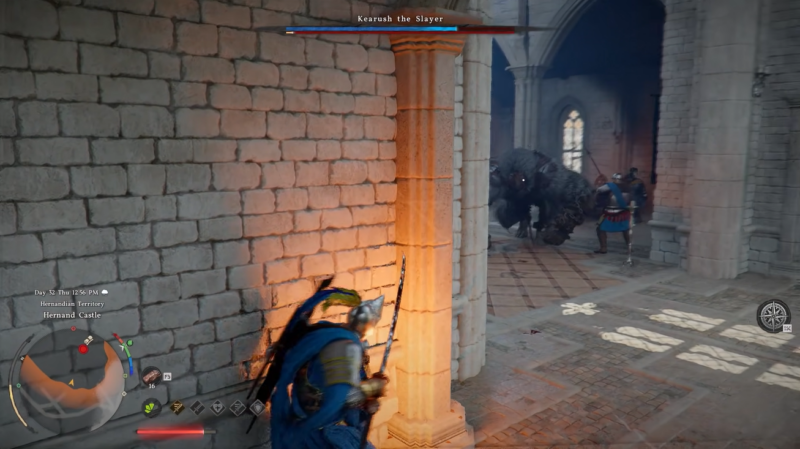
This tactic also allows you to recover stamina, heal safely, and control the pace of the fight. Instead of reacting constantly, you dictate when and where engagements happen.
How to defeat Kearush the Slayer in Crimson Desert
Step 1
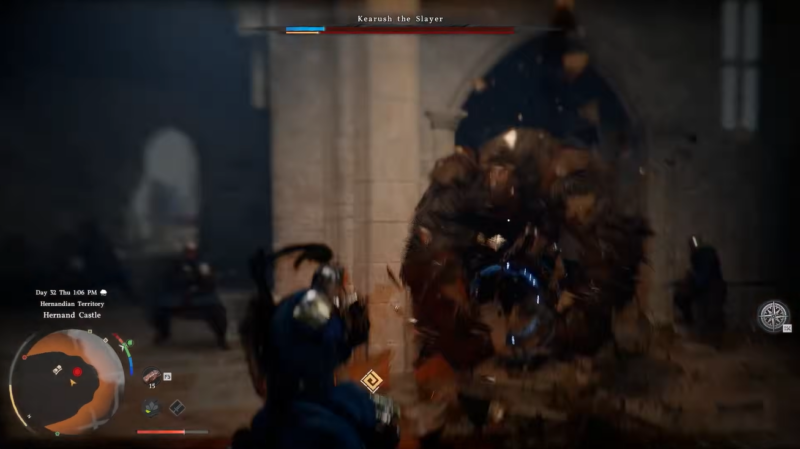
Begin cautiously and observe his attack timing. Avoid early aggression and focus on reading patterns.

Step 2
Stay close to arena walls. This ensures you always have a defensive fallback option.
Step 3
Bait attacks and reposition. Let Kearush commit, then punish briefly.
Step 4
Limit your attacks to short bursts. One or two hits per opening is enough.
Step 5
Prepare for Phase 2 transition. Create distance as his health drops to avoid the instant attack.
Step 6
Heal only behind cover. Never heal in open space during later phases.
Step 7
Preserve stamina at all times. Always keep enough for dodging or repositioning.
Rewards for defeating Kearush the Slayer
Defeating Kearush rewards you with high-value progression items and combat-enhancing loot, making the fight worth the effort despite its difficulty.
| Reward | Type | Description | Use |
|---|---|---|---|
| Slayer’s Relic | Unique Boss Item | Rare drop tied to Kearush | Boosts combat efficiency and scaling |
| Vessel of Dark Pursuit | Rare Material | High-tier crafting component | Used for advanced upgrades and gear crafting |
| Abyss Artifact | Special Item | Endgame progression material | Enhances late-game systems and builds |
| Gold | Currency | Standard reward | Used for purchases and upgrades |
| Experience (XP) | Progression | Character progression | Leveling and skill improvements |
These rewards are especially valuable because they contribute directly to mid-to-late game progression, making Kearush a key milestone boss.
Common mistakes that make this fight harder
Most failures come from impatience. Overcommitting to damage is the fastest way to lose this fight. Kearush’s combos are designed to punish greed, and even one mistake can cost a large portion of your health.
Another major issue is ignoring the phase transition attack, which often catches players mid-action. You should always anticipate it and reposition early.
Healing at the wrong time is also risky. If you heal in open space, Kearush can close the gap instantly and interrupt you.
Kearush the Slayer is a test of discipline, not just skill. If you stay patient, use the environment, and avoid unnecessary risks, you can reliably defeat him with the recommended build.
You win this fight by surviving longer than the boss can sustain pressure. Every safe hit, every avoided combo, and every smart reposition contributes to eventual victory. Once you shift your mindset to controlled, defensive gameplay, the fight becomes far more manageable and consistent.
Focus on clean execution, stamina management, and smart positioning, and the fight will eventually tilt in your favor.