- What to know
- Crimson Desert Sanctum of Absolution details
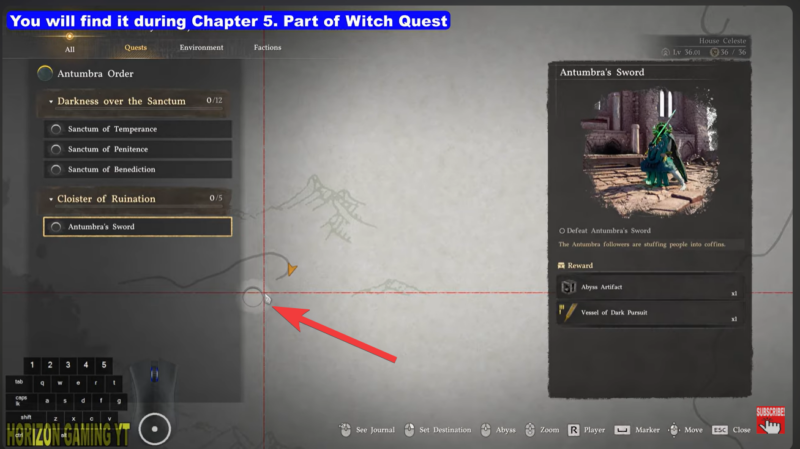
- Location of Sanctum of Absolution and Antumbra’s Sword boss
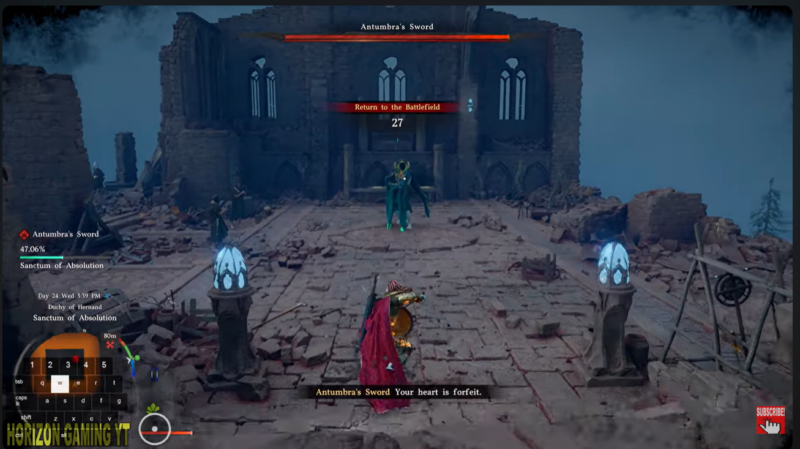
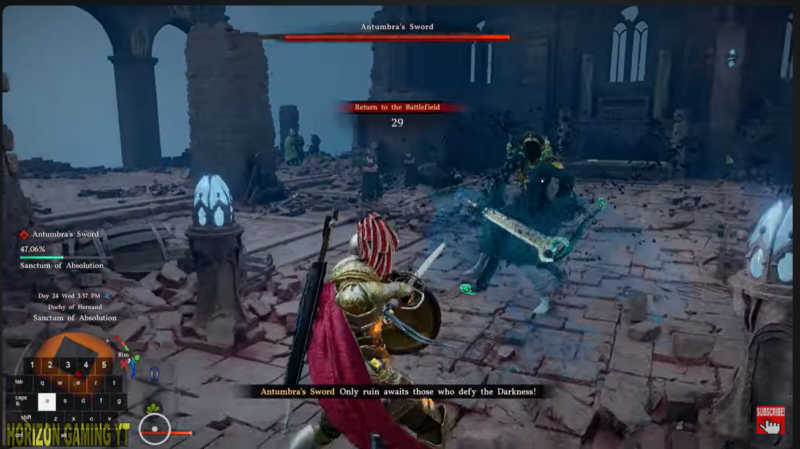
- Defeating Antumbra’s Sword boss in Crimson Desert
- How to complete Sanctum of Absolution Puzzle
- What happens when you successfully cleanse the sanctum
- Crimson Desert Sanctum of Absolution rewards
- Common mistakes and hidden Kuku Pot mechanic explained
- Completing Sanctums for artifacts
What to know
- You must defeat Antumbra’s Sword boss before solving the puzzle
- Two key items are required: a pillar piece and a reactor cube
- Both items are hidden inside the sanctum structure itself
- Force Palm is essential to place and activate puzzle components
You’ll find the Sanctum of Absolution to be one of the more demanding sanctum challenges in Crimson Desert, not just because of the puzzle mechanics but due to the intense boss fight that blocks your progress. This sanctum blends combat and puzzle-solving tightly, so you need to approach it with preparation and awareness. In each Sanctum, you need to Liberate and Cleanse.
Crimson Desert Sanctum of Absolution details
| Aspect | Details |
|---|---|
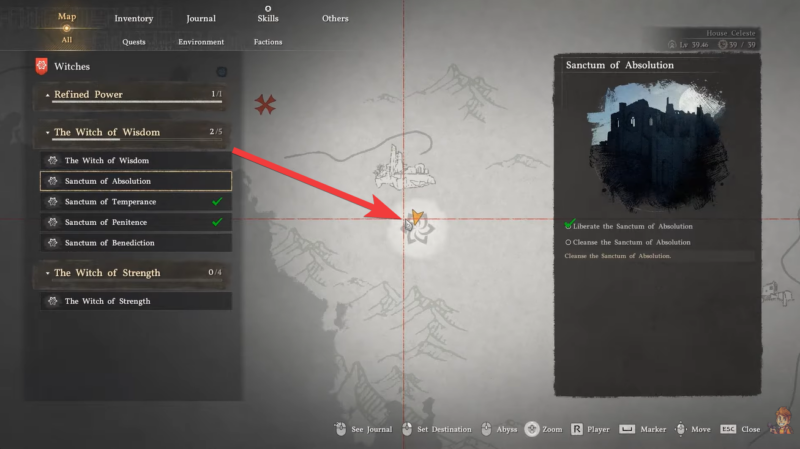
| Location | Southwest Hernand (between Witchwoods & Sunset Valley) |
| Main Challenge | Boss fight + environmental puzzle |
| Required Abilities | Force Palm |
| Key Items | Reactor Cube, Pillar Piece |
| Difficulty | Moderate to Hard |
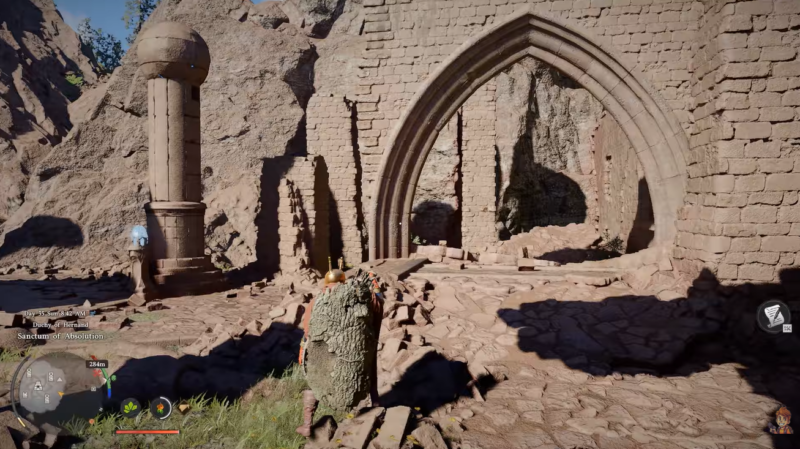
Location of Sanctum of Absolution and Antumbra’s Sword boss
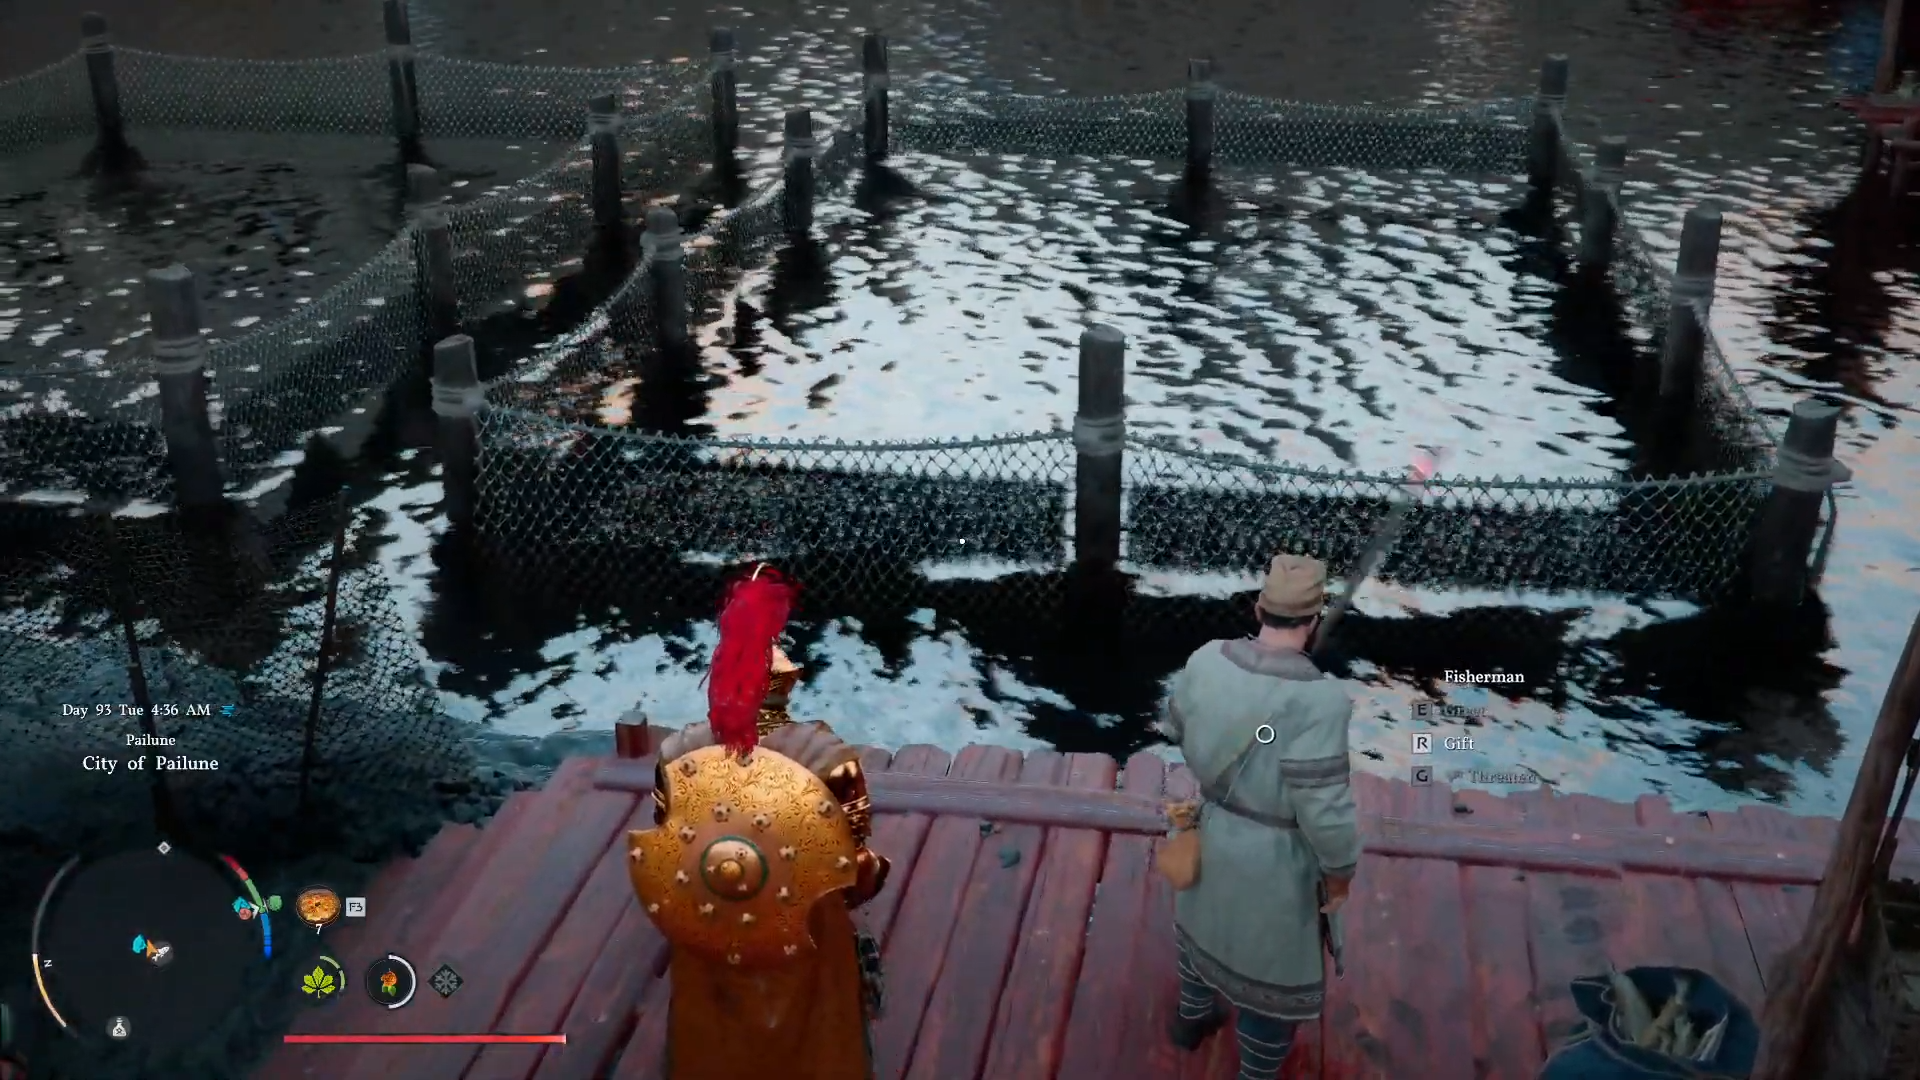
The Sanctum of Absolution is located in the southwestern region of Hernand, positioned between the Witchwoods and Sunset Valley. You’ll immediately notice a central ruin surrounded by enemy presence, which signals both combat and puzzle mechanics tied together.
Unlike simpler sanctums, this one locks all progression behind a boss fight, meaning you won’t be able to interact with the mechanism until the area is cleared.
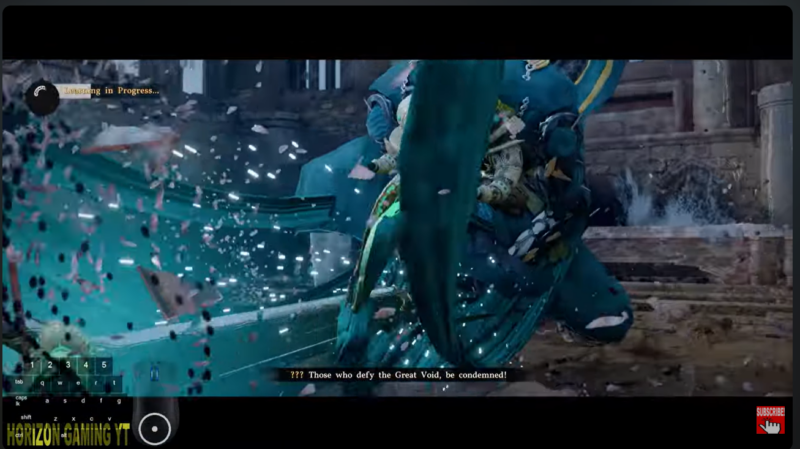
Defeating Antumbra’s Sword boss in Crimson Desert
The Antumbra’s Sword boss fight is all about patience and stamina control. This encounter punishes aggressive playstyles and rewards players who carefully observe attack patterns.
| Boss Move / Behavior | What Happens | How You Counter It |
|---|---|---|
| Triple Illusion Strike | Boss sends 3 apparition slashes with high damage | Perfect dodge each illusion instead of blocking |
| Teleport (Shadow Strike) | Boss disappears and reappears with a wide slash | Use block lock-on to track position and parry timing |
| Ground Slam (Powered State) | High AoE slam that can one-shot | Back off immediately when boss powers up |
| Combo Chains | Multiple chained melee attacks | Wait for full combo to end before attacking |
| Apparition Sword Waves | Ranged wave attacks from illusions | Dodge sideways instead of backward to avoid stacking damage |
| Stagger Window | Boss becomes vulnerable briefly | Unload heavy attacks + stab for maximum damage |
The key takeaway is simple: never rush the fight. Every major attack from this boss has a punish window—you just need to wait for it.
Recommended gear and build setup for the fight
| Gear / Setup | Why It Matters |
|---|---|
| High stamina armor or upgrades | Prevents getting caught without dodge resources |
| Sword with strong stab scaling | Maximizes bleed damage over time |
| Keen Senses Lv.2 skill | Slows time during dodges, making illusion attacks easier to avoid |
| Healing items (Food / Palmar Pills) | Allows recovery during long fight phases |
| Force Palm (optional utility) | Helpful for control but not core to boss damage |
| Balanced armor (not heavy-only) | Maintains mobility for consistent dodging |
You don’t need the strongest gear in the game—but you absolutely need stamina sustain and reliable healing.
You should focus on dodging entire combo chains instead of trying to interrupt them, as the boss frequently chains attacks that bait early reactions. Once the combo ends, that’s your window to land heavy hits and follow up with stab attacks for additional damage.
Stamina management is the most important factor here. If you run out mid-fight, you won’t be able to evade the boss’s high-damage slam attacks, which can quickly end the attempt.
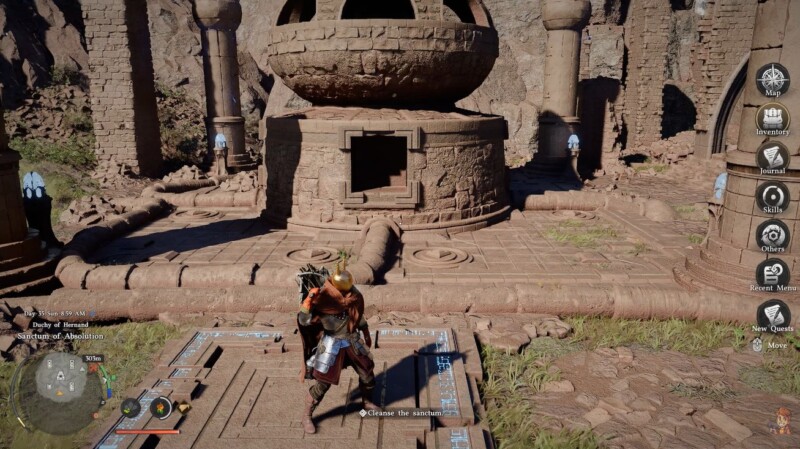
How to complete Sanctum of Absolution Puzzle
You need a missing pillar piece and a cube reactor to complete the Sanctum’s cleansing. Here is how to find and use both of the pieces and complete Sanctum of Absolution puzzle:
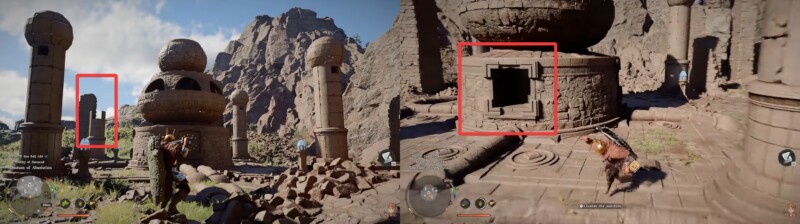
Finding the missing Pillar Piece
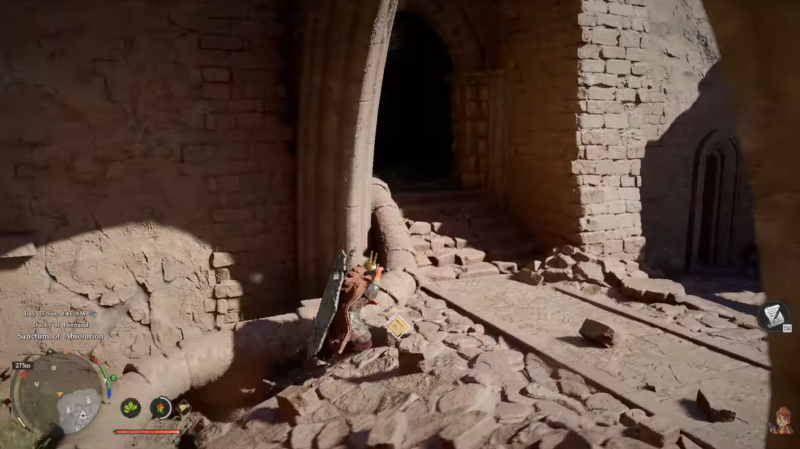
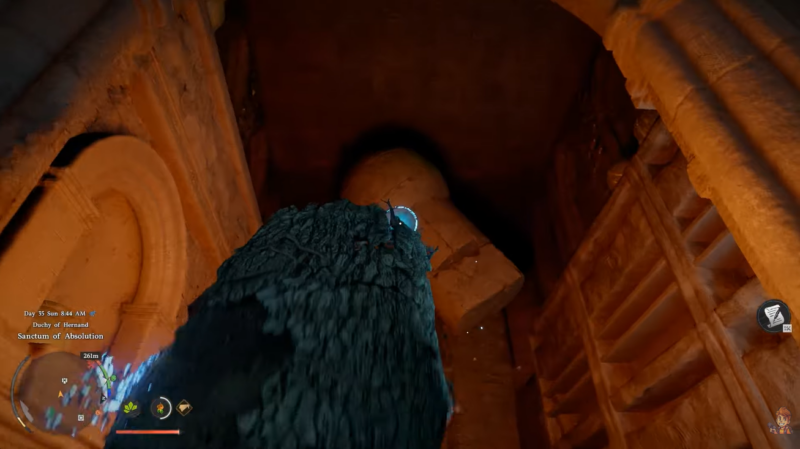
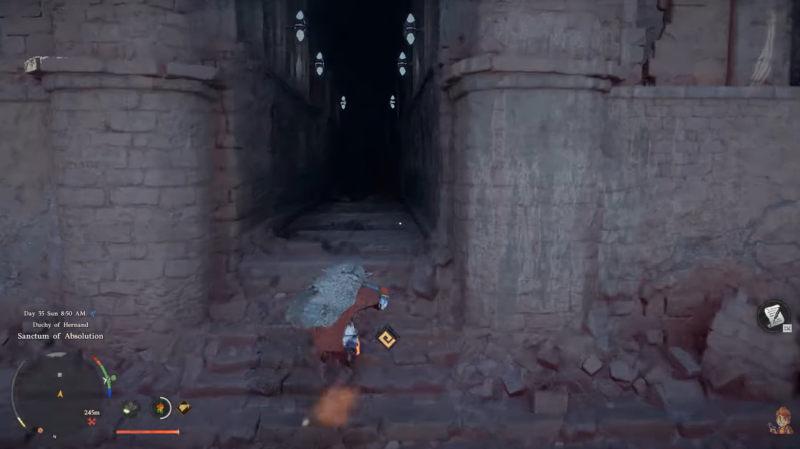
Step 1
Move into the structure just south of the boss arena and follow the inner corridor downward.
Step 2
Watch for a pebbled or slightly unstable floor section, which will collapse when stepped on and reveal a hidden chamber below.
Step 3
Drop into the chamber and collect the pillar piece, which is required to restore the main structure.
Step 4
Carry it back to the central sanctum mechanism and place it into the broken pillar slot.
Step 5
Use Force Palm to secure the piece into place, completing the first half of the puzzle.
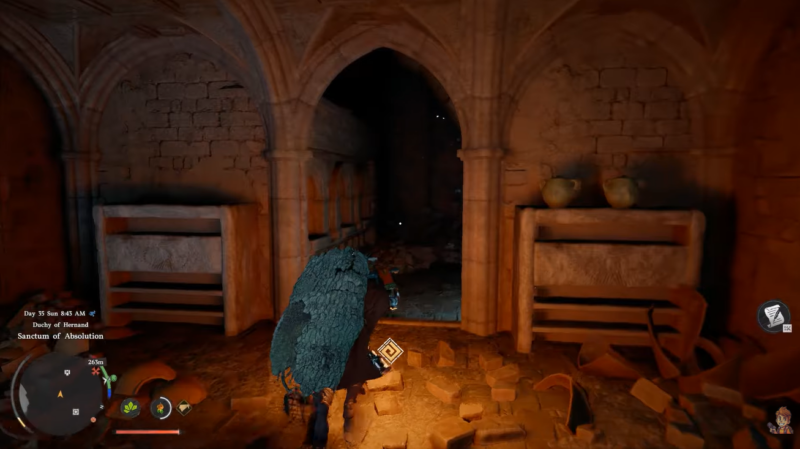
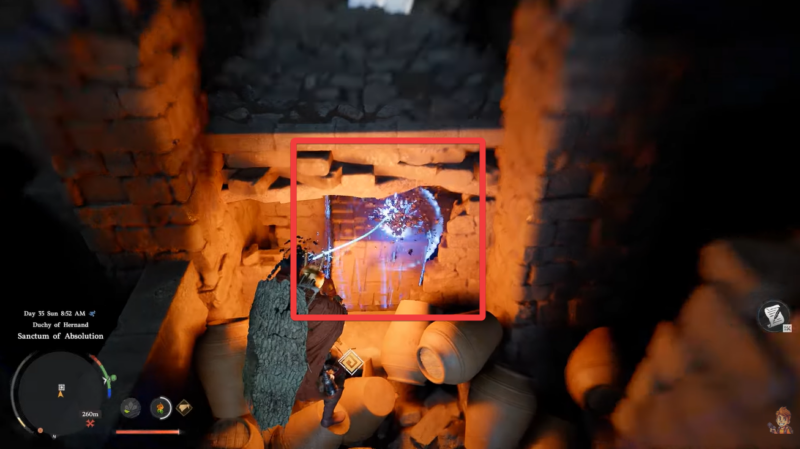
Finding the reactor cube for cleansing
Step 1
Return to the upper hallway near the original boss area.
Step 2
Look for a group of clay pots placed along the corridor walls.
Step 3
Break the pots to reveal the hidden reactor cube behind them.
Step 4
Pick up the cube and carry it back to the sanctum mechanism.
Step 5
Insert it into the designated slot and activate it using Force Palm.
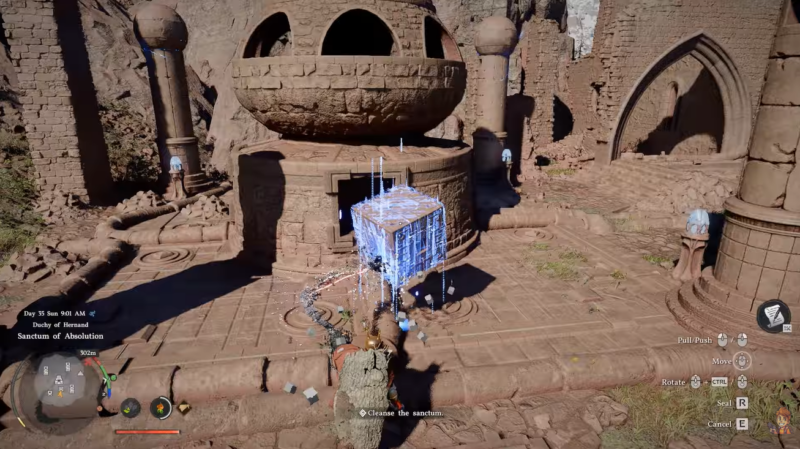
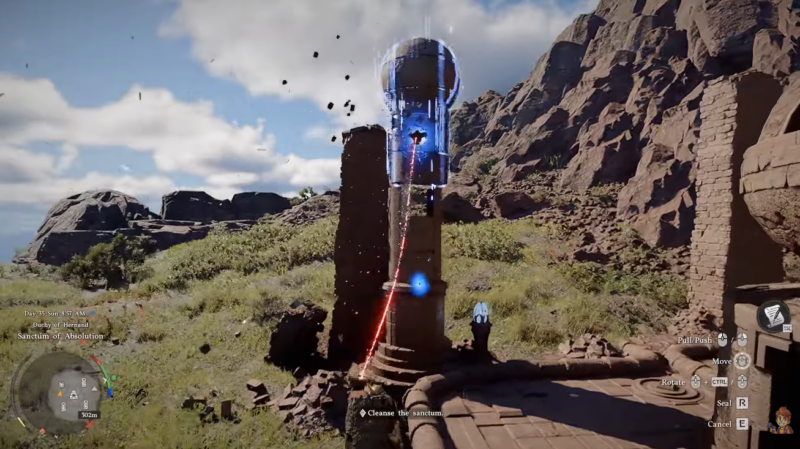
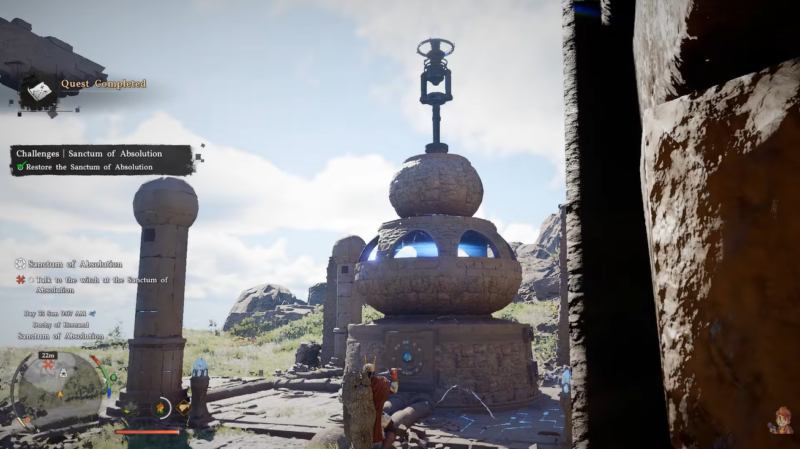
What happens when you successfully cleanse the sanctum
Once both components are installed, the sanctum activates with visible energy flowing through the structure, confirming successful restoration.
This marks the completion of the puzzle and triggers your sanctum rewards, along with progression toward broader Witchwoods sanctum objectives.
Crimson Desert Sanctum of Absolution rewards
| Reward Source | Reward |
|---|---|
| Boss Defeat (Antumbra’s Sword) | Abyss Artifact x1 |
| Sanctum Completion | Vessel of Dark Pursuit x1 |
| Additional Rewards | Blueprint I: Enhanced Kuku Pot |
| Additional Rewards | Blueprint I: Kuku Spear |
These rewards are particularly valuable because they contribute to both crafting progression and combat upgrades. The blueprints unlock enhancements tied to the Kuku system, while the artifact and vessel are tied to deeper progression systems.
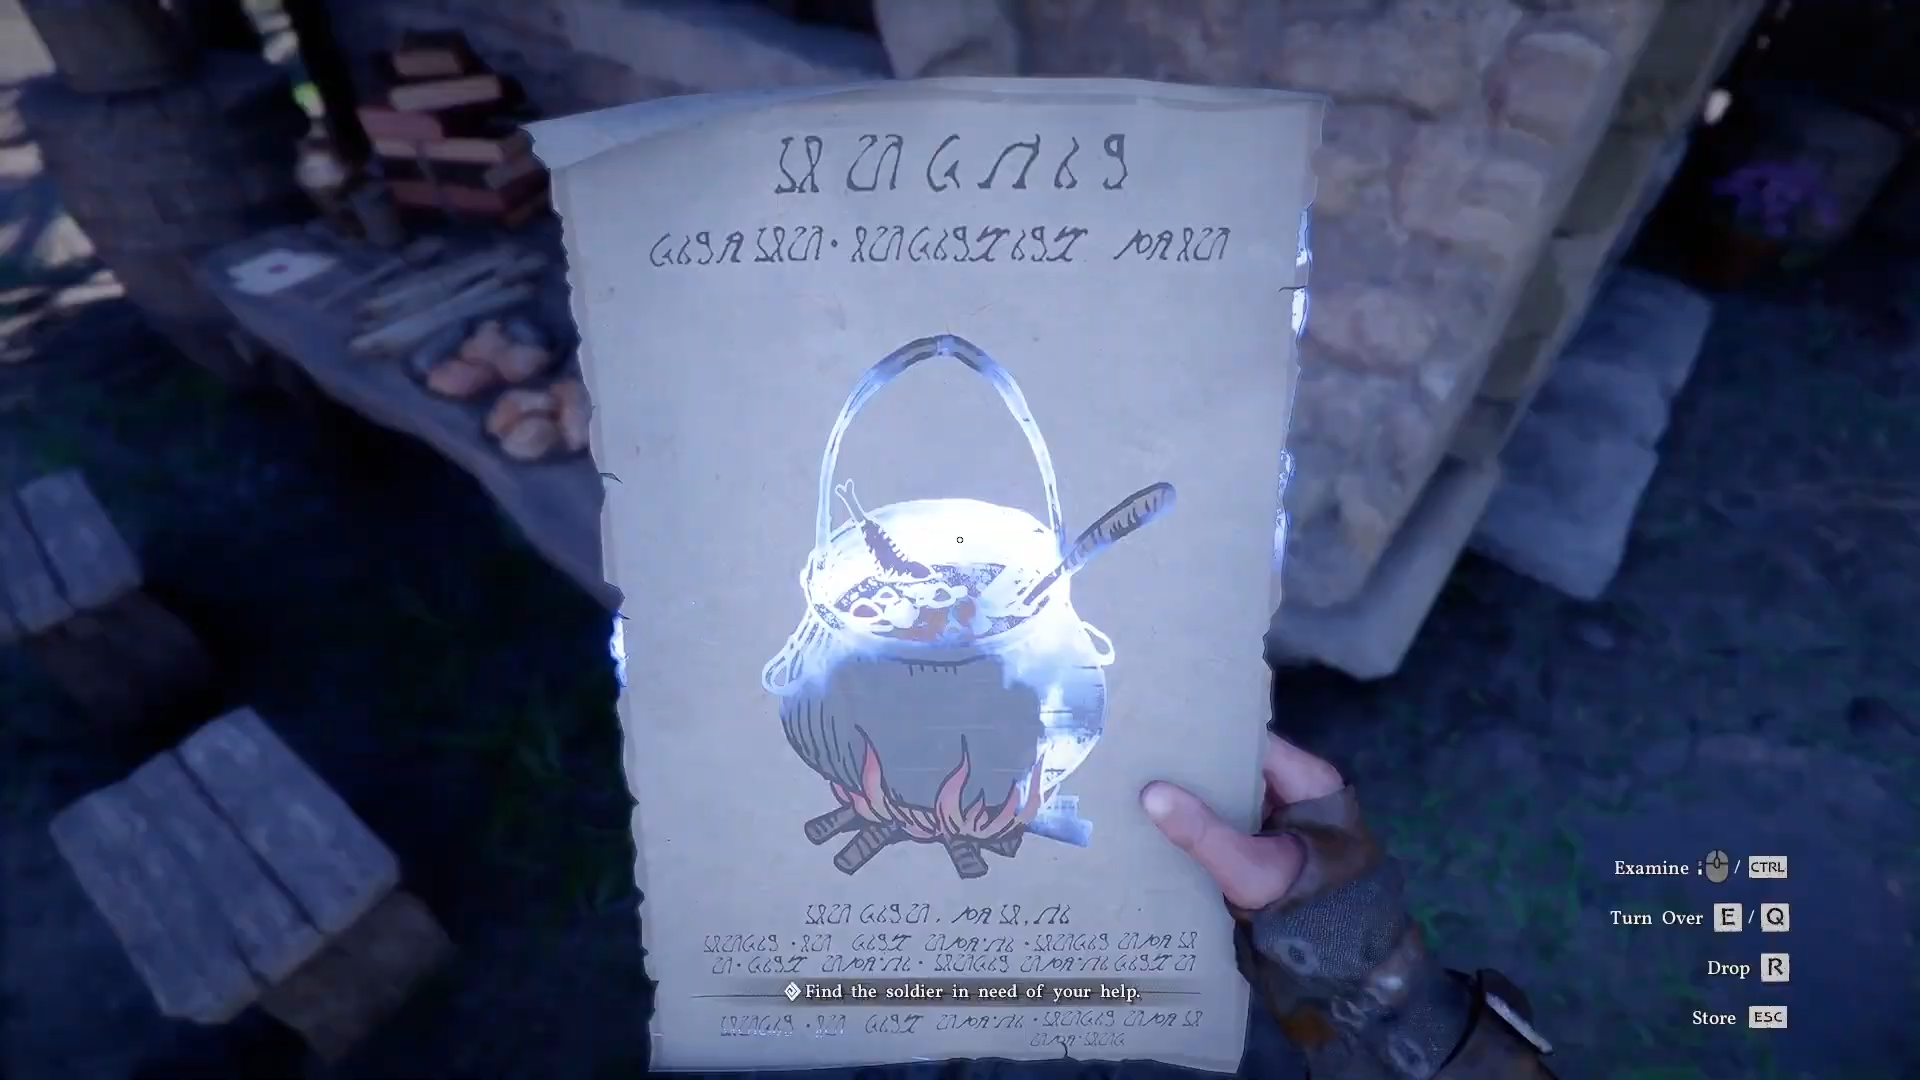
One of the biggest sources of confusion in this sanctum is the inventory system tied to puzzle items.
When you collect the pillar piece and reactor cube, they do not appear in your normal inventory. Instead, they are stored inside the Kuku Pot. This design choice often makes players think the items are missing.
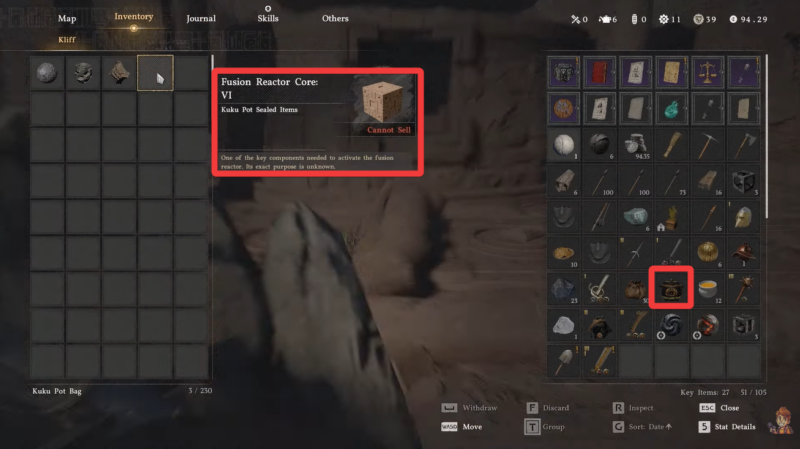
If the sanctum mechanism shows missing components during activation, you must open the Kuku Pot and retrieve the items from there. Without doing this, the puzzle cannot be completed.
This is not a bug but a hidden mechanic, and overlooking it is the main reason players get stuck at the final step.
Completing Sanctums for artifacts
The Sanctum of Absolution stands out because it combines three layers of challenge: combat, exploration, and inventory awareness.
Approach the boss with patience, explore every destructible and unstable surface, and always double-check your Kuku Pot. These three habits will ensure a smooth completion.
Once you understand how the sanctum systems work together, the challenge becomes far more manageable and even enjoyable.