What to know
- You must burn the vines blocking the tower entrance using environmental tools.
- Three different methods allow flexibility in solving the puzzle.
- Traps inside the tower must be disarmed using ranged attacks.
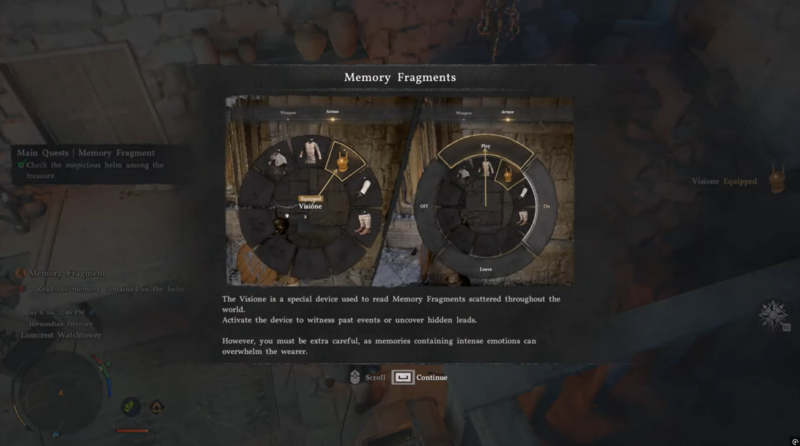
- The final objective rewards you with the Memory Helm.
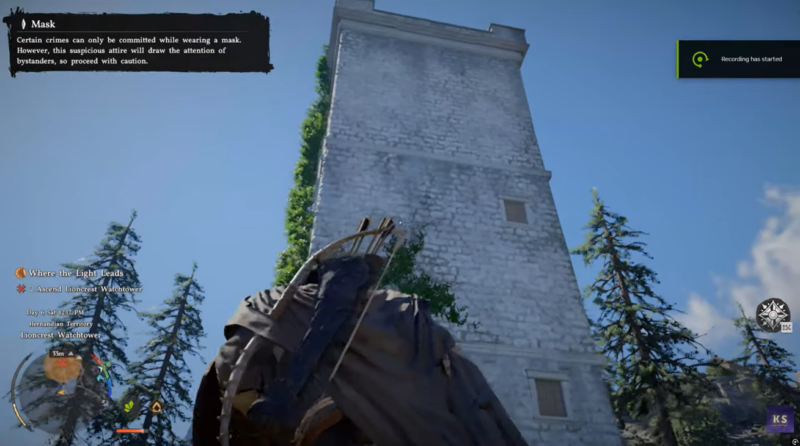
You will reach the Lioncrest Watchtower during the Where the Light Leads quest in Crimson Desert, where progression depends on both environmental puzzle-solving and careful movement. This section blends multiple mechanics—fire, light reflection, and trap detection—into one smooth sequence, making it a memorable early challenge.
Quick overview of the watchtower sequence
| Objective | What You Need | Outcome |
|---|---|---|
| Burn vines | Fire or sunlight | Entrance opens |
| Enter tower | Cleared vines | Access staircase |
| Climb safely | Bow & arrows | Disable traps |
| Reach top | Exploration | Loot Memory Helm |
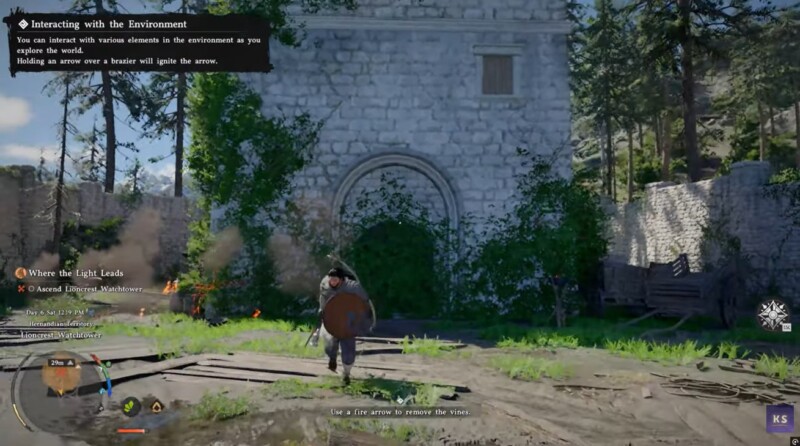
How the vine-burning puzzle works at the entrance
The entrance is sealed by thick vines that cannot be cut or destroyed normally. Instead, you must interact with your surroundings using one of the three available methods.
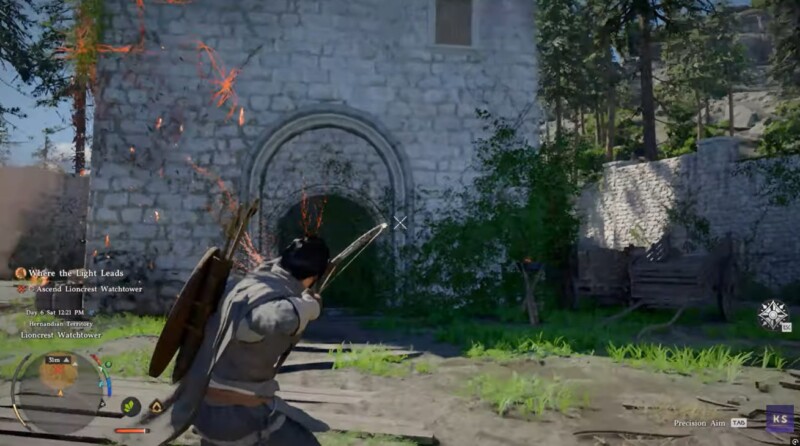
You can either knock fire from a brazier, shoot flaming arrows, or reflect sunlight using your sword. Each option leads to the same result, allowing you to choose based on your playstyle or positioning.
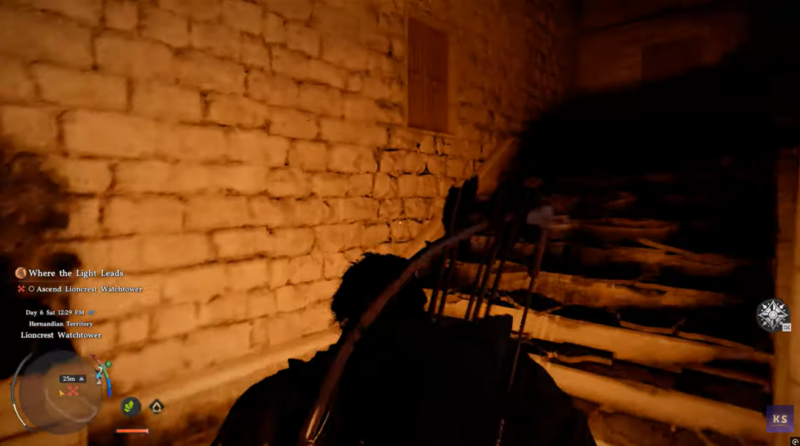
How to ascend Lioncrest Watchtower and complete the objective
Step 1
Examine the vine-covered entrance and choose your preferred method to burn them—either by striking a brazier, shooting a flaming arrow, or reflecting sunlight with your sword.
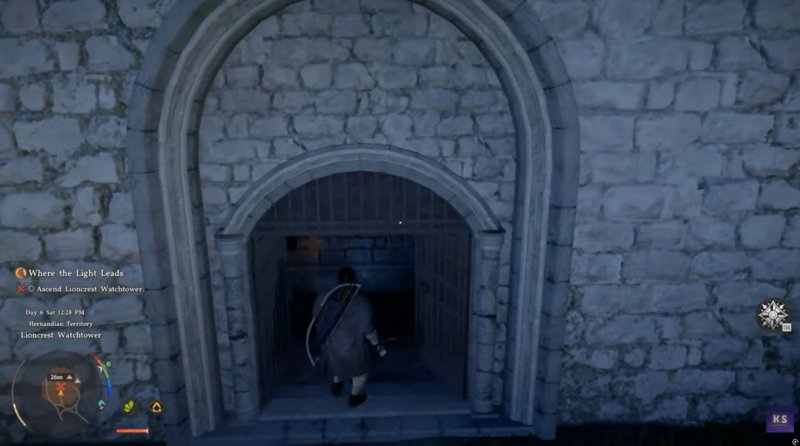
Step 2
Wait until the vines are fully burned away, then move forward and enter the watchtower.
Step 3
Begin climbing the staircase carefully, staying alert for visible trap mechanisms placed along the path.
Step 4
Equip your bow as soon as you spot a trap and shoot it from a safe distance to disable it before proceeding.
Step 5
Continue ascending slowly, repeating the process of spotting and disarming traps to avoid taking unnecessary damage.
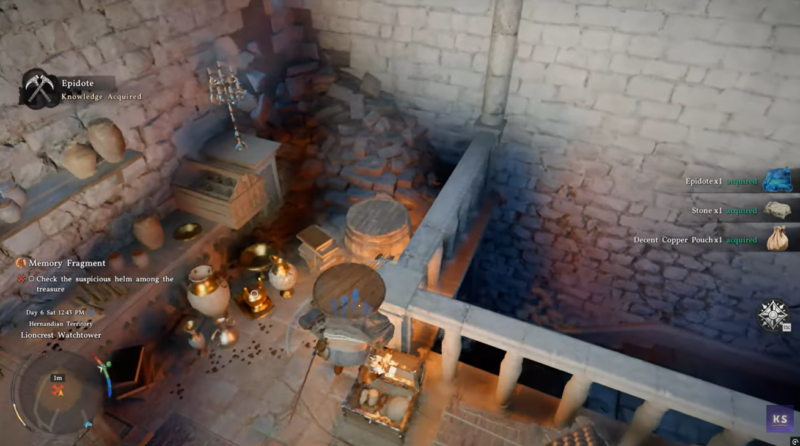
Step 6
Reach the top of the tower and locate the chest waiting in the final chamber. Open the chest to obtain the Memory Helm, completing this section of the quest.
Rewards from the Lioncrest Watchtower climb
| Reward | Type | Importance |
|---|---|---|
| Memory Helm | Quest Item | Required for progression |
This watchtower sequence highlights the game’s flexible puzzle design by letting you approach the same obstacle in different ways. Once inside, your focus shifts from creativity to precision, as careful trap management becomes essential. By combining smart environmental use with cautious movement, you can complete this section efficiently and secure the Memory Helm without setbacks.