- What to know
- Quick overview of the Abyss Power Supply puzzle
- Location of the Puzzle in Ethereal Pathway
- Understanding how the puzzle mechanics connect
- How to solve the Ethereal Pathway Abyss Power Supply puzzle step by step
- Rewards for completing the puzzle
- Why Force Palm is the real key to this puzzle
What to know
- This puzzle is part of the “Abyss without Balance” main quest.
- You must use Axiom Force to position key objects before progressing.
- Force Palm is unlocked mid-puzzle and required for completion.
- Final activation involves interacting with the large rotating device.
You’ll encounter the Ethereal Pathway Abyss Power Supply puzzle as a progression gate in Crimson Desert, and it’s one of those moments where understanding mechanics matters more than brute force. The puzzle blends traversal, positioning, and ability usage in a layered sequence, so once you understand the flow, it becomes much easier to execute.
Quick overview of the Abyss Power Supply puzzle
| Element | Purpose | Key Action |
|---|---|---|
| Floating blue cube | Initial power transfer | Move using Axiom Force |
| Lantern slot cube | Activates next phase | Align cube correctly |
| Abyss Cell | Core puzzle component | Insert using Force Palm |
| Force Palm ability | Unlocks mid-puzzle | Required to push objects |
| Giant rotating dial | Final activation device | Use Force Palm while hanging |
| Abyss Artifact | Final reward | Collect after activation |
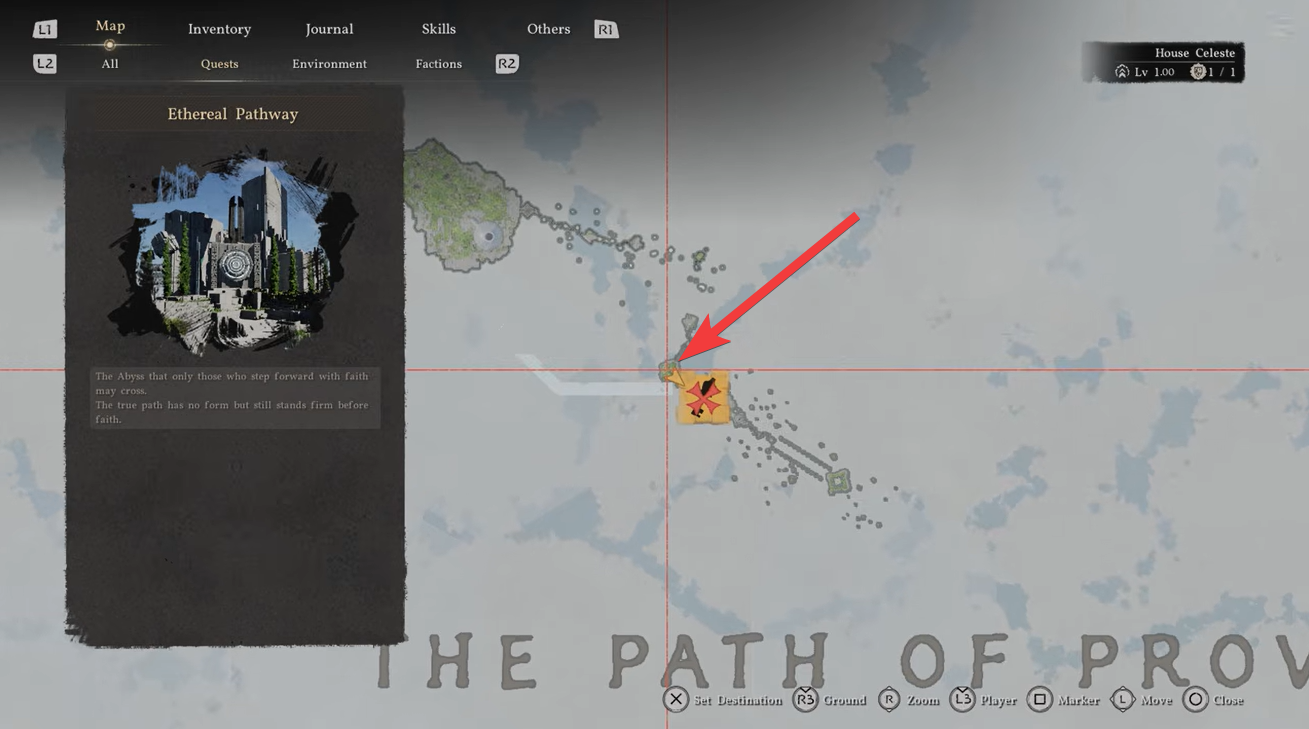
Location of the Puzzle in Ethereal Pathway
The puzzle takes place in the Ethereal Pathway section of the Abyss, a vertical, ruin-like environment filled with ancient machinery and energy conduits. You’ll notice a mix of elevated platforms, glowing mechanisms, and enclosed lower chambers, all designed to guide you through a top-to-bottom interaction flow. The layout subtly directs you from the upper cube placement down into the chamber where Force Palm is unlocked, then back upward again for the final activation.
Understanding how the puzzle mechanics connect
The puzzle revolves around energy transfer and precise object placement. You’re essentially restoring power to an ancient mechanism by moving energy cores into their correct slots. Axiom Force acts as your manipulation tool, while Force Palm becomes your activation trigger once unlocked.

At first, it may feel like you’re just moving objects around, but the puzzle is actually teaching you a sequence: position → unlock ability → apply force → activate system. If you follow that logic, each step flows naturally into the next.
How to solve the Ethereal Pathway Abyss Power Supply puzzle step by step
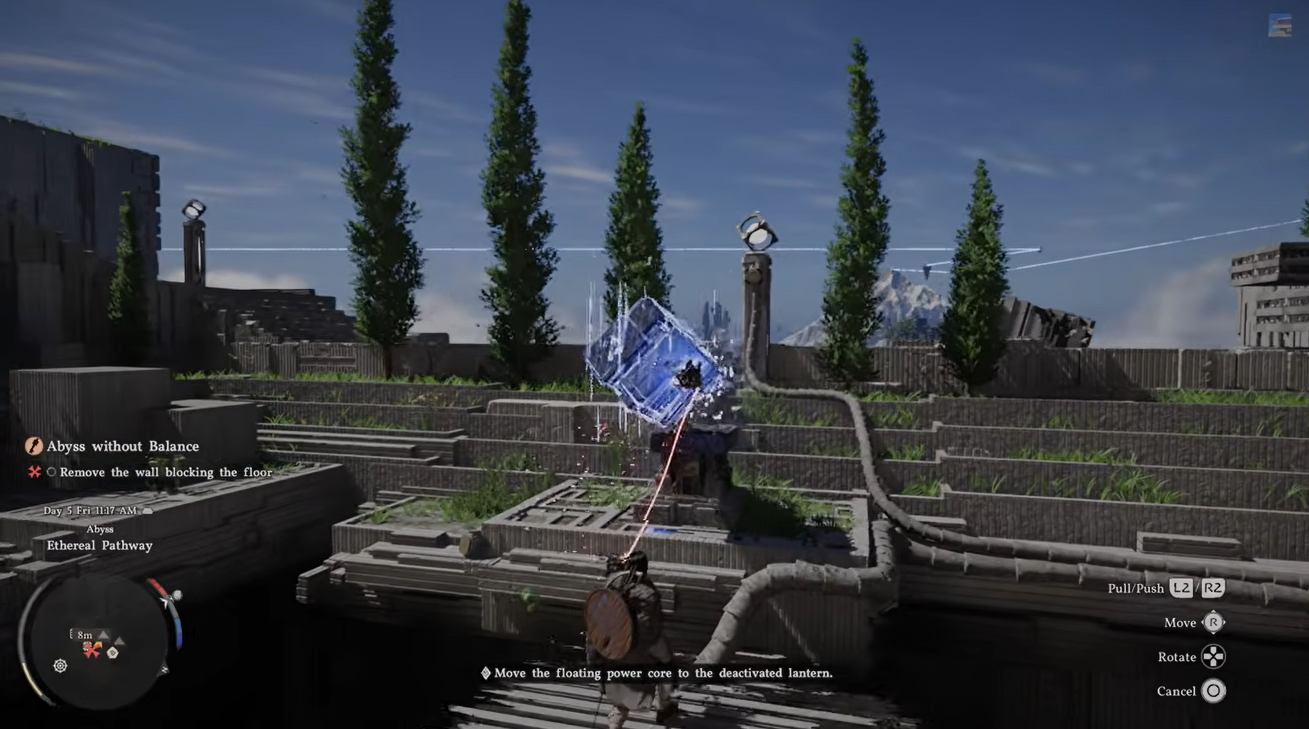
Step 1
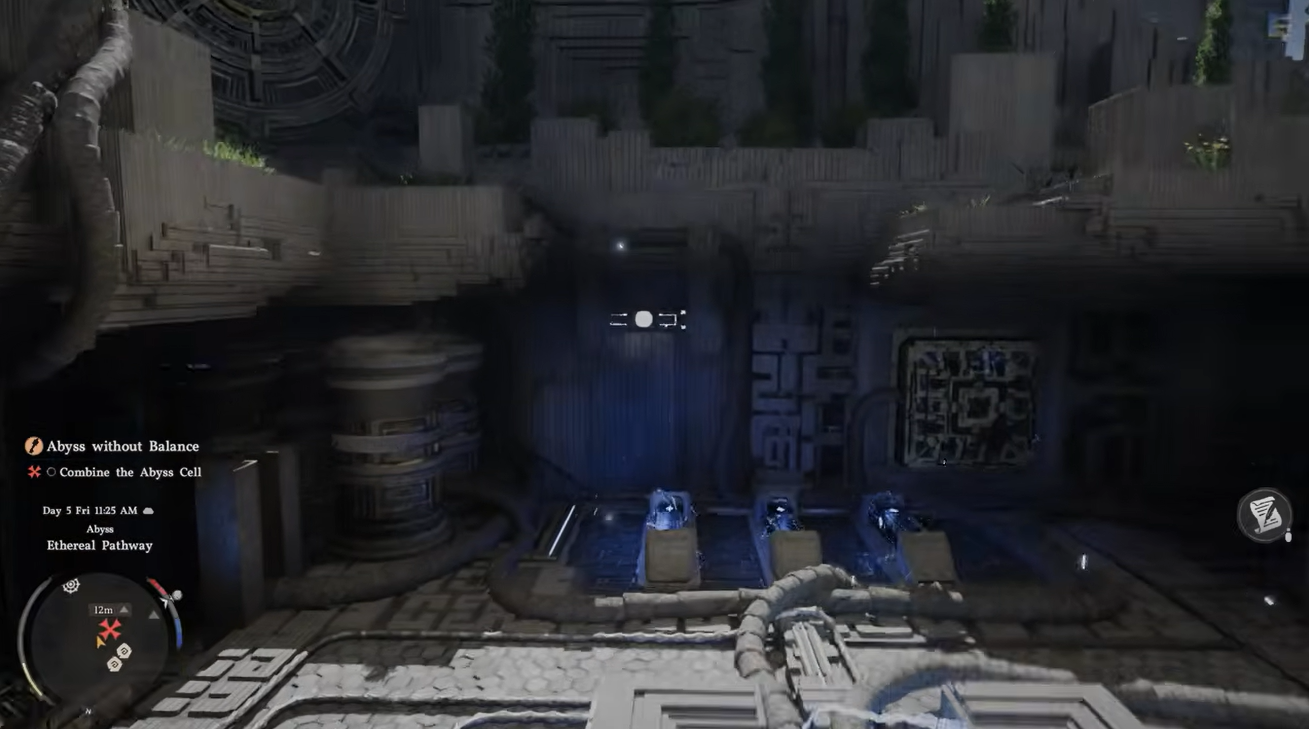
Use Axiom Force to grab the floating blue cube in the upper area. Carefully move it toward the lantern-like structure on the right side. Make sure it aligns with the cube that has square holes on each face, as this triggers the next objective.
Step 2
Once placed correctly, you’ll receive the objective to “Combine the Abyss Cell.” Immediately drop down into the lower section beneath the structure to continue.

Step 3
In the lower area, locate another floating blue square object. Use Axiom Force again to pick it up and move it toward the matching square slot positioned near the three sparking batteries.
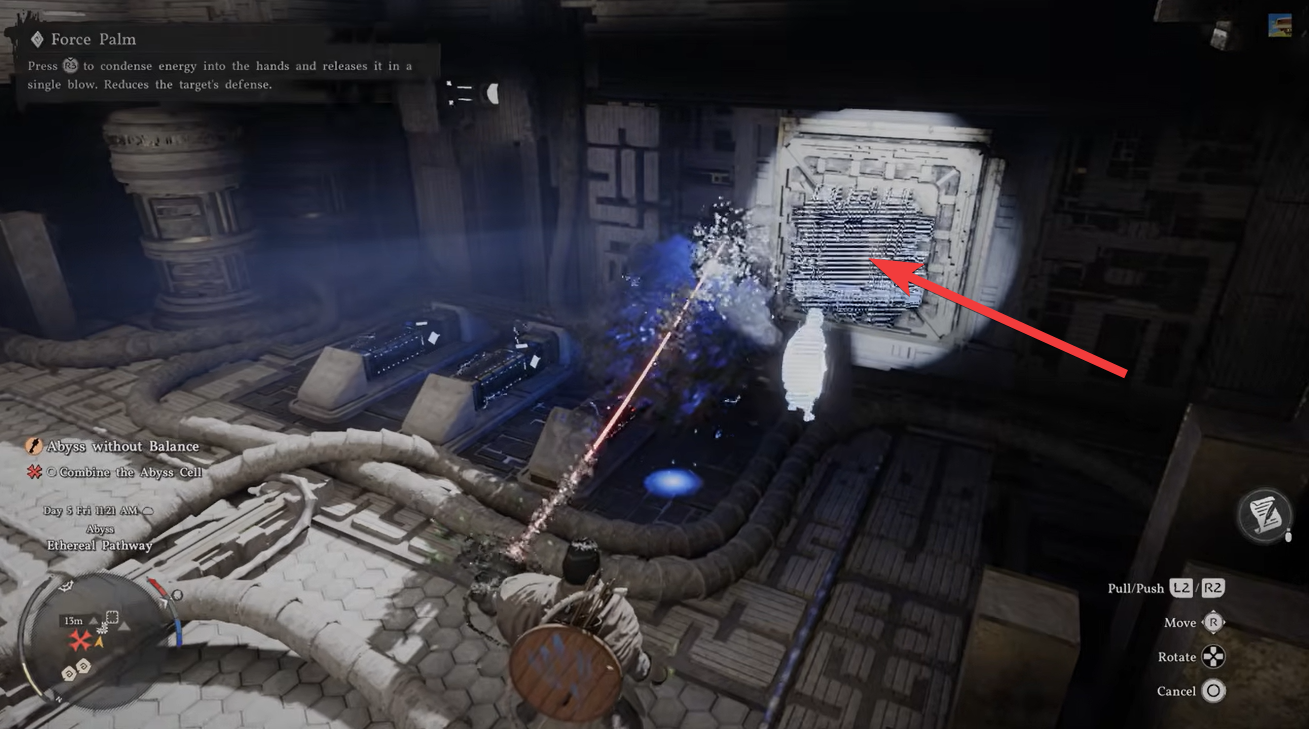
Step 4
Position the cube carefully into alignment with the slot, but don’t expect it to go in yet. This is intentional. Once aligned, a hologram will trigger and unlock the Force Palm ability, which is essential for progressing further.

Step 5
Stand directly in front of the aligned cube. Hold the middle mouse button to charge Force Palm, then release it to strike the cube into the slot. If done correctly, the Abyss Cell will activate and power the mechanism above, causing the large dial to glow.
Step 6
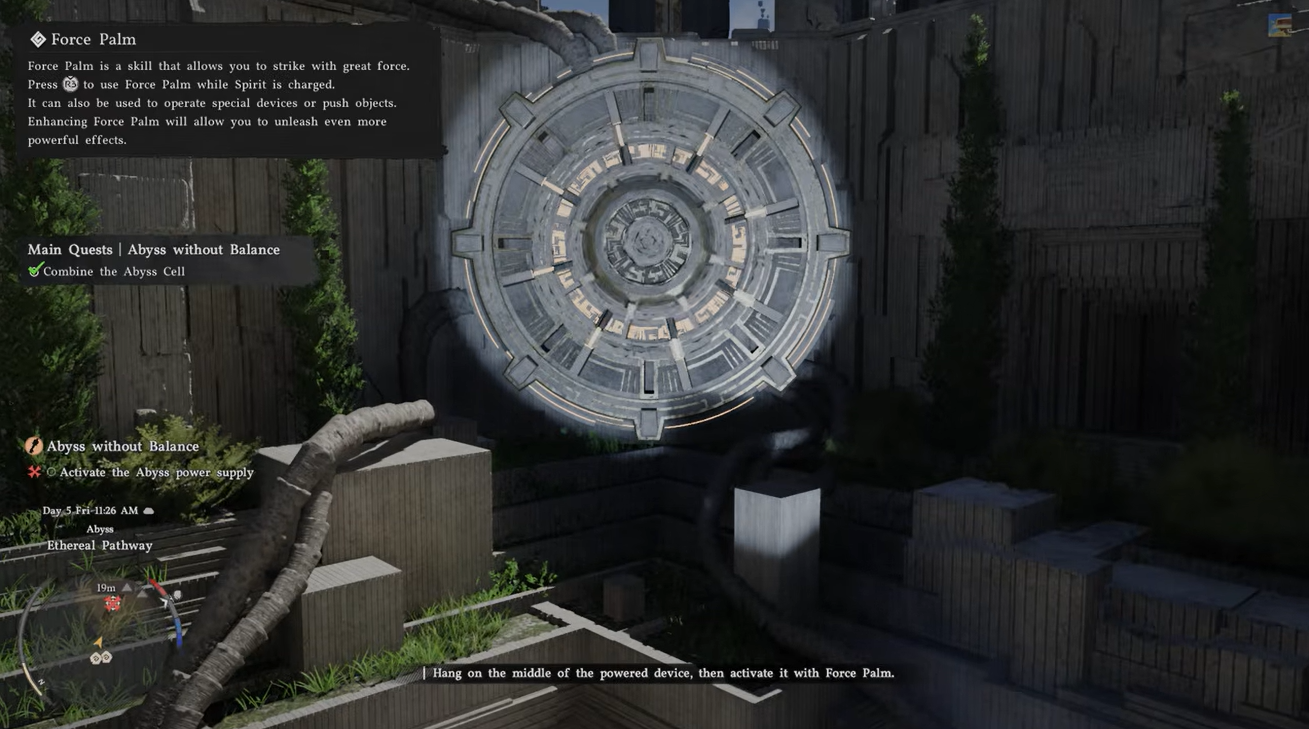
With the system powered, your objective updates to “Activate the Abyss power supply.” Climb back up to the large rotating wheel structure.
Step 7
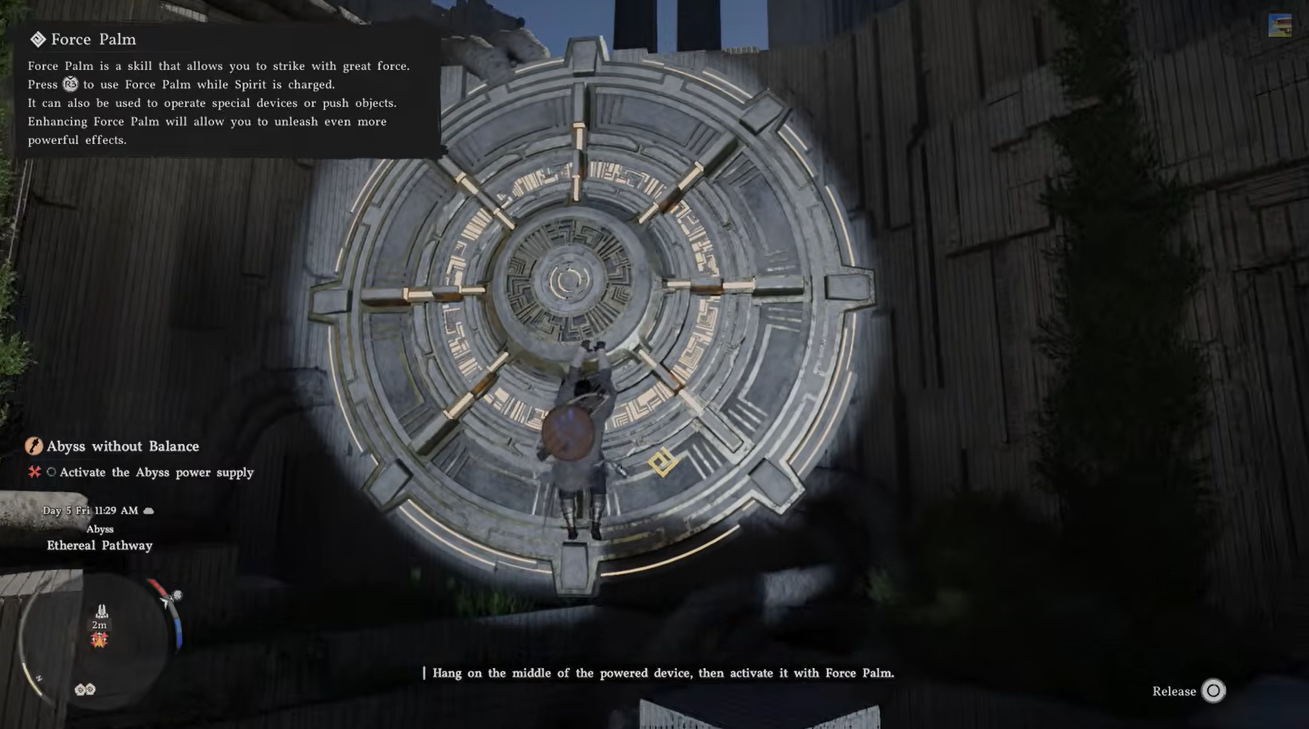
Hang onto the wheel and position yourself toward its center. While hanging, charge Force Palm again by holding the middle mouse button, then release it. This action will push you away and activate the mechanism fully.
Step 8
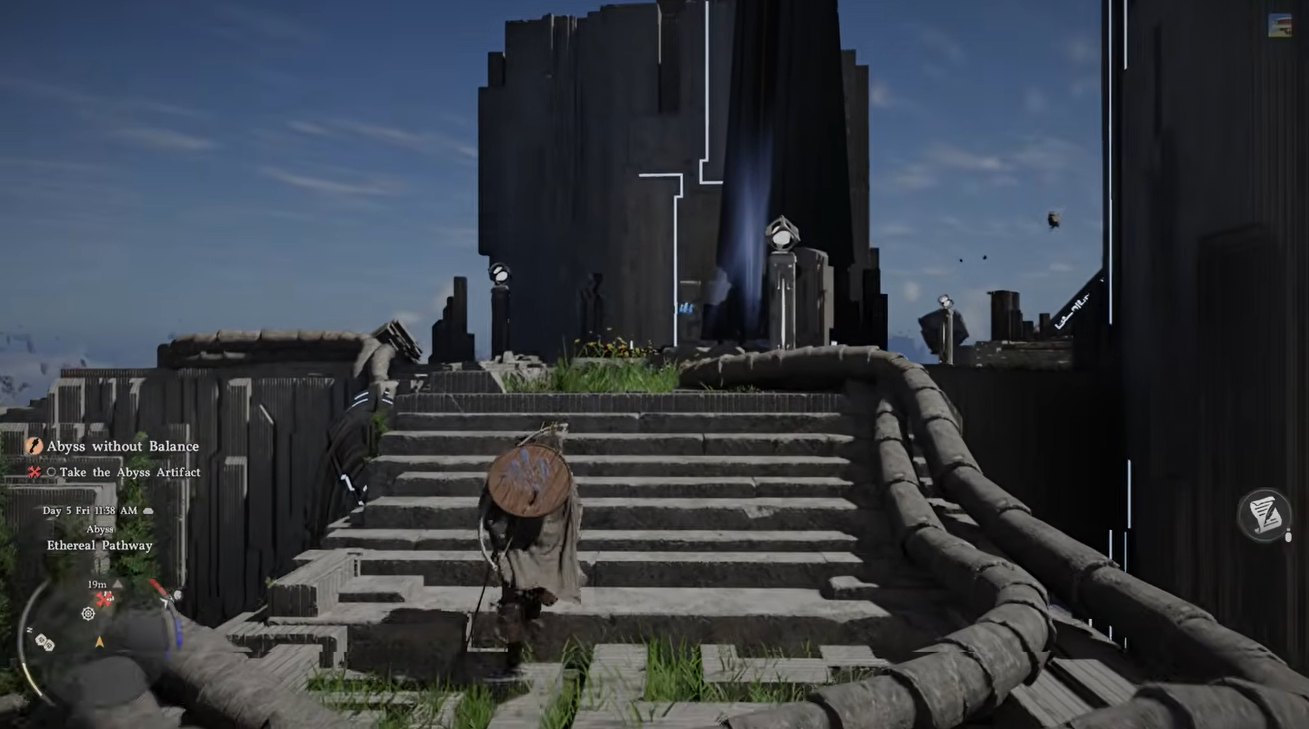
Once the mechanism activates, the puzzle completes and the path forward opens. Climb across the structure and collect the Abyss Artifact as your reward.
Rewards for completing the puzzle
| Reward | Description |
|---|---|
| Abyss Artifact | Key progression item tied to Abyss systems |
| Force Palm ability | Permanent ability unlocked during puzzle |
| Quest progression | Advances “Abyss without Balance” |
Why Force Palm is the real key to this puzzle
The puzzle is less about moving objects and more about learning Force Palm usage. While Axiom Force helps you position elements, Force Palm is what actually completes the system by applying impact-based activation. This mechanic becomes important later in the game, so this puzzle acts as both a test and a tutorial.
If you struggled here, it’s usually because alignment and timing weren’t precise enough, especially when inserting the Abyss Cell or activating the wheel.