What to know
- The Waterwheel Kit is a buildable structure in Pokémon Pokopia used for water-based mechanics and progression.
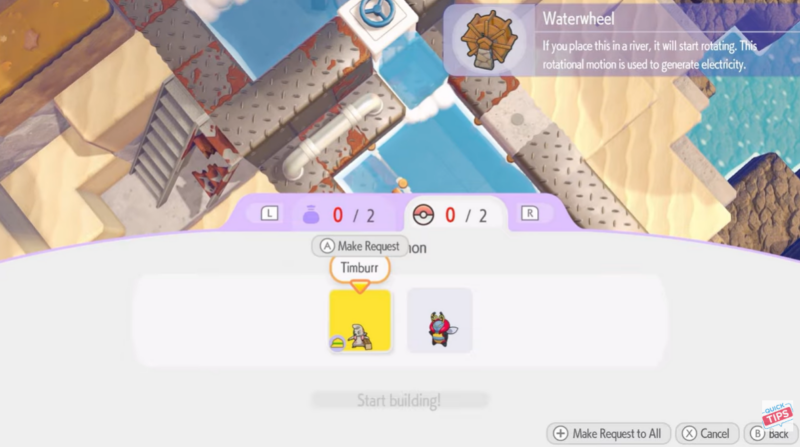
- You must have Timburr and Volbeat assigned to the construction task.
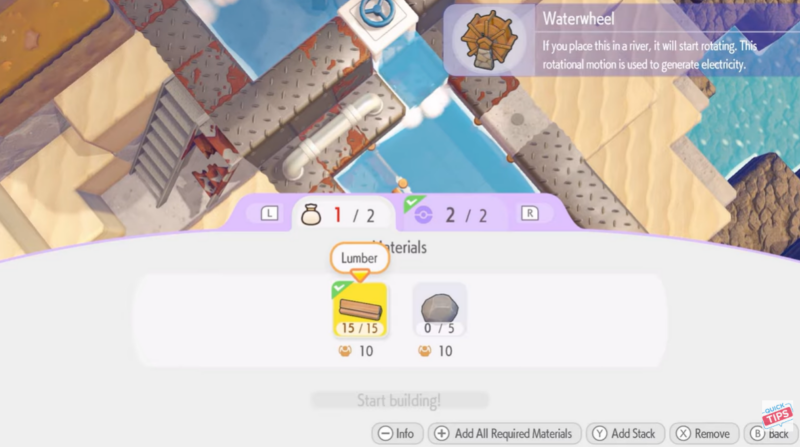
- The build requires 15 Lumber and 5 Stone as crafting materials.
- The kit must be placed directly in water, and construction takes roughly 10 minutes to complete.
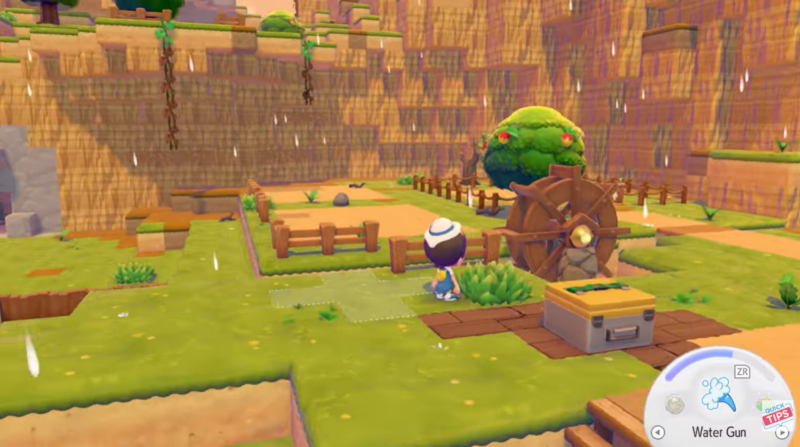
In Pokémon Pokopia, building functional structures is an important part of expanding your settlement and unlocking new gameplay systems. One of the most important early structures related to water mechanics is the Waterwheel Kit, a buildable object that must be placed in a flowing water source to function correctly. Many players initially struggle with the placement because the game allows you to preview the build area on land, but the actual construction only works when the kit is positioned in water. Understanding the correct requirements and placement method ensures the waterwheel builds smoothly without wasting time or materials.
Pokopia Waterwheel Kit build requirements
| Requirement | Details |
|---|---|
| Structure | Waterwheel Kit |
| Game | Pokémon Pokopia |
| Required Pokémon | Timburr, Volbeat |
| Materials Needed | 15 Lumber, 5 Stone |
| Placement | Must be placed directly in water |
| Build Time | About 10 minutes |
| Purpose | Powers water-based mechanics and environmental systems |
The waterwheel construction relies on both materials and Pokémon assistance. Timburr contributes its construction ability while Volbeat assists with the building process, allowing the structure to be assembled once the kit is correctly positioned.
Understanding the role of Timburr and Volbeat in construction
In Pokémon Pokopia, many construction projects require specific Pokémon that possess the right abilities to complete the task. The Waterwheel Kit is one such example where two Pokémon must participate in the build process.
Timburr acts as the primary builder, using its natural strength and construction skills to assemble the structural components of the waterwheel. Because Timburr is commonly associated with building and infrastructure work in the game, it is required for projects involving heavy materials such as lumber and stone.
Volbeat plays a support role during the build. Volbeat provides the necessary assistance to activate and coordinate the construction process, helping the build progress once the materials are placed and the kit is positioned correctly. Without both Pokémon available, the waterwheel cannot begin construction even if the materials are present.
This combination ensures that the project reflects the cooperative mechanics used across Pokopia’s building system.
Materials required to craft the Waterwheel Kit
Before attempting to place the waterwheel, players must gather the required materials. The structure requires a moderate amount of early-game resources, but they are generally accessible in forested and rocky areas.
| Material | Quantity | Usage in Build |
|---|---|---|
| Lumber | 15 | Used for the wheel frame and supporting structure |
| Stone | 5 | Used for the base and structural stability |
Lumber forms the majority of the wheel and its supporting frame, making it the most important resource for the structure. Players typically obtain lumber by cutting trees or processing wood resources collected from the environment.
Stone is required in smaller quantities but serves a key role. The stone materials reinforce the base of the waterwheel so it remains stable in flowing water, preventing the structure from collapsing once it begins operating.
Ensuring that these materials are in your inventory before attempting placement will allow the construction process to start immediately once the kit is positioned.
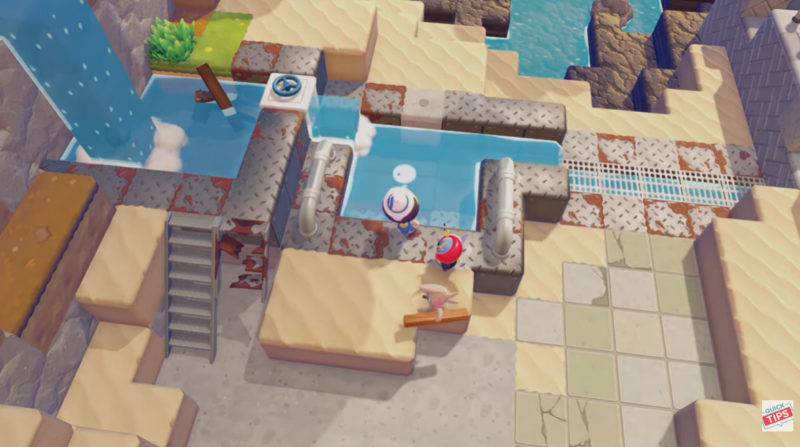
How to place the Waterwheel Kit correctly in Pokopia
Correct placement is the most important step when building the waterwheel. Many players attempt to construct the kit on land first, but the game requires it to be placed directly in water.
Step 1
Open the building interface and select the Waterwheel Kit from your available structures. Make sure you have 15 Lumber and 5 Stone in your inventory and that Timburr and Volbeat are available to assist with construction.
Step 2
Move to a suitable water source. Rivers, streams, or shallow flowing water areas work best because the wheel must interact with moving water to function properly.
Step 3
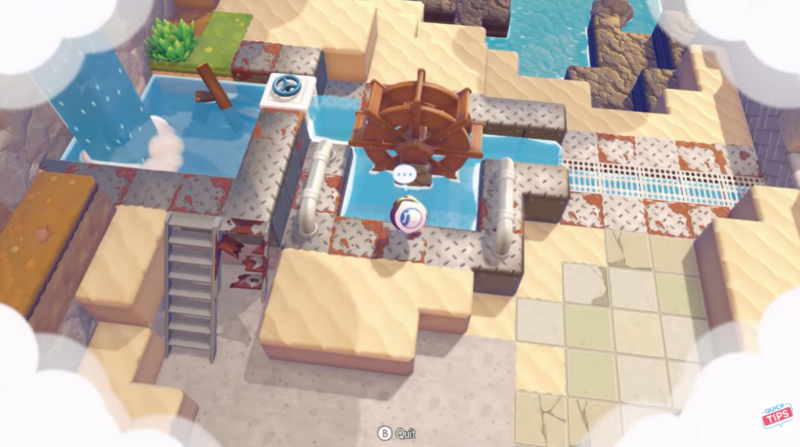
Position the build preview over the water surface. Hold down the “A” button to activate the placement preview, which allows you to see exactly where the structure will appear before confirming the placement.
Step 4
Adjust the placement carefully until the preview clearly shows the kit sitting inside the water rather than on the shore. The waterwheel will only build successfully if the entire placement area is inside the water.
Step 5
Confirm the placement once the preview looks correct. The construction will begin immediately once the location is validated.
Step 6
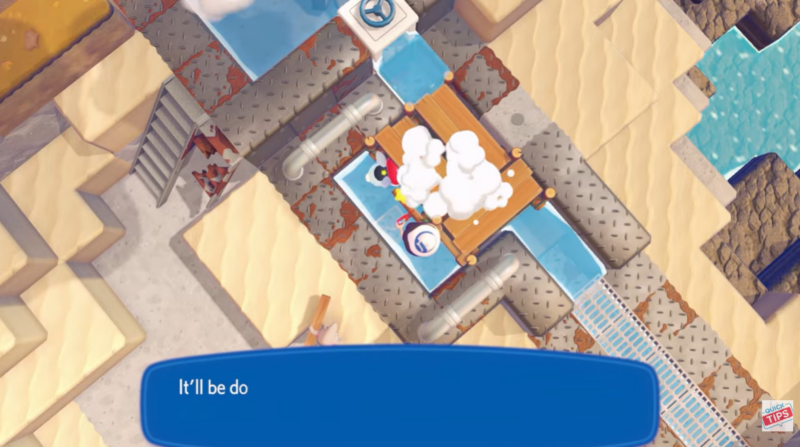
Allow the construction process to complete. The Waterwheel Kit takes approximately 10 minutes to fully build, during which Timburr and Volbeat perform the assembly work.
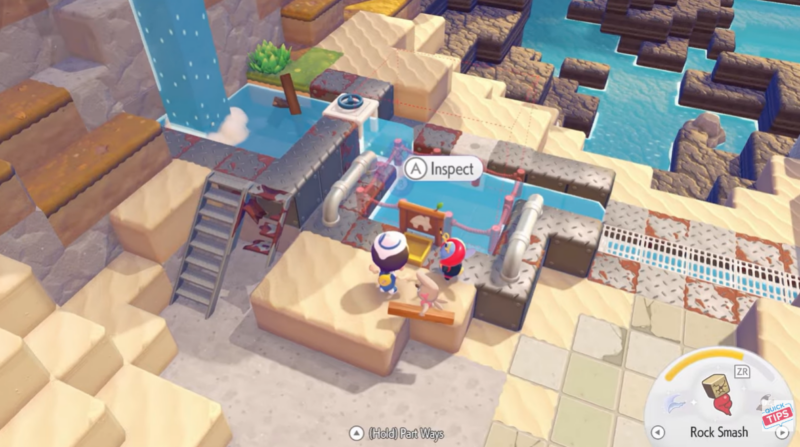
Once finished, the waterwheel becomes an active structure in the environment.
Why the Waterwheel Kit must be built in water
The Waterwheel Kit is designed to interact directly with water flow, which is why the placement rules are strict. Unlike many other structures in Pokémon Pokopia that can be built on flat ground, the waterwheel requires a moving water source to function.
Placing the structure on land prevents the build process from starting, even if all other requirements are met. The wheel needs water pressure to turn, which is why the preview system encourages players to test placement before confirming the build.
This design mechanic also encourages players to carefully select natural water locations around the map.
Tips for choosing the best location
Selecting a good build location can make the construction process smoother and prevent repositioning later. Areas with shallow riverbanks tend to work best because they provide enough depth for the wheel while still allowing easy access from land.
Wide streams and calm river sections provide the most stable placement areas, especially when the shoreline allows you to position the preview clearly within the water boundaries. Avoid extremely narrow water channels where the structure may not fit properly.
If the preview does not appear correctly in the water, simply reposition slightly until the placement indicator aligns with the water surface.