- What to know
- Quick overview of water source mechanics in Pokémon Pokopia
- Bleak Beach progression unlocks water manipulation
- Crafting Wooper to unlock liquid control
- Using Wooper to absorb water
- Creating a new water source anywhere on your island
- Building waterfalls and custom habitats with water placement
- Water placement uses for island building
- Mastering water placement in Pokémon Pokopia
What to know
- Water sources in Pokémon Pokopia are created and moved using Wooper’s liquid manipulation ability.
- You must first complete Piplup’s quests in the Bleak Beach area to unlock the mechanic.
- Wooper can absorb water or other liquids and relocate them anywhere in your island.
- This system allows you to build waterfalls, ponds, and custom habitats for water-type Pokémon.
Once you unlock Bleak Beach progression, Pokémon Pokopia introduces a creative building mechanic that allows you to move water around your island. Instead of placing water as a simple building object, the game uses a Wooper helper Pokémon that can absorb and release liquids. This makes it possible to reshape landscapes, create waterfalls, and build proper aquatic habitats for Pokémon that require water environments.
Understanding how to craft Wooper and use its liquid storage ability is essential if you want to customize your island more deeply.
Quick overview of water source mechanics in Pokémon Pokopia
| Feature | Details |
|---|---|
| Requirement | Complete Piplup quests in Bleak Beach |
| Pokémon Needed | Wooper |
| Crafting Materials | 3 Leafage items + 3 Tomatoes |
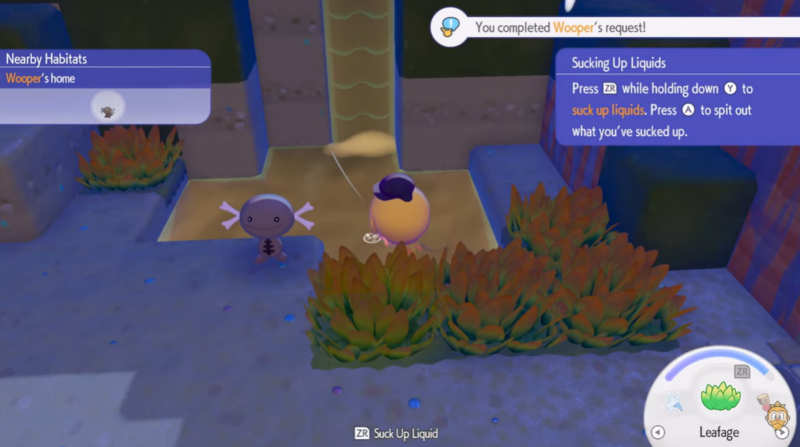
| Liquid Storage Ability | Wooper can absorb water and other liquids |
| Control Button | Hold Y to absorb liquid |
| Placing Water | Release liquid to create water sources or waterfalls |
| Main Use | Creating ponds, rivers, waterfalls, and habitats |
Bleak Beach progression unlocks water manipulation
Before you can move water around your island, you must progress through the Bleak Beach storyline involving Piplup. These quests introduce water-based mechanics and eventually unlock the ability to create and control liquids using helper Pokémon.
Once the relevant quest steps are completed, the game enables the Wooper crafting interaction near muddy water. This is when the system for placing water sources becomes available.
Bleak Beach acts as the early hub for water mechanics because the area already contains natural pools, shoreline terrain, and muddy water patches used in crafting.
Crafting Wooper to unlock liquid control
The ability to move or place water in Pokémon Pokopia depends entirely on creating a Wooper. Unlike normal Pokémon encounters, this Wooper is crafted through environmental interaction.
Step 1
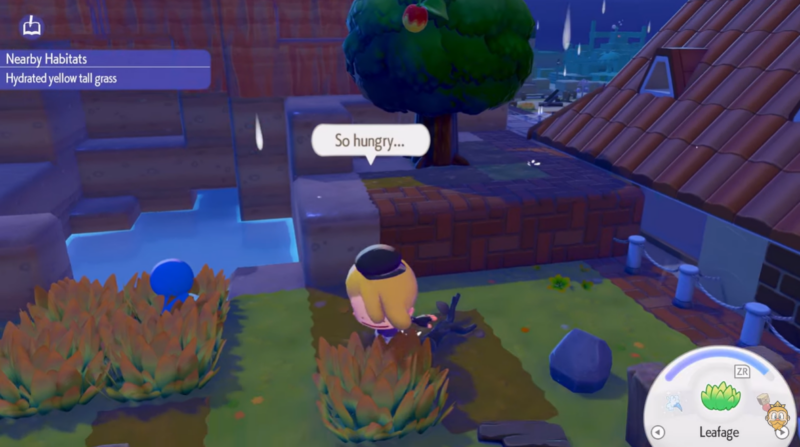
Travel to an area containing muddy water. These muddy pools appear in Bleak Beach and nearby wetlands.
Step 2
Place three Leafage items beside the muddy water. The items must be placed close enough to trigger the crafting interaction.
Step 3
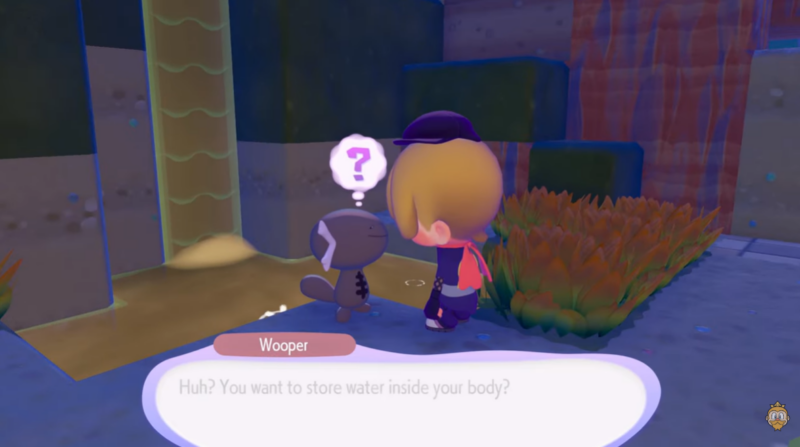
Once the materials are placed correctly, the crafting process begins and Wooper will appear near the water source.
Step 4
Feed the newly created Wooper three tomatoes. This activates its helper ability.

After feeding Wooper, the Pokémon becomes capable of storing and transporting liquids, which is the key mechanic for moving water sources across your island.
Using Wooper to absorb water
After crafting Wooper, the next step is learning how to collect liquids. Wooper acts almost like a portable water container.
Step 1
Stand near any water source, pond, or liquid surface.
Step 2
Hold the Y button.
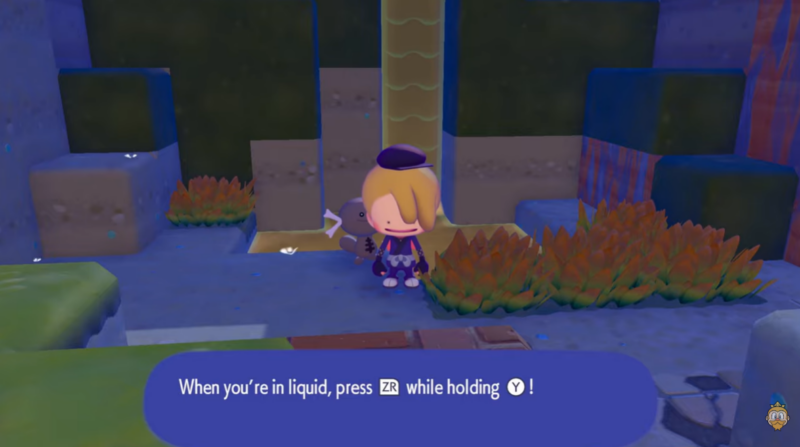
Step 3
While holding the button, Wooper will begin sucking up the liquid.
Step 4
Once the absorption animation finishes, Wooper stores the liquid internally and can carry it elsewhere.
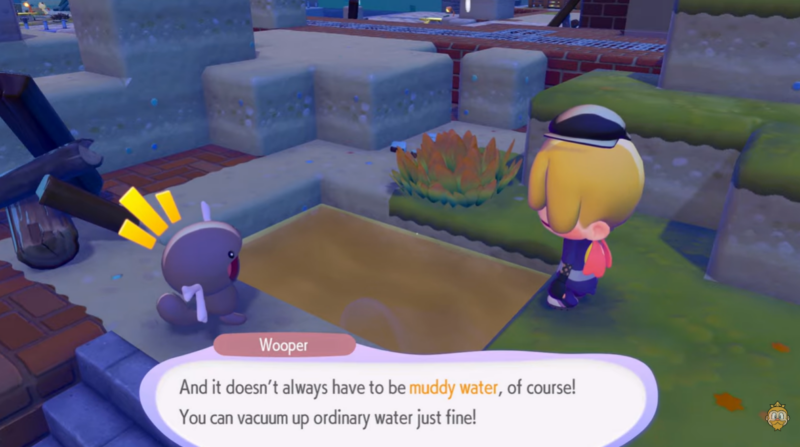
This ability works not only on basic water but also on other liquid surfaces depending on the environment.
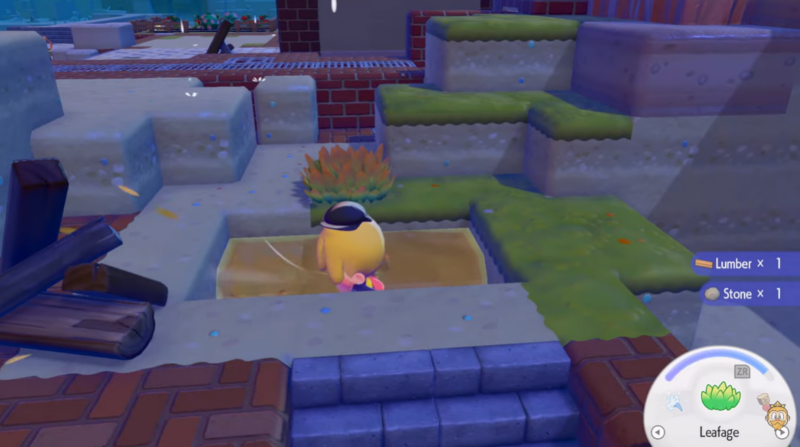
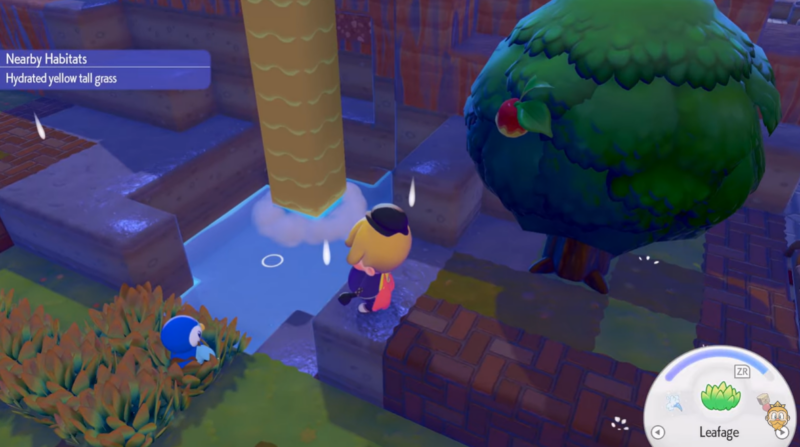
Creating a new water source anywhere on your island
Once Wooper has stored water, you can relocate it to any suitable location.
Step 1
Move to the area where you want the new water source to appear.
Step 2
Aim the placement area on the terrain.
Step 3
Release the stored liquid using the spit action.
Step 4
Wooper will expel the stored liquid, creating a new water source.
This mechanic allows you to build ponds, streams, and small lakes anywhere on your island as long as the terrain supports liquid placement.
Building waterfalls and custom habitats with water placement
One of the most interesting uses of Wooper’s ability is building waterfalls. If you place the released water from a higher elevation, gravity causes the liquid to flow downward, forming a natural waterfall effect.
This system allows you to design multi-level water habitats for Pokémon that prefer aquatic environments. You can combine elevated terrain, cliffs, and water placement to build rivers flowing into ponds or waterfalls feeding into lakes.
Because habitats affect Pokémon comfort levels in Pokopia, placing water strategically can help attract or support water-type Pokémon such as Piplup, Wooper, and others that require aquatic surroundings.
Water placement uses for island building
| Use Case | Result |
|---|---|
| Pond creation | Provides water habitat for aquatic Pokémon |
| Waterfalls | Decorative terrain feature and habitat boost |
| Rivers or streams | Connects multiple habitat zones |
| Habitat comfort improvement | Increases environment suitability for water Pokémon |
| Island decoration | Enhances visual design of your settlement |
Mastering water placement in Pokémon Pokopia
Water manipulation using Wooper is one of the most powerful environmental tools in Pokémon Pokopia. After completing the Bleak Beach questline and crafting Wooper, you gain the ability to collect, move, and place water anywhere on your island. This mechanic lets you reshape habitats, build waterfalls, and create fully customized aquatic environments for your Pokémon. As your island grows, learning how to position water sources effectively becomes an important part of habitat design and Pokémon comfort management.