
- What to know
- How the Botanist quest system actually works
- Choosing the best fruits for faster completion
- Optimizing your farm layout for mutations
- How to complete the Botanist event step by step
- Understanding mutations like Sandy and Shocked
- The most efficient farming rhythm
- Why most players struggle with this event
What to know
- You must deliver a specific mutation type and total fruit weight to finish each Botanist quest.
- High base-weight crops help you reach weight requirements much faster.
- Sprinkler placement directly affects fruit size and mutation chances.
- Each completed quest unlocks a new mutation request and fresh rewards.
The Botanist event in Garden Horizons (Roblox) is all about efficiency. If you simply plant random crops and hope for mutations, you will waste time and resources. The key to finishing the event quickly is understanding weight mechanics, mutation types, and farm layout optimization. Once you master those three elements, you can clear each Botanist request in a fraction of the time.
Below is a quick overview before diving deeper into the optimal method.
| Feature | Details |
|---|---|
| Event Type | Limited-time mutation delivery quest |
| Objective | Deliver specific mutation + total weight requirement |
| Example Requirement | Sandy mutation + 150 kg fruit |
| Best Crops | Apple, Potato, Tomato, Banana |
| Core Strategy | High base-weight crops + tight sprinkler setup |
| Rewards | IGMC Pack and rotating event rewards |
| Repeatable? | Yes, new mutation each time |
How the Botanist quest system actually works

When you speak to the Botanist NPC, she will request two things: a specific mutation type and a total combined fruit weight. The mutation changes every cycle. In one example, the requirement was Sandy mutation fruits totaling 150 kg. After completing that, the next request changed to a different mutation, such as Shocked.
This means you are not just farming weight. You are farming the correct mutation combined with enough mass. Both conditions must be satisfied to complete the quest.

If you bring the wrong mutation, even with enough weight, it will not count. If you bring the correct mutation but not enough total weight, it will also fail. Precision matters.
Choosing the best fruits for faster completion
Not all crops are equal. Base weight determines how fast you can reach the total kilogram requirement. The higher the base weight, the fewer crops you need to harvest.
Here is a comparison of strong crop options:
| Crop | Base Weight |
|---|---|
| Apple | 0.19 |
| Potato | 0.17 |
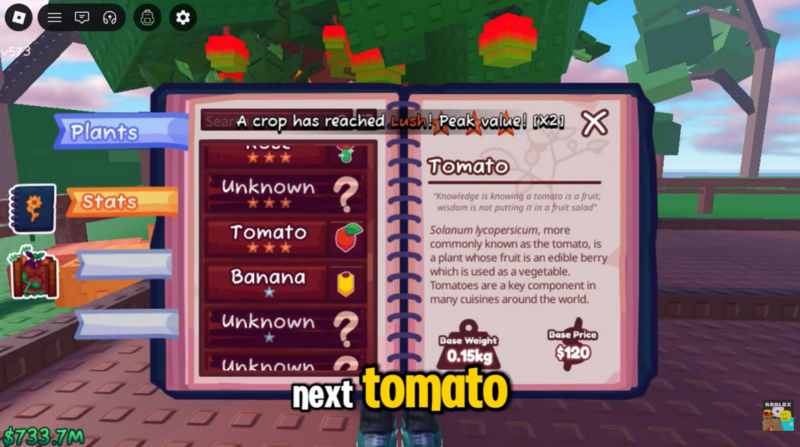
| Tomato | 0.15 |
| Banana | 0.12 |
Apples are the strongest choice because of their higher base weight. Potatoes follow closely behind. While bananas grow quickly, their lower base weight means you will need more of them to hit the target.
If your quest requires 150 kg, using apples will dramatically reduce grind time compared to lighter crops. Always prioritize crops with the highest base weight available to you.
Optimizing your farm layout for mutations
Plant placement matters more than most players realize. Sprinklers increase fruit size and can influence mutation results, which directly impacts how quickly you hit the weight requirement.
You should plant crops tightly together to ensure maximum sprinkler coverage. Spacing crops too far apart reduces efficiency and wastes sprinkler potential.
A tight grid layout allows:
- Faster growth scaling
- Increased fruit size
- Better mutation roll frequency
When crops grow larger under sprinkler influence, each harvest contributes more kilograms toward the total requirement.
How to complete the Botanist event step by step
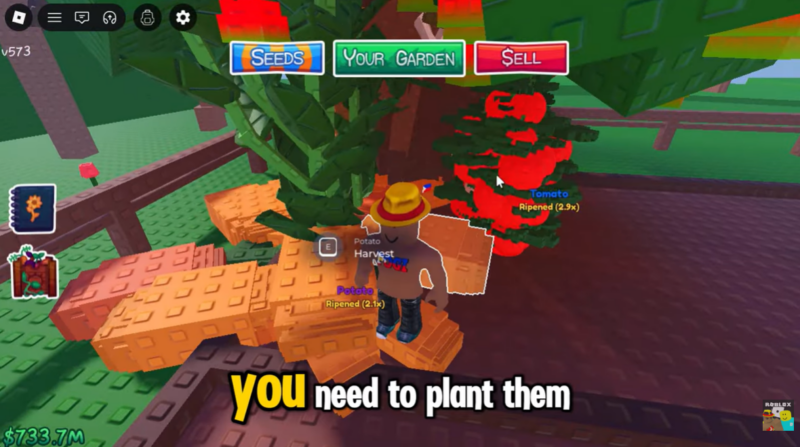
Talk to the Botanist NPC and carefully read the requested mutation and total weight requirement. Do not start planting until you know the exact mutation needed. Select high base-weight crops such as apples or potatoes. Choosing low-weight crops will significantly slow your progress.
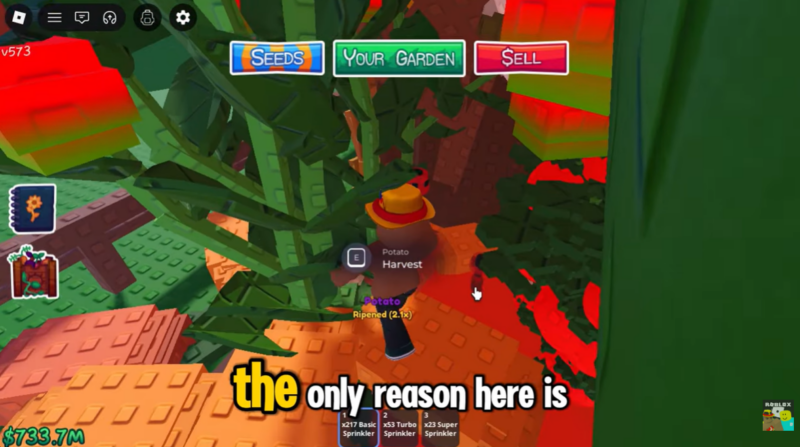
Plant crops in tight clusters to maximize sprinkler coverage. Position sprinklers centrally so every plant benefits. Allow crops to grow larger under sprinkler effects before harvesting. Larger fruit equals more weight per harvest.
Harvest and check for the required mutation. If the mutation is not correct, continue planting and harvesting until the correct variant appears. Accumulate the required total weight using only fruits with the requested mutation. Keep an eye on the weight counter so you know when you’ve reached the target.

Return to the Botanist and turn in the mutated fruits. Once submitted, the quest completes and rewards are granted. Accept the new mutation request and repeat the optimized process.
Understanding mutations like Sandy and Shocked
Mutations such as Sandy or Shocked are random modifiers that appear during harvest. You cannot directly force a mutation, but you can increase efficiency by harvesting frequently and growing larger fruit.
Because mutations are RNG-based, your goal is to increase the number of harvest cycles in the shortest amount of time while maintaining high fruit weight output. That combination maximizes your chances of hitting the required mutation quickly.

Rewards from the Botanist event
Each successful completion grants event rewards. One confirmed reward example includes:
| Completion Cycle | Reward |
|---|---|
| First Completion Example | IGMC Pack |
| Subsequent Cycles | Rotating mutation-based rewards |
Rewards refresh with each new mutation request, which means the event is designed to be farmed repeatedly.
The most efficient farming rhythm
The best method combines three elements: high-weight crops, tight sprinkler placement, and fast mutation cycling. If you plant inefficient crops or spread them too wide, you will double or triple your completion time.
The event becomes significantly easier once you optimize layout and crop choice. After your first completion, you will notice that repeating the process becomes faster because your farm is already structured correctly.

Why most players struggle with this event
Many players fail because they focus only on mutations and ignore weight efficiency. Others farm lightweight crops and wonder why reaching 150 kg takes so long.
The event is not about luck alone. It is about optimizing weight per harvest while cycling mutations efficiently. When both elements align, the Botanist event becomes straightforward and profitable.
The Botanist event rewards smart farming rather than random planting. If you prioritize high base-weight crops like apples, maximize sprinkler coverage, and focus only on the required mutation, you will complete each cycle quickly and consistently. Once your farm is optimized, repeating quests becomes routine, and rewards stack up fast.
Master the system once, and every future Botanist request becomes easier.


The tip about prioritizing heavier crops for Botanist quests is really helpful. Weight requirements can make some tasks much easier if you choose the right crops instead of just focusing on mutations. Planning mutations ahead of time also seems like a great way to finish requests faster. Great breakdown of the strategy!