- What to know
- How ice climbing differs from rock climbing
- Quick overview of ice climbing inputs
- How to ice climb using taps and charged grabs
- Practicing safely on the tutorial wall
- Extra survival tip: Don’t skip the plantain
- Common mistakes players make on ice routes
- Why ice climbing feels demanding but fair
What to know
- Ice climbing uses two distinct input techniques, depending on the surface in front of you.
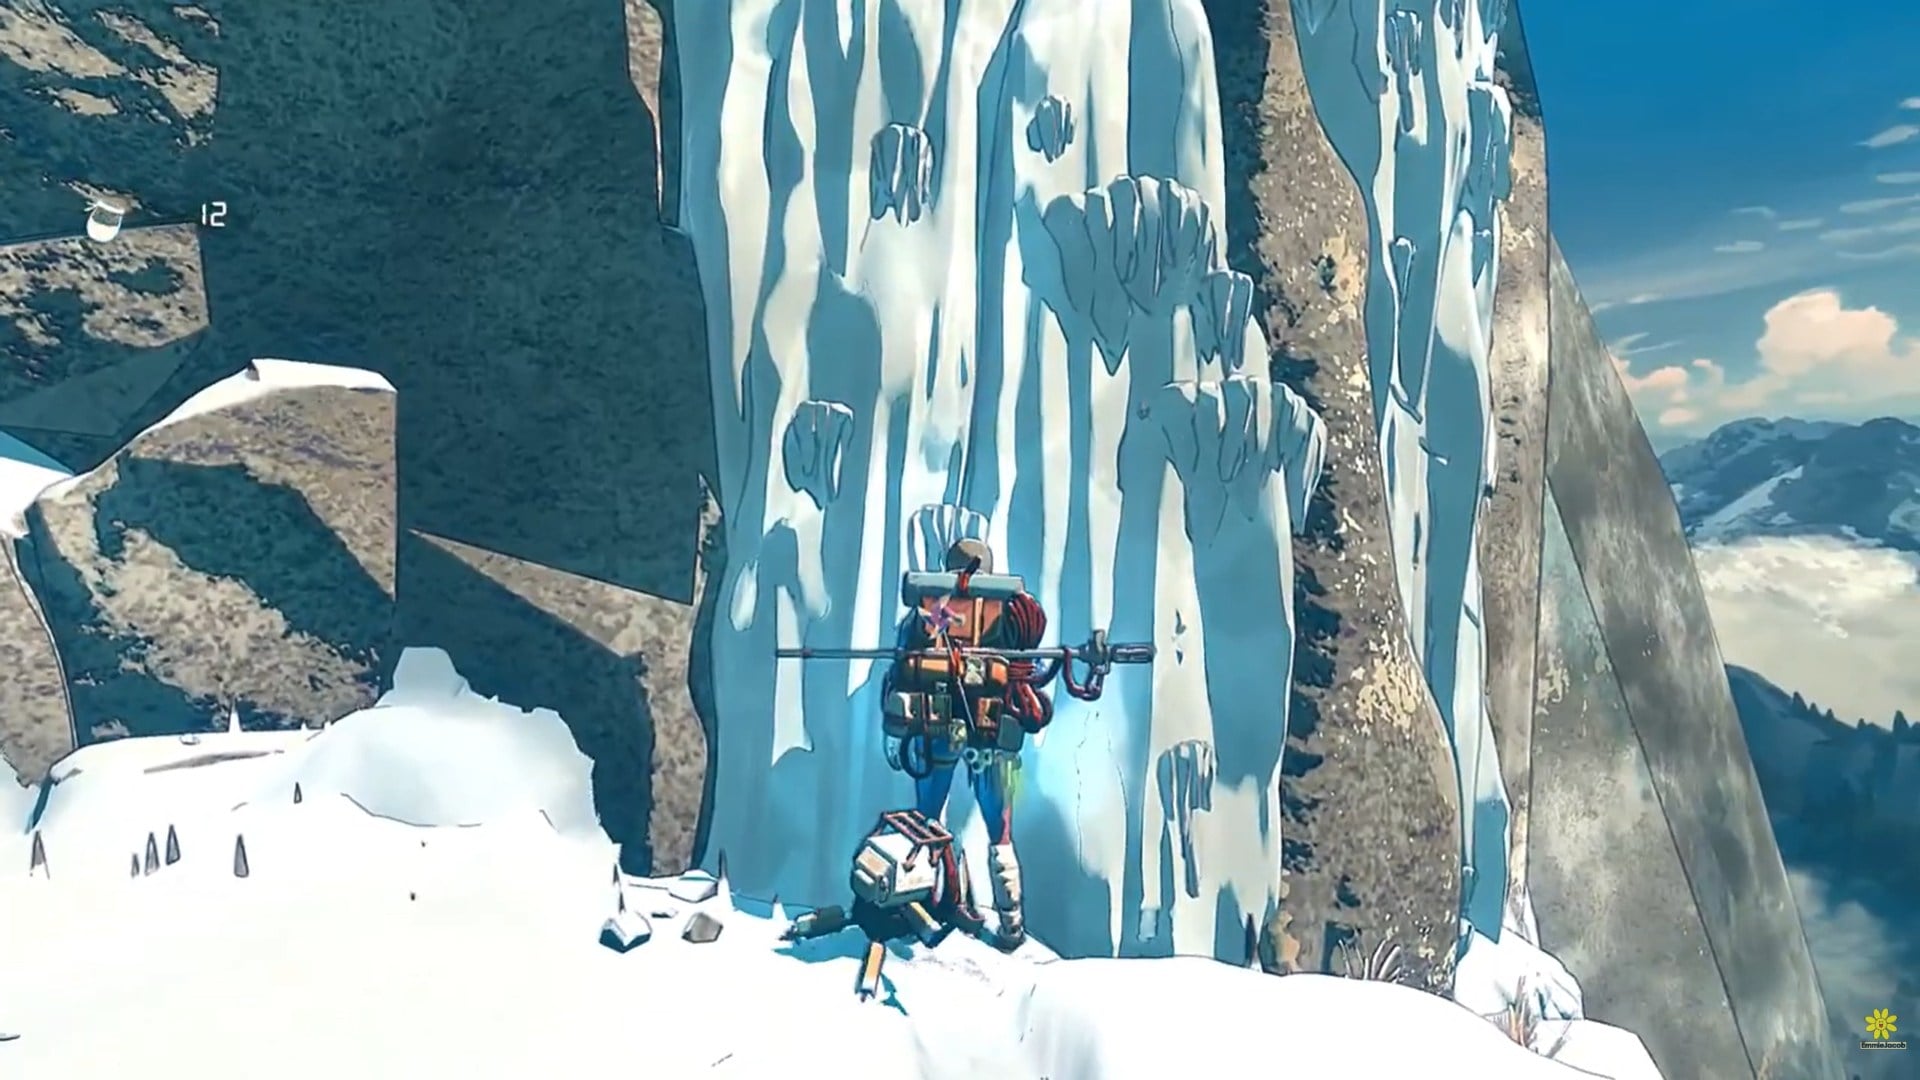
- Visible ice protrusions are intentional handholds, not decoration.
- Charging a grab creates a stronger connection when no ledges are available.
- The practice wall is designed for repetition, with a nearby save point and safe drop.
Ice routes in Cairn feel intimidating at first because they remove the obvious cracks and rock geometry you rely on elsewhere. Instead of clear edges, you’re working with smooth, frozen surfaces that demand timing and intent. The game teaches ice climbing through feel rather than tutorials, and once it clicks, it becomes one of the most satisfying movement systems in the game.
How ice climbing differs from rock climbing
Ice walls behave very differently from rock faces. On stone, you are usually choosing between multiple obvious holds. On ice, the wall may look nearly flat, but the game subtly signals where a grip is viable. Small knobby protrusions—often described by players as “sticky-outy ledge things”—are deliberate anchor points. Learning to spot and respond to them is the foundation of ice climbing.
Equally important is understanding that not every grab should be treated the same way. Cairn gives you two input styles, each suited to a different ice condition.
Quick overview of ice climbing inputs
| Ice situation | Best input method | Result |
|---|---|---|
| Visible ice protrusions | Tap climb button | Quick, efficient grip |
| Smooth or flat ice | Hold then release climb button | Stronger, deliberate connection |
| Learning phase | Practice wall | Safe repetition and recovery |
How to ice climb using taps and charged grabs
Ice climbing success comes from matching your input to what the wall is giving you. The tutorial wall is built to teach this distinction clearly.
Step 1: Read the ice wall
Before moving, take a moment to scan the surface. Look for small, raised ice knobs or ridges. These are your quick-grab targets. If the wall looks smooth and featureless, you already know a charged grab will be required.
Step 2: Tap the climb button for protruding ice
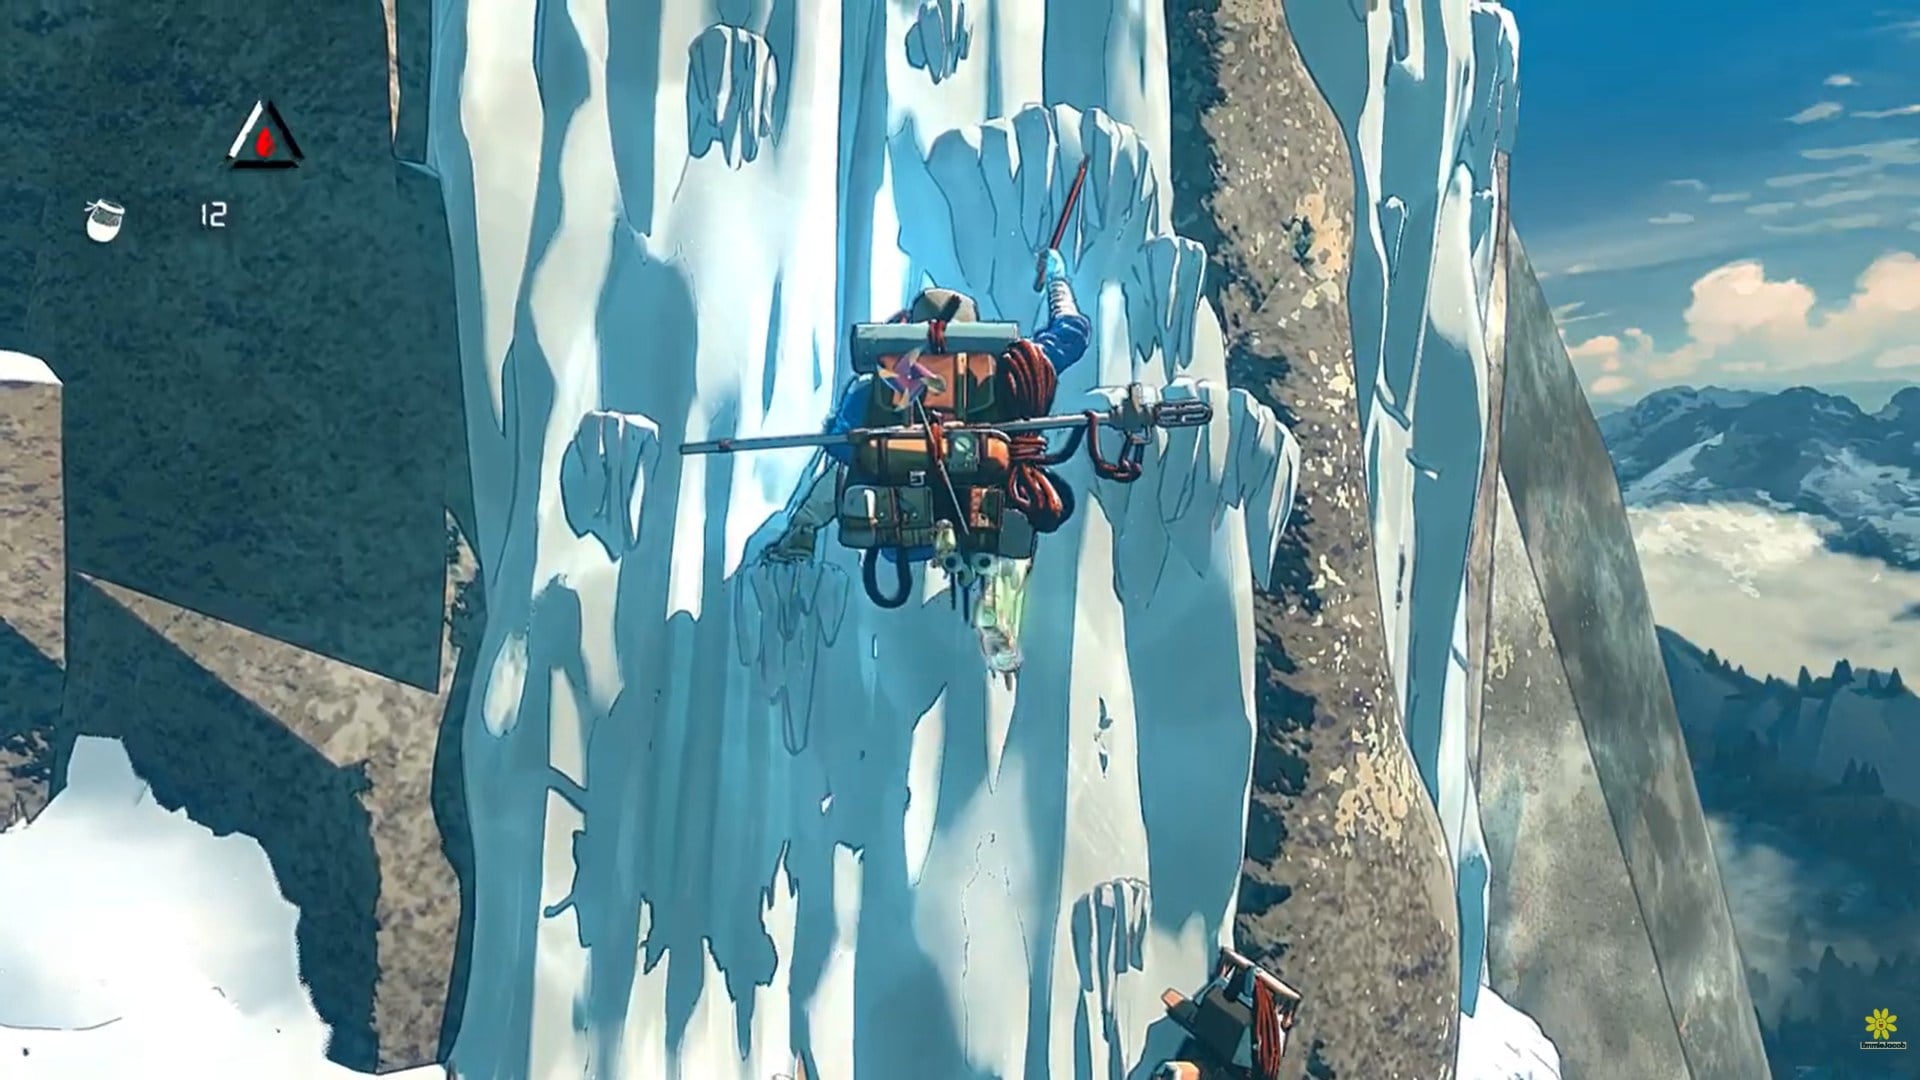
When you see a clear ice ledge, tap the climb button. This quick input is ideal for those small stick-outs and conserves stamina. When the grab is valid, you’ll see a small square pop-up, confirming a solid connection. This feedback is subtle but crucial—train yourself to notice it.
Step 3: Hold and release for flat ice
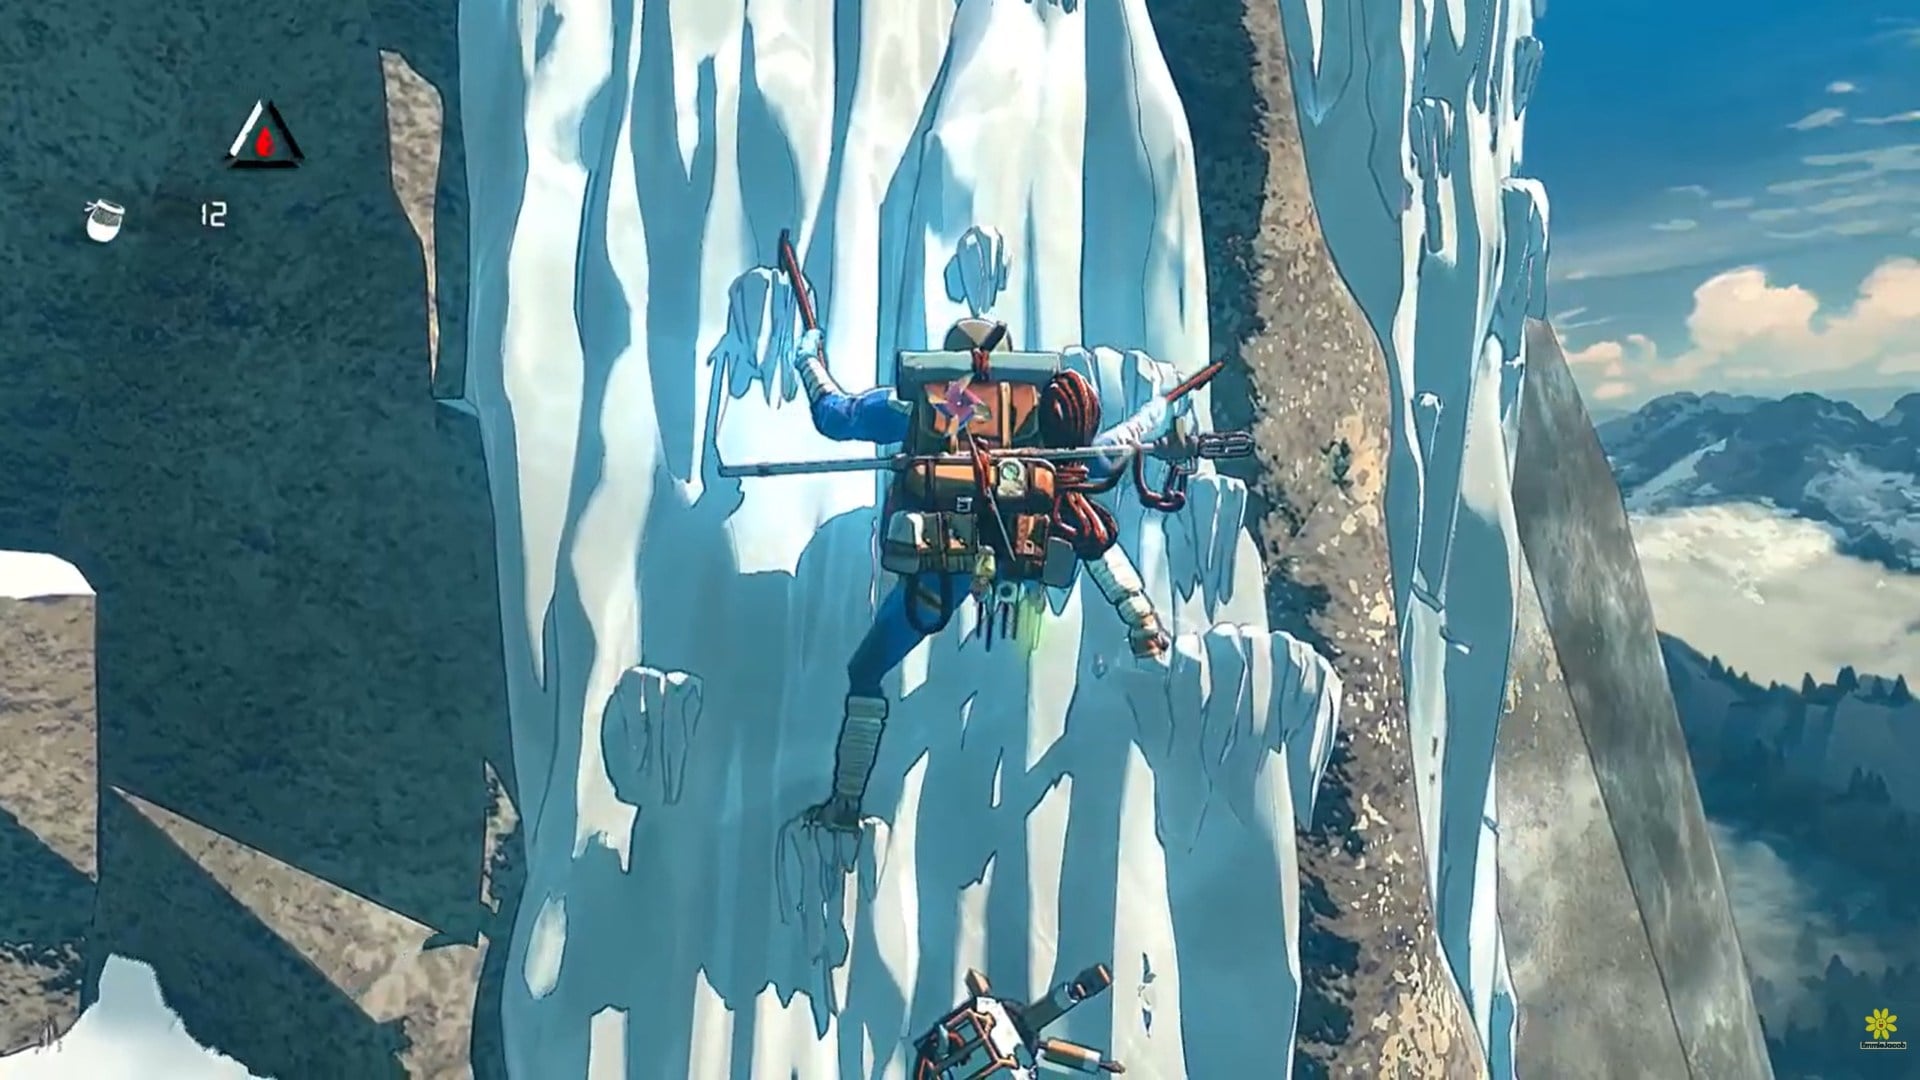
If no ledges are within reach, hold the climb button and then release it. This charges the movement and drives your tool or grip deeper into the ice. It costs more effort but creates a reliable anchor where tapping would fail. This technique is essential for long, smooth sections.
Step 4: Chain movements with patience
Ice climbing punishes rushing. After each successful grab, stabilize, reassess the wall, and choose your next input deliberately. Alternating between taps and charged grabs based on surface texture is the intended rhythm.
Practicing safely on the tutorial wall
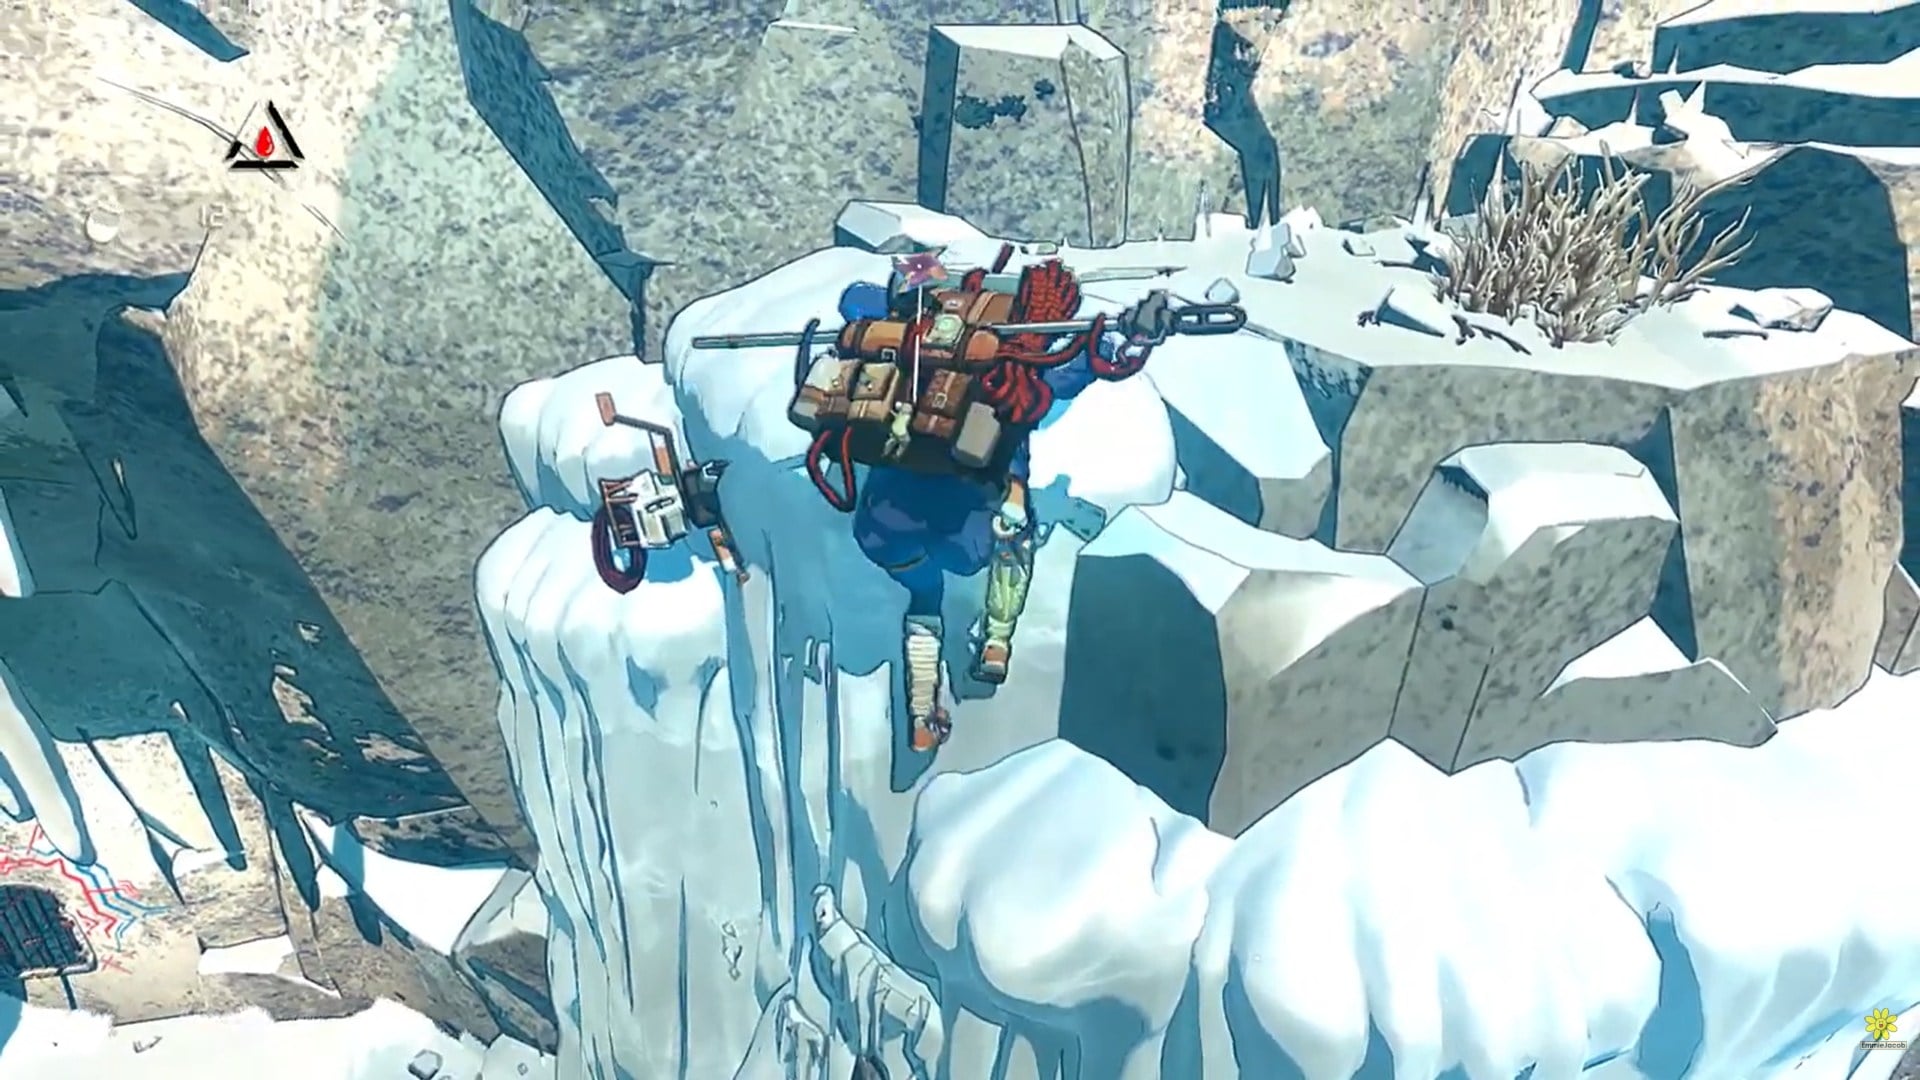
The game encourages experimentation by placing a practice ice wall near a convenient save point. You can climb high, jump down intentionally, and restart without penalty. This loop exists so you can build muscle memory without fear of losing progress.
This area is also where you should experiment with spacing, timing, and stamina usage. Ice climbing is about confidence built through repetition, not reflexes.
Extra survival tip: Don’t skip the plantain
Near the practice area, you can pick up plantain, which is used in cooking later. It’s easy to ignore while focusing on mechanics, but grabbing it early pays off. Food and warmth become more important as routes grow longer, and every ingredient matters.
Common mistakes players make on ice routes
Many early failures come from using the wrong input repeatedly. Players often try to tap on smooth ice or overcharge grabs on obvious ledges. Both waste stamina and increase the chance of slipping. Let the wall tell you which technique to use, rather than defaulting to one habit.
Another mistake is ignoring the square connection indicator. That small visual cue is your confirmation that the game has accepted the grab—if you don’t see it, you’re not as secure as you think.
Why ice climbing feels demanding but fair
Tap when the wall offers you something. Charge when it doesn’t. Use the practice wall, watch for the square connection indicator, and don’t rush your ascent. With patience and repetition, ice routes become some of the most rewarding climbs in the game.
Cairn’s ice mechanics are strict, but they are consistent. Every failure can be traced back to surface reading, timing, or stamina management. Once you internalize the difference between tapping and charging, ice routes stop feeling random and start feeling precise.