
What to know
-
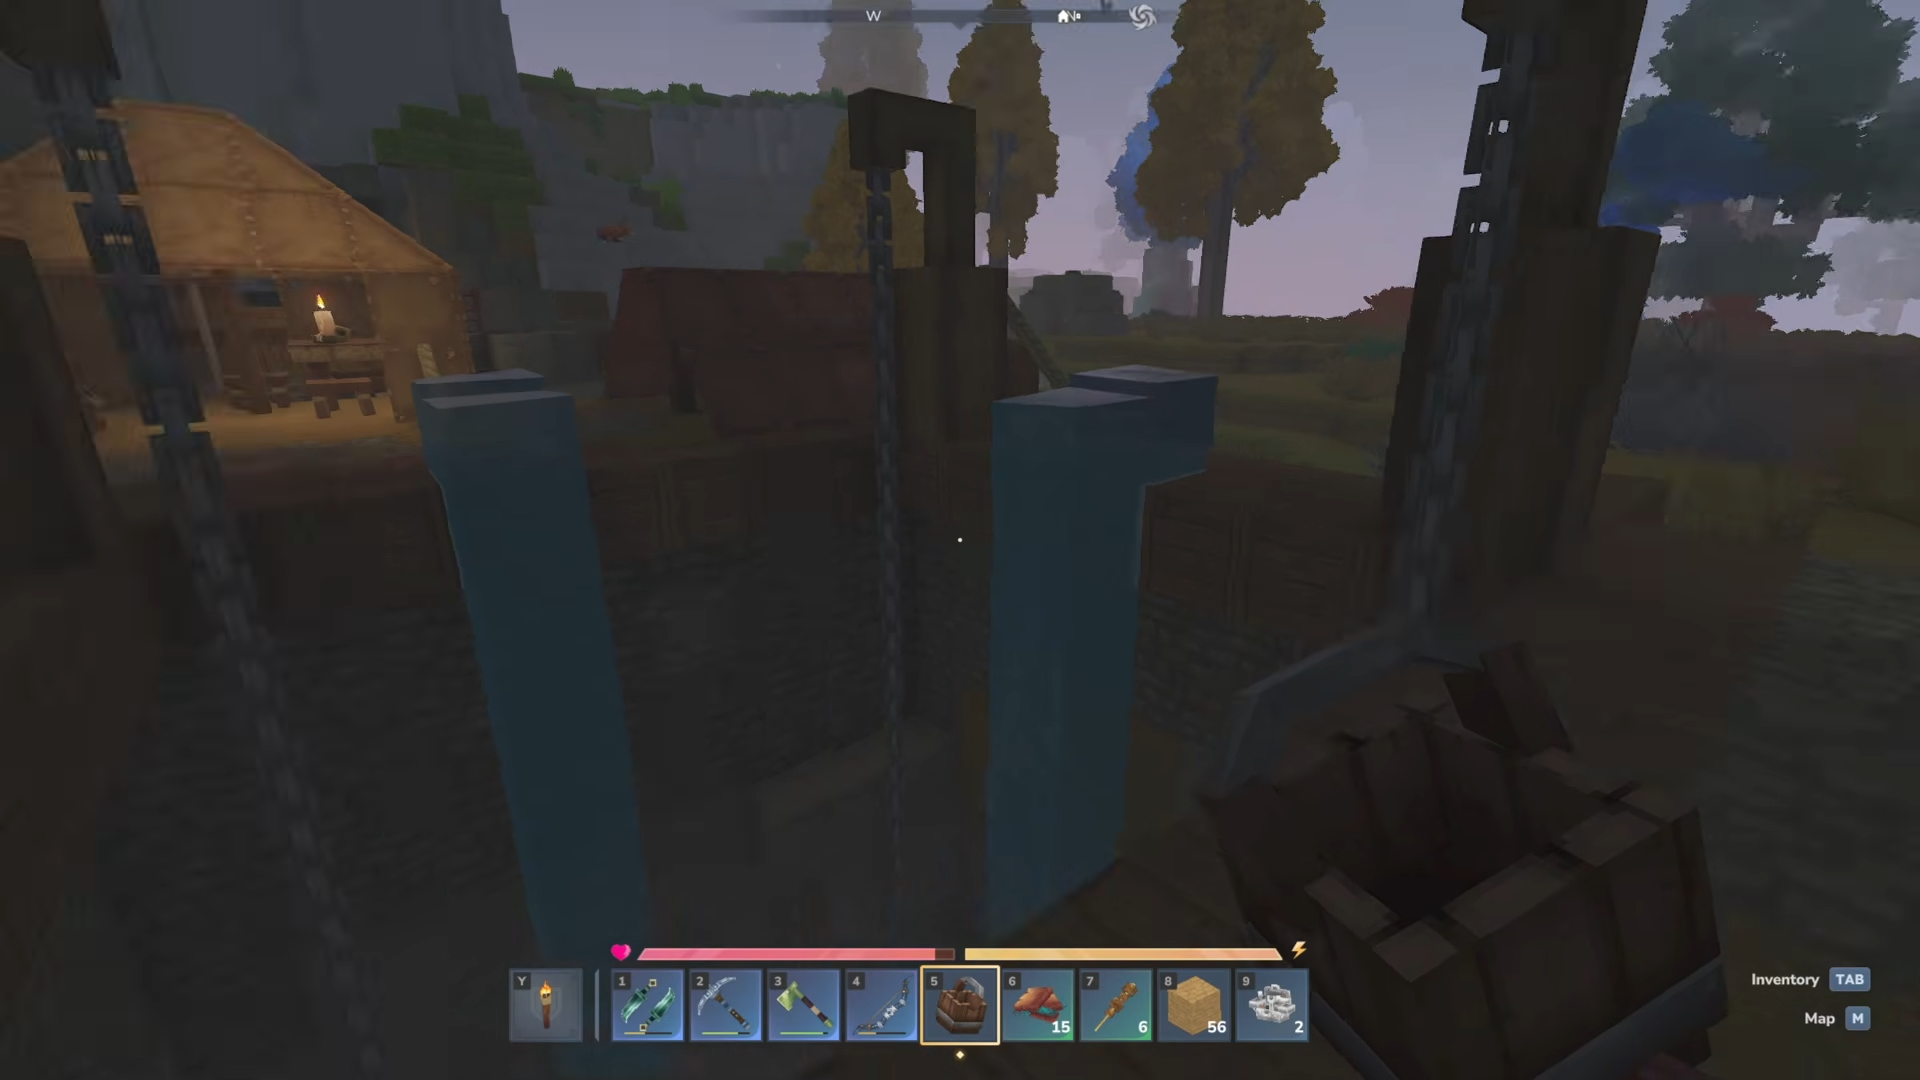
A Hellivator is a straight vertical access shaft meant to get you to the lava layer quickly without taking fall damage.
-
You’ll use a bucket to place water at the top and ride the water column down while you mine deeper.
-
Air pockets (small side cutouts) prevent you from running out of breath during long underwater drops.
-
In most worlds, the lava layer sits just above bedrock and becomes your main gateway to high-tier resources and hazards.
In Hytale, a Hellivator is an elevator to hell – or the lower lava regions. It is one of those early “quality-of-life” builds that pays off every time you need deep ores, tougher caves, or quick access to the lava layer. If you set it up right, you’ll be able to drop down safely, pop out for air, and branch into caves without getting lost.
| Part | What you’re building | Why it matters |
|---|---|---|
| Vertical shaft | A straight, single-column drop route | Fast travel between surface and deep layers. |
| Water column | Water placed at the top of the shaft | Lets you descend safely while swimming (no fall damage). |
| Air pockets | Small “breathing bays” along the way | Prevents drowning and makes repeated trips easier. |
| Deep target | Lava layer just above bedrock | Common end-goal because it’s dangerous but resource-rich. |
Where your Hellivator should go
You can place your Hellivator near your base for convenience, but it’s also smart to build one per major biome if you want quick access to different underground regions. Since the lava layer is typically the deepest cave layer just above bedrock, you’re effectively creating a direct route to the most hazardous (and often most rewarding) depths.
How to make a Hellivator in Hytale
Step 1: Craft the farming station you need
To reliably craft basic farming-related tools, start by crafting a Farmer’s Workbench using 6 logs and 20 plant fibers. Place it somewhere accessible, ideally near storage, so you can quickly grab supplies as you expand the shaft.
Step 2: Get a bucket and secure water
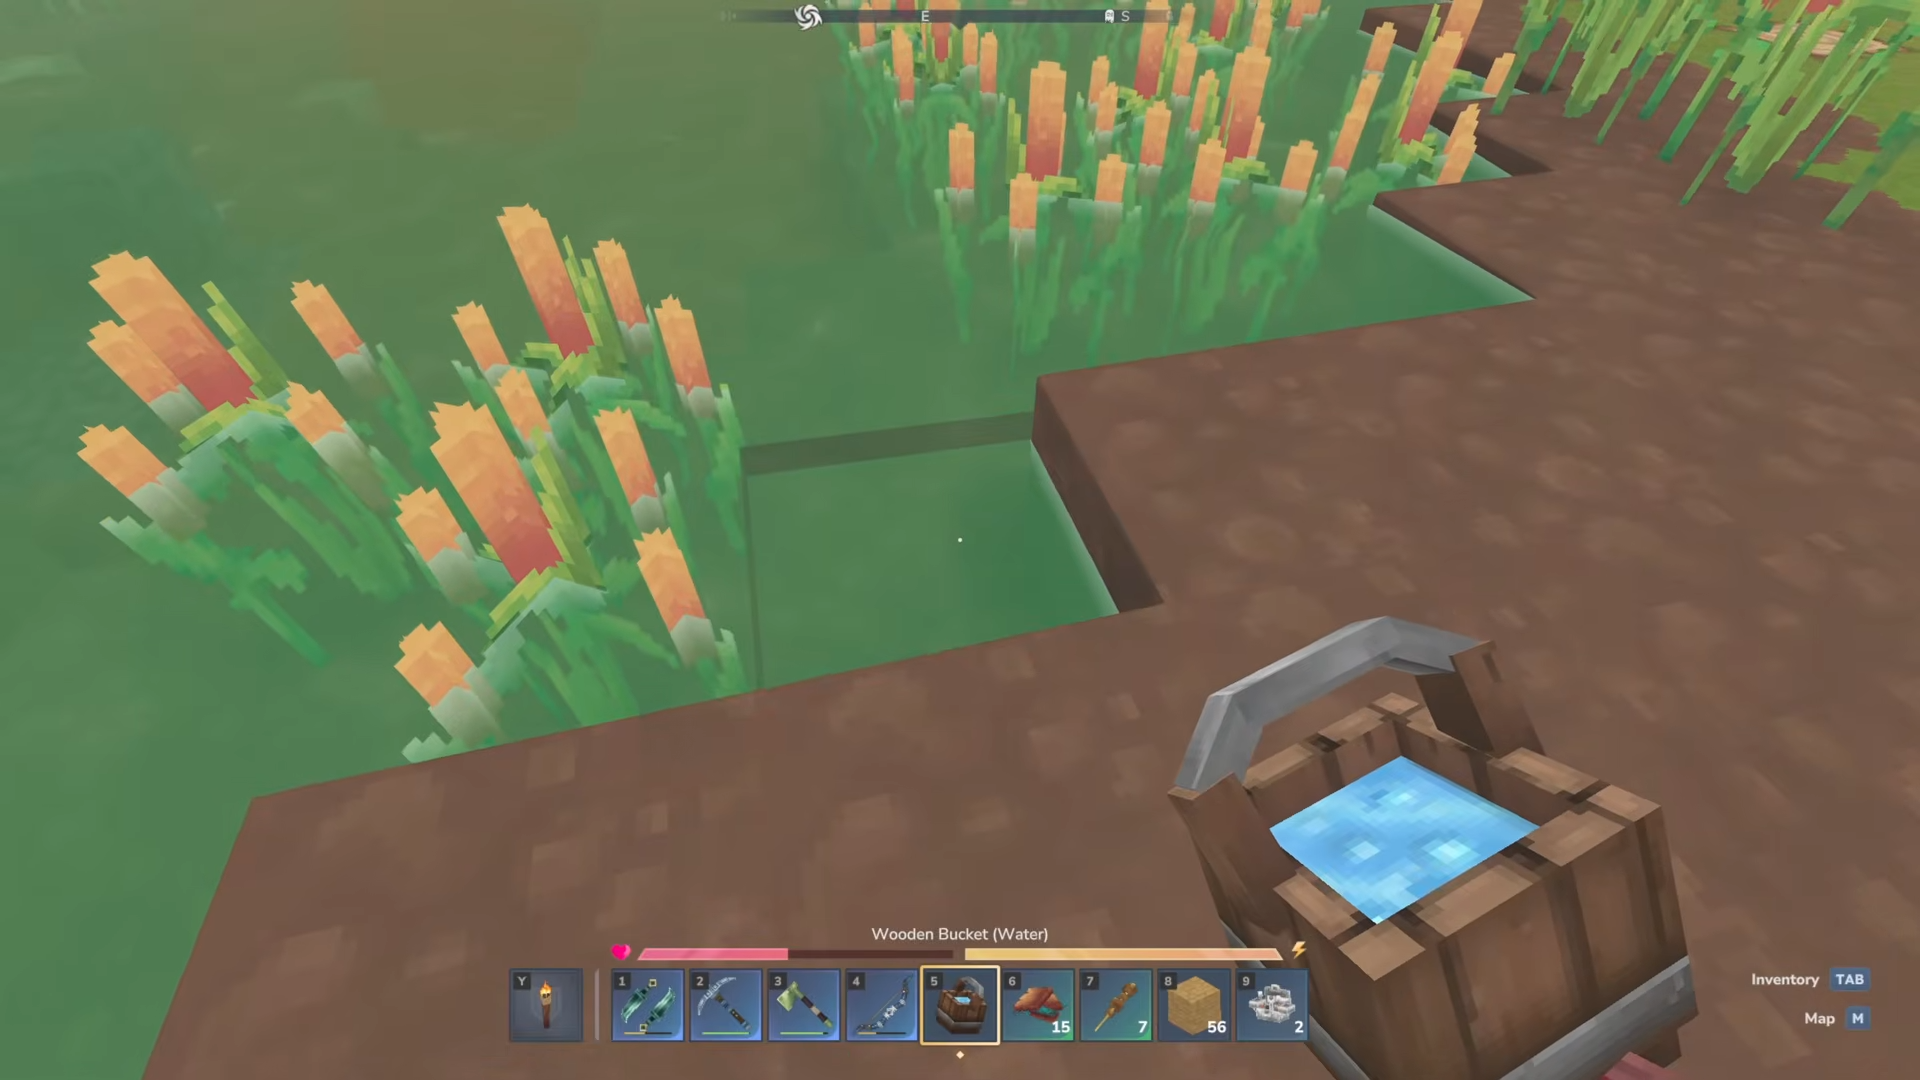
Craft or obtain a bucket.
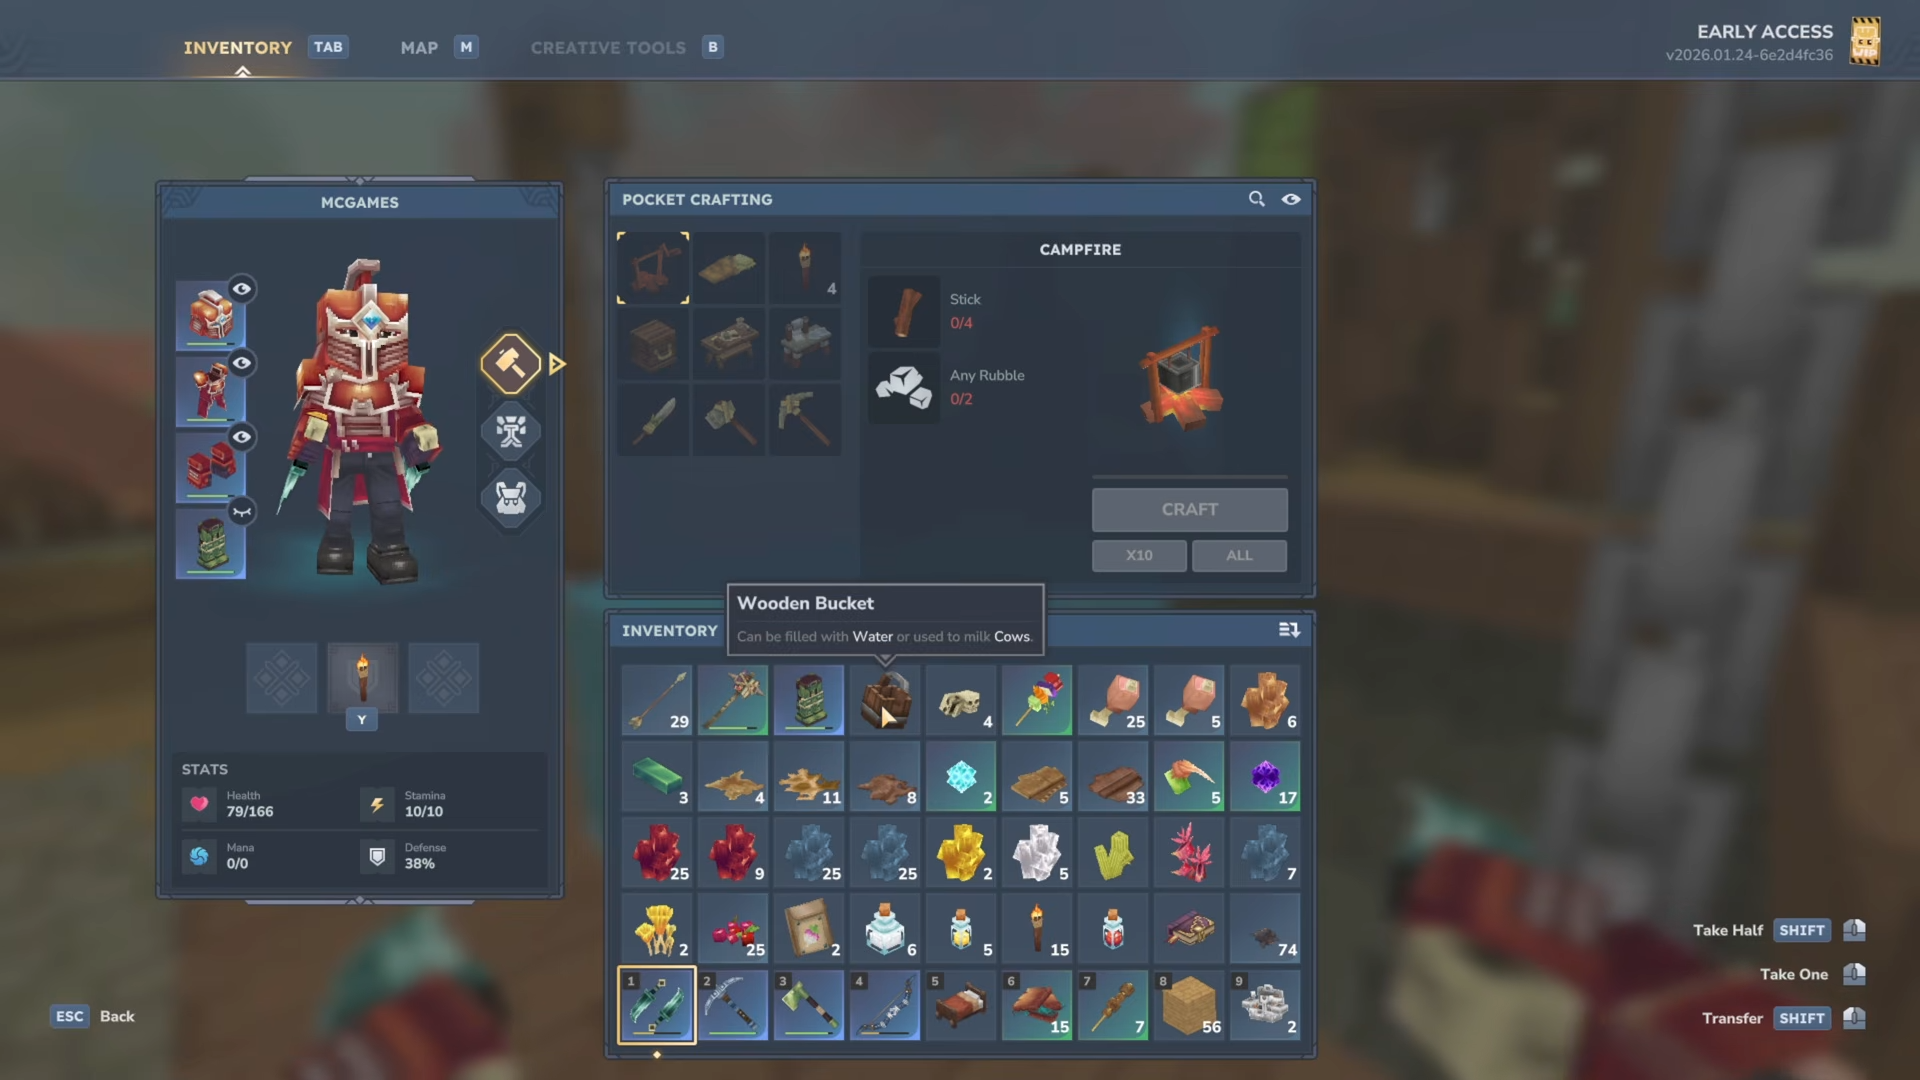
Then fill it from a water source so you can place water at the top of your shaft.
Keep in mind that Hytale does not treat water as an infinite source when scooping with a bucket, so don’t drain the only pond next to your base.
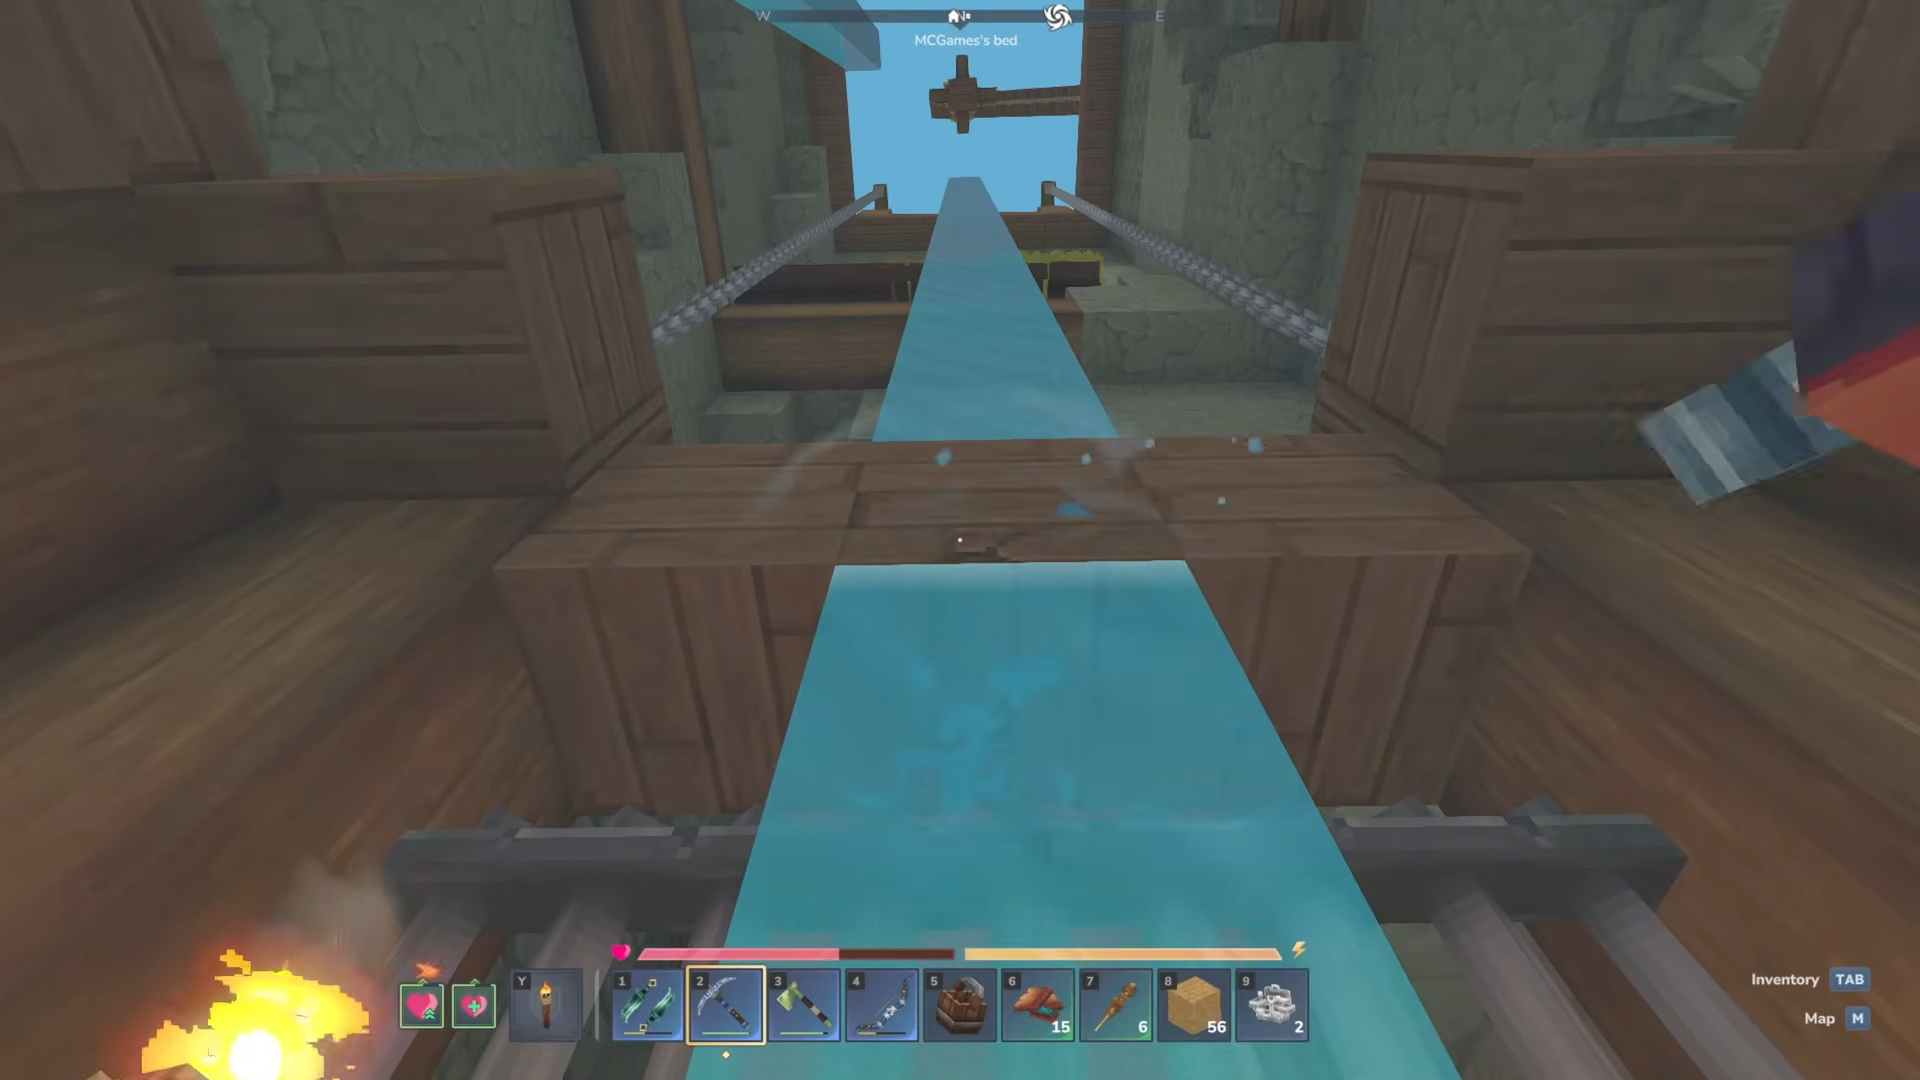
Step 3: Choose the shaft footprint and mark a “safe top”
Pick a single tile (or a simple 1×1 shaft) straight down and clear room at the top so you can enter the water cleanly.
It helps to add a small platform and lighting so you don’t accidentally miss the water entry when you’re rushing.
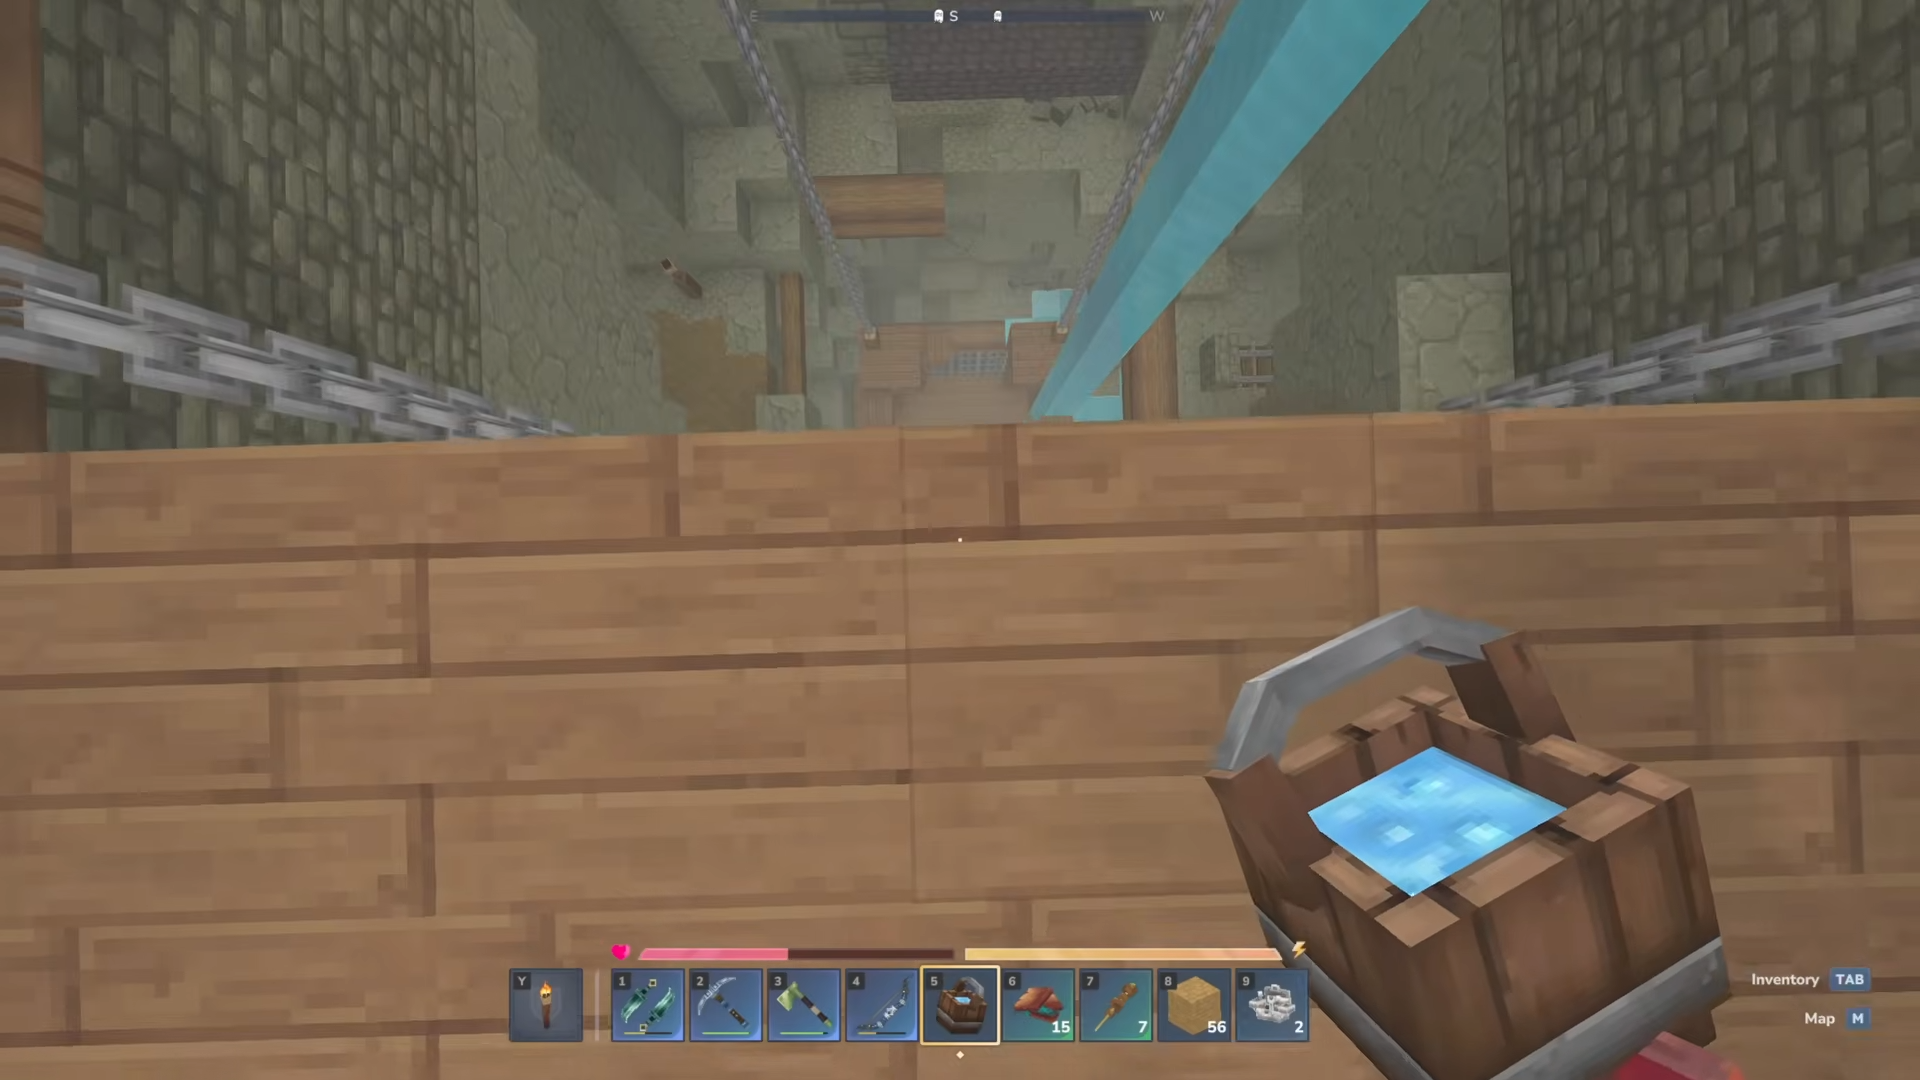
Step 4: Place water first, then dig down inside it
Pour the water at the top and drop into it.
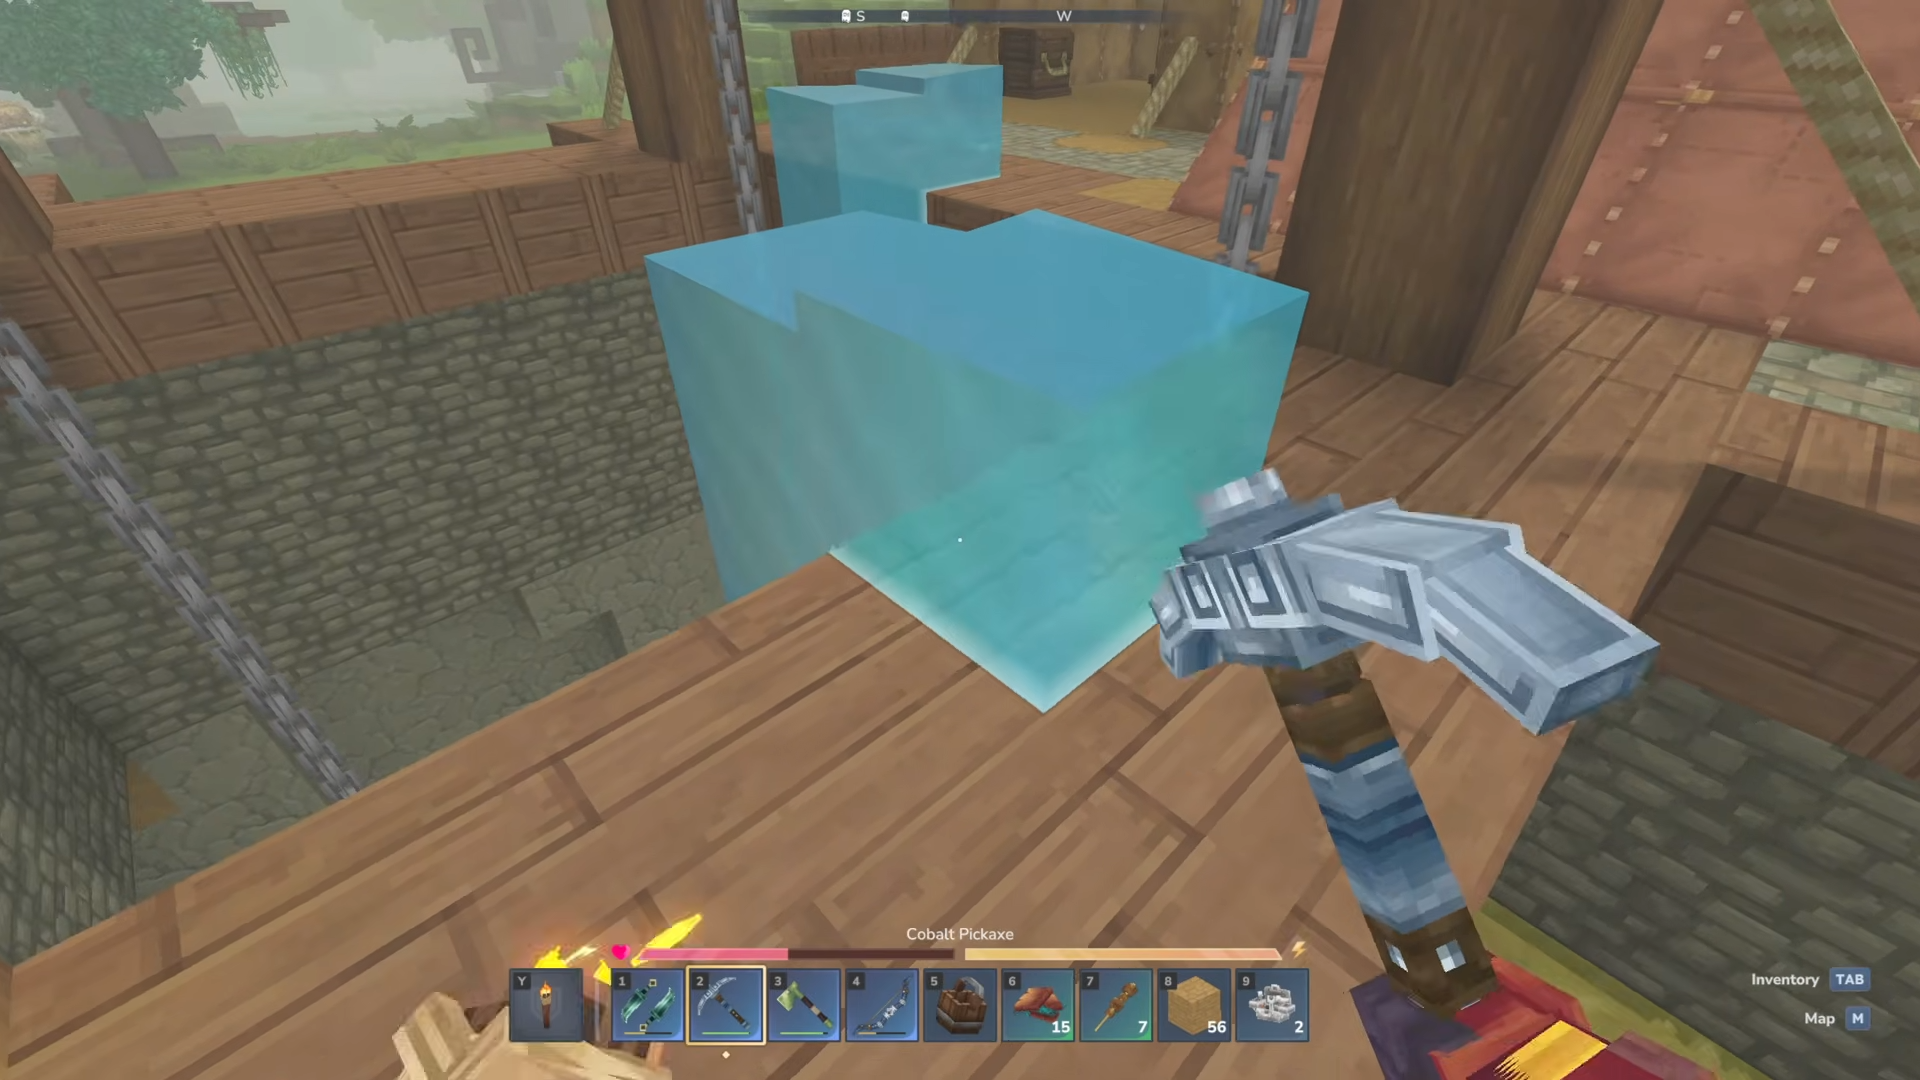
Then mine downward while you’re in the water column so the shaft expands as you descend.
This approach keeps your descent controlled and avoids the slower routine of digging the full shaft first and backtracking to add water later.
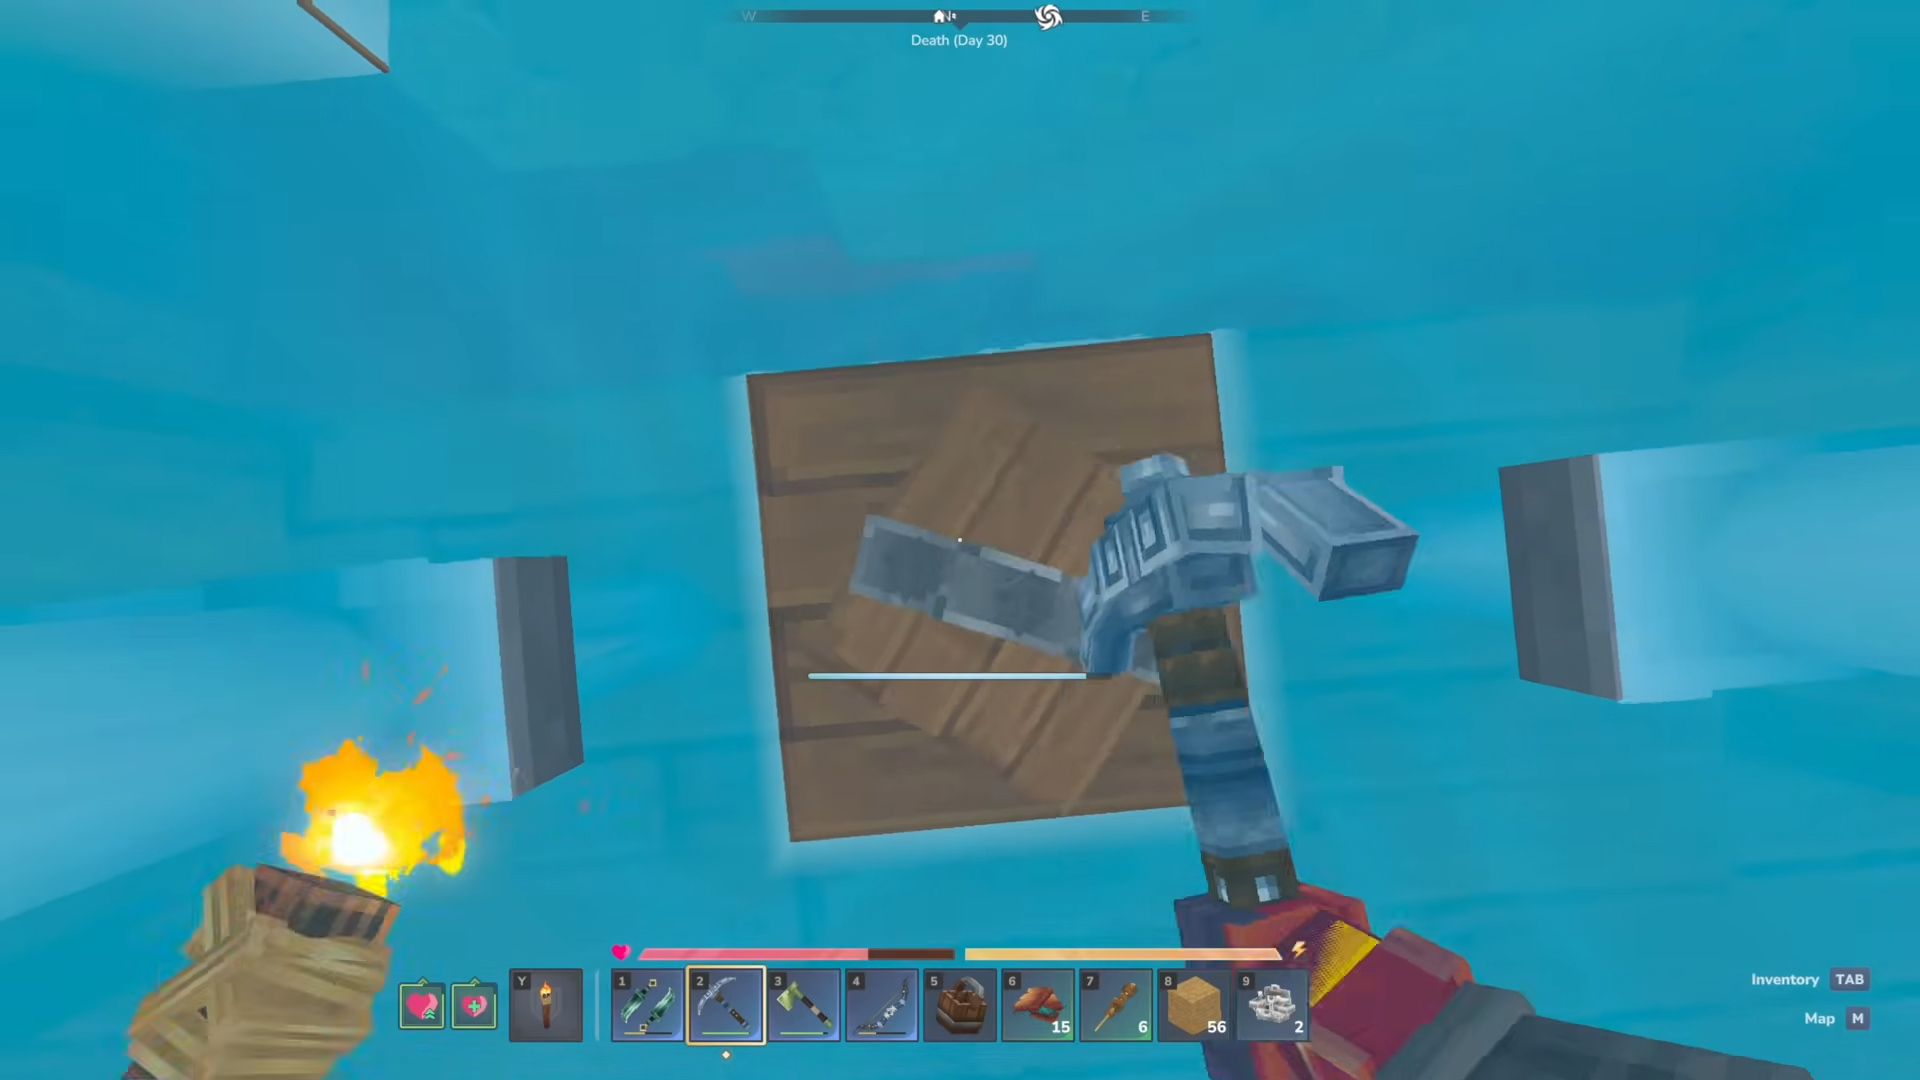
Step 5: Cut air pockets as you go
Every so often, carve a small side nook you can step into to refill your breath, then continue downward.

These air pockets also become convenient “exits” later when you want to branch mine or enter a cavern you intersect.
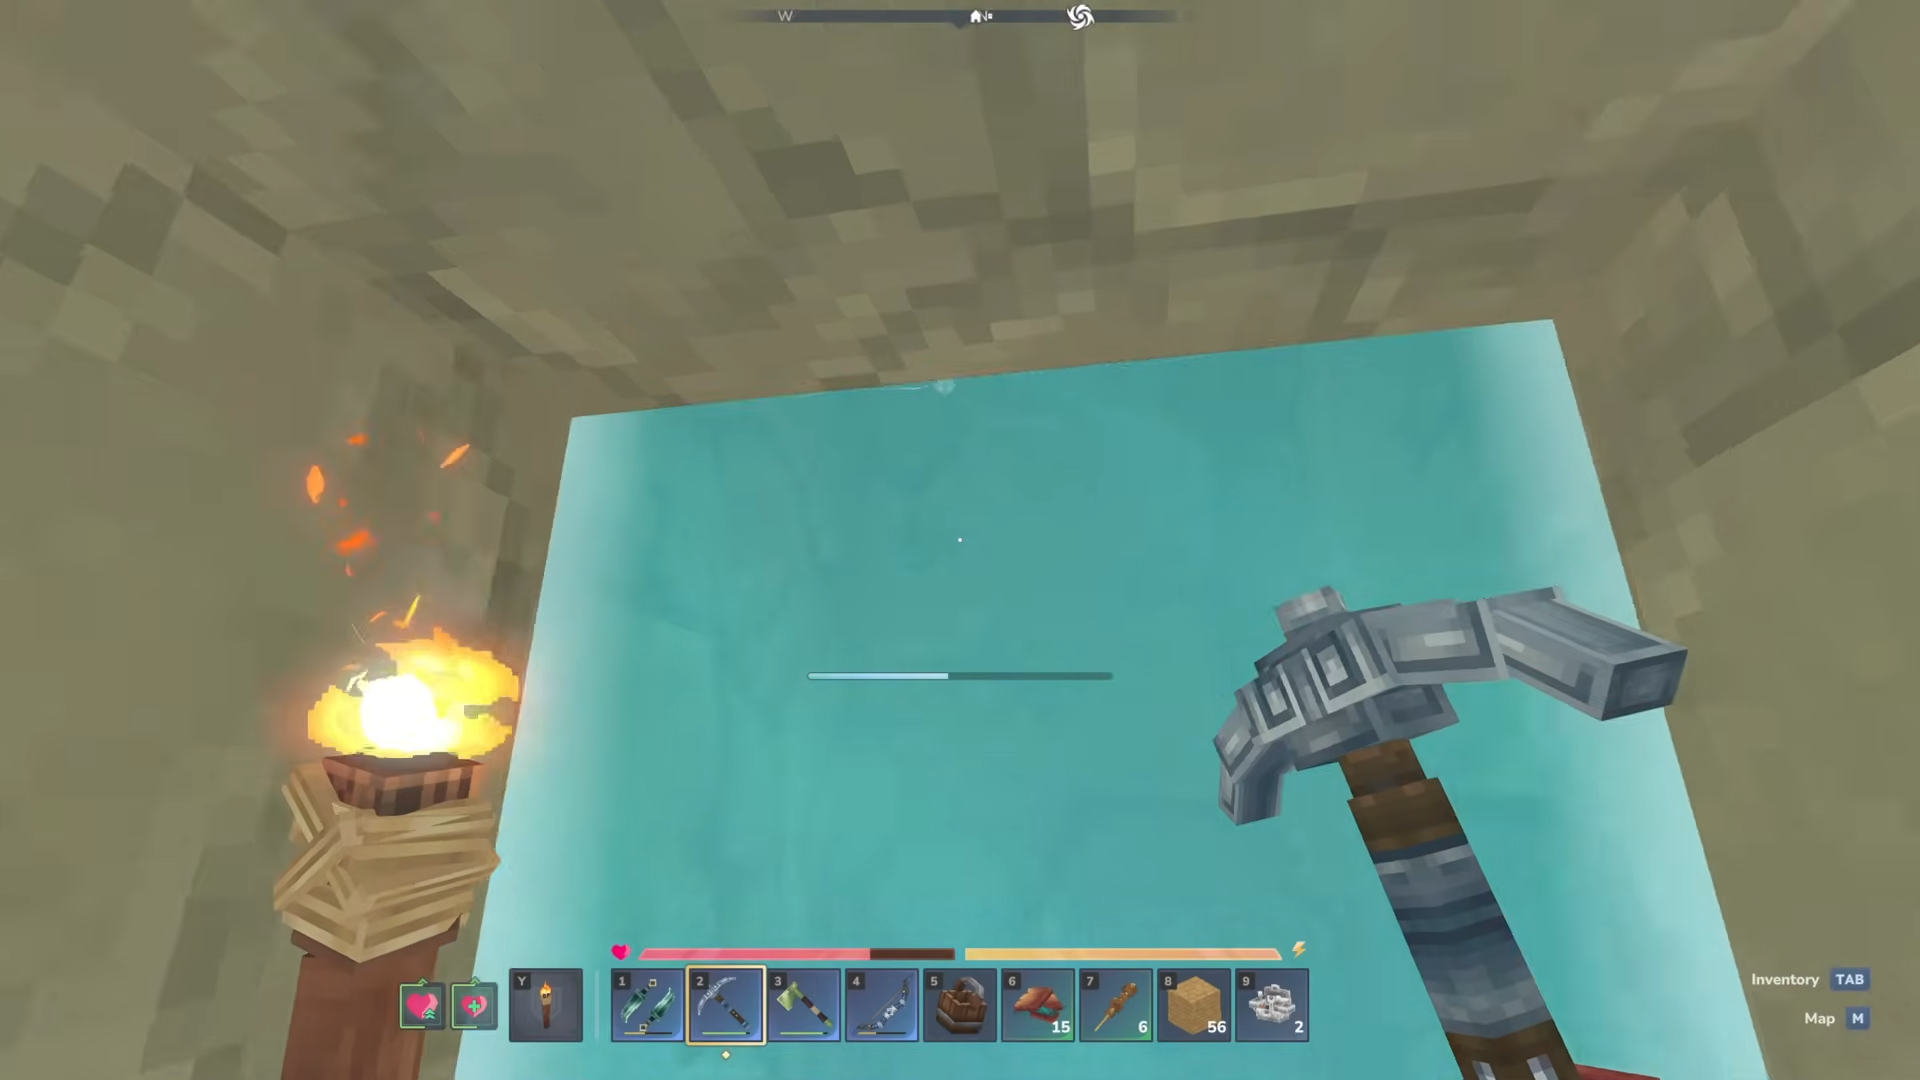
Step 6: Keep the column clean and navigable
As you mine, clear any blocks that jut into the shaft so nothing snags your movement on the way down or up.
If your Hellivator cuts through a cavern, that’s a bonus: it becomes a visible landmark you can navigate back to from far away.
Step 7: Reach the lava layer safely
Continue until you’re at the lava layer near bedrock, where hazards increase and deeper resources tend to appear more often.
Treat the first arrival like a landing zone project: take a moment to light it up, establish a safe step-out point, and avoid opening the shaft directly into lava.
Step 8: Use your Hellivator to branch into caves
Once the shaft is established, use it as a central “spine” and mine sideways at the depths you care about. This setup pairs well with the idea that ore and danger scale with depth, especially around the lava layer.
A Hellivator works best when you treat it like permanent infrastructure: build it somewhere you’ll revisit, keep it lit, and add air pockets generously so you never feel rushed underwater. Because the lava layer is typically just above bedrock and comes with tougher threats, you’ll want to approach it like a new “tier” of exploration rather than just a deeper hallway.


Excellent breakdown of the block types! I’ve been following Hytale’s development closely, and your guides are always spot on for the technical details. It’s great to see more resources being made for the community. I’m actually running a hub over at hytalegame.fun where we’re tracking a lot of these world-building elements too. Can’t wait to see how these textures look in-game!