Aburrey Quarry power is restored by extending the Hub’s electrical network into the quarry using Relay Towers, then linking the final segment to the quarry’s powered device (often an electric nexus/door power point).
| Item | Quick details |
|---|---|
| Objective | Restore power in Aburrey Quarry by routing electricity from the Hub. |
| Quest type | Typically a side objective tied to quarry access/progression. |
| Location | Valley VI region, accessed from the Hub via Worker Dorms → Mountain Side Trail → Aburrey Quarry. |
| Core requirement | A continuous Relay Tower chain from the Hub’s live network to the quarry device. |
| Key interactable | The quarry’s powered device (commonly an electric nexus/door power point) that blocks progress until energized. |
| Best time to build | While traveling to the quarry the first time, placing towers as the route unfolds. |
| Most common failure | One broken/missing link in the Relay Tower chain, towers too far apart, or terrain blocking connectivity. |
| Fast recovery tip | Activate the Aburrey Quarry TP point early to revisit and fix the chain quickly. |
Aburrey Quarry is one of those areas where progression is less about fighting and more about infrastructure. The game wants a proper grid: power generation and main distribution stay at the Hub, and outlying areas like the quarry are brought online by physically extending the network outward in Arknights Endfield.
- Why Aburrey Quarry says “No Power”
- What to prepare before going in
- How to get power in Aburrey Quarry (detailed guide)
- Key locations to know in and around Aburrey Quarry
- Practical placement rules that prevent failures
- Troubleshooting: why power still isn’t reaching the quarry
- How to make the setup future-proof
- Aburrey Quarry power setup
Why Aburrey Quarry says “No Power”
When the quarry asks for power, it usually means there’s a powered object (a console, a gate, a nexus, or a mechanism) that is outside your current electricity coverage. Even if the Hub has plenty of power generation, it won’t help unless the quarry device is connected to the same live network.
Think of it like Wi‑Fi range, but for electricity: production can be fine, but distance and missing nodes break the link.
What to prepare before going in
Going in prepared prevents most backtracking. Before traveling to the quarry, it helps to do a quick checklist:
- Ensure the Hub has stable power production (if the base is already running smoothly, you’re usually fine).
- Craft or carry a generous number of Relay Towers (more than you think you’ll need).
- Leave some inventory space for resources picked up along the way.
- Be ready to place infrastructure as you travel instead of rushing straight to the objective.
If the game is also requesting materials for a build or repair in the same area, bring those too, because quarry-related objectives often chain together.
How to get power in Aburrey Quarry (detailed guide)
Step 1
Return to the Hub and stabilize base power first. If the Hub is power-starved or frequently brownouts, the extended line may behave inconsistently once more devices come online.
Step 2
Craft a large stack of Relay Towers. A short chain is rarely enough because the route includes turns, elevation changes, and coverage gaps where a tower that “seems close” still doesn’t connect.
Step 3
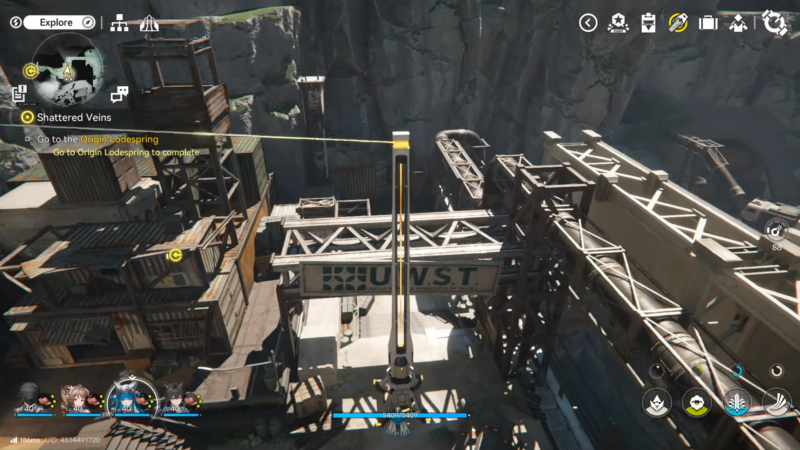
Travel to Aburrey Quarry via the most consistent approach route: Hub → Worker Dorms (south) → Mountain Side Trail → quarry entrance. This matters because you want a clean, continuous corridor where towers can be placed without awkward detours.
Step 4
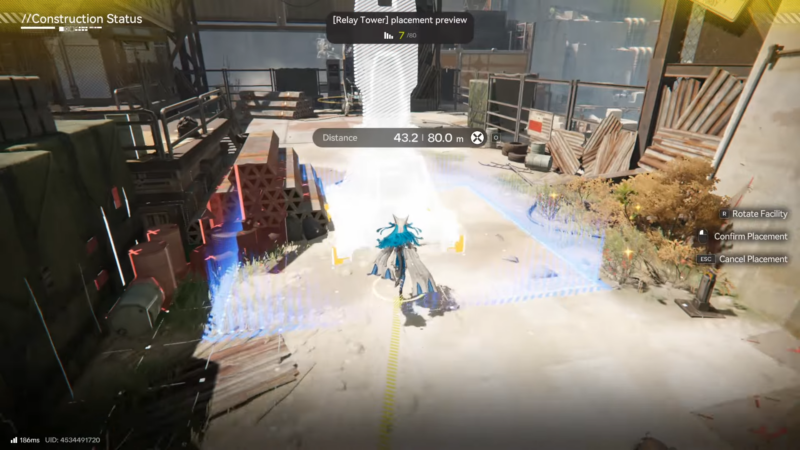
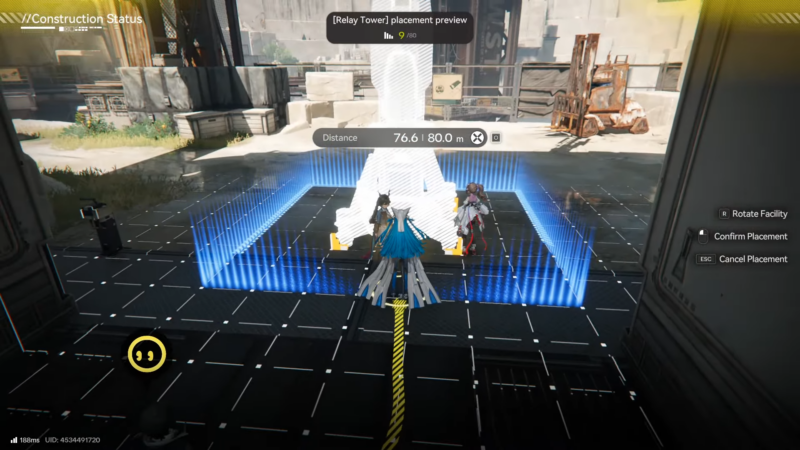
Start placing Relay Towers early—don’t wait until the quarry gate/device is in sight. The easiest way to avoid mistakes is building the chain as a single uninterrupted “spine” from the Hub outward.
A good placement rhythm is:
- Place a tower.
- Confirm it’s linked to the previous node.
- Move forward until the connection indicator drops.
- Place the next tower.
Step 5
At the quarry entrance area, activate the local TP point as soon as it becomes available. If the power connection fails later, this lets you return quickly to troubleshoot without repeating the full run.
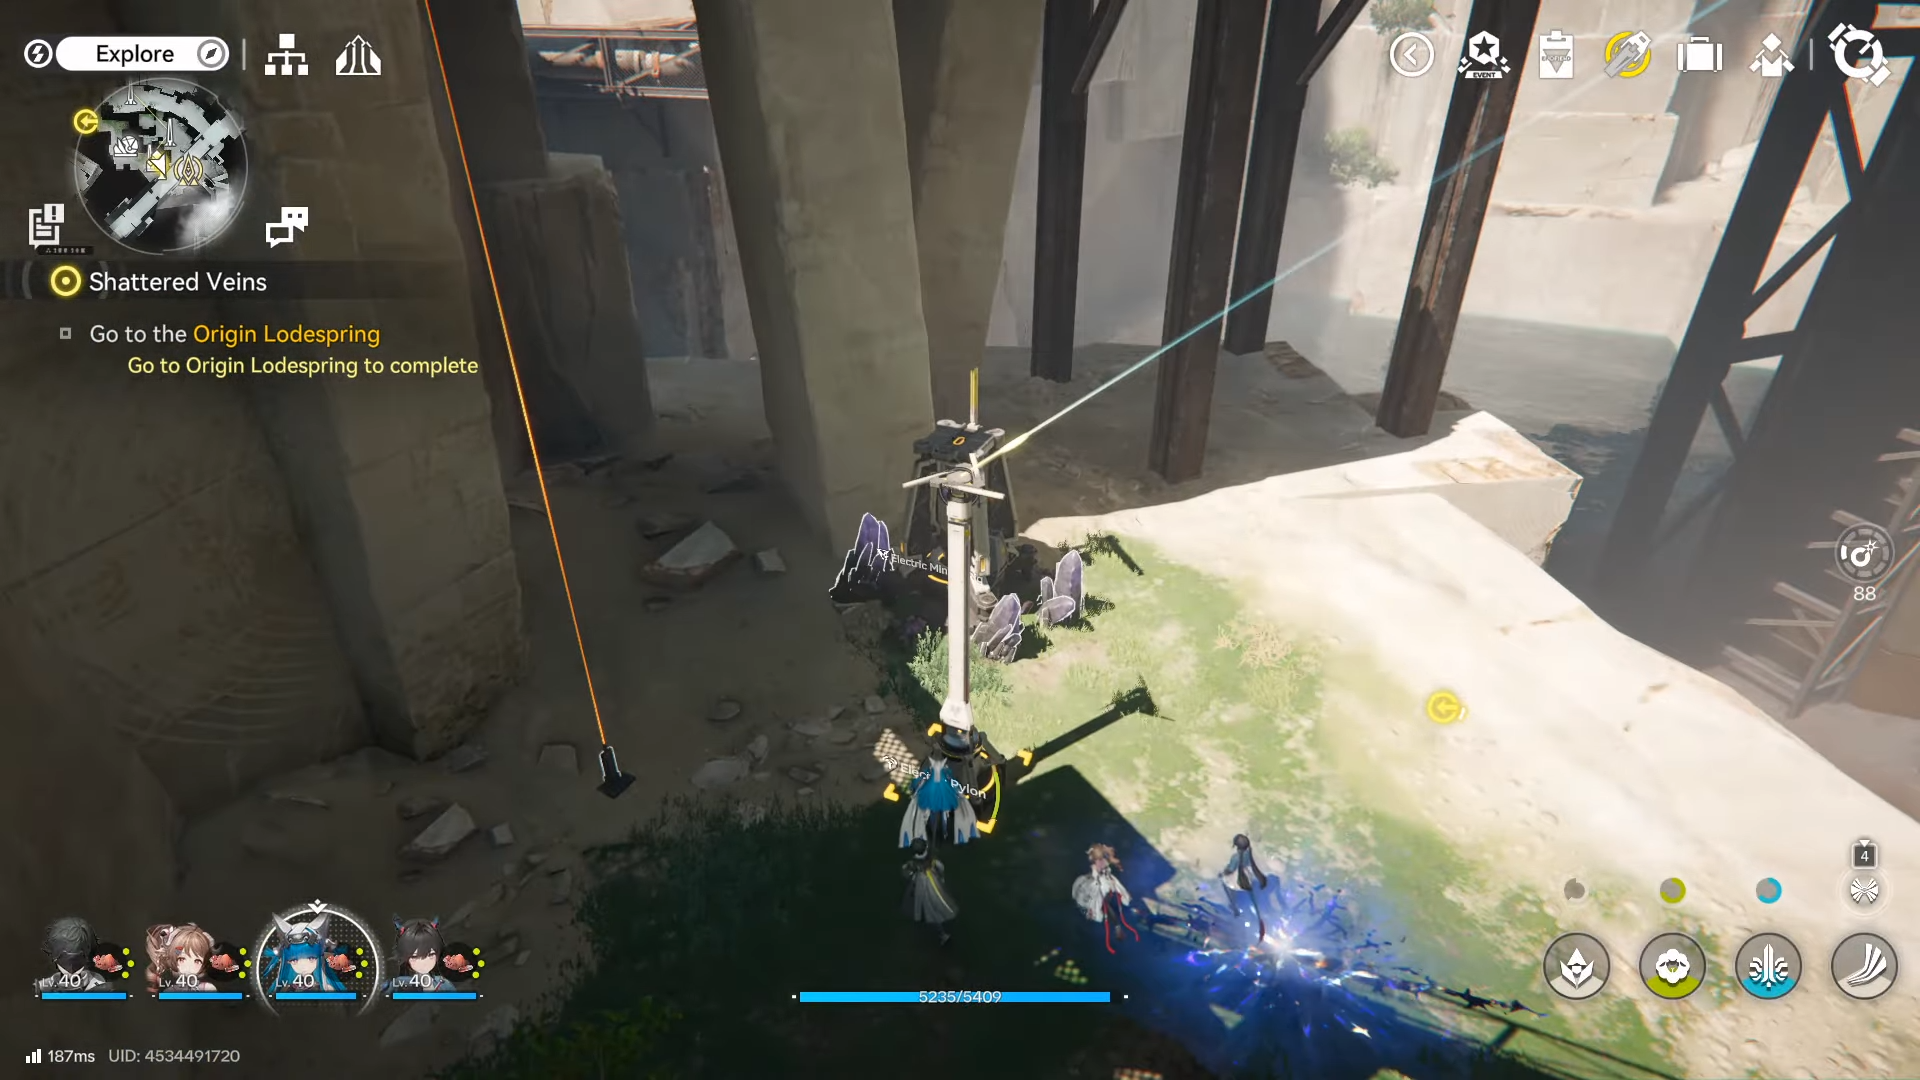
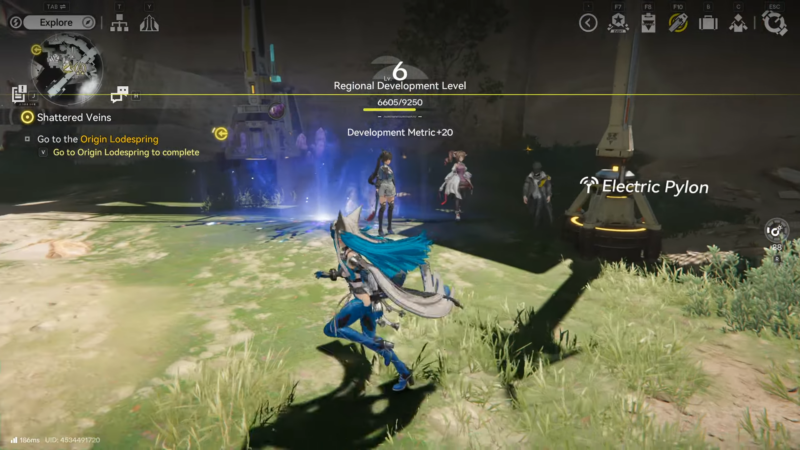
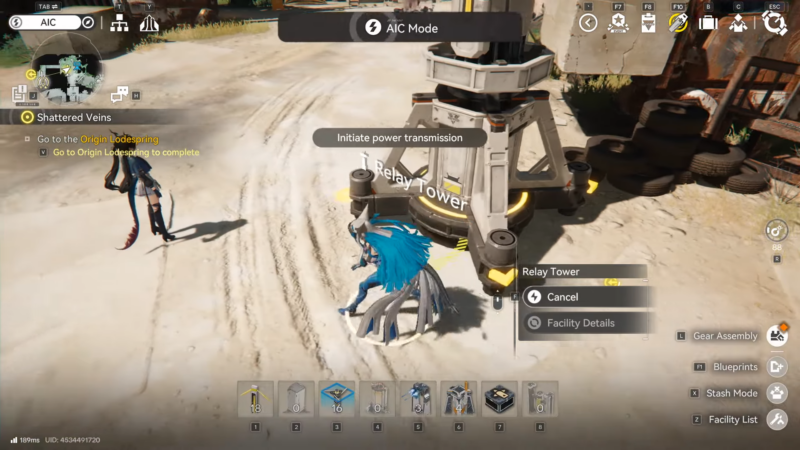
Step 6
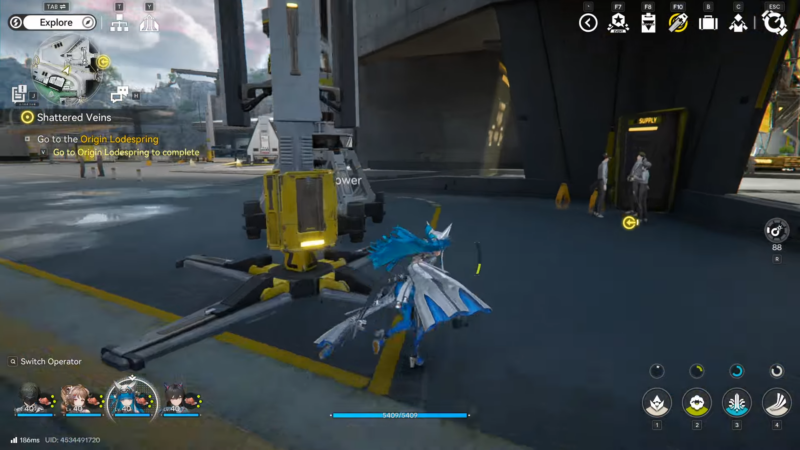
Extend the Relay Tower chain deeper into the quarry until the target device is within connection range. In many cases, the “Power” objective is tied to an electric nexus or a powered lock/door mechanism.
Step 7

Connect the final segment to the objective device and confirm it is receiving power. If the device has an interaction prompt that was previously disabled (or a “needs power” message), it should now change state and allow progress.
Step 8

If the objective still doesn’t update, walk backward along the tower line and look for the first point where the connection appears broken. Fixing a single missing link usually resolves it immediately.
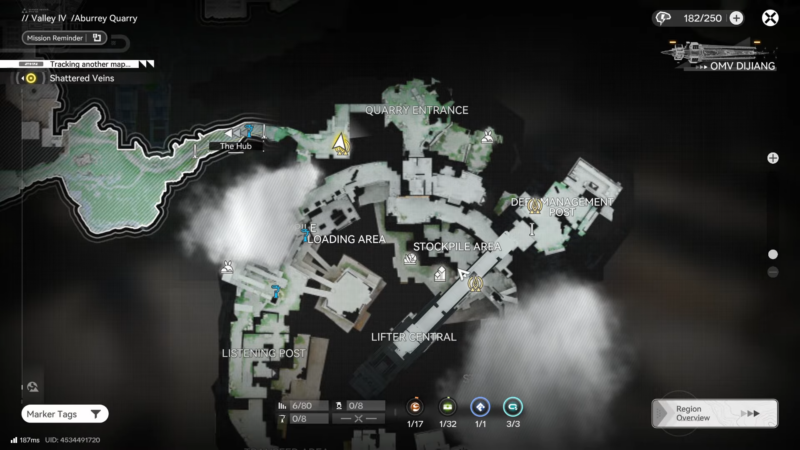
Key locations to know in and around Aburrey Quarry
These places help anchor the route and make it easier to troubleshoot power-line breaks quickly.
| Location | Why it matters | What to do there |
|---|---|---|
| Hub (base) | Starting point of the power network | Ensure stable power, craft Relay Towers, begin the relay chain. |
| Worker Dorms (south of Hub) | Common pass-through area on the way to the quarry | Continue relay placements in a straight, connected line. |
| Mountain Side Trail | Natural corridor to the quarry | Place extra towers at bends/elevation changes to prevent breaks. |
| Aburrey Quarry entrance | Transition from trail to quarry interior | Check relay continuity before going deeper. |
| Aburrey Quarry TP point | Fast-return checkpoint | Activate immediately; use it for repeated checks during troubleshooting. |
| Quarry powered device (nexus/door power point) | The actual “needs power” blocker | Bring the final relay node close enough to connect and energize it. |
Practical placement rules that prevent failures
Most “it still has no power” moments come from tiny chain breaks. These rules keep the grid reliable:
- Treat Relay Towers like a chain, not a scattered set of beacons: every tower must connect to the previous one.
- Place towers with line-of-sight where possible; corners, rocks, and elevation changes can reduce effective linking.
- Avoid huge spacing “because it looks close enough.” If uncertain, place one extra tower.
- When approaching a device that needs power, place a tower slightly before it and another near it; this reduces edge-of-range issues.
- After placing 3–5 towers, briefly verify the chain still links back; catching the break early saves time.
Troubleshooting: why power still isn’t reaching the quarry
If the quarry target still isn’t powered after setting towers, the issue is almost always one of these:
- A single missing Relay Tower segment somewhere along the route.
- Towers placed too far apart for consistent connection.
- A tower placed in a spot that looks connected but is actually blocked by terrain/elevation.
- The “target” isn’t the device being powered; sometimes the correct powered point is slightly behind, above, or to the side of the objective marker.
- The base is at or near its power limit, so turning on the quarry device doesn’t “stick” until more generation is added.
A fast diagnostic method is to start at the quarry device and trace the network backward tower-by-tower until you find the first disconnected link. Repairing that one point usually restores the entire chain.
How to make the setup future-proof
If planning to revisit Aburrey Quarry, it’s worth building the line cleanly so it works without constant tweaks:
- Keep the main relay route along a clear path (trail edges and open ground are best).
- Add an extra tower at sharp turns or elevation transitions.
- Leave the line in place after the objective is completed; it can help with later quarry activities and reduces setup time for other tasks in the area.
Aburrey Quarry power setup
Aburrey Quarry doesn’t reward searching for a hidden switch as much as it rewards building infrastructure. Extend the Hub’s electrical network with a continuous chain of Relay Towers, bring the line right up to the quarry’s powered device, and confirm the final link is solid—then the “needs power” block clears and progression continues.