
What to know
- This objective appears during the main mission Westward into the Vale.
- Your hub’s transmission range is limited (around 80 m), so a direct cable usually can’t reach the bridge.
- Relay Towers act as midpoints so you can chain power farther (hub → relay(s) → bridge nexus).
- Once the bridge switch/nexus is powered, you can activate it to lower/enable the bridge and continue.
Right when you reach the Bridge Approach, the Westward of the Vale quest is basically checking whether you understand Endfield’s power distribution: you’re meant to build a short “power line route,” not force a single long connection.
Where the objective happens and what you’re powering
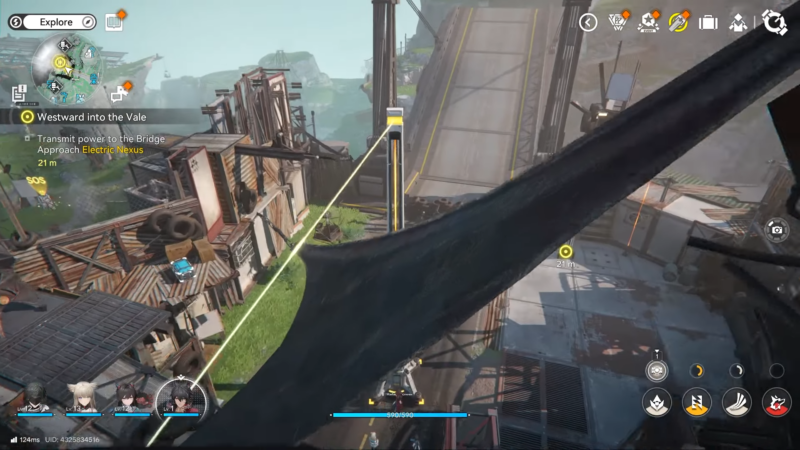
You’ll be working between the Bridge Approach area (where the Electric Nexus/bridge switch is) and your nearby hub/fast travel area (where your powered grid starts).
The goal is to energize the Bridge Approach Electric Nexus (or switch grid) so the “Transmit power” objective completes, then you use the switch to operate the bridge.
How to transmit power to the bridge using relay towers
Step 1
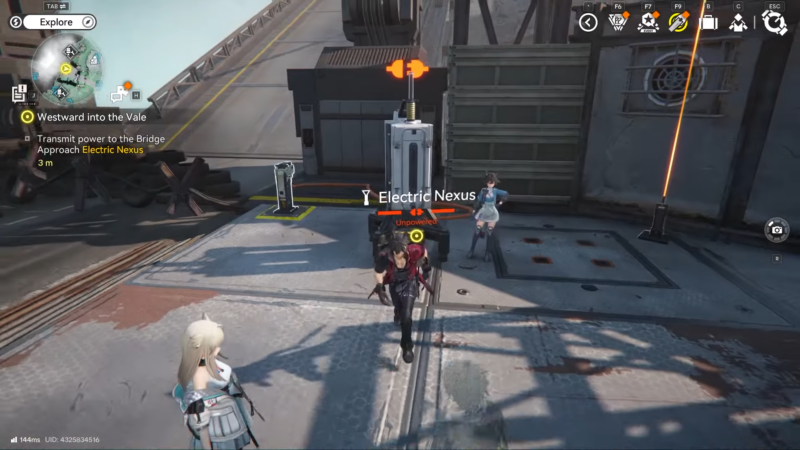
Go to the Bridge Approach marker and locate the Electric Nexus / bridge switch connection point that is currently unpowered.
Step 2
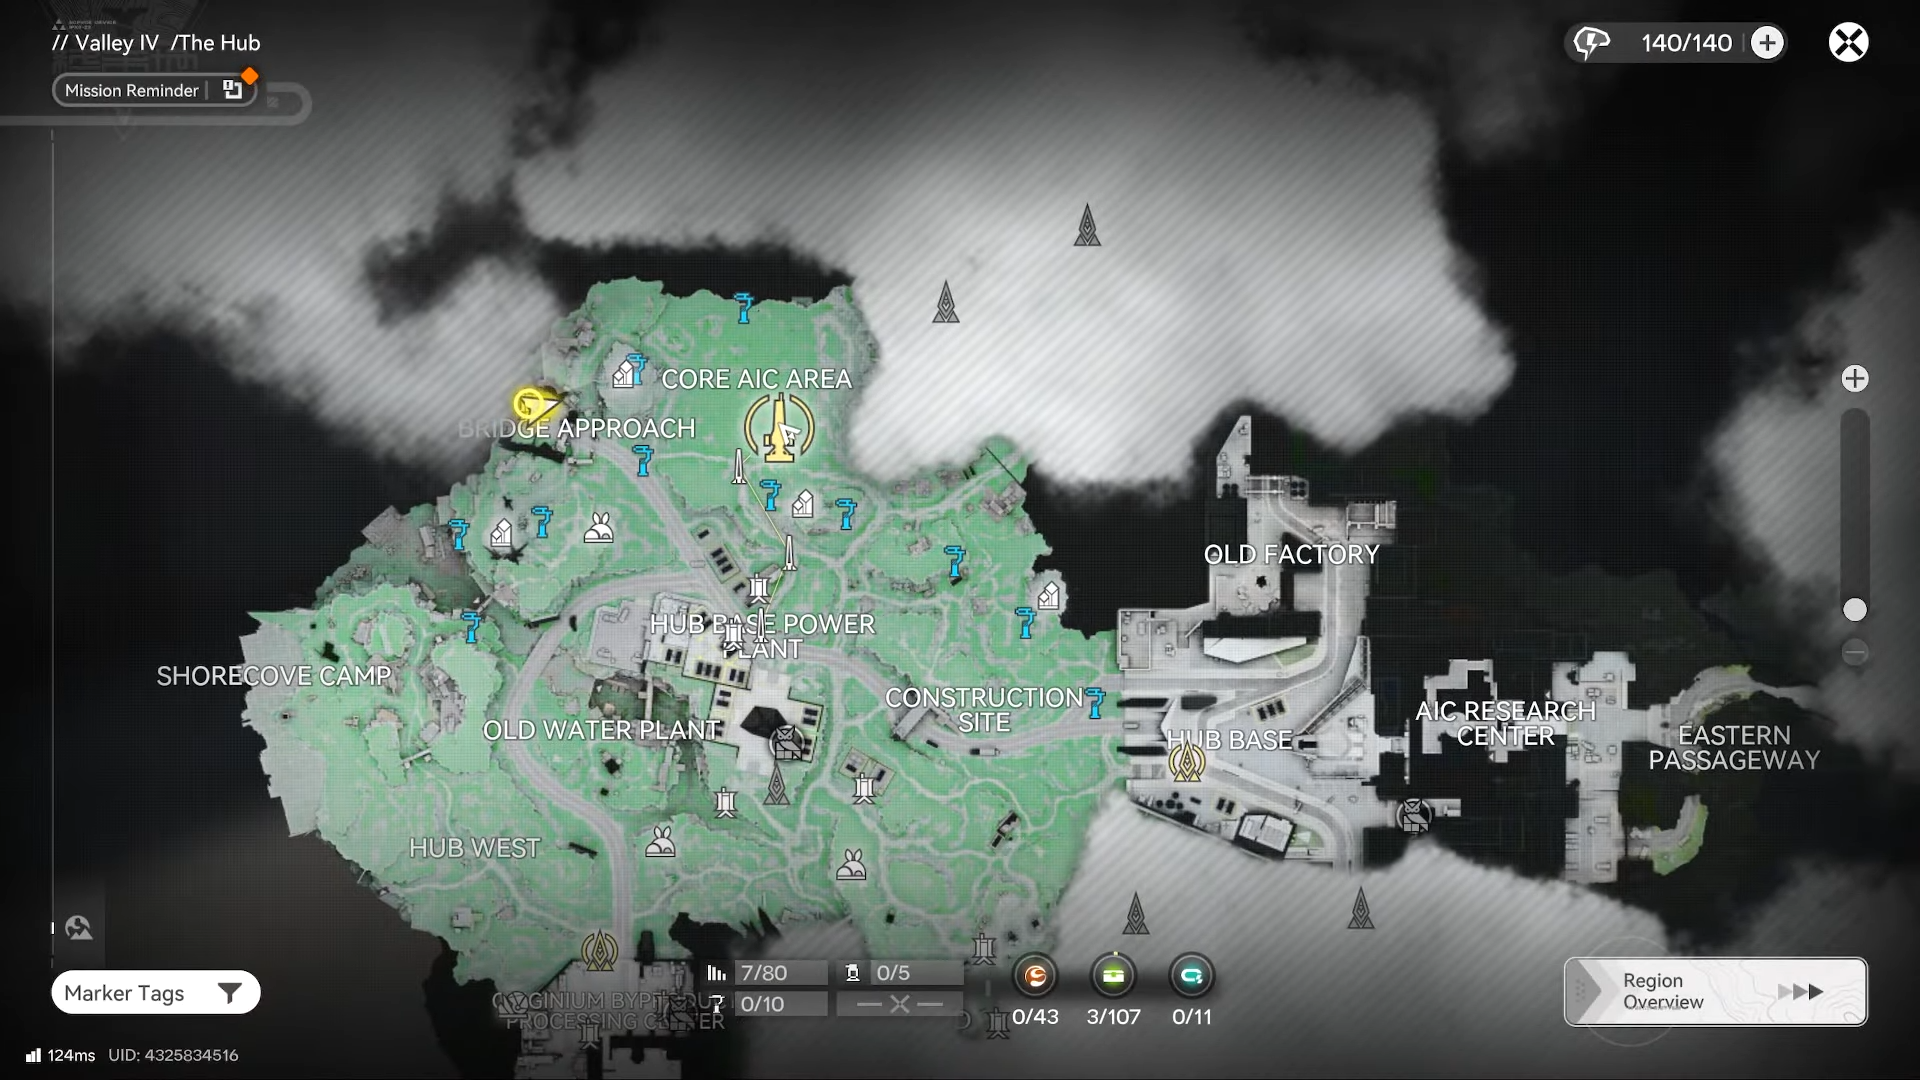
Open the map and fast travel back to the Core AIC Area / main hub (the mission flow explicitly sends you back there to plan power routing).
Step 3
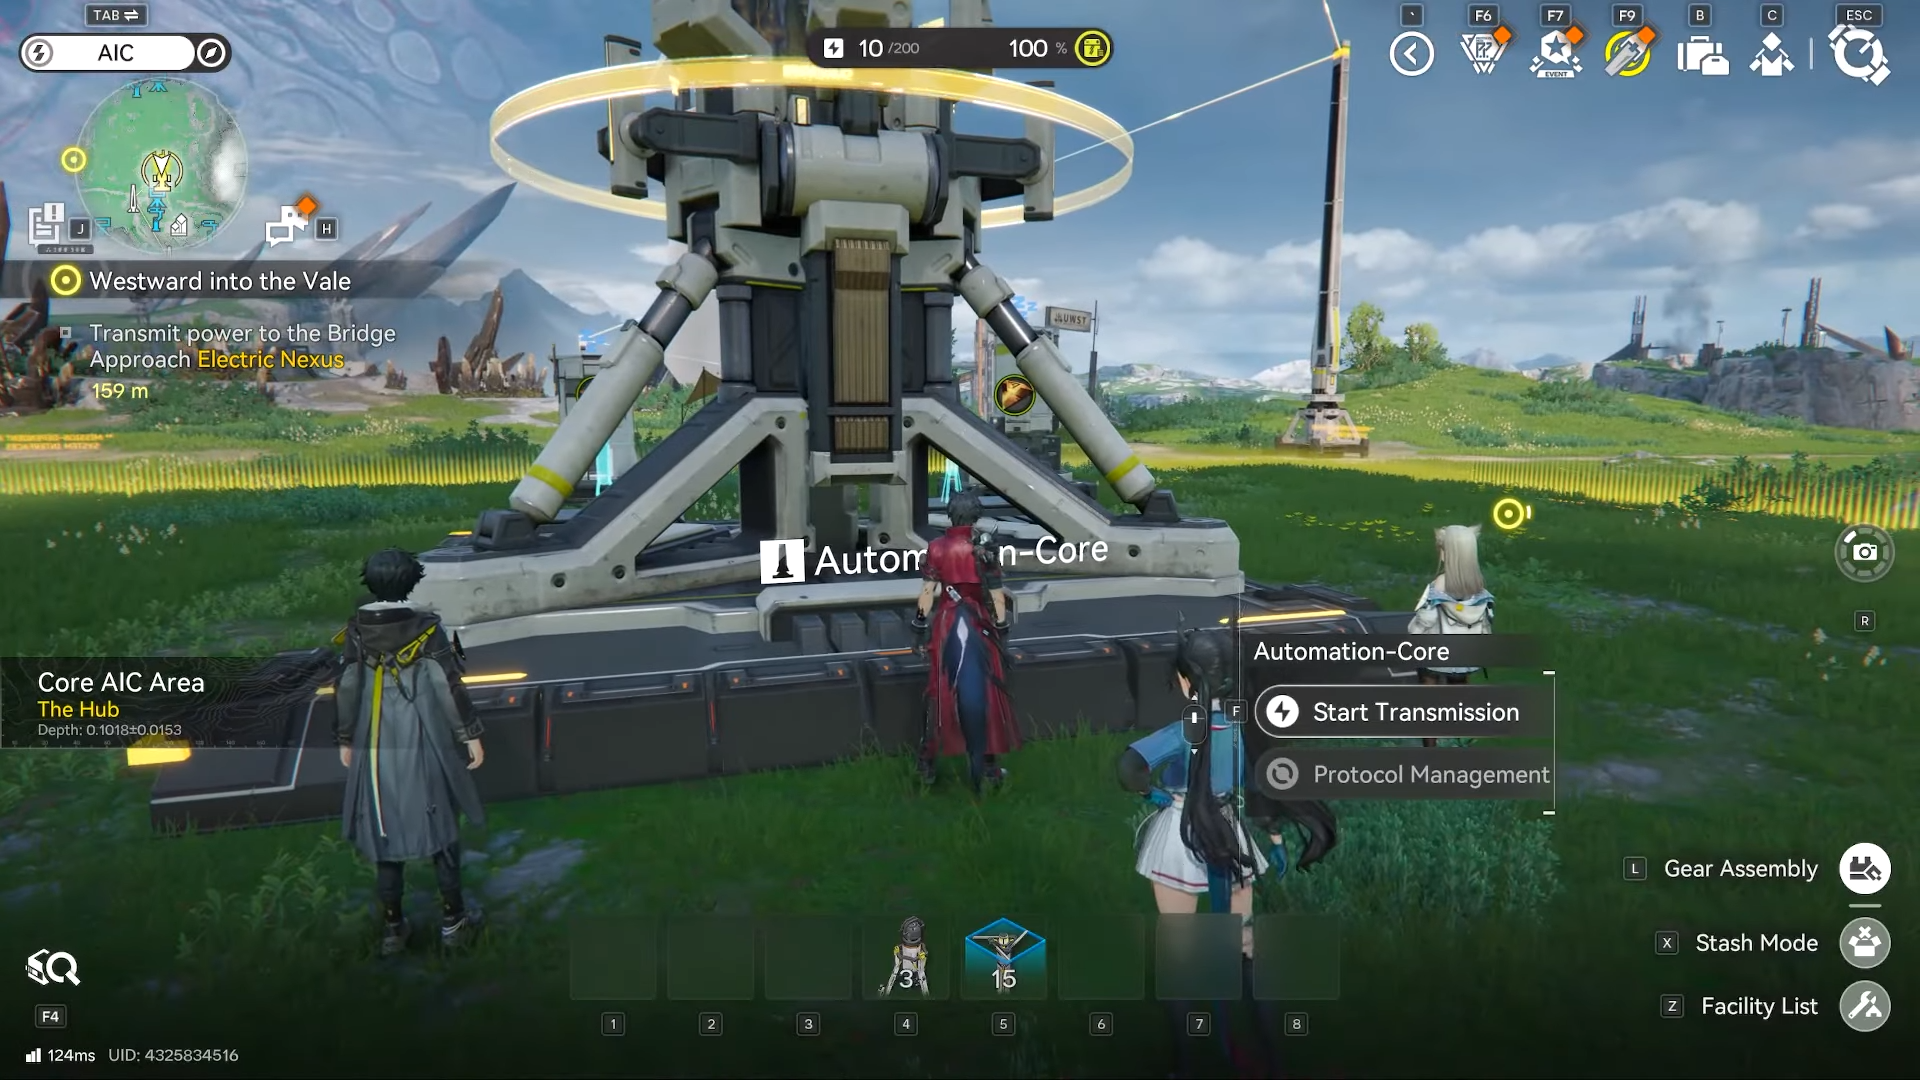
At your hub power point (often described as the POC / main generator area in guides), start a transmission toward the bridge and notice it hits the distance cap at roughly 80 m.
Step 4
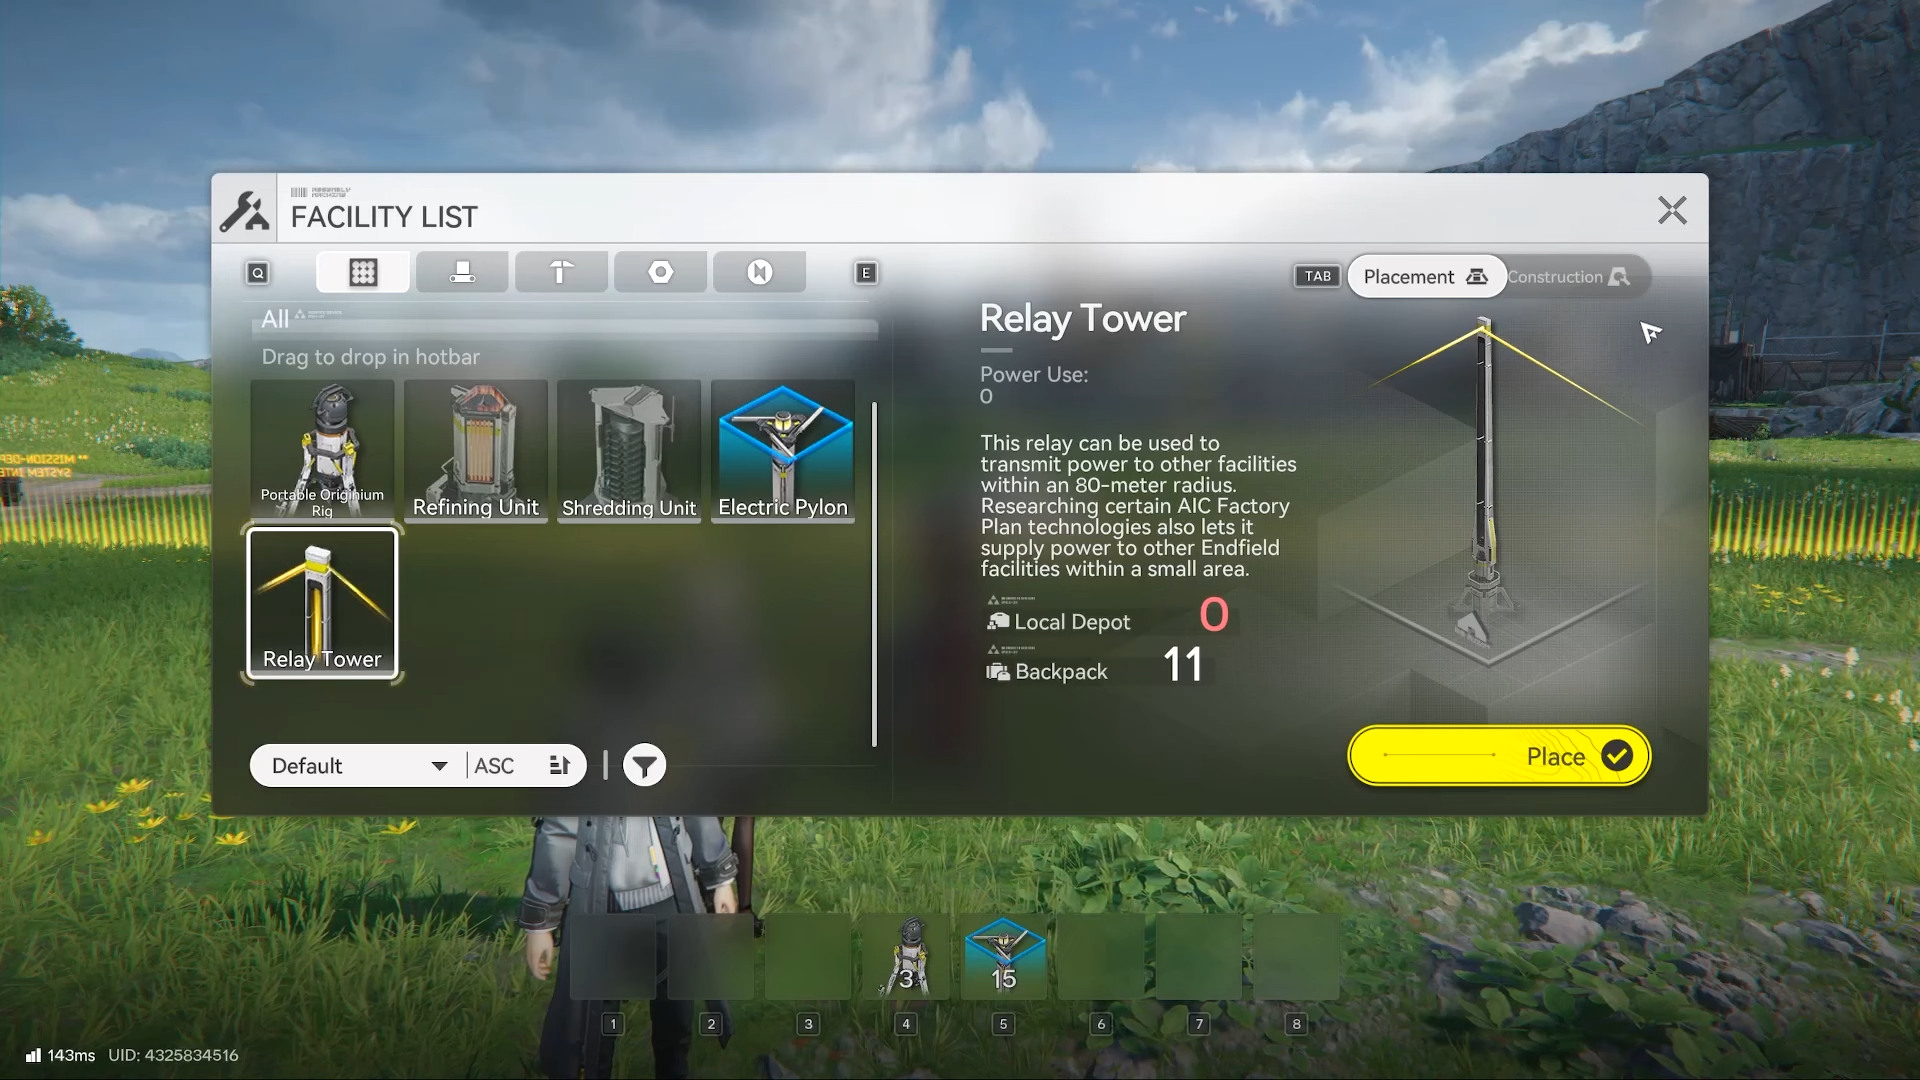
Switch into the build/placement mode (often referenced as AIC mode) so you can place Relay tower structures.
Step 5
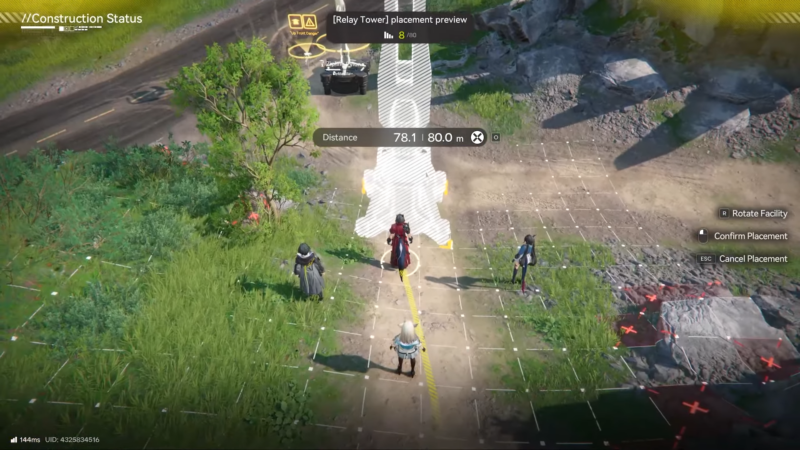
Place a Relay Tower near the edge of your current connection range (within ~80 m of the powered node), oriented in the direction of the bridge.
Step 6
Connect a power line/cable from the powered node (hub/POC or an already-powered point) to the Relay Tower so the tower becomes part of the powered grid.
Step 7
If the bridge is still out of range, place a second Relay Tower farther along the route and connect Relay Tower #1 → Relay Tower #2 (repeat until the final hop reaches).
Step 8
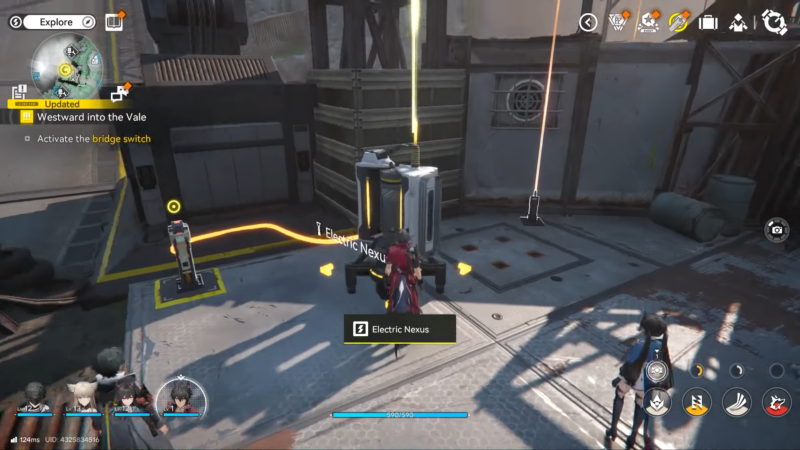
Run the final cable segment from your last Relay Tower into the Bridge Approach Electric Nexus / bridge switch grid connection point.
Step 9
Confirm the objective completes, then return to the bridge switch and activate it to lower/enable the bridge and proceed to the next mission area.
Practical placement tips that prevent “won’t connect” issues
Relay Towers should be placed so every cable segment stays inside the game’s range limit, since the bridge is commonly too far to reach in one run.
If a cable won’t attach, re-check that you’re in the correct build mode and that you’re connecting between valid nodes (powered point → relay → relay → nexus).
Your layout may differ depending on whether you already placed towers earlier (like during earlier missions), so you might need fewer—or more—Relay Towers than another player.
Rewards and what happens next
This specific “Transmit power to the Bridge Approach Electric Nexus” step may not grant a standalone reward, but completing the broader Westward into the Vale mission grants rewards.
Once the bridge is powered and activated, crossing it ends Westward into the Vale and starts the next quest chain segment.
Powering the Bridge Approach reliably
If you treat the bridge as a grid-extension problem—hub power point → Relay Tower chain → Electric Nexus—this objective becomes a quick setup you can reuse for future expansion tasks.