What to know
-
The “Had to be Done” quest begins by talking to Vallia near the Electric Nexus at the Originium Byproduct Processing Center.
-
You must power the building first (via the Electric Nexus/Relay Towers) before the main-switch step properly progresses.
-
The “re-activate the main switch” objective is a three-plate puzzle that needs three objects placed simultaneously.
-
Solving it unlocks the elevator so you can continue to 2F and complete the remaining objectives.
You’re solving a simple “three plates, three weights” room: locate the needed crates, unlock access to the missing ones, then leave all three plates pressed at once.
Location of Main Switch in “Had to Be Done” quest
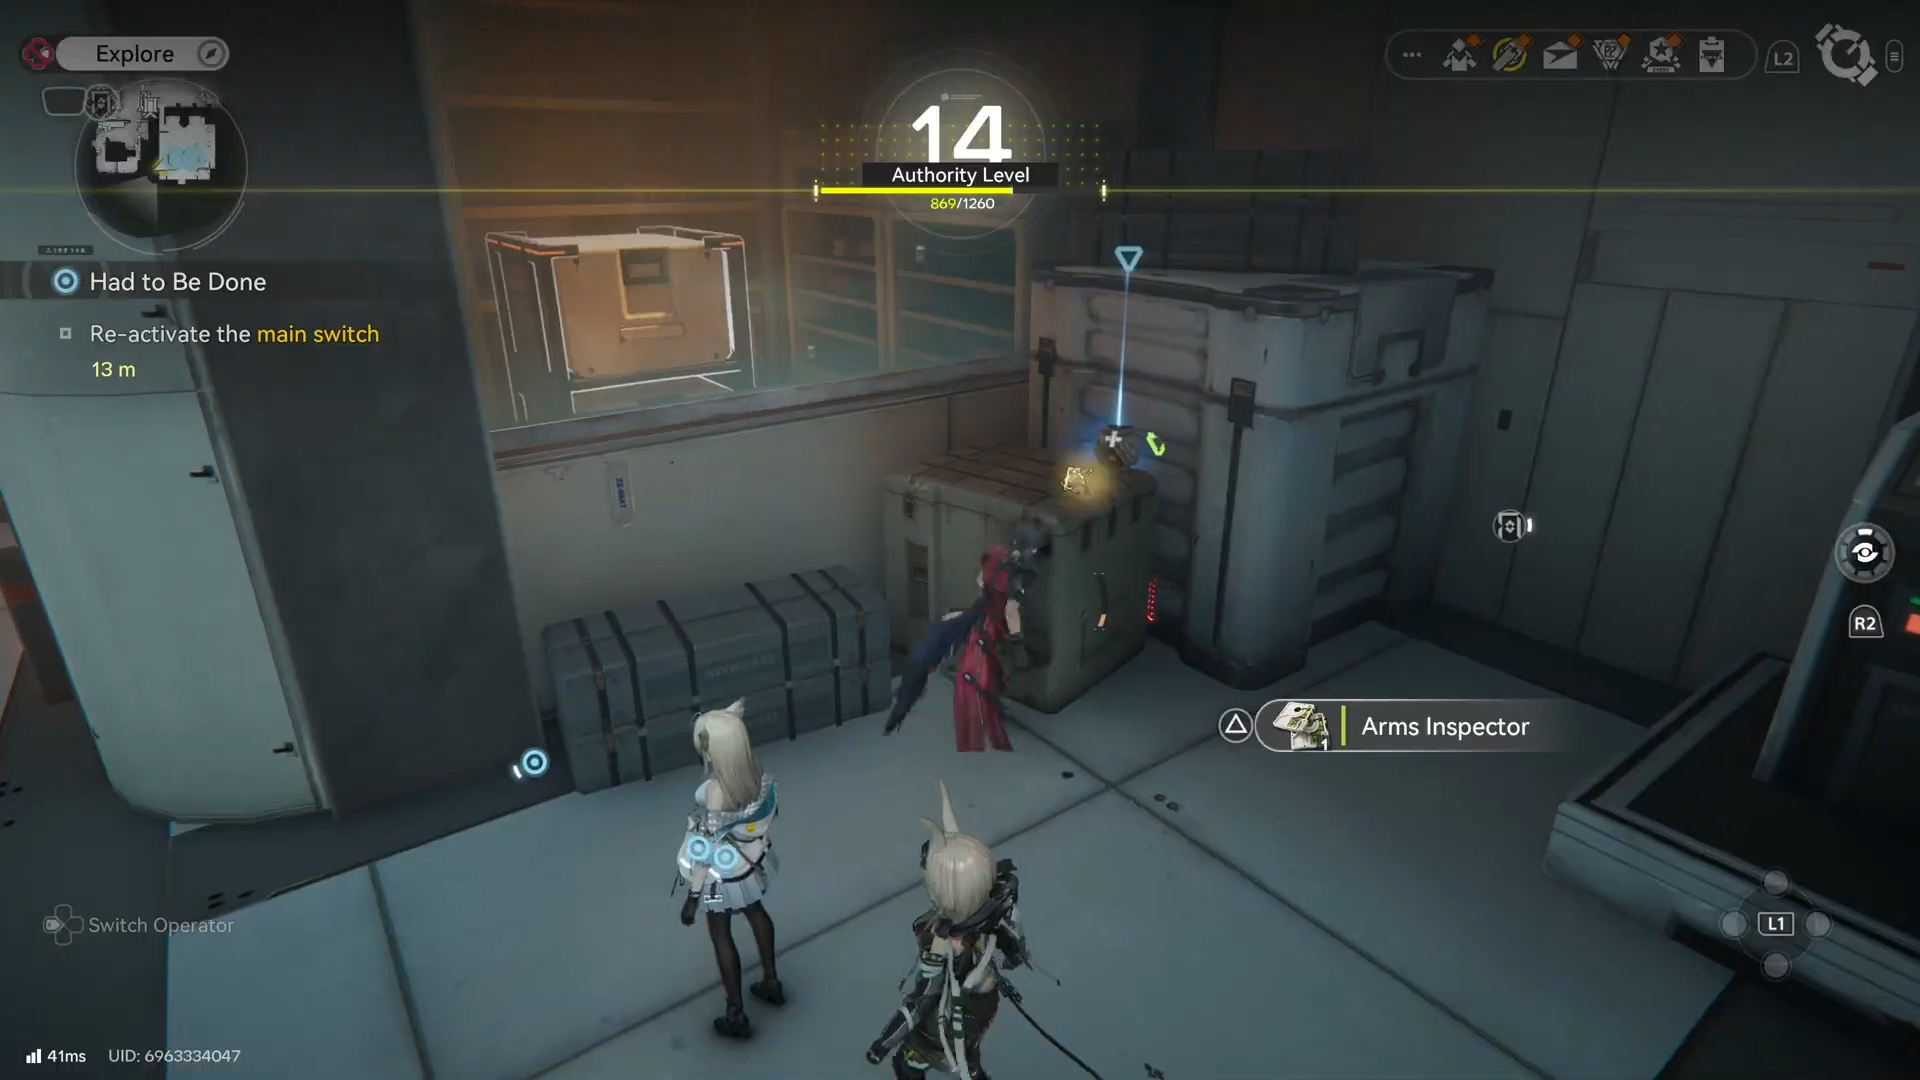
After you start the quest with Vallia and supply power to the building, you enter the Originium BPPC interior and reach the section where Vallia asks you to re-activate the main switch.
You’ll be guided into an area with several pressure plates, movable boxes, and at least one blocked door that only opens when the correct plates are pressed.
Common mistakes and quick fixes
| Issue you’re seeing | Likely cause | What to do |
|---|---|---|
| Two plates are pressed but nothing happens | The third required plate isn’t pressed simultaneously | Find/unlock the third crate (often behind the garage door) and place it on the remaining plate. |
| Can’t reach the half box | You haven’t used the big box as a step | Move the big box to the mini-ramp/ledge and jump up to reach the half box. |
| Quest won’t progress after entering the building | Building power step incomplete | Re-check the Electric Nexus and ensure power routing/Relay Towers are correctly set up. |
How to re-activate the main switch (detailed puzzle walkthrough)
Step 1: Collect any nearby interactables first
Walk the room and grab any nearby collectibles or interactable items before committing to box placement. In some cases, objectives become clearer once you’ve moved through the space.
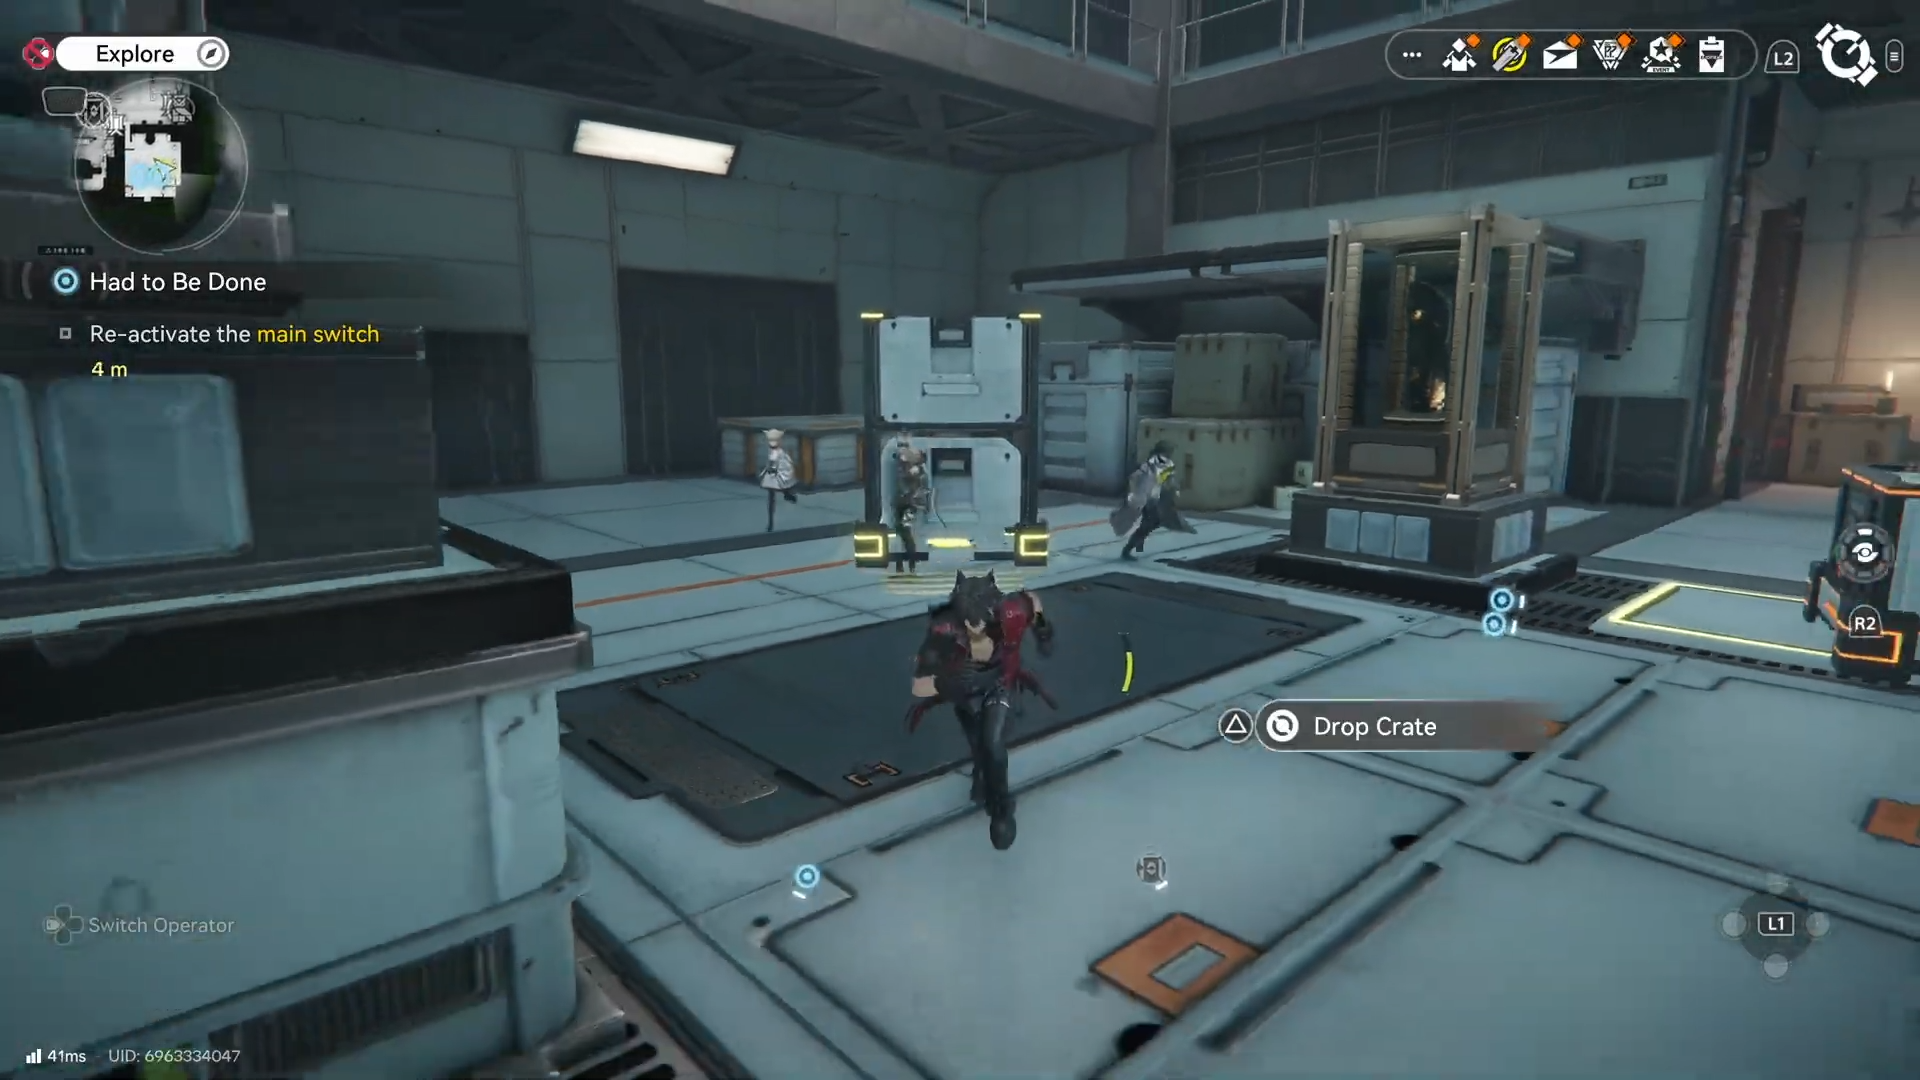
Step 2: Identify the three sensing switches (pressure plates)
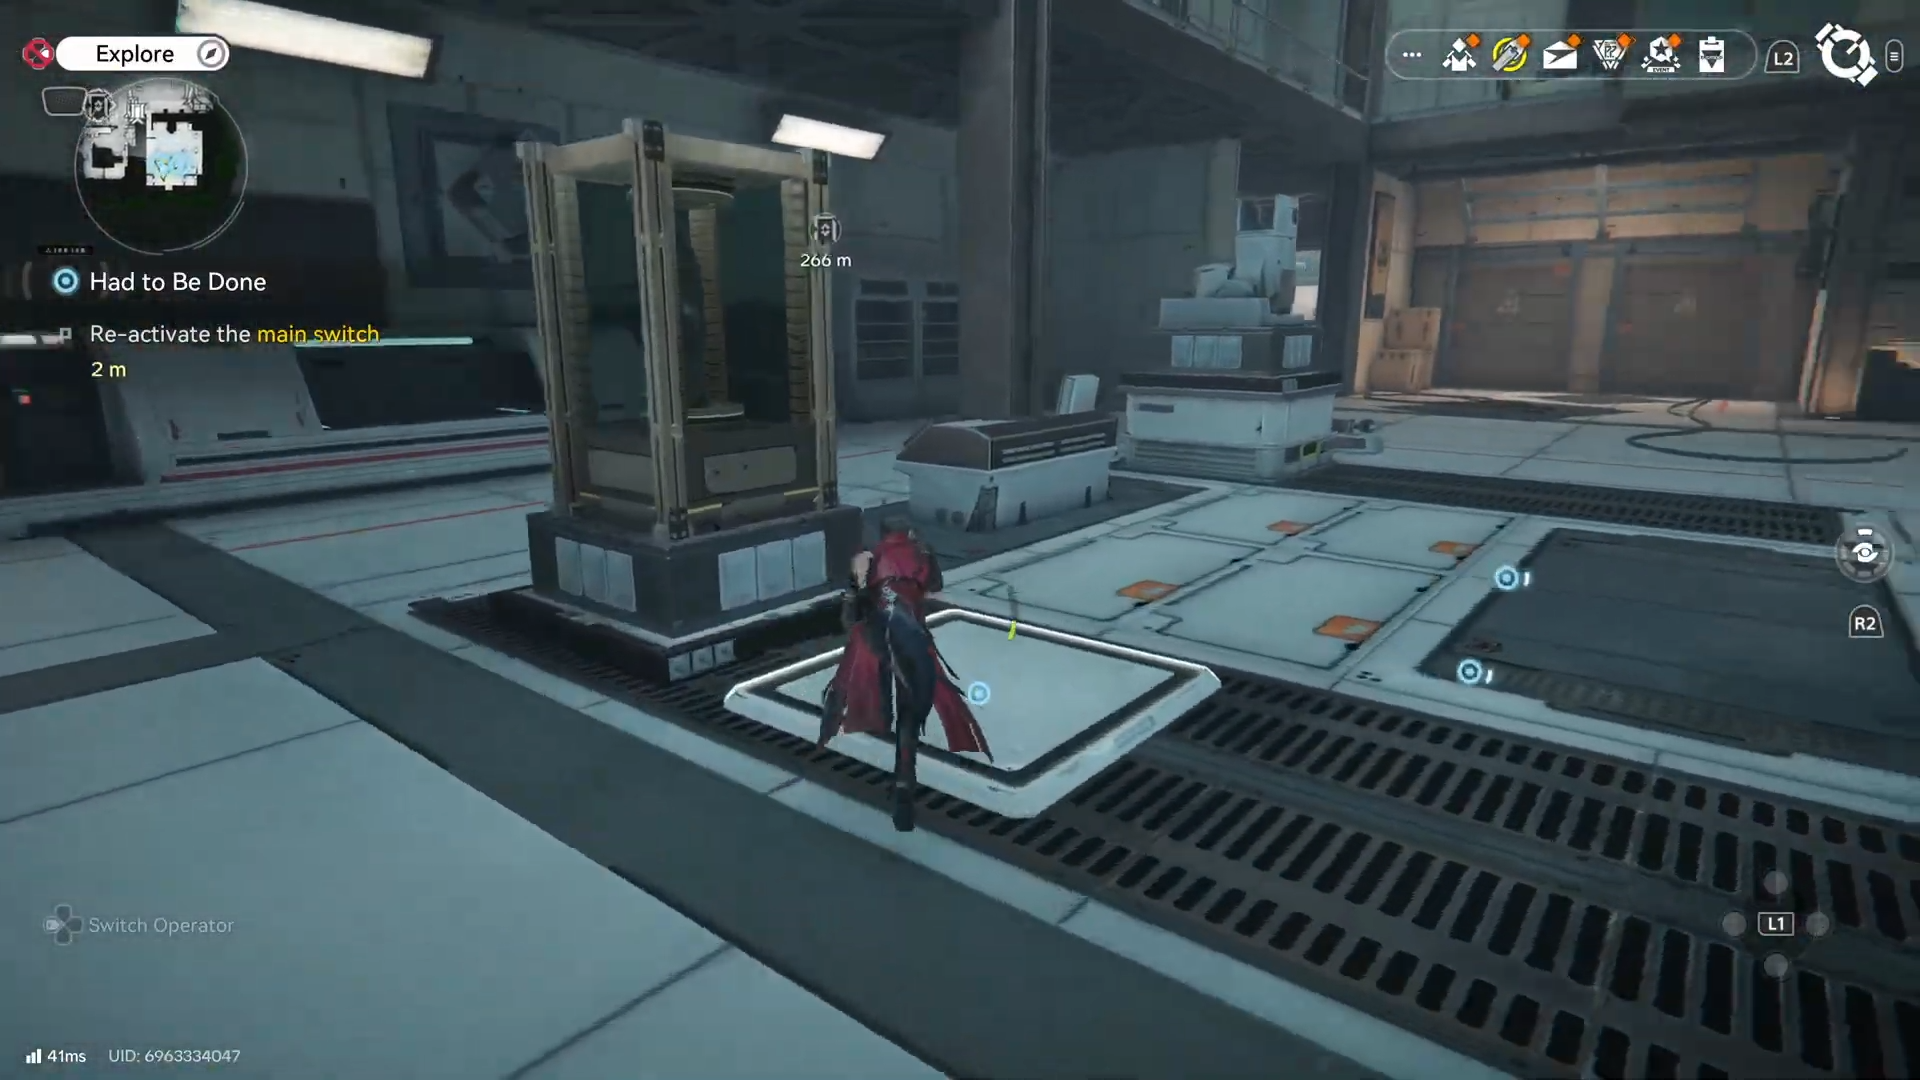
Find the three pressure plates tied to the puzzle. Some plates may appear to do nothing until all required plates are pressed together, so don’t assume a plate is “wrong” too early.
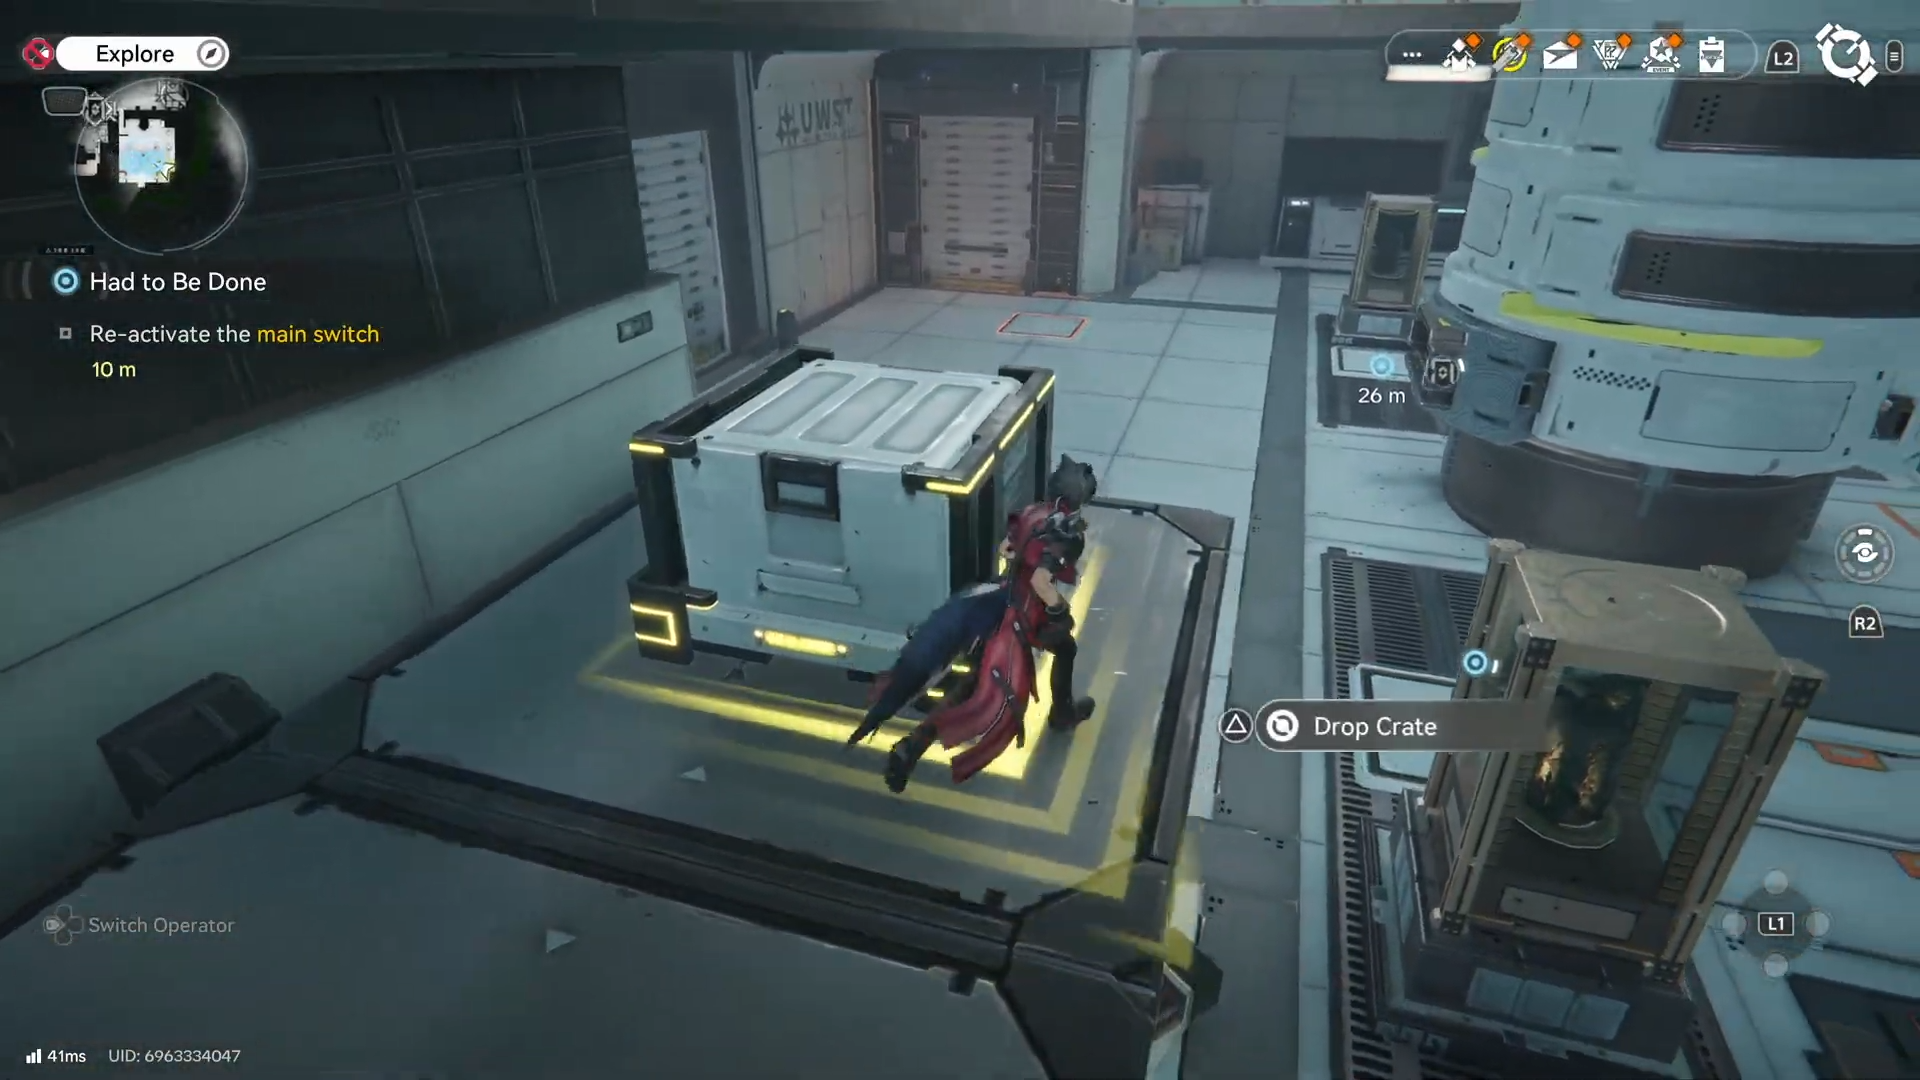
Step 3: Secure the first big crate/box

Locate the large movable box (“big box”) and drag it toward the center of the puzzle area. Keep it available because it’s also used to gain height for another box.
Step 4: Use the big box to obtain the half box (second crate)
Look for a smaller “half box” that’s sitting on a raised ledge.
Move the big box to the mini-ramp/ledge area, climb/jump using the big box for height, and pick up the half box.
Step 5: Bring the half box to the puzzle area
Drag the half box back across the room toward the sensing switches. You can often press one or two plates at this point, but the system won’t trigger without all three pressed simultaneously.
Step 6: Open the garage-style door to get the third crate
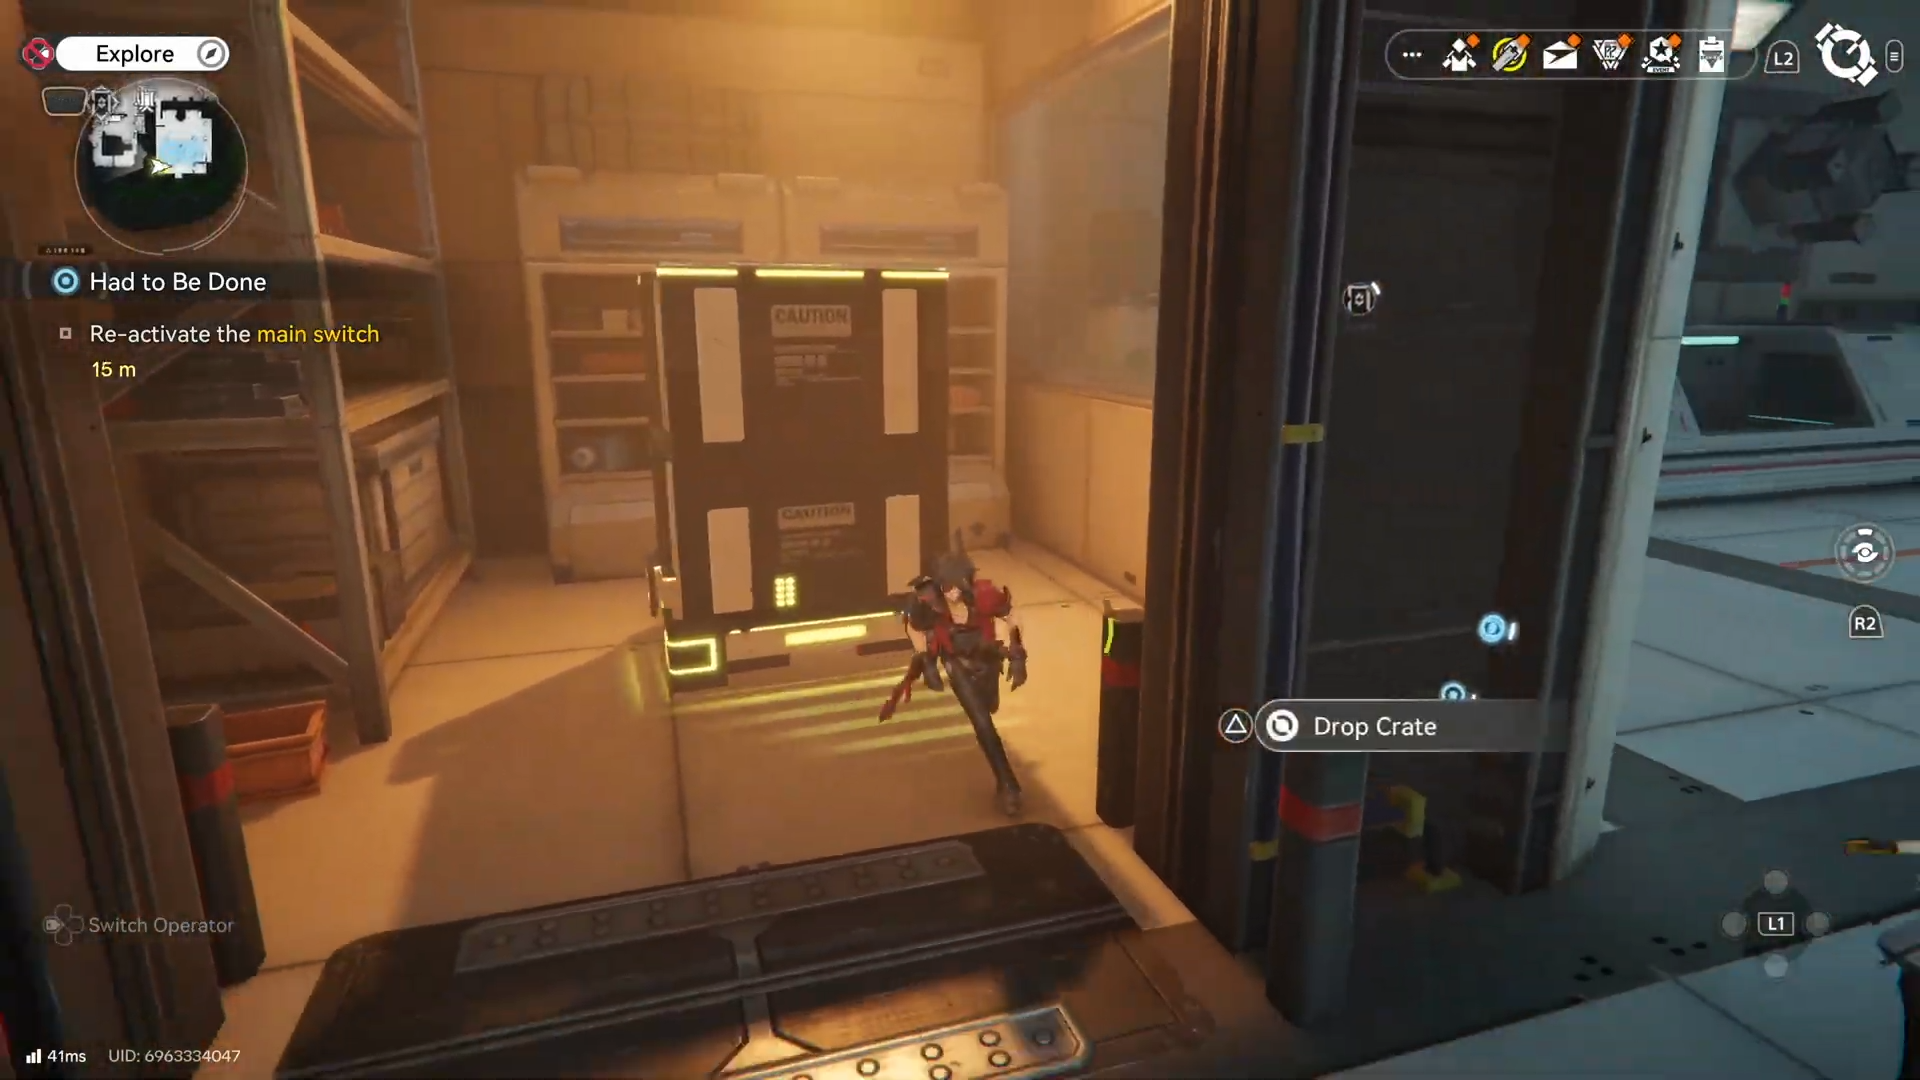
To get the final required object, place a box onto the pressure plate located next to the garage-style door.
When the door opens, pull the newly revealed crate out—this is usually the third missing piece needed to complete the “three plates” requirement.
Step 7: Place all three crates on the three sensing switches
Now place:
-
The big box on one sensing switch.
-
The half box on a second sensing switch.
-
The newly obtained third crate on the final sensing switch.
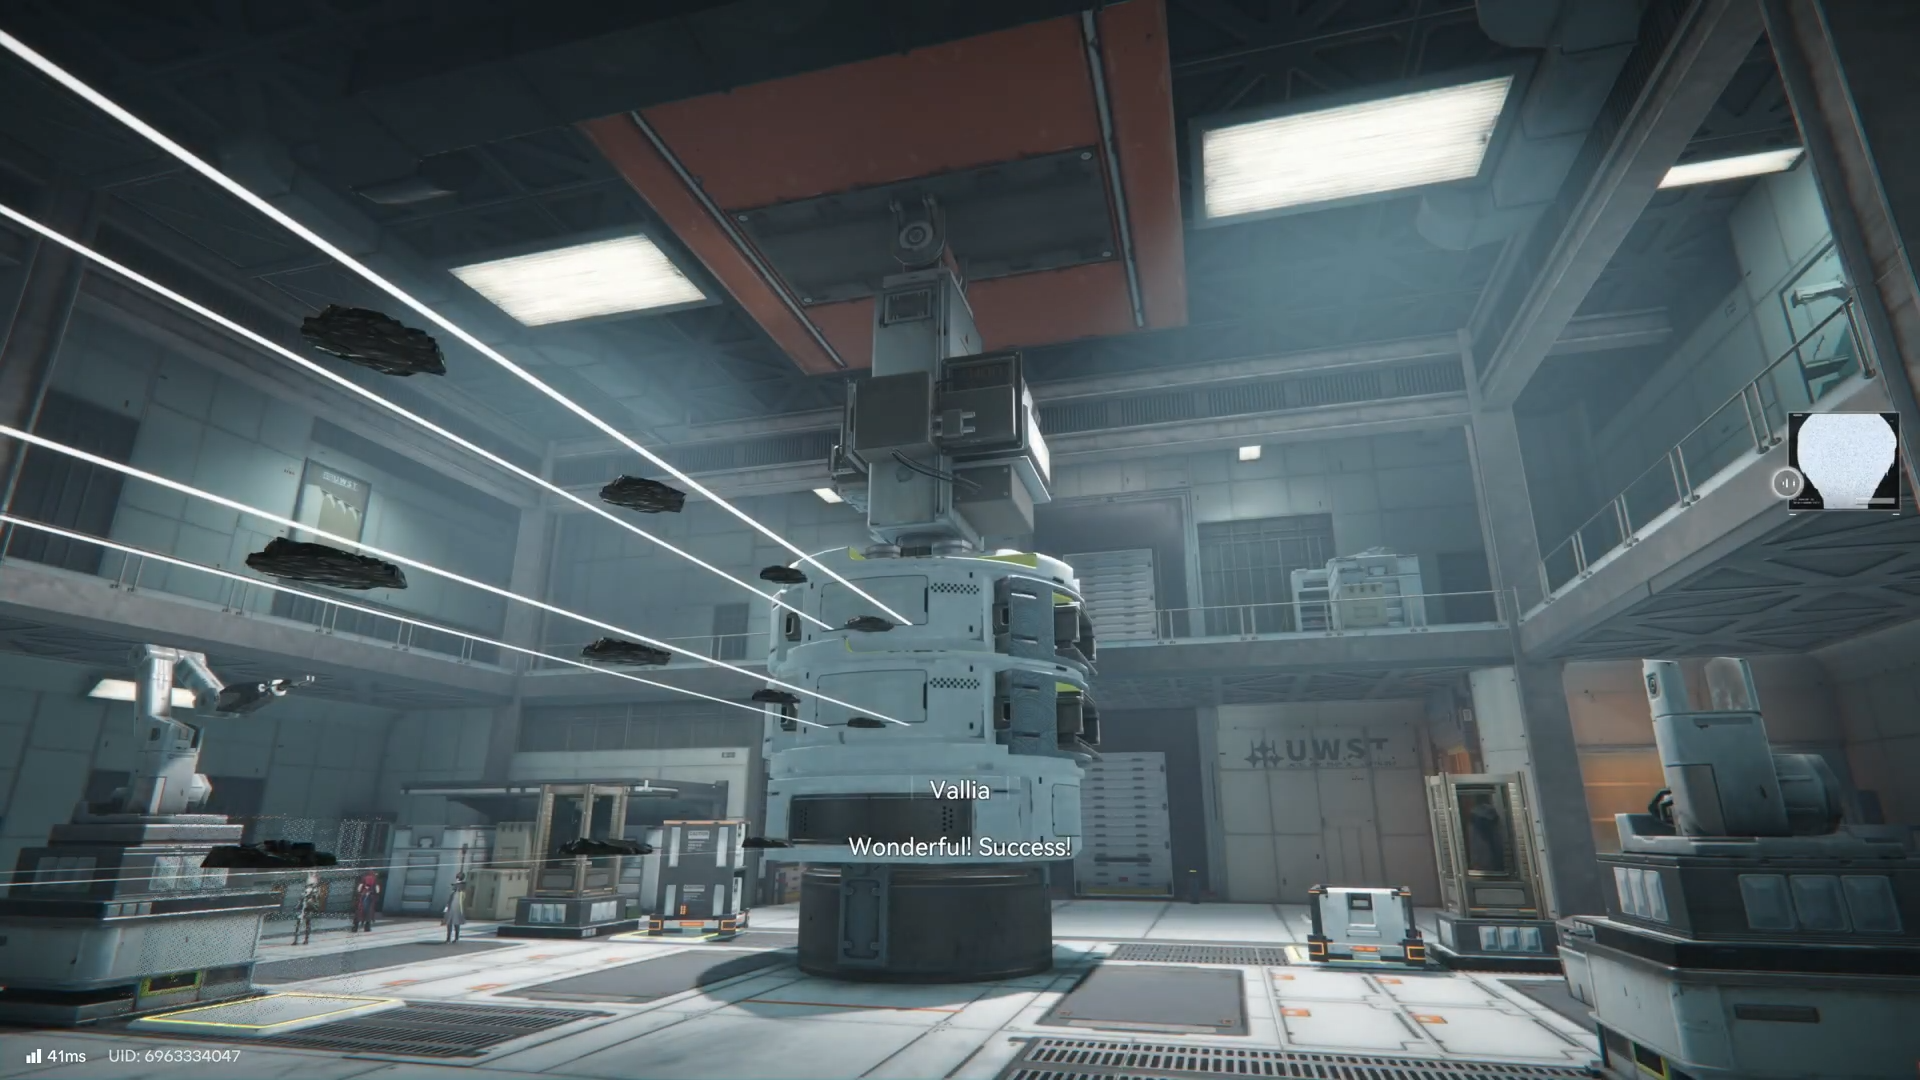
Once all three plates are held down at the same time, the puzzle should complete and unlock the next mechanism (commonly the elevator).
What happens after the switch puzzle
After the elevator unlocks, head to 2F and enter the control room area.
You’ll typically need to interact with multiple terminals/switches to rotate or route power through the central structure and activate the required production system lines. Once the objectives are complete, return to Vallia to finish the quest.
Getting past the main switch quickly
As long as you (1) use the big box to reach the half box and (2) open the garage-style door to retrieve the third crate, you’ll have everything needed to press all three sensing switches and move on to the 2F objectives.